Home>Garden Essentials>How To Grow Strawberry Plants From Seeds
Garden Essentials
How To Grow Strawberry Plants From Seeds
Modified: March 15, 2024
Learn how to grow strawberry plants from seeds in your garden and enjoy fresh, delicious berries all summer long.
(Many of the links in this article redirect to a specific reviewed product. Your purchase of these products through affiliate links helps to generate commission for Storables.com, at no extra cost. Learn more)
Introduction
If you’re a lover of fresh, succulent strawberries, why not try growing your own? Not only will you have a never-ending supply of these delightful fruits, but the process of growing strawberry plants from seeds can also be a rewarding and fulfilling experience. Plus, it’s a great way to add a touch of nature to your garden or even to a small balcony or windowsill.
In this guide, we’ll take you through the step-by-step process of growing strawberry plants from seeds. We’ll cover everything from selecting the right seeds and preparing the soil to caring for the growing plants and eventually enjoying a bountiful strawberry harvest.
Whether you’re a seasoned gardener looking to expand your repertoire or a beginner eager to try your hand at growing your own fruits, this guide will provide you with all the information you need to successfully grow strawberry plants from seeds.
So, let’s dive in and get started on your journey to becoming a strawberry-growing expert!
Key Takeaways:
- Growing your own strawberries from seeds is a fun and rewarding experience. With the right supplies and care, you can enjoy a bountiful harvest of delicious, homegrown strawberries.
- From planting the seeds to harvesting the ripe berries, each step in growing strawberries is essential for their health and productivity. Enjoy the sweet satisfaction of nurturing your own strawberry plants!
Read more: How To Plant Strawberries From Seed
Step 1: Gathering Supplies
Before you embark on your strawberry-growing journey, it’s important to gather all the necessary supplies. Here are the key items you’ll need:
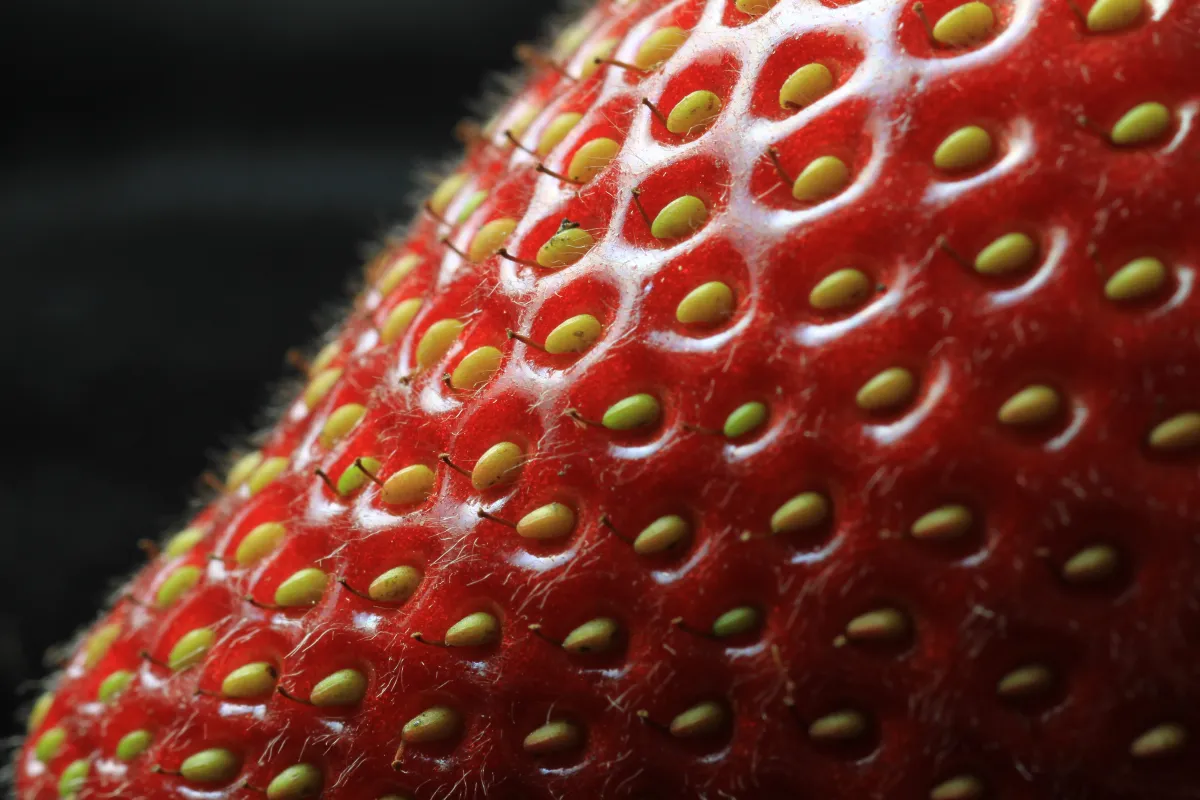
Choosing the right strawberry seeds: When it comes to selecting strawberry seeds, it’s best to opt for varieties that are well-suited to your climate and growing conditions. Consider factors such as the average temperature, sunlight requirements, and disease resistance. You can find a wide variety of strawberry seeds at your local garden center or purchase them online.
Acquiring quality potting soil: Strawberry plants thrive in well-draining soil that is rich in nutrients. Look for a high-quality potting soil mix that is specifically formulated for container gardening. This will ensure that your plants receive the necessary nutrients and support for healthy growth.
Selecting suitable containers: Strawberry plants can be grown in various types of containers, such as pots, hanging baskets, or raised beds. Choose containers that are at least 6-12 inches deep to allow for proper root development. Ensure that the containers have drainage holes to prevent waterlogging, which can be detrimental to the plants.
By gathering these supplies beforehand, you’ll be well-prepared to start the next steps in growing your strawberry plants from seeds. So let’s move on to preparing the soil!
Step 2: Preparing the Soil
Now that you have your supplies ready, it’s time to prepare the soil for your strawberry plants. Proper soil preparation is crucial for providing the plants with the nutrients and drainage they need to thrive. Here are the key steps:
Mixing soil with compost: Start by mixing your potting soil with compost. Compost is rich in organic matter and helps improve soil fertility and moisture retention. Aim for a ratio of 1 part compost to 3 parts potting soil. This will provide the strawberry plants with a nutrient-rich environment to support their growth.
Ensuring proper drainage: Strawberry plants prefer well-draining soil to avoid issues like root rot. To ensure proper drainage, add some perlite or coarse sand to the soil mixture. These materials help improve soil structure and prevent excess water from accumulating around the roots.
Once you’ve mixed the soil with compost and improved the drainage, you’re ready to move on to the exciting part: planting the strawberry seeds! But first, make sure to moisten the soil mixture slightly before sowing the seeds, as this helps with germination.
Now that your soil is prepared, it’s time to sow the strawberry seeds and get your plants off to a great start. Keep reading to learn the steps for planting the seeds.
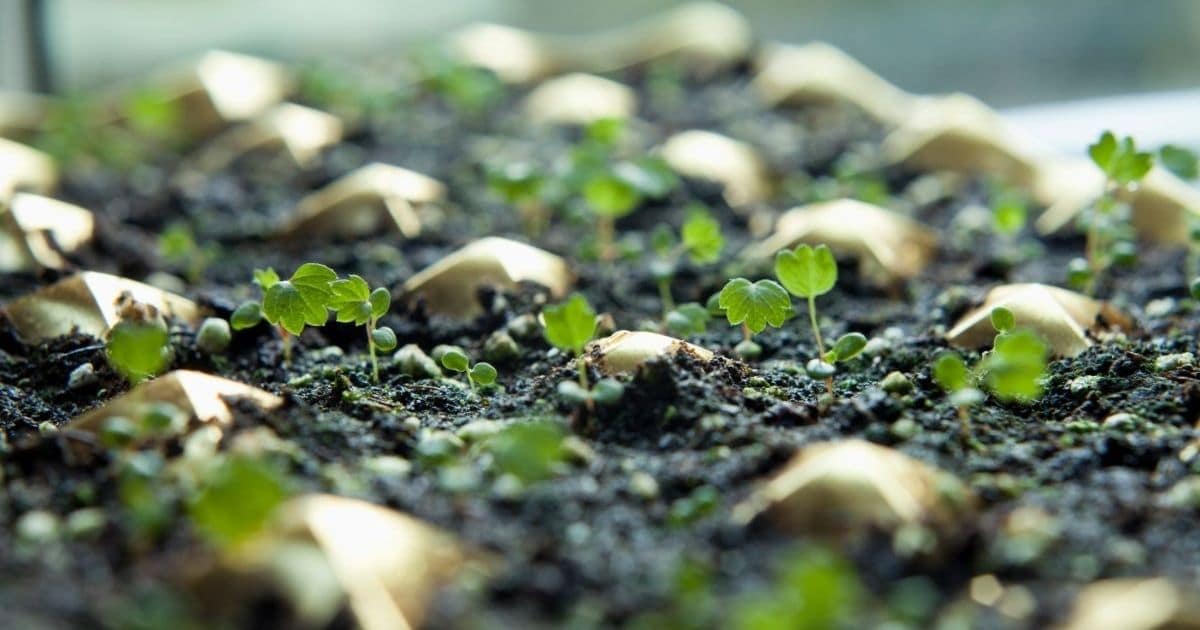
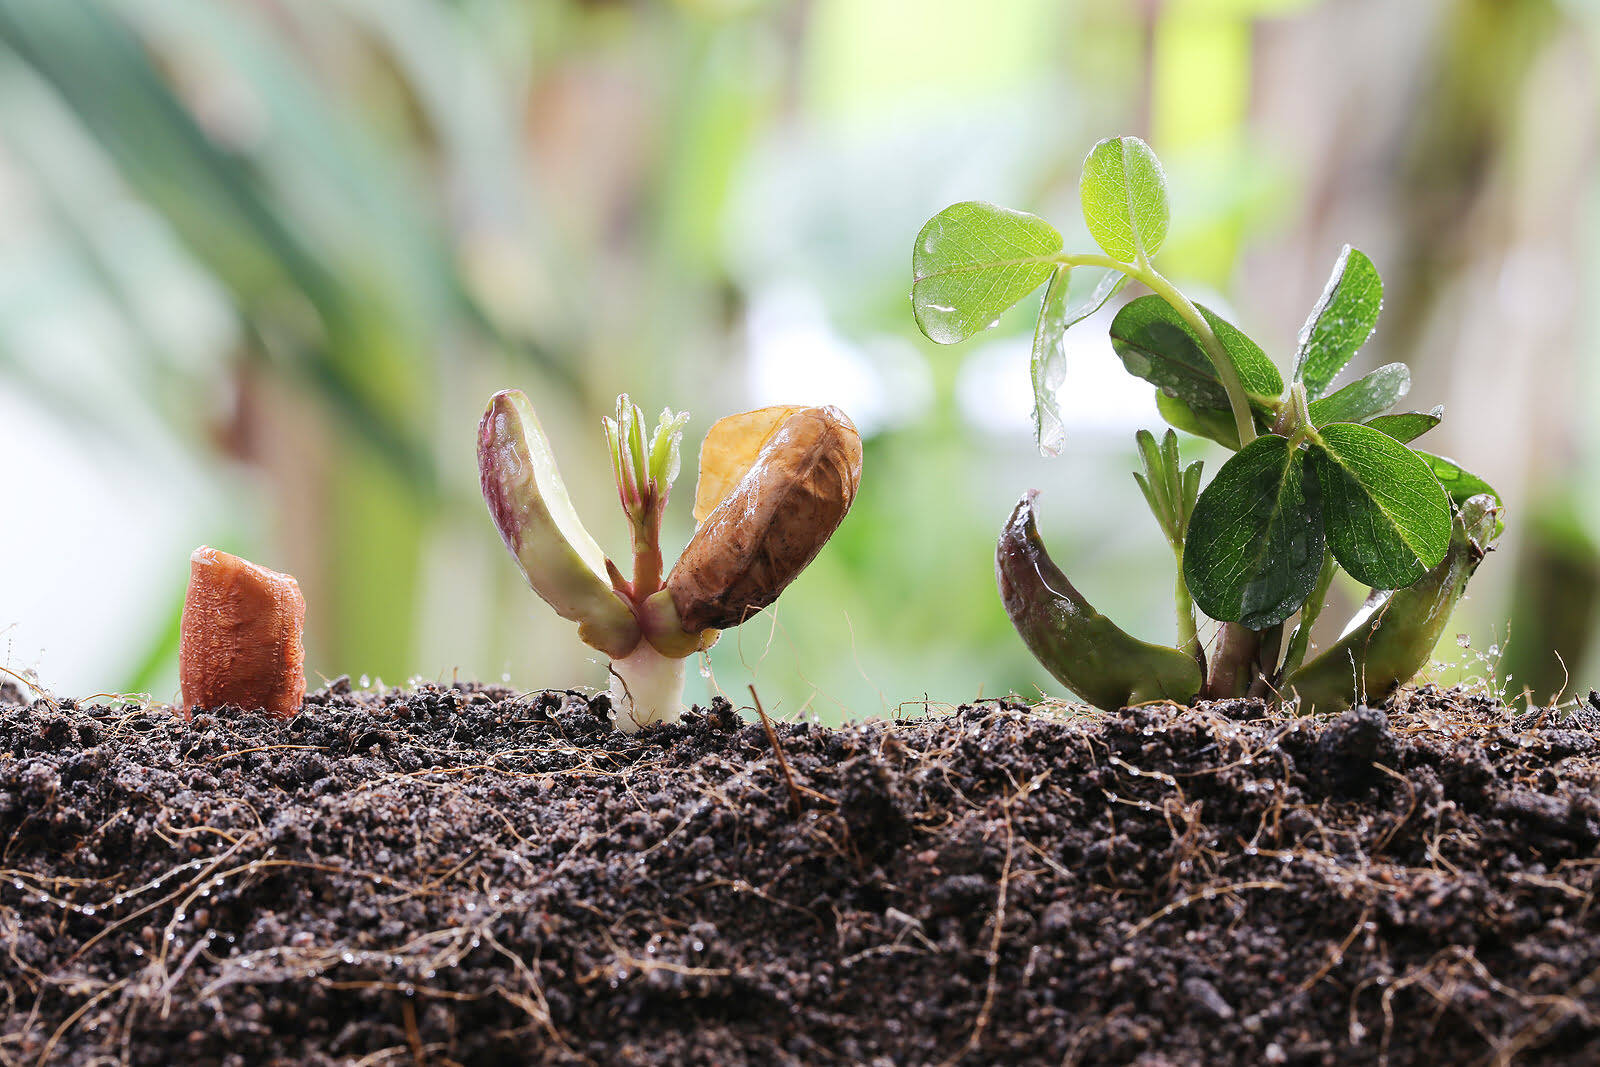
Step 3: Planting the Seeds
With your soil prepared and moistened, it’s time to plant the strawberry seeds. Here are the steps to follow:
Sowing the seeds: Take a small scoop or your fingertips to create shallow furrows in the soil. The furrows should be about ¼ inch deep and spaced 1-2 inches apart. Place the strawberry seeds in the furrows, ensuring that they are not too close together. Gently press the seeds into the soil to ensure good seed-to-soil contact.
Covering the seeds with soil: Once the seeds are in place, lightly cover them with a thin layer of soil. Be careful not to bury them too deep, as they need sunlight to germinate. A covering of ¼ inch of soil is sufficient. Mist the soil surface with water to prevent the seeds from drying out.
After planting the seeds, it’s important to provide the right growing conditions to encourage germination and healthy plant development. In the next step, we’ll discuss how to provide the ideal growing conditions for your strawberry plants.
Transition Phrase: Now that the seeds are planted, it’s time to provide the ideal conditions for their growth. In the next step…
Step 4: Providing the Ideal Growing Conditions
To ensure the successful growth of your strawberry plants, it’s important to provide them with the ideal growing conditions. Here are the key factors to consider:
Watering the seeds: Strawberry seeds require consistent moisture to germinate and establish. Water the soil gently after planting the seeds and continue to keep it evenly moist throughout the germination period. Be careful not to overwater as it can lead to fungal diseases. Aim for moist, but not waterlogged soil.
Providing sufficient sunlight: Strawberry plants thrive in full sun, meaning they need at least 6-8 hours of direct sunlight each day. Place your containers in a sunny location, such as a south-facing window or a sunny spot in your garden. If you’re growing strawberries indoors, consider using grow lights to supplement the natural sunlight.
Maintaining optimal temperature: Strawberry plants prefer moderate temperatures ranging between 60-80°F (15-26°C). Avoid exposing them to extreme heat or cold, as it can stress the plants. Keep them in a location with a consistent temperature, away from drafts and temperature fluctuations.
By providing the right balance of water, sunlight, and temperature, you’ll create an environment where your strawberry plants can thrive. In the next step, we’ll discuss how to transplant the seedlings for better growth.
Transition Phrase: Now that your strawberry plants have germinated and grown into seedlings, it’s time to consider their transplanting. In the next step…
After planting strawberry seeds, keep the soil consistently moist but not waterlogged. Cover the pots with plastic to create a greenhouse effect and place them in a warm, sunny spot to encourage germination.
Read more: How To Grow Strawberries From Seeds Indoors
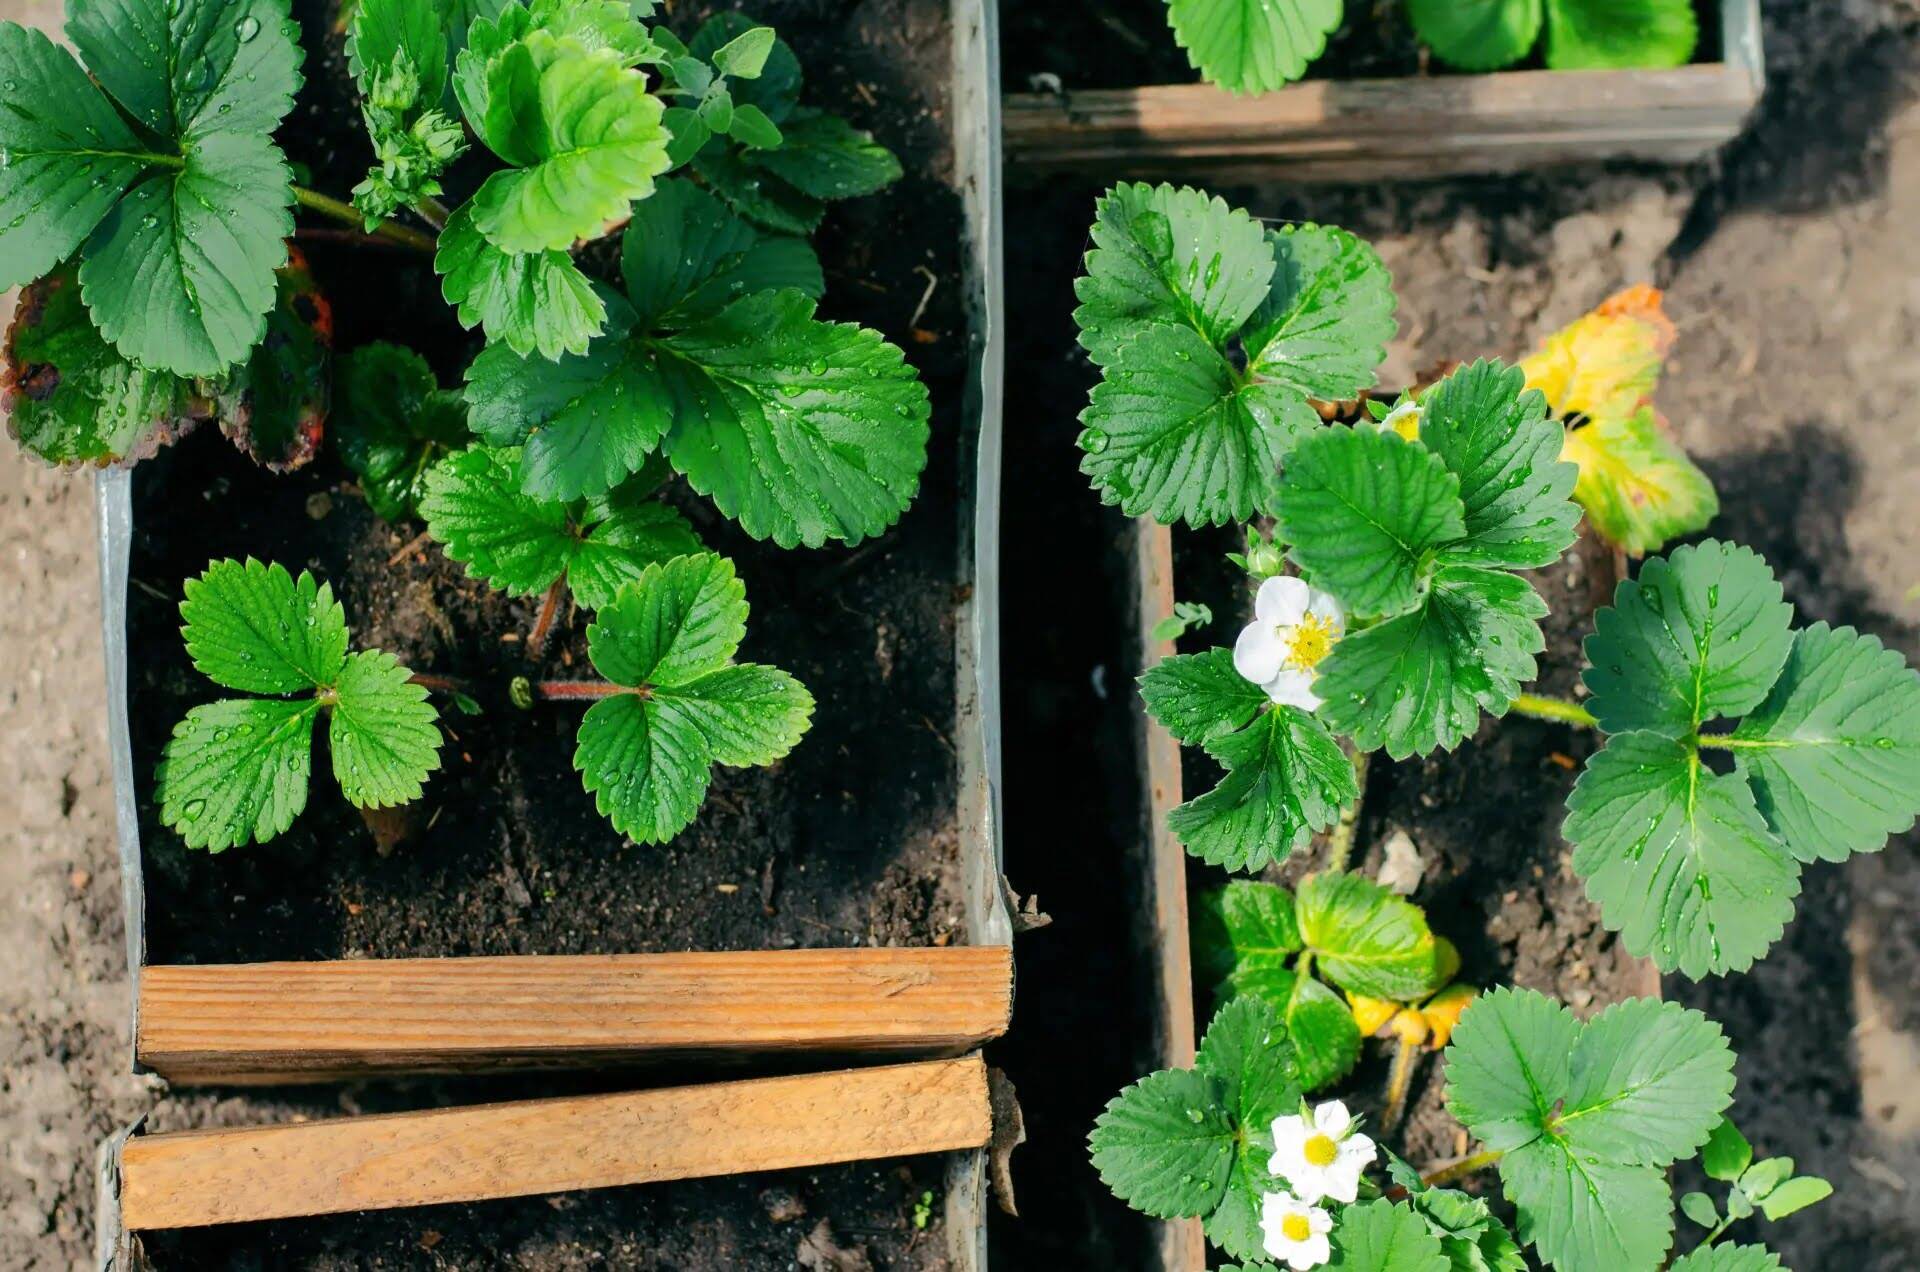
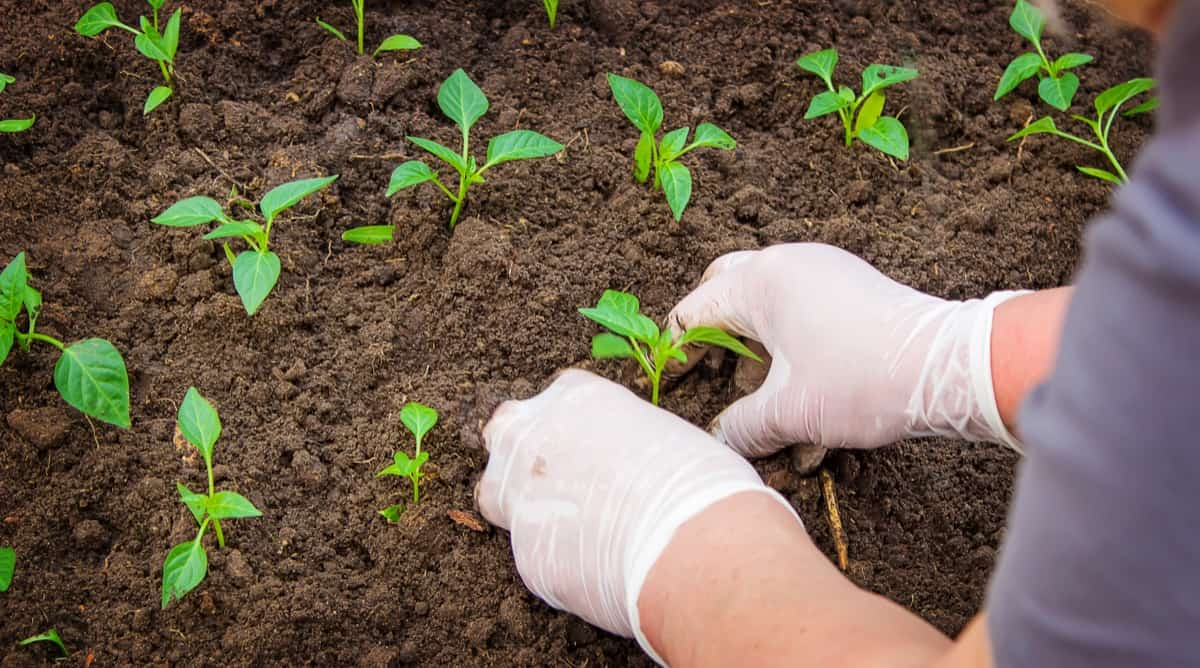
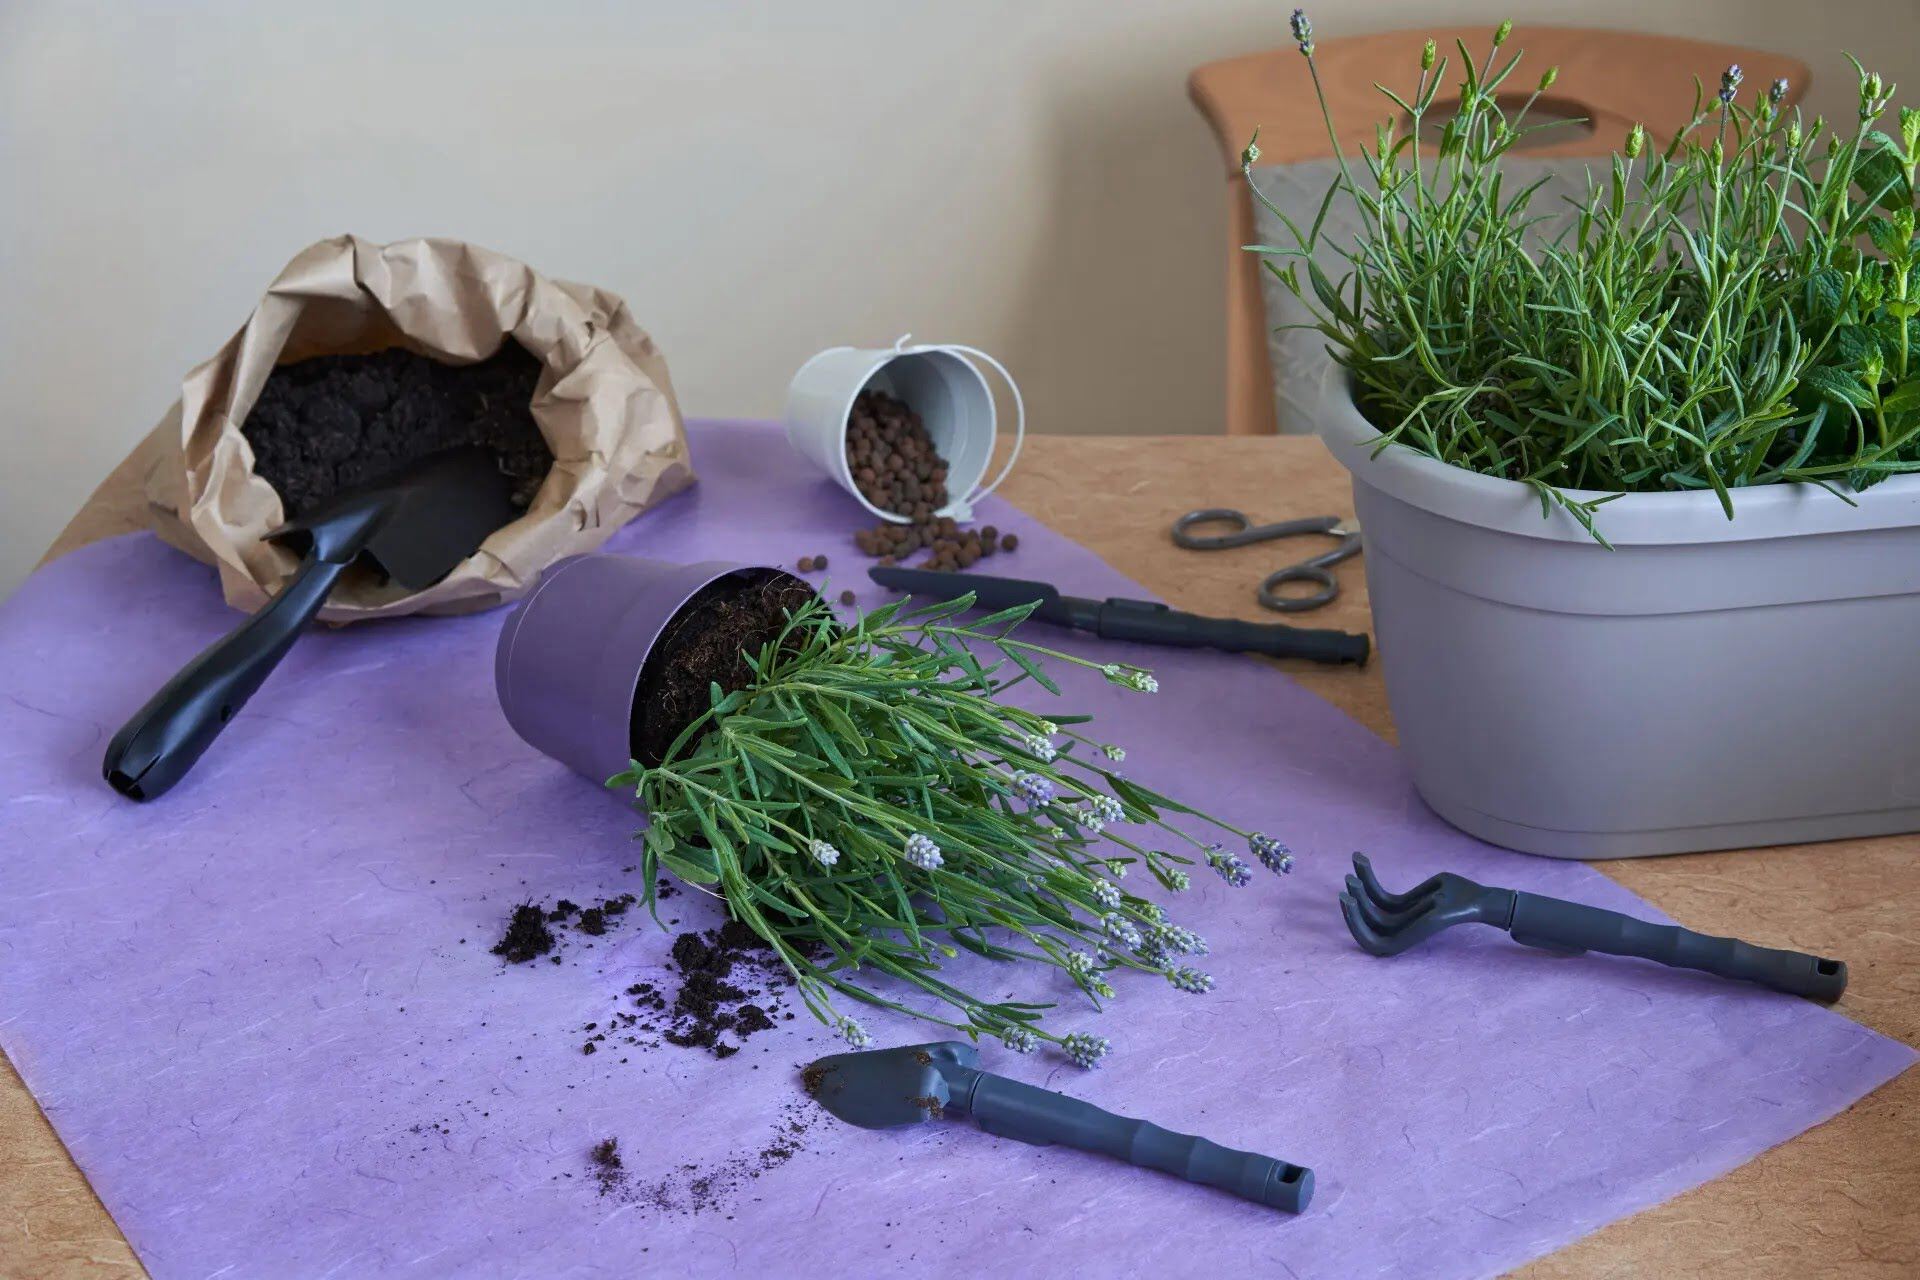
Step 5: Transplanting the Seedlings
As your strawberry seedlings begin to grow and mature, they will eventually outgrow their initial containers. Transplanting them into larger pots or containers will allow for better root development and continued growth. Here are the steps to successfully transplant your seedlings:
Preparing the new pots: Choose pots or containers that are slightly larger than the ones your seedlings are currently in. Ensure that the new pots have sufficient drainage holes to prevent waterlogging. Fill the new pots with fresh potting soil, mixed with compost, to provide a nutrient-rich environment for the seedlings.
Carefully removing seedlings: Gently loosen the soil around the base of each seedling to avoid damaging the delicate roots. Carefully lift the seedlings from their current containers, holding them by the leaves or the base of the stem. Be gentle to minimize any shock or damage.
Transferring seedlings to new pots: Create a small hole in the soil of the new pot using your finger or a small tool. Place each seedling into a separate hole, ensuring that the top of the roots is level with the soil surface. Gently firm the soil around the base of each seedling to provide stability.
After transplanting the seedlings, water the newly transplanted plants thoroughly to help them settle into their new containers. Ensure that the soil remains consistently moist in the following days while the seedlings adjust to their new environment.
Now that your seedlings are comfortably settled into their new pots, it’s time to learn how to care for the growing plants to maximize their health and productivity. This will be covered in the next step.
Transition Phrase: With your strawberry seedlings successfully transplanted, the next step is to provide proper care for their growing phase. In the next step…
Step 6: Caring for Growing Plants
Once your strawberry plants are in their new pots and have started to grow, it’s crucial to provide them with proper care and maintenance to ensure their health and productivity. Here are the essential steps for caring for your growing strawberry plants:
Regular watering: Strawberry plants need consistent moisture to establish and bear fruit. Water them regularly, keeping the soil evenly moist but not waterlogged. Avoid overhead watering, as it can lead to foliar diseases. Instead, water at the base of the plants or use drip irrigation to deliver water directly to the roots.
Fertilizing the plants: To promote vigorous growth and fruit production, fertilize your strawberry plants regularly. Use a balanced, slow-release organic fertilizer or a soluble fertilizer formulated specifically for strawberries. Follow the instructions on the fertilizer packaging for proper application and frequency.
Pruning and thinning: Regular pruning and thinning are essential for maintaining the health and productivity of your strawberry plants. Remove any dead or diseased leaves, as well as runners that are not needed for propagation. Prune back excessive foliage to improve airflow and prevent diseases. Thin out crowded plants to allow for better air circulation and sunlight penetration.
In addition to these care practices, it’s important to monitor your strawberry plants for pests and diseases. Inspect the leaves and fruit regularly for signs of damage or infestation. If necessary, take appropriate measures to control pests or diseases to prevent the spread and ensure the overall health of your plants.
By providing regular care and attention to your growing strawberry plants, you can enjoy a bountiful harvest of delicious, homegrown strawberries. In the next step, we’ll cover the exciting part: harvesting your ripe, juicy strawberries!
Transition Phrase: With your strawberry plants well taken care of, it’s time to reap the rewards of your efforts. In the next step…
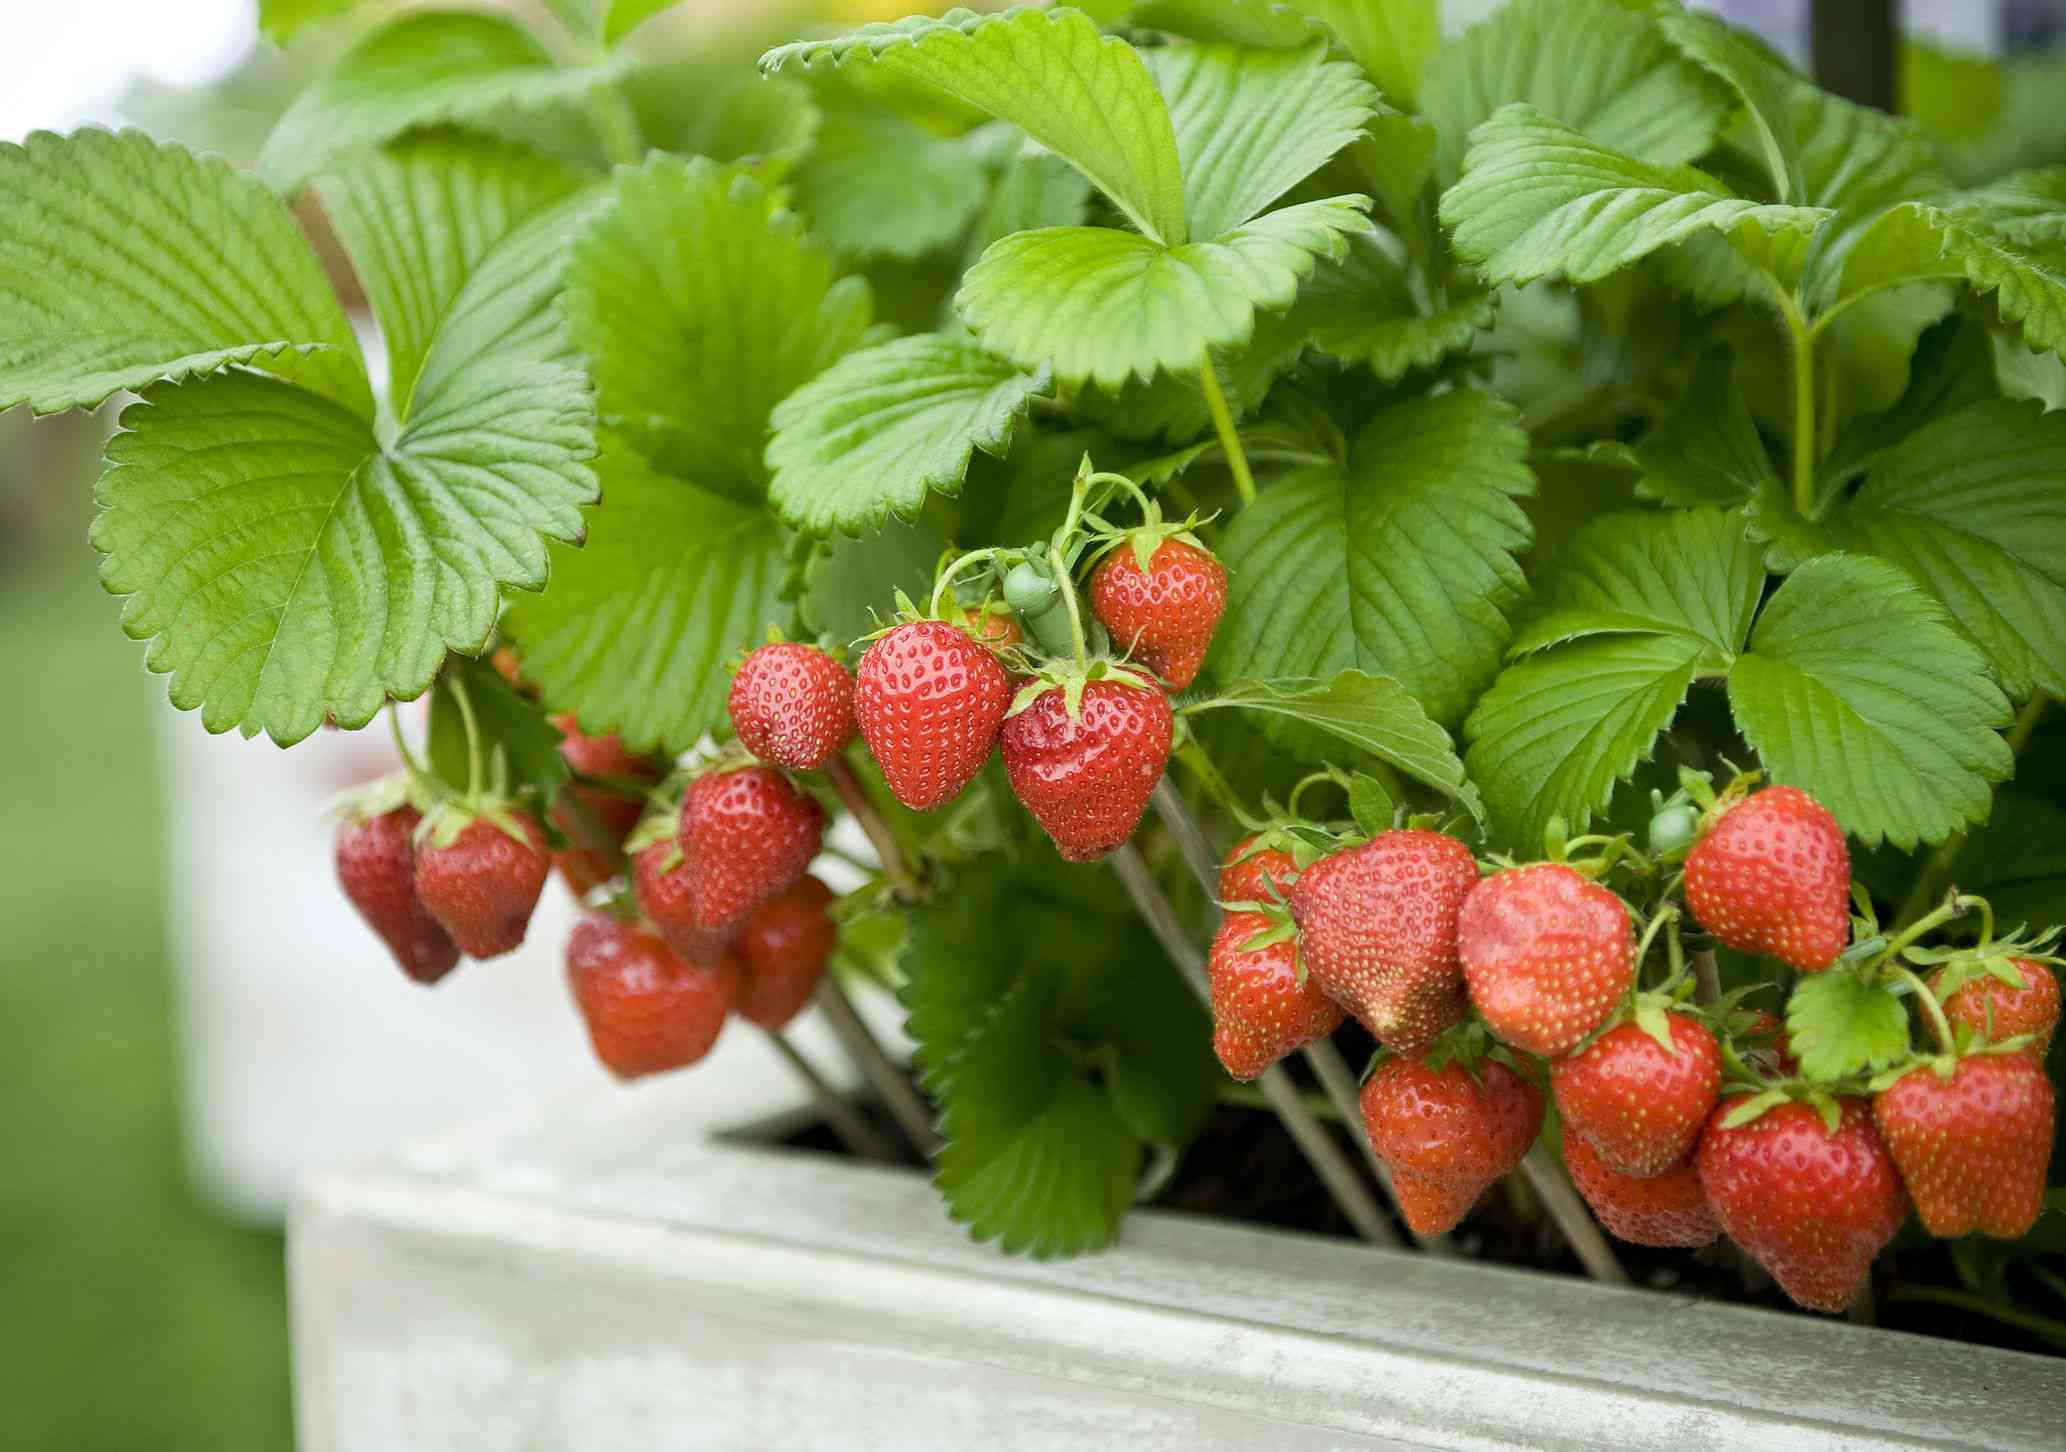
Step 7: Harvesting the Strawberries
After weeks of careful nurturing and anticipation, the time has come to harvest the delicious fruits of your labor. Here’s what you need to know about harvesting your ripe, juicy strawberries:
Identifying ripe fruits: Ripe strawberries will have a vibrant color, whether it’s red, pink, or even white, depending on the variety. They will be plump, firm, and evenly colored throughout. Look for strawberries that have fully developed, glossy skin and have a sweet fragrance. Gently touch the berries to assess their firmness and ripeness.
Picking the strawberries: To harvest your strawberries, hold the fruit carefully near the stem, just above the calyx. Apply a gentle tug, and the ripe strawberry should detach from the plant easily. Be careful not to pull too hard or crush the berries. Harvest your strawberries when they are fully ripe for the best flavor and sweetness.
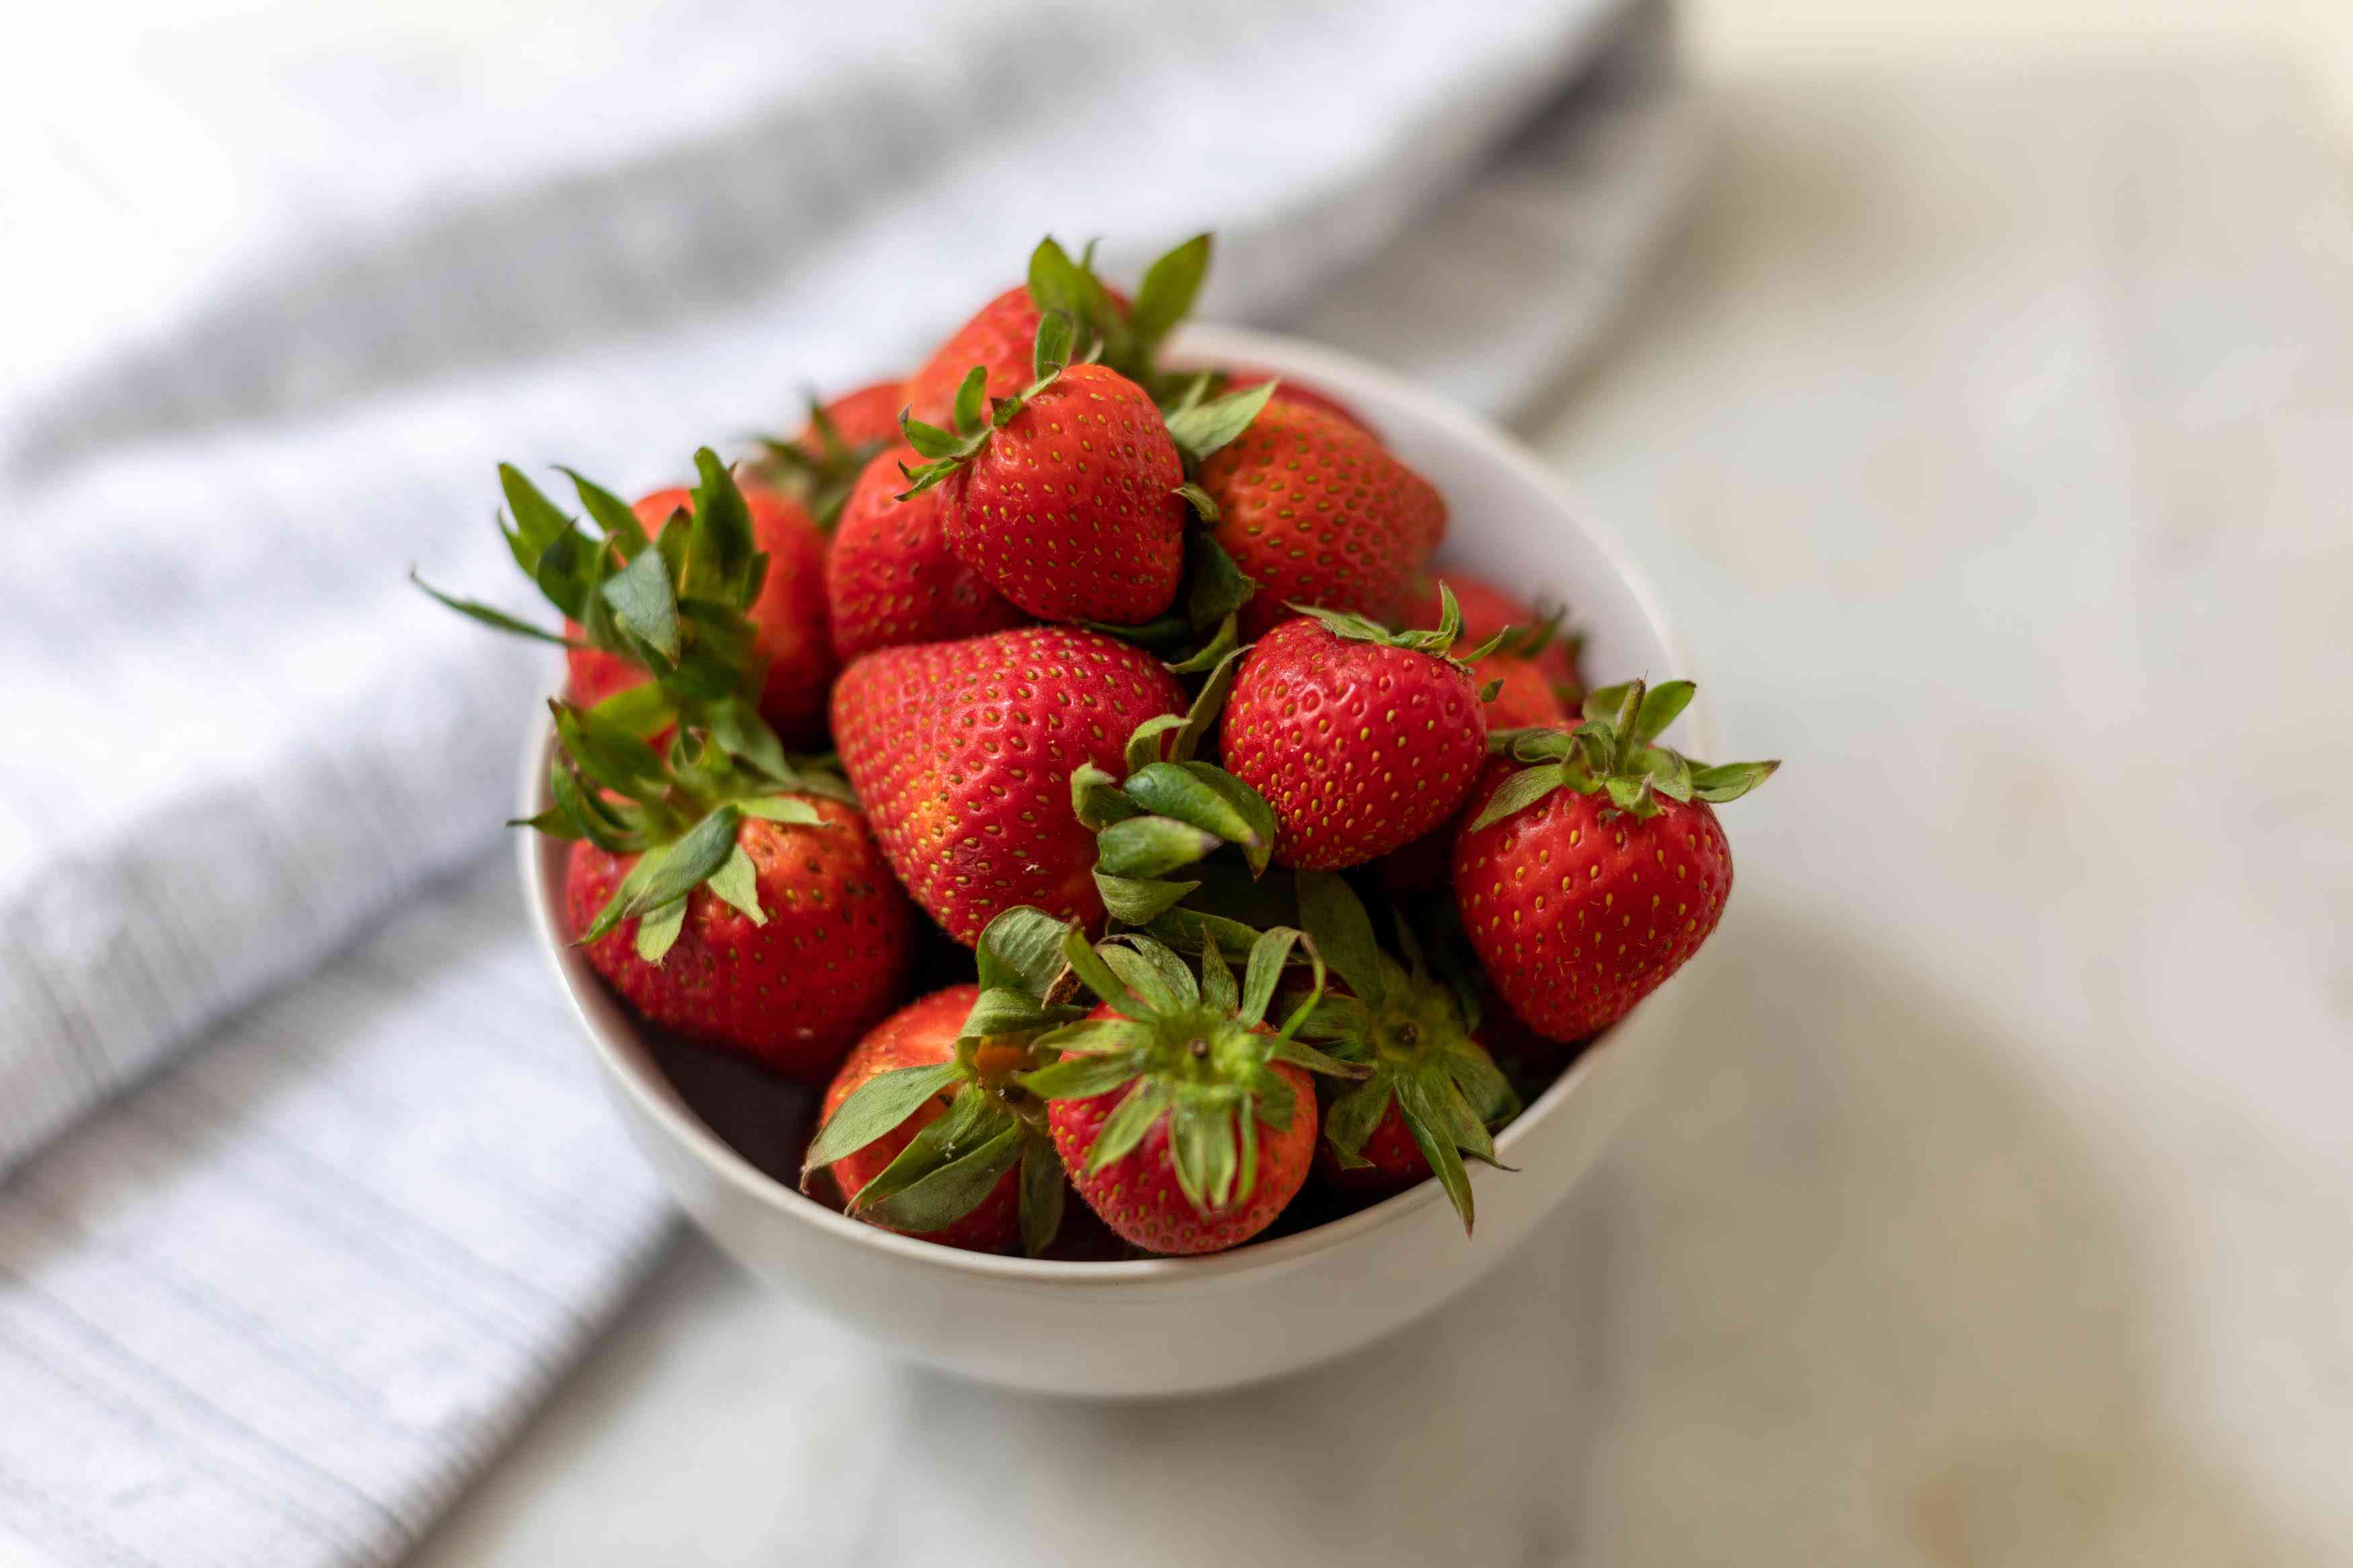
Enjoying the fresh harvest: Once you’ve gathered your ripe strawberries, it’s time to savor their deliciousness. Rinse the berries gently under cool water to remove any dirt or debris. You can enjoy them fresh on their own, add them to salads, make smoothies or jams, or use them in various culinary creations. The possibilities are endless!
Remember that strawberries are best consumed shortly after harvesting for maximum flavor and freshness. If you have a surplus of strawberries, you can freeze them to enjoy their goodness throughout the year.
By following these steps and patiently waiting for your strawberries to ripen, you’ll be rewarded with a mouthwatering harvest of homegrown strawberries. Enjoy the fruits of your labor and revel in the satisfaction of growing your own delicious strawberries.
Congratulations on successfully growing strawberry plants from seeds!
Thank you for reading our comprehensive guide on how to grow strawberry plants from seeds. We hope you found it informative and inspiring. Now it’s time to get started on your own strawberry-growing adventure. Happy gardening!
Conclusion
Growing strawberry plants from seeds is a rewarding and fulfilling experience that allows you to enjoy the luscious sweetness of homegrown strawberries. By following the steps outlined in this guide, you can successfully nurture your strawberry seeds into thriving plants that bear an abundance of delicious fruits.
From gathering the necessary supplies to caring for your growing plants and harvesting the ripe strawberries, each step is essential in ensuring the health and productivity of your strawberry plants. Remember to choose the right seeds, provide adequate sunlight and water, maintain optimal temperature, and regularly fertilize and prune your plants for optimum growth.
By immersing yourself in the process, you will witness the transformation of tiny seeds into vibrant green seedlings and finally into delightful berry-bearing plants. The joy of harvesting and enjoying the fruits of your labor cannot be understated.
Take pride in your ability to grow your own strawberries, knowing that you have lovingly cultivated each plant from a tiny seed. The taste of your homegrown strawberries will be sweeter, the satisfaction greater, and the connection with nature stronger.
So, whether you have a spacious garden or a small balcony, don’t hesitate to embark on this strawberry-growing adventure. The joy of nurturing your own strawberry plants from seeds and reaping the mouthwatering rewards is an experience like no other.
Thank you for joining us on this journey of growing strawberry plants from seeds. We hope you feel inspired and equipped to start your own strawberry-growing endeavor. Happy planting, caring, and harvesting of your delicious strawberries! Enjoy the fruits of your labor, and may your garden be filled with the sweet aroma and vibrant beauty of this beloved berry.
Frequently Asked Questions about How To Grow Strawberry Plants From Seeds
Was this page helpful?
At Storables.com, we guarantee accurate and reliable information. Our content, validated by Expert Board Contributors, is crafted following stringent Editorial Policies. We're committed to providing you with well-researched, expert-backed insights for all your informational needs.


0 thoughts on “How To Grow Strawberry Plants From Seeds”