Home>Garden Essentials>How To Grow A Peach Seed
Garden Essentials
How To Grow A Peach Seed
Modified: April 29, 2024
Discover the step-by-step process of growing a peach seed in your garden. Learn the essential tips and tricks for successful cultivation.
(Many of the links in this article redirect to a specific reviewed product. Your purchase of these products through affiliate links helps to generate commission for Storables.com, at no extra cost. Learn more)
Introduction
Are you a fan of juicy, succulent peaches? Have you ever wondered if you can grow your own peach tree from a seed? Well, the good news is that growing a peach tree from a seed is not only possible, but also a rewarding and fulfilling experience. Not only will you have the satisfaction of nurturing a plant from its infancy, but you will also delight in the sweet, homegrown peaches that you can enjoy right from your backyard.
In this article, we will guide you through the process of growing a peach tree from a seed. We will cover everything from choosing the right seed to harvesting your very own peaches. So whether you’re a seasoned gardener or a beginner with a green thumb, let’s dive in and discover how you can grow a peach tree from a seed.
Key Takeaways:
- Growing a peach tree from a seed is a rewarding journey that requires patience and care. From choosing the right seed to providing ideal growing conditions, each step is filled with learning opportunities and the joy of nurturing life.
- By following simple steps and providing the right care, you can grow a peach tree from a seed and enjoy the sweet, homegrown peaches. Embrace the process, stay curious, and find joy in connecting with nature.
Read more: How To Plant Peach Seeds
Choosing the Right Peach Seed
When it comes to choosing the right peach seed to grow, there are a few factors to consider. First and foremost, it’s important to select a variety of peach that is suited for your climate. Different peach varieties thrive in different regions, so make sure to do some research and choose a variety that is known to grow well in your area. This will increase your chances of success and ensure that your peach tree can withstand the local weather conditions.
Another factor to consider is the source of the seed. While you can certainly use a peach seed from a store-bought fruit, it’s important to note that these seeds may not always produce the same quality of peaches as the parent tree. To increase your chances of growing a high-quality peach tree, try to acquire a seed from a local nursery or a reputable seed supplier. They often have specific varieties that are known to produce delicious peaches.
Lastly, it’s essential to choose a seed that is healthy and viable. A healthy peach seed should be plump and firm, without any signs of damage or mold. Avoid seeds that are shriveled, discolored, or have any visible signs of disease or pest infestation. The quality of the seed will greatly influence the growth and productivity of your peach tree, so take the time to choose a seed that meets these criteria.
Once you have chosen the right peach seed, you are ready to move on to the next step: preparing the seed for planting.
Preparing the Peach Seed for Planting
Before you can plant your peach seed, it’s important to prepare it properly to maximize its chances of germination. The process of preparing the peach seed involves a few simple steps:
- Seed Cleaning: Start by gently cleaning the seed to remove any residue or pulp. Rinse it under running water and pat it dry with a clean cloth. Avoid using any chemicals or harsh detergents, as this can damage the seed.
- Stratification: Peach seeds typically require a period of cold stratification to break their dormancy and stimulate germination. To do this, place the cleaned seed in a damp paper towel or a plastic bag filled with moist vermiculite. Place the bag in the refrigerator and let it remain there for about 8-12 weeks. This mimics the natural winter conditions that the seed would experience in the ground.
- Seed Scarification: After the stratification period, some peach seeds may benefit from scarification, which involves gently scratching the seed coat to enhance water absorption. You can do this by using sandpaper or a nail file to file down a small portion of the seed coat. This process can help speed up germination for certain seeds but may not be necessary for all varieties.
- Soaking: Before planting, it’s a good idea to soak the seed in water for a few hours. This helps to fully hydrate the seed and prepare it for germination.
By following these steps, you can ensure that your peach seed is properly prepared for planting and increase the likelihood of successful germination.
Planting the Peach Seed
Now that you have prepared your peach seed, it’s time to plant it and watch it grow into a beautiful peach tree. Follow these steps to successfully plant your peach seed:
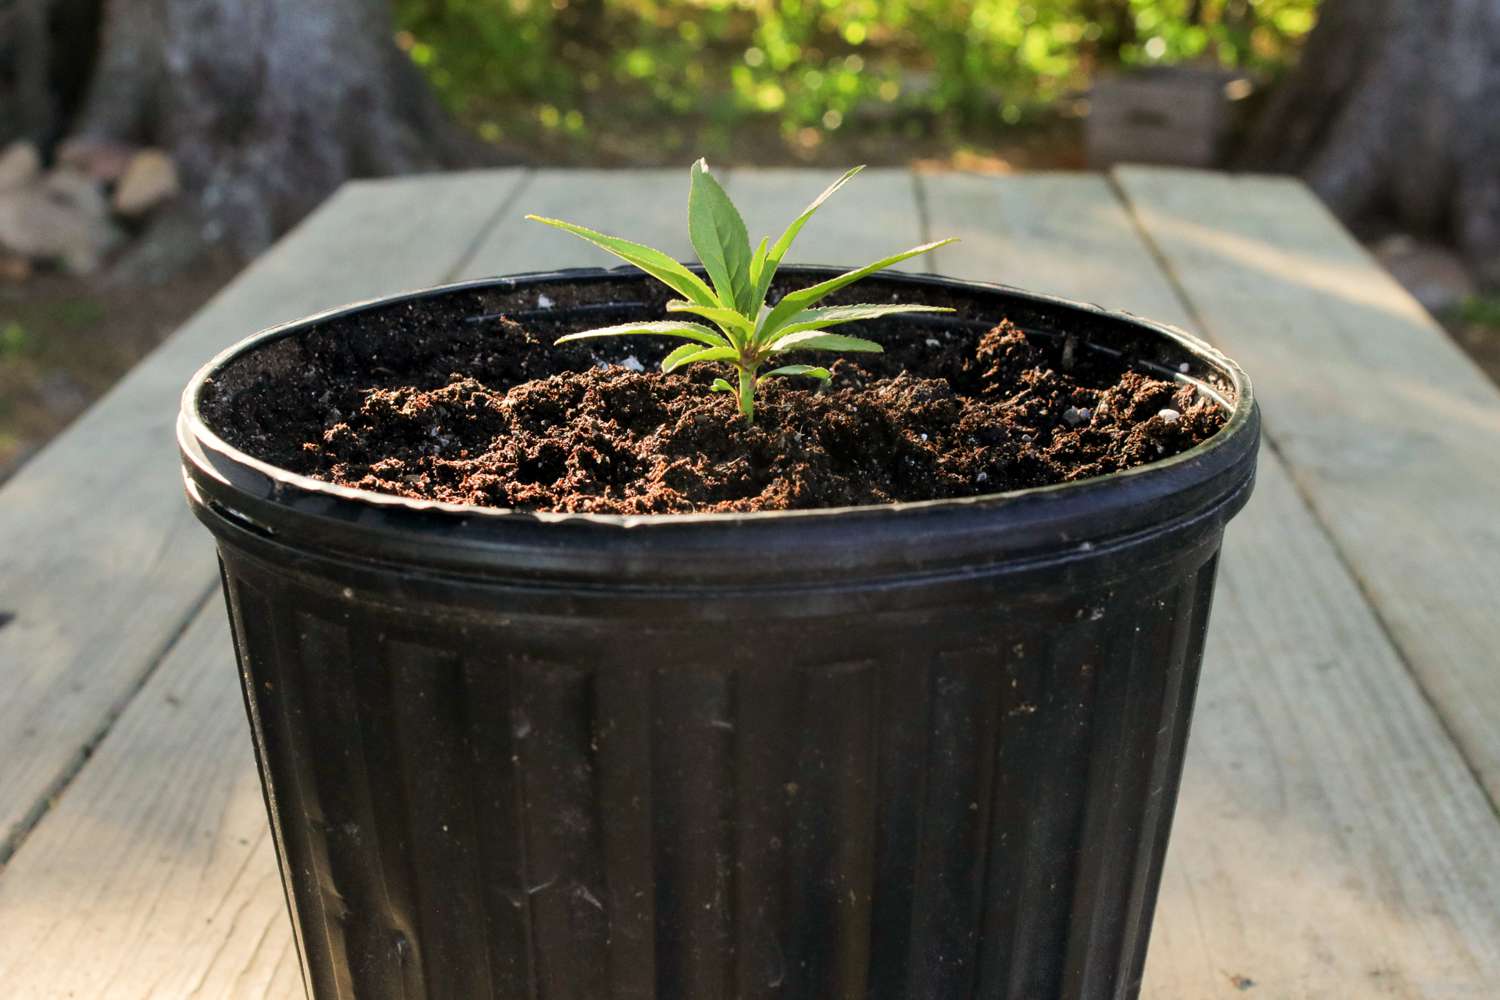
- Select a Pot or Planting Location: Choose a suitable pot or find a suitable location in your garden to plant the peach seed. Ensure that the spot receives at least six hours of direct sunlight every day.
- Prepare the Soil: Peach trees prefer well-draining soil, so make sure to prepare the soil accordingly. You can mix compost or organic matter into the soil to improve its fertility and drainage.
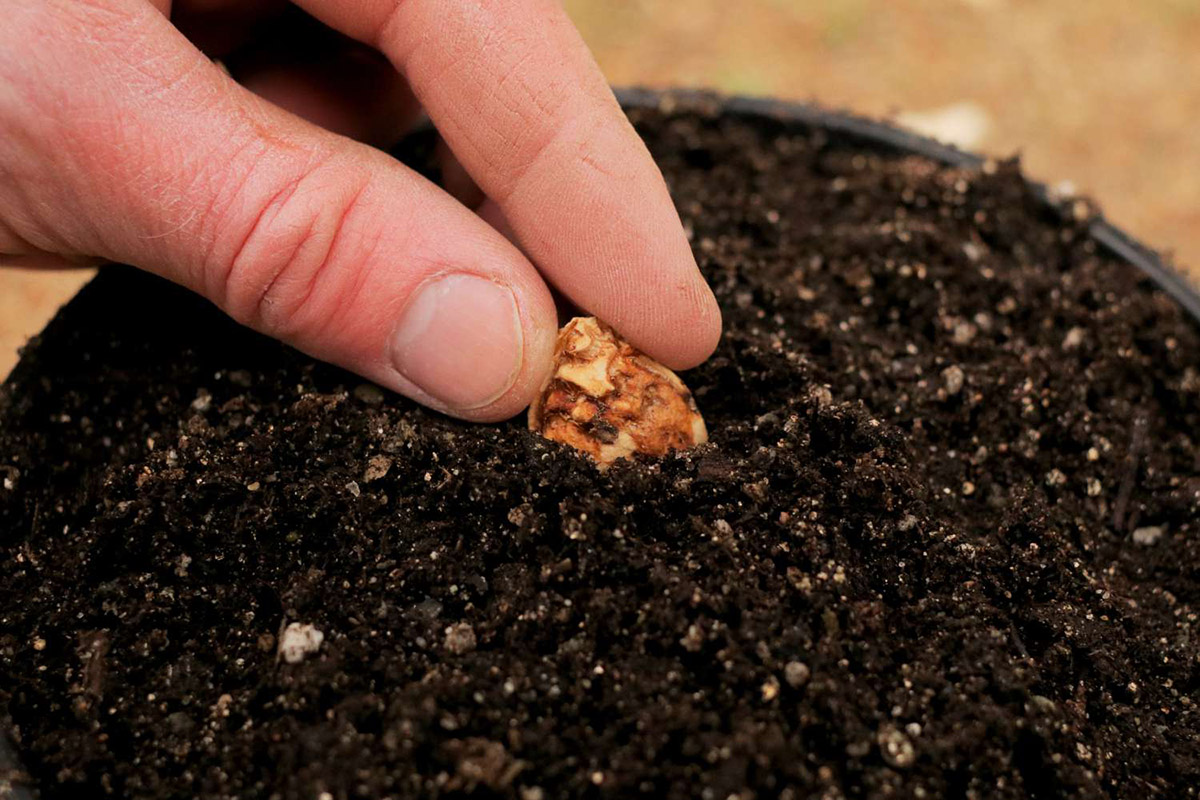
- Plant the Seed: Dig a small hole in the soil, roughly 1-2 inches deep. Place the peach seed in the hole with the pointed end facing down. Gently cover the seed with soil, ensuring that it is completely covered.
- Water the Seed: After planting, give the seed a thorough watering to settle the soil and provide the necessary moisture for germination. Be careful not to overwater, as excessive moisture can lead to rotting.
- Label and Protect: It’s important to label the spot where you planted the seed to avoid accidentally disturbing it. You can also protect the seed from birds or other animals by placing a wire mesh or netting around the area.
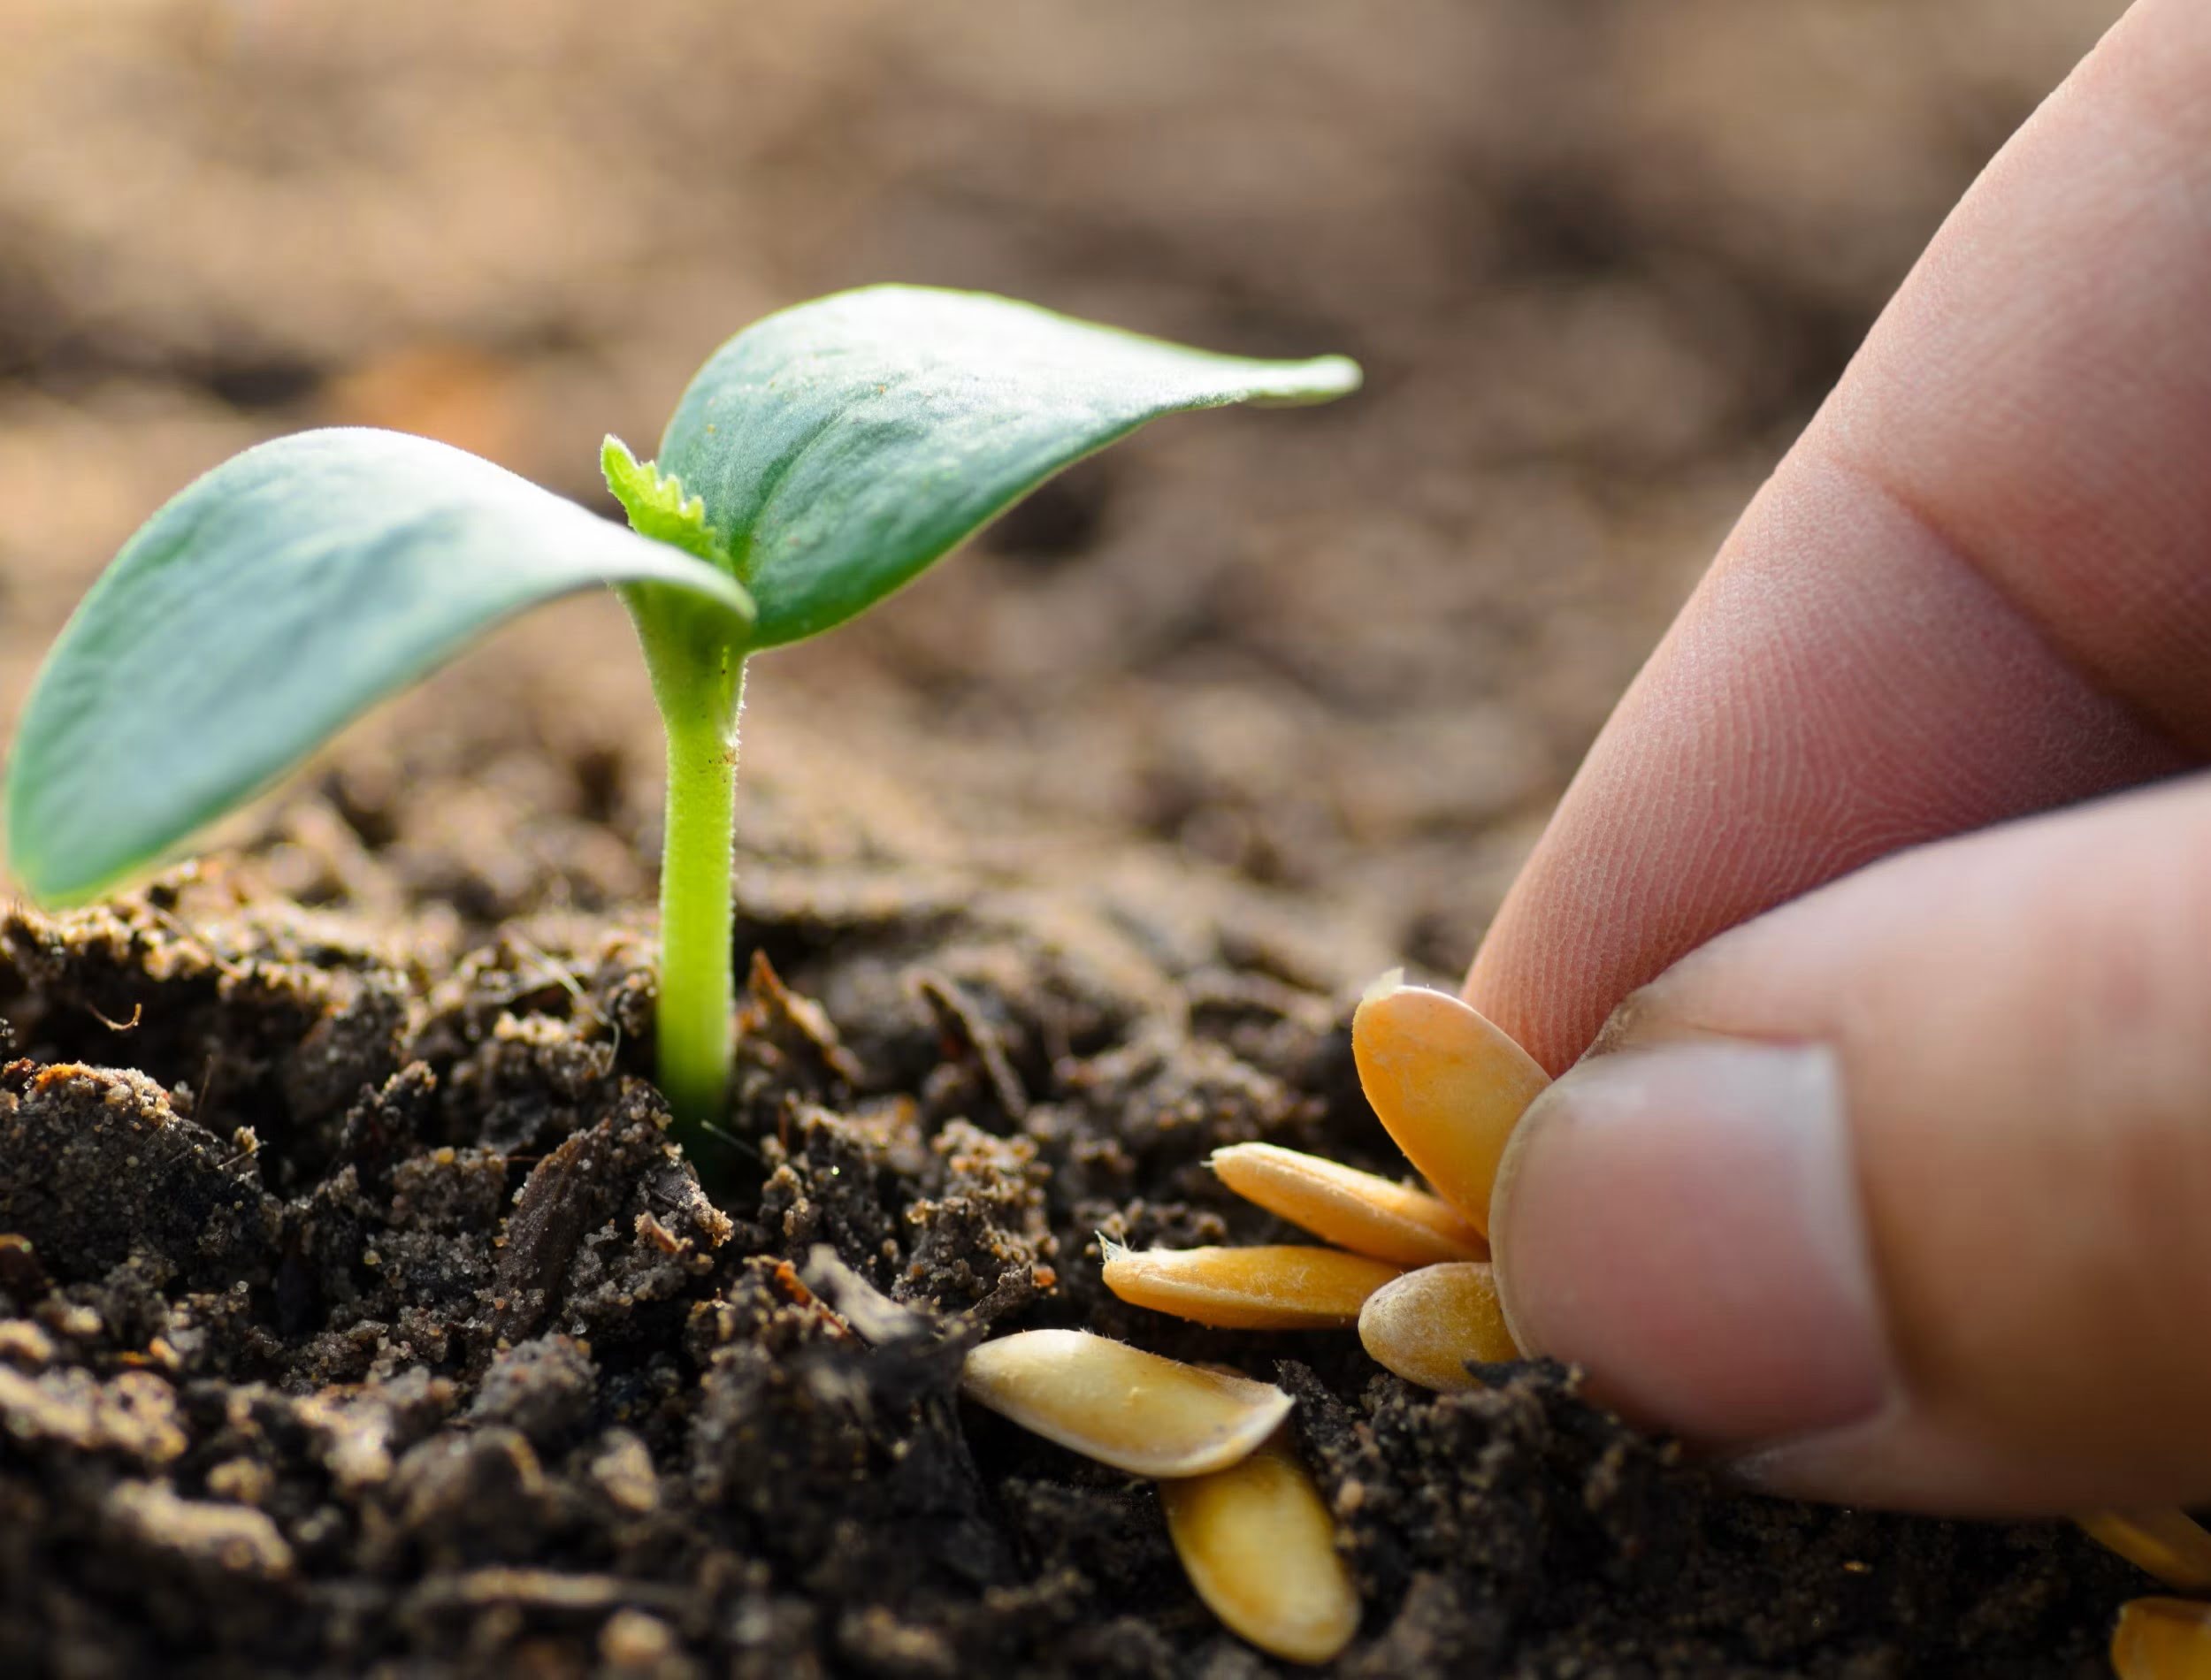
- Patience and Care: Germination can take anywhere from a few weeks to a few months, so be patient. Keep the soil consistently moist but not waterlogged, and provide regular care and attention to your seedling as it starts to grow.
Remember, growing a peach tree from a seed requires time and patience. But with the right care and conditions, you’ll soon have a young peach tree sprouting from your plant bed or pot, ready to thrive and bear delicious fruits.
Providing the Ideal Growing Conditions
For your peach tree to thrive and produce abundant, flavorful peaches, it’s essential to provide it with the ideal growing conditions. Here are some factors to consider:
- Sunlight: Peach trees require full sun to thrive. They need a minimum of six to eight hours of direct sunlight each day. Ensure that your tree is planted in a location that receives ample sunlight.
- Soil: Peach trees prefer well-draining soil with a pH level between 6.0 and 7.0. Sandy loam or loamy soil is ideal. Avoid heavy clay soil, which can lead to poor drainage and root rot. If your soil is clayey, consider improving it by adding organic matter or creating raised beds.
- Watering: While it’s important to keep the soil consistently moist, overwatering can be detrimental to peach trees. Water deeply, making sure to saturate the root zone, and then allow the soil to dry out slightly before watering again. Avoid standing water, as this can lead to root rot.
- Fertilizing: Peach trees benefit from regular fertilization to ensure optimal growth and fruit production. Use a balanced fertilizer or one specifically formulated for fruit trees. Apply fertilizer in early spring before new growth emerges, following the package instructions for proper dosage.
- Pruning: Regular pruning is vital for maintaining the health and shape of your peach tree. Pruning helps improve airflow, sunlight penetration, and fruit production. Prune during the dormant season, removing any dead, damaged, or diseased branches. Thin out crowded branches and maintain an open center for better fruiting.
- Pest and Disease Control: Peach trees are susceptible to various pests and diseases, such as aphids, peach leaf curl, and brown rot. Monitor your tree regularly and take necessary measures to control pests and prevent diseases. This may include applying organic or chemical sprays, practicing proper sanitation, and choosing disease-resistant varieties.
- Winter Protection: If you live in a region with cold winters, it’s important to protect your peach tree from frost and freezing temperatures. Consider covering the tree with blankets or burlap during extreme weather conditions or providing a layer of mulch around the base to insulate the roots.
By providing your peach tree with these ideal growing conditions, you will create an environment where it can flourish, resulting in healthy growth and a bountiful harvest of delicious peaches.
To grow a peach seed, first remove the seed from the fruit and wash off any remaining fruit. Plant the seed in a pot with well-draining soil, and keep it in a warm, sunny spot. Water regularly and wait for it to sprout. Be patient, as it can take a few years for the tree to produce fruit.
Read more: How To Germinate Peach Seed
Caring for the Peach Tree
Once your peach tree is established, it requires regular care and attention to ensure its health and productivity. Here are some essential care practices for your peach tree:
- Watering: While established peach trees are relatively drought-tolerant, regular watering is still crucial, especially during periods of dry weather. Deeply water the tree, aiming for about 1 inch of water per week. Water at the base of the tree, avoiding wetting the leaves to prevent disease.
- Mulching: Applying a layer of organic mulch around the base of the tree helps conserve moisture, suppress weeds, and regulate soil temperature. Spread 2-4 inches of wood chips, straw, or compost around the tree, keeping the mulch away from the trunk to prevent rot.
- Fertilizing: Provide your peach tree with regular fertilization to ensure it receives the necessary nutrients for optimal growth and fruit production. You can apply a balanced fertilizer in early spring before new growth begins and again in late spring or early summer.
- Thinning Fruit: To ensure the best quality and size of peaches, it’s essential to thin the fruit. When the peaches are about the size of your thumbnail, remove excess fruits by hand, leaving one peach per cluster. This allows the remaining fruit to receive more nutrients and grow to its full potential.
- Monitoring Pest and Diseases: Regularly inspect your peach tree for signs of pests and diseases. Common pests include aphids, peach tree borers, and plum curculio. Diseases to watch out for include peach leaf curl and brown rot. Promptly take action if you notice any issues, using organic or chemical treatments as needed.
- Supporting Branches: As your peach tree grows and develops heavy fruit, some branches may need support to prevent them from breaking under the weight. Use stakes or ties to support the branches, ensuring that they are secure but not tightly constricted to allow for natural movement.
- Winter Pruning: Pruning during the dormant season is essential for maintaining the health and structure of your peach tree. Remove any dead, damaged, or crossing branches. Prune to maintain an open center and improve airflow. Avoid heavy pruning in late summer or fall, as this can stimulate new growth that may not have time to harden before winter.
By practicing these care techniques, you will provide your peach tree with the necessary care and attention it needs to thrive, resulting in healthy growth and a bountiful harvest of sweet, flavorful peaches.
Pruning and Training the Peach Tree
Pruning and training are crucial for the proper growth and development of your peach tree. It helps maintain its shape, improve fruit production, and prevent the spread of diseases. Here are some guidelines for pruning and training your peach tree:
- Training Young Trees: In the early years of your peach tree’s growth, focus on training it to develop a strong and open structure. Choose 3-4 scaffold branches that are evenly spaced around the trunk and have a wide angle of attachment. These branches will form the framework of the tree.
- Pruning in the Dormant Season: Peach trees are best pruned during the dormant season, which is late winter to early spring before bud break. This allows you to have a clear view of the tree’s structure and minimizes the risk of diseases.
- Removing Dead and Diseased Wood: Start by removing any dead, damaged, or diseased branches. These branches can harbor pests and diseases, so it’s important to get rid of them to maintain the overall health of the tree.
- Thinning Out Branches: Peach trees tend to have dense growth, and overcrowded branches can hinder proper air circulation and sun exposure. Thin out branches that are crossing, rubbing against each other, or growing towards the center of the tree. Maintain an open center to promote good light penetration.
- Pruning Young Shoots: Peach trees produce growth from buds along the branches. To control the tree’s size and encourage fruiting, prune back the new shoots to about 6-8 inches in length. This will help redirect the tree’s energy towards fruit production.
- Removing Suckers and Water Sprouts: Keep an eye out for suckers and water sprouts, which are vigorous, vertical shoots that emerge from the rootstock or the main branches. These shoots divert nutrients from the fruit-bearing branches and should be promptly removed.
- Pruning after Harvest: After you have harvested the peaches, consider doing some light pruning to remove any branches that no longer bear fruit or have become overcrowded. This helps maintain the tree’s shape and ensures better fruit production for the following season.
- Tools and Techniques: Use sharp, clean pruning tools to make precise cuts. Be sure to cut just above a bud or a lateral branch to encourage proper regrowth. Aim for clean, 45-degree angled cuts that promote healing.
Remember, pruning and training are ongoing tasks for your peach tree. Regular maintenance and adjustments will help shape the tree, maximize fruit production, and keep it healthy and manageable throughout its life.
Harvesting and Enjoying Fresh Peaches
After months of caring for and nurturing your peach tree, the time has finally come to enjoy the sweet rewards of your hard work. Here’s what you need to know about harvesting and savoring your fresh, homegrown peaches:
Timing: Harvesting peaches at the right time is crucial for optimal flavor and texture. Peaches are typically ready for harvest between 90 to 120 days after blooming, depending on the variety. The fruit should be fully colored, with a slight give when gently squeezed.
Picking: To harvest the peaches, gently twist the fruit and lift it upward, detaching it from the stem. Avoid pulling or tugging on the fruit, as this may damage the tree or cause the fruit to bruise. Handle the peaches with care to prevent any bruising or punctures.
Ripening: If the peaches are not fully ripe when harvested, you can allow them to ripen further by placing them in a single layer at room temperature. Be sure to check them daily and consume them as they reach your desired level of ripeness.
Enjoying Peaches: Once your peaches are perfectly ripe, there are numerous delicious ways to enjoy them. You can eat them fresh, sliced, or diced, and add them to salads, yogurt, or smoothies. Peaches also make wonderful additions to baked goods, such as pies, tarts, and cobblers. You can even preserve them by canning, drying, or making jams and jellies.
Storage: If you have an abundance of ripe peaches, you can store them in the refrigerator for a few days to prolong their shelf life. Place them in a paper bag or a loosely covered container to prevent them from absorbing any odors. However, keep in mind that peaches taste best when consumed fresh.
Sharing the Bounty: One of the joys of growing peaches is sharing the harvest with family, friends, and neighbors. Consider gifting some of your homegrown peaches or hosting a peach-themed gathering to celebrate the fruits of your labor.
Remember, the flavor and sweetness of homegrown peaches are truly unbeatable. So take the time to savor each bite and enjoy the fruits of your gardening efforts – you deserve it!
Troubleshooting Common Issues
While growing a peach tree can be a rewarding experience, it’s not without its challenges. Here are some common issues that may arise and how to troubleshoot them:
- Pest Infestation: Peach trees are susceptible to pests like aphids, peach tree borers, and plum curculio. Monitor your tree regularly and take action at the first signs of infestation. Use organic insecticides or horticultural oils to control pests, and consider using sticky traps or pheromone traps as a preventive measure.
- Diseases: Peach trees can be affected by diseases such as peach leaf curl, brown rot, and bacterial spot. To prevent diseases, practice good sanitation by removing fallen leaves and fruit, and avoid overhead irrigation that can promote moisture-loving diseases. Apply appropriate fungicides or copper sprays as recommended by local extension services.
- Fruit Thinning: Overloading of fruit on the tree can result in smaller, low-quality peaches. Thin the fruit when they are about the size of your thumbnail, leaving only one peach per cluster. This ensures that the remaining peaches have enough space and nutrients to grow to their full size and flavor.
- Insufficient Fruit Set: If your peach tree has poor fruit set, it could be due to inadequate pollination. Encourage pollinators, such as bees, to visit your garden by planting flowers nearby. You can also try hand-pollinating the blossoms using a small brush or cotton swab to transfer pollen from one flower to another.
- Improper Fruit Ripening: If your peaches are not ripening evenly or reaching their full sweetness, ensure that they are receiving sufficient sunlight and water. Thinning the fruit can also improve ripening quality. If you still have issues, consider choosing different peach varieties that are better suited to your climate and growing conditions.
- Winter Damage: Cold winters can cause damage to peach trees, especially in regions with severe frost. Protect your tree by covering it with blankets or burlap during extreme weather conditions. Applying a layer of mulch around the base can also insulate the roots. Consider planting more cold-hardy varieties if you live in an area prone to harsh winters.
- Improper Pruning: Pruning mistakes can negatively impact the health and productivity of your peach tree. Avoid heavy pruning in late summer or fall, as it can stimulate new growth that may not have time to harden before winter. Follow proper pruning techniques, removing dead, damaged, or crowded branches, and maintaining an open center for good airflow.
Remember, each peach tree and garden situation is unique, so it’s important to observe and address specific issues that may arise in your own growing environment. By troubleshooting and taking appropriate actions, you can nurture a healthy and fruitful peach tree.
Read more: How To Plant Peach From Seed
Conclusion
Growing a peach tree from a seed is a gratifying and fulfilling journey. From selecting the right peach seed to caring for the tree and eventually harvesting your own delicious peaches, the process is filled with learning opportunities and rewards. By providing the ideal growing conditions, pruning and training the tree, and troubleshooting common issues, you can ensure the success of your peach tree and enjoy the fruits of your labor.
Remember that patience is key when growing a peach tree. It takes time for the seed to germinate, the tree to mature, and the peaches to ripen. Embrace each stage of the process and enjoy the beauty of nature at work.
Along the way, take pleasure in the small joys that gardening brings – the smell of fresh blossoms, the feeling of the earth between your fingers, and the excitement of seeing your tree grow and thrive. Share your bounty with friends and family, savoring the sweetness of homegrown peaches together.
As you embark on this journey, continue to expand your knowledge about peach tree care. Stay curious, seek advice from experienced gardeners, and experiment with different techniques. Adapt your practices to suit the unique needs of your specific variety and growing conditions.
In the end, growing a peach tree is not just about the final harvest of ripe and juicy peaches; it’s about connecting with nature, nurturing life, and finding joy in the process. So, gather your tools, plant a peach seed, and embark on this delightful adventure. May your peach tree flourish and bring you years of delicious peaches to enjoy.
Frequently Asked Questions about How To Grow A Peach Seed
Was this page helpful?
At Storables.com, we guarantee accurate and reliable information. Our content, validated by Expert Board Contributors, is crafted following stringent Editorial Policies. We're committed to providing you with well-researched, expert-backed insights for all your informational needs.


0 thoughts on “How To Grow A Peach Seed”