Home>Garden Essentials>How To Grow Okra From Seed


Garden Essentials
How To Grow Okra From Seed
Modified: August 25, 2024
Learn how to grow okra from seed in your garden with these easy steps. Start your own okra garden and enjoy fresh and delicious okra all season long.
(Many of the links in this article redirect to a specific reviewed product. Your purchase of these products through affiliate links helps to generate commission for Storables.com, at no extra cost. Learn more)
Introduction
Welcome to the world of gardening! If you’re looking to add some variety to your vegetable garden, growing okra from seed is a fantastic choice. Okra, also known as lady’s finger, is a warm-season vegetable that thrives in tropical and subtropical regions. It is not only a delicious addition to your meals but also a beautiful plant with its vibrant green leaves and striking yellow flowers.
In this article, we will guide you through the process of growing okra from seed, from choosing the right seeds to harvesting your own fresh okra pods. Whether you’re a seasoned gardener or a beginner, we hope this article will equip you with the knowledge and confidence to successfully grow this versatile and nutritious vegetable.
Before we dive into the details, let’s explore the reasons why you should consider growing okra in your garden. Firstly, okra is low in calories and packed with essential nutrients such as fiber, vitamin C, and vitamin K. Secondly, it is easy to grow and relatively low-maintenance, making it a perfect choice for gardeners with limited time or space. Additionally, okra plants can reach up to 6 feet tall, providing an attractive backdrop to your garden.
Now that you understand the benefits of growing okra, let’s move on to the first step – choosing the right okra seeds.
Key Takeaways:
- Okra, a low-maintenance vegetable, thrives in warm climates and offers a nutritious addition to your garden. Choose the right seeds, prepare the soil, and enjoy a bountiful harvest of this versatile and delicious plant.
- Growing okra from seed is a rewarding experience that provides both visual appeal and culinary delight. With proper care and attention, you can enjoy a steady supply of tender and flavorful okra pods for your favorite recipes.
Read more: How To Plant Okra From Seeds
Choosing the Right Okra Seeds
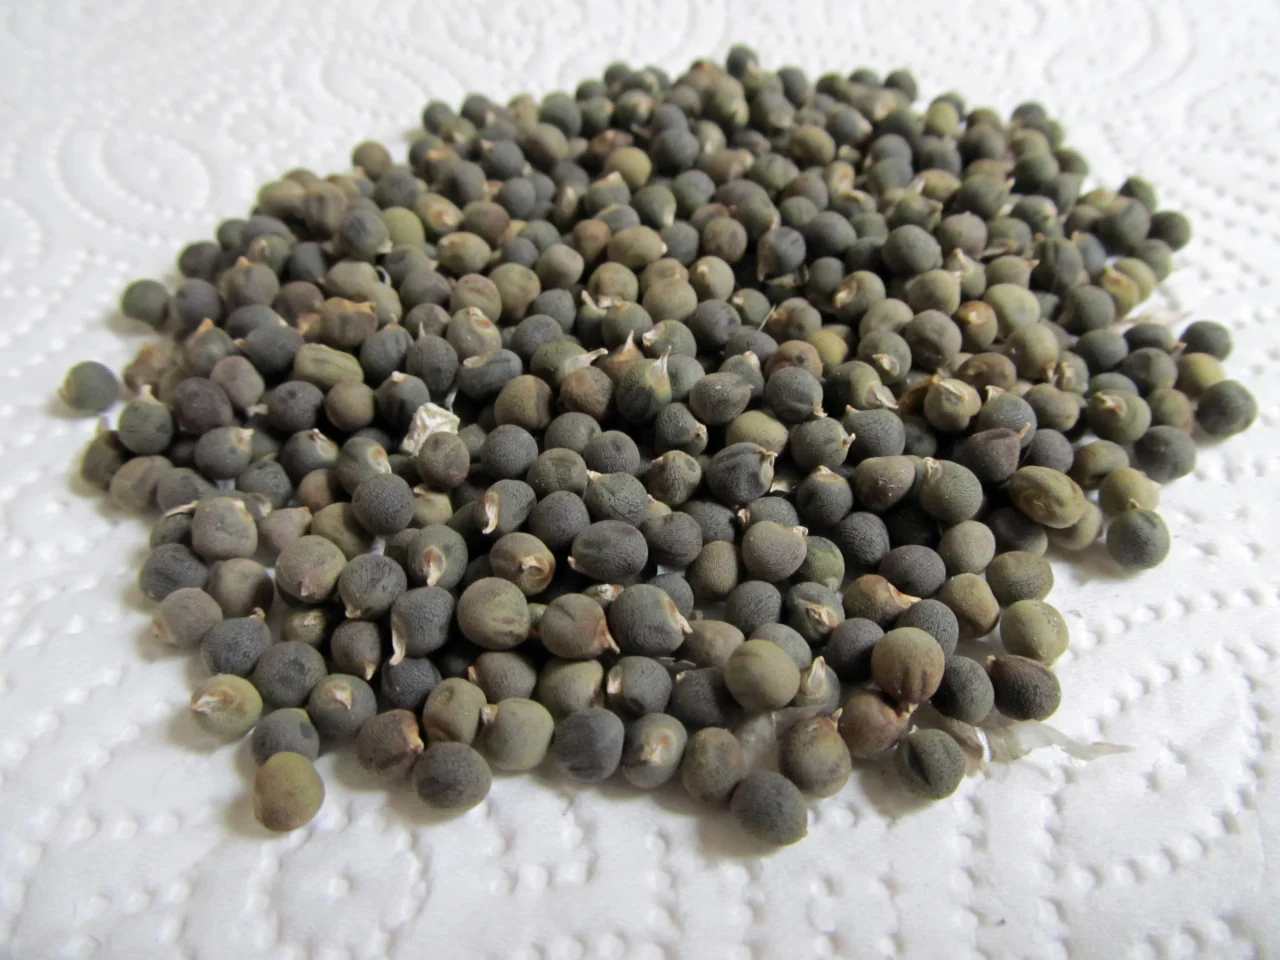
When it comes to selecting okra seeds, there are a few factors to consider. Firstly, consider the variety. There are several different types of okra, each with its own unique characteristics. Some popular varieties include Clemson Spineless, Emerald, and Louisiana Green Velvet. Research the different varieties to find one that suits your preferences in terms of taste, size, and disease resistance.
In addition to variety, consider the age and quality of the seeds. Fresh seeds are more likely to germinate successfully, so it’s best to choose seeds from the current year or ones that were stored properly. Look for reputable seed suppliers and check the packaging for the harvest year.
Furthermore, take into account the growing conditions in your area. Okra is a warm-season crop, thriving in temperatures between 70°F and 90°F (21°C to 32°C). If you live in a cooler climate, choose varieties with a shorter time to maturity or consider starting your okra seeds indoors until the weather warms up.
Lastly, think about the spacing requirements of the variety you choose. Some okra plants can grow quite tall and wide, so make sure you have enough space in your garden to accommodate their growth without overcrowding. Taking all of these factors into consideration will help ensure that you select the right okra seeds for your garden.
Once you’ve chosen the perfect okra seeds, it’s time to prepare the soil for planting.
Preparing the Soil
Preparing the soil is a crucial step in ensuring the success of your okra plants. Okra thrives in well-drained soil that is rich in organic matter. Here are the steps to prepare your soil for planting okra:
- Clear the area: Start by clearing the planting area of any weeds, rocks, or debris. Remove any existing plants or grass to ensure the okra has enough space to grow.
- Loosen the soil: Using a garden fork or tiller, loosen the soil to a depth of about 12 inches. This will help improve drainage and allow the okra roots to penetrate the soil easily.
- Amend the soil: If your soil is heavy clay or sandy, it is beneficial to amend it with organic matter such as compost or well-rotted manure. This will improve the soil structure, enhance water retention, and provide essential nutrients for the okra plants.
- Test the soil: Consider testing the soil’s pH level to ensure it falls within the optimal range for okra growth, which is around 6.0 to 6.5. You can purchase a soil testing kit from a garden center or send a soil sample to a laboratory for analysis.
- Adjust the pH: If the soil pH is too low (acidic), add lime to raise it. If the pH is too high (alkaline), add sulfur or peat moss to lower it. Balancing the pH level will create an optimal environment for your okra plants to absorb nutrients from the soil effectively.
- Level the soil: Finally, rake the soil to create a smooth and level surface. This will make it easier to plant the okra seeds and ensure even germination.
By following these steps, you will provide your okra plants with the ideal soil conditions for healthy growth and productivity. Next, we will move on to the exciting part – planting the okra seeds!
Planting Okra Seeds
Now that you have prepared the soil, it’s time to plant your okra seeds. Follow these steps to ensure successful germination and growth:
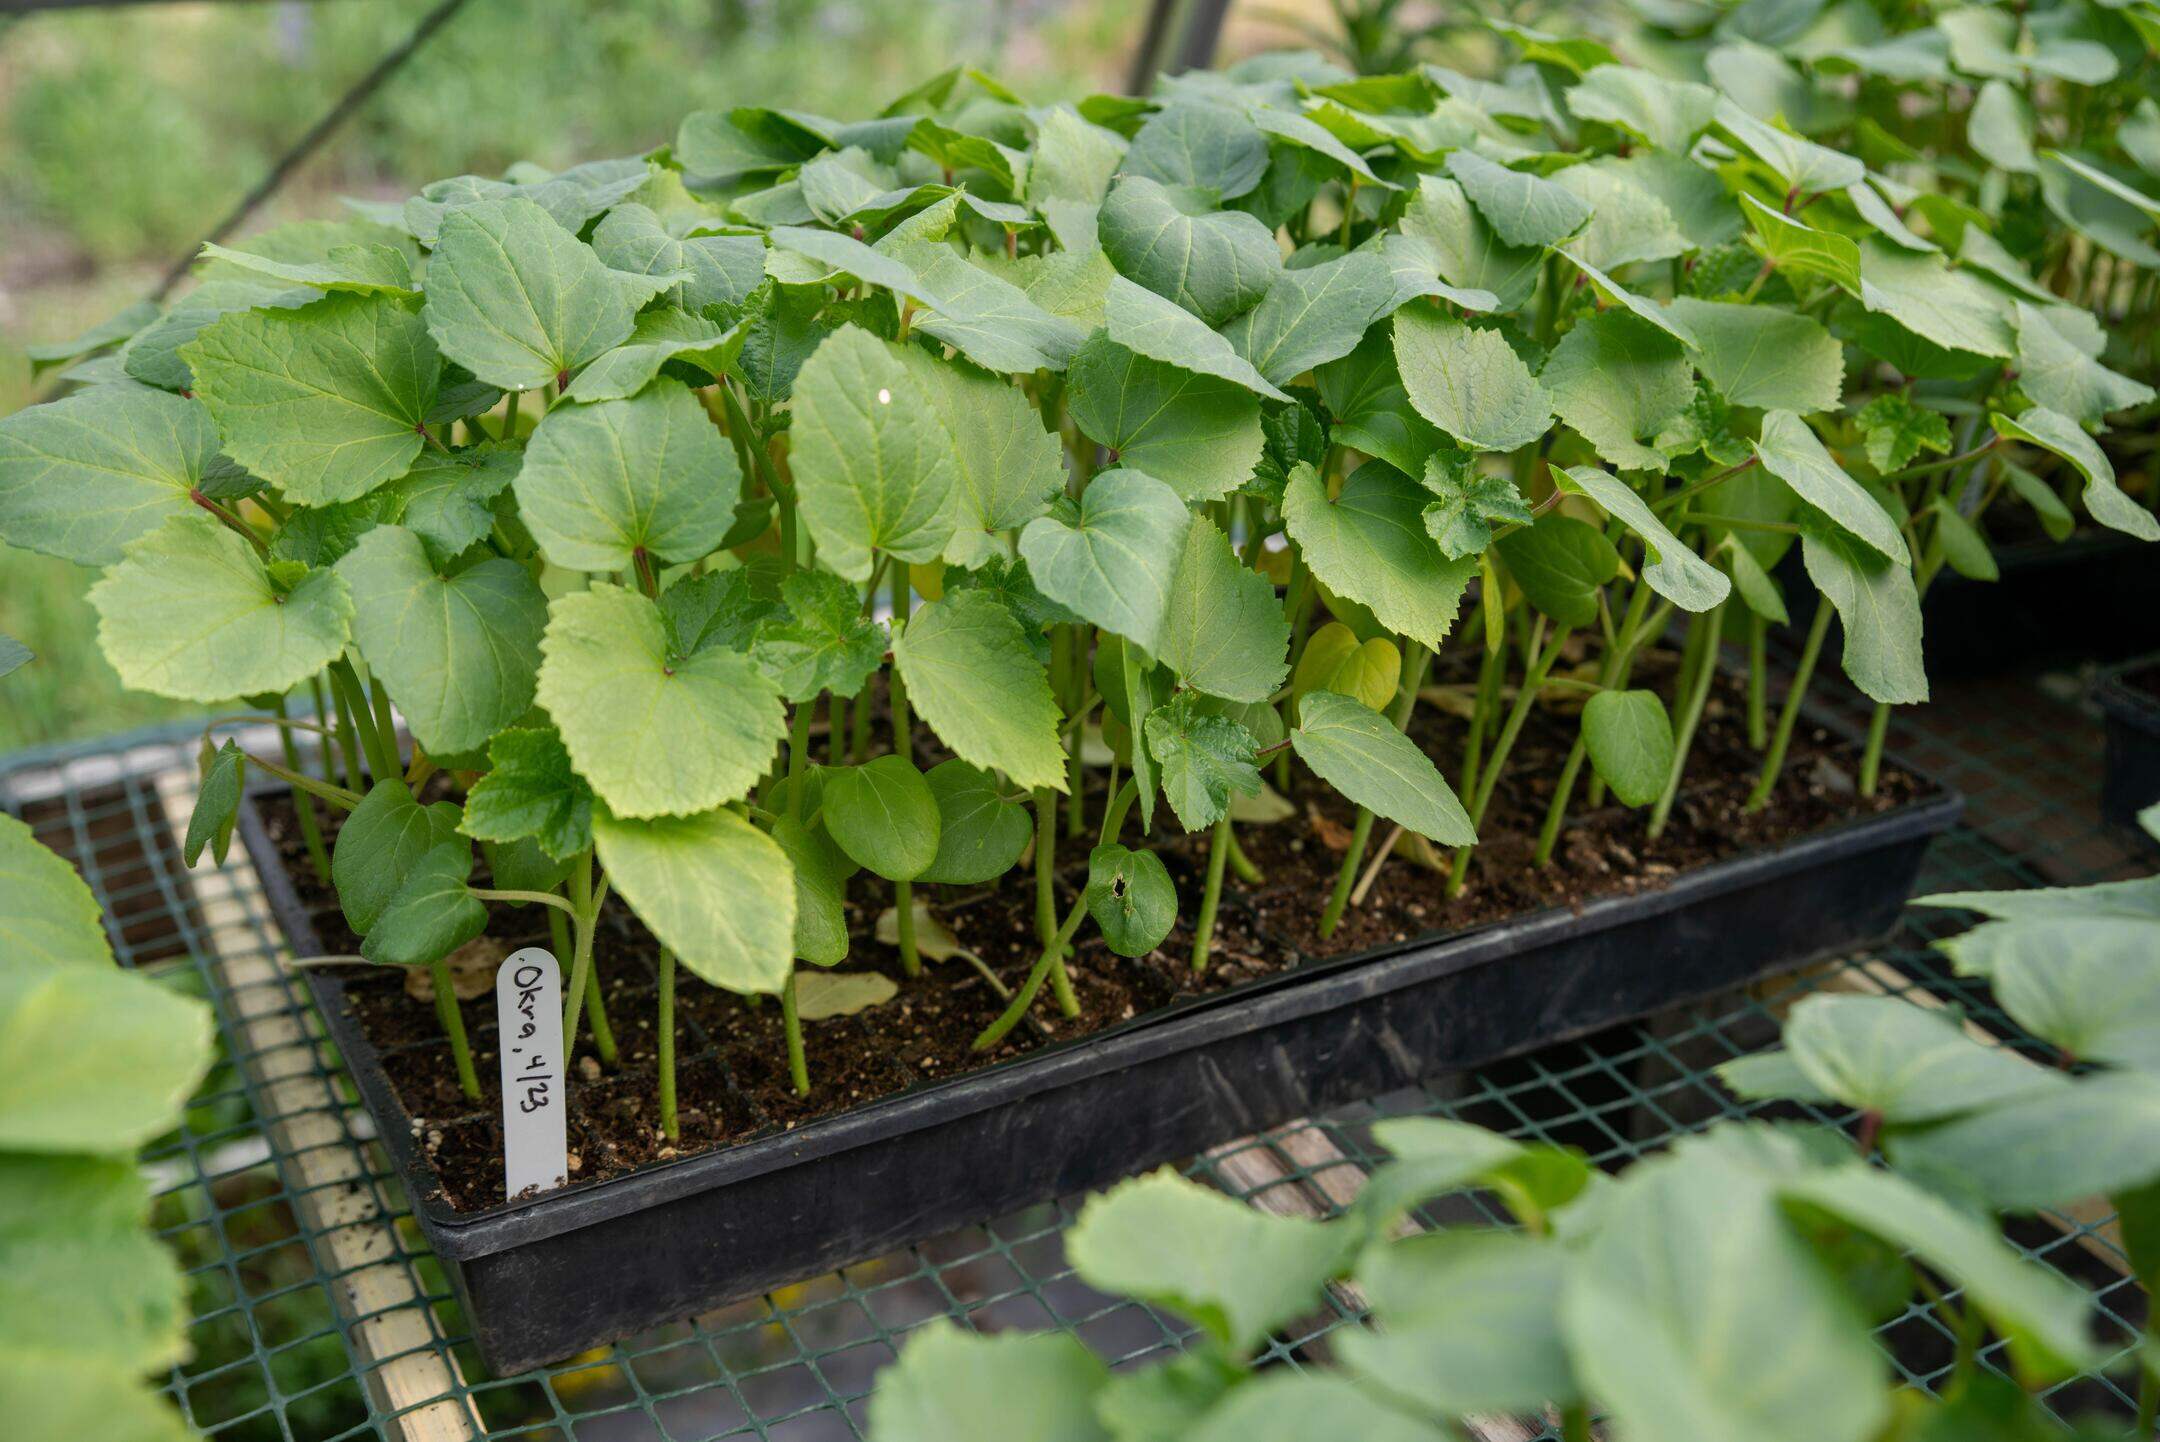
- Choose the planting method: Okra seeds can either be sown directly into the garden or started indoors and transplanted later. If you live in a region with a shorter growing season, starting seeds indoors a few weeks before the last frost date can give your okra plants a head start.
- Planting depth and spacing: Plant the okra seeds about 1 inch deep into the soil, spacing them around 12 to 18 inches apart. This will allow the plants to have enough room to grow and receive adequate airflow.
- Water the seeds: After planting, gently water the soil to ensure that the seeds are thoroughly moistened. Keep the soil consistently moist but not overly saturated to prevent rotting.
- Provide warmth and sunlight: Okra seeds require warmth to germinate successfully. Place a thin layer of mulch over the seeds to help retain moisture and regulate soil temperature. Position the planting area in a spot that receives at least 6 to 8 hours of direct sunlight per day.
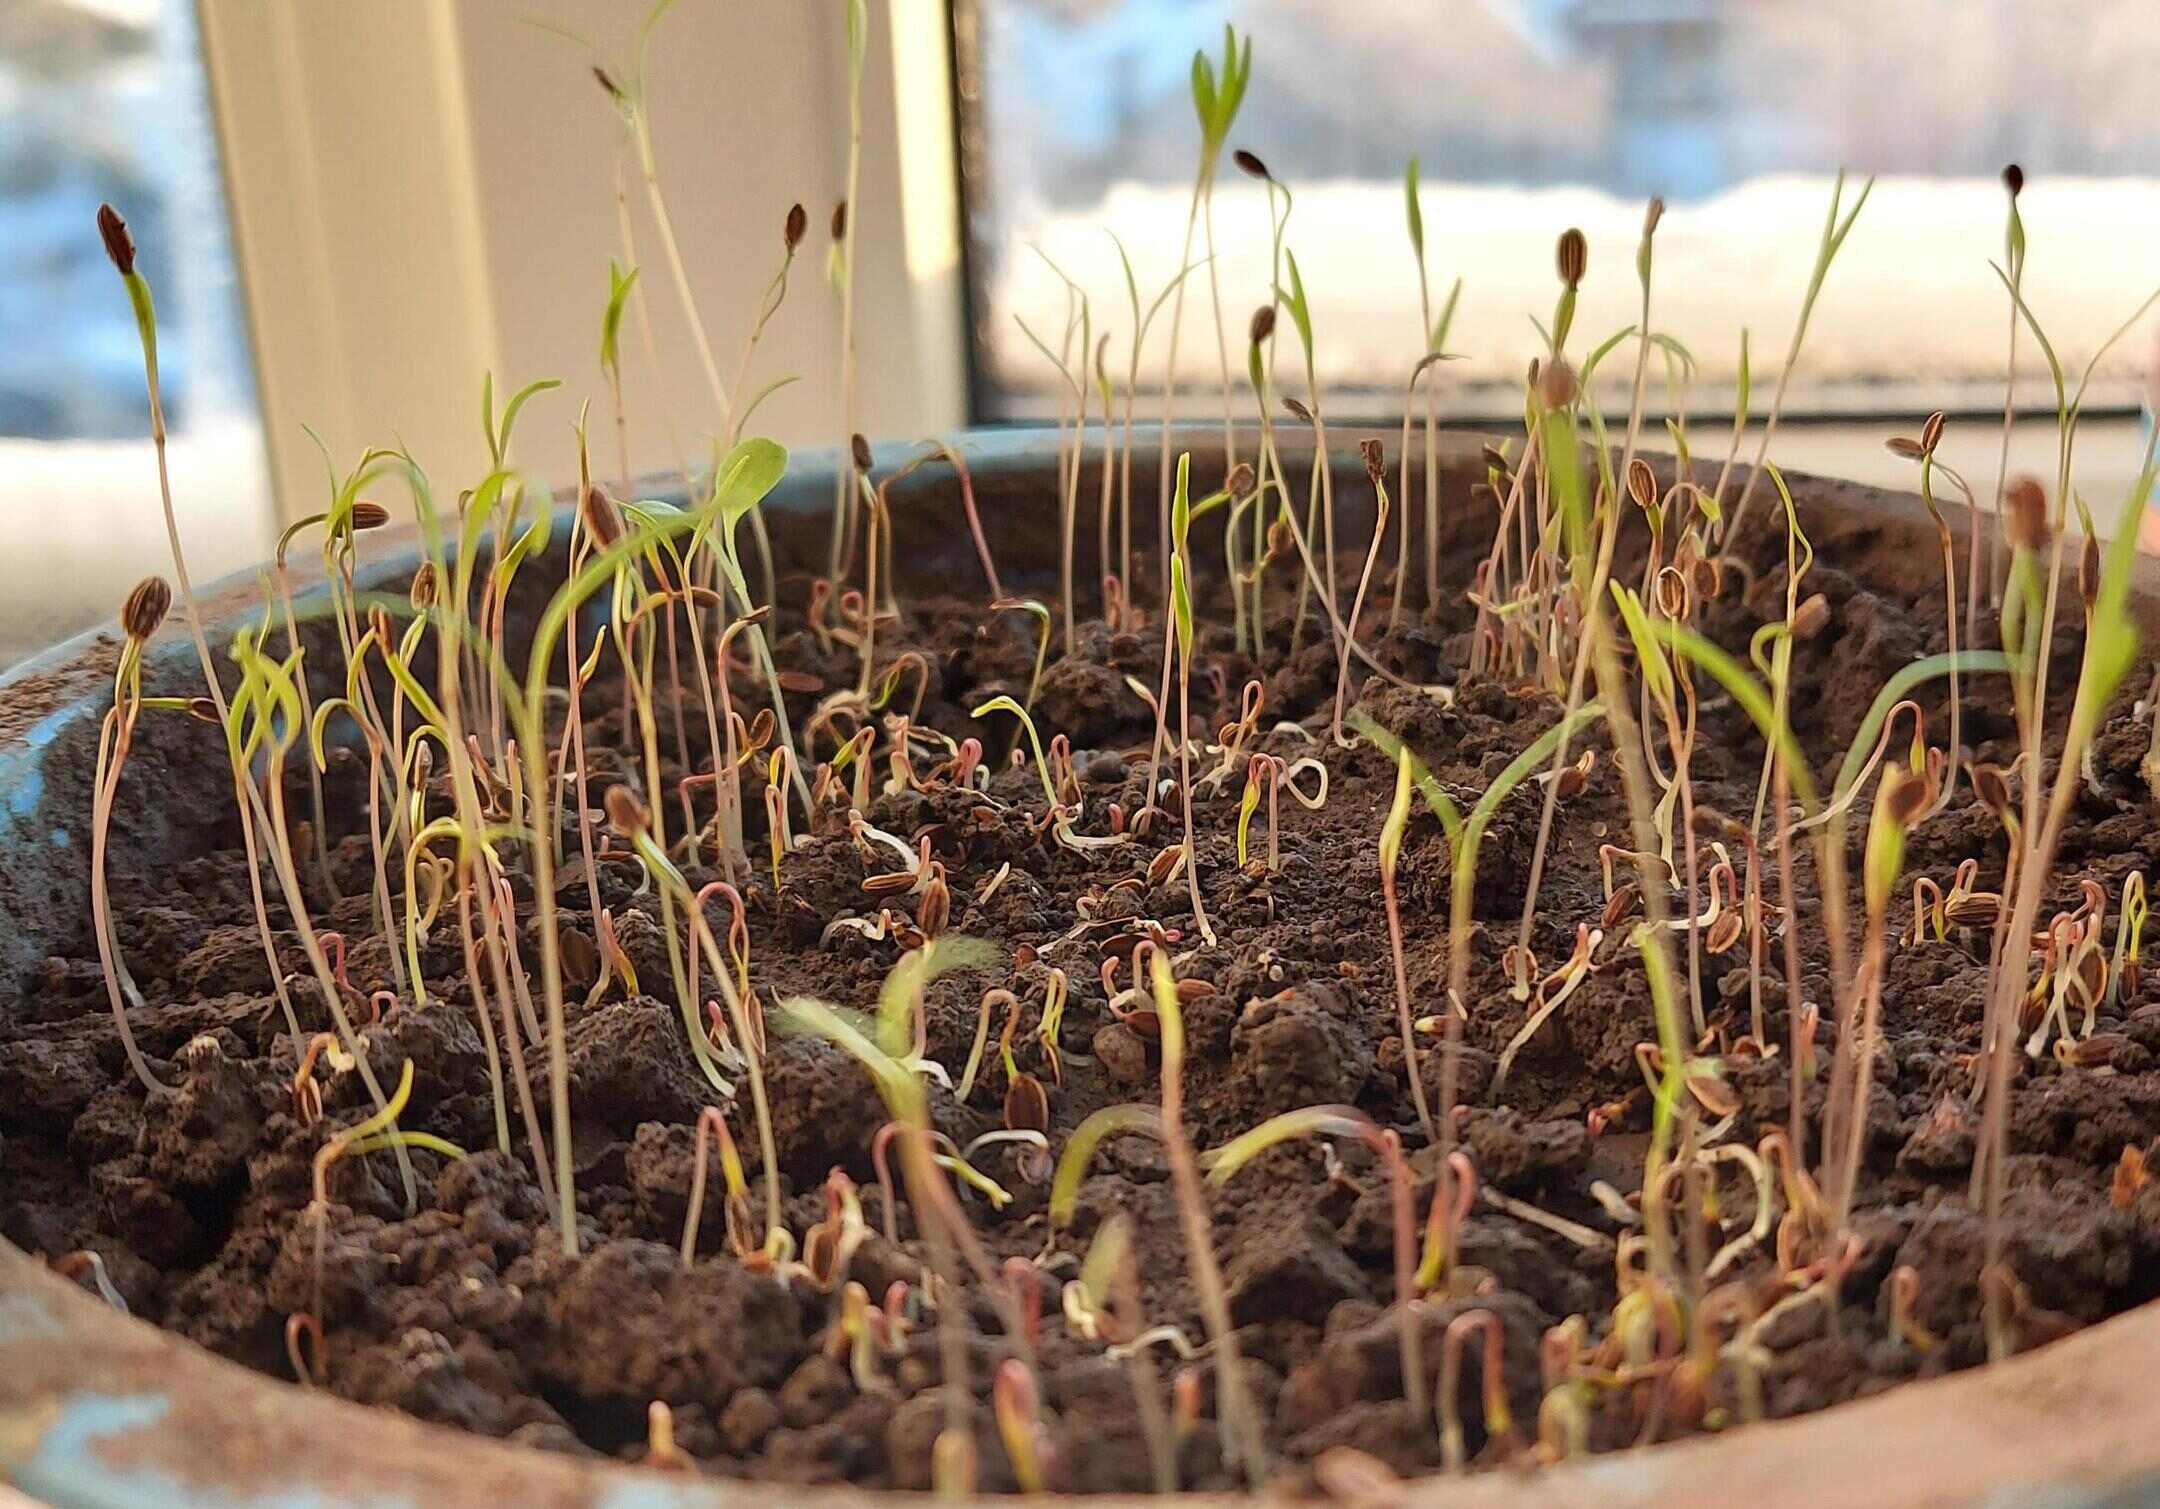
- Monitor and care for seedlings: Within 7-10 days, you should start seeing the okra seeds sprouting. Once the seedlings have reached a height of about 4-6 inches, thin them out to maintain proper spacing. Remove the weaker or less vigorous seedlings, leaving the strongest ones to grow.
As the okra plants continue to grow, ensure they receive regular water, about 1 inch per week, especially during dry spells. Mulching around the plants can help conserve moisture and suppress weed growth.
Now that your okra seeds are planted, it’s essential to provide them with the proper care to encourage healthy growth. In the next section, we will discuss watering and fertilizing techniques to keep your okra plants thriving.
Plant okra seeds in well-draining soil after the last frost. Keep the soil consistently moist and provide full sun. Thin seedlings to 12-18 inches apart for best growth.
Watering and Fertilizing
Watering and fertilizing are essential aspects of caring for your okra plants and ensuring their optimal growth and productivity. Here’s what you need to know about watering and fertilizing okra:
Watering: Okra plants require regular watering to maintain healthy growth. Keep the soil consistently moist, but be careful not to overwater as excessive moisture can lead to root rot. Water deeply and thoroughly, ensuring that the water reaches the root zone. Avoid wetting the foliage, as this can increase the risk of disease. It’s best to water in the early morning or late evening to minimize evaporation and allow the foliage to dry before nighttime.
Fertilizing: Okra is a nutrient-hungry plant, so regular fertilization is important for its overall health and productivity. Before planting, incorporate well-rotted compost or organic matter into the soil to provide a nutrient-rich environment. Once the plants are established, you can apply a balanced organic fertilizer every 4-6 weeks according to package instructions. Avoid over-fertilizing, as this can result in excessive foliage growth with fewer pod production. Additionally, consider supplementing with a liquid seaweed fertilizer to provide micronutrients and improve plant vigor.
It’s important to observe your okra plants and adjust watering and fertilizing practices based on their specific needs. Factors such as weather conditions, soil type, and plant growth stage can influence the frequency and amount of water and fertilizer required. Regularly check the soil moisture level by inserting your finger into the soil, and only water if it feels dry about an inch below the surface.
In the next section, we will discuss common pests and diseases that can affect okra plants and how to manage them effectively.
Read more: How To Sow Okra Seeds
Managing Pests and Diseases
While okra plants are generally resilient, they can still fall prey to certain pests and diseases. By staying vigilant and taking proactive measures, you can effectively manage these issues and protect your okra crop. Here are some common pests and diseases that may affect okra plants, along with management techniques:
1. Aphids: These small insects can infest the leaves and shoots of okra plants, causing stunted growth and deformed leaves. To manage aphids, you can spray a solution of diluted neem oil or insecticidal soap on the affected parts, focusing on the undersides of the leaves where aphids tend to gather. Ladybugs and lacewings are natural predators of aphids and can be introduced to the garden to control their population.
2. Whiteflies: These tiny white insects feed on the sap of okra plants, causing yellowing of leaves, stunted growth, and the development of a sticky residue known as honeydew. To manage whiteflies, you can use yellow sticky traps to catch adult flies and regularly spray the plants with a mixture of water and insecticidal soap.
3. Powdery Mildew: This fungal disease appears as a white, powdery coating on the leaves, stems, and pods of okra plants. To prevent powdery mildew, ensure proper air circulation by spacing plants adequately. If the disease does occur, you can apply a fungicide specifically formulated for powdery mildew and remove any infected plant material to prevent further spread.
4. Root-knot Nematodes: These microscopic worms can damage the root system of okra plants, leading to stunted growth and reduced yield. To manage root-knot nematodes, practice crop rotation by avoiding planting okra in the same area year after year. Additionally, you can introduce beneficial nematodes or incorporate marigold plants into the garden, as they emit compounds that are toxic to nematodes.
5. Caterpillars: Caterpillars, such as the cabbage looper and the corn earworm, can feed on the foliage and pods of okra plants. Manual removal of caterpillars is often effective, but you can also use organic insecticides derived from Bacillus thuringiensis (Bt) to control their population.
Regularly inspect your okra plants for any signs of pests or diseases and take appropriate action at the first sign of trouble. Maintaining a healthy garden environment through proper watering, fertilizing, and providing adequate sunlight will also help boost the plants’ natural defenses against pests and diseases.
Finally, let’s discuss when and how to properly harvest your okra pods in the next section.
Harvesting Okra
Harvesting okra at the right time is crucial to ensure that you enjoy tender and flavorful pods. Timing is key, as leaving the pods on the plant for too long can result in tough and fibrous okra. Here are some tips for harvesting your okra:
1. Check the size: Okra pods are ready to be harvested when they reach a length of around 3 to 4 inches (7 to 10 cm). Avoid allowing the pods to grow larger than this, as they become tough and less desirable for consumption.
2. Harvest frequently: Okra plants produce new pods every few days, so it’s important to check your plants regularly for ripe pods. Harvesting every 2 to 3 days will encourage the plants to continue producing more pods throughout the growing season.
3. Use gloves and pruners: Okra plants have small spines on their stems and pods, which can irritate your skin. To protect your hands, wear gloves when harvesting. Use a pair of pruners or a sharp knife to cut the okra pods from the plant, leaving a short stem attached.
4. Harvest in the morning: It’s best to harvest okra in the morning when the pods are still relatively cool and crisp. This will help preserve their quality and flavor.
5. Store properly: After harvest, place the okra pods in a breathable container or storage bag. Store them in the refrigerator, and use them within a few days for the best taste and texture.
Remember, harvesting okra regularly not only ensures the best quality but also promotes continued pod production. Be sure to remove any mature pods from the plant, as leaving them on the plant can signal to the plant that the reproductive cycle is complete, leading to a decline in new pod production.
With proper harvesting techniques, you can enjoy a bountiful harvest of fresh okra to use in your favorite recipes. Now that you are well-versed in the art of harvesting, let’s conclude this article.
Conclusion
Growing okra from seed is a rewarding experience that allows you to enjoy the beauty and flavor of this versatile vegetable. By following the steps outlined in this article, from choosing the right seeds to harvesting the pods, you can successfully cultivate a thriving okra crop in your garden.
Remember, selecting the right okra seeds, preparing the soil, and providing proper watering and fertilization are essential for healthy plant growth. Be vigilant in managing pests and diseases to ensure the well-being of your okra plants. Regular harvesting of the pods at the correct size will guarantee a steady supply of tender and delicious okra for your culinary endeavors.
Whether you add okra to soups, stews, stir-fries, or enjoy it grilled or pickled, this versatile vegetable brings a unique flavor and texture to your meals. The vibrant green foliage and striking yellow flowers of the okra plant also add visual appeal to your garden.
Now armed with the knowledge and skills to grow okra from seed, we hope you embark on this gardening journey and experience the joy of harvesting your own homegrown okra. So, get your seeds, prepare the soil, and start planting. Before you know it, you’ll be reaping the rewards of your efforts as you savor the flavors of freshly harvested okra from your own garden.
Happy growing and bon appétit!
Ready to take your gardening game up a notch after mastering okra growing? Dive into our guide on the best garden fence ideas for 2022. Fences not only secure your leafy buddies but also add a touch of style to any outdoor space. Whether you're looking for privacy, decoration, or a way to keep critters out, you'll find plenty of inspiration to transform your garden's perimeter into both a protective barrier and a decorative statement.
Frequently Asked Questions about How To Grow Okra From Seed
Was this page helpful?
At Storables.com, we guarantee accurate and reliable information. Our content, validated by Expert Board Contributors, is crafted following stringent Editorial Policies. We're committed to providing you with well-researched, expert-backed insights for all your informational needs.


0 thoughts on “How To Grow Okra From Seed”