Home>Garden Essentials>How To Make A Wooden Table With Resin Infill
Garden Essentials
How To Make A Wooden Table With Resin Infill
Modified: March 7, 2024
Learn how to create a stunning garden wooden table with a beautiful resin infill. Enhance your outdoor space with this DIY project.
(Many of the links in this article redirect to a specific reviewed product. Your purchase of these products through affiliate links helps to generate commission for Storables.com, at no extra cost. Learn more)
Introduction
Welcome to the world of DIY woodworking and resin art! If you’re looking to add a unique and eye-catching piece to your home, making a wooden table with a resin infill is a fantastic project to dive into. Not only will you have the satisfaction of creating something beautiful with your own hands, but you’ll also have a functional and visually stunning piece of furniture that’s sure to be a conversation starter.
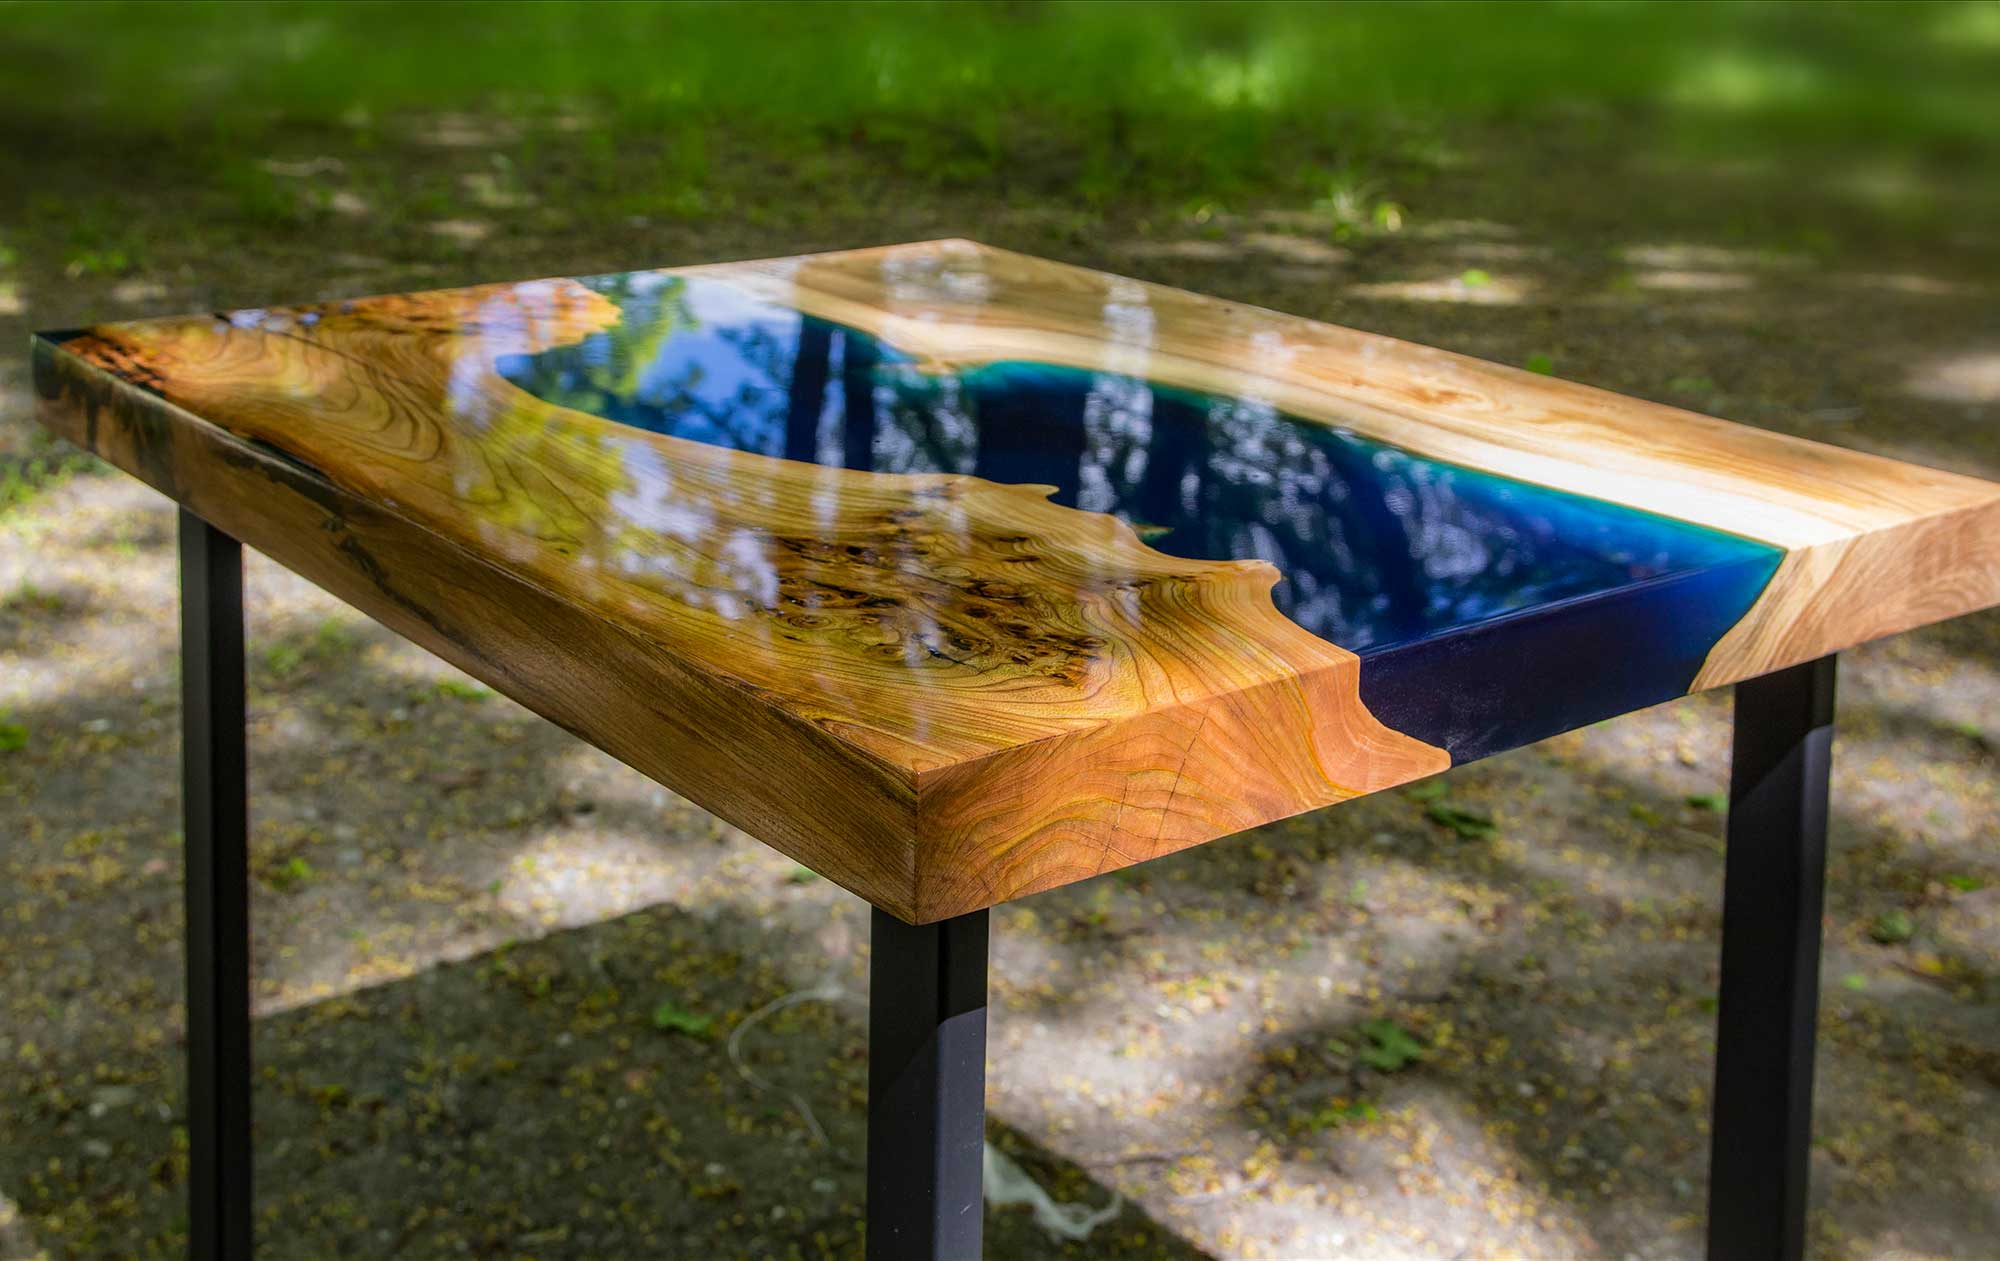
Creating a wooden table with a resin infill allows you to combine the timeless beauty of natural wood with the modern artistry of colored resins. The process involves pouring a specially formulated resin into a mold, which then cures and hardens to create a durable and glossy surface. The result is a stunning blend of wood and resin that showcases the unique grain patterns of the wood while adding a touch of vibrant color.
Before you dive into this exciting project, it’s important to gather all the necessary materials to ensure a smooth and successful process. Let’s take a look at the materials you’ll need for creating your own wooden table with resin infill.
Key Takeaways:
- Create a stunning wooden table with colorful resin by choosing the right wood, preparing it, pouring the resin, and adding optional colors. Enjoy the process and prioritize safety for a unique and eye-catching piece!
- Transform ordinary materials into a functional and visually stunning piece of art by combining natural wood with vibrant resin. Let your creativity shine and enjoy the satisfaction of making something beautiful with your own hands.
Materials Needed
To embark on your journey of creating a wooden table with resin infill, it’s important to gather the following materials:
- Wood: Choose a type of wood that suits your taste and desired aesthetic. Popular choices include oak, walnut, maple, or pine. Ensure that the wood is properly sized and shaped for your desired table dimensions.
- Resin: Look for a high-quality, self-leveling epoxy resin specifically designed for woodworking projects. It should be clear and able to withstand heat and moisture.
- Mold: You’ll need a mold that is appropriate for the shape and size of your table top. Silicone molds are often used due to their flexibility and ease of use.
- Release Agent: Apply a release agent to the inside of your mold to prevent the resin from sticking. Common release agents include mold release spray, petroleum jelly, or cooking spray.
- Pigments or Dye: If you’d like to add color to your resin, choose pigments or dye specifically formulated for use with epoxy resin. Select colors that complement your wood choice and desired aesthetic.
- Measuring Cups and Stir Sticks: Use measuring cups to accurately measure and mix your resin. Stir sticks will help you blend the resin and pigment thoroughly.
- Heat Gun or Torch: A heat gun or torch will help remove any air bubbles that may form in your resin after pouring. This will ensure a smooth and flawless finish.
- Sanding Materials: You’ll need sandpaper or sanding blocks in various grits to smooth and shape your wooden table top. Start with a course grit and gradually work your way to a finer grit for a polished finish.
- Protective Gear: When working with epoxy resin, it’s essential to protect yourself. Wear gloves, safety glasses, and a mask to safeguard against any potential irritants or allergens.
- Finishing Products: Depending on your preference, you may choose to apply a top coat or finish to your wooden table. Options include varnish, lacquer, or wood oil to protect and enhance the natural beauty of the wood.
With all these materials on hand, you’re now ready to start the process of creating your own wooden table with a stunning resin infill. In the next steps, we’ll guide you through the process from start to finish. Let’s get crafty!
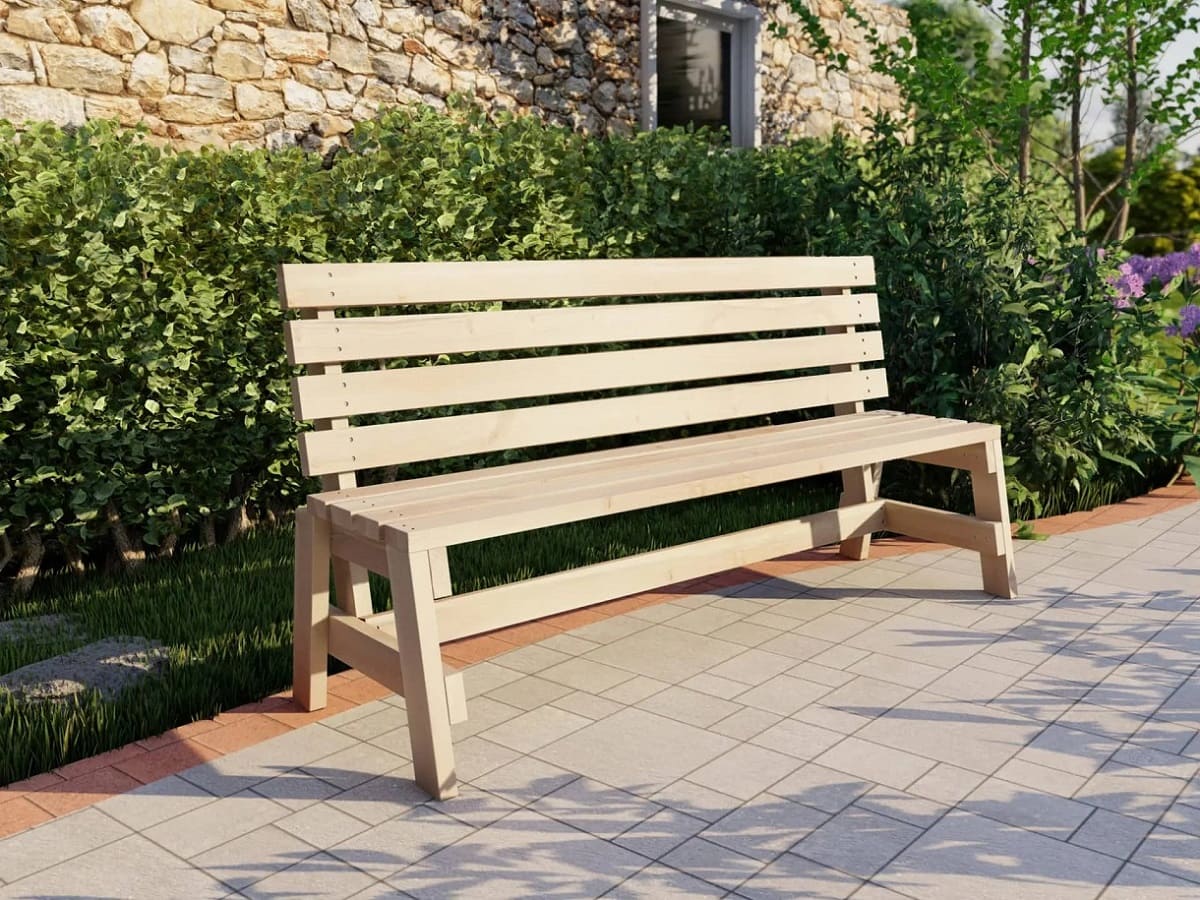
Step 1: Choose the type of wood
The type of wood you choose for your wooden table is an important decision that will greatly influence the overall look and feel of your final piece. Different woods have distinct characteristics, grain patterns, colors, and durability, so it’s essential to consider these factors when making your selection.
Popular wood choices for tables include oak, walnut, maple, and pine. Each wood type has its own unique qualities:
- Oak: Oak is a strong and durable wood known for its beautiful grain patterns. It can range in color from light to dark and is highly resistant to wear and tear.
- Walnut: Walnut is a dark, rich wood with a luxurious look. It has a straight grain pattern and can add a touch of elegance to your table.
- Maple: Maple is a light-colored wood that is often chosen for its bright and clean appearance. It has a subtle grain pattern and can give your table a contemporary and modern feel.
- Pine: Pine is a softer wood with a more rustic and natural look. It has a distinct grain pattern and can add warmth to your table.
Consider the style and aesthetic you want to achieve with your table. Are you looking for a modern and sleek design? Or maybe a more traditional and rustic feel? Understanding your desired outcome will help you make an informed decision when choosing your wood type.
Additionally, take the time to examine the quality and condition of the wood. Look for straight and even grain patterns, as well as minimal knots or imperfections. It’s essential to work with wood that is free from defects to ensure a smooth and flawless finish.
Once you have chosen your desired wood type, ensure that it’s properly sized and shaped for your table. Cut it to the dimensions you desire, making sure to leave some extra allowance for any trimming or shaping that may be necessary during the process.
Now that you have selected the perfect wood, you’re ready to move on to the next step: preparing the wood for the resin infill.
Step 2: Prepare the wood
Preparing the wood is a crucial step in creating a wooden table with resin infill. Proper preparation ensures that the wood is smooth, free from imperfections, and ready to showcase its natural beauty once the resin is poured.
Start by examining the wood for any rough edges or imperfections. Use sandpaper or a sanding block to gently smooth out these areas, ensuring a uniform and even surface. Begin with a coarse-grit sandpaper and gradually move to finer grits for a polished finish.
If your wood has any knots or cracks, fill them with a wood filler or epoxy resin. This will prevent the resin from seeping through and ensure a solid and uniform surface for the infill. Follow the manufacturer’s instructions for the filler or resin, making sure to apply it evenly and allow it to dry completely.
Next, sand the entire surface of the wood to create a smooth and consistent texture. Start with a coarse-grit sandpaper and gradually work your way to finer grits. This step is essential as it provides a key foundation for the resin to adhere to and helps achieve a flawless finish.
After sanding, wipe down the wood with a damp cloth to remove any dust or debris. Let it dry completely before moving on to the next steps.
At this stage, you may choose to enhance the natural beauty of the wood by applying a wood stain or sealant. This step is optional but can enrich the color and grain patterns of the wood. Follow the manufacturer’s instructions for the specific product you choose, and allow ample time for drying and curing.
Once the wood is prepared and any optional finishes are applied and dried, you’re now ready to move on to the exciting part of creating the mold for the resin infill. In the next step, we’ll guide you through the process of creating the mold that will hold the resin and showcase its vibrant colors.
Step 3: Create the Mold
Creating a mold for your wooden table with resin infill is an essential step in the process. The mold will hold the resin in place and ensure that it forms a beautiful and smooth surface. Follow these steps to create the mold:
- Choose a mold material: Silicone molds are commonly used for resin projects due to their flexibility and ease of use. You can purchase pre-made silicone molds or create a custom mold using silicone putty. Consider the shape and size of your table and select a mold material that will accommodate it.
- Prepare the mold: If you’re using a pre-made silicone mold, ensure it is clean and free from any dust or debris. If you’re creating a custom mold using silicone putty, follow the manufacturer’s instructions for mixing and shaping the putty. Apply a release agent, such as mold release spray or petroleum jelly, to the inside of the mold to prevent the resin from sticking.
- Secure the wood: Place the prepared wood on a level surface. If necessary, use masking tape or clamps to secure it in place and prevent any movement during the pouring process.
- Position the mold: Position the mold over the wood, ensuring that it is centered and aligned correctly. Press it down gently to create a tight seal between the mold and the wood surface.
- Seal any gaps: Inspect the edges of the mold to ensure there are no gaps where the resin could leak. Use mold putty or tape to seal any openings, ensuring a watertight seal.
- Elevate the mold: If desired, elevate the mold slightly by placing small objects or spacers underneath it. This will allow the resin to flow freely underneath the wood and ensure an even distribution.
Note that the process of creating a mold may vary depending on the specific mold material you choose. Always refer to the manufacturer’s instructions and follow proper safety precautions.
Once the mold is prepared and securely in place, you’re ready to move on to the exciting step of pouring the resin into the mold. We’ll guide you through this process in the next step of creating your wooden table with a stunning resin infill.
Read more: How To Make A Resin Coffee Table
Step 4: Pour the Resin
Now comes the exciting part – pouring the resin into the prepared mold for your wooden table with a resin infill. This step requires patience, precision, and attention to detail. Follow these steps to ensure a successful resin pour:
- Prepare your workspace: Find a well-ventilated area with a level surface to work on. Lay down a protective covering to catch any drips or spills.
- Measure the resin: Follow the manufacturer’s instructions to measure the appropriate amount of resin for your table size. Use measuring cups to ensure accurate measurements.
- Mix the resin: Pour the measured resin into a clean mixing container. Use a stir stick to gently blend the resin, taking care to minimize the introduction of air bubbles. Stir for the recommended time specified by the manufacturer.
- Pour the resin: Slowly pour the mixed resin into the mold, starting from one end and moving across the entire surface. Take care to pour the resin evenly to achieve a consistent thickness.
- Spread the resin: Use a clean spreader or a gloved hand to spread the resin evenly over the wood surface. Ensure that the resin covers the entire area of the mold and reaches the edges. Gently tap the mold against the surface to release any trapped air bubbles.
- Remove air bubbles: Use a heat gun or a torch to carefully move across the surface of the poured resin. The heat will help to remove any air bubbles that may have formed during the pouring process. Be mindful not to overheat or scorch the resin.
- Allow the resin to level: Place the mold on a level surface and let the resin self-level. Avoid disturbing the resin during the curing process to maintain a smooth finish.
Keep in mind that the curing time for the resin may vary depending on the specific product and environmental conditions. Refer to the manufacturer’s instructions for the recommended curing time. It’s crucial to exercise patience and allow the resin to fully cure before moving on to the next steps.
Congratulations! You have now poured the resin into the mold, and your wooden table is one step closer to becoming a stunning piece of art. In the next step, we’ll explore optional ways to enhance the resin and add a touch of color to your table. Stay tuned!
When pouring resin for the infill, make sure to work in a well-ventilated area and wear protective gloves to avoid skin contact with the resin.
Step 5: Add Pigment or Dye (Optional)
If you want to add a pop of color and artistic flair to your wooden table with resin infill, this step allows you to do just that. Adding pigments or dyes to the resin gives you the opportunity to personalize the look of your table and create a unique visual effect. Here’s how you can incorporate color into your resin:
- Choose your color: Select a pigment or dye that complements your wood choice and desired aesthetic. There are a wide variety of colors available, ranging from vibrant hues to subtle tones. Consider the overall theme and style of your space, as well as your personal preferences.
- Mix the pigment or dye: Follow the instructions provided by the pigment or dye manufacturer to properly measure and mix the color with the resin. Use a separate container for mixing to avoid contaminating the entire batch of resin.
- Add the color to the resin: Slowly pour the colored resin into the mold, starting from one end and moving across the surface. Take care to distribute the colored resin evenly, ensuring it covers the entire area of the mold.
- Swirl or blend the colors (optional): If you desire a marbled or blended effect, use a stir stick or a tool such as a toothpick to gently swirl or blend the colors together. Be cautious not to overmix, as it may result in a muddy appearance.
- Smooth and level the resin: Use a spreader or gloved hand to smooth and level the colored resin to create an even surface. Ensure that the resin reaches all edges and corners of the mold.
- Remove air bubbles: Similar to Step 4, use a heat gun or a torch to carefully move across the surface of the resin to eliminate any trapped air bubbles. Use caution and avoid overheating or scorching the resin.
- Allow the resin to cure: Place the mold on a level surface and allow the resin to cure according to the manufacturer’s instructions. Remember to exercise patience and avoid disturbing the resin during the curing process.
The addition of pigments or dyes offers endless possibilities to create a truly unique and eye-catching piece of art. You can experiment with different colors, techniques, and patterns to achieve the desired effect. Just remember to have fun and let your creativity shine!
Now that you’ve added color to your resin, it’s time to let it cure completely. In the next step, we’ll guide you through the process of removing the mold and unveiling your beautifully infused wooden table. Keep your excitement levels high!
Step 6: Let the Resin Cure
After adding pigments or dyes to the resin, it’s important to exercise patience and allow the resin to cure fully. Curing is the process where the resin hardens and sets, creating a durable and glossy surface for your wooden table. Here’s what you need to do:
- Refer to the manufacturer’s instructions: The curing time for resin can vary depending on the specific product you’re using. Consult the manufacturer’s instructions to determine the recommended curing time for your resin. It’s important to follow these guidelines to ensure optimal results.
- Protect the curing resin: While the resin cures, ensure that it’s protected from dust, debris, and any potential disturbances. Cover the mold with a clean, dust-free cloth or place it inside a designated curing box to shield it from external elements.
- Keep the environment stable: Resin cures best in a controlled environment with stable temperature and humidity levels. Avoid exposing the curing resin to extreme cold or heat, as it can affect the curing process and the final result.
- Exercise patience: It’s important to let the resin cure fully before moving on to the next steps in the process. Rushing the curing process may result in a less durable and less visually appealing end product. Be patient and allow the resin adequate time to harden and set.
During the curing process, the resin will transform from a liquid state to a solid state. It will develop a high-gloss finish and become resistant to scratches and other forms of damage. Curing times can range from a few hours to several days, depending on the specific resin and environmental conditions.
While waiting for the resin to cure, take this time to plan and prepare for the next steps in the process, such as removing the mold and finishing the table. This will ensure that you are ready to proceed once the resin has fully cured.
Once the resin is completely cured, you’re one step closer to unveiling your stunning wooden table with a resin infill. In the next step, we’ll guide you through the process of removing the mold and revealing the beautiful fusion of wood and resin. Get ready for the big reveal!
Step 7: Remove the Mold
It’s time for the exciting moment of removing the mold and revealing the captivating fusion of wood and resin in your table. Follow these steps to safely remove the mold:
- Check the curing status: Before removing the mold, ensure that the resin has fully cured according to the manufacturer’s instructions. It should be hard and solid to the touch, with no tackiness or stickiness.
- Carefully detach the mold: Gently and slowly release the mold from the wooden table by gently pulling it away. Take your time to avoid any unnecessary stress or pressure on the resin or wood.
- Apply gentle pressure or heat (if necessary): If you encounter any resistance when removing the mold, apply gentle and even pressure to gradually release it. You can also use a heat gun or a hairdryer on low heat to warm and loosen the mold, making it easier to remove.
- Inspect for any imperfections or irregularities: Once the mold is removed, carefully examine the resin surface and edges for any imperfections or blemishes. If you notice any minor imperfections, such as small air bubbles or rough spots, don’t worry – these can be addressed in the next step.
- Handle with care: Be cautious when handling the table after removing the mold, as the resin may still be sensitive to scratches or damage. Place the table on a stable and secure surface, ensuring that it is protected from potential harm.
Removing the mold is a pivotal moment in the process, as it allows you to fully appreciate the beauty of your wooden table with the resin infill. Take your time and handle the table with care to ensure that the stunning resin surface remains intact.
If you notice any minor imperfections or irregularities on the resin surface, don’t worry – these can be addressed in the next step. Now that the mold is removed, it’s time to refine and beautify the table through sanding and finishing. Let’s move on to the next step and bring out the true potential of your wooden table.
Read more: How To Make Flower Resin Coasters
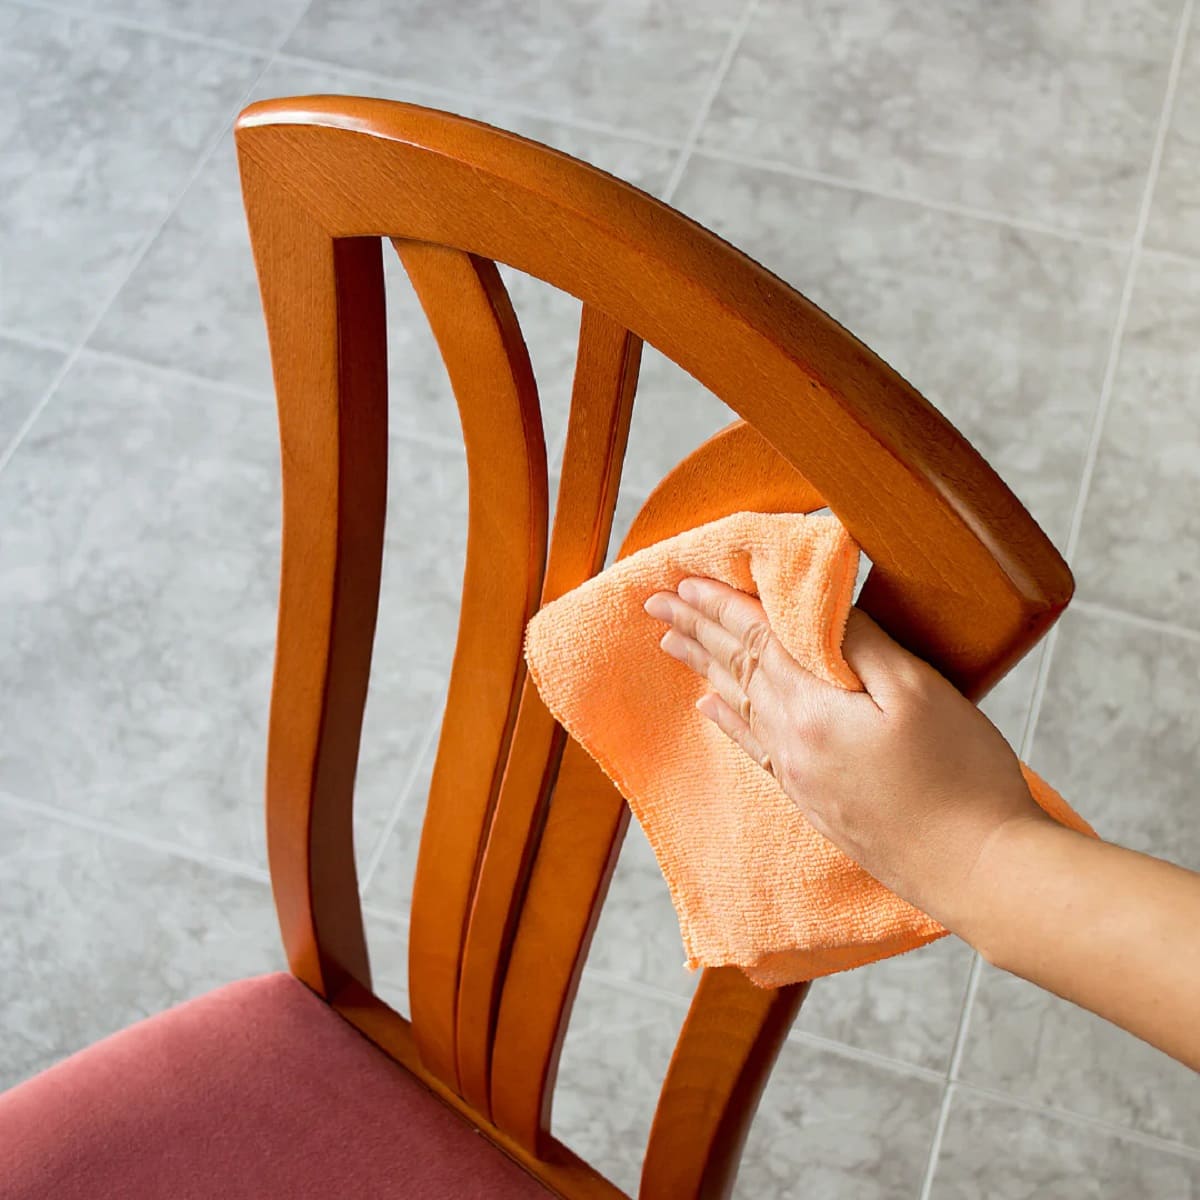
Step 8: Sand and Finish the Table
Now that you have removed the mold and revealed the stunning resin infill in your wooden table, it’s time to refine and enhance its overall appearance through sanding and finishing. Follow these steps to achieve a smooth and polished final result:
- Start with coarse-grit sandpaper: Begin the sanding process by using coarse-grit sandpaper. This helps to smooth out any uneven areas, imperfections, or rough spots on the resin surface. Use steady, even strokes and be careful not to apply too much pressure.
- Gradually progress to finer-grit sandpaper: As you work your way through the sanding process, switch to progressively finer-grit sandpaper. This helps to refine the surface and achieve a smoother finish. Gradually move from coarse to medium to fine-grit sandpaper for optimal results.
- Focus on the edges and corners: Pay special attention to sanding the edges and corners of the table. These areas may require more thorough sanding to ensure that they are smooth and blended with the resin surface.
- Use a sanding block for even pressure: Consider using a sanding block or holder to maintain even pressure as you sand. This helps to achieve consistent results and minimizes the risk of creating uneven spots or indentations.
- Remove dust regularly: While sanding, dust and debris may accumulate on the surface. Regularly clean the surface with a soft cloth or a brush to remove any accumulated dust. This ensures a clean and smooth sanding experience.
- Inspect and address imperfections: After sanding, carefully inspect the table for any remaining imperfections, such as small air bubbles or rough spots. If necessary, you can use a fine-grit sandpaper to gently sand these areas to achieve a uniform and flawless surface.
- Apply a finish or protective coating: Once the sanding is complete and the surface is smooth, you have the option to apply a finish or protective coating to further enhance the wood and resin. Choose a finish that suits your preferences and the desired look of the table, such as varnish, lacquer, or wood oil. Follow the manufacturer’s instructions for application and drying times.
Sanding and finishing the table not only serves a practical purpose of achieving a smooth and polished surface, but it also brings out the natural beauty of the wood and resin. Take your time with this step to ensure that the final result is visually appealing, durable, and long-lasting.
Once the finish is applied and dried, your wooden table with resin infill is ready to make its grand debut in your home. It’s a testament to your creativity and craftsmanship, and it’s sure to be a stunning centerpiece that garners attention and admiration. Enjoy the beauty and functionality of your one-of-a-kind creation!
As a final note, remember to follow safety precautions throughout the process, including wearing protective gear, working in a well-ventilated area, and properly disposing of any waste materials. Happy woodworking and resin art!
Conclusion
Congratulations on completing your journey to create a beautiful wooden table with a resin infill! The process of combining natural wood with vibrant resin has allowed you to transform ordinary materials into a functional and visually stunning piece of art.
Throughout this DIY project, you’ve learned how to choose the right type of wood, prepare it for the resin infill, create a mold, pour the resin, add pigments or dyes for color (if desired), let the resin cure, remove the mold, and sand and finish the table. Each step has brought you closer to creating a truly unique and eye-catching piece of furniture.
The fusion of the wood and resin not only showcases the natural beauty of the wood grain but also adds a touch of modern artistry and personalization to your table. The glossy and durable resin surface serves as a protective layer, while the colors and patterns create a visual impact that elevates the aesthetic of your space.
As you continue your journey in woodworking and resin art, feel free to experiment with different wood types, resin colors, and techniques. Each project will provide an opportunity for further creativity and exploration, allowing you to personalize and customize your creations.
Remember, safety should always be a priority when working with materials and tools. Ensure that you follow proper safety precautions, wear protective gear, and work in a well-ventilated area.
Now, it’s time to proudly display and enjoy your remarkable wooden table with resin infill. It’s not just a piece of furniture; it’s a symbol of your craftsmanship, creativity, and the joy of making something with your own hands. Whether it becomes the focal point of your living room, dining area, or any other space in your home, it’s sure to be a conversation starter and a source of admiration.
So, sit back, relax, and relish the satisfaction of creating a truly unique and beautiful piece that will bring joy and inspiration for years to come. Happy woodworking and resin art!
Frequently Asked Questions about How To Make A Wooden Table With Resin Infill
Was this page helpful?
At Storables.com, we guarantee accurate and reliable information. Our content, validated by Expert Board Contributors, is crafted following stringent Editorial Policies. We're committed to providing you with well-researched, expert-backed insights for all your informational needs.


0 thoughts on “How To Make A Wooden Table With Resin Infill”