Home>Garden Essentials>How To Install Turf Field
Garden Essentials
How To Install Turf Field
Modified: October 20, 2024
Learn how to install a beautiful turf field in your garden with our step-by-step guide. Transform your outdoor space into a lush, green oasis today.
(Many of the links in this article redirect to a specific reviewed product. Your purchase of these products through affiliate links helps to generate commission for Storables.com, at no extra cost. Learn more)
Introduction
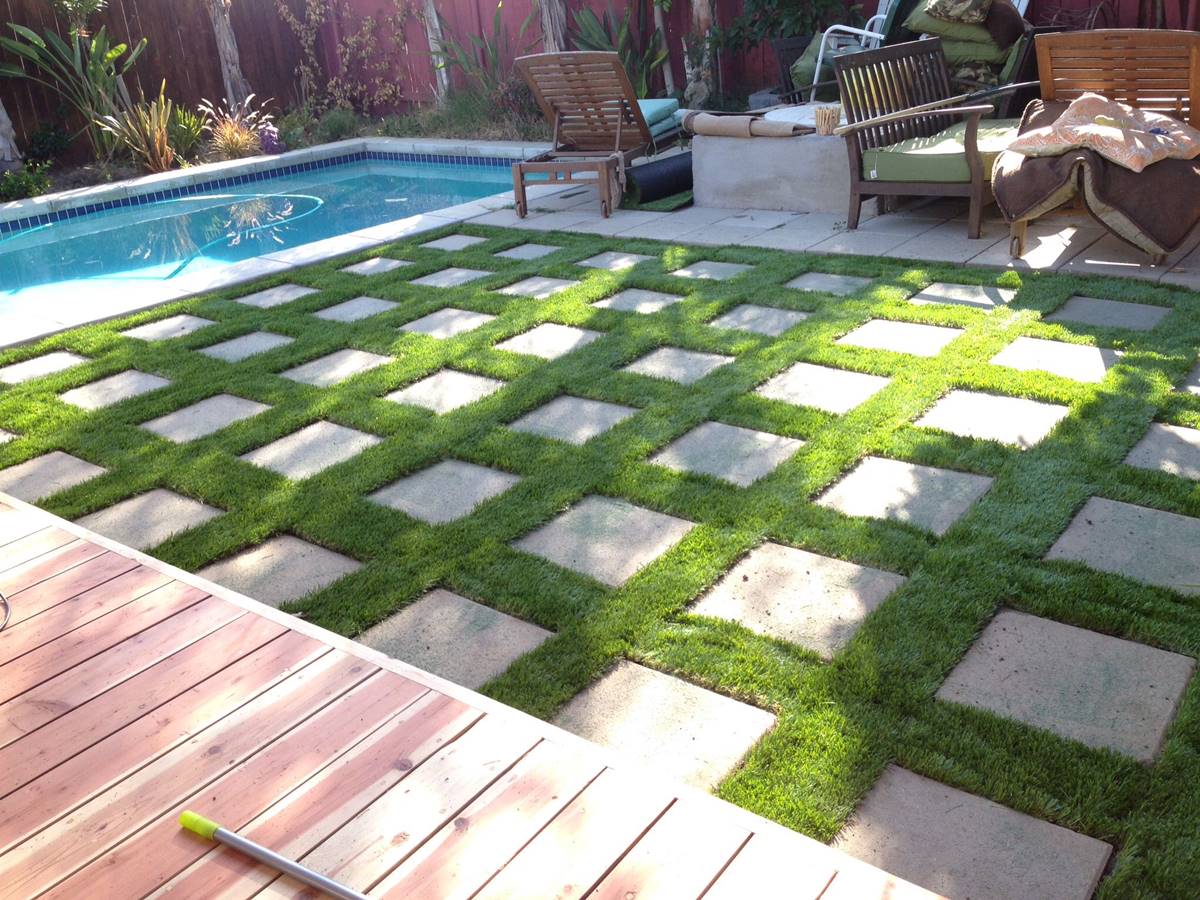
Are you considering installing a turf field in your garden? Turf fields have become increasingly popular due to their low maintenance requirements, durability, and aesthetic appeal. Whether you want a lush green space for recreational activities or a beautiful landscape to enhance the overall look of your garden, installing a turf field can be a great solution.
In this article, we will guide you through the step-by-step process of installing a turf field in your garden. From preparing the ground to securing the turf, we will cover all the essential aspects to ensure a successful installation.
Before getting started, it is important to note that the installation process may vary depending on the type of turf you choose and the specific characteristics of your garden. It is always recommended to consult with professionals or follow the manufacturer’s instructions for the best results.
Now let’s dive into the detailed steps of installing a turf field.
Key Takeaways:
- Preparing the ground, removing debris, and leveling the area are crucial for a successful turf field installation. It sets the foundation for a beautiful and low-maintenance green space in your garden.
- Securing the turf, infilling with the right material, and regular brushing and grooming are essential for maintaining the turf’s appearance and durability. Enjoy a vibrant and hassle-free turf field in your garden!
Read more: What Type Of Turf Grass Is Florida Field
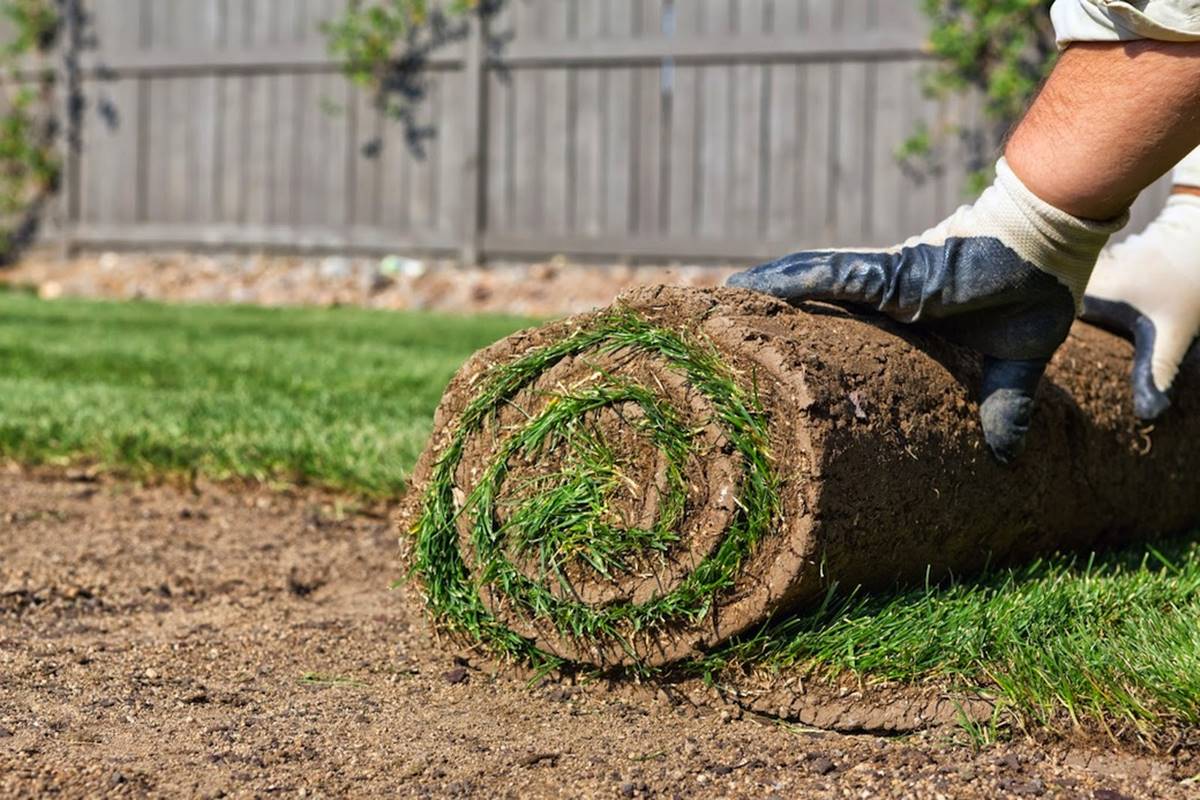
Step 1: Preparing the Ground
The first step in installing a turf field is to properly prepare the ground. This involves clearing the area of any existing vegetation, rocks, or debris that may hinder the installation process.
Start by marking the boundaries of the turf field using stakes and string. This will help you visualize the area and ensure accurate measurements for the subsequent steps.
Next, use a shovel or a turf cutter to remove the existing grass, weeds, and any other vegetation within the marked area. Make sure to dig deep enough to remove the roots as well. This will provide a clean slate for the installation of the turf field.
After removing the vegetation, inspect the ground for any rocks, stones, or other debris. Clear out any obstructions to ensure a smooth surface. If there are large rocks that cannot be easily removed, consider using a landscaping rake to level the ground. This will help create a uniform surface and prevent unevenness under the turf.
Once you have cleared the area and leveled the ground, it is recommended to test the soil pH and quality. This can be done using a soil testing kit or by sending a sample to a local agricultural extension service. The results will provide valuable insights for soil amendment, if required.
If the soil pH is too acidic or alkaline, you may need to adjust it by adding lime or sulfur accordingly. Additionally, if the soil lacks nutrients, you may need to apply fertilizer or compost to improve its quality. This step is crucial for ensuring healthy turf growth and longevity.
Overall, preparing the ground sets the foundation for a successful turf field installation. By removing vegetation, clearing debris, and optimizing soil quality, you are creating an optimal environment for the turf to thrive.
Step 2: Removing Existing Debris
After preparing the ground for your turf field installation, the next step is to thoroughly remove any existing debris. This includes rocks, roots, and other obstacles that could affect the quality and appearance of your turf.
Start by walking across the entire area and visually inspect the ground. Look for any rocks, stones, or rubble that may have been missed during the initial clearing. Use a rake or shovel to remove these items, ensuring that the surface is as smooth as possible.
Aside from rocks, it’s important to remove any tree roots or large clumps of soil that can create bumps or unevenness in the turf. These can be cut or dug out using a sharp spade or a root saw. Take care not to damage any nearby trees or plants.
Additionally, keep an eye out for any underground cables or pipes that may be running through the area. If you come across any, mark their locations and contact the appropriate authorities or professionals to ensure their protection during the installation process.
Another important aspect of debris removal is addressing any weeds that may have sprouted. While you may have cleared the area of vegetation initially, weeds can quickly take root and grow back if not properly managed. Use a weed killer or manually pull out the weeds, ensuring that the area is free from any potential competitors to your turf.
By diligently removing all existing debris, you are creating a clean and smooth surface for your turf installation. This not only improves the overall aesthetic appeal but also enhances the performance and longevity of the turf.
Step 3: Leveling and Grading
Once you have removed existing debris, the next crucial step in installing a turf field is to properly level and grade the ground. This ensures a flat and even surface for the turf to be laid upon, promoting optimal drainage and preventing any unwanted bumps or unevenness.
Start by using a long, straight board or a level to assess the current level of the ground. Walk around the area and observe any dips or high spots. These irregularities need to be addressed to achieve a uniform surface.
If there are low spots, fill them in with topsoil or a sandy loam mixture. Gradually build up the low spots, compacting the soil periodically to create a stable foundation. Use a board or a rake to spread the soil evenly until it matches the surrounding level.
For high spots, you may need to remove excess soil or gently scrape it down. Using a shovel or spade, carefully dig into the high spots and remove the extra soil until it reaches the desired level. Compact the surrounding soil to ensure stability.
Once you have addressed the low and high spots, it’s time to grade the overall surface. This involves creating a slight slope away from any buildings or structures to allow for proper water drainage. Aim for a slope of approximately 1 inch per 8 feet. This will prevent water from pooling on the turf and promote healthy turf growth.
Use a long, straight board or a level to assess the slope and make any necessary adjustments. This step is crucial for preventing waterlogging and ensuring the longevity of your turf field.
By leveling and grading the ground, you are creating an optimal foundation for your turf installation. A smooth and even surface allows for proper drainage and ensures a visually appealing and functional turf field.
Step 4: Installing the Base Layer
After leveling and grading the ground, the next step in installing a turf field is to lay down the base layer. The base layer provides stability and drainage for the turf, ensuring a solid foundation for optimal performance.
The base layer typically consists of crushed stone or gravel, which helps to improve drainage and prevent the turf from becoming waterlogged. It also helps to prevent the growth of weeds and provides a level surface for the turf to be installed on.
Start by outlining the area where the base layer will be installed. Use stakes and string to mark the boundaries, ensuring the base layer extends slightly beyond the perimeter of the turf field. This will help to prevent the edges of the turf from sinking over time.
Next, remove any remaining vegetation or debris within the marked area. Clear the ground thoroughly to ensure a clean surface for the installation of the base layer.
Once the ground is clear, spread a layer of crushed stone or gravel evenly across the entire area. Aim for a thickness of approximately 2-4 inches for optimal results. Use a rake or a shovel to spread and level the base layer, ensuring it is compacted and evenly distributed.
After spreading the base layer, use a heavy roller or plate compactor to further compact the material. This will help to create a solid and stable surface for the turf and ensure proper drainage. Repeat the compaction process several times to achieve the desired level of stability.
It is important to note that the specific requirements for the base layer may vary depending on the type of turf and the recommendations provided by the manufacturer. Be sure to follow the guidelines provided to ensure optimal performance and longevity of your turf field.
By installing a proper base layer, you are establishing a stable foundation for your turf field. The base layer provides crucial support, drainage, and weed prevention, ensuring that your turf remains in excellent condition for years to come.
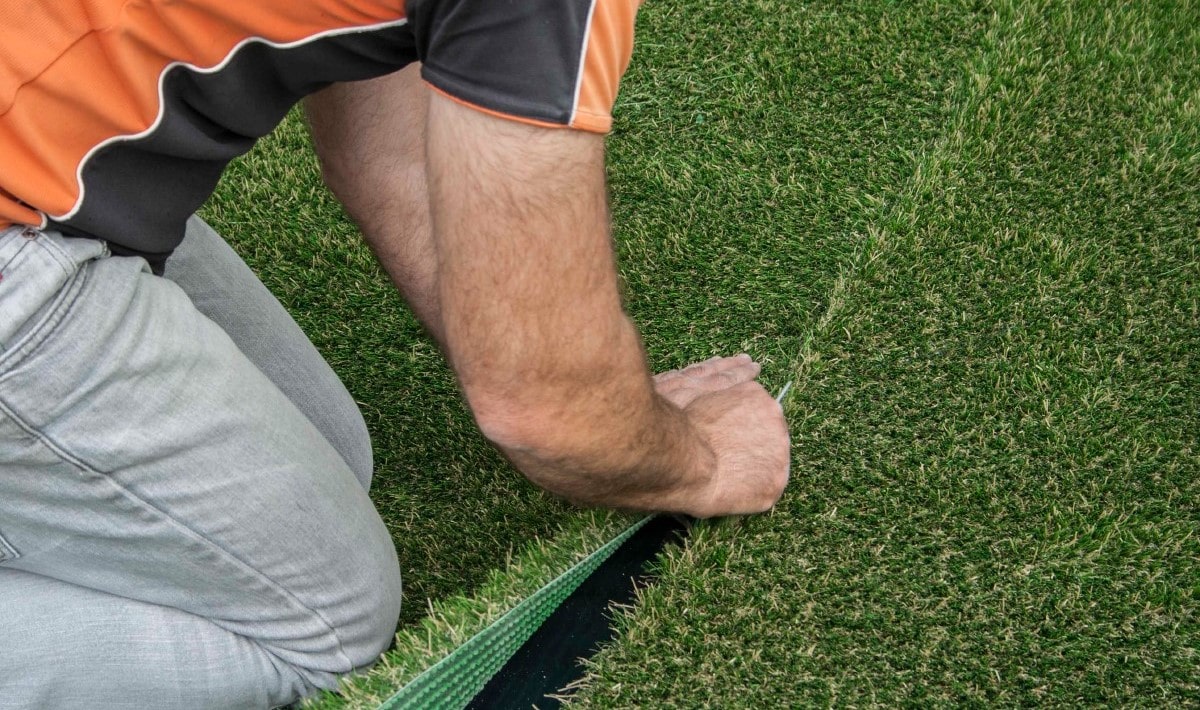
Step 5: Installing the Perimeter Anchors
Once you have installed the base layer for your turf field, the next step is to secure the perimeter of the turf by installing anchors. These anchors help to hold the edges of the turf in place and prevent any shifting or movement.
Start by unrolling the turf rolls and positioning them in their intended locations. Ensure that the turf overlaps any adjacent edges by a few inches to allow for trimming and securing.
Working along the perimeter, use landscape spikes or anchor nails to secure the edges of the turf. Place the spikes or nails approximately 6-8 inches apart along the edges, ensuring they penetrate through the turf and into the base layer beneath.
For added stability, you can also use adhesive or turf tape to secure the seams where the turf rolls meet. Apply the adhesive or tape along the edges, pressing the turf firmly together to create a seamless appearance.
As you work, periodically check that the turf is laying flat and smooth. Adjust as necessary and continue securing the perimeter until all edges are firmly held in place.
It is important to pay close attention to corners and bends in the turf field. Make sure to secure these areas properly to prevent any lifting or curling of the turf.
By installing the perimeter anchors, you are ensuring that your turf remains securely in place, even during periods of heavy use or inclement weather. This step enhances the overall appearance and functionality of your turf field.
Before installing a turf field, make sure the ground is properly leveled and drained to prevent water accumulation. This will help maintain the quality and longevity of the turf.
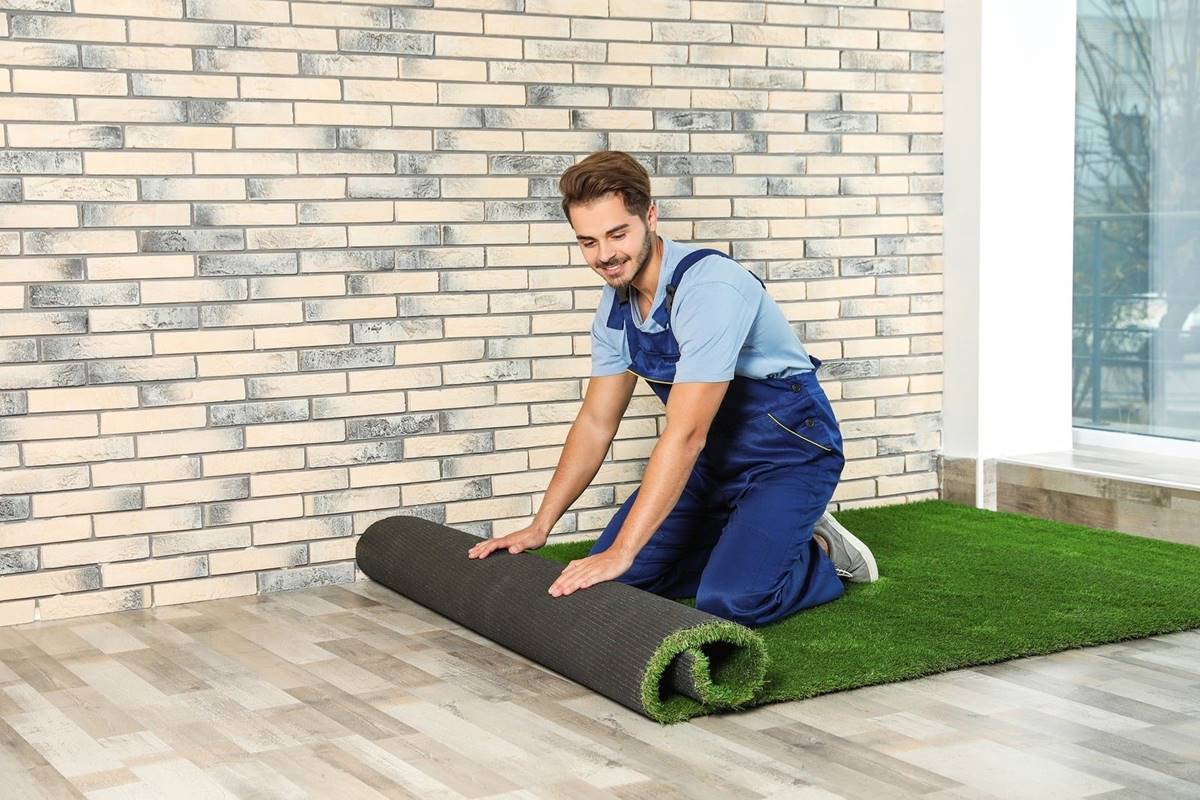
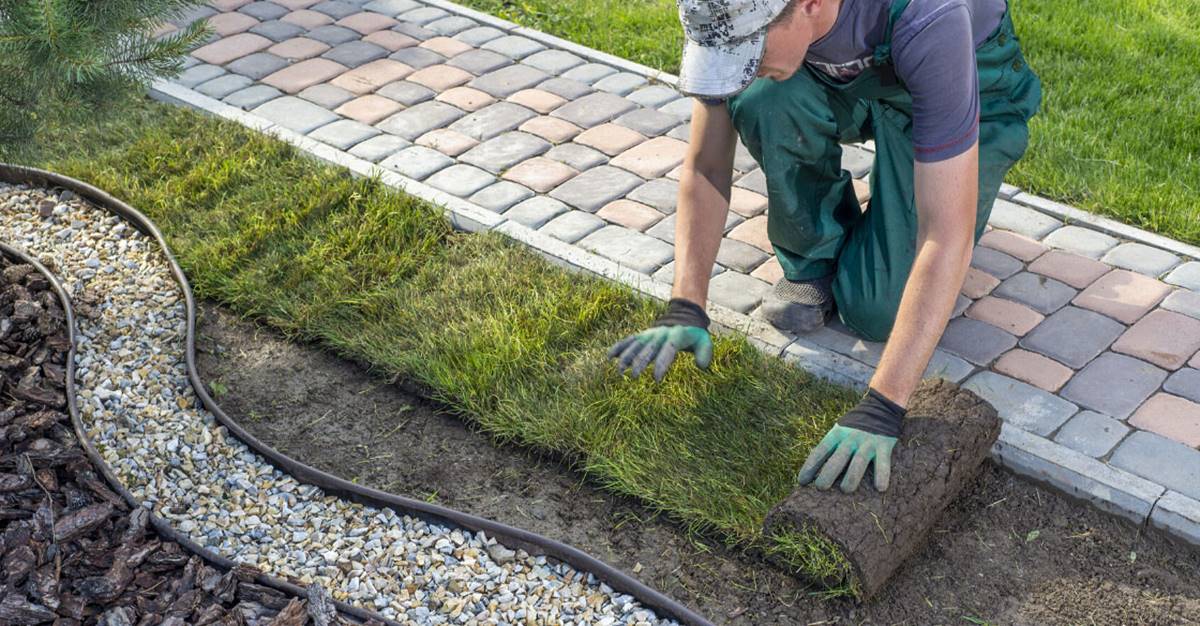
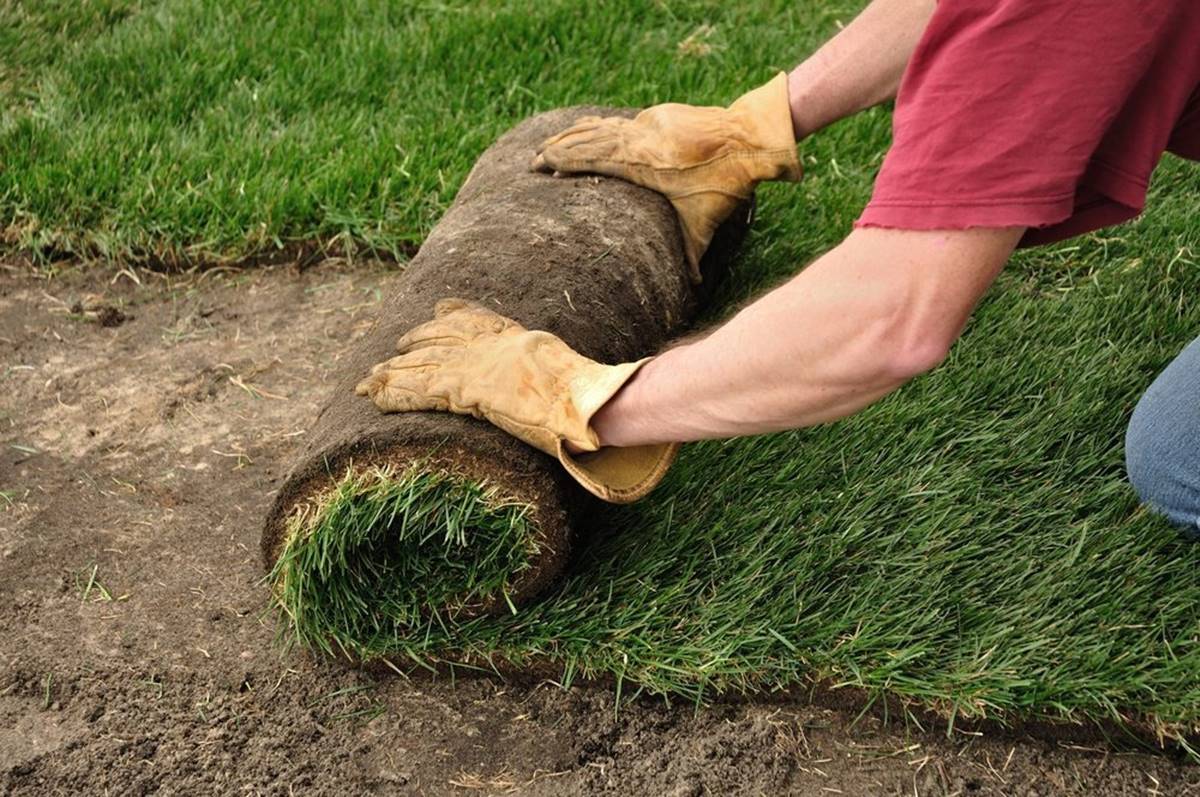
Step 6: Laying Out the Turf Rolls
With the base layer and perimeter anchors in place, you are now ready to lay out the turf rolls in your garden. This step involves carefully positioning and aligning the rolls to create a uniform and visually appealing turf field.
Begin by unrolling the first turf roll along one edge of the installation area. Make sure the roll is positioned flush against the previously installed perimeter anchors. Allow any excess turf to overhang the edge for trimming later.
Continue unrolling and positioning the remaining turf rolls, ensuring that each roll is snugly fitted against the adjacent roll. Avoid overlapping the rolls, as this can create visible seams and an uneven appearance.
As you lay out the turf rolls, periodically step back and assess the overall alignment and placement. Look for any gaps, uneven edges, or misalignment that can be adjusted before moving forward.
If needed, you can trim the turf rolls to fit specific areas or curves in your garden. Use a utility knife or turf cutter to carefully trim the excess turf, ensuring a clean and precise cut.
During the laying process, it is essential to be mindful of the direction of the turf’s fibers or grain. Consistently align the rolls so that the turf fibers all face the same direction, creating a cohesive and natural appearance.
As you lay out the turf rolls, take extra care around any features such as trees, flower beds, or other permanent objects in the garden. Cut and shape the turf accordingly to fit around these obstacles and create a seamless look.
By laying out the turf rolls carefully and paying attention to alignment and trimming, you will achieve a visually pleasing and cohesive turf field in your garden.
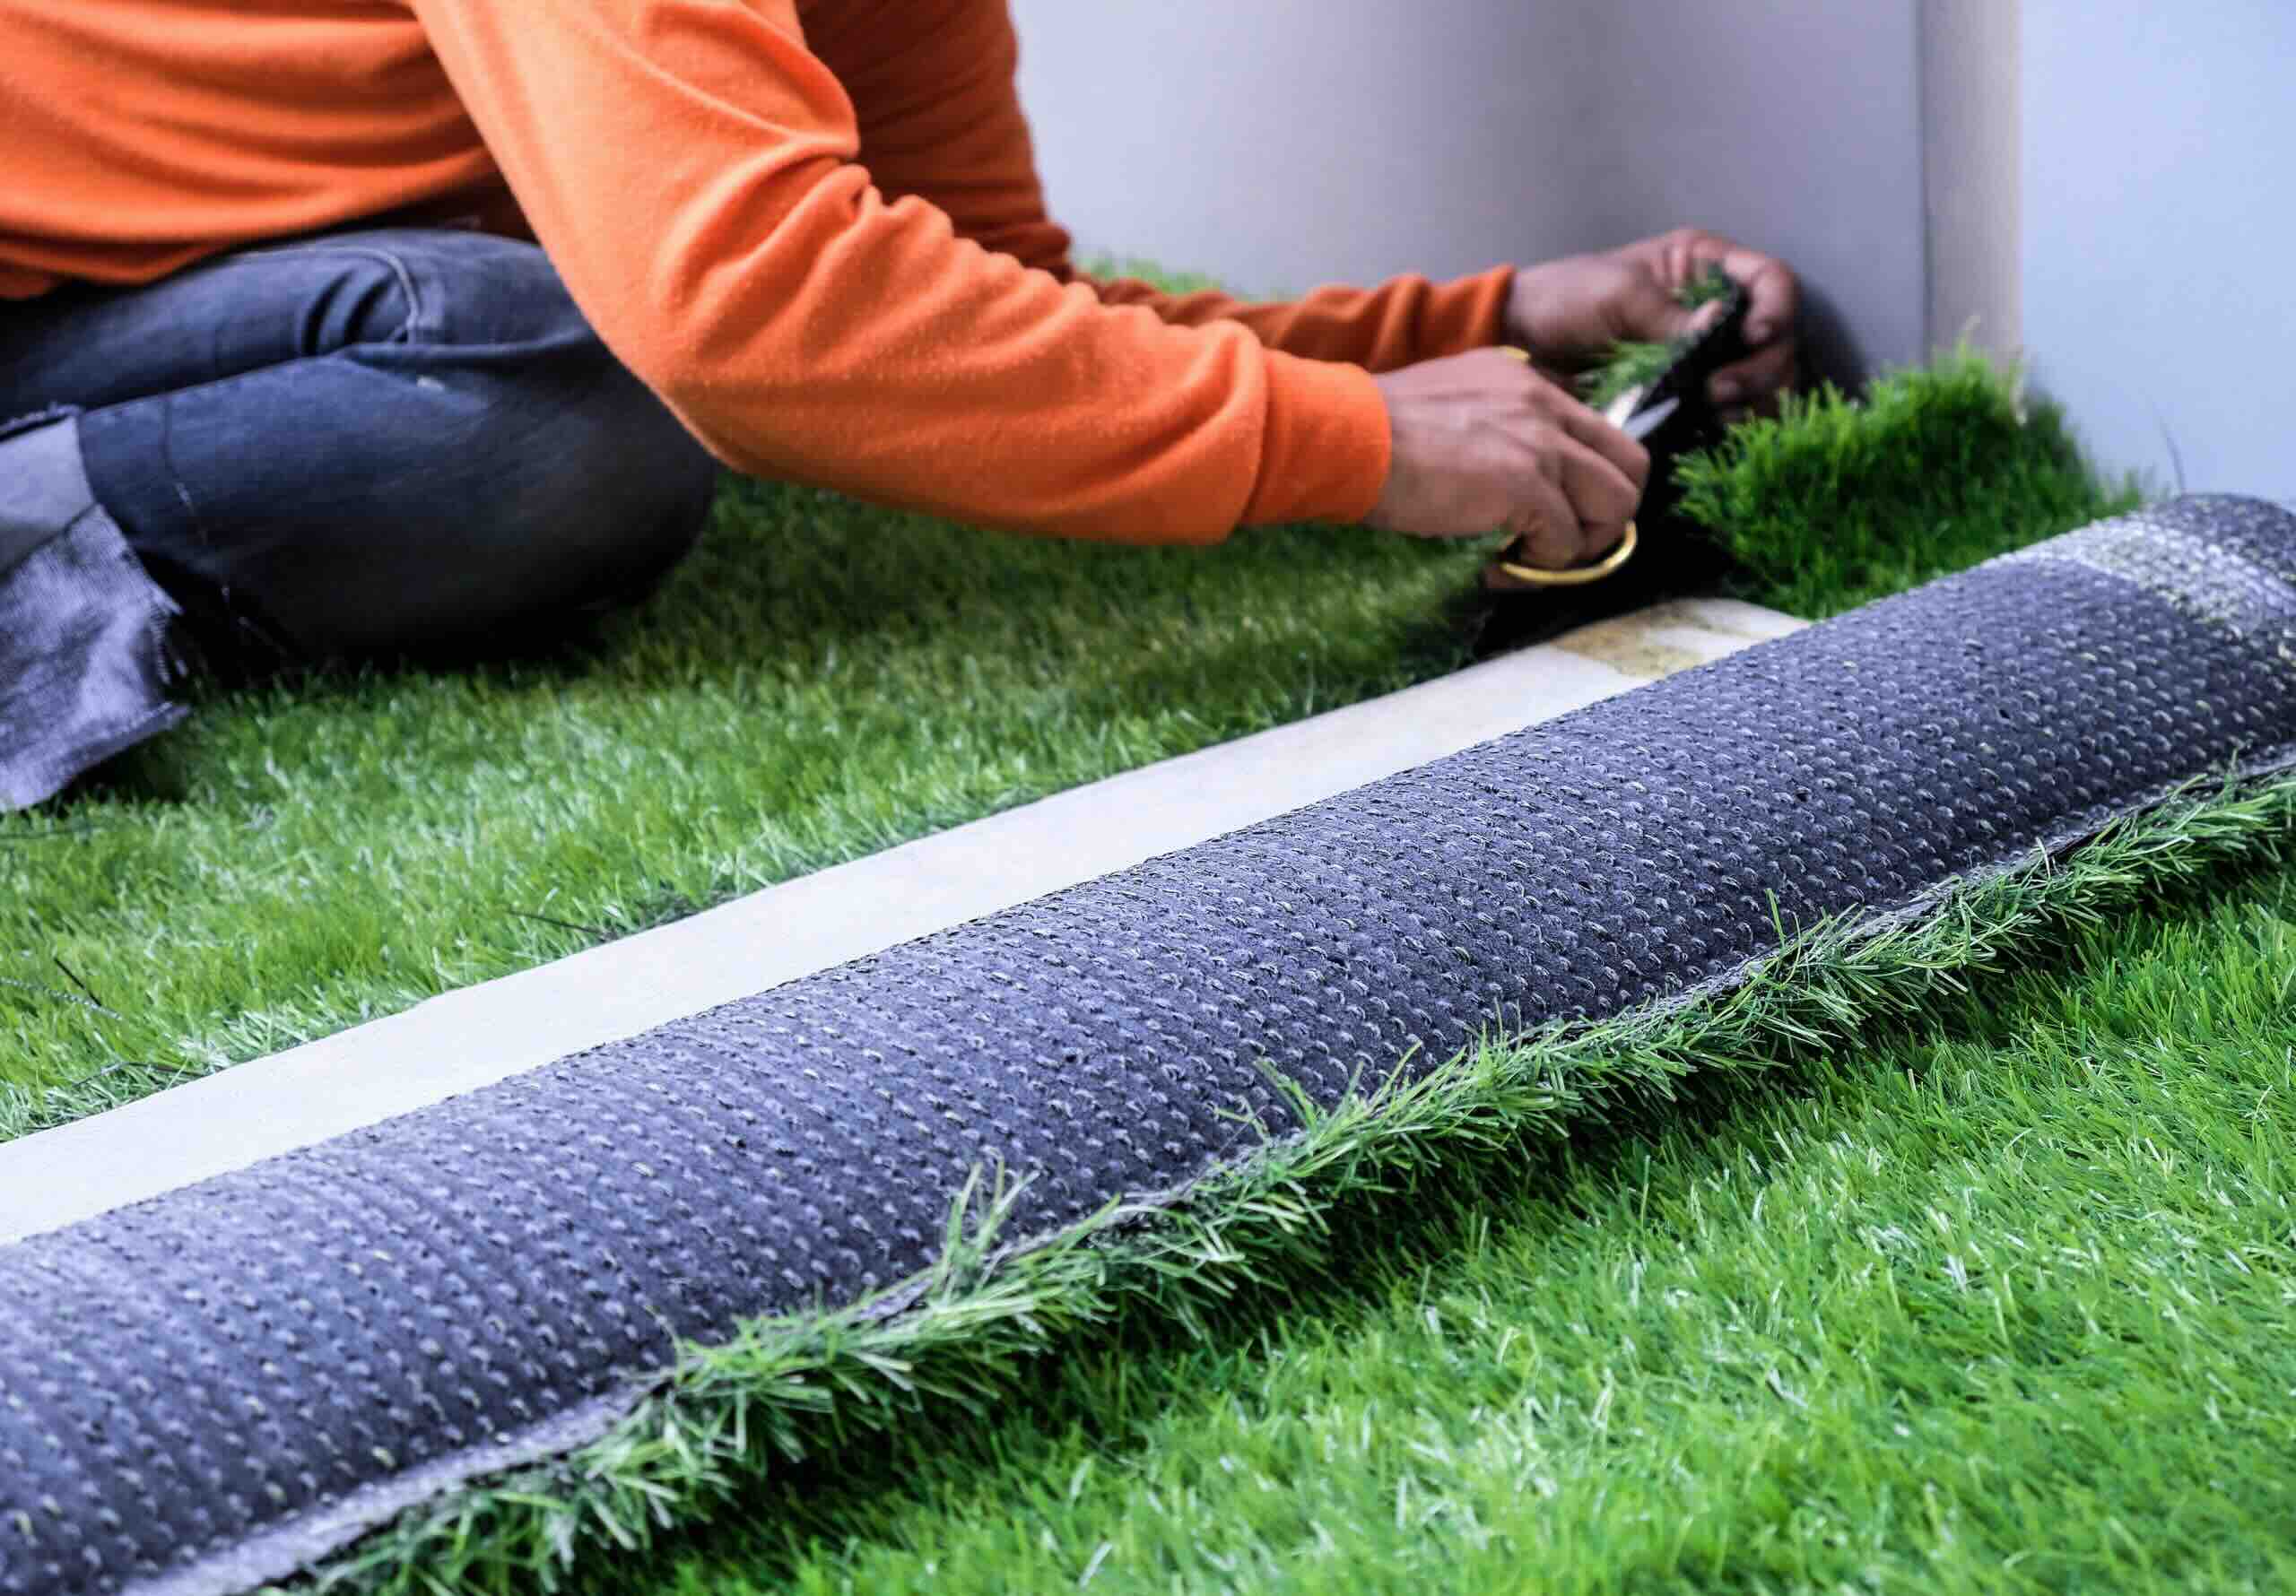
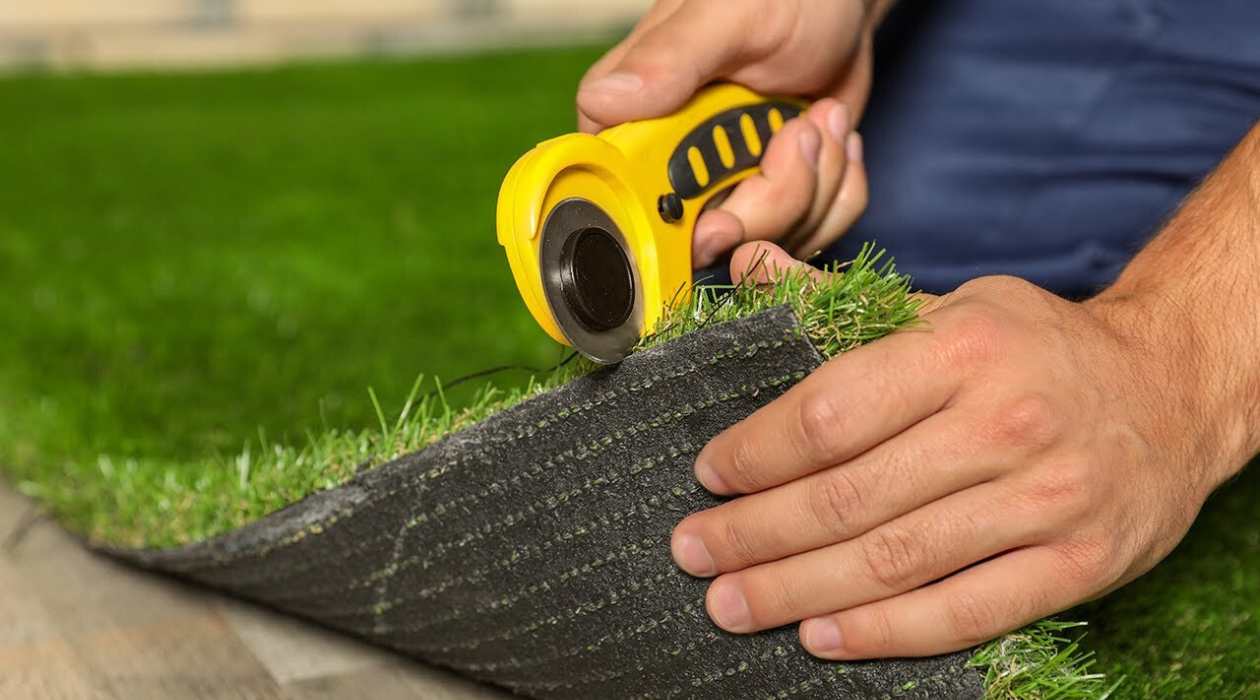
Step 7: Cutting and Seaming the Turf
With the turf rolls laid out in your garden, the next step is to cut and seam the turf to ensure a seamless and uniform appearance. This involves trimming and joining the turf rolls together to create a cohesive surface.
Start by identifying any areas where the turf rolls overlap or meet. Use a straight edge, such as a long board or level, to guide your cutting line and create a clean seam.
Using a sharp utility knife, carefully cut through the overlapped turf rolls along the guide you have created. Take your time to ensure a straight and even cut, minimizing any gaps or visible seams.
If necessary, you may need to remove a small section of the base layer beneath the seam to ensure a smooth and flush connection between the turf rolls.
Once the turf rolls have been cut, carefully lift the edges and apply a turf adhesive or seaming tape along the cut edges. Press the edges together firmly to create a seamless bond. Make sure to follow the manufacturer’s instructions for the specific adhesive or tape you are using.
If using adhesive, allow it to cure as per the recommended drying time before proceeding. This will help secure the turf rolls together effectively.
For larger areas or more complex installations, it may be best to consult with a professional installer to ensure accurate cutting and seamless seaming of the turf.
By cutting and seaming the turf rolls, you are creating a uniform and cohesive surface that enhances the overall appearance and functionality of your turf field.
Step 8: Securing the Turf
After cutting and seaming the turf, the next step in the installation process is to secure it in place. Properly securing the turf ensures that it stays in position even with regular use and prevents any shifting or movement.
Start by walking across the turf field and checking for any areas that may be loose or have wrinkles. Use a carpet kicker or a broom to smooth out these areas and remove any wrinkles or creases.
Once the turf is smooth and in place, secure it by using landscape spikes or anchor nails. Insert the spikes or nails along the perimeter of the turf, approximately 6-8 inches apart. Be careful not to drive the spikes or nails too deep, as this can damage the base layer or the turf.
In addition to securing the perimeter, it may be necessary to insert spikes or nails throughout the turf field for added stability. This is especially important if the area is prone to heavy foot traffic or if you are installing the turf on a slope.
As you insert the spikes or nails, make sure they penetrate through the turf and into the base layer beneath. This will provide a secure hold and prevent any lifting or movement of the turf.
For larger installations or areas with significant slope, consider using turf adhesive or tape in addition to the spikes or nails. Apply the adhesive or tape along the edges and seams of the turf to create a stronger bond and prevent any potential shifting.
By securing the turf effectively, you are ensuring that it remains in place even under heavy use. This step enhances the overall durability and longevity of your turf field.
Read more: What Does An Astro Turf Football Field Cost
Step 9: Infilling the Turf
After securing the turf in place, the next step in the installation process is to infill the turf. Infilling involves applying a material between the blades of the turf to provide support, enhance the durability, and create a natural appearance.
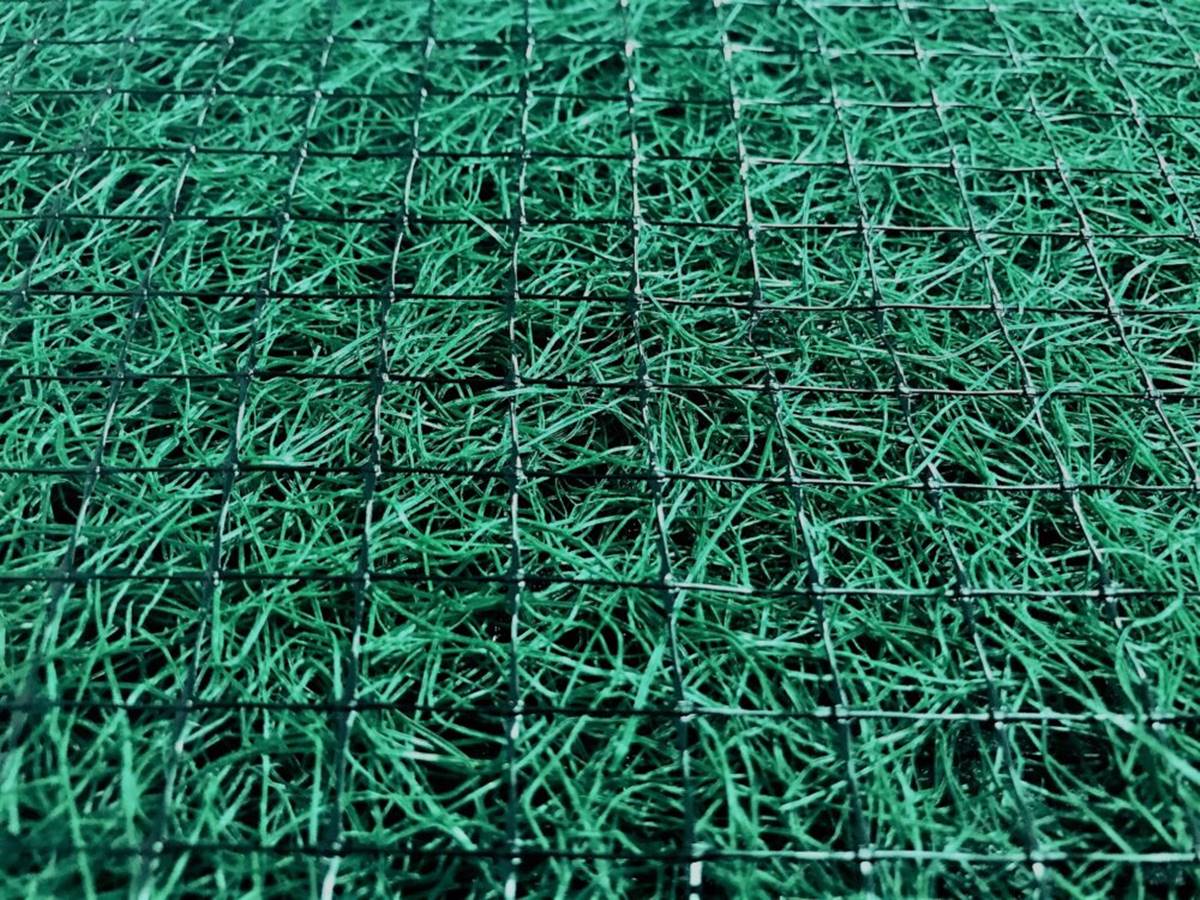
There are various infill materials available, such as silica sand, rubber granules, or a combination of both. The choice of infill material will depend on factors like the intended use of the turf field, personal preference, and local regulations.
Start by evenly spreading the infill material across the turf. Use a drop spreader, a brush, or a broom to distribute the infill material in a uniform manner. Be sure not to overfill, as excessive infill can affect the performance and aesthetic of the turf.
Once the infill material is spread, use a power broom or a stiff brush to work the infill material down into the turf. This helps the infill settle between the blades and provides a consistent level of support throughout the turf field.
Continue brushing or brooming the turf in multiple directions to ensure the infill is evenly distributed and properly settled. This helps to prevent any unevenness or clumping within the turf.
If using rubber infill, be sure to choose a high-quality product that is specifically designed for artificial turf. This will ensure that the rubber infill does not break down or become compacted over time, maintaining the performance and appearance of the turf.
By infilling the turf, you are enhancing its durability, stability, and natural look. The infill material provides support for the blades of the turf, helps with drainage, and adds cushioning for a comfortable surface.
Step 10: Brushing and Grooming the Turf
The final step in the installation process of a turf field is to brush and groom the turf. This step helps to enhance the look, feel, and performance of the turf, ensuring that it remains in optimal condition.
Start by using a power broom or a stiff brush to brush the turf in different directions. This helps to fluff up the fibers, straighten any bent blades, and create a more natural and uniform appearance.
Brushing the turf also helps to distribute the infill material more evenly, preventing any clumping or unevenness. It also helps to separate any fibers that may have become matted during the installation process, allowing them to stand upright for a fuller look.
Continue brushing the turf regularly to prevent any matting or flattening of the blades. This is especially important in high-traffic areas or if the turf is frequently used for sports or recreational activities.
In addition to regular brushing, periodic grooming of the turf is necessary to maintain its optimal condition. This can involve using a drag brush or a power broom with a grooming attachment to lift the fibers and remove any debris or organic matter that may have settled on the turf.
Grooming the turf also helps to redistribute the infill material, ensuring that it is evenly distributed and providing consistent support throughout the turf field.
It is important to follow the manufacturer’s recommendations for brushing and grooming frequency, as it may vary depending on the type of turf and the level of use.
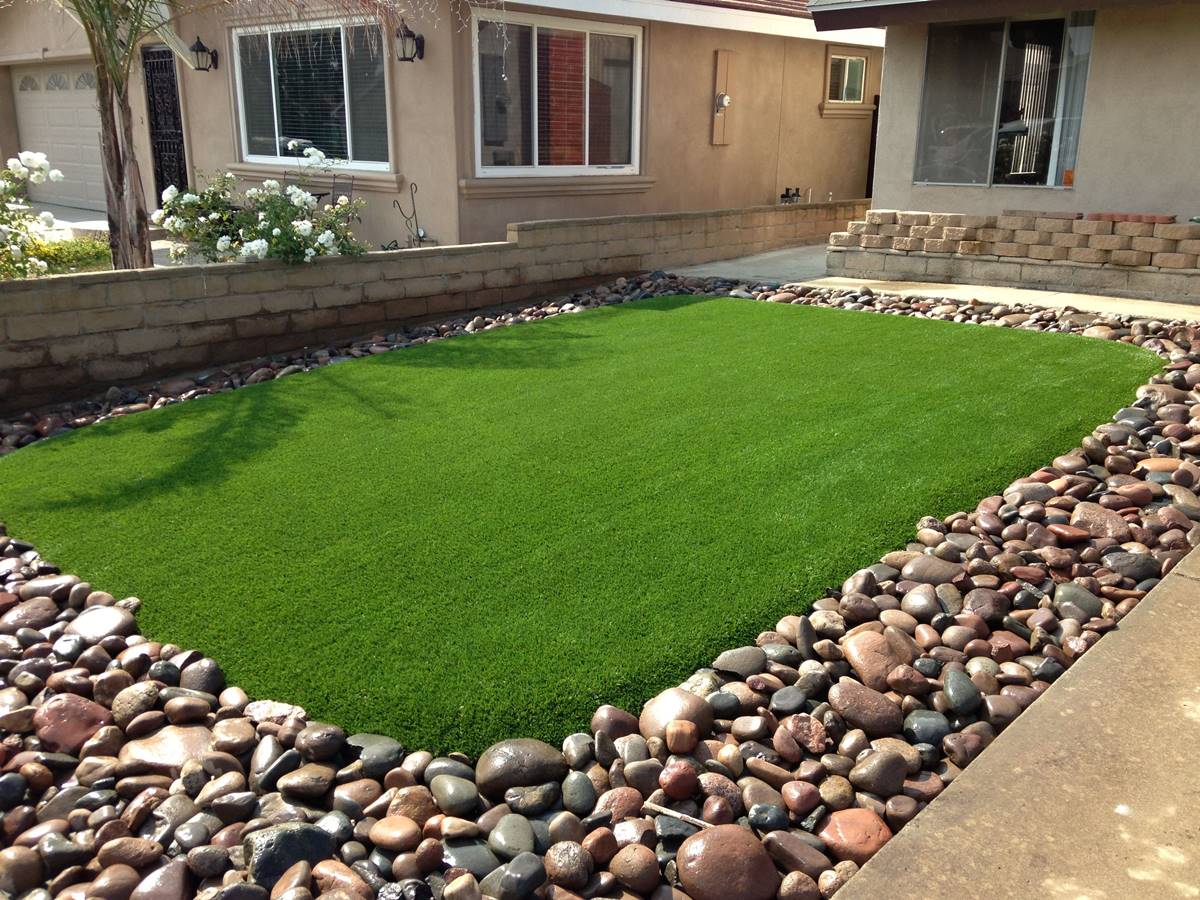
By regularly brushing and grooming the turf, you are helping to maintain its appearance, durability, and performance. This step ensures that your turf field remains vibrant, inviting, and ready to be enjoyed for years to come.
Conclusion
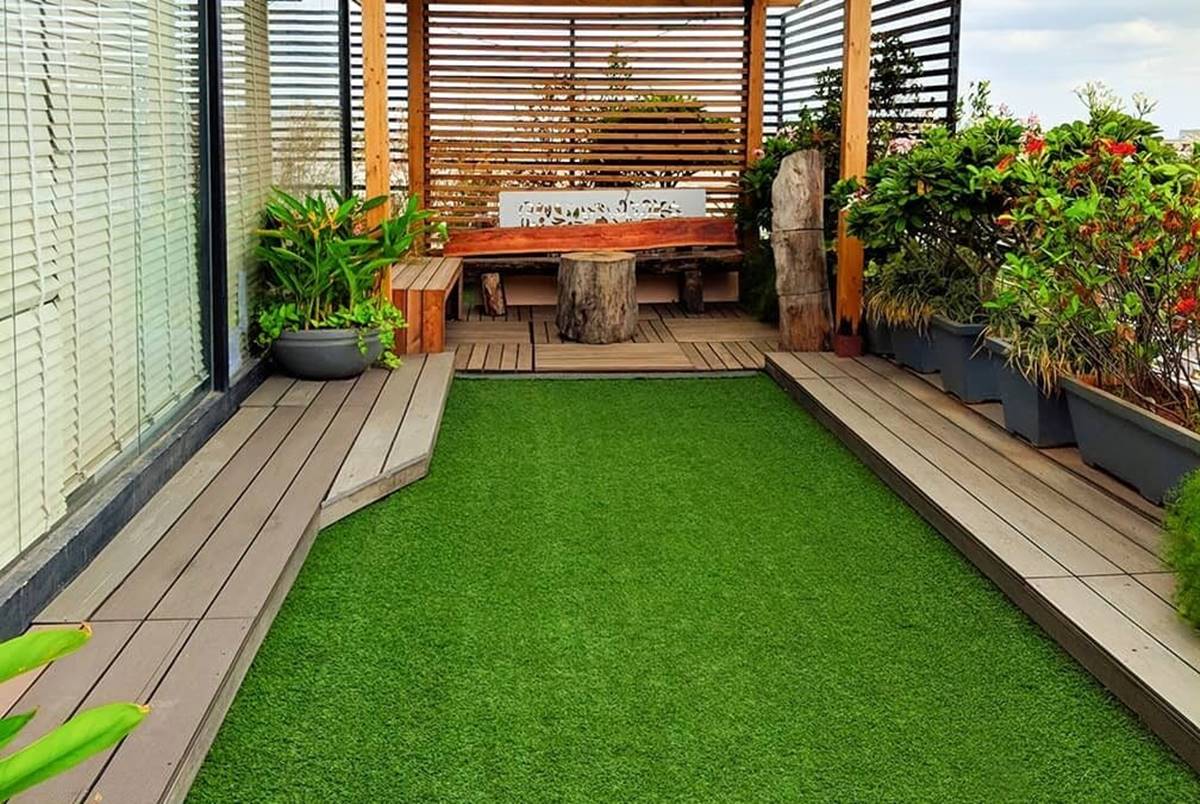
Installing a turf field in your garden can transform your outdoor space into a beautiful and low-maintenance area for recreational activities and relaxation. By following the step-by-step process outlined in this article, you can successfully install a turf field that is visually appealing, durable, and functional.
Starting with the preparation of the ground, removing debris, and leveling and grading the area, you create a solid foundation for the turf installation. Installing the base layer and securing the perimeter anchors provide stability, drainage, and prevent shifting of the turf.
As you lay out the turf rolls and cut, seam, and secure them, you ensure a seamless and cohesive appearance. Infilling the turf with the appropriate material offers support, durability, and a natural look. Lastly, brushing and grooming the turf on a regular basis maintains its appearance, performance, and overall condition.
Remember to consider the specific needs of your garden and consult with professionals or follow manufacturer instructions to achieve the best results for your turf field installation.
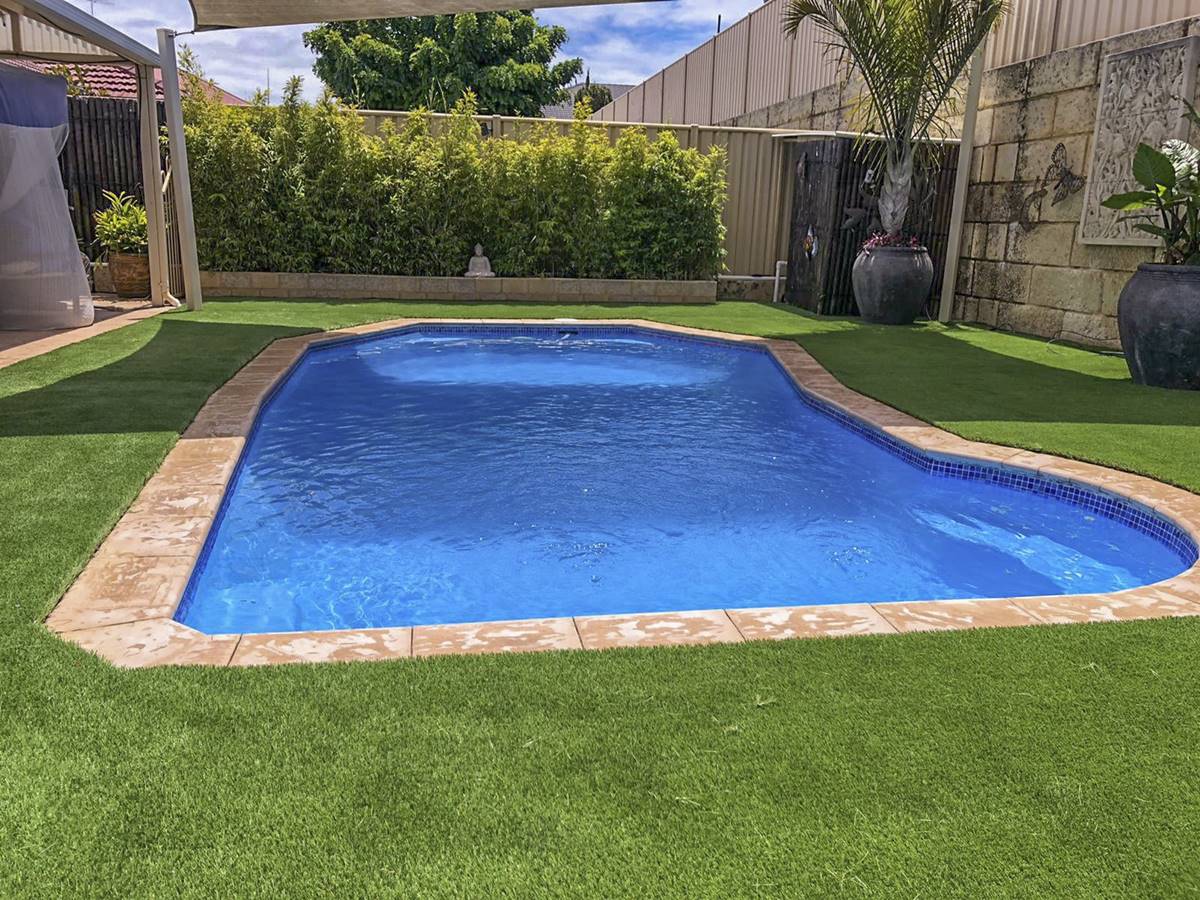
By following these steps, you can enjoy a vibrant and hassle-free turf field that enhances the beauty of your garden, provides a safe and comfortable surface, and requires minimal maintenance compared to natural grass.
Now it’s time to create your own lush green space and enjoy the benefits of a beautiful turf field for years to come!
Frequently Asked Questions about How To Install Turf Field
Was this page helpful?
At Storables.com, we guarantee accurate and reliable information. Our content, validated by Expert Board Contributors, is crafted following stringent Editorial Policies. We're committed to providing you with well-researched, expert-backed insights for all your informational needs.

0 thoughts on “How To Install Turf Field”