Home>Garden Essentials>How To Install Turf Over Pavers
Garden Essentials
How To Install Turf Over Pavers
Modified: March 7, 2024
Looking to transform your garden? Learn how to install turf over pavers for a green and lush outdoor space. Get step-by-step instructions and tips today!
(Many of the links in this article redirect to a specific reviewed product. Your purchase of these products through affiliate links helps to generate commission for Storables.com, at no extra cost. Learn more)
Introduction
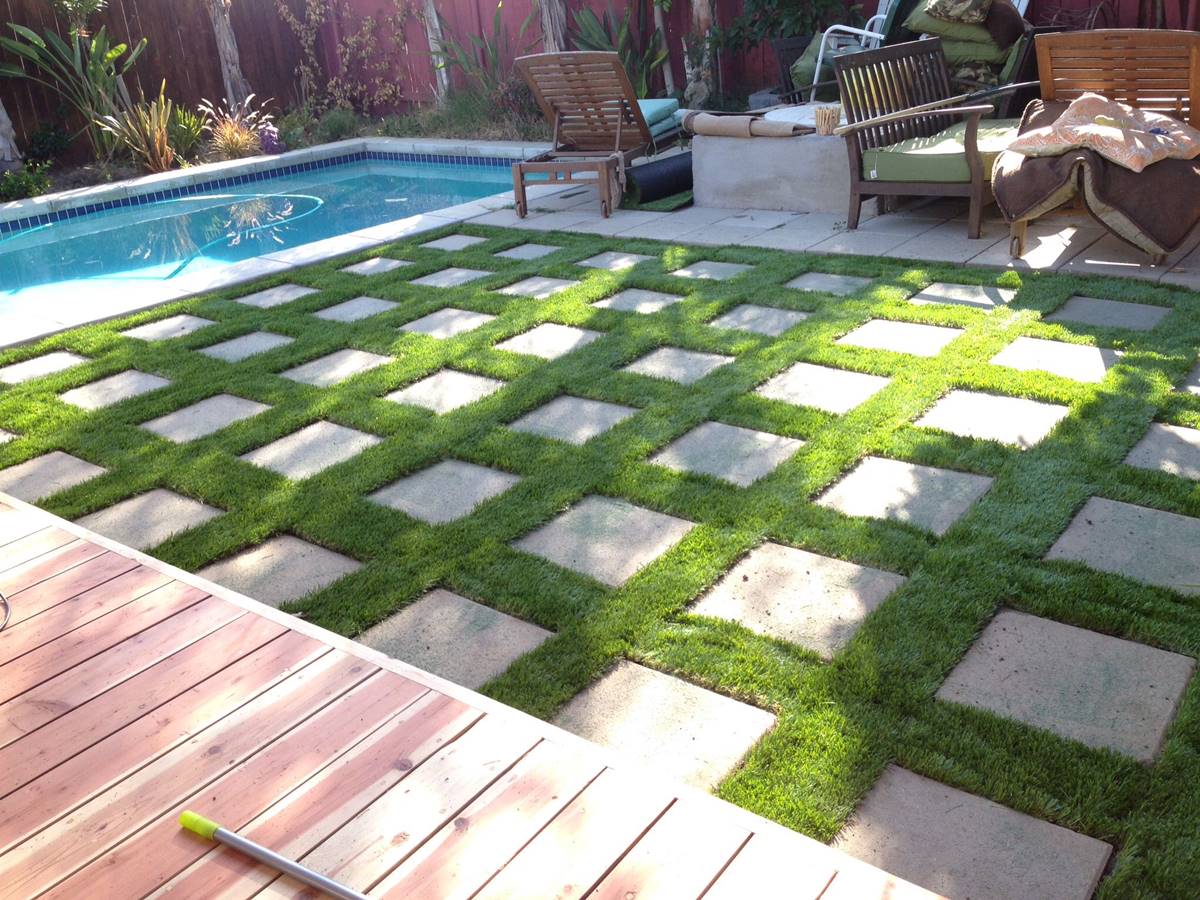
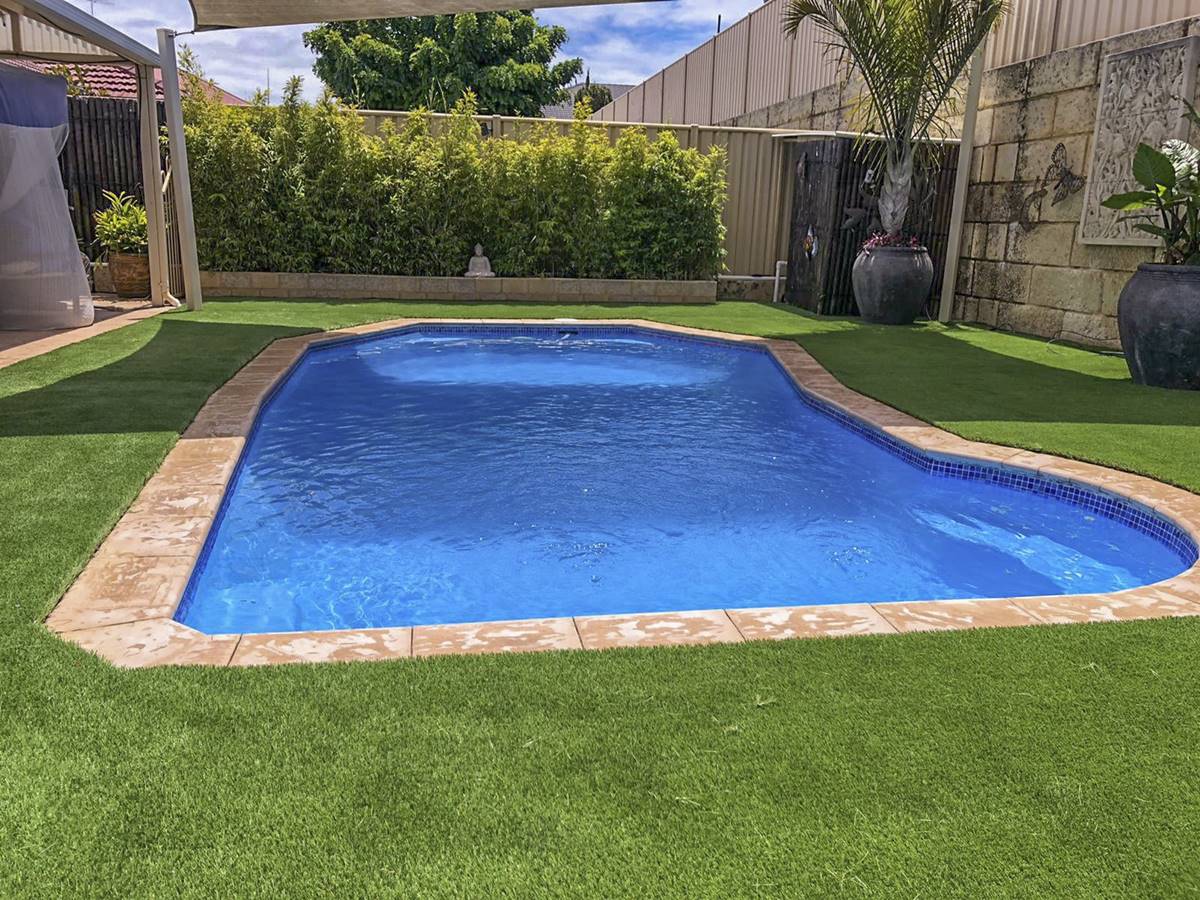
Are you tired of looking at your dull and lifeless pavers? Do you wish you could transform that unappealing space into a lush, green landscape? Look no further! In this guide, we will show you how to install turf over pavers to create a stunning and low-maintenance garden area.
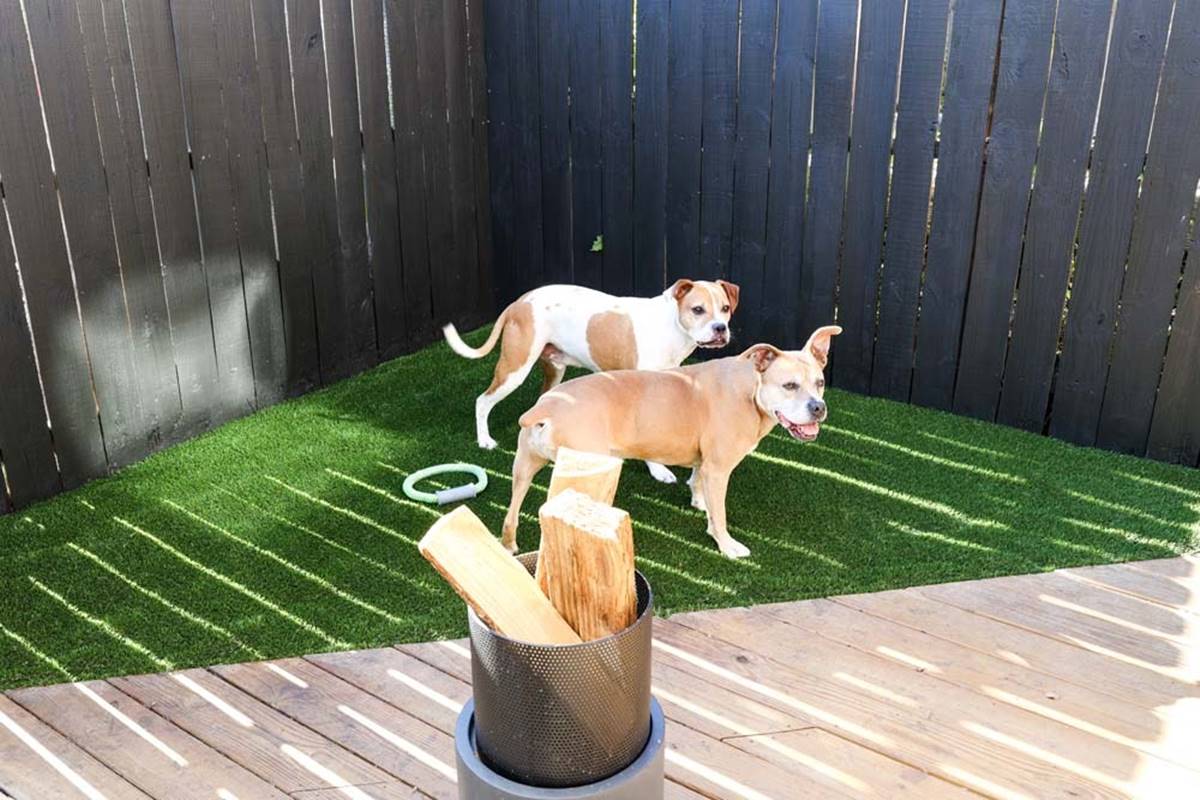
Turf, also known as artificial grass or synthetic turf, has become increasingly popular in residential and commercial landscapes due to its realistic appearance and durability. Whether you want a green lawn for kids and pets to play on or you simply want to enhance the aesthetics of your outdoor space, installing turf over pavers is a fantastic solution.
Not only does turf instantly give your space a fresh and vibrant look, but it also requires minimal maintenance compared to natural grass. Say goodbye to mowing, watering, and fertilizing, and say hello to a beautiful and hassle-free outdoor area!
Before diving into the installation process, let’s go over the materials you will need:
- Turf rolls
- Adhesive
- Utility knife
- Measuring tape
- Broom or brush
Now that you have gathered all the necessary materials, it’s time to transform your pavers into a lush green oasis. Follow the step-by-step instructions below to ensure a successful installation process.
Key Takeaways:
- Transform your dull pavers into a vibrant garden oasis with turf installation. Enjoy a low-maintenance, lush green space that’s perfect for outdoor activities and relaxation.
- Follow the step-by-step guide to ensure a successful turf installation over pavers. Say goodbye to tedious lawn maintenance and hello to a beautiful, hassle-free outdoor area.
Read more: How To Install Turf Over Rocks
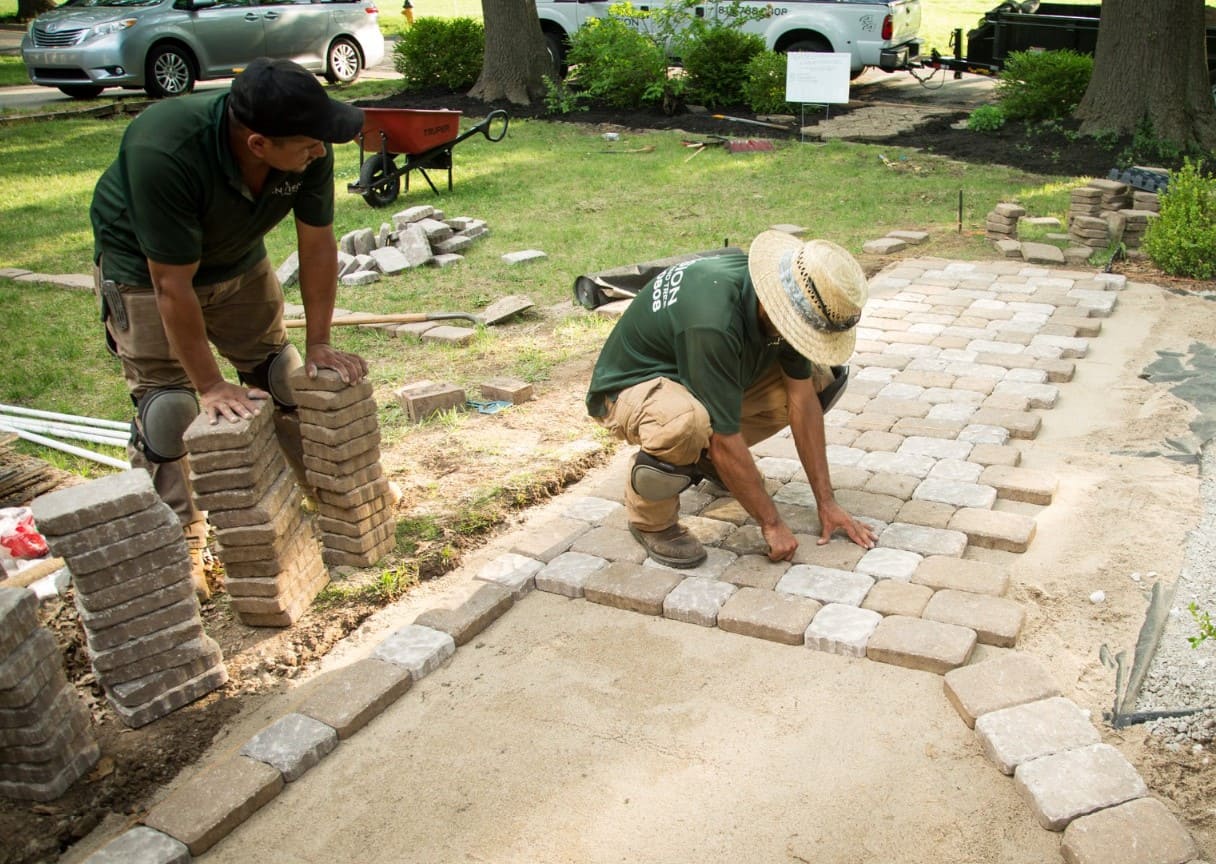
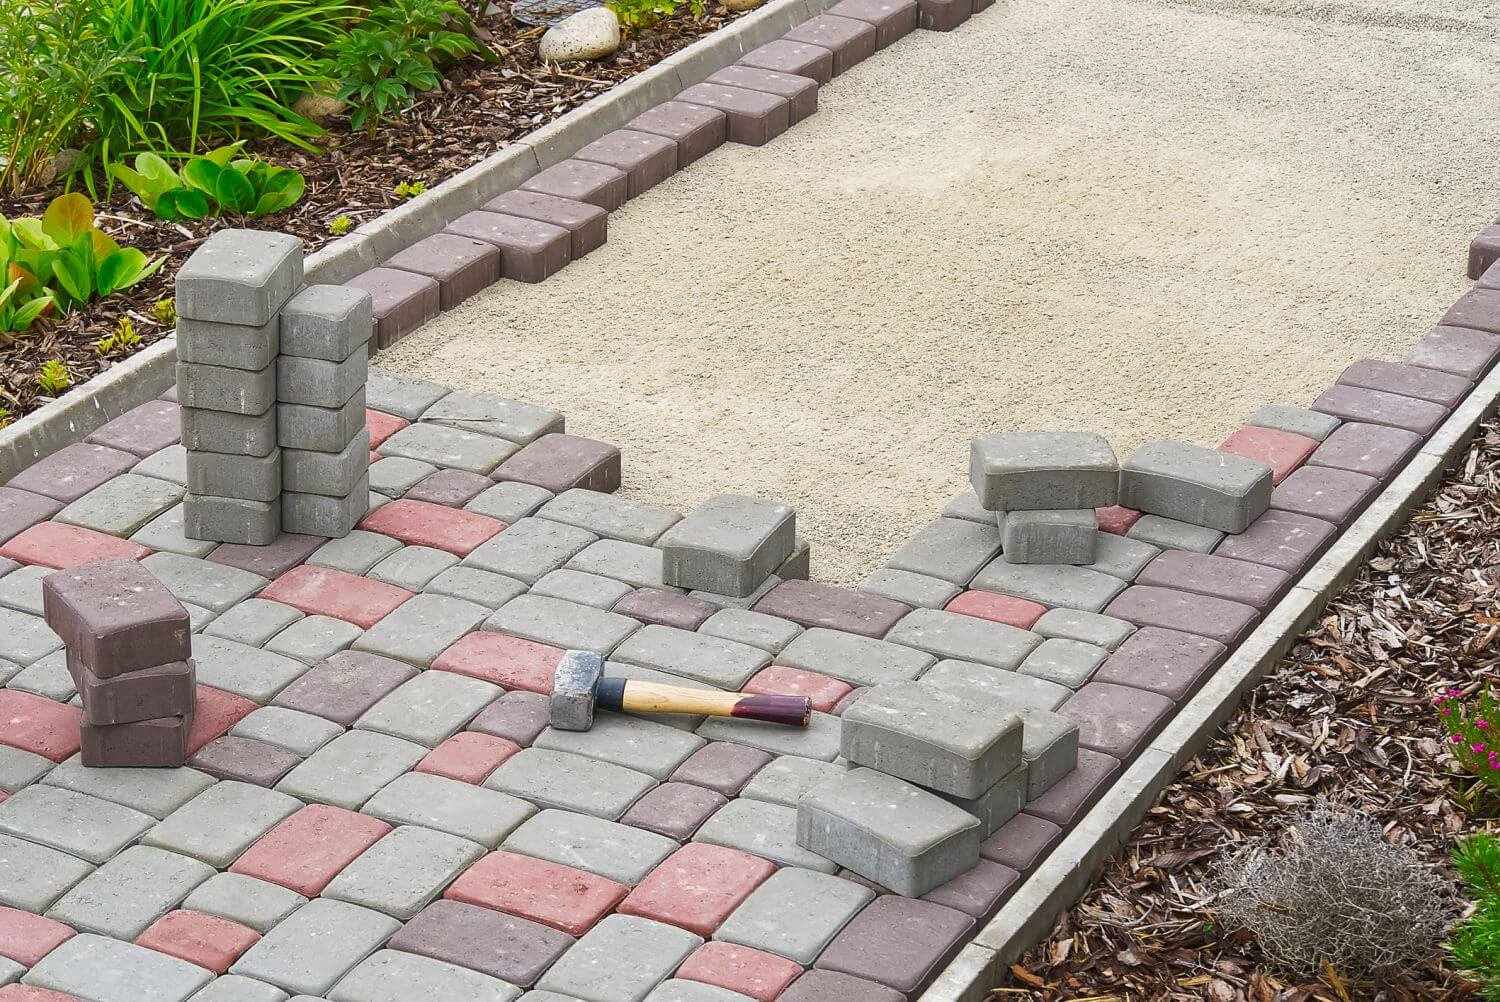
Step 1: Prepare the Pavers
Before you start installing turf over your pavers, it’s essential to prepare the surface properly. This will ensure a smooth and long-lasting installation. Here’s what you need to do:
- Clean the pavers: Begin by removing any debris, dirt, or weeds from the surface of the pavers. Use a broom or a leaf blower to sweep away loose particles, and then use a pressure washer to thoroughly clean the pavers. This will create a clean and stable base for the turf installation.
- Repair any damages: Inspect the pavers for any cracks or loose pieces. If you notice any damage, make sure to repair or replace the affected pavers before moving forward. This will prevent any unevenness or potential issues with the turf installation.
- Ensure proper drainage: Check that the pavers have adequate drainage. If there are any drainage issues, such as pooling water, it’s important to address them before installing the turf. Proper drainage will prevent water from accumulating and causing damage to the turf over time.
By preparing the pavers thoroughly, you will create a solid foundation for the turf installation. This step is crucial for ensuring that the turf remains stable and aesthetically pleasing over the long term.
Step 2: Clean the Pavers
Now that you have prepared the pavers, it’s time to give them a thorough cleaning. This step is crucial to remove any dirt, stains, or algae that may be present on the surface. Cleaning the pavers will ensure a strong bond between the adhesive and the turf, leading to a smooth and seamless installation. Follow these steps to clean the pavers:
- Sweep the surface: Start by sweeping the pavers with a broom or a leaf blower to remove loose debris and dirt. This will make it easier to tackle the tougher stains and grime.
- Remove stains: If there are any stubborn stains on the pavers, you can use a mild detergent mixed with water to scrub the affected areas. Avoid using harsh chemicals or abrasive cleaners, as they can damage the pavers.
- Apply a cleaning solution: For more extensive cleaning, you can use a specialized paver cleaner or a mixture of water and vinegar. Follow the instructions provided by the manufacturer or create a solution with equal parts water and vinegar. Apply the solution to the pavers and scrub with a stiff-bristle brush to remove any algae or embedded dirt.
- Rinse thoroughly: After scrubbing the pavers, rinse them thoroughly with a hose or a pressure washer. Ensure that all cleaning solution and debris are completely removed from the surface.
- Allow to dry: Allow the pavers to air dry completely before proceeding with the turf installation. This will ensure that the adhesive adheres properly to the surface.
By cleaning the pavers thoroughly, you will create a clean and smooth surface for the turf installation. It will not only enhance the appearance but also ensure the longevity of the installation. Take the time to clean the pavers properly, and you will be rewarded with a beautiful and pristine outdoor space.
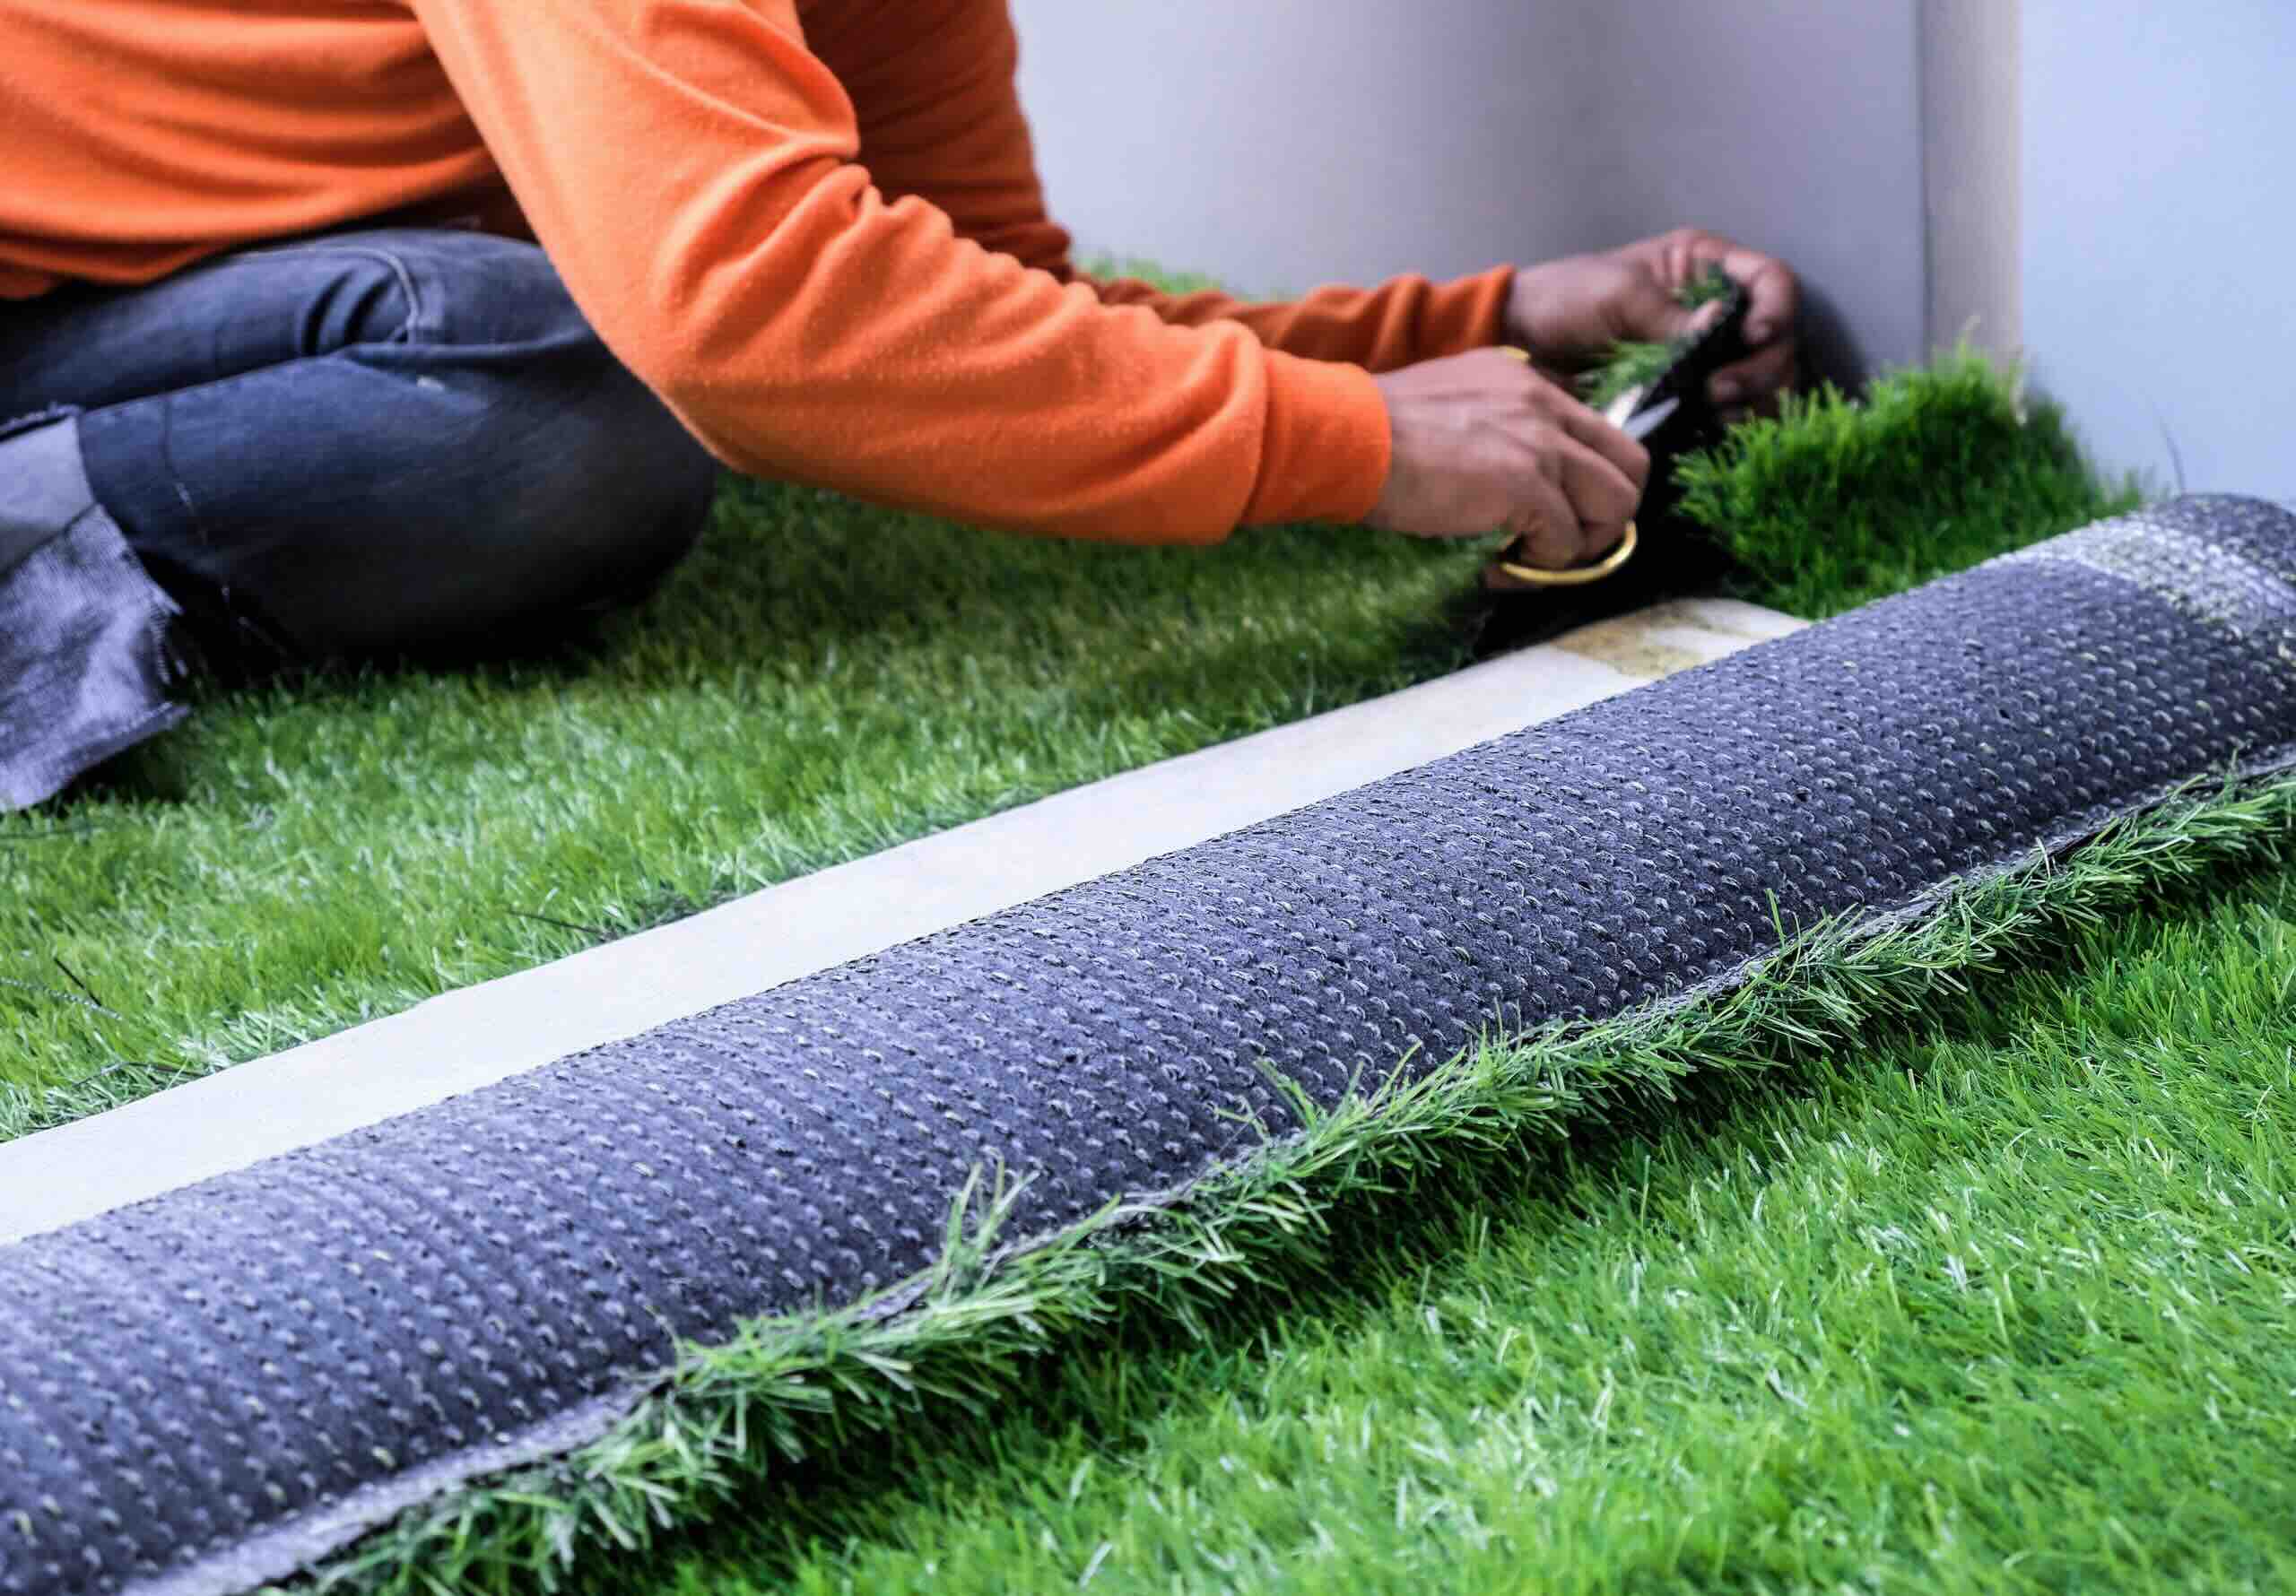
Step 3: Measure and Cut the Turf
Now that your pavers are clean and ready, it’s time to measure and cut the turf to fit the area. Accurate measurements are essential to ensure a precise and professional-looking installation. Follow these steps to measure and cut the turf:
- Measure the area: Use a measuring tape to determine the dimensions of the area where you will be installing the turf. Make sure to measure both the length and width accurately. It’s a good idea to add a few extra inches to each side to allow for any minor variations or adjustments during the installation process.
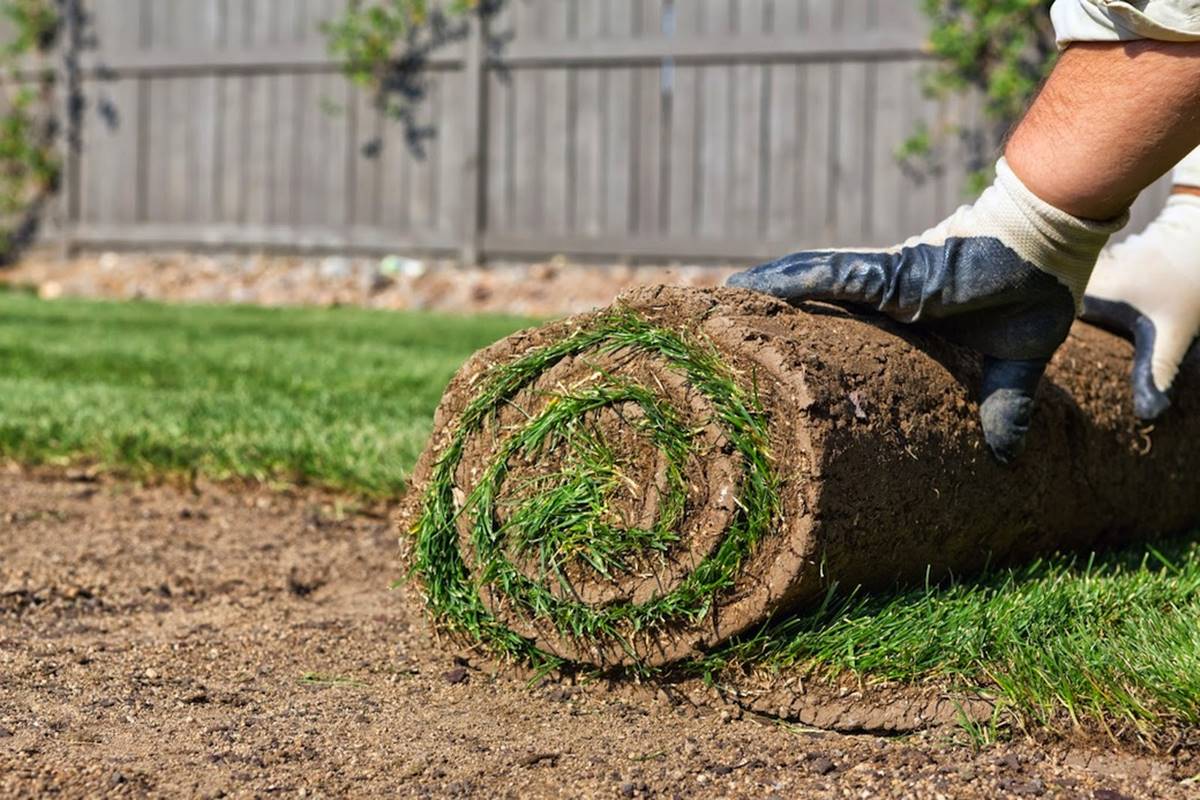
- Lay out the turf: Unroll the turf and lay it over the pavers, ensuring that it covers the entire area. Take note of any patterns or designs on the turf that you want to align with specific features, such as the edges of the pavers or surrounding landscape.
- Mark the edges: Use a marker or chalk to mark the edges of the turf where it needs to be cut. Make sure to mark all sides of the turf accurately to ensure a precise fit.
- Cut the turf: Using a utility knife, carefully cut along the marked lines to trim the turf to the correct size. Make sure to apply firm and even pressure to achieve clean and accurate cuts.
- Double-check the fit: After cutting the turf, lay it back over the pavers to double-check that it fits correctly. Make any necessary adjustments or trims as needed to achieve a seamless fit.
When measuring and cutting the turf, accuracy is key. Take your time to ensure precise measurements and clean cuts. A well-fitted turf will not only enhance the aesthetics of your outdoor space but also make the installation process much smoother.
Step 4: Apply the Adhesive
With the turf cut to the correct size, it’s time to apply the adhesive to secure it to the pavers. The adhesive will create a strong and durable bond between the turf and the surface, ensuring that it stays in place even during heavy use or adverse weather conditions. Here’s how to apply the adhesive:
- Choose the right adhesive: Select a high-quality adhesive that is specifically designed for turf installation. Check the manufacturer’s instructions to ensure that it is suitable for use on pavers.
- Prepare the adhesive: Follow the instructions provided by the manufacturer to prepare the adhesive. Typically, you will need to mix the adhesive with water in the specified proportions and let it sit for a few minutes to activate.
- Apply the adhesive: Using a trowel or a putty knife, spread an even layer of the adhesive onto the surface of the pavers. Make sure to cover the entire area where the turf will be placed, ensuring a consistent and thorough application.
- Work in small sections: It’s best to apply the adhesive in small sections to prevent it from drying out before the turf is installed. Work methodically, starting from one corner and gradually moving across the area.
- Smooth out the adhesive: After applying the adhesive to a section, use the flat edge of the trowel or putty knife to smooth it out. This will create an even surface for the turf to adhere to.
Remember to follow the manufacturer’s instructions regarding the drying time of the adhesive. Allow it to dry to the touch before proceeding to the next steps of the installation process.
Applying the adhesive correctly is crucial for ensuring a secure and long-lasting turf installation. Take your time and follow the instructions carefully to achieve the best results.
Read more: How To Install Pavers Over A Concrete Patio
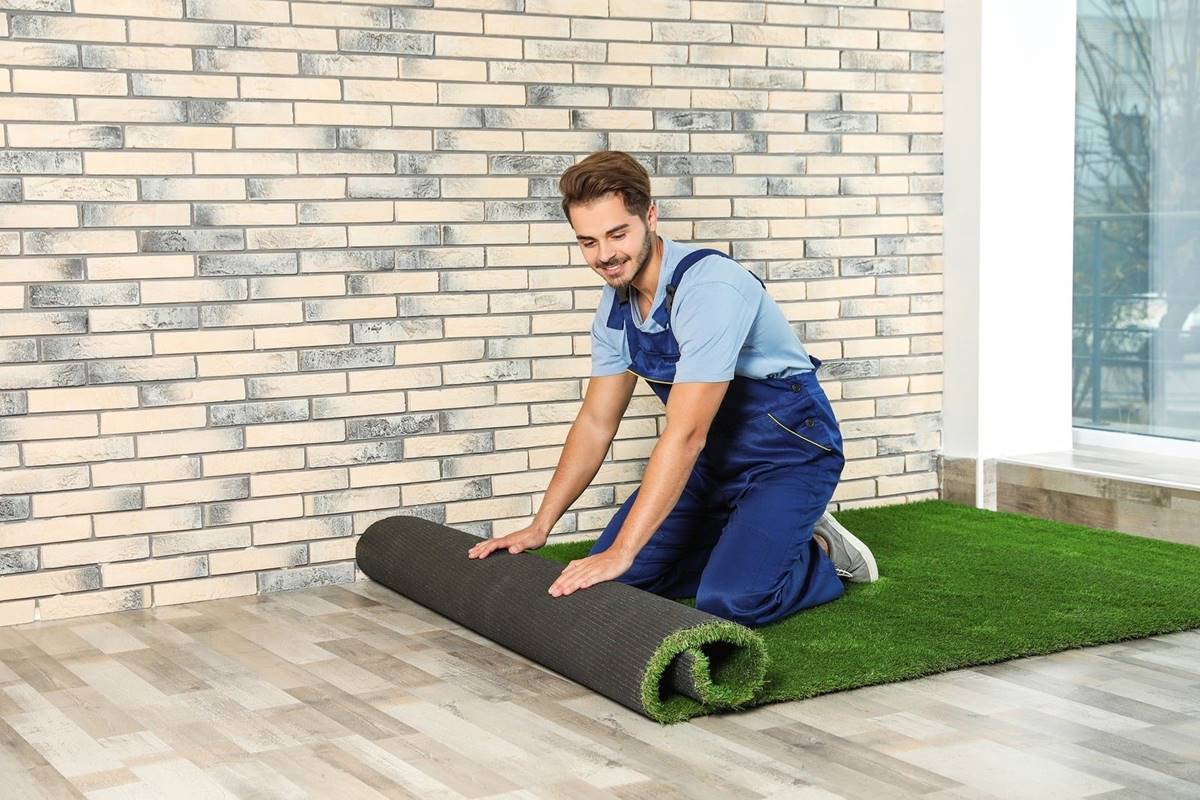
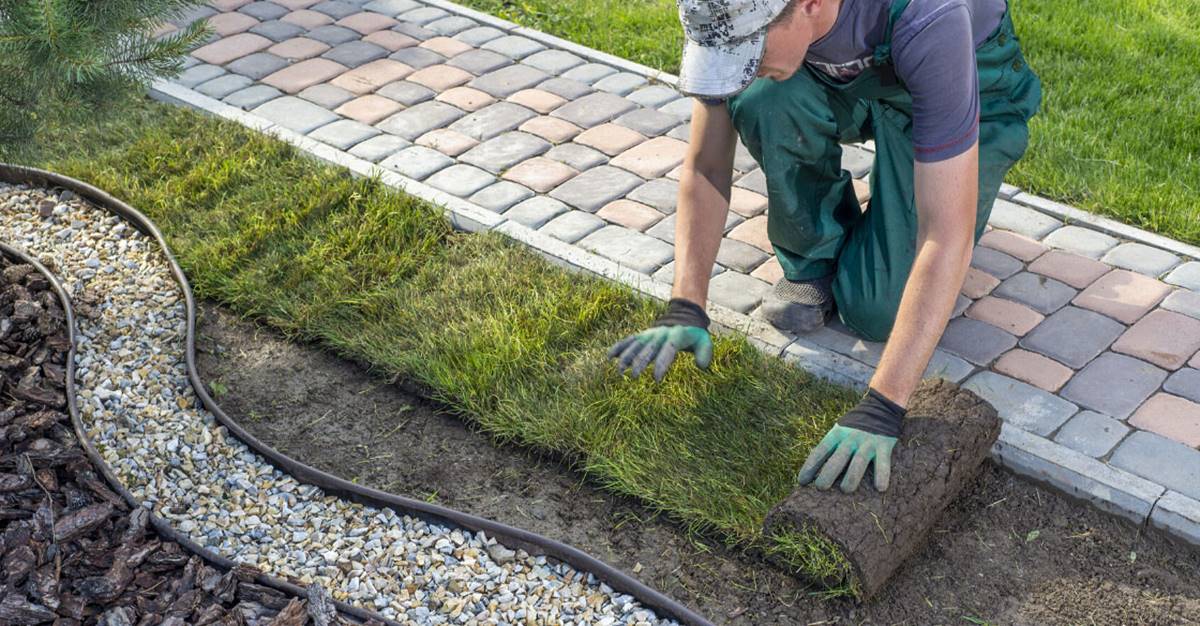
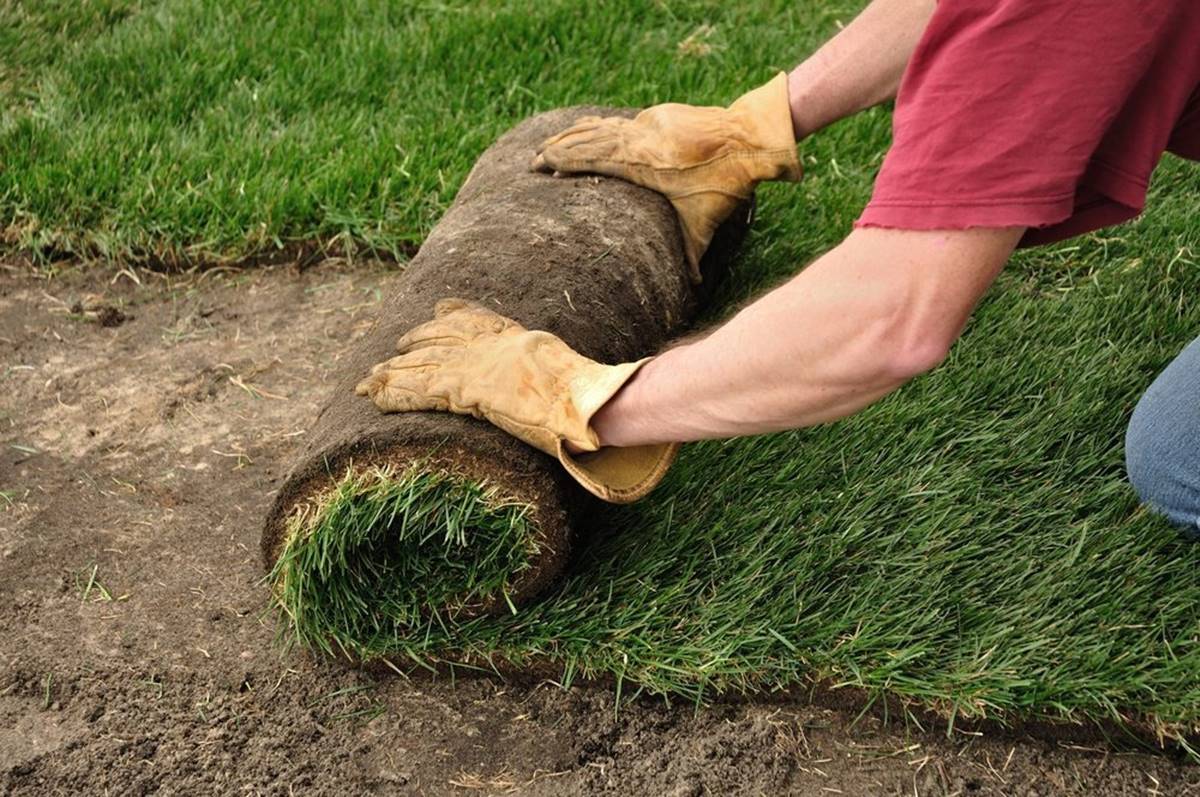
Step 5: Lay the Turf
With the adhesive applied, it’s time to lay the turf over the prepared pavers. This step involves carefully positioning the turf to ensure a seamless and natural-looking installation. Follow these instructions to lay the turf:
- Start from one corner: Begin by placing one corner of the turf onto the adhesive. Make sure to align the edges of the turf with the edges of the pavers.
- Slowly unroll the turf: As you lay the turf onto the adhesive, unroll it gradually, moving across the area. Smooth out any wrinkles or folds, ensuring that the turf lays flat and is evenly positioned.
- Align patterns: If your turf has any distinct patterns or designs, pay attention to aligning them with specific features of the pavers or adjacent landscape elements. This will create a visually cohesive and natural appearance.
- Press down firmly: Once the turf is in place, press down firmly along the entire surface to ensure that it adheres to the adhesive. Use a roller or simply walk on the turf to provide even pressure and secure the bond.
- Smooth out any air bubbles: If you notice any air bubbles or imperfections, use a broom or brush to smooth them out. Gently brush the surface in the direction of the fibers to achieve a uniform and smooth look.
Take your time during this step to ensure that the turf is laid correctly and positioned accurately. Pay attention to details to achieve a flawless and professional-looking installation.
Continue to the next step to secure the turf in place and give it a finished appearance.
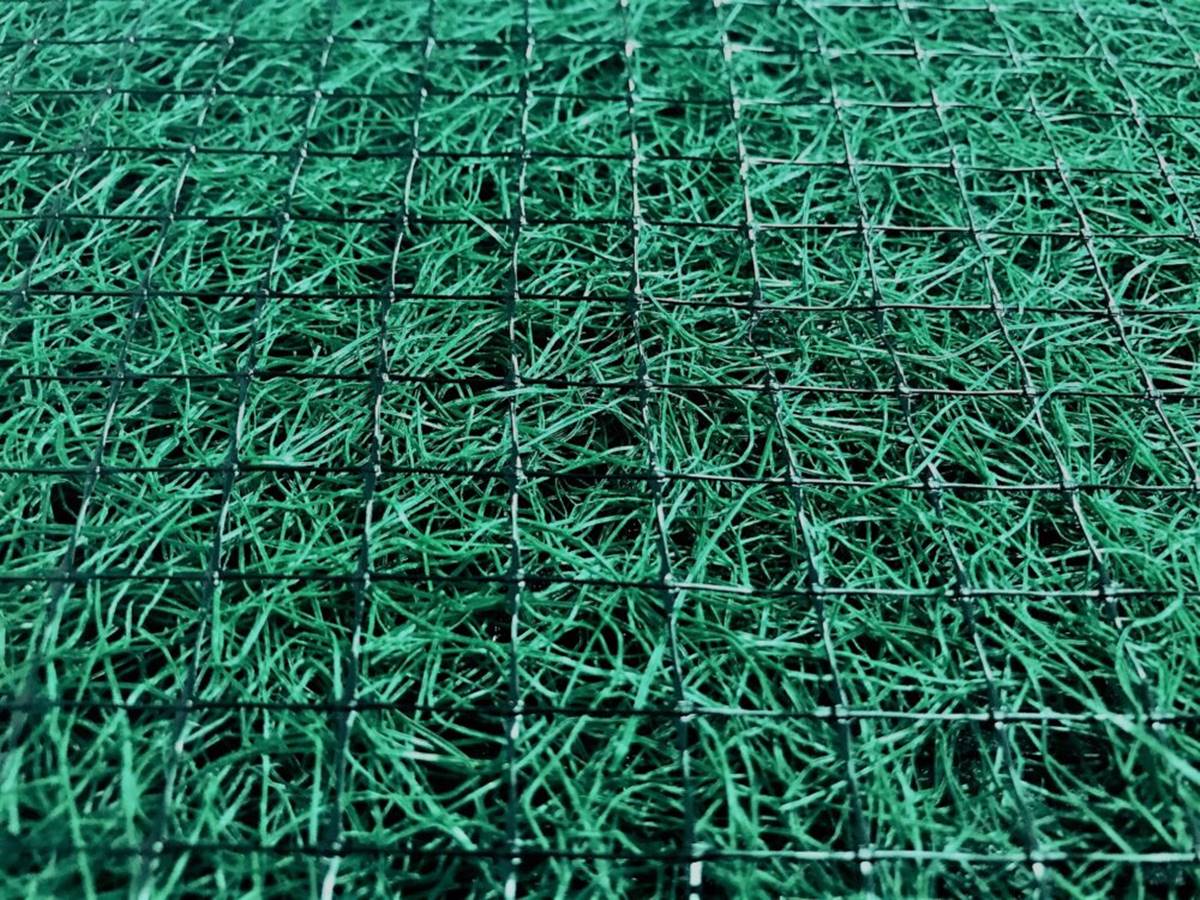
Before installing turf over pavers, make sure the pavers are clean and level. Use a weed barrier to prevent weeds from growing through the turf. Then, lay the turf over the pavers and secure the edges with landscape staples.
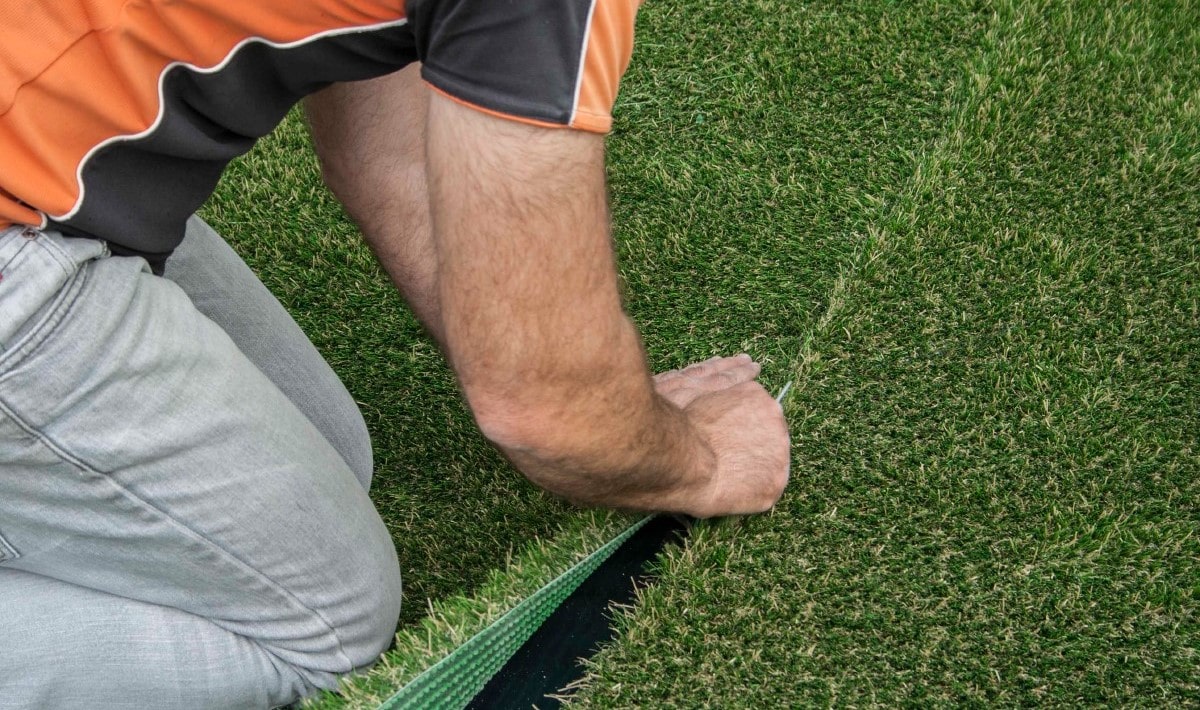
Step 6: Secure the Turf
Now that the turf is laid, it’s time to secure it in place to prevent any shifting or movement. This step is important for ensuring a long-lasting and stable turf installation. Follow these instructions to secure the turf:
- Use landscape stakes: If desired, you can use landscape stakes along the edges of the turf to secure it to the ground. Insert the stakes through the turf and into the ground, ensuring that they are placed evenly and securely.
- Apply extra adhesive: In areas where the edges of the turf meet, or where there are seams or joints, apply an extra layer of adhesive to ensure a strong bond. Use a trowel or putty knife to spread the adhesive and press the edges together firmly.
- Consider using turf nails: In areas where the turf may be subjected to heavy foot traffic or wind, you may opt to use turf nails or landscape fabric staples to secure the edges. Insert the nails through the turf and into the pavers, ensuring a secure hold.
By securing the turf in place, you’ll minimize any chance of movement or shifting, creating a stable and visually pleasing installation. Pay attention to high-traffic areas and areas prone to strong winds, ensuring that the turf remains firmly anchored.
Continue to the next step to trim any excess turf and achieve a clean and polished finish.
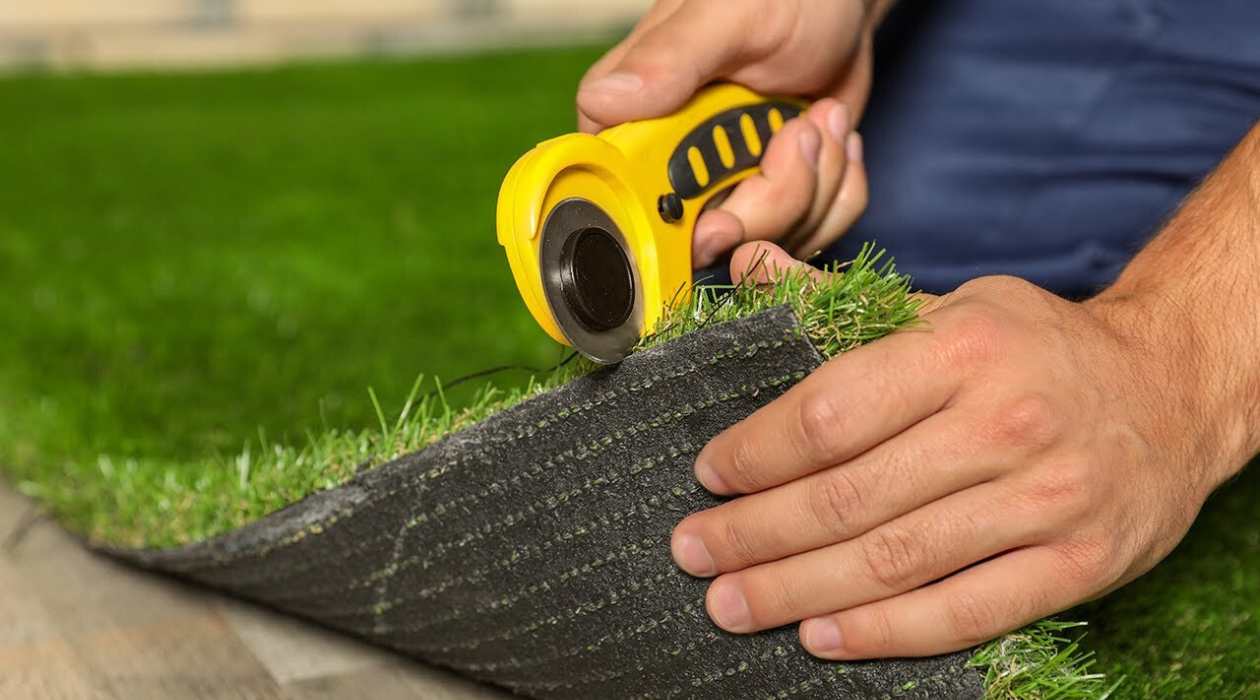
Step 7: Trim Excess Turf
Once the turf is secured in place, it’s time to trim any excess edges for a clean and polished finish. Trimming the turf will give your installation a professional look and ensure that there are no uneven or protruding edges. Follow these steps to trim excess turf:
- Assess the edges: Examine the edges of the turf to identify any areas where it extends beyond the desired boundary. These excess edges may interfere with the overall aesthetics of the installation.
- Measure and mark: Use a measuring tape and a marker to measure and mark the desired edge of the turf. Make sure to maintain a consistent and straight line throughout.
- Cut the excess: Using a sharp utility knife, carefully cut along the marked line to trim off the excess turf. Apply firm and even pressure to achieve clean and precise cuts.
- Double-check the edges: After trimming, inspect the edges to ensure that they are even and aligned with the surrounding pavers. Make any additional trims or adjustments as needed to achieve a seamless and smooth transition between the turf and the pavers.
Trimming the excess turf will give your installation a refined and professional appearance. Pay attention to detail and take your time during this step to achieve the best results. A clean and well-trimmed edge is key to an aesthetically pleasing turf installation.
Now that the excess turf is trimmed, the last step is to brush and fluff the turf to enhance its visual appeal and ensure that it looks its best.
Step 8: Brush and Fluff the Turf
After installing the turf and trimming the excess edges, the next step is to brush and fluff the turf. This step is essential for achieving a natural and vibrant appearance, as well as maintaining the longevity of your turf. Follow these instructions to brush and fluff the turf:
- Use a stiff-bristle broom: Start by using a stiff-bristle broom to brush against the natural grain of the turf. This will help to lift the fibers and separate them, providing a fuller and more natural look.
- Brush in different directions: Brush the turf in different directions to ensure that all areas are evenly fluffed. Pay extra attention to high-traffic areas, as they may require more brushing to maintain an upright appearance.
- Apply infill (optional): If you have chosen to use infill material for your turf installation, such as silica sand or rubber granules, this is the stage where it should be applied. Spread the infill evenly over the turf with a spreader, making sure not to overdo it. This will help to further enhance the stability and resilience of the turf.
- Check for any missed spots: Inspect the turf carefully for any areas that may have been overlooked during the brushing process. Use the broom to address any missed spots and ensure that all parts of the turf are properly fluffed.
Brushing and fluffing the turf will not only improve its appearance but also help to maintain its shape and longevity. Regular brushing, especially in high-traffic areas, will prevent the fibers from matting down and ensure a lush and realistic-looking lawn for years to come.
Now that your turf is brushed and fluffed, it’s time to step back and enjoy your new and transformed outdoor space!
Read more: How To Install Driveway Pavers
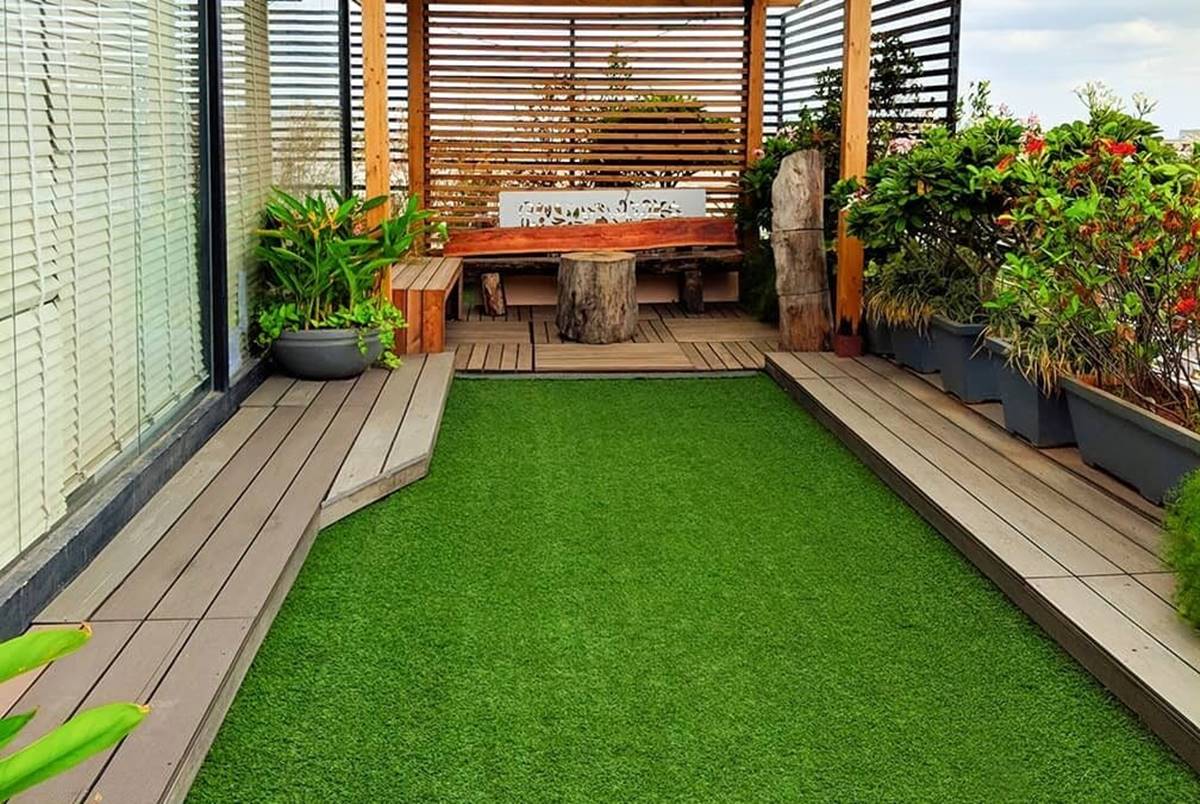
Step 9: Enjoy Your New Turf Over Pavers
Congratulations on successfully installing turf over your pavers! You’ve transformed your outdoor space into a lush and low-maintenance garden area that you can now enjoy for years to come. Here are a few things to keep in mind as you start to enjoy your newly installed turf:
- Maintain regular cleaning: Although turf requires less maintenance than natural grass, it’s still important to keep it clean. Regularly remove leaves, debris, and any pet waste from the surface. A gentle hosing or occasional rainfall is usually sufficient to keep the turf looking fresh.
- Minimize heavy objects: Avoid placing heavy furniture or objects on the turf for extended periods, as they can cause indentations or flattening of the fibers. If you need to place temporary items on the turf, consider using furniture pads or moving them periodically to prevent any damage.
- Prevent sharp objects: Be cautious with sharp objects such as knives, gardening tools, or toys with sharp edges. Although turf is durable, it can still be punctured or damaged by sharp objects. Take care when using and storing such items to avoid accidental damage.
- Address stains promptly: In the event of spills or stains, it’s best to address them promptly. Blot any liquid spills with a clean cloth or paper towel, and gently clean any stains using a mild detergent and water mixture. Avoid using harsh chemicals or solvents that can potentially damage the turf.
- Keep an eye on drainage: Ensure that your pavers have proper drainage to prevent water from pooling on the turf. If you notice any drainage issues, such as water not draining properly, address them promptly to avoid any potential damage or water buildup under the turf.
By keeping these tips in mind and taking proper care of your new turf, you will continue to enjoy a vibrant and inviting outdoor space that requires minimal maintenance.
Now it’s time to sit back, relax, and bask in the beauty of your newly transformed garden area. Whether hosting outdoor gatherings, enjoying family time, or simply taking a moment to appreciate nature, your turf over pavers will provide endless enjoyment for you and your loved ones.
Enjoy your new turf!
Conclusion
Installing turf over pavers is a fantastic way to transform your outdoor space into a lush and low-maintenance garden area. By following the steps outlined in this guide, you can achieve a professional and visually appealing installation that will enhance the aesthetics of your home. From preparing the pavers to securing the turf and adding the finishing touches, each step is crucial for a successful turf installation.
With its realistic appearance and durability, turf offers numerous benefits compared to natural grass. Not only does it require minimal maintenance, but it also provides a clean and even surface that stays green and vibrant all year round. Say goodbye to mowing, watering, and fertilizing, and say hello to a beautiful and hassle-free outdoor space.
Remember to take your time and pay attention to detail throughout the installation process. Measure and cut the turf accurately, apply the adhesive correctly, and secure the turf in place to ensure a long-lasting and stable installation. Brush and fluff the turf regularly to maintain its natural appearance and prevent matting or flattening of the fibers.
By properly maintaining your turf, your outdoor space will continue to impress and provide a relaxing environment for you and your loved ones. Regular cleaning, prevention of heavy objects, and prompt handling of stains will keep your turf looking fresh and vibrant for years to come.
So, get ready to enjoy your new turf over pavers! Sit back, relax, and revel in the beauty of your transformed outdoor space. Whether hosting gatherings, playing with kids and pets, or simply enjoying peaceful moments in nature, your turf installation will provide a stunning backdrop for all your outdoor activities.
Embrace the beauty and convenience of turf and make the most of your outdoor living experience!
Frequently Asked Questions about How To Install Turf Over Pavers
Was this page helpful?
At Storables.com, we guarantee accurate and reliable information. Our content, validated by Expert Board Contributors, is crafted following stringent Editorial Policies. We're committed to providing you with well-researched, expert-backed insights for all your informational needs.
0 thoughts on “How To Install Turf Over Pavers”