Home>Garden Essentials>How To Install Turf Over Rocks
Garden Essentials
How To Install Turf Over Rocks
Modified: October 20, 2024
Learn how to transform your rocky garden into lush greenery with our step-by-step guide on installing turf over rocks. Create a stunning outdoor space with ease!
(Many of the links in this article redirect to a specific reviewed product. Your purchase of these products through affiliate links helps to generate commission for Storables.com, at no extra cost. Learn more)
Introduction
Welcome to the wonderful world of gardening! Whether you’re a seasoned gardener or just starting out, one thing is for sure – creating a beautiful garden is a rewarding and fulfilling endeavor. However, it can sometimes be challenging, especially when dealing with rocky areas.
Rocky terrain can pose obstacles when it comes to growing plants and maintaining a lush green lawn. But fear not! With the right knowledge and techniques, you can transform those rocky patches into stunning garden spaces.
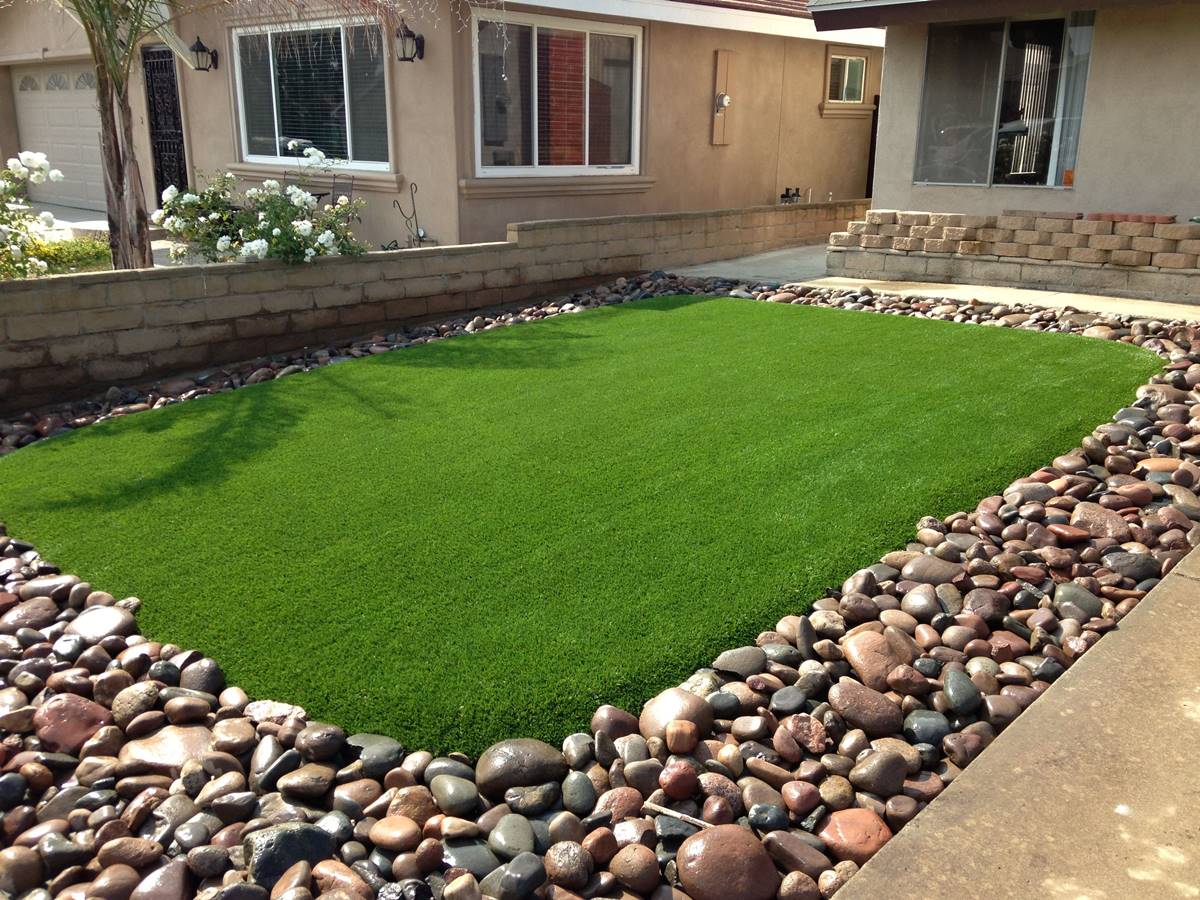
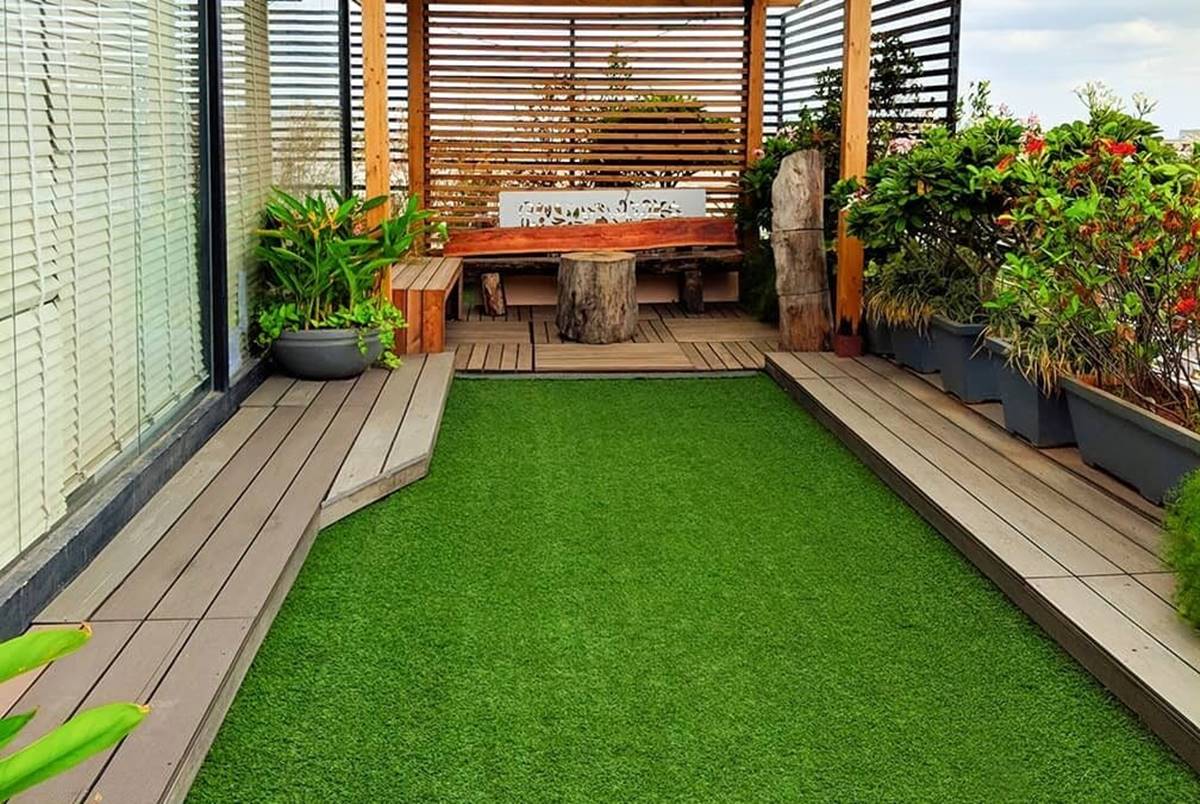
In this article, we will guide you through the process of installing turf over rocks. By following these steps, you’ll not only have a visually appealing garden but also a functional space for outdoor activities and relaxation.
Before we dive into the steps, it’s essential to understand the benefits of using turf. Turf provides an instant solution for creating a beautiful lawn without the hassle of waiting for grass to grow from seeds. It offers a low-maintenance alternative to natural grass, requiring less water, mowing, and fertilization.
Now that we have a clear understanding of the advantages of using turf, let’s get started on transforming your rocky area into a vibrant and inviting space!
Key Takeaways:
- Transform rocky areas into lush green lawns by following steps like clearing debris, preparing the surface, laying the base layer, installing turf, securing edges, and adding optional infill.
- Regular maintenance, such as watering and periodic inspection, ensures the longevity and beauty of your turf garden. Add personal touches to reflect your style and enjoy your vibrant outdoor space.
Read more: How To Install Turf Over Pavers
Step 1: Clearing the Area
The first step in installing turf over rocks is to clear the area of any debris, rocks, or vegetation. This will ensure a smooth and even surface for laying the turf.
Start by removing any large rocks or boulders from the area. Use a shovel, rake, or wheelbarrow to gather and dispose of them properly. It’s essential to remove rocks that are larger than a few inches in diameter, as they can cause unevenness and damage the turf in the future.
Next, thoroughly remove any existing vegetation, including weeds and grass. Use a weed trimmer or a mower to cut the vegetation as close to the ground as possible. Then, use a shovel or a sod cutter to remove the remaining roots and ensure a clean surface.
Take the time to inspect the area for any hidden roots, stumps, or other obstructions that could interfere with the installation process. Remove them carefully, ensuring that the area is free from any potential obstacles.
Once the area is clear, it’s a good idea to level the ground. Use a rake or a garden fork to break up any compacted soil and create a more even surface. Raking the area in different directions will help to smooth out any bumps or unevenness.
Take note that removing rocks and vegetation may result in bare patches or exposed soil. These areas can be susceptible to erosion, so it’s important to address them later in the installation process.
With the area cleared and leveled, you’re now ready to move on to the next step – preparing the surface for the turf installation.
Step 2: Preparing the Surface
Once you have cleared the area, the next step in installing turf over rocks is preparing the surface. This involves creating a stable and well-draining base for the turf to thrive.
Begin by assessing the soil quality. The ideal soil for turf installation should be well-draining and have a good balance of organic matter. If your soil is heavy clay or poorly draining, consider adding compost or sand to improve its texture and drainage ability.
Next, it’s time to address any bare patches or exposed soil that resulted from removing rocks and vegetation. Fill these areas with topsoil to level the surface. Use a soil rake or a lawn roller to compact the soil gently, ensuring it is firm and even.
Proper irrigation is crucial for the success of your turf. Install a sprinkler system or make sure that you have a reliable watering method in place. Adequate water drainage is equally important, as it prevents waterlogging and root rot. If necessary, create a slight slope away from the house or any structures to ensure proper water runoff.
Once you have prepared the surface, it’s time to consider weed control. Apply a weed barrier or landscape fabric over the entire area to prevent future weed growth. Cut the fabric to fit the contours of the space and secure it with landscape pins or staples.
Finally, let’s address the issue of soil compaction. Use a garden fork or a mechanical aerator to loosen the soil. This will improve root penetration and allow for better nutrient absorption.
With the surface properly prepared, you are now ready for the next step – laying the base layer for your turf installation.
Step 3: Laying the Base Layer
Now that you have prepared the surface, it’s time to create a stable and supportive base layer for your turf. This layer will help to ensure proper drainage and prevent the growth of weeds.
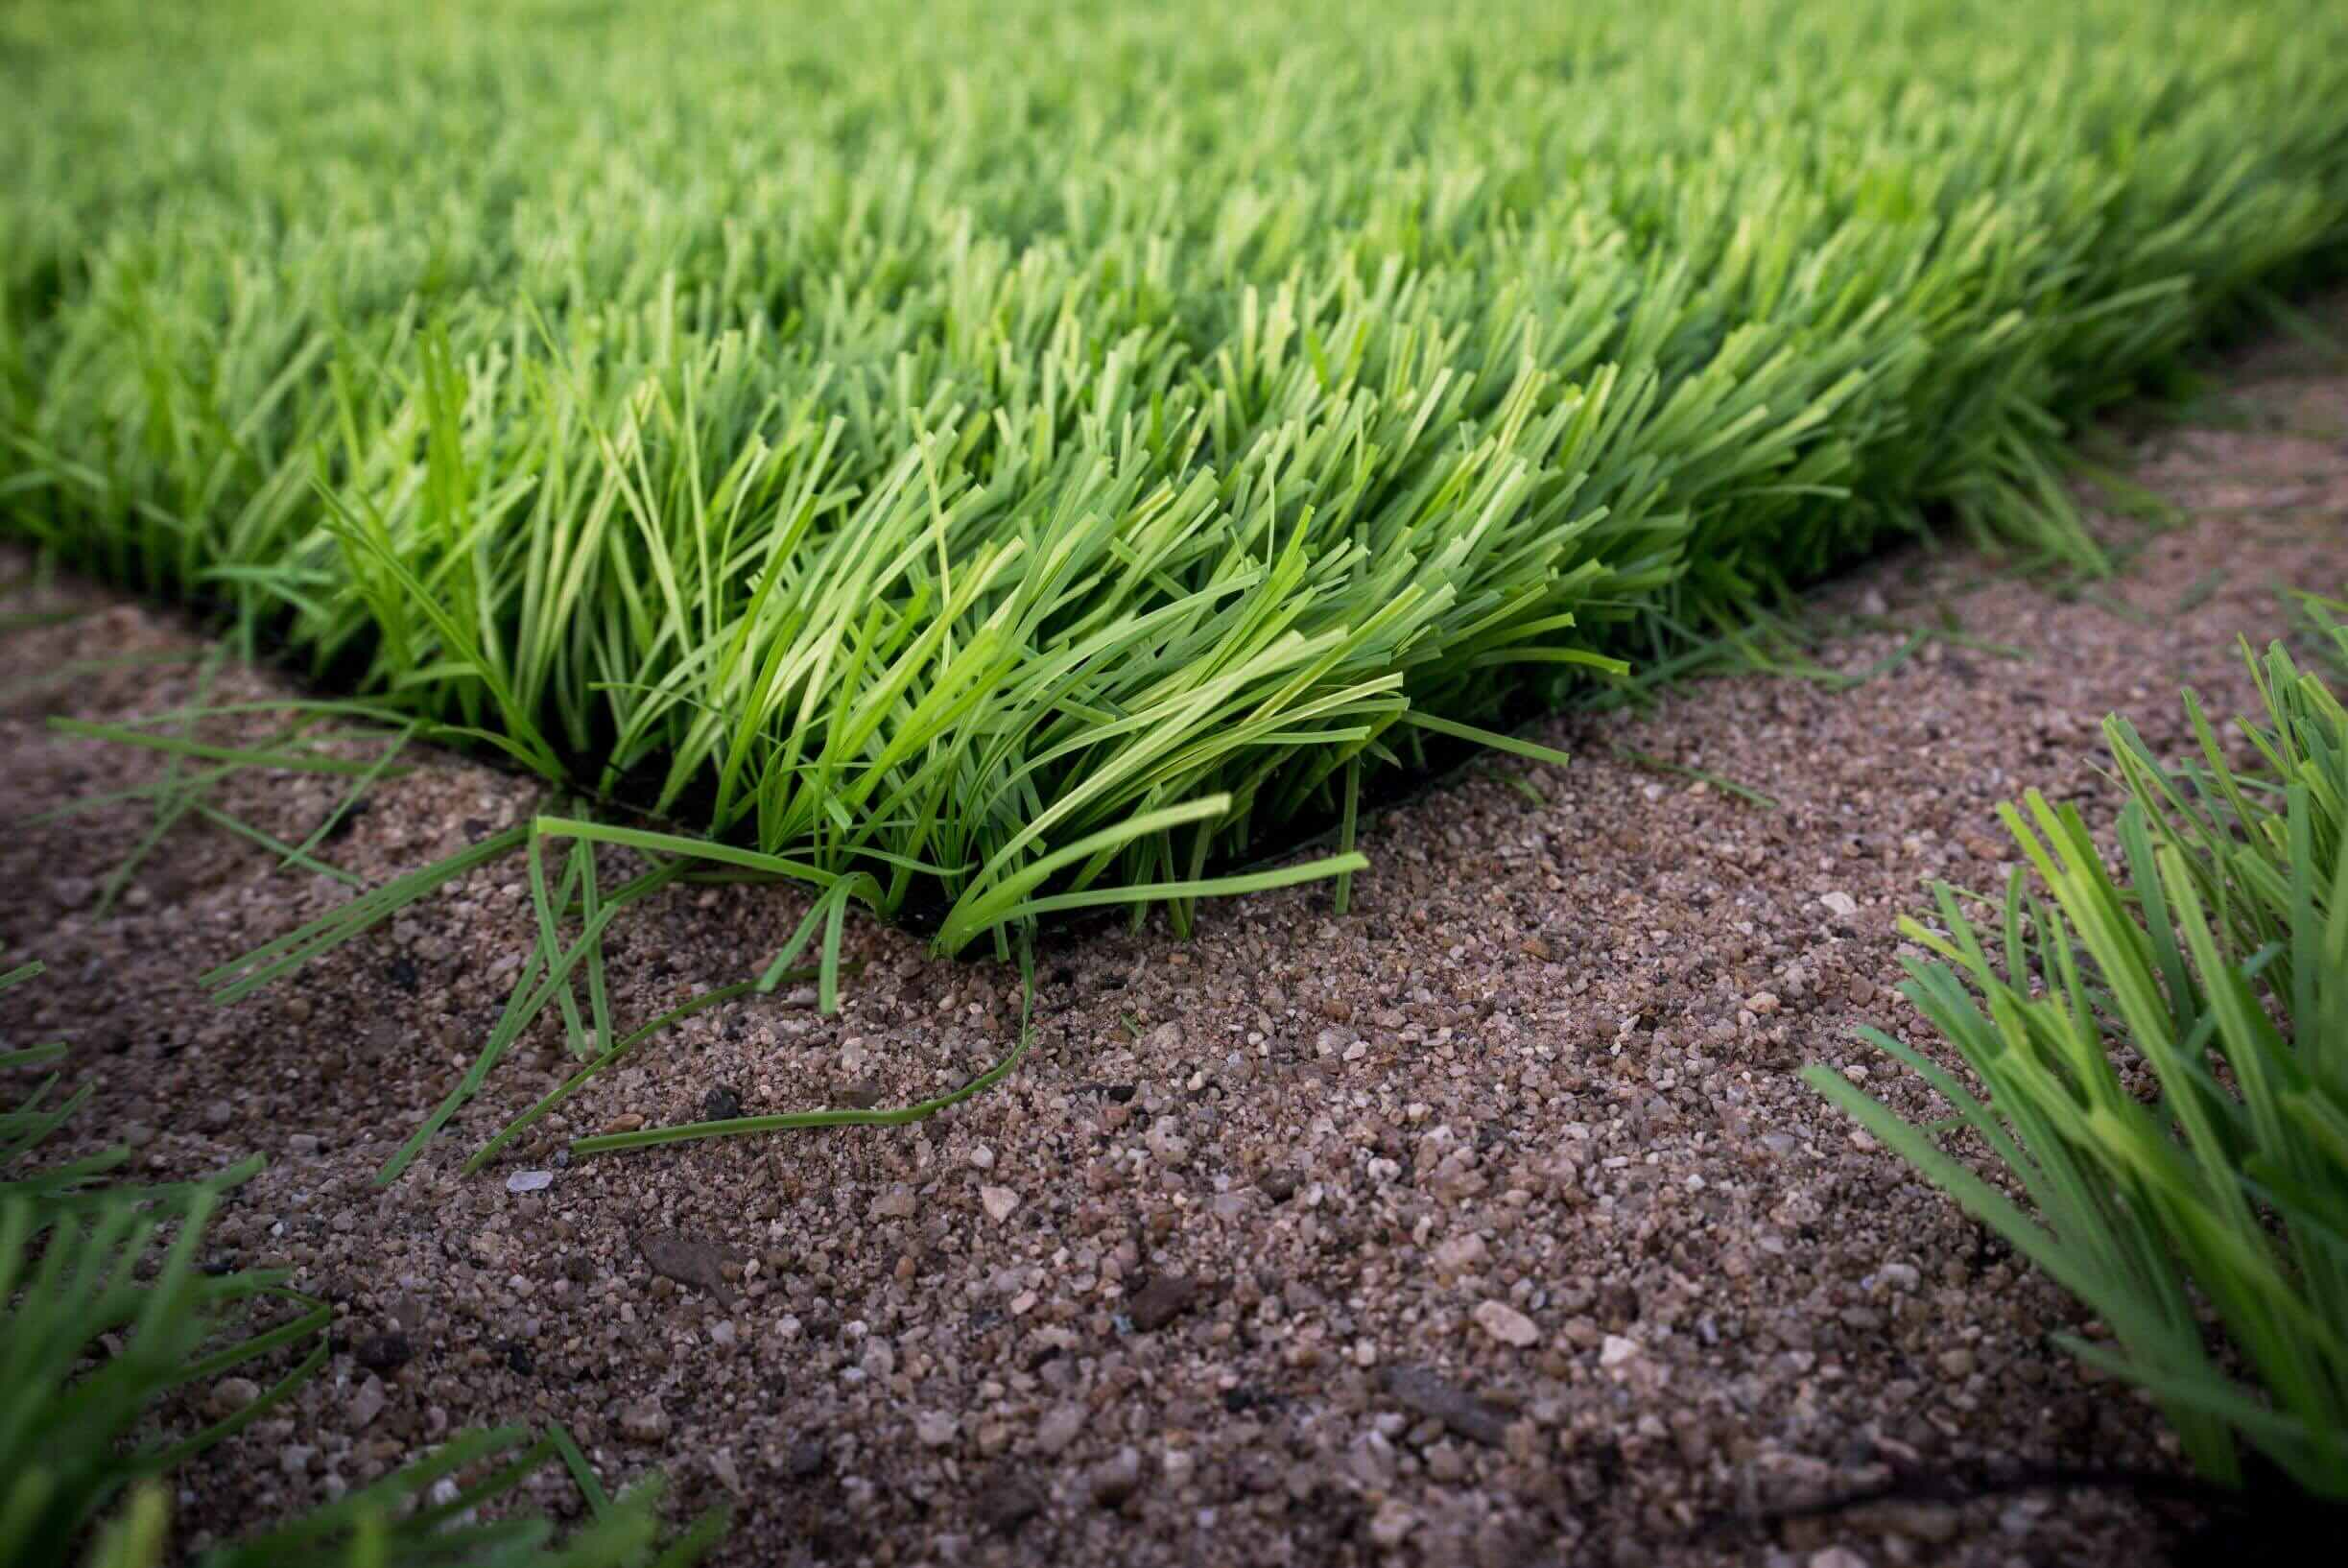
Start by spreading a layer of crushed stone or gravel over the prepared surface. This layer should be about 2 to 4 inches thick and will provide a solid foundation for your turf. Use a rake or shovel to evenly distribute the crushed stone and compact it with a lawn roller or tamper.
After spreading the crushed stone, it’s important to add a layer of landscaping fabric on top. This will help to prevent weed growth and keep the base layer separate from the soil beneath. Cut the fabric to fit the shape of your garden area and secure it with landscape pins or staples.
Next, add a layer of sand on top of the landscaping fabric. This layer should be about 1 inch thick and will allow for proper drainage and a level surface for the turf. Spread the sand evenly with a rake or shovel, ensuring that it covers the entire area.
Use a lawn roller or tamper to compact the sand layer, ensuring it is level and stable. This will provide a smooth surface for the turf installation and prevent any unevenness or bumps.
Once the base layer is in place and properly compacted, it’s time to move on to the next step – installing the turf.
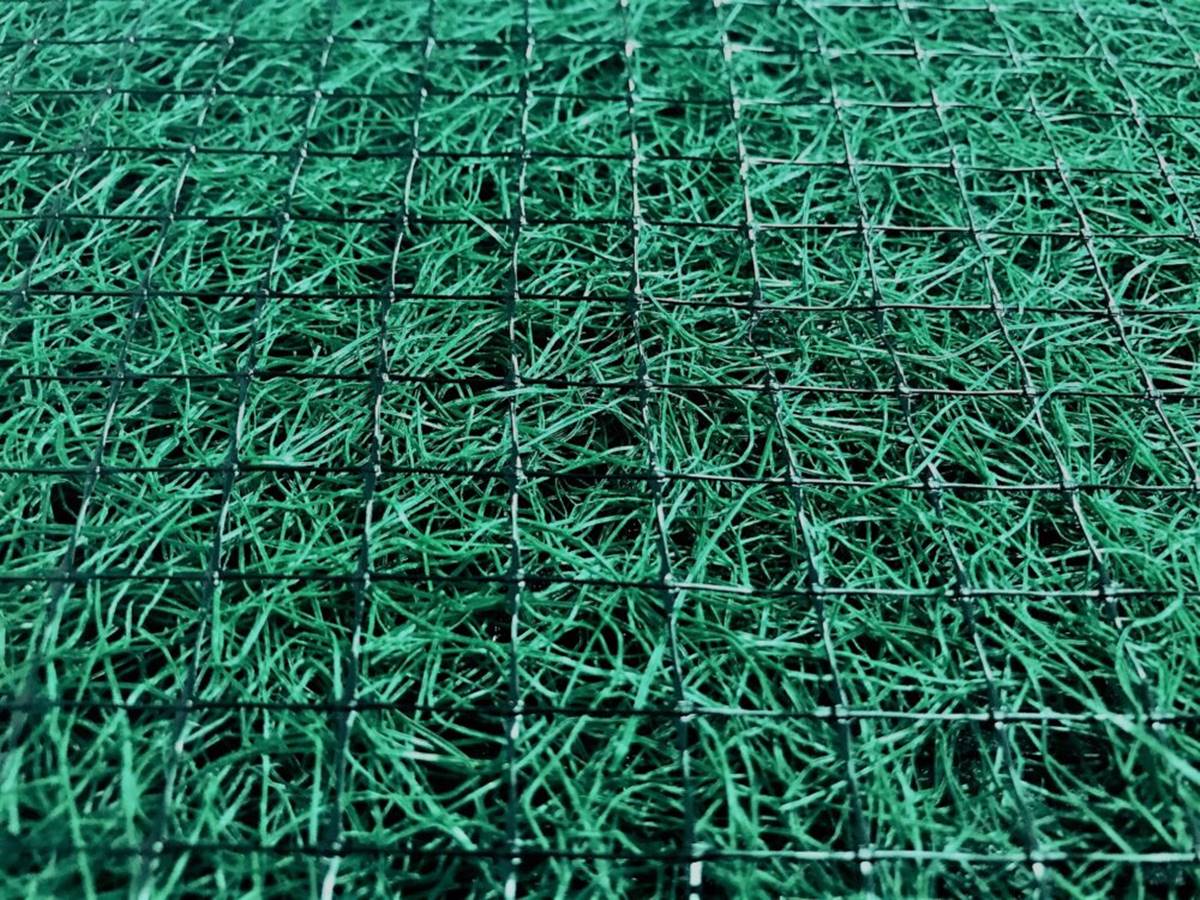
Before starting the turf installation, it’s worth considering the type of turf that best suits your needs and preferences. Choose from various options such as natural grass turf, artificial turf, or a combination of both.
With the base layer prepared, you are now ready to lay down the turf and bring your garden to life.
Step 4: Installing the Turf
With the base layer in place, it’s time to install the turf and transform your rocky area into a lush green space. Follow these steps to ensure a successful turf installation:
- Start by measuring the area where you’ll be installing the turf. This will help you determine how much turf you’ll need to purchase. Remember to account for any irregular shapes or corners in your measurements.
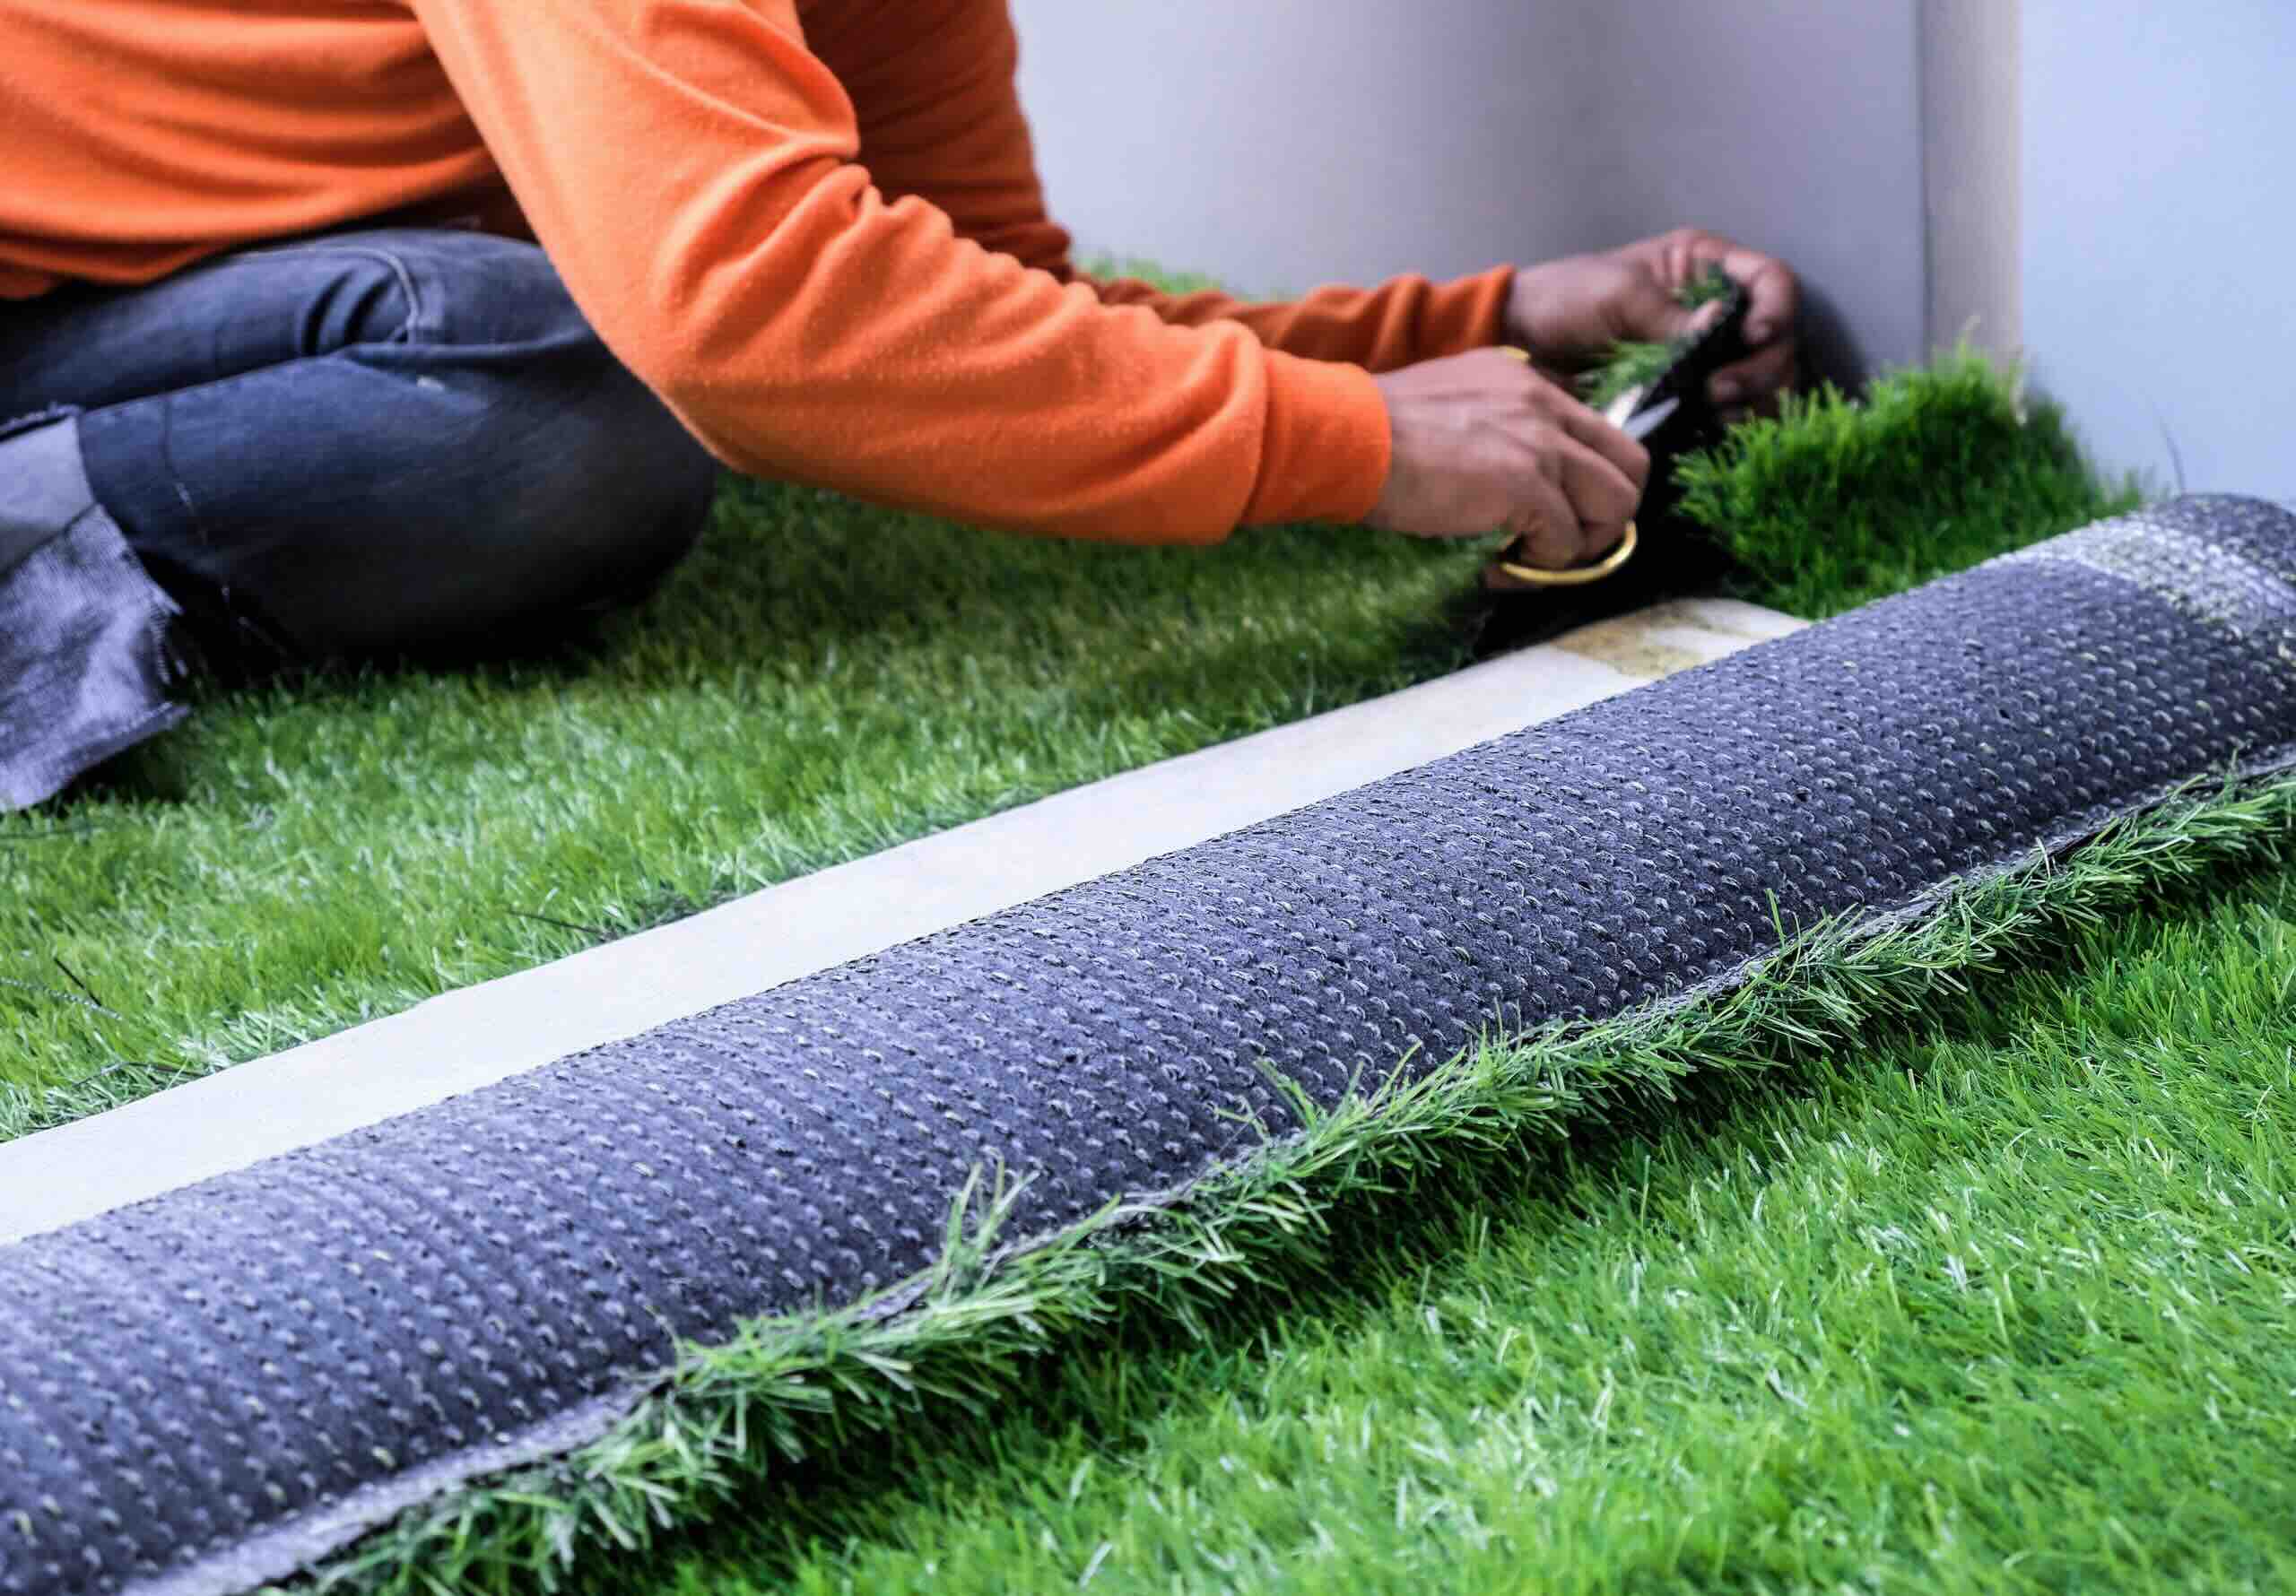
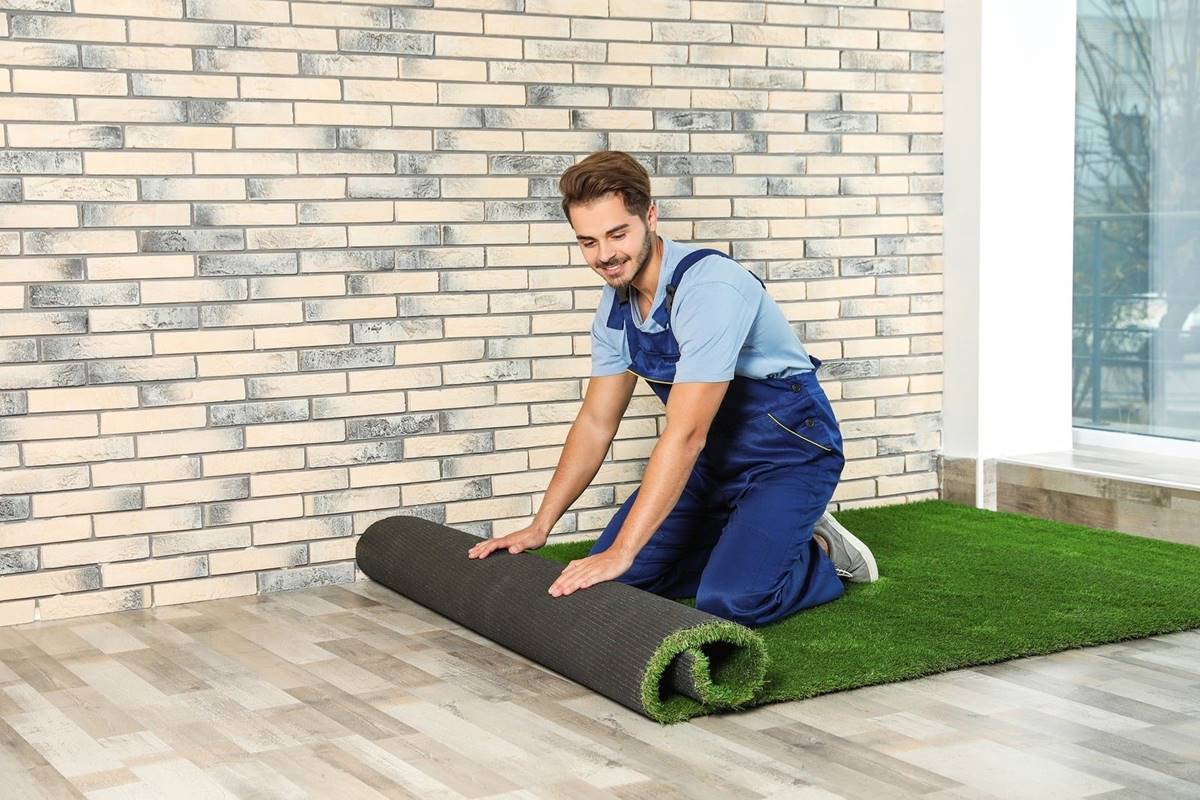
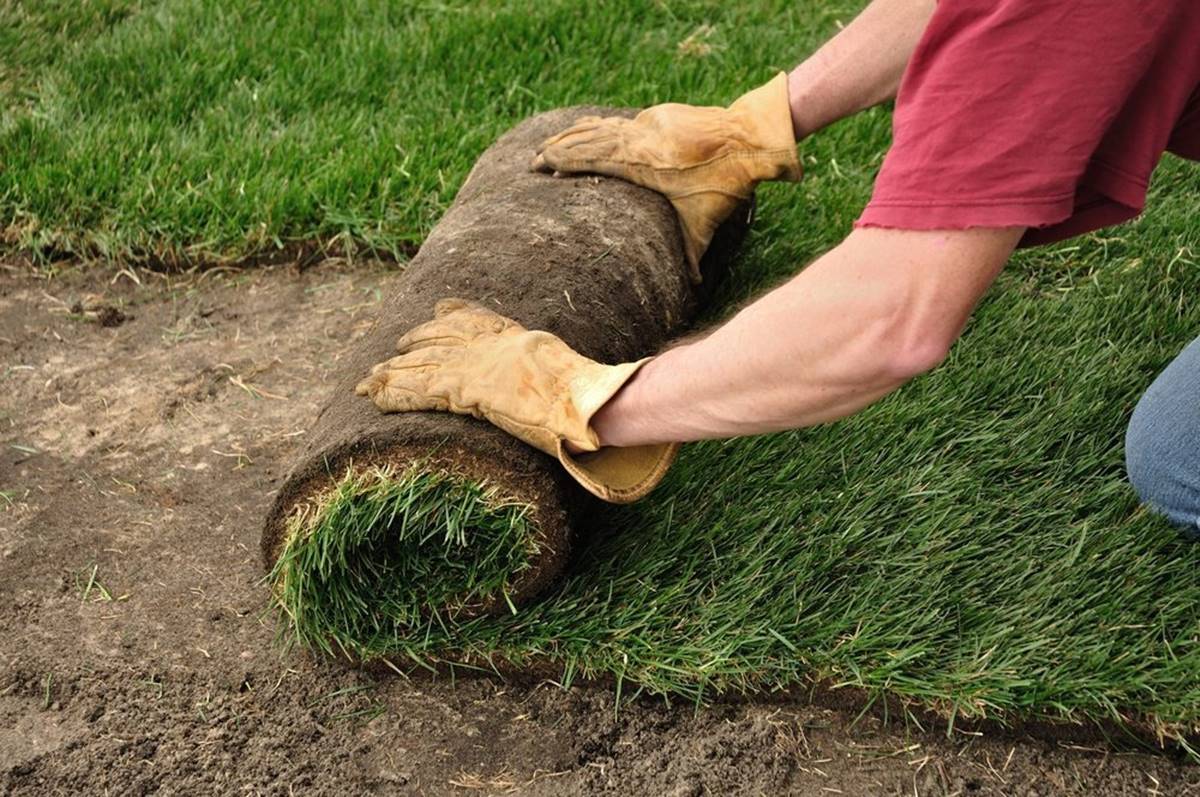
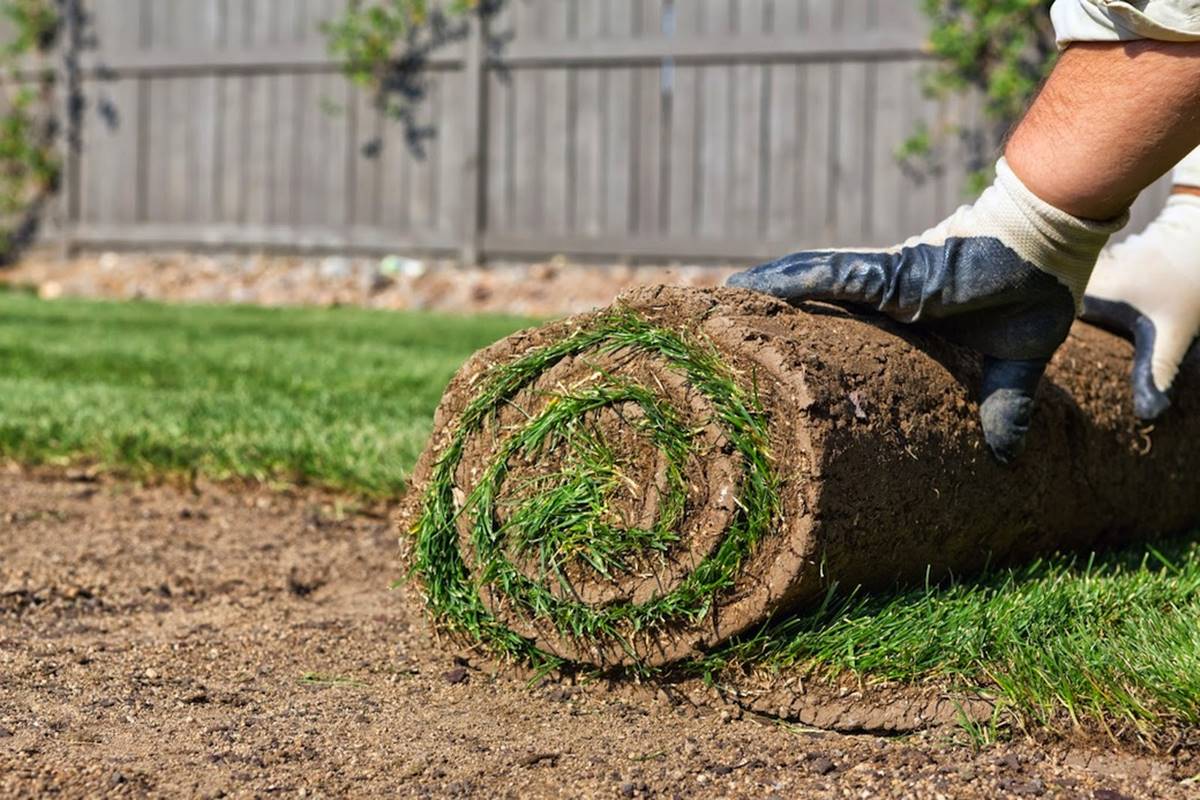
- Once you have the measurements, roll out the turf and place it on top of the prepared base layer. Start from one corner and work your way across the area.
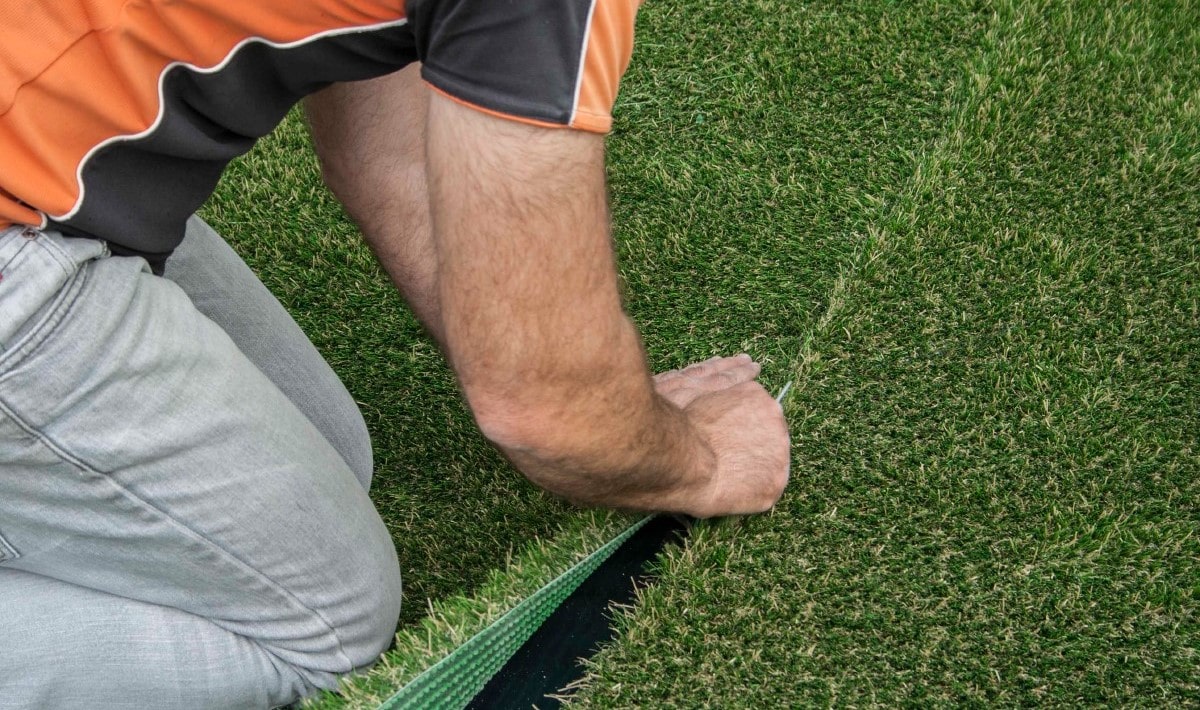
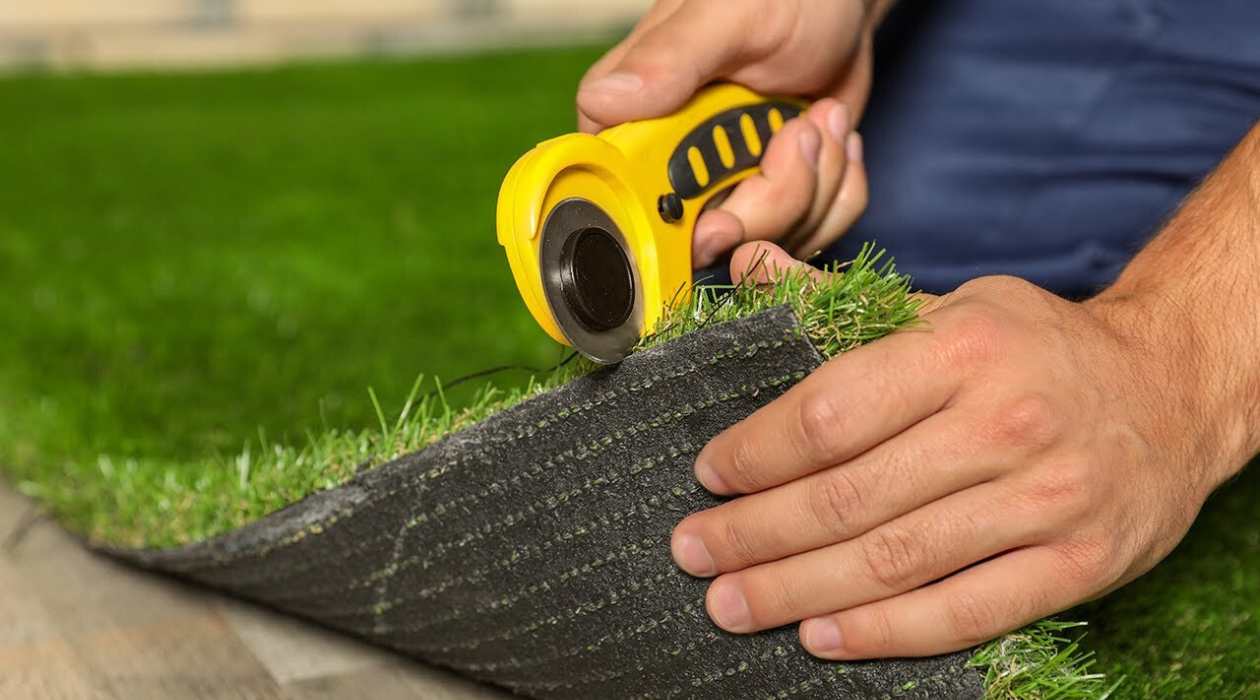
- Make sure the turf is laid out tightly against each other without any gaps. Use a sharp utility knife to trim any excess turf to fit the edges or unique shapes of the area.
- After laying the first row of turf, continue with the subsequent rows, staggering the seams to create a natural and seamless look. Gently press down on the turf to ensure good contact with the base layer.
- As you install the turf, be mindful of any irrigation or sprinkler systems in the area. Make necessary adjustments or take special care to work around them if needed.
- If you’re using artificial turf, ensure that the drainage holes are properly aligned and facing the desired direction. This will allow for efficient water drainage and prevent water pooling on the surface.
- If your turf comes in rolls, take care to securely fasten each roll together using turf nails or staples. This will keep the turf in place and prevent shifting or curling at the edges.
Once the turf is securely installed, step back and admire your hard work. Your rocky area is now transformed into a beautiful green space!
However, the installation process doesn’t end here. We still have a few more steps to ensure the longevity and maintenance of your newly installed turf.
Continue on to step 5, where we’ll guide you through securing the edges of the turf to give it a polished and finished look.
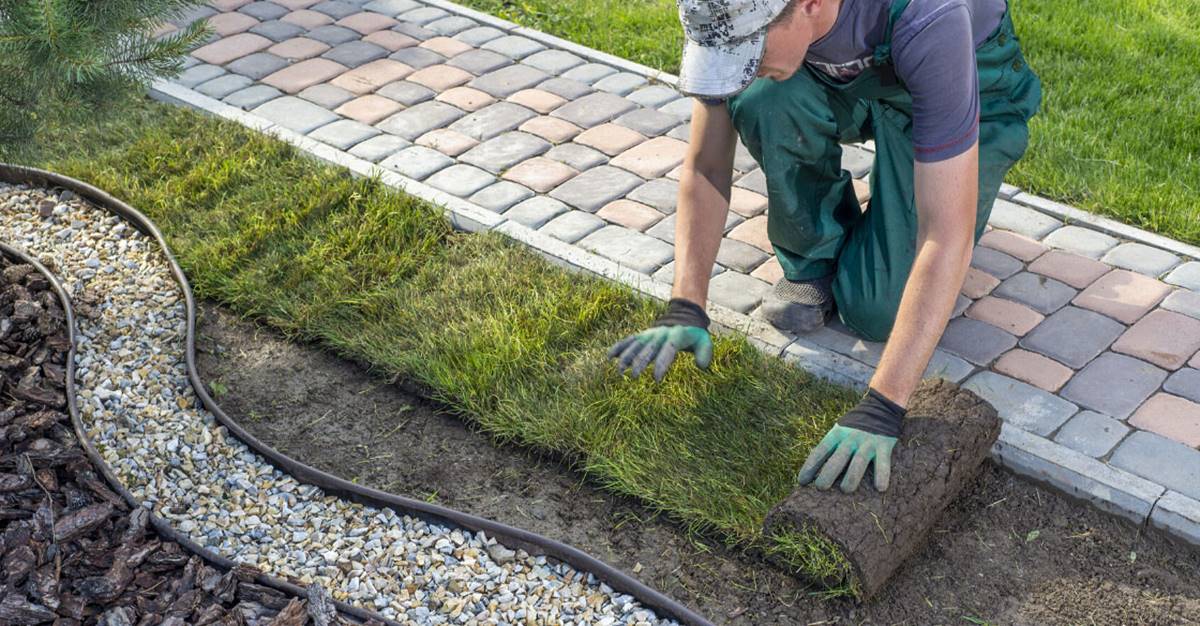
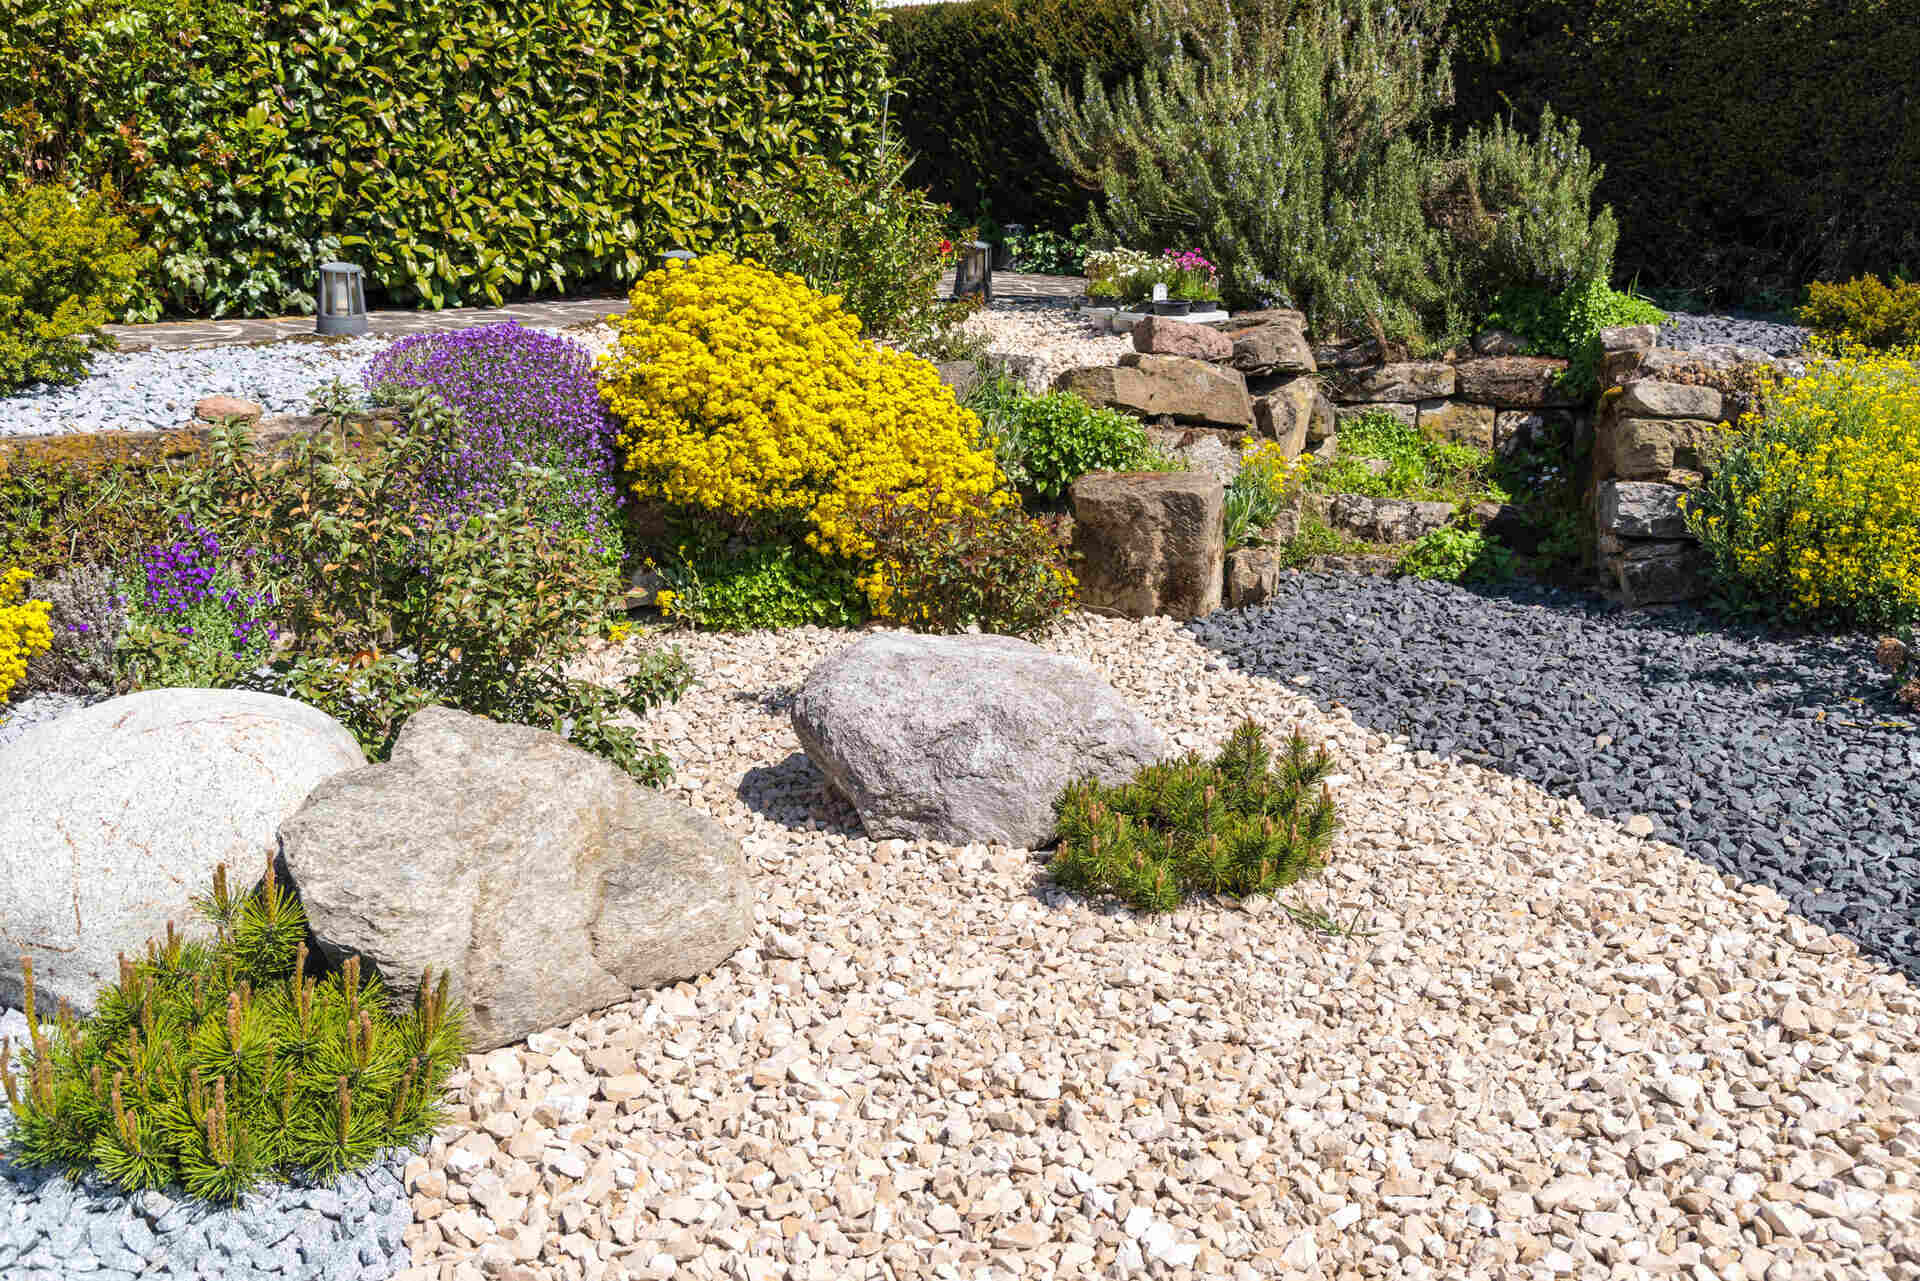
Before installing turf over rocks, make sure to remove any large rocks and debris from the area. Then, add a layer of topsoil or compost to provide a good base for the turf to take root.
Read more: How To Lay Rocks Over Grass
Step 5: Securing the Edges
Securing the edges of your turf is an important step in ensuring its long-term durability and preventing it from shifting or loosening over time. Follow these steps to properly secure the edges:
- Use landscape edging material, such as plastic or metal strips, along the perimeter of the turf area. This will create a defined border and hold the edges of the turf in place.
- Position the edging material along the outer edge of the turf, ensuring that it is flush with the surface.
- Secure the edging material by driving landscape stakes or screws through the pre-drilled holes or loops in the edging. Place the stakes or screws every few feet to ensure a secure hold.
- Gently tuck the edges of the turf under the edging material, smoothing them out to create a neat and seamless transition from the turf to the surrounding ground.
- If necessary, use a rubber mallet or hammer to tap the edging material into the ground, ensuring a tight fit and stability.
- Inspect the entire perimeter to ensure that the edges are securely in place and that there are no visible gaps or loose sections.
Securing the edges of your turf will not only enhance its appearance but also prevent tripping hazards and prevent weed growth along the edges.
With the edges properly secured, your turf installation is nearly complete. Now, let’s move on to step 6 and discuss the optional step of adding infill.
Step 6: Adding Infill (optional)
Adding infill to your turf is an optional step that can provide additional support, stability, and aesthetics to your installed turf. Infill is typically a material that is placed between the turf fibers to add weight, prevent matting, and improve durability. Follow these steps to add infill, if desired:
- Choose the type of infill material that best suits your needs. Common options include silica sand, rubber granules, or a combination of both.
- Spread the infill evenly over the turf using a drop spreader, rake, or brush. Start from one corner and work your way across the area, allowing the infill to penetrate between the turf fibers.
- Use a stiff brush or broom to help distribute the infill evenly and work it into the turf fibers. This will help to prevent the infill from clumping or settling unevenly.
- Apply an appropriate amount of infill based on the manufacturer’s recommendations. Be careful not to overdo it, as excessive infill can affect the turf’s performance and drainage.
- Gently rake or brush the turf in different directions to ensure that the infill is evenly distributed and properly integrated with the turf fibers.
- If you choose to use rubber granules as infill, be sure to select a high-quality product that is safe for both humans and the environment.
Adding infill can provide a more natural look to your turf by adding weight and giving it a fuller appearance. It can also help to prolong the lifespan of your turf by providing support and preventing excessive wear and tear.
However, not all turf installations require infill, particularly if you’ve chosen a turf product that already has built-in support or if the area receives minimal foot traffic. It’s always best to consult the manufacturer’s guidelines for your specific turf product.
Now that you have the option to add infill, your turf installation is almost complete. Let’s move on to the final step – adding the finishing touches to ensure a truly remarkable garden space.
Step 7: Final Touches
Congratulations on nearly completing your turf installation! The final step involves a few finishing touches to ensure that your garden space is truly remarkable. Follow these steps to add those final touches:
- Inspect the entire turf area for any loose or uneven sections. Gently press down on any loose spots or bumps to ensure a smooth and even surface.
- Use a leaf blower or a broom to remove any debris or leaves that may have accumulated on the turf surface. Regularly sweeping or blowing off the turf will help maintain its cleanliness and prevent any potential issues.
- If desired, consider adding decorative elements to enhance the overall aesthetics of your garden. This could include planting colorful flowers or installing garden ornaments, such as bird feeders or stepping stones.
- Create designated pathways or hardscaped areas to complement the turf and make it more accessible. This could be done using materials like gravel, pavers, or stepping stones.
- Regularly maintain and care for your turf by following recommended practices, such as watering, mowing (if using natural grass turf), and periodic inspection for any signs of damage or wear.
- Consider adding perimeter landscaping or hedges to frame your garden space and provide additional privacy and beauty.
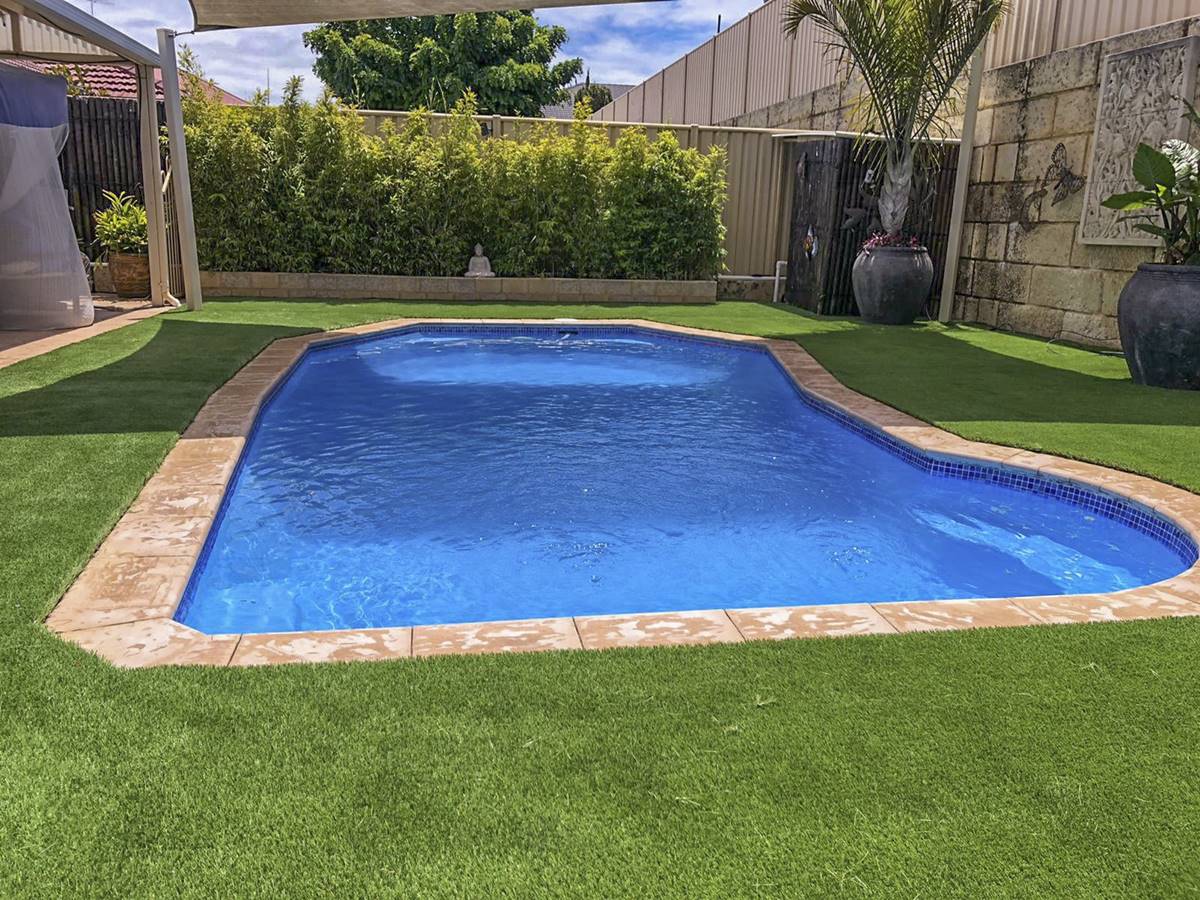
- Enjoy your new turf garden space! Whether it’s for relaxing, entertaining, or playing, your beautifully installed turf will provide you with a vibrant and inviting outdoor area.
By adding these final touches and incorporating your personal style, you can truly make your turf installation a focal point of your garden.
Remember to maintain regular care and upkeep of your turf to ensure its longevity and continued beauty. Proper watering, mowing (if applicable), and periodic inspection will help keep your turf in top shape for years to come.
Now that you’ve completed all the steps, take a step back and admire your hard work. You’ve successfully installed turf over rocks, transforming a challenging rocky area into a stunning garden space! Sit back, relax, and enjoy the beauty and functionality of your new turf garden.
Thank you for following our guide, and happy gardening!
Conclusion
Congratulations on successfully installing turf over rocks and creating a beautiful garden space! By following the steps outlined in this guide, you have transformed an challenging rocky area into a vibrant and inviting oasis.
Turf installation over rocky terrain can be a daunting task, but with the right knowledge and techniques, it is definitely achievable. The benefits of using turf, such as instant greenery, low maintenance, and water conservation, make it a great option for turning rocky patches into lush green lawns.
Throughout the installation process, we covered important steps, including clearing the area of debris, preparing the surface, laying the base layer, installing the turf, securing the edges, adding optional infill, and putting on the final touches.
Remember to regularly maintain and care for your turf, which may include watering, periodic mowing (if applicable), and inspecting for any signs of damage or wear. Proper maintenance will ensure the longevity and continued beauty of your turf garden.
Creating a stunning garden space is a journey, and you have taken the first big step. As you spend time in your new turf garden, consider adding personal touches, such as decorative elements, pathways, or landscaping, to reflect your unique style and enhance the overall aesthetics.
Gardening is a continuous learning experience, and we hope this guide has provided you with the knowledge and confidence to tackle future projects and continue exploring the world of gardening.
Now, it’s time to sit back, relax, and enjoy the beauty and functionality of your transformed rocky area. Whether it’s gathering with friends and family, playing outdoor games, or simply basking in the serenity of your garden, your new turf space is sure to bring you joy for years to come.
Thank you for joining us on this journey, and happy gardening!
Now that you've mastered installing turf over rocks, why not take your gardening skills further? Our next guide focuses on preparing your garden's soil for planting, ensuring strong plant growth and health. From selecting the right tools to tips for enhancing soil fertility, this guide covers all bases to get your ground ready for a thriving garden. Don’t miss out on turning that patch of dirt into a blooming paradise!
Frequently Asked Questions about How To Install Turf Over Rocks
Was this page helpful?
At Storables.com, we guarantee accurate and reliable information. Our content, validated by Expert Board Contributors, is crafted following stringent Editorial Policies. We're committed to providing you with well-researched, expert-backed insights for all your informational needs.

0 thoughts on “How To Install Turf Over Rocks”