Home>Garden Essentials>How To Plant Chive Seeds
Garden Essentials
How To Plant Chive Seeds
Modified: March 15, 2024
Learn how to plant chive seeds and create a stunning garden. Discover expert tips and techniques for successful gardening.
(Many of the links in this article redirect to a specific reviewed product. Your purchase of these products through affiliate links helps to generate commission for Storables.com, at no extra cost. Learn more)
Introduction
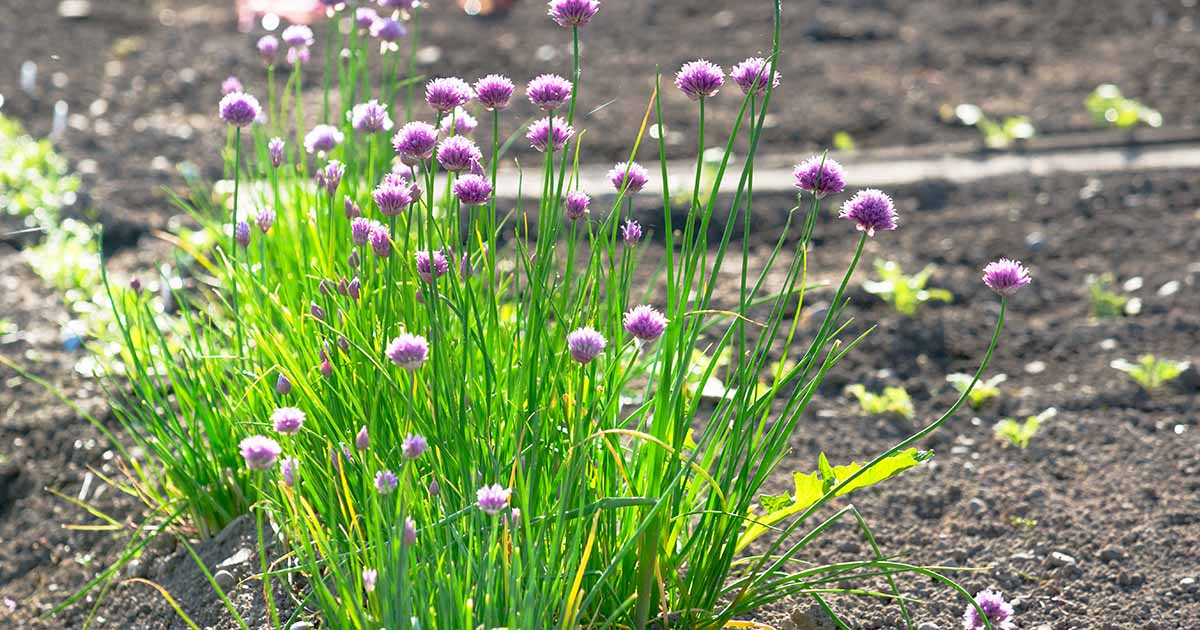
Welcome to the world of chives! If you’re looking to add a versatile and flavorful herb to your garden, chives are an excellent choice. Not only are they easy to grow, but they also pack a punch in terms of taste and culinary uses. Whether you’re a seasoned gardener or a beginner with a green thumb, planting chive seeds is a rewarding endeavor that will provide you with fresh herbs to enhance your cooking.
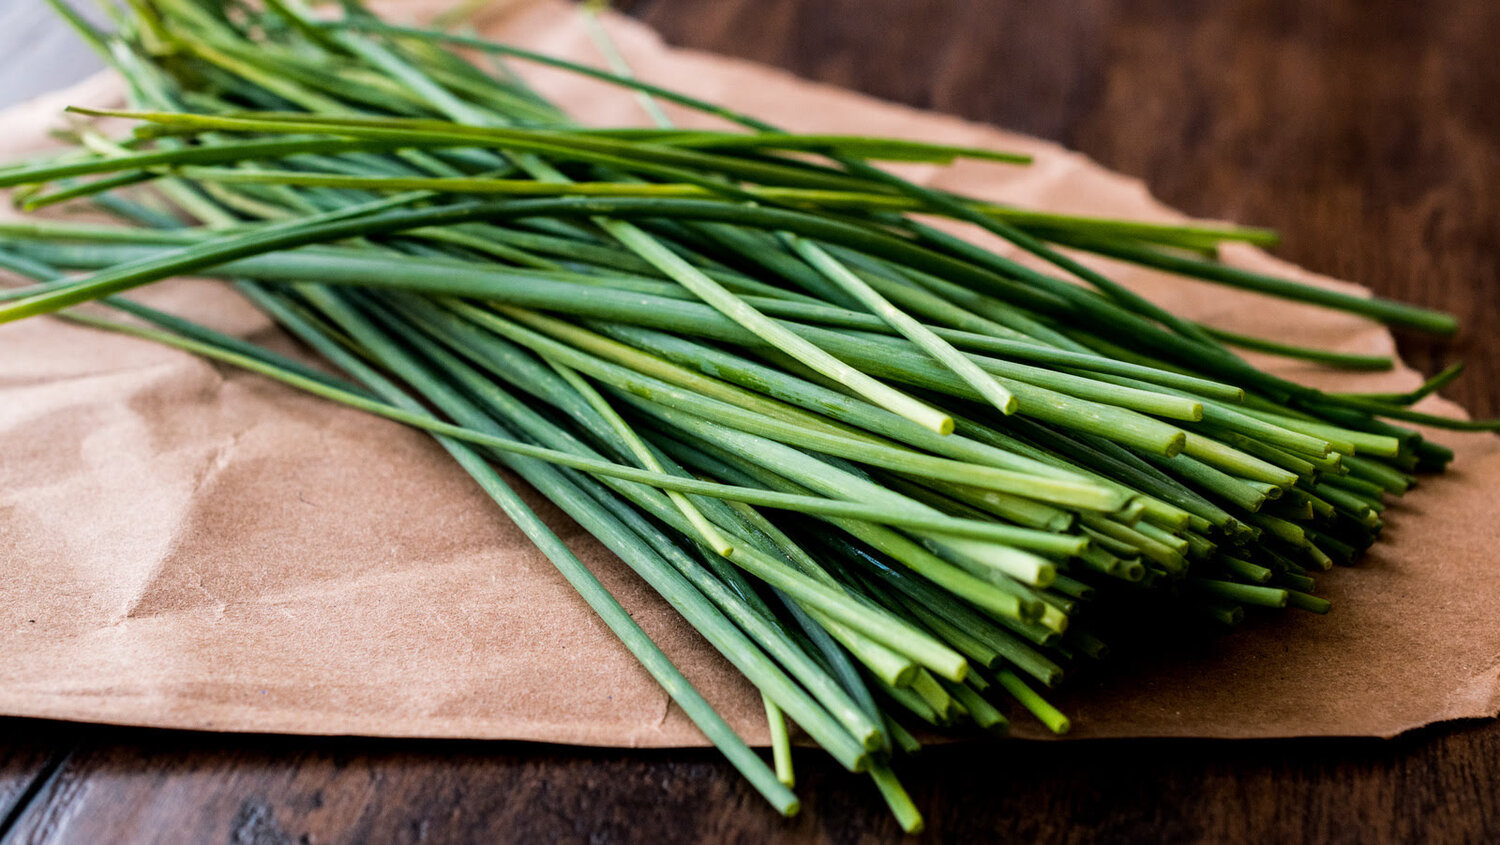
Chives belong to the same family as onions and garlic, and they have a mild, onion-like flavor. These slender, green leaves can be harvested and used in various dishes, from soups and salads to marinades and dips. The best part is that chives can be grown in containers or in the ground, making them suitable for any type of garden or even a small balcony or patio.
In this article, we will guide you through the process of planting chive seeds and taking care of the seedlings until they are ready for harvest. We will also provide tips on selecting the right chive seeds and preparing the planting area for optimal growth. So let’s get started and bring the delightful taste of chives to your garden!
Key Takeaways:
- Choose the right chive seeds by considering variety, source, and growing conditions. Quality seeds are essential for a successful chive garden, so take your time to select the best ones.
- Prepare the planting area by ensuring proper sunlight, soil, and moisture. By creating the right environment, you set the stage for healthy chive growth and a thriving garden.
Read more: How To Plant Chive Seeds In A Pot
Choosing the Right Chive Seeds
When it comes to choosing chive seeds, there are a few factors to consider to ensure successful growth and a bountiful harvest. Here are some tips to help you select the right chive seeds for your garden:
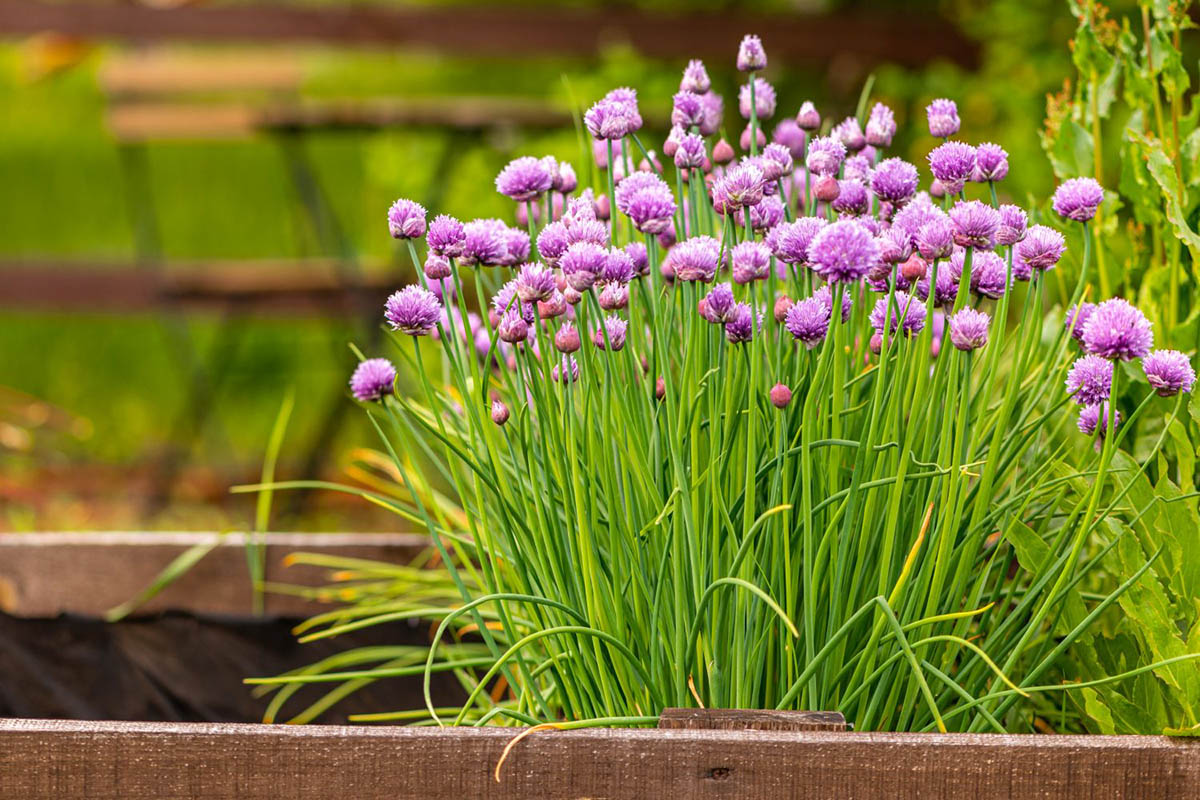
- Variety: Chives come in different varieties, including common chives (Allium schoenoprasum) and garlic chives (Allium tuberosum). Common chives have a milder flavor, while garlic chives have a more pungent taste. Choose the variety that best suits your culinary preferences.
- Source: Look for reputable seed suppliers or nurseries to purchase your chive seeds. Ensure that the seeds are fresh, viable, and free from pests or diseases. It’s always a good idea to read reviews or get recommendations from fellow gardeners.
- Organic vs. Non-organic: Consider opting for organic chive seeds if you prefer to grow your herbs without the use of synthetic pesticides or fertilizers. Organic seeds are cultivated using natural methods and are often free from genetically modified organisms (GMOs).
- Growing Conditions: Take into account your specific growing conditions, such as climate and sunlight availability. Some chive varieties, like the Siberian chives (Allium nutans), are more tolerant of colder temperatures, while others thrive in warmer regions.
- Package Information: Check the package for information on germination rates, days to maturity, and specific care instructions. This will give you an idea of how long it will take for your chives to grow and when to expect your first harvest.
- Hybrid vs. Heirloom: Decide whether you want to grow hybrid chive seeds or heirloom varieties. Hybrid seeds are bred for specific traits like disease resistance or uniformity, while heirlooms are open-pollinated and preserve the genetic diversity of the plant. Both options have their merits, so choose based on your preferences.
By taking these factors into consideration, you can ensure that you choose the right chive seeds for your garden. Remember, quality seeds are the foundation of a successful gardening journey, so invest some time in selecting the best ones for your needs.
Preparing the Planting Area
Before you sow your chive seeds, it’s important to prepare the planting area to provide optimal growing conditions for your herb. Follow these steps to prepare the planting area:
- Sunlight and Soil: Chives thrive in full sunlight, so choose a location in your garden that receives at least six hours of direct sunlight each day. The soil should be well-draining and rich in organic matter. If your soil is heavy or clay-like, consider amending it with compost or well-rotted manure to improve drainage.
- Clean the Area: Remove any weeds or debris from the designated planting area. Weeds can compete with your chive seedlings for nutrients, water, and sunlight, so it’s important to start with a clean slate.
- Loosen the Soil: Use a garden fork or a tiller to loosen the soil to a depth of about 8 to 10 inches. This will improve aeration and drainage, as well as make it easier for the chive roots to penetrate the soil.
- Amend the Soil: Incorporate organic matter, such as compost or well-rotted manure, into the soil. This will enrich the soil with nutrients and improve its structure. Aim to add about 2 to 3 inches of organic matter and thoroughly mix it into the loosened soil.
- Level and Rake: Level the planting area using a rake, ensuring that the surface is even and free from clumps. This will create a smooth and uniform bed for sowing your chive seeds.
- Water the Soil: Before sowing the seeds, water the soil thoroughly to provide moisture for germination. Avoid over-watering as excessive moisture can cause the seeds to rot. The soil should be evenly moist, but not waterlogged.
- Consider Containers: If you’re growing chives in containers or pots, ensure that they have drainage holes to prevent waterlogging. Fill the containers with a well-draining potting mix and follow the same steps for preparing the soil.
By preparing the planting area properly, you create an environment that promotes healthy growth and development of your chive plants. Take the time to properly amend the soil and provide appropriate sunlight, and you’ll be on your way to a thriving chive garden.
Sowing the Chive Seeds
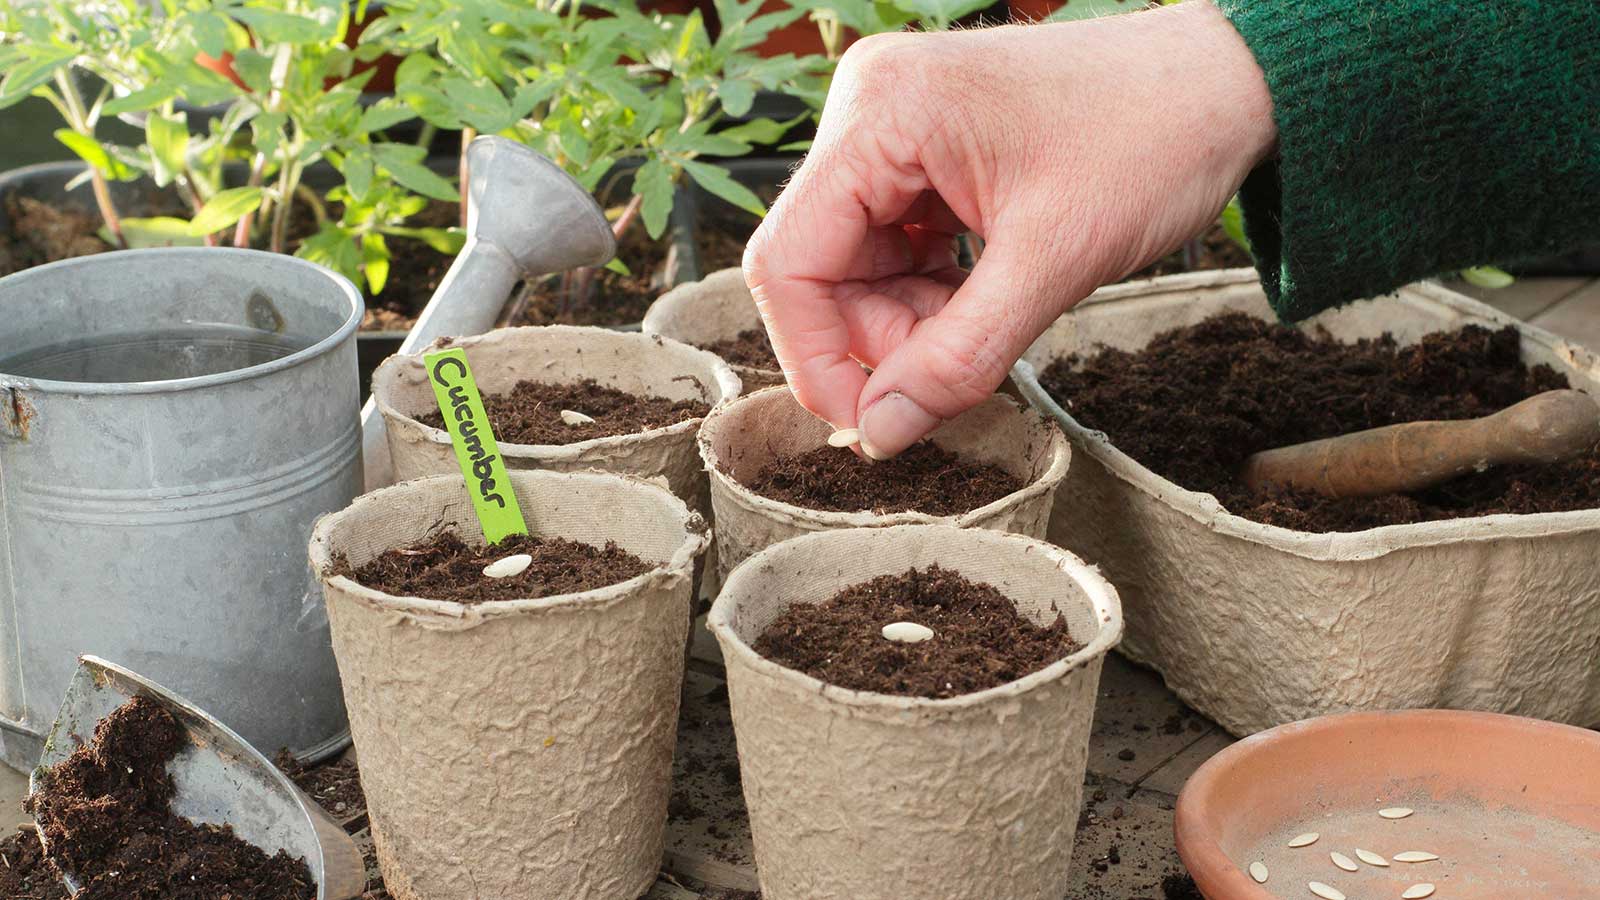
Now that you have chosen the right chive seeds and prepared the planting area, it’s time to sow the seeds and start your chive-growing journey. Follow these steps for successful seed sowing:
- Sowing Time: Chive seeds can be sown directly in the garden or started indoors. If you choose to sow them directly in the garden, wait until the danger of frost has passed and the soil has warmed up to at least 60°F (15°C). For an early start, sow the seeds indoors 6 to 8 weeks before the last frost date in your region.
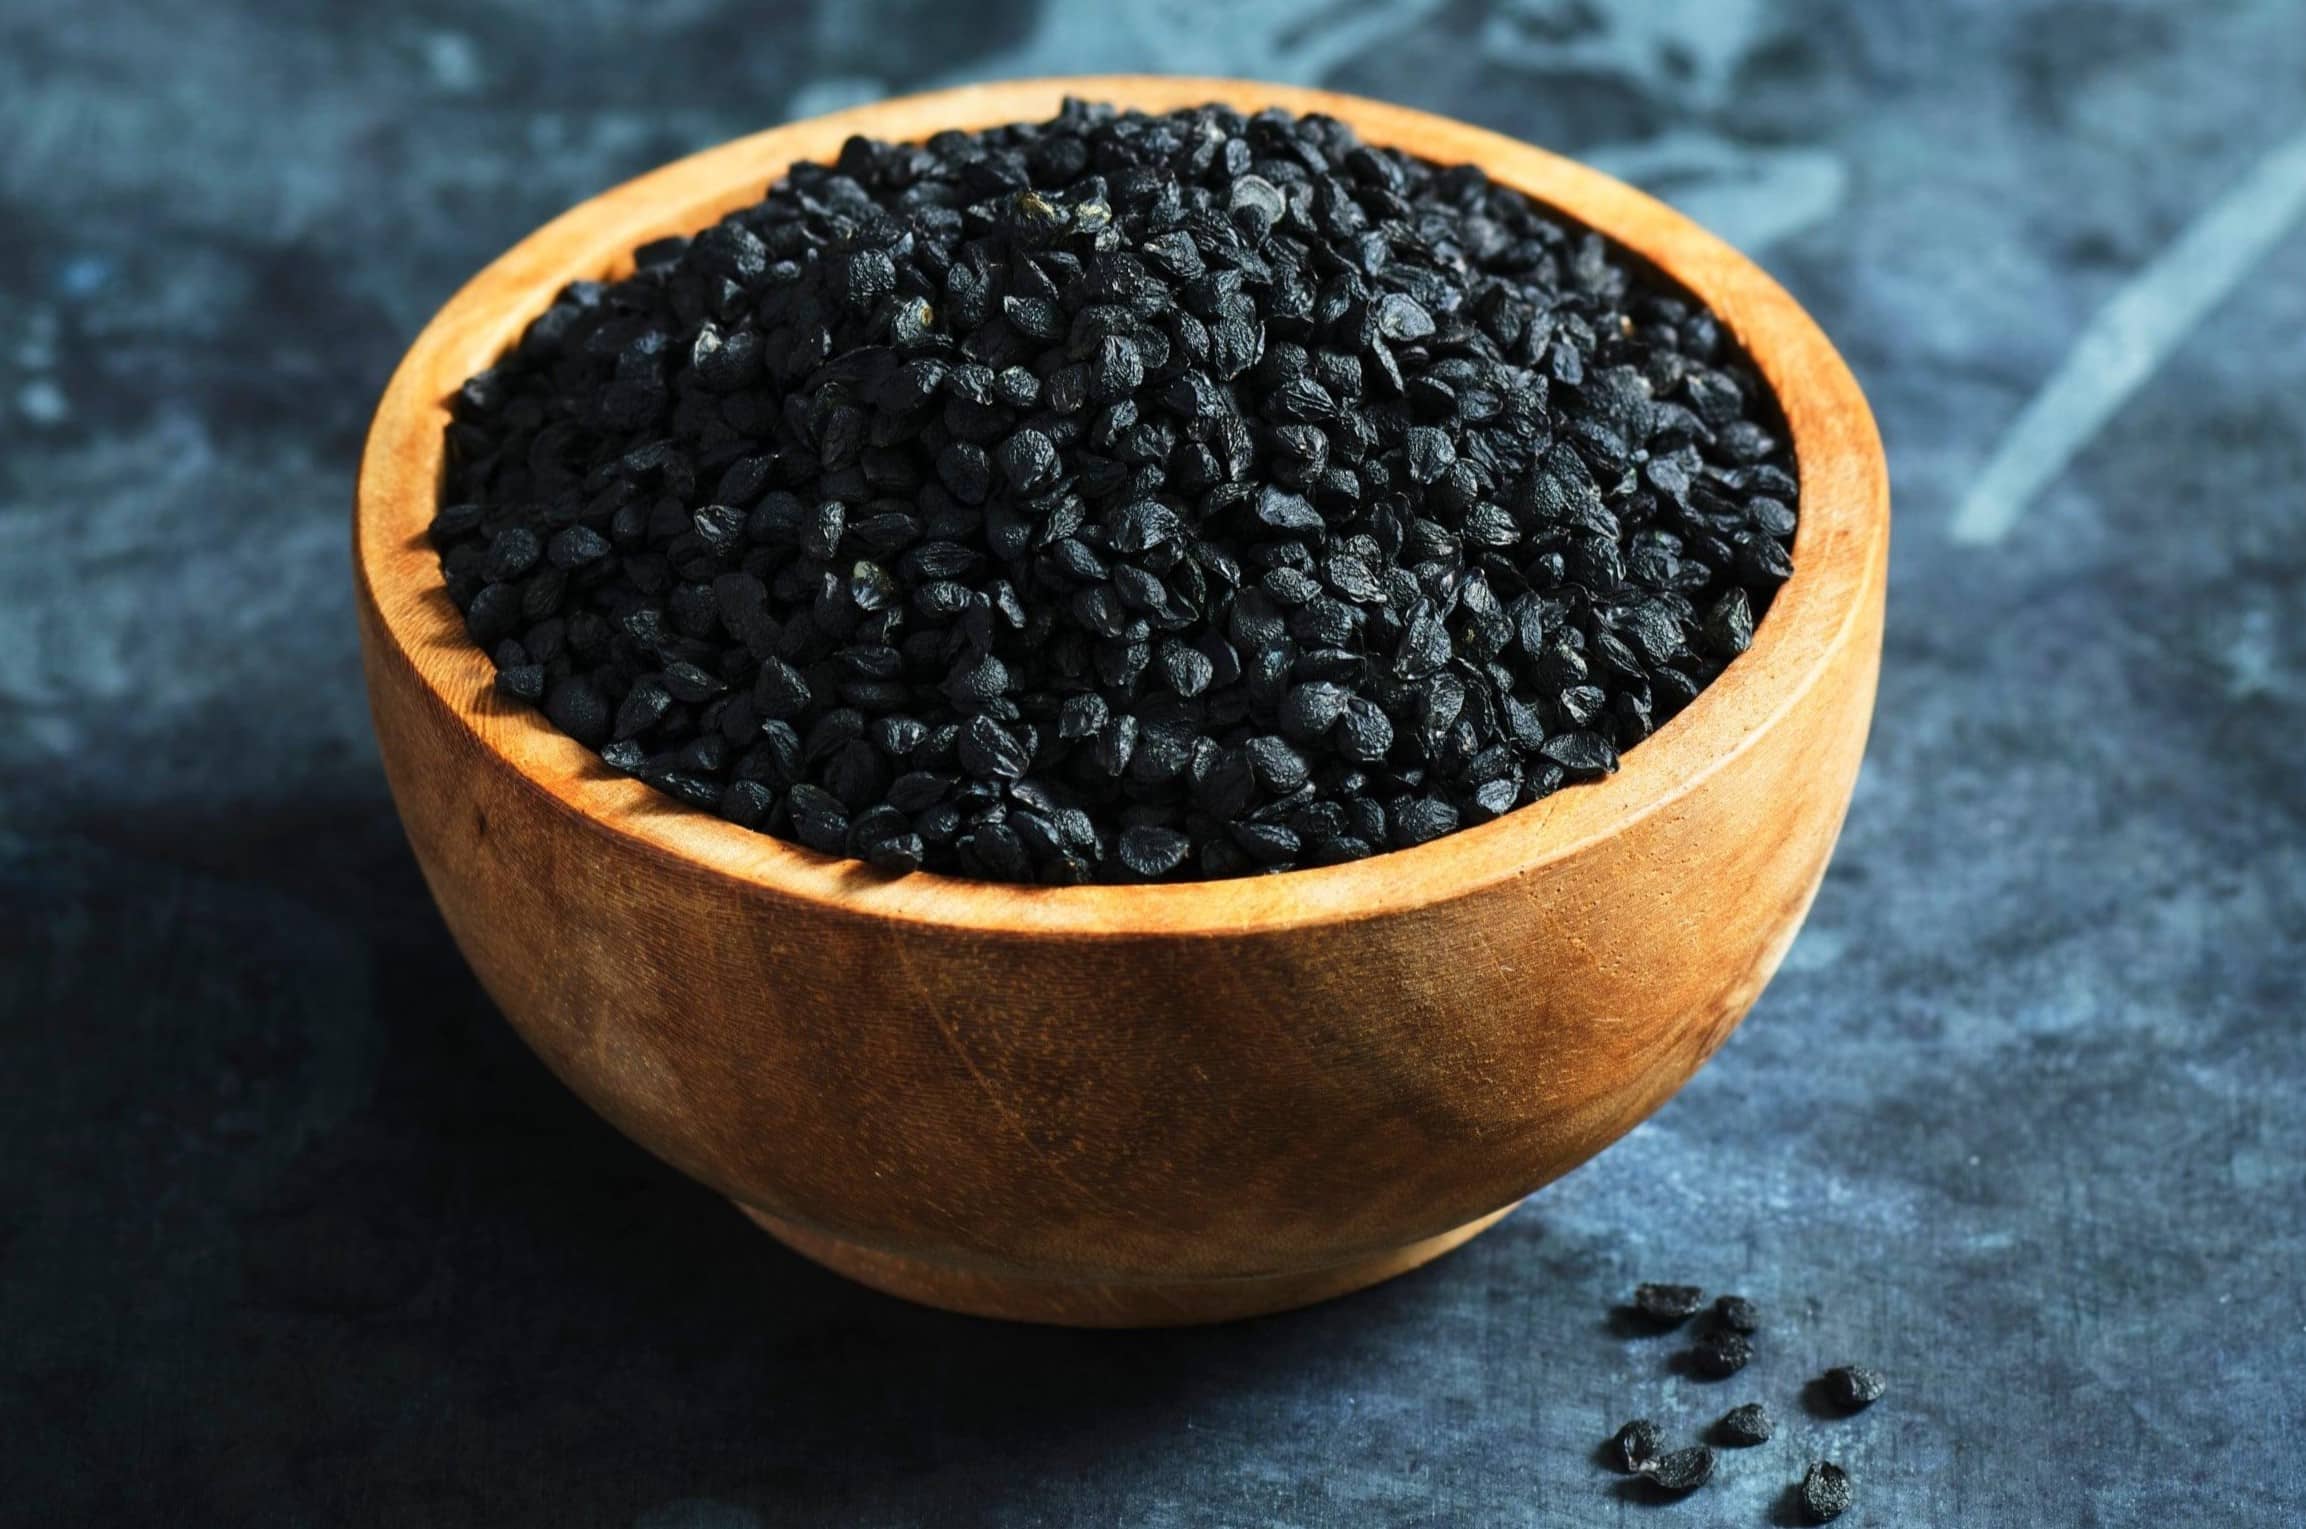
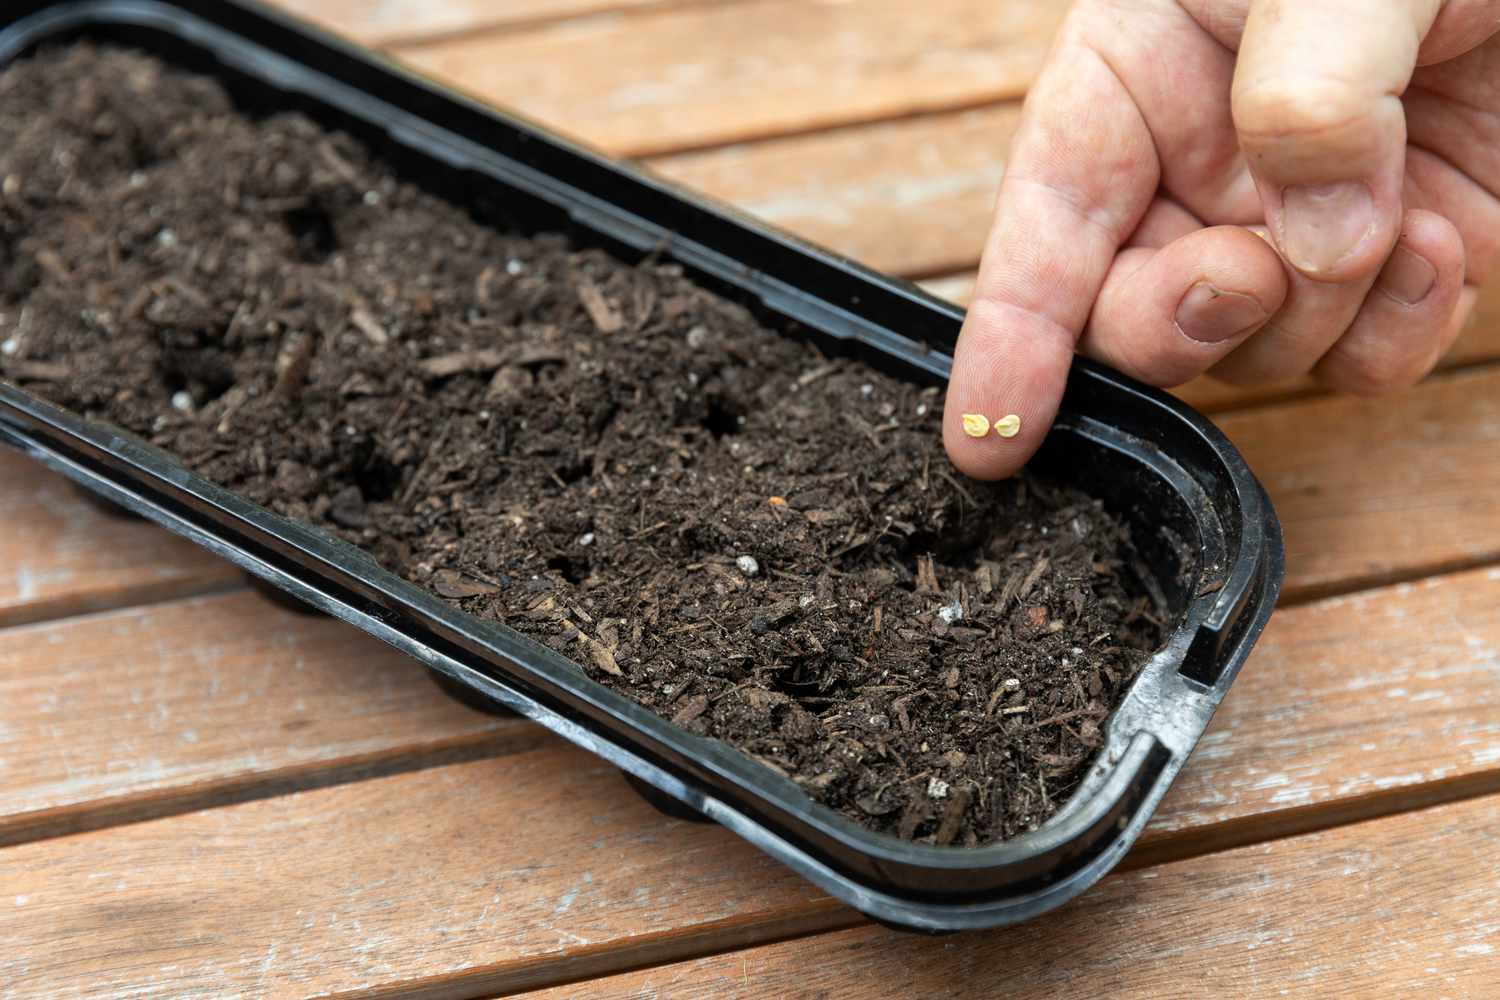
- Seed Spacing: Chive seeds are tiny and often come bundled together. Gently separate the seeds to ensure even spacing. Sow the seeds about ¼ inch deep and space them 6 to 8 inches apart. You can sow them in rows or in clusters, depending on your preference and the available space.
- Seedbed Moisture: Once the seeds are sown, lightly water the seedbed to ensure good seed-to-soil contact. This will help with germination. Avoid over-watering, as it can displace the seeds or cause them to rot. Maintain moist, but not waterlogged, conditions throughout the germination process.
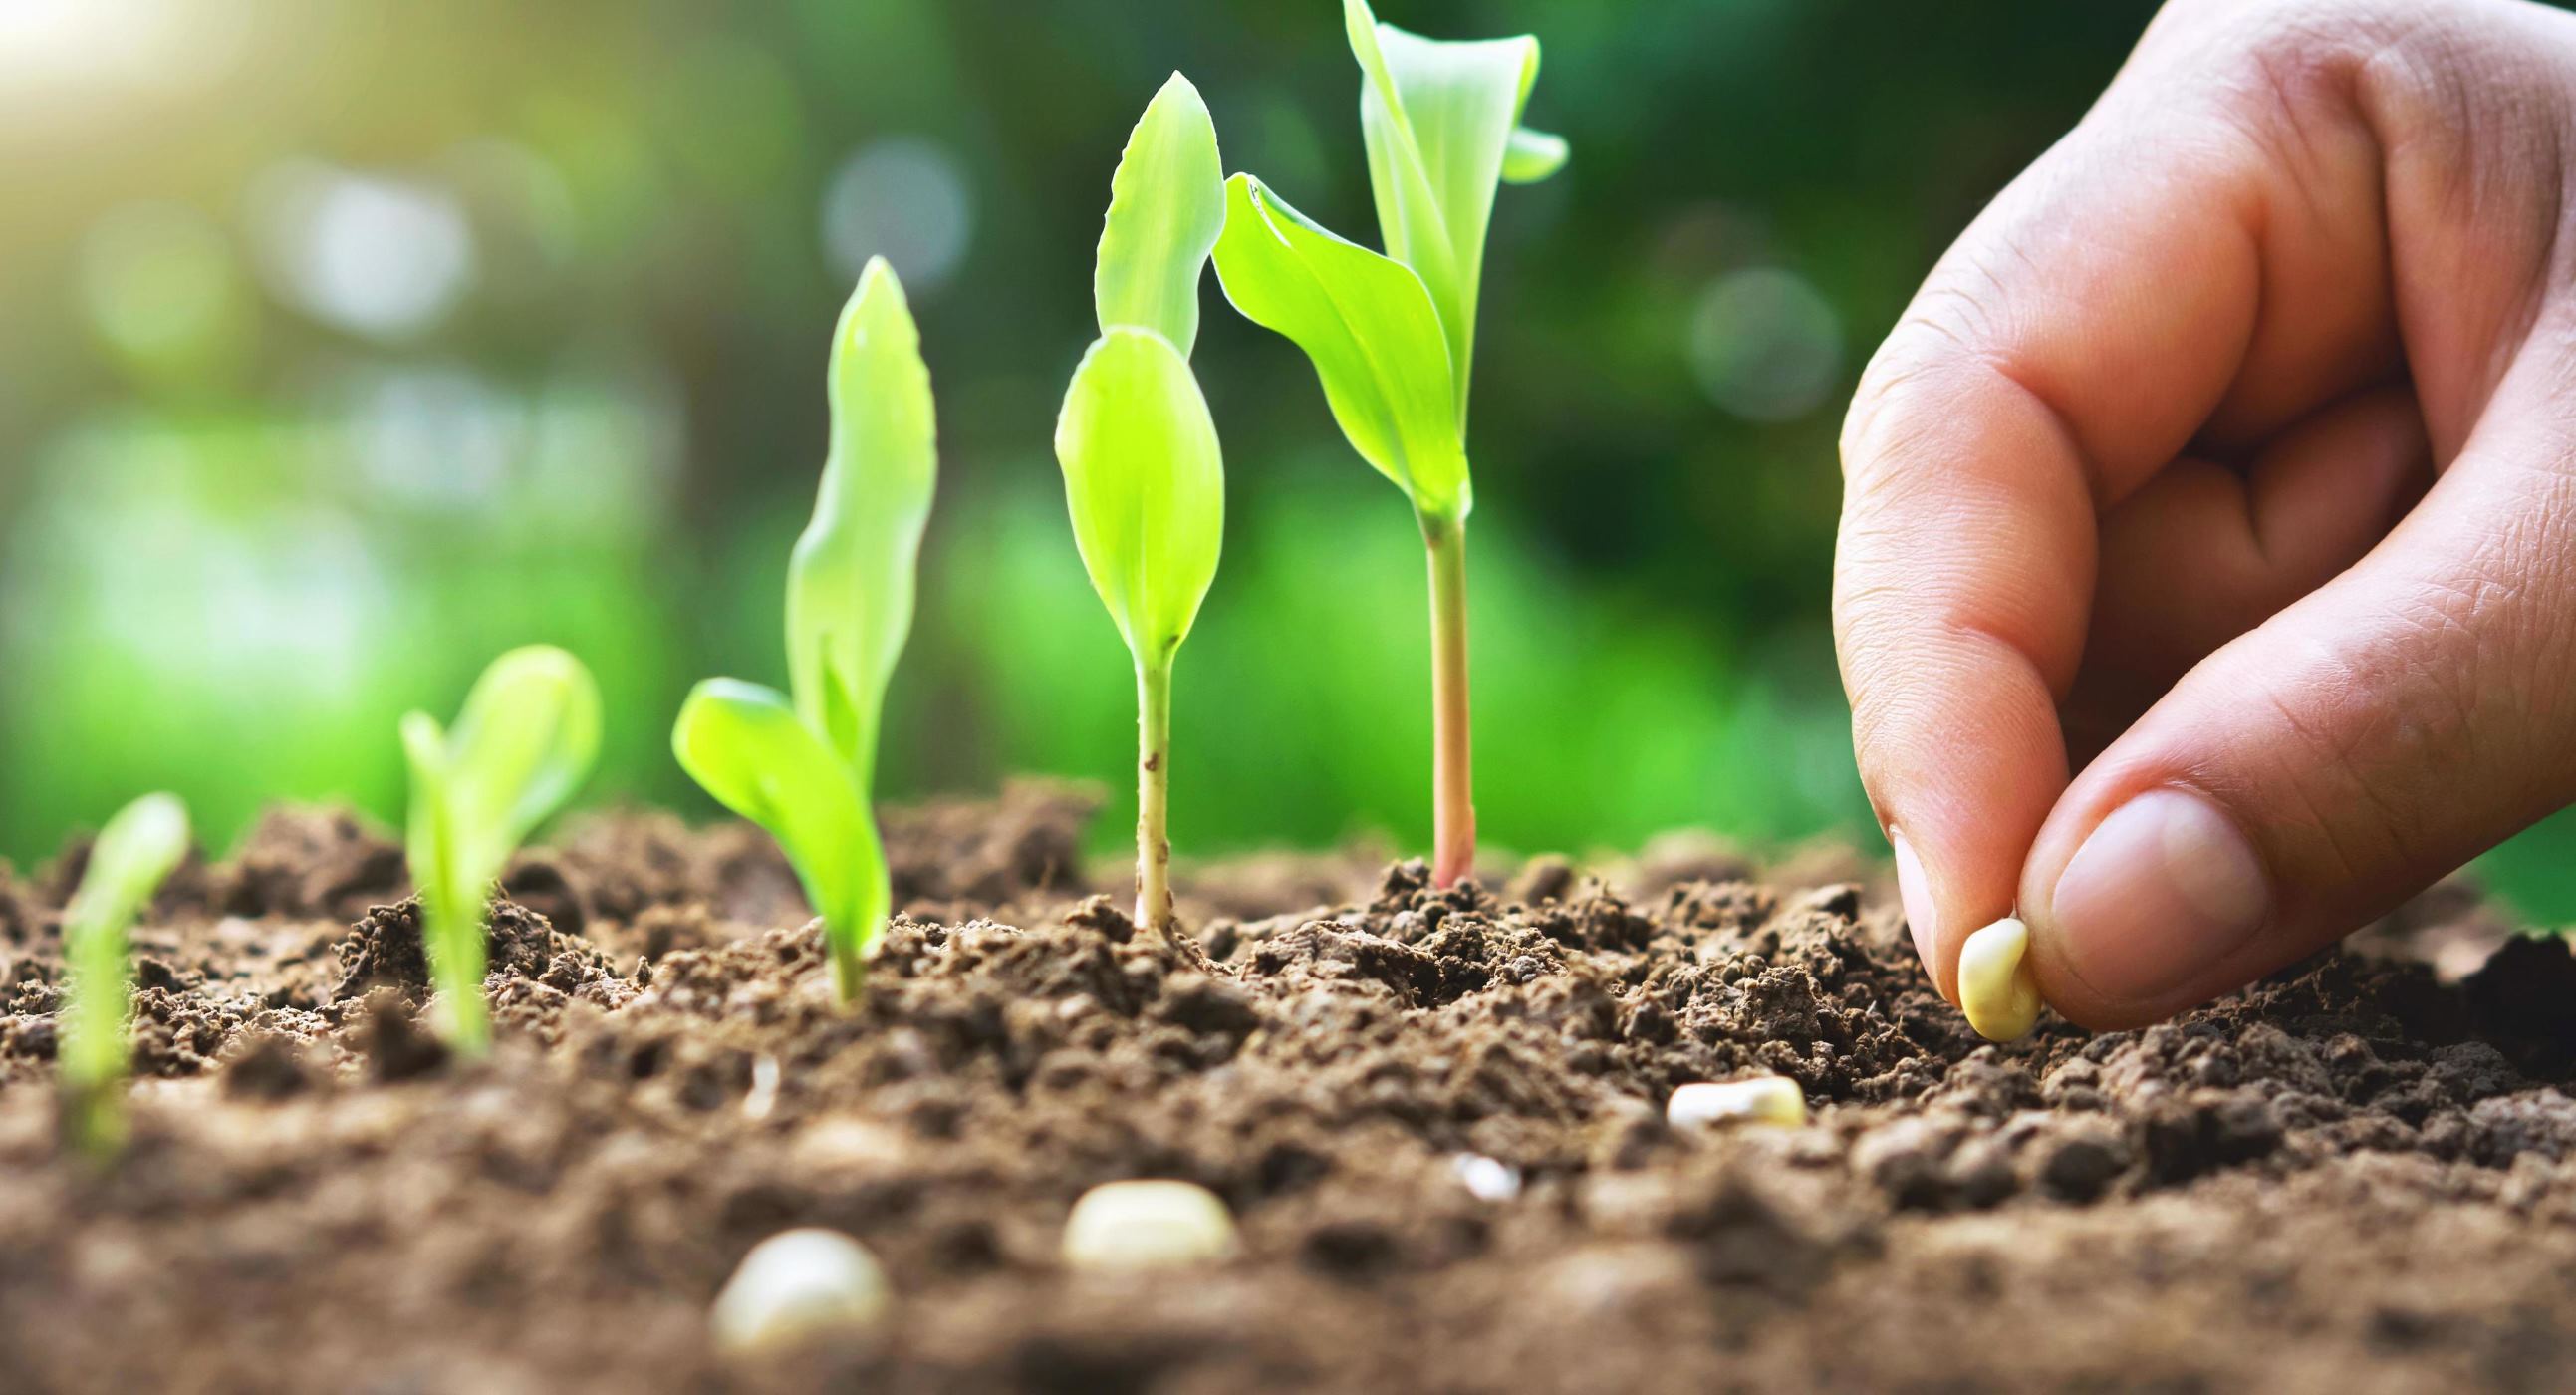
- Germination Time: Chive seeds typically germinate within 10 to 14 days, depending on the conditions. Keep the soil consistently moist and provide warmth for optimal germination. Using a seedling heat mat or placing the tray indoors near a sunny window can help speed up the process.
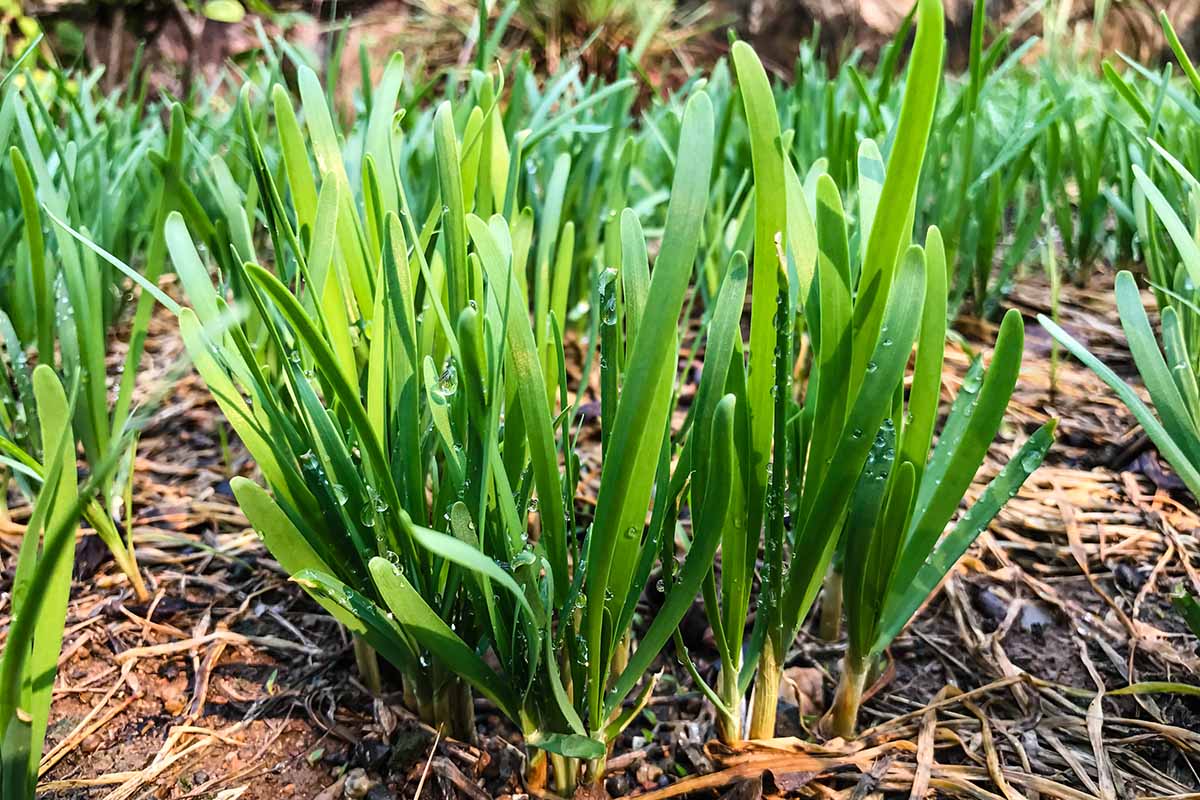
- Thinning Seedlings: Once the chive seedlings have grown a few inches tall and developed their first set of true leaves, thin them out if needed. Thin the seedlings to a spacing of 12 to 18 inches apart to allow enough room for the plants to grow and spread.
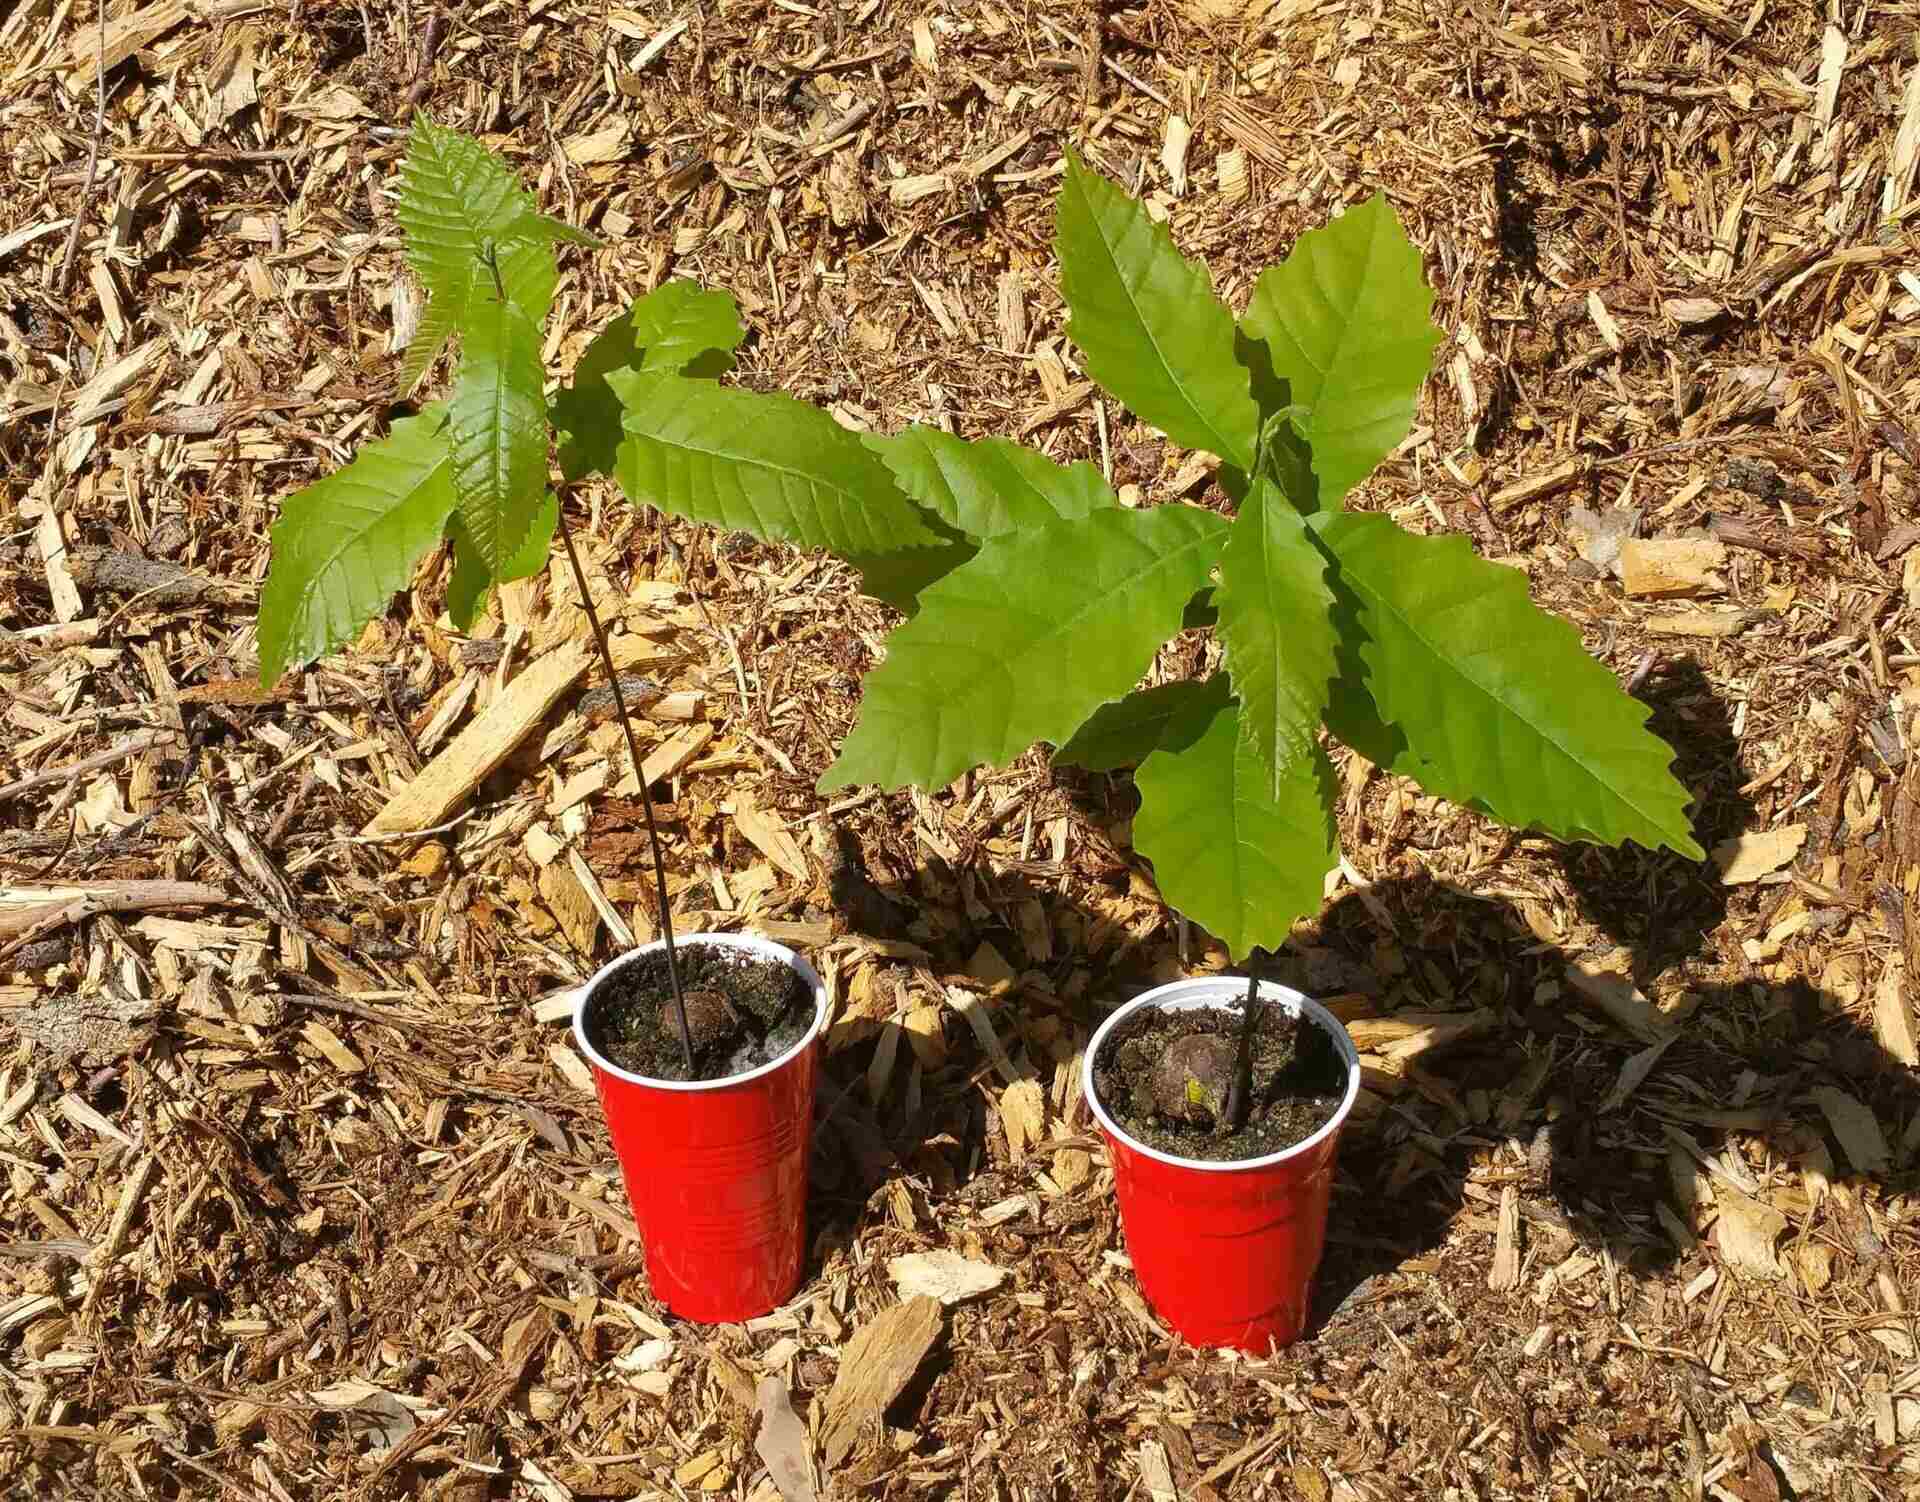
- Transplanting: If you started your chive seeds indoors, transplant the seedlings into the garden once all danger of frost has passed and the soil has warmed up. Gently lift the seedlings from their containers, being careful not to damage the roots, and transplant them at the same depth as they were growing. Water thoroughly after transplanting to help the seedlings establish in their new home.
Remember to label your chive plants to help you identify them as they grow. This is especially important if you have different chive varieties or if you are growing other herbs nearby.
With a little patience and care, you will soon see your chive seedlings sprout and grow into healthy plants. Enjoy the process and look forward to an abundant harvest of fresh chives!
Plant chive seeds in well-draining soil, about 1/4 inch deep and 6 inches apart. Water regularly and place in a sunny spot. Harvest when the plants are about 6 inches tall.
Providing Proper Care for Chive Seedlings
Once your chive seedlings have emerged from the soil, it’s important to provide them with proper care to ensure healthy growth and a bountiful harvest. Here are some essential care tips for nurturing your chive seedlings:
- Watering: Chive seedlings need consistent moisture to thrive. Water them regularly, keeping the soil evenly moist but not waterlogged. Aim to provide about 1 inch of water per week, adjusting based on weather conditions. Be cautious not to over-water, as chives don’t like to sit in soggy soil.
- Fertilizing: Chives are not heavy feeders, so excessive fertilization is not necessary. However, you can provide a balanced, organic fertilizer or compost tea once or twice during the growing season to give them a nutrient boost. Avoid high-nitrogen fertilizers, as they can encourage excessive leaf growth at the expense of flavor.
- Weeding: Regularly check the chive bed for weeds and remove them promptly. Weeds compete with chives for nutrients, water, and sunlight. Be diligent in keeping the chive growing area weed-free to ensure the best growth and development of your plants.
- Thinning: If you notice that your chive plants are overcrowded, consider thinning them out. Thinning allows the remaining plants to have ample space and resources to grow. Simply remove excess seedlings, leaving enough space for each plant to reach its full potential.
- Protection from Pests: Chives are relatively resistant to pests and diseases. However, occasional pest issues may arise. Keep an eye out for common garden pests like aphids or onion thrips, and take appropriate measures to control them. Natural remedies like insecticidal soaps or companion planting with pest-repellent herbs can be effective.
- Dividing Chive Clumps: Over time, chive plants will form clumps and may become crowded. To keep the plants healthy and promote vigorous growth, divide the clumps every 2 to 3 years in early spring or early autumn. Carefully lift the clumps, separate them into smaller sections, and replant them with adequate spacing.
- Winter Care: Chives are perennial herbs that can survive cold winter months. Before the first frost, cut back the chive foliage to about 2 inches above the ground. Mulch the bed with a layer of straw or leaves to provide insulation and protect the plants from freezing temperatures.
By providing proper care, you will ensure that your chive seedlings grow into healthy and productive plants. Remember to monitor their progress regularly and address any issues promptly to enjoy a continuous supply of fresh chives throughout the growing season.
Read more: How To Grow Chives From Seed
Harvesting and Using Chives
Harvesting chives is a delightful experience that rewards you with fresh, flavorful herbs to enhance your culinary creations. Here’s what you need to know about harvesting and using chives:
- Timing: Chive leaves can be harvested as soon as the plants reach about 6 inches in height. It’s best to wait until they have established a good root system, which usually takes around 2 to 3 months after planting. Avoid harvesting more than one-third of the plant at a time to allow for continuous growth.
- Harvesting Method: To harvest chives, simply snip the leaves with sharp, clean scissors or garden shears. Start by cutting the outer, older leaves from the base of the plant, working your way towards the center. Leave a few inches of foliage intact for the plant to continue growing.
- Harvesting Frequency: Chives have a rapid regrowth rate, particularly during the growing season. You can harvest them multiple times throughout the season, as long as you leave enough foliage for the plant to thrive. Regular harvesting promotes bushier growth and encourages the production of fresh leaves.
- Using Chives: Chives are incredibly versatile in the kitchen. The tender, green leaves have a mild onion flavor that adds a delightful freshness to a variety of dishes. Here are some popular ways to use chives:
- – Finely chop chives to sprinkle over soups, salads, and omelets.
- – Mix chopped chives into cream cheese or sour cream for a tangy dip.
- – Toss chive leaves into pasta, stir-fries, or roasted vegetables for a burst of flavor.
- – Use chives as a garnish for baked potatoes, seafood dishes, or deviled eggs.
- – Infuse chive leaves in olive oil or vinegar for homemade dressing and marinades.
- Preserving Chives: If you have an abundant harvest, you can preserve chives for future use. One common method is freezing. Simply chop the chives and place them in an airtight container or freezer bag. Another option is to dry the chive leaves by hanging them in a well-ventilated area until they are crispy. Store dried chives in a sealed container.
- Companion Planting: Chives serve as excellent companion plants in the garden. Their pungent smell repels many pests, making them a natural deterrent. Plant chives alongside vegetables like tomatoes, carrots, and roses to help protect them from insects.
Chives are a wonderful addition to any culinary repertoire, and harvesting them fresh from your garden elevates the flavors of your dishes. Experiment with different recipes and enjoy the vibrant taste and aroma that chives bring to your meals.
Conclusion
Congratulations! You’ve successfully learned how to plant chive seeds and care for your chive seedlings. By choosing the right chive seeds, preparing the planting area, sowing the seeds, and providing proper care, you have set the foundation for a flourishing chive garden. As your chives grow and mature, you’ll be rewarded with an abundance of fresh, flavorful herbs to enhance your culinary creations.
Chives are not only easy to grow but also offer a multitude of culinary uses. From adding a burst of flavor to soups and salads to garnishing main dishes and sauces, chives are a versatile herb that can elevate your cooking to new heights. Enjoy the satisfaction of harvesting your chives and savoring their fresh taste in your favorite recipes.
Remember to take care of your chive plants by providing adequate watering, occasional fertilization, and regular attention to weed control. Protect your plants from pests, and consider dividing them every few years to ensure their continued health and vigor.
Whether you’re an experienced gardener or just starting out, growing chives can be a rewarding and enjoyable experience. Watching your chive seeds sprout into lush green foliage and then harvesting them for culinary delights is a gratifying journey that connects you with the beauty and abundance of nature.
So go ahead, plant those chive seeds, tend to them with care, and enjoy the wonderful flavors and aromas that chives bring to your garden and kitchen. Happy gardening and bon appétit!
Frequently Asked Questions about How To Plant Chive Seeds
Was this page helpful?
At Storables.com, we guarantee accurate and reliable information. Our content, validated by Expert Board Contributors, is crafted following stringent Editorial Policies. We're committed to providing you with well-researched, expert-backed insights for all your informational needs.


0 thoughts on “How To Plant Chive Seeds”