Home>Garden Essentials>How To Plant Guanabana Soursop Seeds

Garden Essentials
How To Plant Guanabana Soursop Seeds
Modified: May 6, 2024
Looking to start a garden? Learn how to plant guanabana seeds and grow your own beautiful fruit tree at home with our step-by-step guide.
(Many of the links in this article redirect to a specific reviewed product. Your purchase of these products through affiliate links helps to generate commission for Storables.com, at no extra cost. Learn more)
Introduction
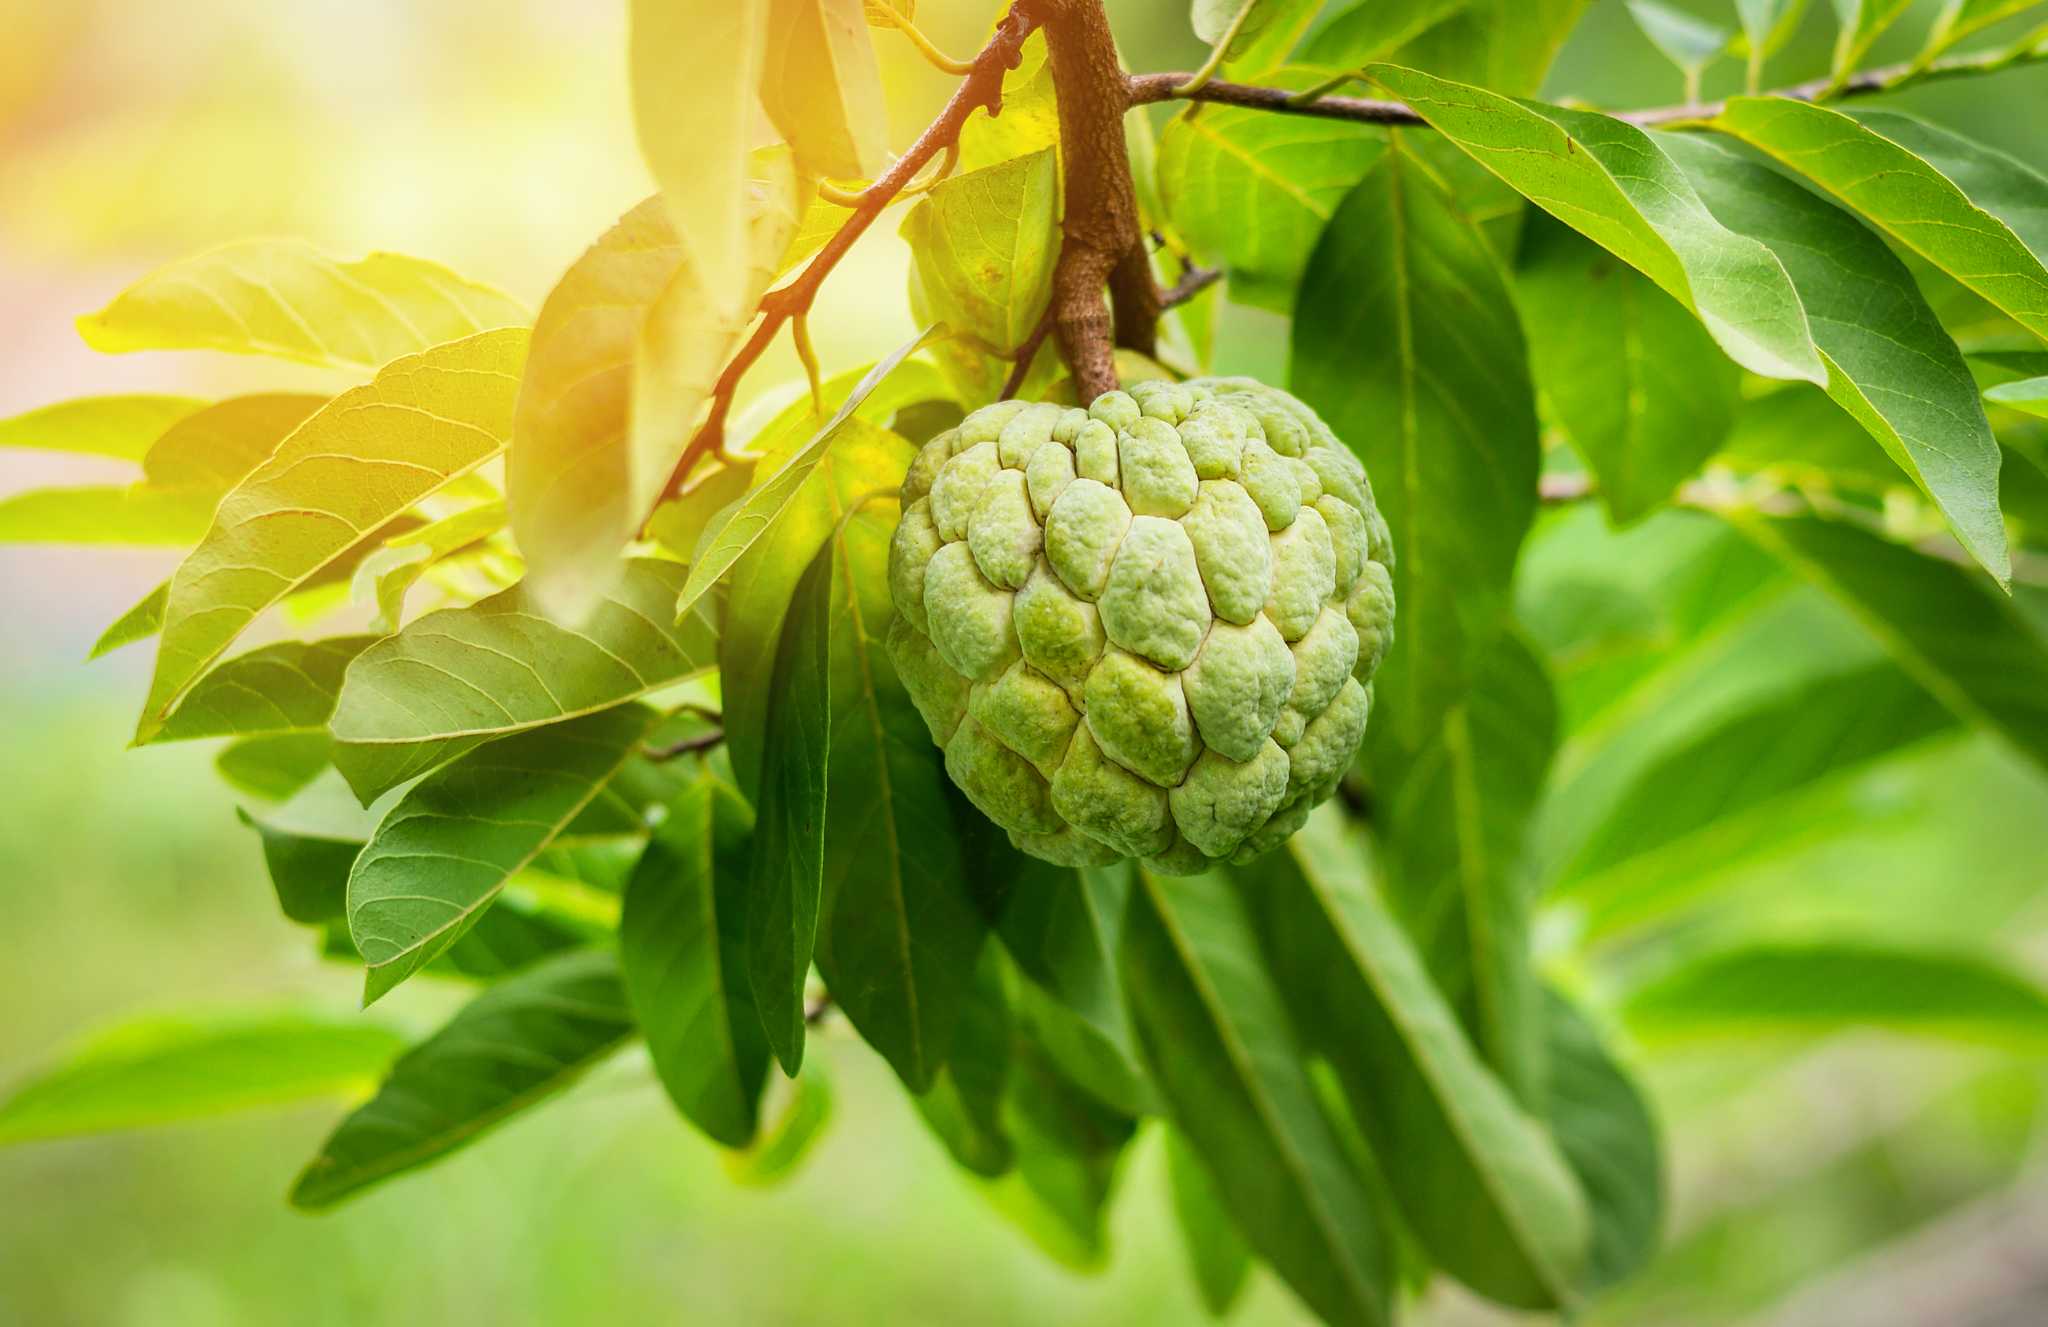
Guanabana, also known as soursop or graviola, is a tropical fruit tree native to Central and South America. With its deliciously sweet and tangy flavor, guanabana has become increasingly popular among fruit enthusiasts. Growing your own guanabana tree from seeds can be a rewarding and fulfilling experience. Not only will you have access to fresh, organic fruit, but you’ll also have the satisfaction of nurturing a plant from its initial stages to full maturity.
In this article, we will guide you through the process of planting guanabana seeds, step by step. Whether you are a novice gardener or an experienced horticulturist, this comprehensive guide will equip you with the knowledge and skills needed to successfully grow a healthy guanabana tree. So, let’s get started and embark on this exciting journey!
Key Takeaways:
- Choose fresh, high-quality guanabana seeds from a reputable supplier to ensure successful germination. Prepare well-drained, nutrient-rich soil and provide proper care to nurture healthy guanabana trees.
- From germinating seeds to transplanting seedlings and ongoing care, follow the step-by-step guide to grow your own guanabana tree. Enjoy the tropical flavors of homegrown guanabana fruit with patience and dedication.
Read more: How To Grow Soursop From Seeds
Step 1: Choosing the Right Guanabana Seeds
The first step in planting guanabana seeds is to select high-quality seeds. It’s essential to choose seeds from a reliable source to ensure the best chance of success. Here are a few tips to help you choose the right guanabana seeds:
- Buy from a reputable supplier: Look for a reputable garden center or seed supplier that specializes in tropical fruit trees. Check customer reviews and ratings to ensure their seeds are of high quality.
- Freshness: Opt for fresh guanabana seeds that have been recently harvested. Fresh seeds have a higher germination rate compared to older ones.
- Germination rate: Some suppliers provide information about the germination rate of their seeds. Look for seeds with a high germination rate to increase the likelihood of successful germination.
- Variety: Guanabana comes in different varieties, each with its own unique characteristics. Research and choose the variety that best suits your preferences and growing conditions.
- Organic and non-GMO: Consider purchasing organic and non-genetically modified (GMO) seeds to ensure the health and sustainability of your guanabana tree.
Once you have obtained your guanabana seeds, it’s time to move on to the next step: preparing the soil.
Step 2: Preparing the Soil
Proper soil preparation is crucial for the successful growth of guanabana seeds. Guanabana trees prefer well-drained soil that is rich in organic matter. Here’s how you can prepare the soil:
- Choose the right location: Select a sunny spot in your garden or yard that receives at least six to eight hours of direct sunlight each day. Guanabana trees thrive in tropical and subtropical climates.
- Clear the area: Remove any weeds, rocks, or debris from the planting area. This will prevent competition for nutrients and ensure a clean environment for the guanabana seeds to grow.
- Loosen the soil: Use a garden fork or tiller to loosen the soil to a depth of at least 12 inches. This helps improve drainage and allows the roots to penetrate easily.
- Amend the soil: Guanabana trees thrive in slightly acidic soil with a pH range of 6.0 to 6.5. Test the soil pH and, if necessary, amend it by adding organic matter, such as compost or well-rotted manure, to adjust the pH level.
- Improve drainage: If your soil tends to retain water, improve drainage by adding perlite, vermiculite, or coarse sand. This will prevent waterlogging, which can lead to root rot.
- Provide nutrients: Before planting the guanabana seeds, incorporate a slow-release organic fertilizer into the soil to provide essential nutrients for healthy growth.
Once the soil is properly prepared, you’re ready to move on to the next step: germinating the guanabana seeds.
Step 3: Germinating the Seeds
Germinating guanabana seeds is an essential step in the process of growing your own guanabana tree. Germination refers to the process where a seed sprouts and begins to grow. Follow these steps to germinate your guanabana seeds:
- Soak the seeds: Fill a container with lukewarm water and place your guanabana seeds in the water. Allow them to soak for 24 to 48 hours. This helps soften the seed coat and promotes faster germination.
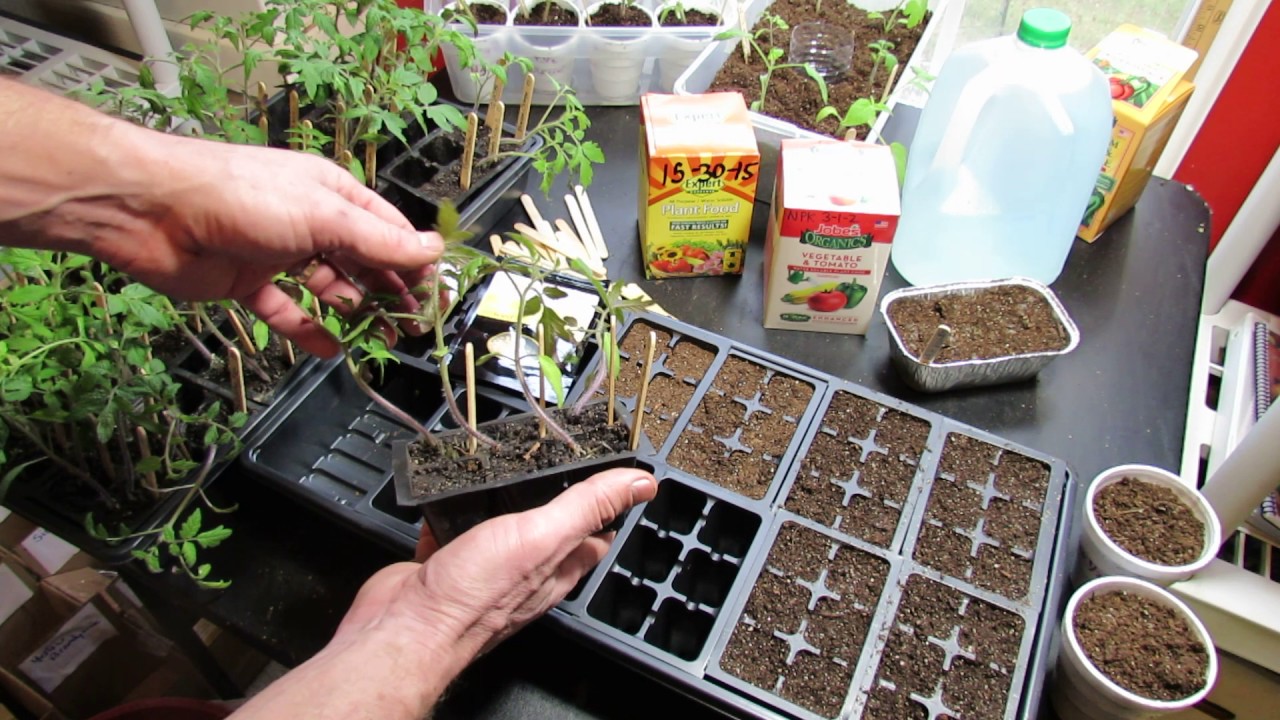
- Prepare a germination medium: While the seeds are soaking, prepare a germination medium. You can use a mixture of equal parts peat moss and vermiculite or a seed starting mix. Fill a seed tray or small pots with the germination medium.
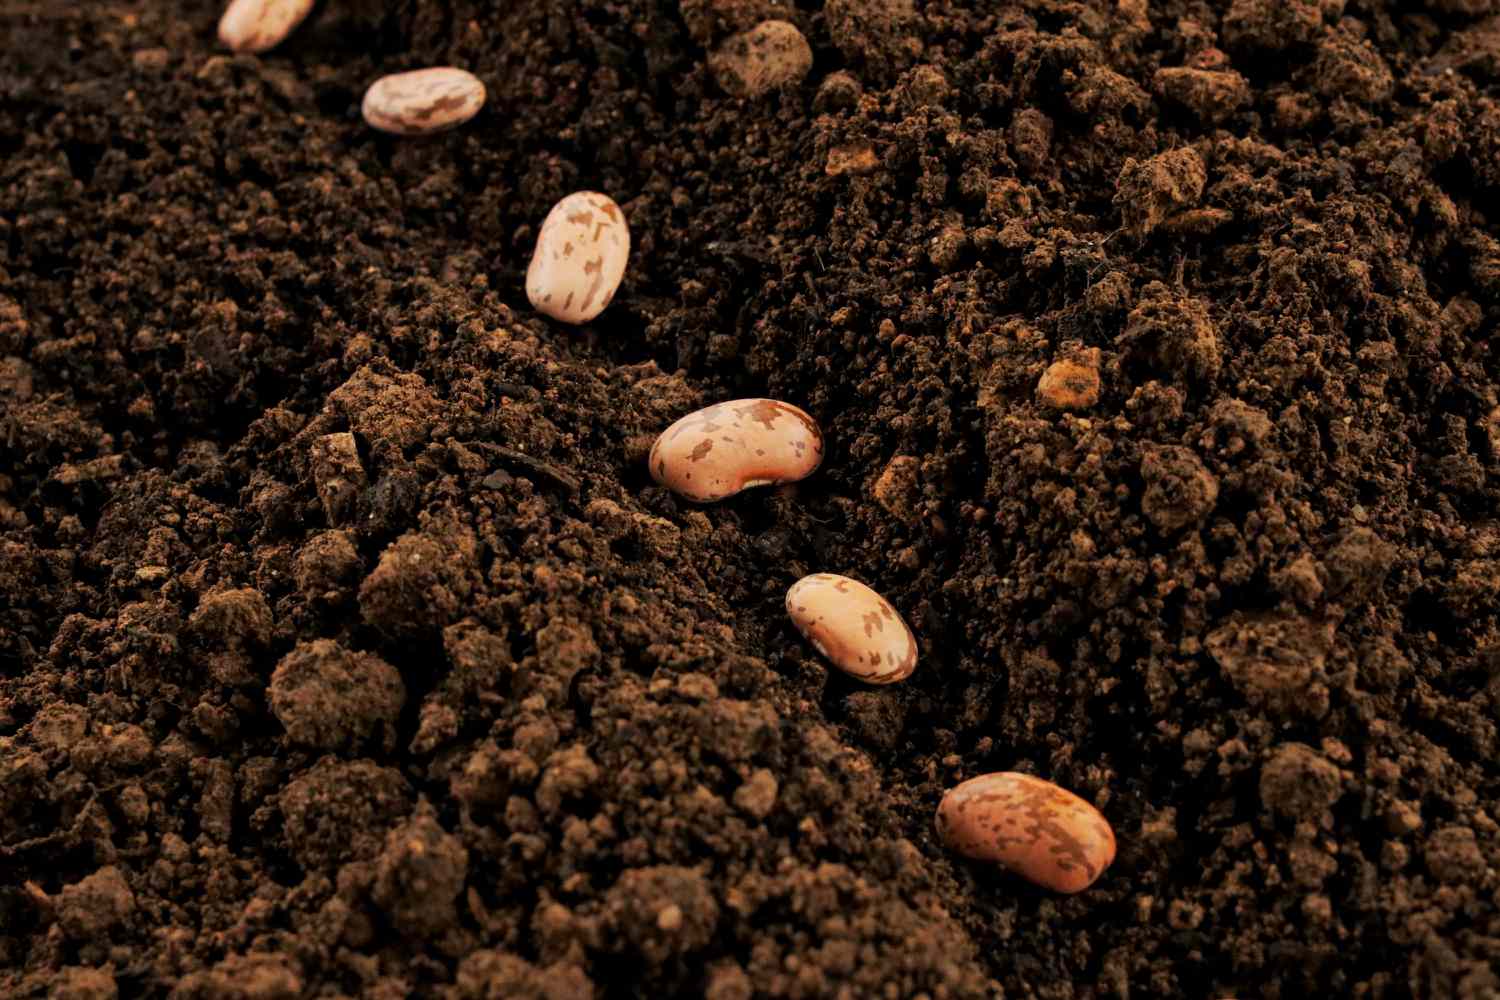
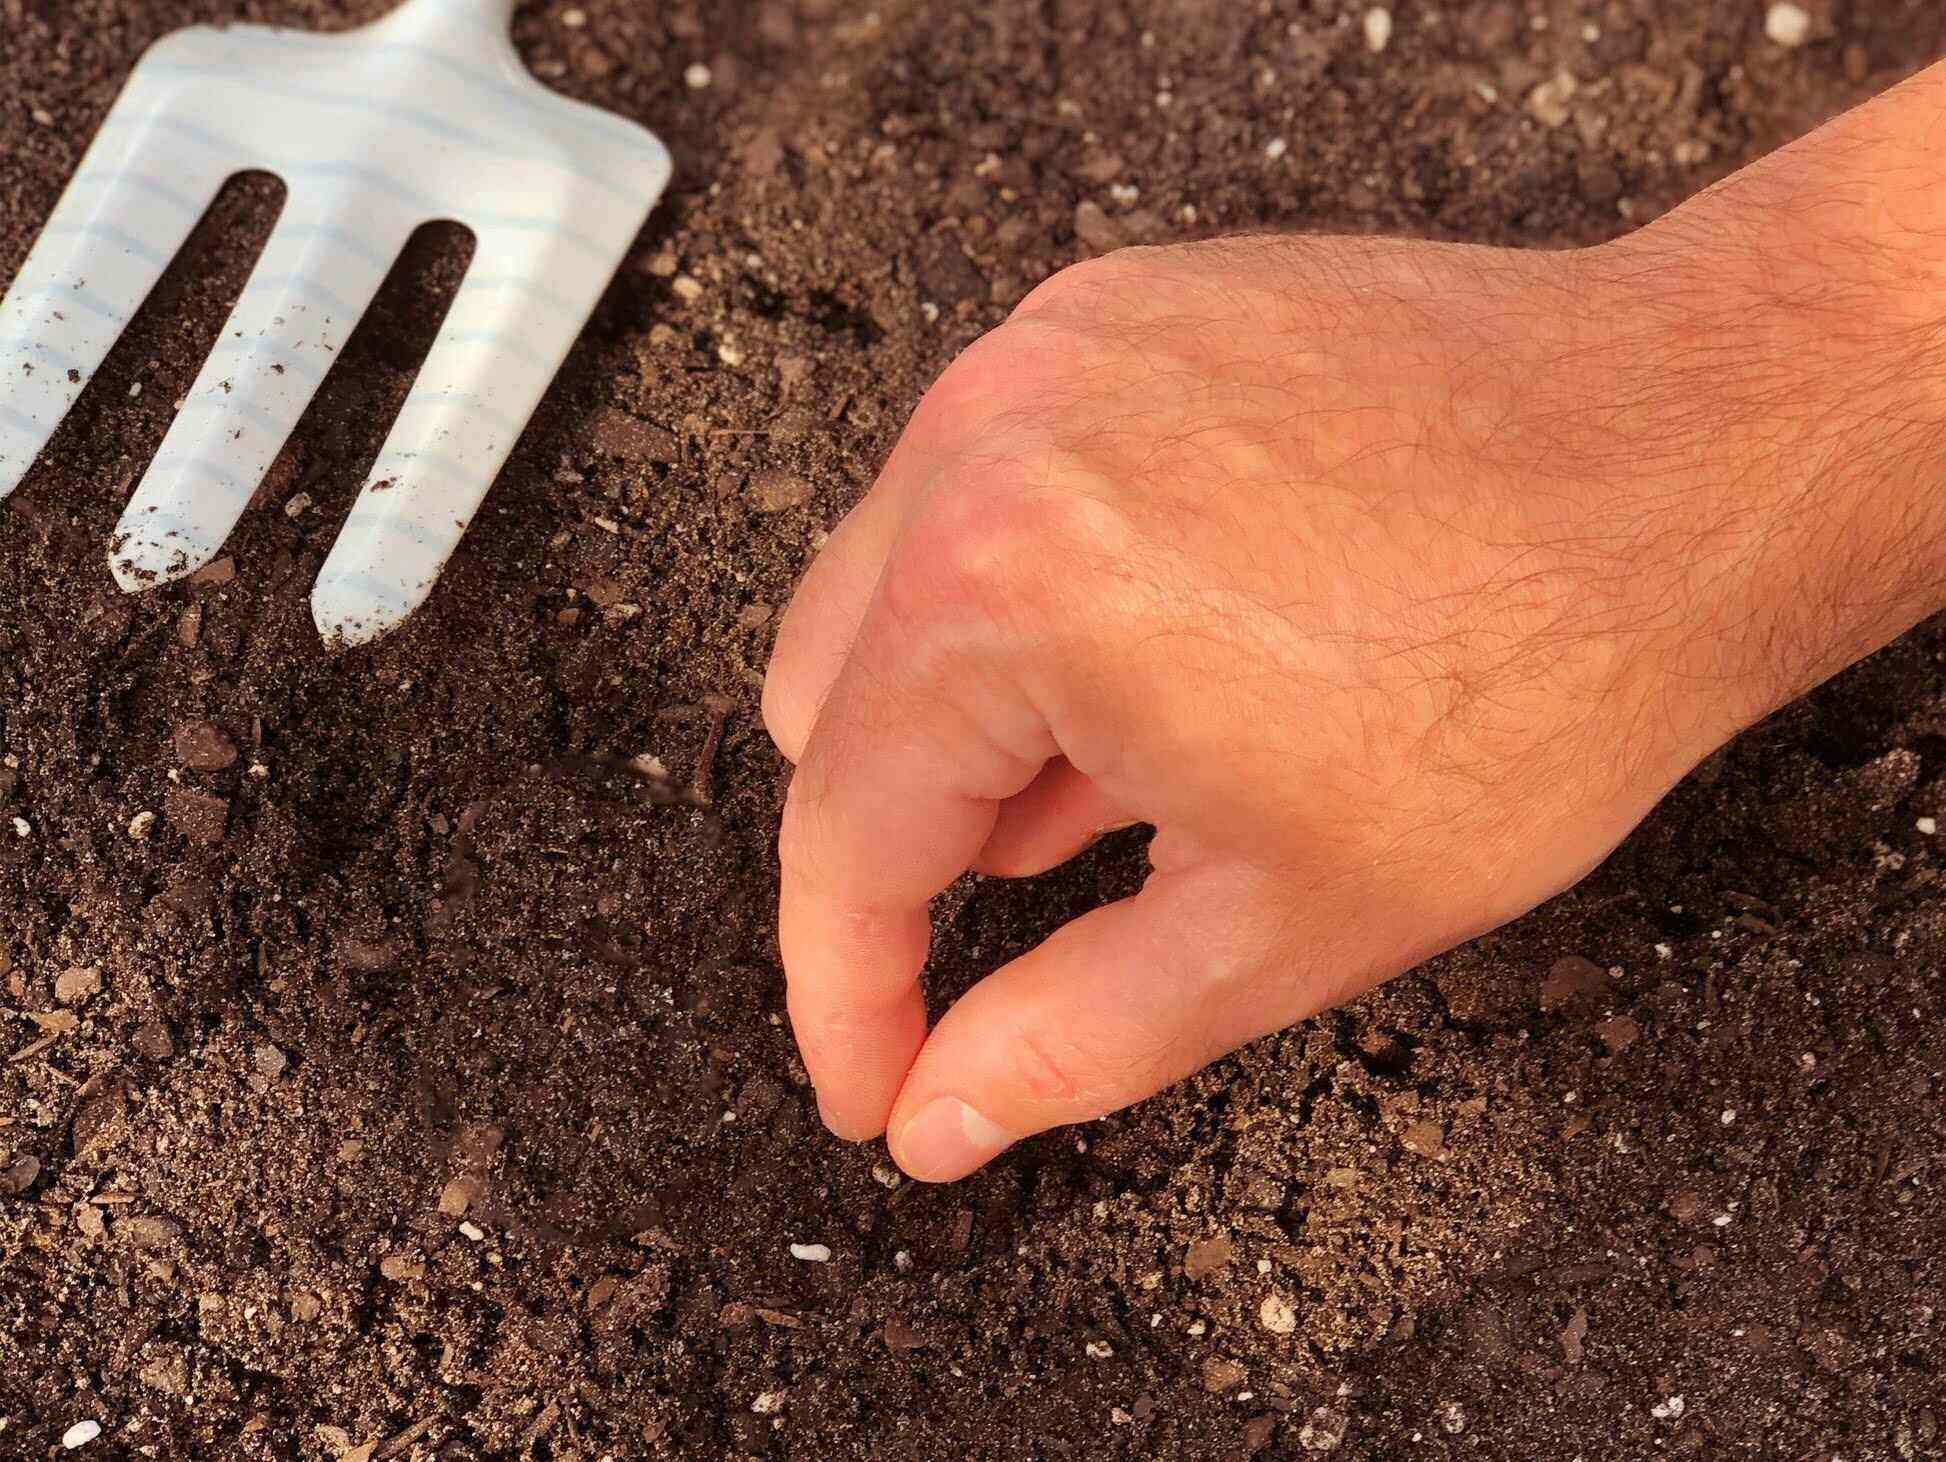
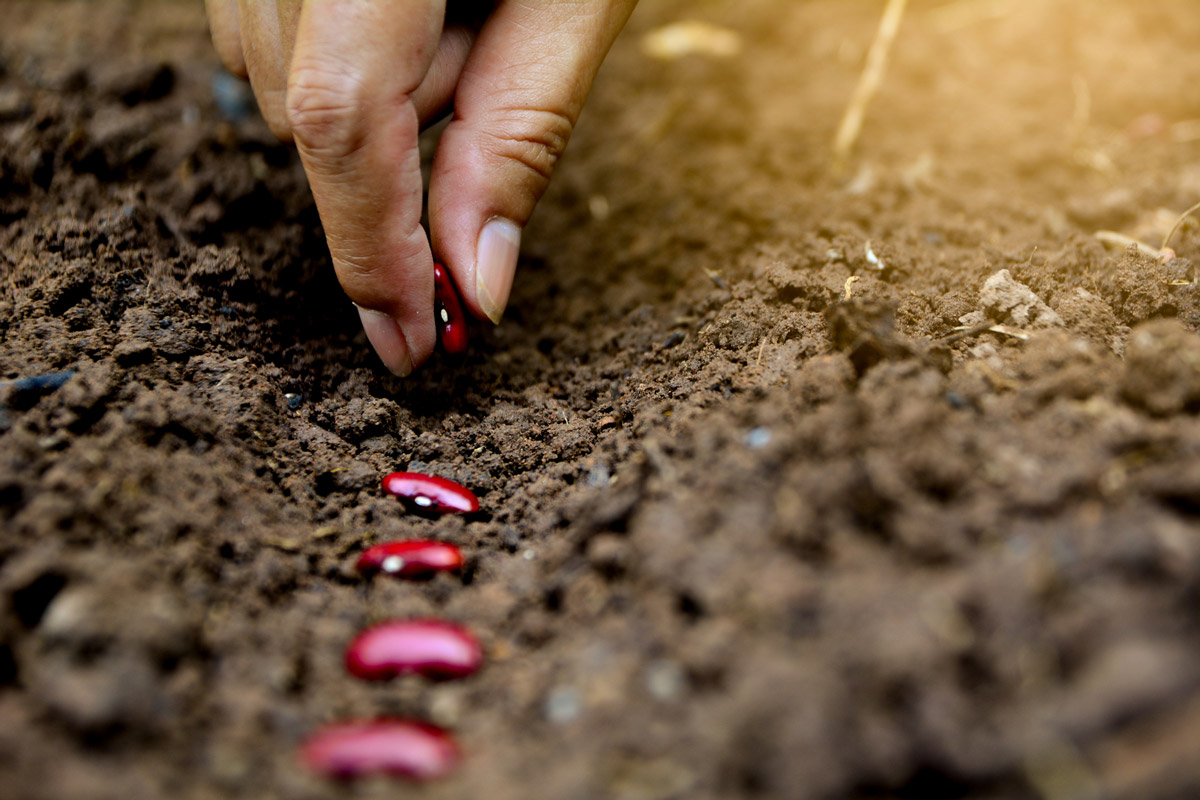
- Sow the seeds: After soaking, remove the guanabana seeds from the water and place them on the surface of the germination medium. Gently press them into the medium, ensuring they are not buried too deep.
- Maintain proper moisture: Keep the germination medium consistently moist but not soaked. Mist the surface with water or cover the tray with a plastic dome or plastic wrap to create a humid environment.
- Provide warmth: Place the seed tray or pots in a warm location, ideally between 75 to 85 degrees Fahrenheit (24 to 29 degrees Celsius). This warmth helps trigger germination.
- Be patient: Germination can take anywhere from two weeks to several months. Be patient and keep a close eye on the seeds for any signs of sprouting.
Once your guanabana seeds have successfully germinated and sprouted, it’s time to move on to the next step: planting the seedlings.
Step 4: Planting the Guanabana Seeds
Now that your guanabana seeds have germinated and sprouted, it’s time to transplant them into larger containers or directly into the ground. Follow these steps to ensure proper planting of your guanabana seedlings:
- Select the right container: If you choose to transplant the seedlings into larger containers, select pots that are at least 12 inches in diameter with drainage holes to prevent waterlogging.
- Prepare the planting hole: If planting directly into the ground, dig a hole that is twice the width and depth of the root ball of the seedling.
- Amend the soil: Incorporate organic matter, such as compost or well-rotted manure, into the planting hole or potting mix to provide nutrients to the young guanabana tree.
- Place the seedling: Gently remove the guanabana seedling from the germination tray or pot, taking care not to damage the delicate roots. Place it in the planting hole or pot, ensuring that the top of the root ball is level with the soil surface.
- Backfill and firm the soil: Fill the remaining space around the seedling with soil, gently firming it to eliminate any air pockets. Avoid compacting the soil too tightly, as it may hinder root growth.
- Water thoroughly: After planting, water the seedling thoroughly to settle the soil and provide much-needed moisture. Ensure that the water reaches the root zone.
- Provide support (if necessary): If the guanabana seedling is tall or weak, you may need to provide support with a stake or bamboo pole to keep it upright until it can establish firm roots.
Once you have planted your guanabana seedlings, it’s time to move on to step 5: caring for the seedlings.
After removing the seeds from the guanabana fruit, soak them in water for 24 hours. Then plant them in a well-draining soil mix, keeping them moist and warm until they germinate.
Read more: How To Store Soursop
Step 5: Caring for the Seedlings
Proper care is essential for the healthy growth of guanabana seedlings. Follow these guidelines to ensure your seedlings thrive:
- Watering: Guanabana seedlings require regular watering to establish strong roots. Water the plants deeply, ensuring that the soil is evenly moist. However, avoid overwatering, as it can lead to root rot. Adjust the watering frequency based on the weather conditions and the moisture needs of the plant.
- Fertilizing: Feed the guanabana seedlings with a balanced organic fertilizer every month during the growing season. Follow the package instructions for the correct dosage and application method. This will provide the necessary nutrients for healthy growth.
- Pruning: Once the guanabana seedlings reach a height of around 2 feet, you can start pruning them to promote branching and a bushier growth habit. Trim back the top growth to encourage the development of lateral branches.
- Protecting from pests and diseases: Keep an eye out for common pests like aphids, mealybugs, and fruit flies. Regularly inspect the seedlings for any signs of pest infestation and take appropriate measures, such as using organic insecticides or practicing integrated pest management techniques. Additionally, ensure good air circulation around the plants to prevent fungal diseases.
- Mulching: Apply a layer of organic mulch around the base of the guanabana seedlings. This helps conserve moisture, suppresses weed growth, and improves the overall health of the plants. Use organic materials like straw, wood chips, or compost for the best results.
By following these care practices, you will optimize the growing conditions for your guanabana seedlings and set them up for successful growth and development. When the seedlings have matured and are ready for transplantation, it’s time to move on to step 6: transplanting the seedlings.
Step 6: Transplanting the Seedlings
Transplanting guanabana seedlings is an important step in their journey towards becoming mature trees. The goal is to move them from their current containers or temporary planting locations to their final destination in the ground. Follow these steps to successfully transplant your guanabana seedlings:
- Select the right time: Choose a time when the seedlings are well-established and have developed a strong root system. It is best to transplant them in early spring or early fall when the weather is mild and the plants are actively growing.
- Prepare the planting hole: Dig a hole in the ground that is slightly wider and deeper than the root ball of the seedling. Ensure that the hole is accommodating enough to accommodate the entire root system without cramping or bending the roots.
- Amend the soil: Prior to transplanting, amend the soil in the planting hole with compost or well-rotted organic matter. This will provide additional nutrients and improve drainage.
- Remove the seedling from the container: Gently remove the guanabana seedling from its current container, taking care not to damage the roots. If the plant is root-bound, loosen the roots slightly with your fingers to encourage outward growth.
- Place the seedling in the planting hole: Position the seedling in the center of the planting hole, ensuring that the top of the root ball is level with or slightly above the ground surface. This will prevent the plant from sinking too deep once the soil settles.
- Backfill and firm the soil: Gradually backfill the hole with soil, gently firming it around the roots to eliminate any air pockets. Take care not to compact the soil too tightly, as it can hinder root growth.
- Water thoroughly: After transplanting, water the seedling deeply to settle the soil and provide hydration to the roots. Ensure that the water reaches the root zone, but avoid overwatering.
- Stake (if necessary): If the guanabana seedling is tall or weak, you may need to provide support with a stake or bamboo pole. Secure the seedling to the stake using soft plant ties, allowing it to stand upright until the roots are firmly established.
Transplant shock is common when moving seedlings to a new location, so it’s important to monitor their progress closely and continue providing proper care to help them adjust and thrive in their new environment. The final step, step 7, involves continued care and maintenance for your guanabana tree.
Step 7: Continued Care and Maintenance
Once you have successfully transplanted your guanabana seedlings, it’s important to continue providing the necessary care and maintenance to ensure their healthy growth into mature trees. Here are the key aspects to focus on:
- Watering: Guanabana trees require regular watering, especially during dry periods. Water deeply, ensuring that the soil is consistently moist. However, be cautious not to overwater, as excessive moisture can lead to root rot. Adjust the watering frequency based on weather conditions and the moisture needs of the tree.
- Fertilizing: Feed your guanabana tree with a balanced organic fertilizer every few months during the growing season. Consider using a slow-release fertilizer to provide consistent nutrition over an extended period. Follow the package instructions for the appropriate dosage and application method.
- Pruning: Regular pruning helps maintain the shape, size, and overall health of your guanabana tree. Remove any dead or diseased branches, as well as any crossing or crowded branches that can hinder airflow and sunlight penetration. Additionally, aim to thin out the canopy to promote proper air circulation.
- Protecting from pests and diseases: Keep a vigilant eye for common pests such as aphids, mealybugs, and fruit flies. Inspect your guanabana tree regularly for any signs of infestation or disease. Implement appropriate pest control measures, such as using organic insecticides or introducing beneficial insects to tackle pest issues.
- Mulching: Apply a layer of organic mulch around the base of your guanabana tree, leaving a gap around the trunk to prevent moisture accumulation. Mulching helps retain moisture, suppress weeds, regulate soil temperature, and improve overall soil health. Replenish the mulch as needed to maintain an adequate thickness.
- Support and training: As your guanabana tree grows, provide support by staking or tying it to a sturdy structure if necessary. This will help ensure proper stability and prevent breakage during strong winds or heavy fruit-bearing seasons.
- Harvesting: Guanabana typically takes around 4 to 6 years to mature and produce fruit. Once the fruit is ripe, with a slight yield when gently squeezed, carefully harvest it using a sharp knife or pruning shears. Enjoy the delicious, tropical flavor of your homegrown guanabana!
By paying attention to these care and maintenance practices, you will provide your guanabana tree with the optimal conditions for growth and fruit production. Remember to regularly observe your tree’s health, address any issues promptly, and enjoy the journey of nurturing your guanabana tree.
With the completion of step 7, you have now reached the end of our comprehensive guide on planting and caring for guanabana seeds. Congratulations on your efforts to grow this tropical fruit tree. May your guanabana tree bring you years of lush foliage and delicious fruit!
Conclusion
Growing your own guanabana tree from seeds is a fascinating and rewarding experience that allows you to enjoy the tropical flavors of this delicious fruit right from your own garden. By following the steps outlined in this guide, you can successfully plant and nurture guanabana seeds into healthy, thriving trees.
From choosing the right seeds to preparing the soil, germinating the seeds, planting the seedlings, and providing ongoing care and maintenance, each step is crucial to the overall success of your guanabana tree. Remember to select high-quality seeds, create a suitable growing environment with well-drained soil and ample sunlight, and ensure proper watering, fertilizing, pruning, and pest control practices.
Throughout the growth journey, be patient and attentive to the needs of your guanabana tree. Watch as it flourishes and develops into a magnificent tree, bearing juicy and flavorful fruits. Whether you decide to enjoy the harvest yourself or share the bounty with friends and family, the satisfaction of growing your own guanabana tree will be truly fulfilling.
So, roll up your sleeves, gather your gardening tools, and embark on this exciting endeavor. Get ready to witness the beauty and taste the sweetness of a flourishing guanabana tree that you nurtured from a tiny seed.
Happy planting!
Curious about what happens after planting your guanabana soursop seeds? Understanding the germination process is key to successful growth. Our detailed guide on how long for seed to germinate provides essential insights into what to expect as your seeds start to sprout. Learning these timelines can help ensure your gardening efforts are fruitful, giving you a head start in nurturing your plants efficiently.
Frequently Asked Questions about How To Plant Guanabana Soursop Seeds
Was this page helpful?
At Storables.com, we guarantee accurate and reliable information. Our content, validated by Expert Board Contributors, is crafted following stringent Editorial Policies. We're committed to providing you with well-researched, expert-backed insights for all your informational needs.



0 thoughts on “How To Plant Guanabana Soursop Seeds”