Home>Garden Essentials>How To Plant Maple Seeds

Garden Essentials
How To Plant Maple Seeds
Modified: March 16, 2024
Learn how to plant maple seeds in your garden and enjoy the beauty of these majestic trees. Follow our step-by-step guide for successful gardening.
(Many of the links in this article redirect to a specific reviewed product. Your purchase of these products through affiliate links helps to generate commission for Storables.com, at no extra cost. Learn more)
Introduction
Gardening enthusiasts and nature lovers often find joy in growing and nurturing plants from seed. The process of planting seeds allows us to witness the magical journey of life unfolding right before our eyes. If you’re looking to add a touch of beauty and elegance to your garden, planting maple seeds is an excellent choice.
Maple trees are known for their stunning foliage, providing vibrant hues of red, orange, and yellow during the fall season. They also offer shade and a sense of tranquility to any outdoor space. In this article, we will guide you through the process of planting maple seeds, from gathering them to caring for the seedlings.
Whether you’re a beginner or an experienced gardener, this step-by-step guide will help you successfully plant and nurture maple seeds, allowing you to witness the growth of these magnificent trees right in your own backyard.
Key Takeaways:
- Planting maple seeds requires gathering, preparing, and planting the seeds with care. Proper soil, water, and sunlight are essential for nurturing the seedlings into beautiful and majestic maple trees.
- Troubleshooting tips help overcome challenges like poor germination, pests, and stunted growth. Patience and perseverance are key in nurturing maple seedlings into thriving trees.
Read more: How To Germinate Japanese Maple
Gathering Maple Seeds
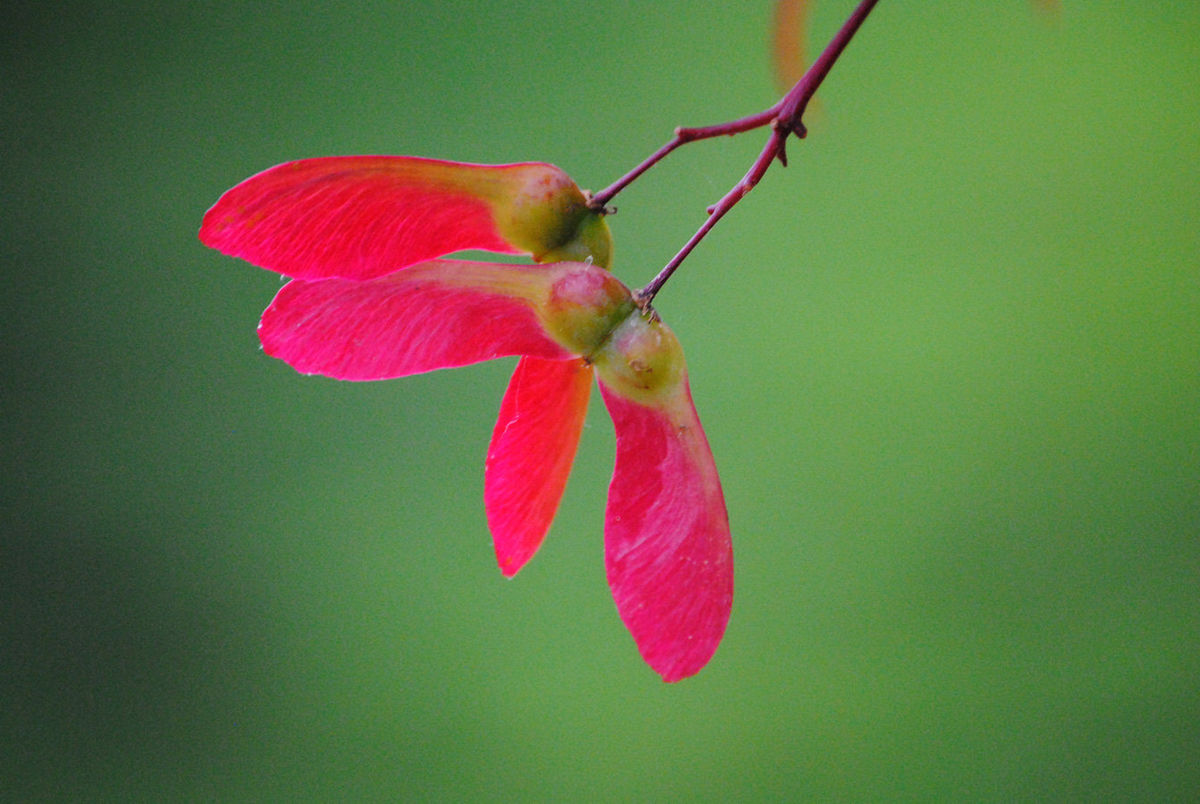
Before you can start planting maple seeds, you’ll need to gather them. Maple seeds, also known as samaras or “helicopter seeds,” are typically found on mature maple trees during the late spring or early summer. Follow these steps to successfully gather maple seeds:
- Identify Maple Trees: First, you’ll need to identify maple trees in your area. Look for trees with distinct lobed leaves and helicopter-like seed pods.
- Timing is Key: Keep an eye out for mature maple trees during the late spring or early summer when they start producing seeds. Look for maple trees that are at least 10 years old, as they are more likely to produce viable seeds.
- Seed Collection: Look for maple seeds that have fallen to the ground. You can also gently shake the branches to dislodge any seeds that are still attached. Collect the seeds using a small bucket or container.
- Inspect the Seeds: Once you have gathered the seeds, it’s essential to inspect them. Look for seeds that are plump, firm, and free from any signs of damage or mold. Discard any seeds that appear unhealthy.
- Storage: If you’re not planning to plant the seeds immediately, store them in a cool, dry place. You can use a paper bag or airtight container to maintain their viability.
Remember, it’s important to gather maple seeds responsibly and with permission. If you don’t have access to mature maple trees in your area, consider reaching out to local nurseries or gardening centers to inquire about purchasing maple seeds.
Preparing the Planting Area
Now that you have gathered your maple seeds, it’s time to prepare the planting area. Follow these steps to create an ideal environment for your maple seedlings:
- Choose a Location: Select a suitable location in your garden or yard for planting the maple seeds. Ensure the area receives partial or full sunlight throughout the day.
- Clear the Area: Remove any weeds, rocks, or debris from the chosen planting site. Clearing the area will enable the seedlings to have ample space to grow without competition.
- Soil Preparation: Assess the soil in the planting area. Maple trees prefer well-draining soil that is rich in organic matter. If the soil is heavy clay or compacted, consider loosening it using a garden fork or tiller. Also, amend the soil by adding compost or well-rotted manure to improve its fertility.
- Soil pH Testing: Conduct a soil pH test to determine if the soil is ideal for maple trees. Ideally, the pH level should be between 6.0 and 7.5. If the soil pH is too acidic or alkaline, you can adjust it by adding lime or sulfur accordingly.
- Provide Adequate Space: Maple trees can grow to be large, so it’s important to allow enough space for them to grow. Ensure there is sufficient distance between other trees, structures, or plants to accommodate the mature size of a maple tree.
- Consider Drainage: Assess the drainage of the planting area. Avoid low-lying areas or areas prone to waterlogging, as excessive moisture can be detrimental to maple seedlings.
By taking the time to prepare the planting area, you’ll provide the maple seedlings with the best chance of thriving and establishing themselves in your garden or yard. Remember to consider the specific requirements of the maple species you’re planting, as different varieties may have slightly different preferences.
Preparing Maple Seeds for Planting
Before you begin planting maple seeds, it’s crucial to properly prepare them to improve their chances of germination. Follow these steps to ensure the seeds are ready for planting:
- Seed Stratification: Many maple species require a period of cold stratification to break dormancy and trigger germination. To achieve this, place the gathered maple seeds in a plastic bag or container filled with moistened peat moss or vermiculite. Seal the bag/container and refrigerate it for 2 to 3 months. This mimics the natural process that occurs when seeds fall to the ground and experience winter conditions.
- Check Seed Viability: After the stratification period, carefully inspect the seeds to ensure they are viable. Viable seeds will be firm and may show signs of slight swelling. Discard any seeds that appear shriveled or moldy, as they are unlikely to germinate.
- Scarification (Optional): Some maple seeds have a hard outer shell that may delay or inhibit germination. You can enhance germination rates by scarifying the seeds before planting. This can be done by gently rubbing the seeds with sandpaper or making a small nick in the outer shell with a knife.
- Water Test: To further assess seed viability, perform a water test. Fill a container with water and carefully place the seeds into it. Viable seeds will sink to the bottom, while non-viable seeds will float to the surface. Remove any floating seeds as they are unlikely to germinate.
- Avoid Over-soaking: If you choose to soak the seeds before planting, be cautious not to over-soak them. A few hours of soaking is sufficient to soften the outer shell without causing damage to the seed.
By properly preparing the maple seeds, you increase the likelihood of successful germination. Following these steps ensures that you are providing the seeds with the conditions they need to break dormancy and begin their growth journey.
Before planting maple seeds, soak them in water for 24 hours to help soften the outer shell and improve germination. This will increase the chances of successful growth when planting the seeds.
Planting Maple Seeds
Now that you have gathered and prepared your maple seeds, it’s time to plant them. Follow these steps to ensure successful planting and growth of your maple seedlings:
- Select the Planting Method: There are a few different methods you can choose from when planting maple seeds. Two common methods include direct sowing in the ground or starting seeds indoors.
- Direct Sowing: If you choose to directly sow the seeds in the ground, find a suitable location in your garden or yard. Dig a small hole approximately 1 to 2 inches deep, ensuring it is wide enough to accommodate the seed and its root system.
- Indoor Seed Starting: For indoor starting, fill seedling trays or small pots with a well-draining potting mix. Plant one seed per container, placing it approximately 1/2 inch deep in the soil. Keep the soil consistently moist during the germination process.
- Provide Water: After planting, give the newly planted seeds a good watering to help settle the soil around them. Ensure that the soil remains consistently moist but not waterlogged throughout the germination and seedling stages.
- Temperature and Light: Place the planted seeds in an area with a consistent temperature between 65 and 75 degrees Fahrenheit (18-24 degrees Celsius). Provide adequate sunlight or use a grow light to ensure the seedlings receive 12-16 hours of light per day.
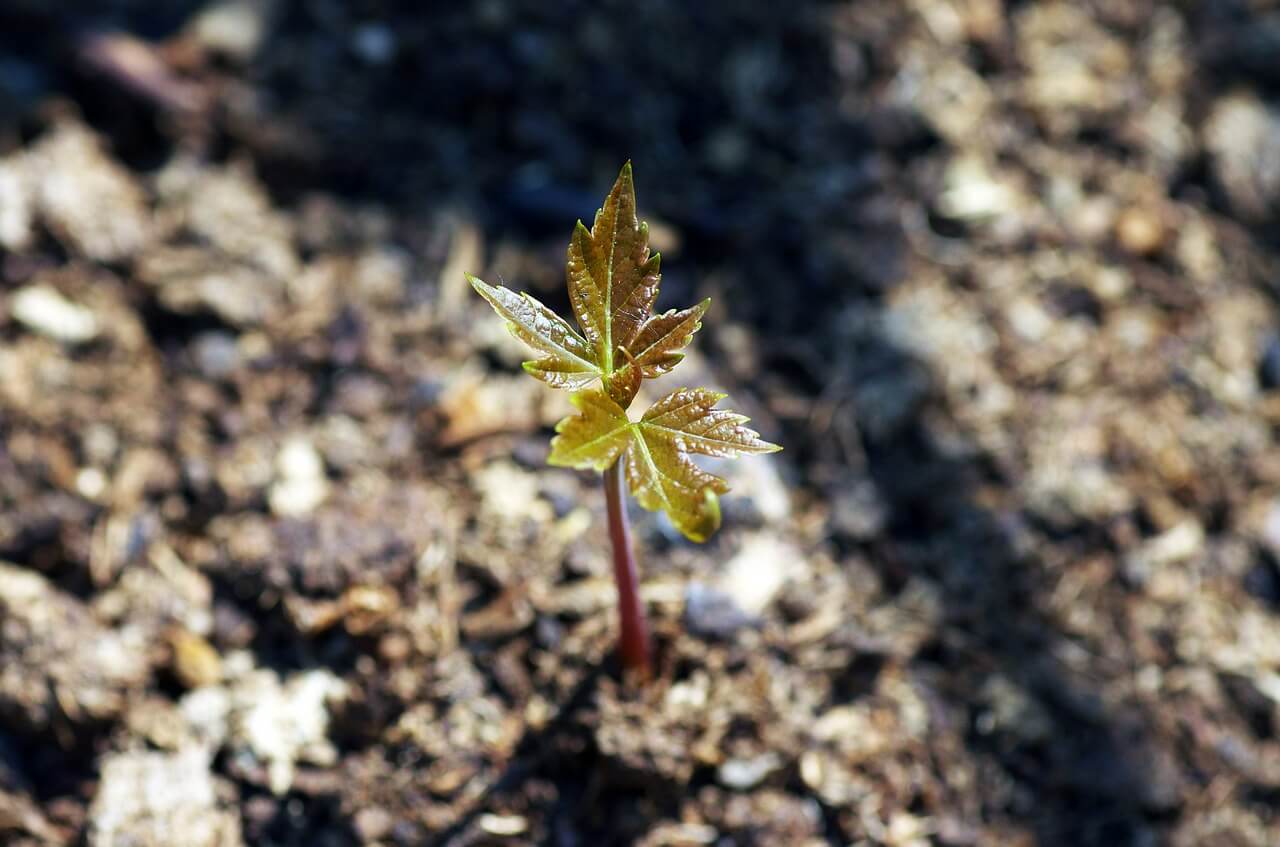
- Germination Period: Depending on the species and conditions, maple seeds can take anywhere from a few weeks to several months to germinate. Be patient and monitor the seeds regularly for signs of sprouting.
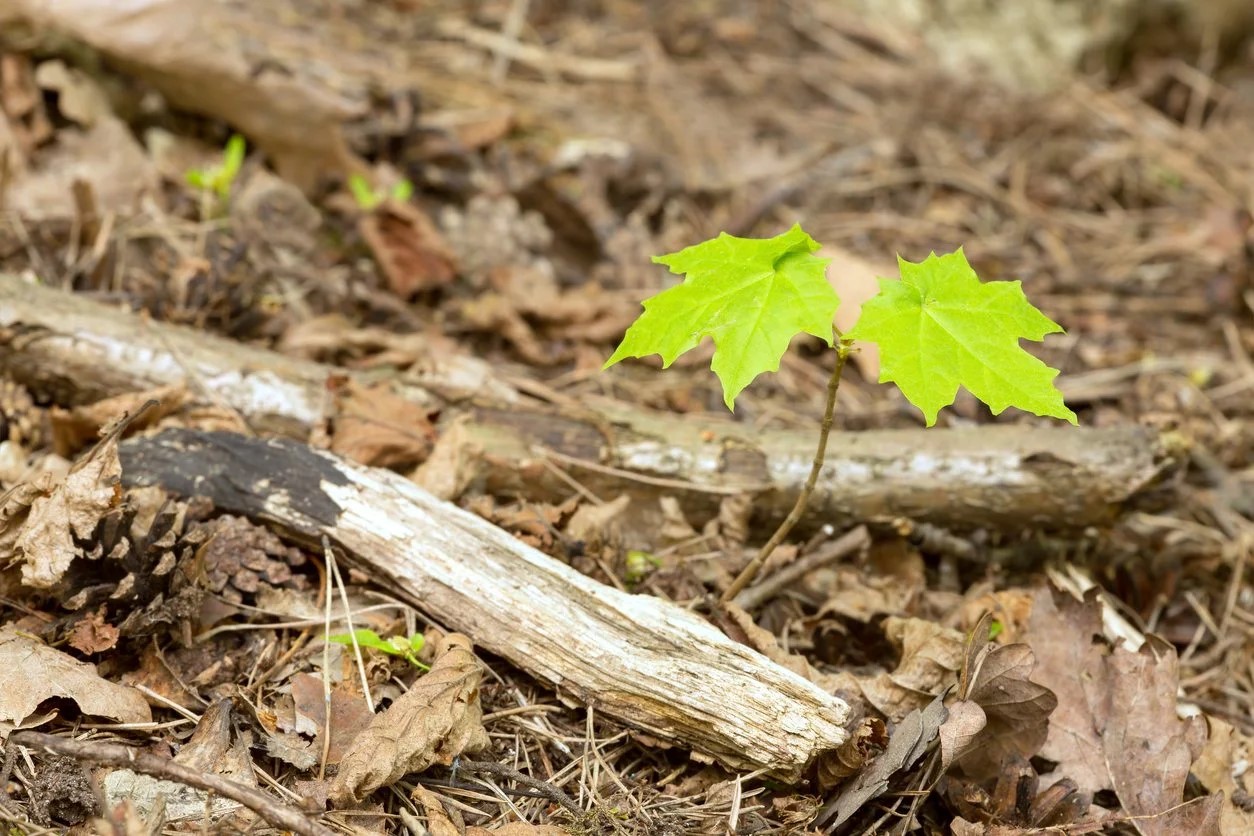
- Transplanting Seedlings: Once the seedlings have developed a couple of sets of true leaves, they are ready to be transplanted into larger containers or in the ground. Carefully remove them from the seedling trays or pots, taking care not to damage the delicate roots.
- Final Placement: Choose a permanent location for your maple seedlings in your garden or yard. Dig a hole that is deep and wide enough to accommodate the roots of the seedling. Place the seedling in the hole, ensuring that the soil level matches the level of the seedling’s previous planting container.
- Water and Mulch: After transplanting, water the seedling well and apply a layer of organic mulch, such as wood chips or shredded leaves, around the base of the plant. Mulching helps retain moisture, suppresses weeds, and protects the roots.
Remember to provide proper care and regular watering as your maple seedlings continue to grow. With time, patience, and nurturing, your maple seedlings will develop into beautiful and majestic trees, adding elegance and charm to your landscape.
Read more: When Do Maple Tree Seeds Fall
Caring for Maple Seedlings
Once your maple seedlings are planted, they require proper care and attention to ensure healthy growth and development. Follow these tips to provide the necessary care for your maple seedlings:
- Watering: Keep a close eye on the moisture levels of the soil around your seedlings. Water them regularly, especially during dry periods, to ensure the soil remains consistently moist. Avoid overwatering, as excessively wet soil can lead to root rot and other issues.
- Weeding: Regularly inspect the planting area for any weeds that may compete with your maple seedlings for nutrients and water. Remove weeds by hand, being careful not to disturb the roots of the seedlings.
- Fertilization: Maple trees generally do not require frequent fertilization. However, if you notice slow growth or discoloration in the foliage, you can apply a slow-release balanced fertilizer in early spring. Follow the instructions on the fertilizer package and avoid over-fertilizing, as it can result in excessive foliage growth at the expense of root development.
- Pruning: Pruning is not typically necessary for young maple seedlings. However, if you notice any damaged or crossing branches, you can gently prune them to promote a strong and well-shaped structure. Avoid pruning during the active growing season to minimize stress on the seedlings.
- Protection from Pests: Keep a watchful eye for common pests, such as aphids or caterpillars, that may infest your maple seedlings. Inspect the foliage regularly and take appropriate measures, such as organic pest control methods, to address any pest issues promptly.
- Protection from Extreme Temperatures: Young maple seedlings are more sensitive to extreme temperatures. During periods of intense heat or frost, consider providing temporary shade or protection to shield the seedlings from potential damage.
- Monitoring and Observation: Regularly observe your maple seedlings for any signs of stress, disease, or nutrient deficiencies. Promptly address any issues that arise by seeking advice from a local gardening expert or arborist.
By providing proper care and attention, you will help your maple seedlings establish strong root systems and thrive in their new environment. Remember, nurturing and patience are essential as these seedlings gradually transform into majestic maple trees.
Troubleshooting and Tips
While growing maple seedlings can be a rewarding experience, challenges may arise along the way. Here are some troubleshooting tips to help you overcome common issues and ensure the success of your maple seedlings:
- Poor Germination: If you notice low germination rates, check the viability of your seeds. Ensure you followed proper stratification and scarification techniques. Consider gathering fresh seeds or purchasing them from a reliable source.
- Pest Infestation: If pests like aphids or caterpillars attack your maple seedlings, you can try using organic pest control methods such as neem oil or insecticidal soap. Avoid using harsh chemical pesticides that could harm beneficial insects.
- Disease Prevention: To prevent diseases like fungal infections, avoid overwatering or overcrowding your seedlings. Ensure good air circulation and remove any dead or infected leaves promptly. Applying a fungicide specifically designed for seedlings may be necessary if diseases persist.
- Stunted Growth: If your maple seedlings appear to have slow or stunted growth, check sunlight and water levels. They may require more light or adequate nutrients from the soil. Avoid over-fertilizing, as excessive nitrogen can result in excessive foliage growth at the expense of root development.
- Transplant Shock: When transplanting seedlings into larger containers or the ground, they may experience transplant shock. Minimize this by avoiding disturbance to the roots and providing sufficient water and care during the transition period.
- Seasonal Considerations: Keep in mind that maple seedlings may behave differently during different seasons. They may undergo periods of dormancy or exhibit changes in their foliage color throughout the year. Learn about the specificities of the maple species you are growing to manage these seasonal variations.
- Patience and Perseverance: Growing maple seedlings takes time and patience. It may take several years for them to reach maturity and exhibit their full beauty. Stay committed to their care and enjoy the journey of watching them grow.
Remember, not every challenge is insurmountable, and experimentation is part of the learning process. Don’t be afraid to adjust your approach and seek advice from fellow gardeners or horticultural experts if you encounter difficulties along the way.
Conclusion
Planting maple seeds and witnessing them grow into majestic trees is a truly rewarding experience for any gardening enthusiast. By following the steps outlined in this guide, you can successfully grow maple seedlings and add a touch of beauty to your garden or yard.
From gathering the seeds to preparing the planting area, and from preparing the seeds for planting to caring for the seedlings, every step in the process is crucial for the success of your maple trees. Remember to provide adequate water, sunlight, and proper care, while also addressing any potential challenges that may arise.
Whether you choose to plant the seeds directly in the ground or start them indoors, each method has its own advantages and considerations. With patience, dedication, and a love for gardening, you can nurture your maple seedlings into thriving trees that offer stunning foliage, shade, and a sense of tranquility to your outdoor space.
Incorporate the troubleshooting tips and guidance provided in this article to overcome common problems and ensure the well-being of your maple seedlings. Monitor their growth, observe any changes, and continue to learn and adapt your approach to their care.
Remember, maple trees are long-lived and resilient, and planting them is a long-term investment in the beauty and serenity of your landscape. Enjoy the journey and the satisfaction that comes with seeing your maple seedlings grow into magnificent trees that will stand tall for generations to come.
Frequently Asked Questions about How To Plant Maple Seeds
Was this page helpful?
At Storables.com, we guarantee accurate and reliable information. Our content, validated by Expert Board Contributors, is crafted following stringent Editorial Policies. We're committed to providing you with well-researched, expert-backed insights for all your informational needs.


0 thoughts on “How To Plant Maple Seeds”