Home>Garden Essentials>How To Plant Marigold Seed

Garden Essentials
How To Plant Marigold Seed
Modified: August 20, 2024
Learn how to plant marigold seeds in your garden and enjoy beautiful blooms all season. Our step-by-step guide will help you achieve gardening success.
(Many of the links in this article redirect to a specific reviewed product. Your purchase of these products through affiliate links helps to generate commission for Storables.com, at no extra cost. Learn more)
Introduction
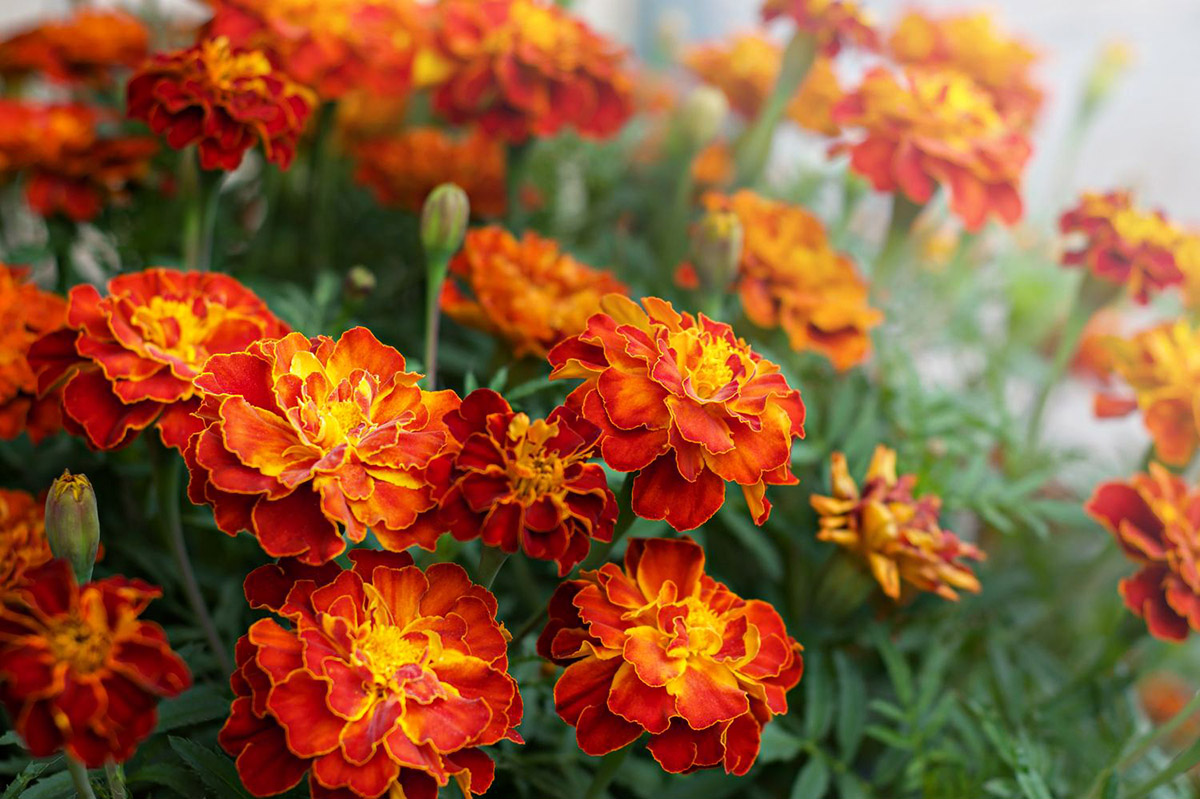
Gardening brings immense joy and satisfaction, and one of the most vibrant and cheerful flowers you can cultivate in your garden is the marigold. With its vibrant colors and delightful fragrance, marigolds can instantly brighten up any space. Whether you are a seasoned gardener or a beginner, planting marigold seeds is a rewarding and straightforward process. In this article, we will guide you through the step-by-step process of planting marigold seeds, ensuring your garden blooms with beautiful marigold flowers.
Marigolds belong to the Tagetes genus and are native to North and South America. They are known for their versatility and adaptability, making them a popular choice among gardeners worldwide. These flowering plants are not only aesthetically pleasing but also serve various beneficial functions in the garden, such as attracting pollinators like bees and butterflies and repelling pests like aphids and nematodes.
Before you start planting marigold seeds, it is important to choose the right variety of marigold that suits your garden’s needs. There are different types of marigolds available, such as French marigolds, African marigolds, and signet marigolds. Each variety has its unique characteristics, including size, color, and growth habit. Determining the right marigold variety will ensure a successful and satisfying gardening experience.
Once you have selected the marigold variety, the next step is finding the perfect location for planting. Marigolds thrive in full sunlight, so choose a spot in your garden that receives at least six hours of direct sunlight each day. Additionally, marigolds prefer well-draining soil, so make sure the chosen location has good drainage to prevent waterlogging and root rot.
In the following sections, we will delve deeper into each step of planting marigold seeds. By following these steps, you will be well on your way to enjoying a garden filled with beautiful, vibrant marigold blooms.
Key Takeaways:
- Planting marigold seeds is a rewarding and straightforward process that requires choosing the right location with ample sunlight, preparing nutrient-rich soil, and providing proper care for healthy and vibrant blooms.
- Harvesting marigold flowers involves selecting fully opened blooms, using clean tools for cutting, and displaying the vibrant flowers in vases to brighten up spaces or share their cheerful beauty with others.
Read more: When Should You Plant Marigold Seeds
Step 1: Choosing the Right Location
Choosing the right location for your marigold seeds is crucial for their growth and development. Marigolds thrive in full sunlight, so look for a spot in your garden that receives at least six hours of direct sunlight each day. This will ensure that your marigolds receive the optimal amount of light they need to grow and bloom.
In addition to sunlight, marigolds also prefer well-draining soil. Avoid areas of your garden that have poor drainage, as waterlogged soil can lead to root rot and other diseases. If you’re unsure about the drainage in a specific area, you can perform a simple soil test. Dig a small hole and fill it with water. If the water drains within a few hours, the soil has good drainage. However, if the water takes longer to drain or sits stagnant, it’s best to choose a different location or improve the drainage by adding organic matter or creating raised beds.
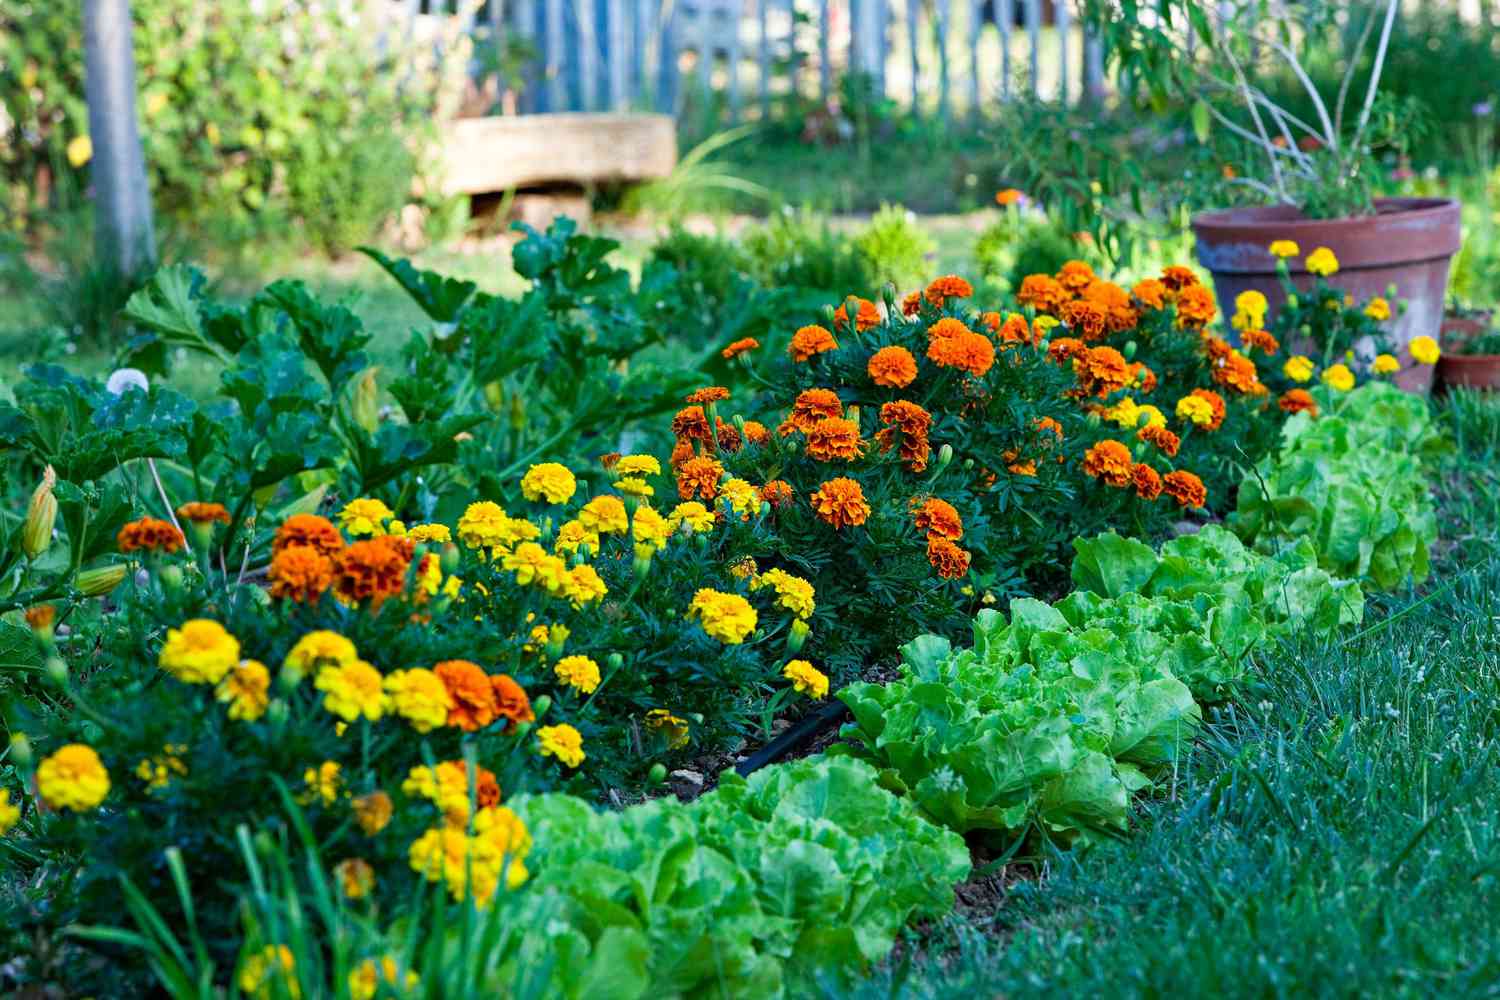
Another consideration when choosing the location for your marigolds is proximity to other plants. Marigolds have natural pest-repellent properties, making them an excellent companion plant for vegetables and herbs. They can help deter pests such as aphids, nematodes, and tomato hornworms. Planting marigolds near your vegetable garden or aromatic herbs like basil and rosemary can provide a natural defense against common garden pests.
Lastly, it’s important to consider the aesthetic aspect when choosing the location for your marigolds. Whether you want to create a border, fill up empty spaces, or showcase a specific area of your garden, strategically planning the placement of your marigold seeds can enhance the overall visual appeal of your garden. Consider the height and color of different marigold varieties and how they will complement the existing plants or landscape features.
By carefully selecting the right location for your marigold seeds, you will provide an ideal environment for their growth and ensure a healthy and vibrant display of flowers in your garden. Take some time to assess your garden and choose the perfect spot to start planting your marigold seeds.
Step 2: Preparing the Soil
Preparing the soil is a crucial step in the process of planting marigold seeds. By creating a nutrient-rich and well-draining soil, you will provide an ideal foundation for the seeds to germinate and the plants to thrive.
Start by removing any weeds or grass from the area where you plan to plant your marigolds. Weeds compete with plants for nutrients and water, so eliminating them will ensure that your marigolds have access to the resources they need to grow. You can pull out weeds manually or use a garden hoe or trowel to remove them.
Once the area is cleared of weeds, loosen the soil using a garden fork or a tiller. Loosening the soil will promote better root development and allow for proper airflow and drainage. Break up any clumps of soil and remove any rocks or debris you encounter during this process. A well-aerated soil provides an optimal growing environment for your marigold seeds.
The next step in preparing the soil is to amend it with organic matter. This can be done by adding compost or well-rotted manure to the soil. Organic matter improves soil structure, enhances drainage, and provides essential nutrients to the plants. Spread a layer of compost or manure over the loosened soil and use a garden rake to incorporate it thoroughly. Aim to create a soil mixture that is crumbly and well-balanced.
If your soil is clayey or has poor drainage, you can add perlite or coarse sand to improve its texture. These amendments will help create a more porous soil that drains well and prevents waterlogging. Sprinkle perlite or coarse sand over the soil and mix it in thoroughly.
Lastly, it’s a good practice to perform a soil pH test. Marigolds prefer a slightly acidic to neutral soil pH range of 6.0 to 7.0. If your soil pH is outside this range, you can adjust it by adding lime to raise the pH or sulfur to lower it. Follow the recommended application rates on the packaging and re-test the soil after a few weeks to ensure the desired pH level is achieved.
By preparing the soil properly, you create an optimal growing environment for your marigold seeds. Nutrient-rich and well-draining soil will promote healthy root development and ensure that your marigolds thrive throughout their growth cycle.
Step 3: Sowing the Marigold Seeds
Now that you have chosen the right location and prepared the soil, it’s time to sow the marigold seeds. Sowing seeds is an exciting and essential step in the gardening process, as it sets the foundation for the growth and development of your marigold plants.
Before sowing the seeds, it’s important to determine the ideal time for planting marigold seeds. Marigolds are warm-season flowers and thrive in temperatures between 70°F and 85°F (21°C to 29°C). It is commonly recommended to start sowing marigold seeds indoors 4-6 weeks before the last expected frost date in your area. This allows the seeds to germinate and develop into seedlings before being transplanted outdoors.
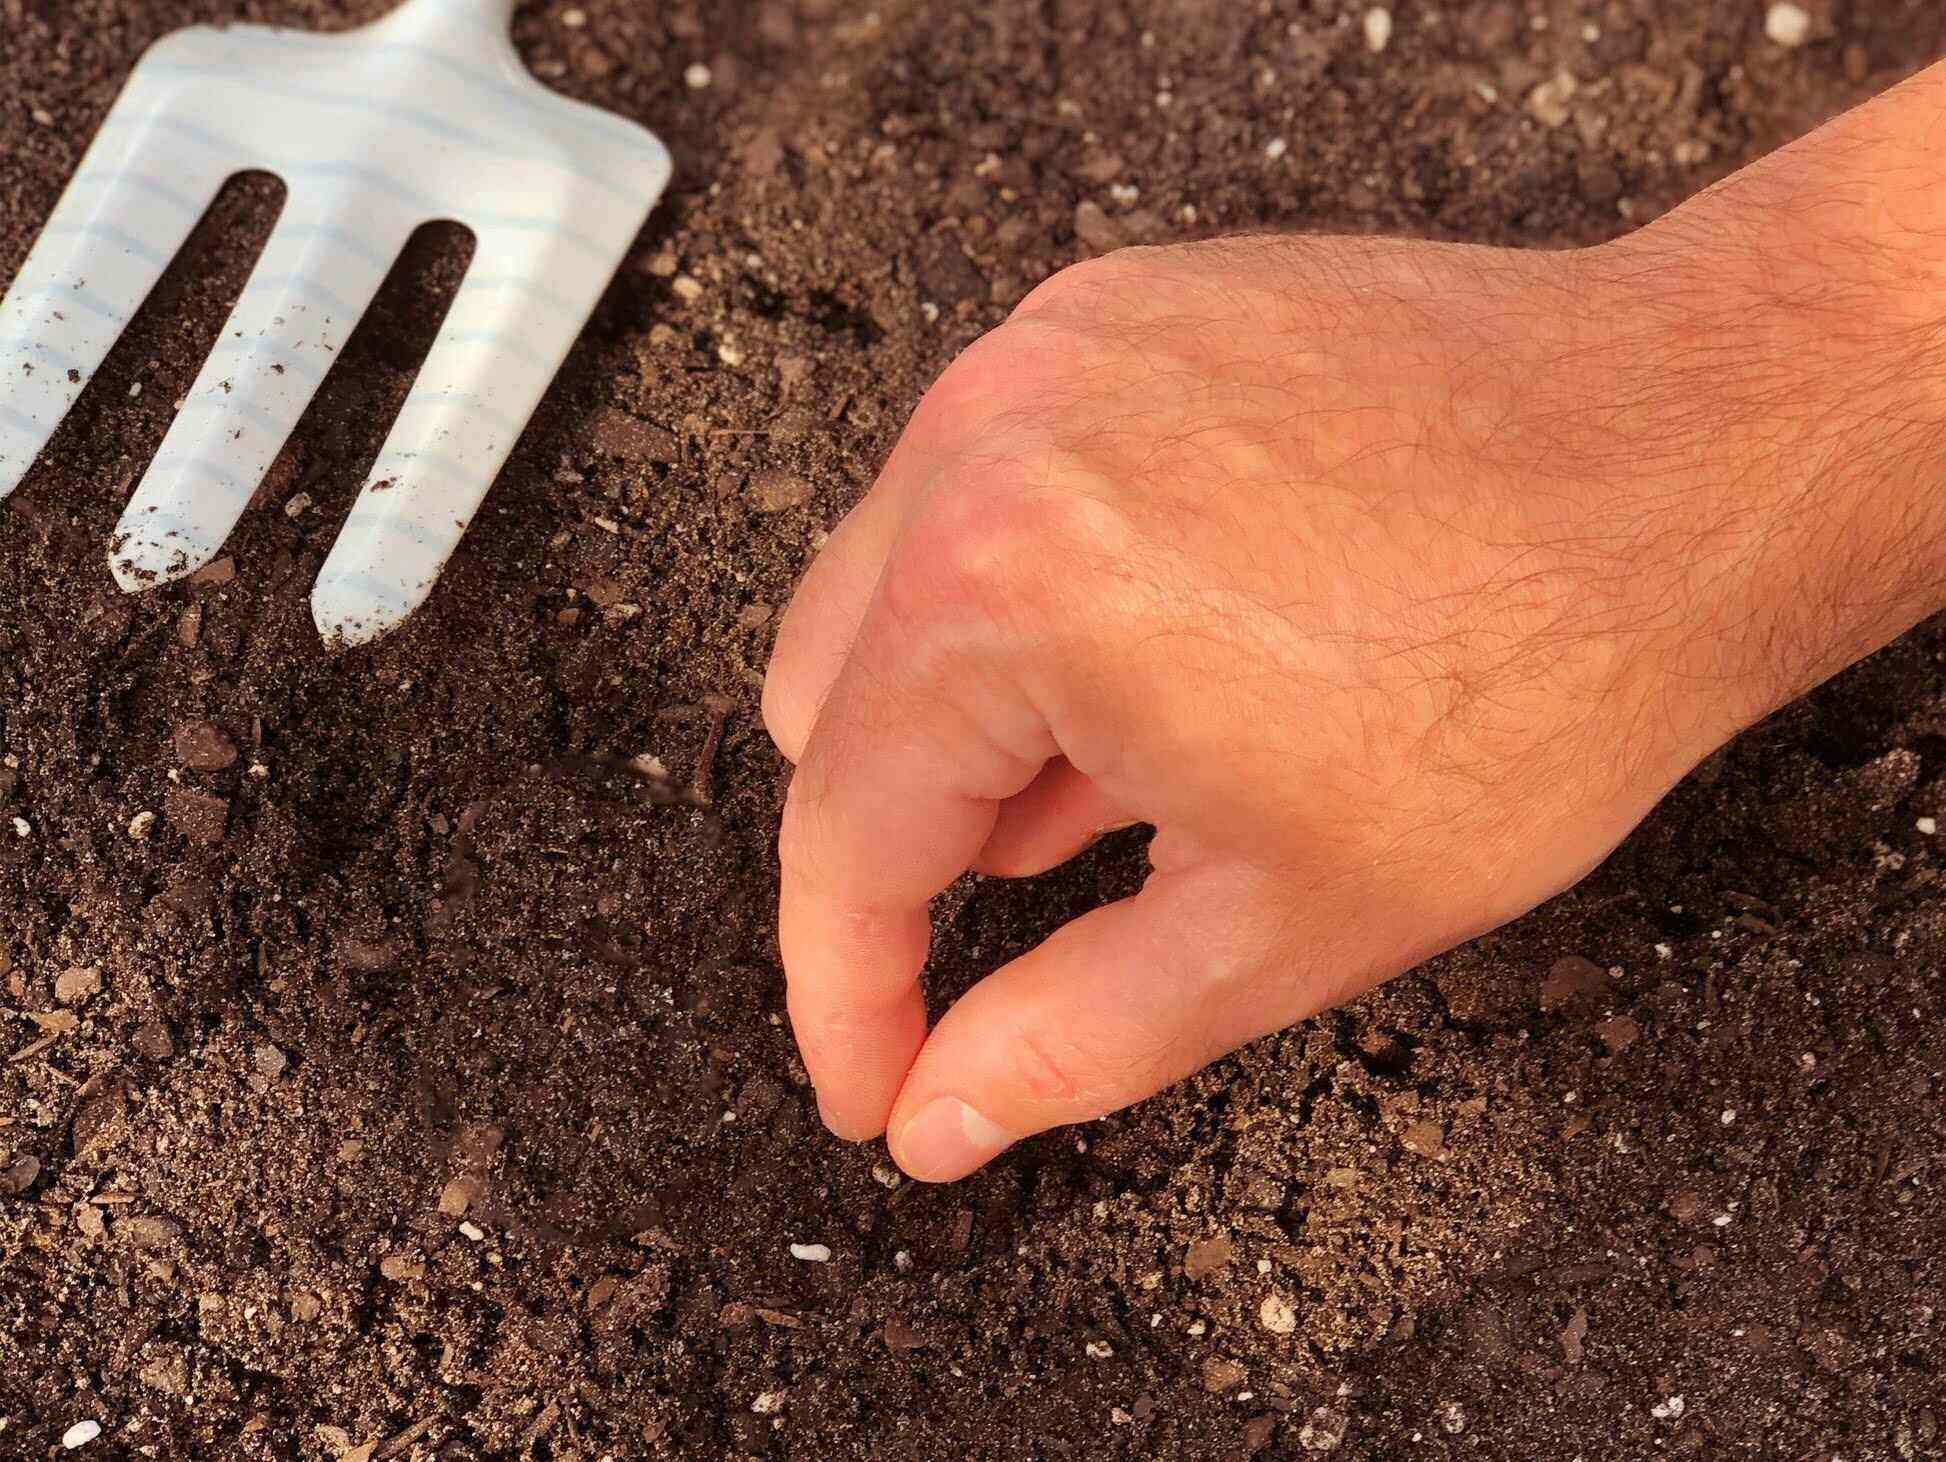
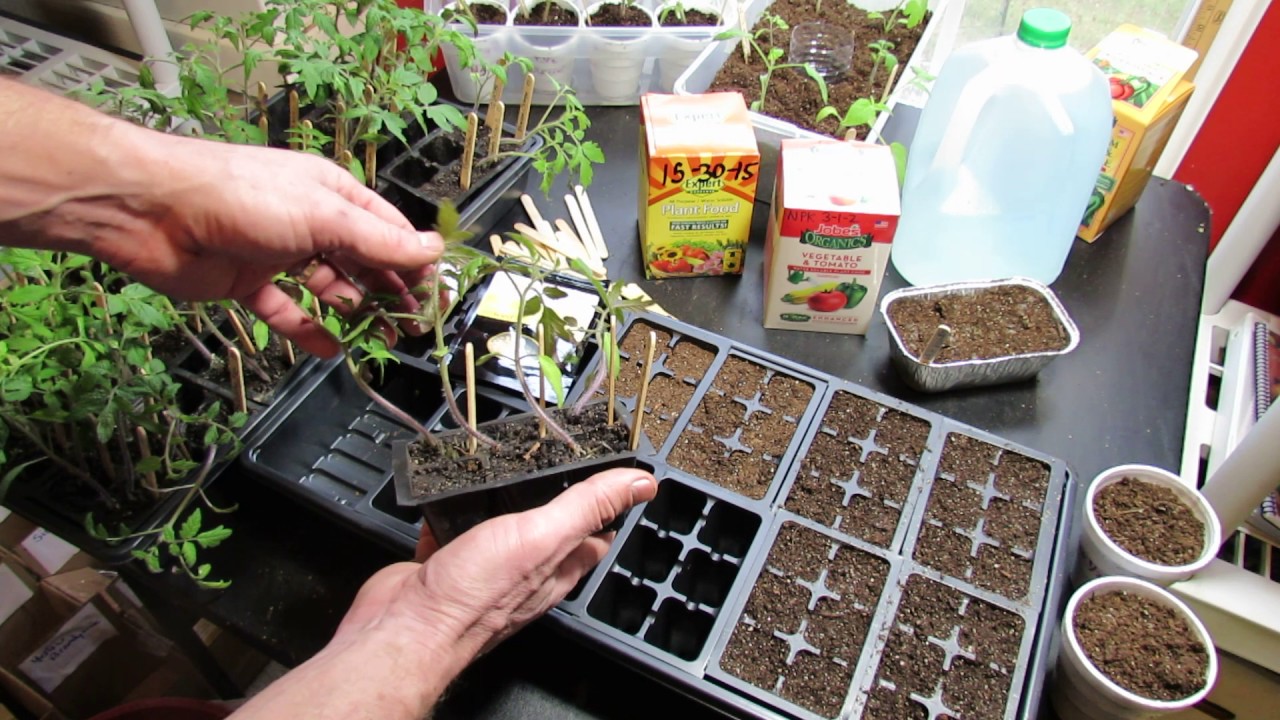
To sow the marigold seeds, fill seed trays or small containers with a high-quality seed starting mix. Moisturize the mix by spraying it with water until it becomes evenly damp but not soaked. Take the marigold seeds and sprinkle them evenly on the surface of the seed starting mix. Press the seeds gently into the soil, ensuring they make good contact with the moistened mix.
It’s important to note that marigold seeds are small, so refrain from burying them too deeply in the soil. They require light to germinate, so a light covering of vermiculite or a thin layer of seed starting mix is sufficient to provide some coverage without blocking out the light. Water the seeds gently using a misting spray to avoid dislodging them.
After sowing the seeds, cover the seed trays or containers with a plastic dome or place them in a plastic bag to create a mini greenhouse effect. This will help retain moisture and create a warm and humid environment that promotes seed germination. Place the trays or containers in a warm location, such as near a sunny window or under grow lights.
Check the seed trays regularly and ensure that the soil remains moist but not waterlogged. Avoid overwatering, as excessive moisture can lead to seed rot or fungal diseases. Mist the soil as needed to maintain proper moisture levels.
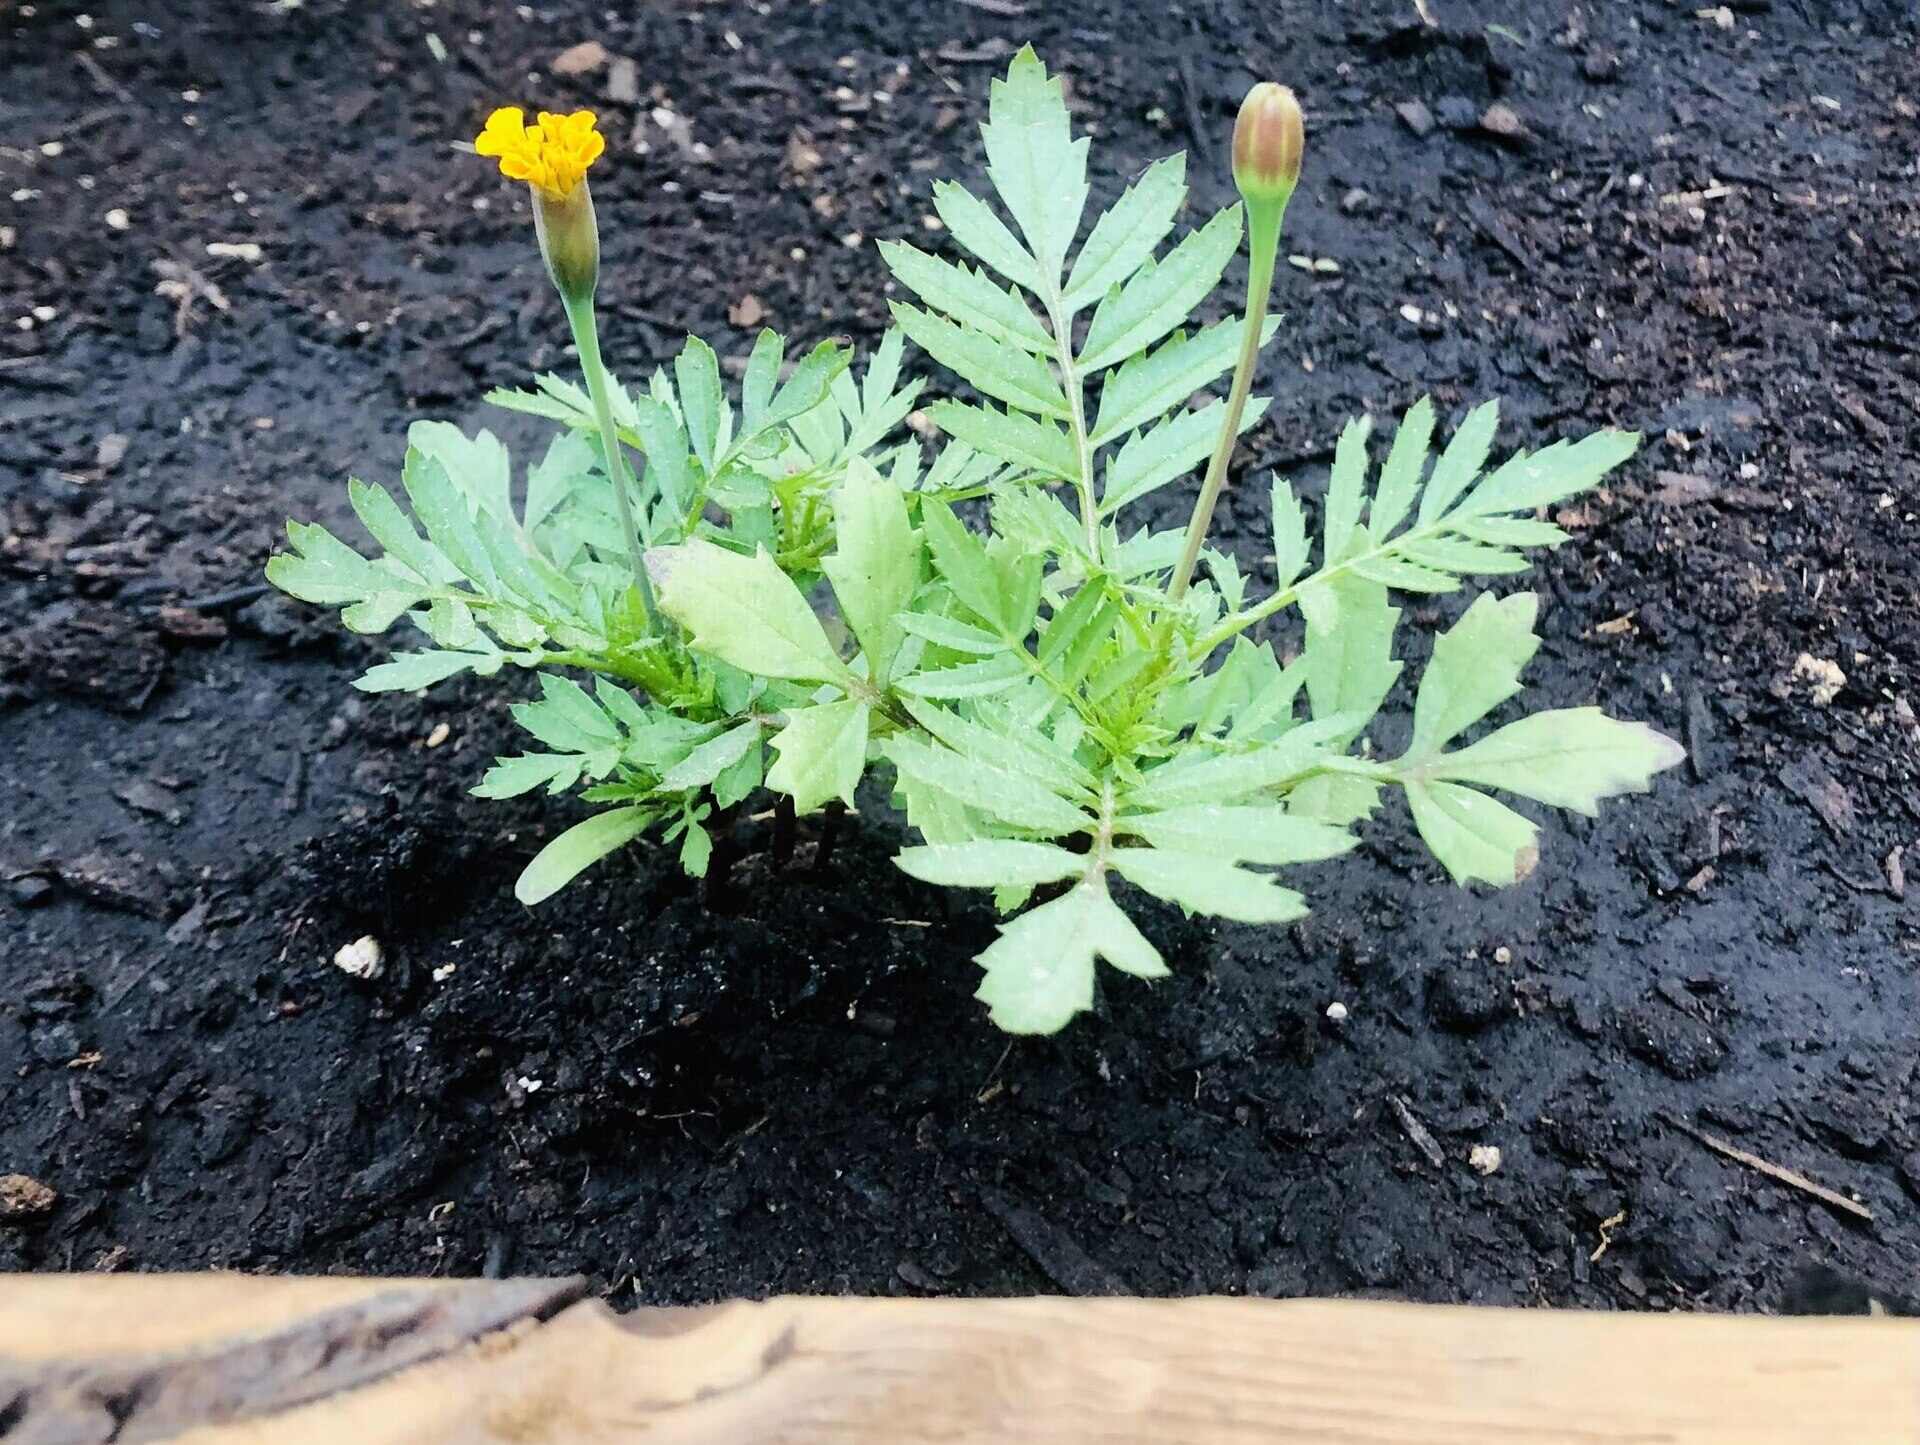
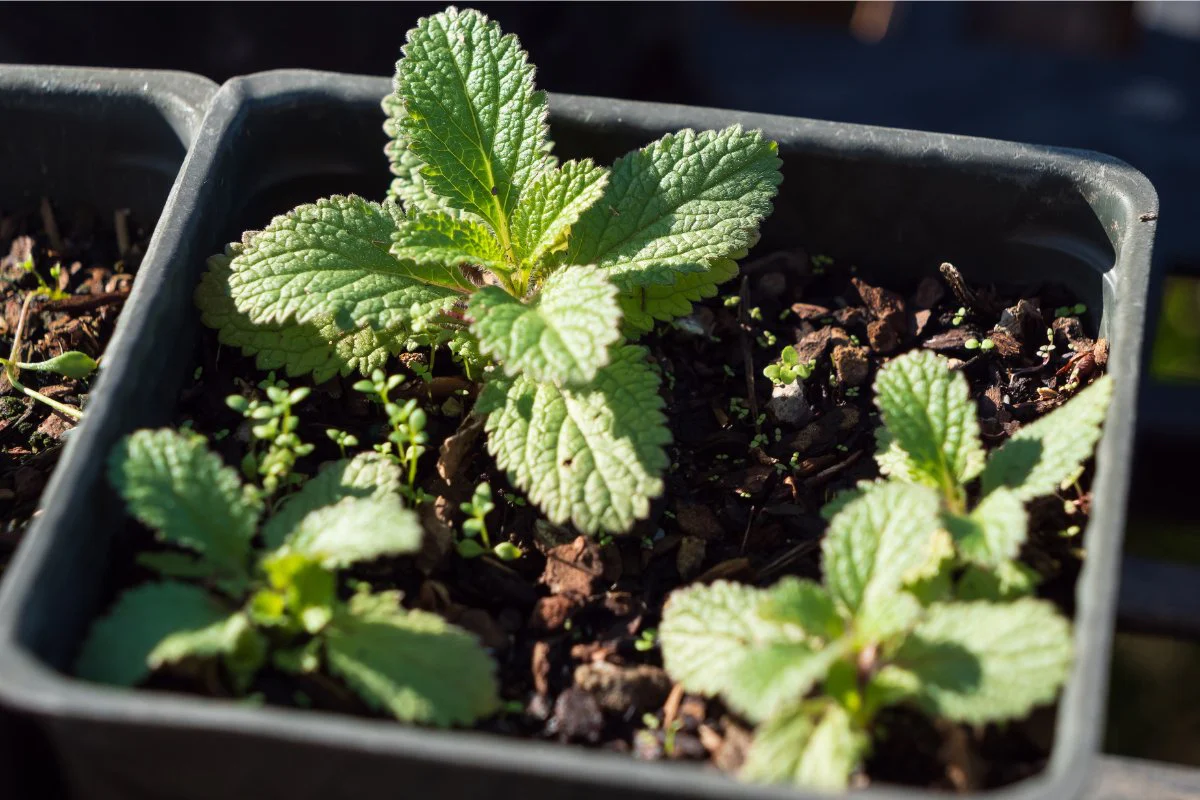
Within a week or two, you should start to see the marigold seeds germinating and tiny seedlings emerging from the soil. Once the seedlings have developed their first set of true leaves, they can be transplanted into individual pots or larger containers, allowing room for root growth.
By sowing the marigold seeds properly and providing them with the right conditions for germination, you are on your way to growing healthy and vigorous marigold plants that will soon fill your garden with vibrant blooms.
Step 4: Watering the Seeds
Proper watering is essential for the successful growth and establishment of your marigold seeds. Adequate moisture ensures that the seeds germinate, the seedlings develop strong roots, and the plants thrive throughout their growth cycle.
When it comes to watering marigold seeds, it’s important to strike a balance. Too much water can lead to rot and fungal diseases, while too little water can cause the seeds to dry out and hinder germination. Here are some key points to keep in mind:
1. Initial Watering: After sowing the marigold seeds, provide a gentle misting of water to settle the seeds into the soil. Use a misting spray bottle or a light watering can with a fine spout to avoid dislodging the seeds. Ensure that the soil is evenly moist, but not overly saturated.
2. Moisture Maintenance: As the seeds germinate and the seedlings develop, it’s crucial to maintain proper moisture levels in the soil. Monitor the soil moisture regularly and water when the top inch of soil feels dry to the touch. Avoid allowing the soil to dry out completely, as it can inhibit seed germination or stress the young seedlings.
3. Watering Technique: When watering marigold seeds, aim to provide a gentle and even distribution of water. Avoid using a strong stream or heavy watering can that may wash away or disturb the seeds. Instead, opt for a misting spray bottle or a watering can with a fine rose attachment to disperse water gently and prevent soil erosion.
4. Watering Frequency: The frequency of watering will depend on various factors such as the climate, soil type, and seedling growth stage. In general, water the marigold seeds enough to keep the soil consistently moist, but not waterlogged. Aim to water every 2-3 days, adjusting as necessary based on your observations of soil moisture levels.
5. Morning Watering: It is best to water marigold seeds in the morning. This allows the foliage to dry out during the day, minimizing the risk of fungal diseases. Watering in the morning also ensures that the plants have access to moisture throughout the day, promoting healthy growth.
6. Rainfall Considerations: If your area receives regular rainfall, you may need to adjust your watering schedule accordingly. Monitor the amount of rainfall and reduce watering if the soil is adequately moist. On the other hand, during periods of drought or lack of rainfall, you may need to increase watering to compensate for the lack of natural moisture.
By following these watering guidelines, you will provide the ideal moisture conditions for your marigold seeds to germinate, seedlings to establish, and plants to flourish. Remember to observe and adjust your watering routine based on the specific needs of your marigold seedlings and the prevailing weather conditions.
Read more: How To Start Marigold Seeds
Step 5: Providing Sunlight
Sunlight is essential for the healthy growth and development of marigold plants. These vibrant flowers thrive in full sunlight, which provides them with the energy they need to produce lush foliage and abundant blooms. Here are some key considerations when it comes to providing sunlight for your marigold plants:
1. Full Sun Exposure: Marigolds require at least six hours of direct sunlight per day to thrive. Choose a location in your garden that receives ample sunlight and is not shaded by trees, buildings, or other structures. This will ensure that your marigold plants receive the optimal amount of light to fuel their growth.
2. Morning Sun: If possible, place your marigold plants in an area that receives morning sunlight. Morning sun is gentle and provides a good balance of warmth and light intensity. It allows the plants to photosynthesize and utilize energy efficiently without the risk of scorching or overheating.
3. Afternoon Shade: Although marigolds love sunlight, they can benefit from some shade during the hottest part of the day, especially in regions with intense summer heat. If your area experiences scorching afternoon sun, consider planting your marigolds in a location with dappled shade or provide some form of light shade, such as a shade cloth or nearby taller plants casting partial shade.
4. Sunlight for Transplants: If you are transplanting marigold seedlings outdoors, it’s important to gradually acclimate them to the full sun. Start by placing the seedlings in a partially shaded area for a few days, gradually increasing their exposure to direct sunlight over a week or two. This helps the young plants adjust to the change in light intensity and reduces the risk of sunburn or transplant shock.
5. Sunlight and Flowering: Adequate sunlight is crucial for encouraging marigolds to produce abundant blooms. Insufficient sunlight can cause the plants to become leggy and result in reduced flower production. By providing full sun exposure, you will maximize the potential for vibrant and plentiful marigold blooms.
6. Sunlight for Different Varieties: Different varieties of marigolds may have varying sunlight requirements. For example, African marigolds (Tagetes erecta) tend to tolerate more intense sunlight compared to French marigolds (Tagetes patula) or signet marigolds (Tagetes tenuifolia). It’s important to consider the specific needs of the marigold variety you are growing and provide the appropriate amount of sunlight accordingly.
By ensuring that your marigold plants receive sufficient sunlight, you will promote their overall health and encourage a profusion of beautiful blooms. Take the time to assess your garden and provide the optimal sunlight exposure for your marigold plants to thrive.
Plant marigold seeds in well-drained soil, 1 inch deep and 6-8 inches apart. Water regularly and place in a sunny spot. They will bloom in 7-8 weeks.
Step 6: Maintaining Proper Temperature
Maintaining the proper temperature is crucial for the healthy growth and development of marigold plants. These vibrant flowers thrive in warm weather and are sensitive to extreme temperatures. By ensuring that your marigold plants are in a suitable temperature range, you can encourage robust growth and abundant blooms. Here are some key points to consider for maintaining the proper temperature:
1. Optimal Temperature Range: Marigolds are warm-season flowers and thrive in temperatures between 70°F and 85°F (21°C to 29°C). It’s important to provide them with a climate within this suitable range to promote healthy growth and flowering.
2. Planting in the Right Season: It’s best to plant marigolds in spring, when the soil has warmed up and the danger of frost has passed. Planting marigold seeds or transplants when temperatures are consistently within the optimal range will give them a strong start.
3. Protecting from Cold Weather: Marigolds are sensitive to cold temperatures and frost can damage or kill the plants. If you’re growing marigolds in areas with a short growing season or cooler climates, it’s important to protect them from late spring frosts or early fall chills. Cover the plants with lightweight protective covers, such as frost blankets or row covers, to shield them from cold temperatures.
4. Managing High Temperatures: In regions with hot summers, marigolds may need some protection from excessive heat. High temperatures can cause stress and scorching, leading to reduced growth and flower production. Provide afternoon shade or use shade cloth to protect the plants during the hottest part of the day. Additionally, regular watering can help cool down the soil and foliage, reducing heat stress.
5. Greenhouse Cultivation: If you have access to a greenhouse, it can be an ideal environment for growing marigolds, as it allows you to regulate temperature and provide protection from extreme weather conditions. Greenhouse cultivation can extend the growing season and provide a controlled climate for optimal growth.
6. Monitoring Temperature Fluctuations: Regularly monitor the temperature in your garden or growing area, particularly during periods of extreme weather. Keep track of daily and nightly temperatures, as well as any sudden temperature fluctuations. This information will help you make necessary adjustments to protect your marigold plants and maintain a suitable growing environment.
By maintaining the proper temperature for your marigold plants, you can ensure their overall health and encourage vigorous growth and blooming. Pay attention to temperature fluctuations and provide necessary protection when needed, creating an environment that mimics the plants’ natural habitat and allows them to thrive.
Step 7: Thinning the Seedlings
Thinning the seedlings is an important step in the growth process of marigold plants. As the seedlings emerge and grow, they can become crowded, leading to competition for sunlight, water, and nutrients. Thinning allows the remaining seedlings to have enough space to develop strong roots and foliage, resulting in healthier and more productive plants. Here’s how to properly thin your marigold seedlings:
1. Timing: It is best to thin marigold seedlings when they have developed their first true leaves. Wait until the seedlings are large enough to easily identify which ones are the strongest and healthiest.
2. Selecting Seedlings: Look for the seedlings that have the healthiest growth, vibrant foliage, and robust stems. Choose the strongest-looking seedlings with the most potential for healthy development.
3. Spacing: Determine the appropriate spacing for marigold seedlings based on the variety you are growing. Different varieties require different spacing, so check the specific guidelines on the seed packet or plant label. As a general rule, French marigolds (Tagetes patula) require about 6-10 inches (15-25 cm) between each seedling, while African marigolds (Tagetes erecta) need more space, around 12-18 inches (30-45 cm) apart.
4. Removing Excess Seedlings: Gently grasp the base of the seedling to be removed between your thumb and forefinger, and carefully lift it from the soil. Use scissors or pruners to cut the seedling at the soil level to minimize disturbance to the remaining seedlings. Remove the excess seedlings so that only one seedling remains for the desired spacing.
5. Transplanting Thinned Seedlings: If you have enough space and want to make use of the extra seedlings, you can transplant them to another area of your garden or into individual containers. Ensure that the transplanted seedlings are carefully watered and provided with the same growing conditions as the rest of the marigold plants.
6. Care After Thinning: After thinning, water the remaining seedlings gently to settle the soil around their roots. Continue to provide appropriate care, including regular watering and adequate sunlight. By thinning and providing proper care, you are ensuring that the remaining seedlings have the best chance of developing into healthy and productive marigold plants.
Thinning seedlings may initially feel like removing potential plants, but it is a necessary step to promote optimal growth and prevent overcrowding. By thinning your marigold seedlings, you are creating space for the strongest plants to thrive and produce beautiful blooms in your garden.
Step 8: Transplanting the Seedlings
Transplanting the seedlings is a crucial step in the growth of marigold plants. Once your marigold seedlings have grown and developed their true leaves, it’s time to move them from their crowded containers or seed trays into individual pots or your garden beds. Transplanting allows the seedlings to establish deeper roots and provides them with more space to grow and thrive. Here’s how to transplant your marigold seedlings:
1. Preparing the Transplant Location: Before transplanting, prepare the area where you will be planting your marigold seedlings. Ensure that the soil is well-prepared, free of weeds, and enriched with organic matter. If you are transplanting into pots, ensure that they have drainage holes and are filled with a high-quality potting mix.
2. Watering the Seedlings: Water the seedlings thoroughly a few hours before transplanting. This will help loosen the soil around the roots and ensure that the seedlings are adequately hydrated before the transplanting process.
3. Digging the Holes: Dig holes in the transplant location that are slightly larger than the root ball of each seedling. Space the holes according to the recommended spacing for the marigold variety you are growing. This information can be found on the seed packet or plant label.
4. Transplanting the Seedlings: Gently remove the seedlings from their current containers, being careful not to damage the delicate roots. If the seedlings are growing in a seed tray, use a dibber or teaspoon to carefully lift them out. If they are growing in individual pots, gently turn the pots upside down and tap the bottom to release the seedlings. Place each seedling in a prepared hole, ensuring the root ball is level with or slightly above the soil surface.
5. Filling and Firming the Soil: Carefully backfill the soil around each seedling, using your hands or a small garden trowel. Gently firm the soil around the base of the seedlings to ensure they are securely in place. Avoid compacting the soil too much to prevent hampering root growth and proper drainage.
6. Watering the Transplanted Seedlings: After transplanting, water the seedlings thoroughly to settle the soil around the roots. Ensure that the water reaches the root zone and allows it to absorb the moisture. This will help minimize transplant shock and provide the necessary hydration for the seedlings to establish.
7. Post-Transplant Care: Place the transplanted seedlings in a location that receives the appropriate amount of sunlight based on the marigold variety you are growing. Continue to provide regular watering, monitoring the soil moisture to ensure it remains consistently moist but not waterlogged. Protect the young transplants from extreme weather conditions, such as strong winds or heavy rain, if necessary.
Transplanting your marigold seedlings gives them the space and resources they need to grow into healthy and vibrant plants. By following these steps and providing proper care, you are setting the stage for a successful growing season and a garden filled with beautiful marigold blooms.
Read more: How Do You Harvest Marigold Seeds
Step 9: Caring for the Marigold Plants
Proper care is essential for nurturing your marigold plants and ensuring their continued growth and vitality. By providing the right care, you will create an environment that allows your marigolds to flourish and produce an abundance of vibrant blooms. Here are some key steps to care for your marigold plants:
1. Watering: Marigolds require regular watering to keep the soil consistently moist, but not waterlogged. Water the plants deeply at the base, allowing the water to reach the root zone. It’s best to water in the morning, as this allows the foliage to dry out during the day and reduces the risk of fungal diseases.
2. Mulching: Apply a layer of organic mulch around the base of your marigold plants. Mulching helps retain soil moisture, suppress weeds, and regulate soil temperature. Use materials like straw, wood chips, or dried leaves, and ensure you keep the mulch a few inches away from the stems to prevent moisture-related issues.
3. Fertilizing: Marigolds are generally low-maintenance plants, but they can benefit from occasional fertilization. Use a balanced, water-soluble fertilizer or a slow-release granular fertilizer formulated for flowering plants. Follow the manufacturer’s instructions for application rates and frequency. Avoid over-fertilizing, as it can lead to excessive foliage growth and fewer blooms.
4. Deadheading: Regularly remove spent flowers by gently pinching or cutting them off at the base. This process is known as deadheading and promotes continuous blooming by redirecting the plant’s energy from seed production to flower production. Deadheading also helps maintain the overall appearance and tidiness of the plant.
5. Pest and Disease Control: Marigolds are generally resistant to pests and diseases, thanks to their natural repellant properties. However, occasional issues with pests like aphids or spider mites can occur. Monitor your plants regularly and, if necessary, treat any pest infestations with organic pest control methods or insecticidal soap. Be sure to follow the instructions on the product label carefully.
6. Staking: Some taller varieties of marigolds may require staking to support their growth and prevent them from flopping over due to wind or heavy rain. Use bamboo stakes or plant supports to gently tie up the stems, being careful not to damage the plants. Regularly check and adjust the stakes or ties as the plants grow.
7. Proper Pruning: While marigolds generally do not require extensive pruning, you may occasionally need to trim back any leggy or overgrown stems to maintain the shape and compactness of the plant. Use clean and sharp gardening shears to make clean cuts just above a leaf node or lateral branch.
8. Monitoring for Signs of Stress or Disease: Regularly inspect your marigold plants for any signs of stress, disease, or nutrient deficiencies. Look for yellowing or discolored leaves, wilting, spotted foliage, or stunted growth. Identifying and addressing issues early can help prevent further damage and promote plant health.
By following these care guidelines, you will provide your marigold plants with the attention and care they need to thrive. Remember to observe your plants regularly and adjust your care practices based on their specific needs and growing conditions, ultimately leading to healthy and abundant blooms.
Step 10: Harvesting Marigold Flowers
The final step in the journey of cultivating marigolds is the exciting process of harvesting the vibrant and aromatic flowers. Harvesting not only allows you to enjoy the beauty of your marigold blooms but also helps promote continuous flowering and encourages the plants to produce more flowers. Here are some key steps to follow when harvesting your marigold flowers:
1. Timing: The timing of the harvest is crucial to ensure that you obtain the best-quality blooms. Wait until the marigold flowers are fully open and in their prime. This is when they exhibit their brightest colors and maximum fragrance, indicating that they are at their peak.
2. Selecting Flowers: Choose flowers that are healthy, with no signs of damage or discoloration. Look for fully opened blooms with petals that are firm and vibrant. Avoid harvesting flowers that have started to fade or wilt, as they have passed their prime.
3. Using Clean Tools: Before harvesting, make sure your tools, such as garden shears or scissors, are clean and sanitized. This helps prevent the spread of disease or pests. Wipe the blades with a disinfectant or rubbing alcohol to ensure they are free from any contaminants.
4. Cutting Technique: When harvesting marigold flowers, cut the stems at a slight angle just above a set of leaves or lateral branch. This promotes new growth and ensures a clean and neat cut. Avoid leaving stubs or cutting too close to the main stem, as it may hinder the growth of new branches.
5. Harvest in the Morning: It’s best to harvest marigold flowers in the early morning when the plants are hydrated and temperatures are cooler. This ensures that the flowers are at their freshest and have maximum moisture content, enhancing their longevity after being cut.
6. Handling and Preservation: After harvesting, gently handle the flowers to prevent damage to the petals and fragrance glands. Immediately place the harvested flowers in a clean container filled with cool water. This helps preserve their freshness and keeps them hydrated.
7. Displaying and Enjoying: Arrange the harvested marigold flowers in vases or containers filled with fresh water. They can be displayed indoors to brighten up your space or given as gifts to spread their cheerful beauty. Change the water regularly and trim the stems every few days to prolong the vase life of the flowers.
8. Saving Seeds: If you are interested in saving seeds for future planting, allow some flower heads to fully mature and dry on the plant. Once the flower heads have dried, gently remove the seeds and store them in a cool, dry place in a labeled and airtight container for next season’s sowing.
By following these steps, you will be able to harvest your marigold flowers at the perfect time for maximum beauty and enjoyment. Remember to appreciate the hard work you put into growing these vibrant blooms and share their beauty with others. Happy harvesting!
Frequently Asked Questions about How To Plant Marigold Seed
Was this page helpful?
At Storables.com, we guarantee accurate and reliable information. Our content, validated by Expert Board Contributors, is crafted following stringent Editorial Policies. We're committed to providing you with well-researched, expert-backed insights for all your informational needs.





0 thoughts on “How To Plant Marigold Seed”