Home>Garden Essentials>How To Plant Persimmon Tree From Seed
Garden Essentials
How To Plant Persimmon Tree From Seed
Modified: October 20, 2024
Learn how to successfully plant a persimmon tree from seed in your garden with our helpful step-by-step guide. Transform your garden with this beautiful fruit-bearing tree.
(Many of the links in this article redirect to a specific reviewed product. Your purchase of these products through affiliate links helps to generate commission for Storables.com, at no extra cost. Learn more)
Introduction
Welcome to the world of gardening! Planting a persimmon tree from seed can be a rewarding and fulfilling experience. Not only do you get to witness the growth and development of a beautiful tree, but you also have the opportunity to enjoy the delicious fruits it produces. Whether you are a seasoned gardener or just starting out, this guide will take you through the step-by-step process of planting a persimmon tree from seed.
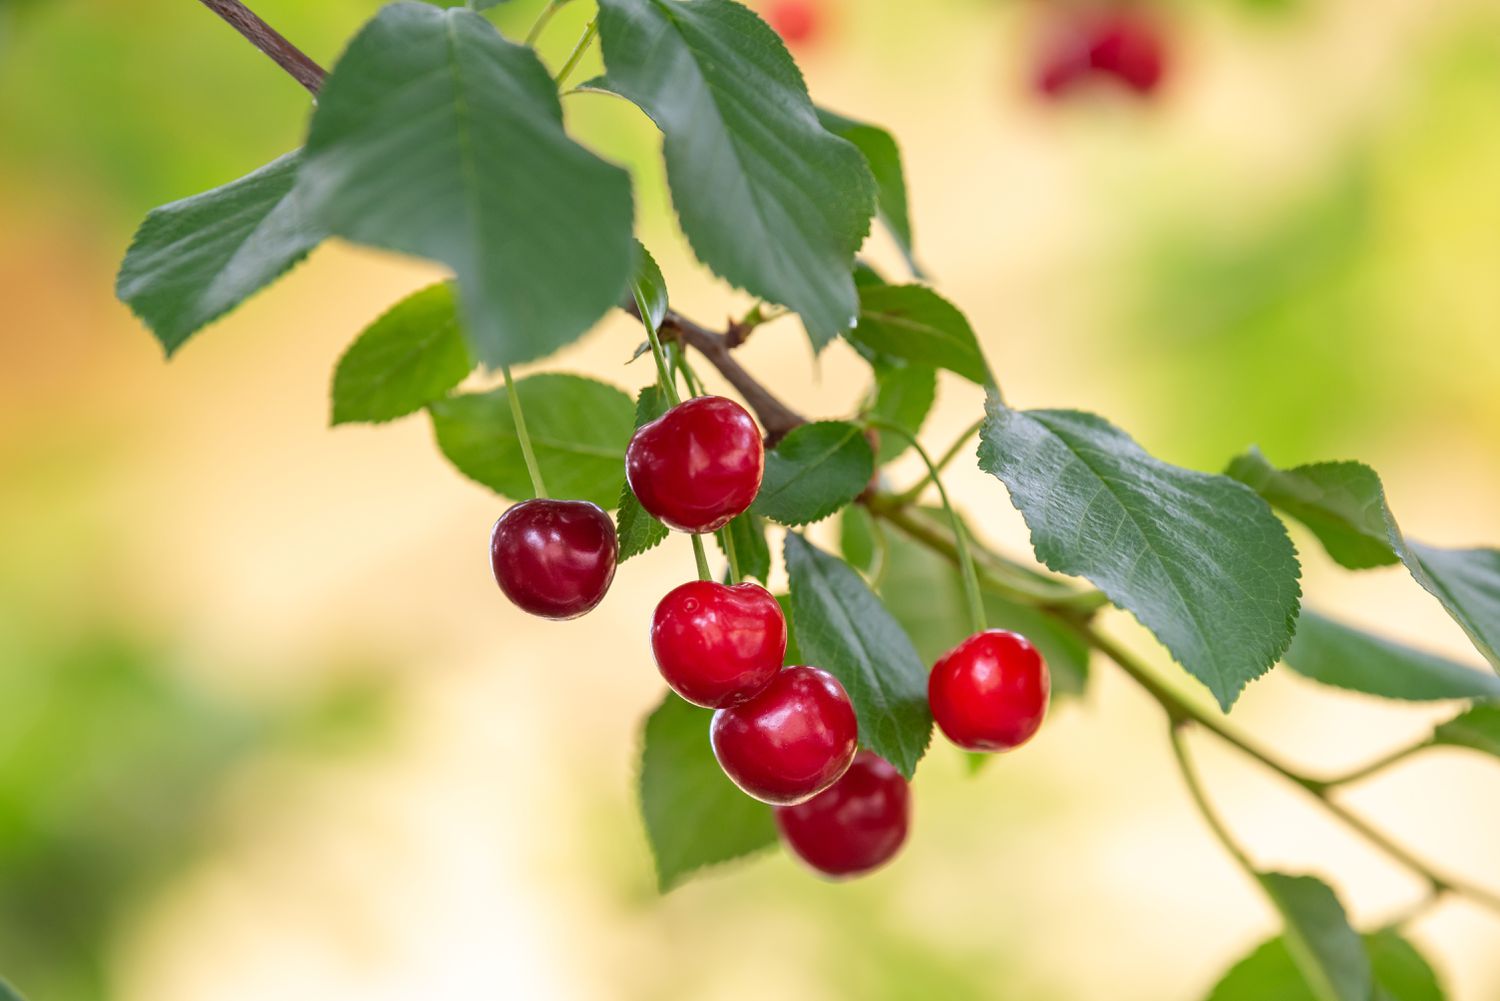
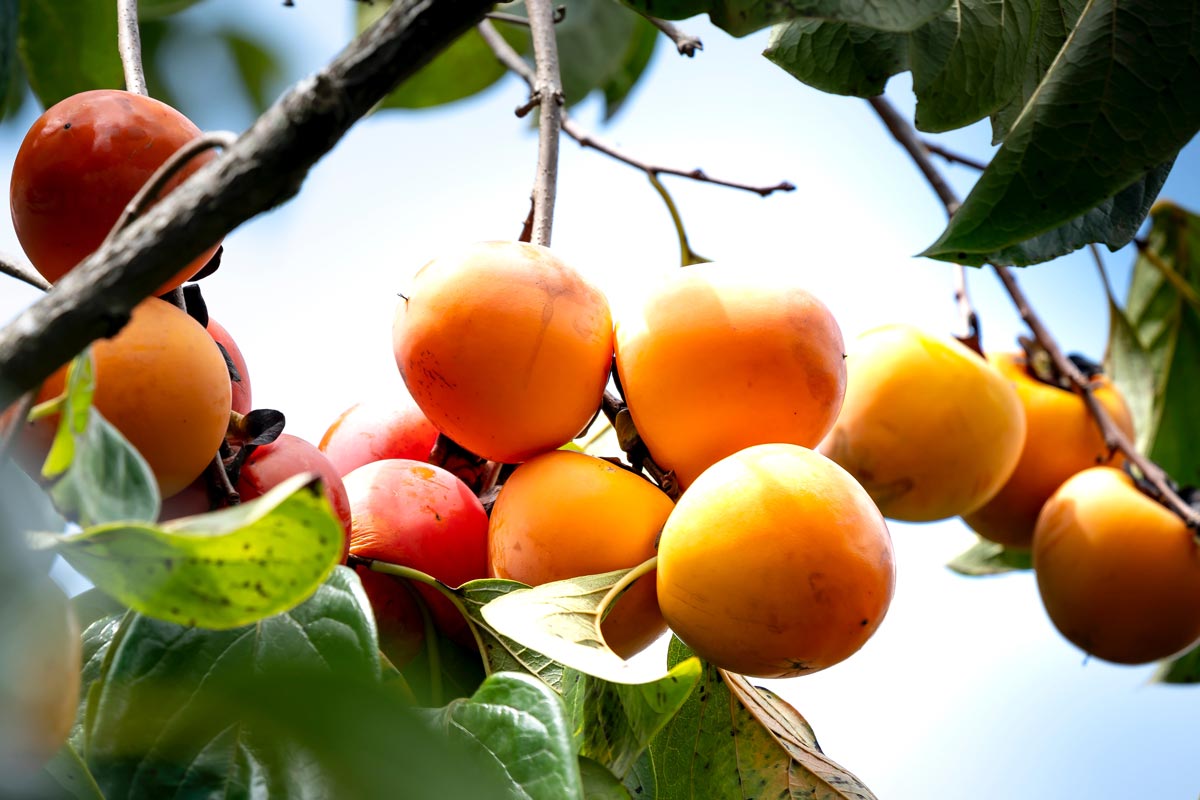
Persimmon trees, known for their vibrant orange fruits and stunning foliage, are native to various regions around the world. They can thrive in a wide range of climates, making them an ideal choice for home gardeners. Planting a persimmon tree from seed allows you to have a personal connection with the plant, as you witness it grow from a tiny seed to a strong and fruitful tree.
Before we delve into the details of planting a persimmon tree from seed, it’s important to note that this method may not always produce a tree that is true to the parent plant. Persimmon trees grown from seed can exhibit genetic variation, resulting in differences in fruit characteristics and tree growth. However, if you’re up for the adventure and don’t mind a little surprise, growing a persimmon tree from seed can be a fun and fulfilling experience.
Now that we have set our expectations, let’s dive into the step-by-step process of planting a persimmon tree from seed. Let’s gather our materials and get started on this exciting gardening journey!
Key Takeaways:
- Planting a persimmon tree from seed is an exciting journey that requires patience and care. Enjoy the process of nurturing your tree and look forward to harvesting delicious persimmons in the future!
- By following the step-by-step process, you can grow your own persimmon tree from seed. Embrace the uniqueness of your gardening experience and provide ongoing care to watch your tree thrive.
Read more: When To Plant Persimmon Seeds
Step 1: Gather your materials
Before you begin the journey of planting a persimmon tree from seed, it’s important to gather all the necessary materials. These will ensure that you have everything you need to successfully germinate and grow the seed into a healthy tree. Here’s a list of items you’ll need:
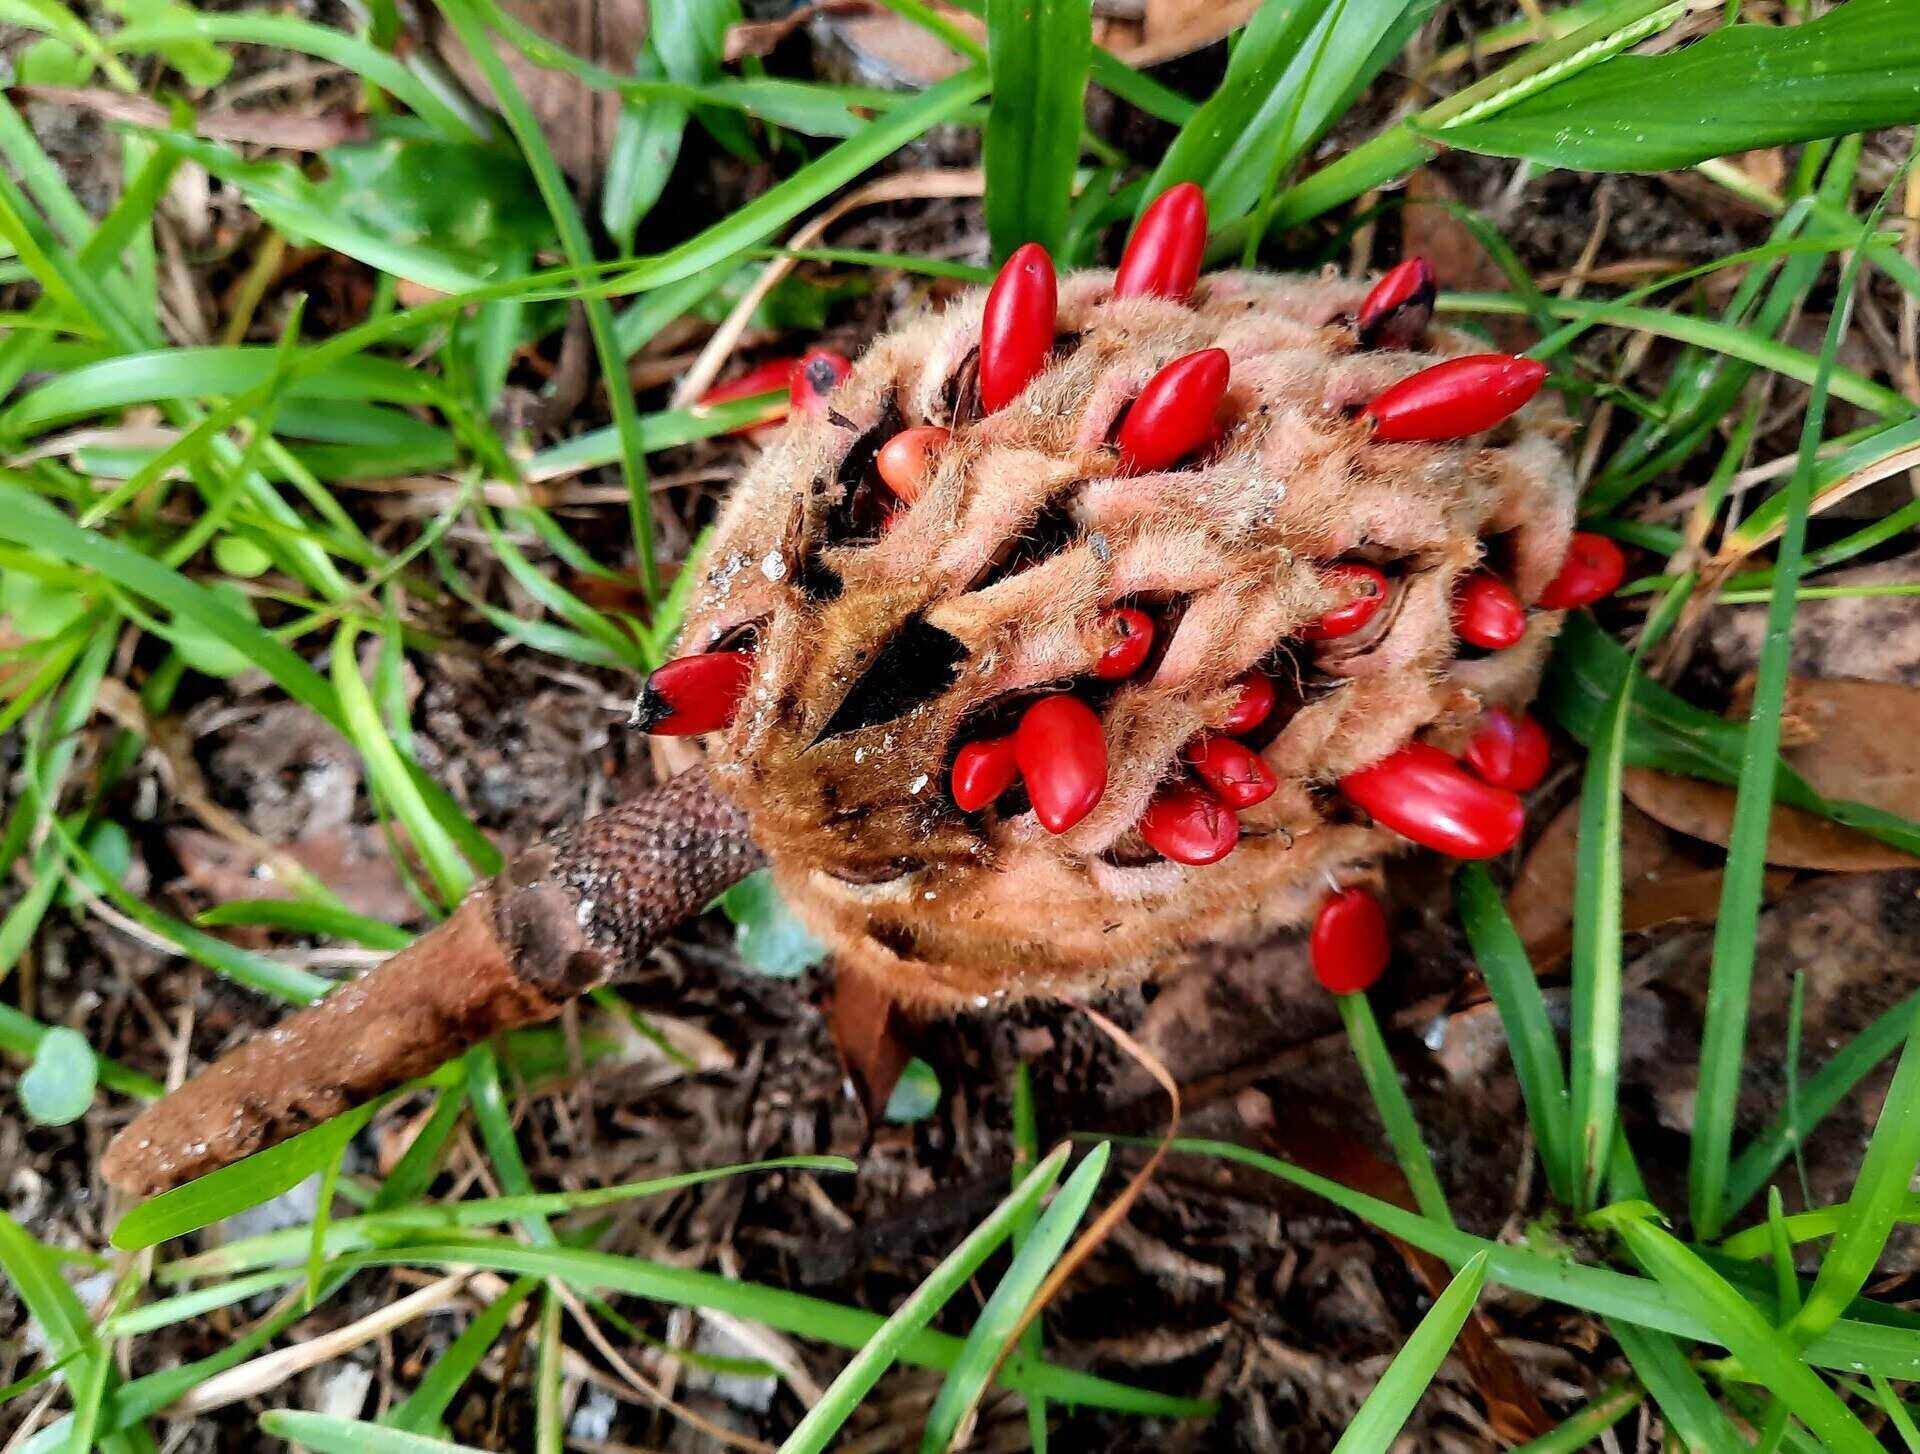
- Persimmon seeds: Look for ripe persimmons and extract the seeds. Make sure to choose fresh, healthy-looking seeds for the best chances of successful germination.
- Seed container: You’ll need a small container or seed trays with drainage holes to plant the persimmon seeds.
- Potting soil: Use a well-draining potting mix to provide the right conditions for the seeds to germinate. Avoid heavy soils that can retain too much moisture.
- Water: Ensure that you have a source of clean water to keep the soil moist during the germination process and for watering the plant later on.
- Plastic wrap or a seedling tray cover: Having a cover for the seed container will create a humid environment, promoting successful germination.
- Plant labels: It’s essential to label your seed container with the date and type of seeds to keep track of your plants.
- Grow lights (optional): If you’re starting your persimmon seeds indoors in a location with limited sunlight, you may need a grow light to provide sufficient light for the seedlings.
- Pruning shears: These will come in handy when it’s time to transplant your persimmon tree seedling to a larger pot or to the garden.
- Fertilizer: While not essential during the early stages, having a suitable fertilizer on hand will be beneficial once your persimmon tree starts to grow.
By gathering these materials beforehand, you’ll be well-prepared and ready to embark on the journey of planting a persimmon tree from seed. Now that everything is in place, let’s move on to the next step: preparing the seed for planting.
Step 2: Preparing the seed
Now that you have gathered all the necessary materials, it’s time to prepare the persimmon seeds for planting. Preparing the seed involves a few simple steps to increase the chances of successful germination. Let’s get started:
- Extract the seeds: Begin by collecting ripe persimmons. Cut open the fruits and remove the seeds. Gently wash the seeds to remove any pulp or residue.
- Perform the float test: To determine if the seeds are viable, perform a float test. Fill a bowl with water and place the seeds in it. Viable seeds will sink to the bottom, while non-viable ones will float to the surface.
- Scarify the seed coat: Persimmon seeds have a hard outer shell that can inhibit germination. To promote faster and more successful germination, scarify the seed coat by gently nicking it with a sharp knife or rubbing it with sandpaper. Be careful not to damage the seed itself.
- Soak the seeds: After scarification, soak the seeds in room temperature water for 24-48 hours. This will help to soften the seed coat and prepare the seeds for germination.
By following these steps, you are preparing the persimmon seeds for optimal germination. Scarifying the seed coat and soaking the seeds will help to break dormancy and encourage faster sprouting. Once the seeds have been prepared, it’s time to move on to the next step: stratification.
Step 3: Stratification process
Stratification is a process that mimics the natural conditions seeds experience during winter. It involves subjecting the persimmon seeds to a period of cold temperatures to break their dormancy and promote germination. Follow these steps to stratify your persimmon seeds:
- Moisten the potting soil: Before stratifying the seeds, dampen the potting soil slightly. It should be moist but not saturated. A good way to achieve this is by misting the soil with water until it’s evenly damp.
- Place the seeds in the soil: Take the prepared persimmon seeds and bury them lightly in the moist soil. Make sure to space them out, leaving some room between each seed.
- Cover the container: To create a suitable environment, cover the container with plastic wrap or use a seedling tray cover. This will help to maintain moisture and create a humid atmosphere around the seeds.
- Refrigerate for stratification: Place the container in the refrigerator, ideally at a temperature between 33-41°F (0-5°C). The seeds will require a period of stratification for around 60-90 days.
- Check periodically: During the stratification period, check the moisture level of the soil regularly. If it appears dry, mist it lightly with water to ensure the seeds are not drying out.
The stratification process allows the seeds to undergo a cold treatment, which helps to break their dormancy. This mimics the winter conditions that naturally trigger germination. Once the stratification period is complete, it’s time to move on to the exciting part – planting the seeds and witnessing their growth!
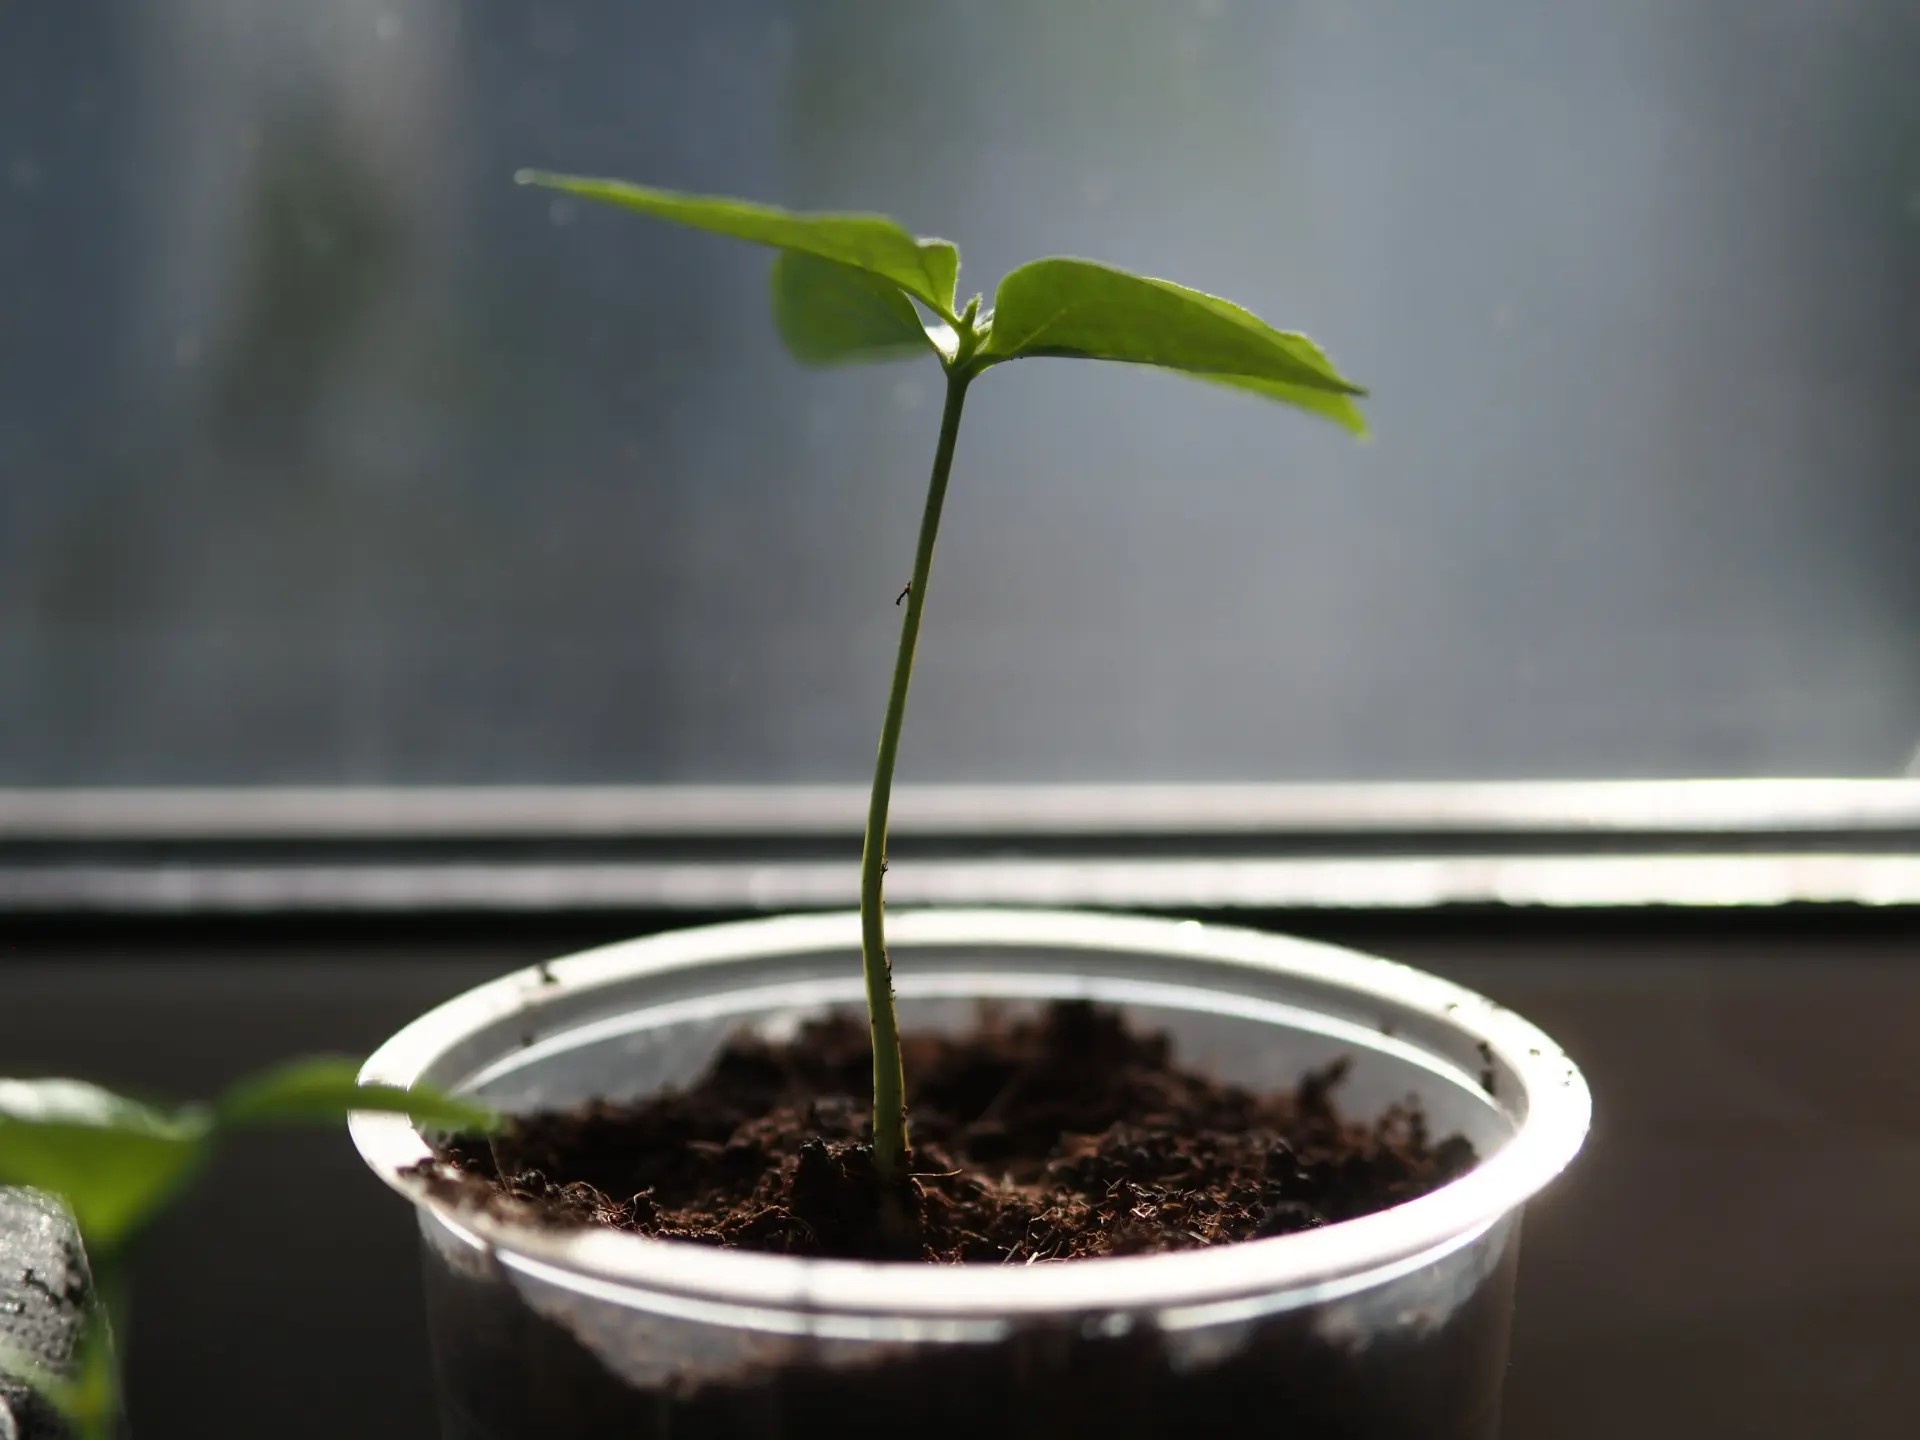
Step 4: Planting the seed
Now that the persimmon seeds have undergone stratification and their dormancy has been broken, it’s time to plant them and kickstart their growth. Follow these steps to properly plant the persimmon seeds:
- Select a planting container: Choose a planting container or seed tray with drainage holes to ensure proper water drainage. Fill the container with a well-draining potting mix, leaving some space at the top for watering.
- Plant the seeds: Make a small hole in the soil using your finger or a pencil. Place one seed in each hole, about 1 inch deep. Gently cover the seeds with soil and lightly press it down to secure them.
- Water the seeds: Use a spray bottle or a watering can with a gentle sprinkle nozzle to moisten the soil. Avoid saturating the soil, as excess moisture can lead to rotting of the seeds.
- Provide warmth and light: Place the planting container in a warm location with indirect sunlight or under grow lights if you are starting the seeds indoors. Persimmon seeds require temperatures around 70-85°F (21-29°C) for optimal germination.
- Maintain moisture: It’s important to keep the soil consistently moist but not waterlogged during the germination process. Check the soil moisture regularly and water whenever it feels dry to the touch.
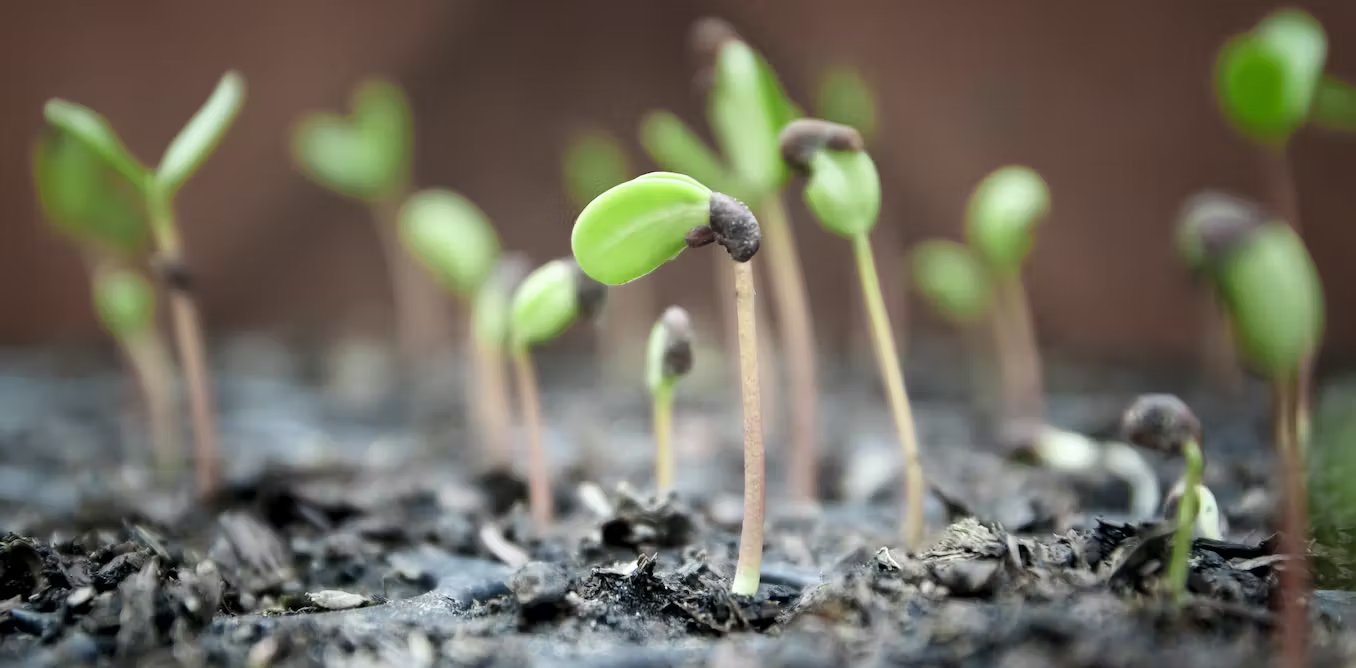
- Be patient: Germination can take anywhere from a few weeks to a couple of months. Be patient and continue to provide the right conditions for the seeds to sprout.
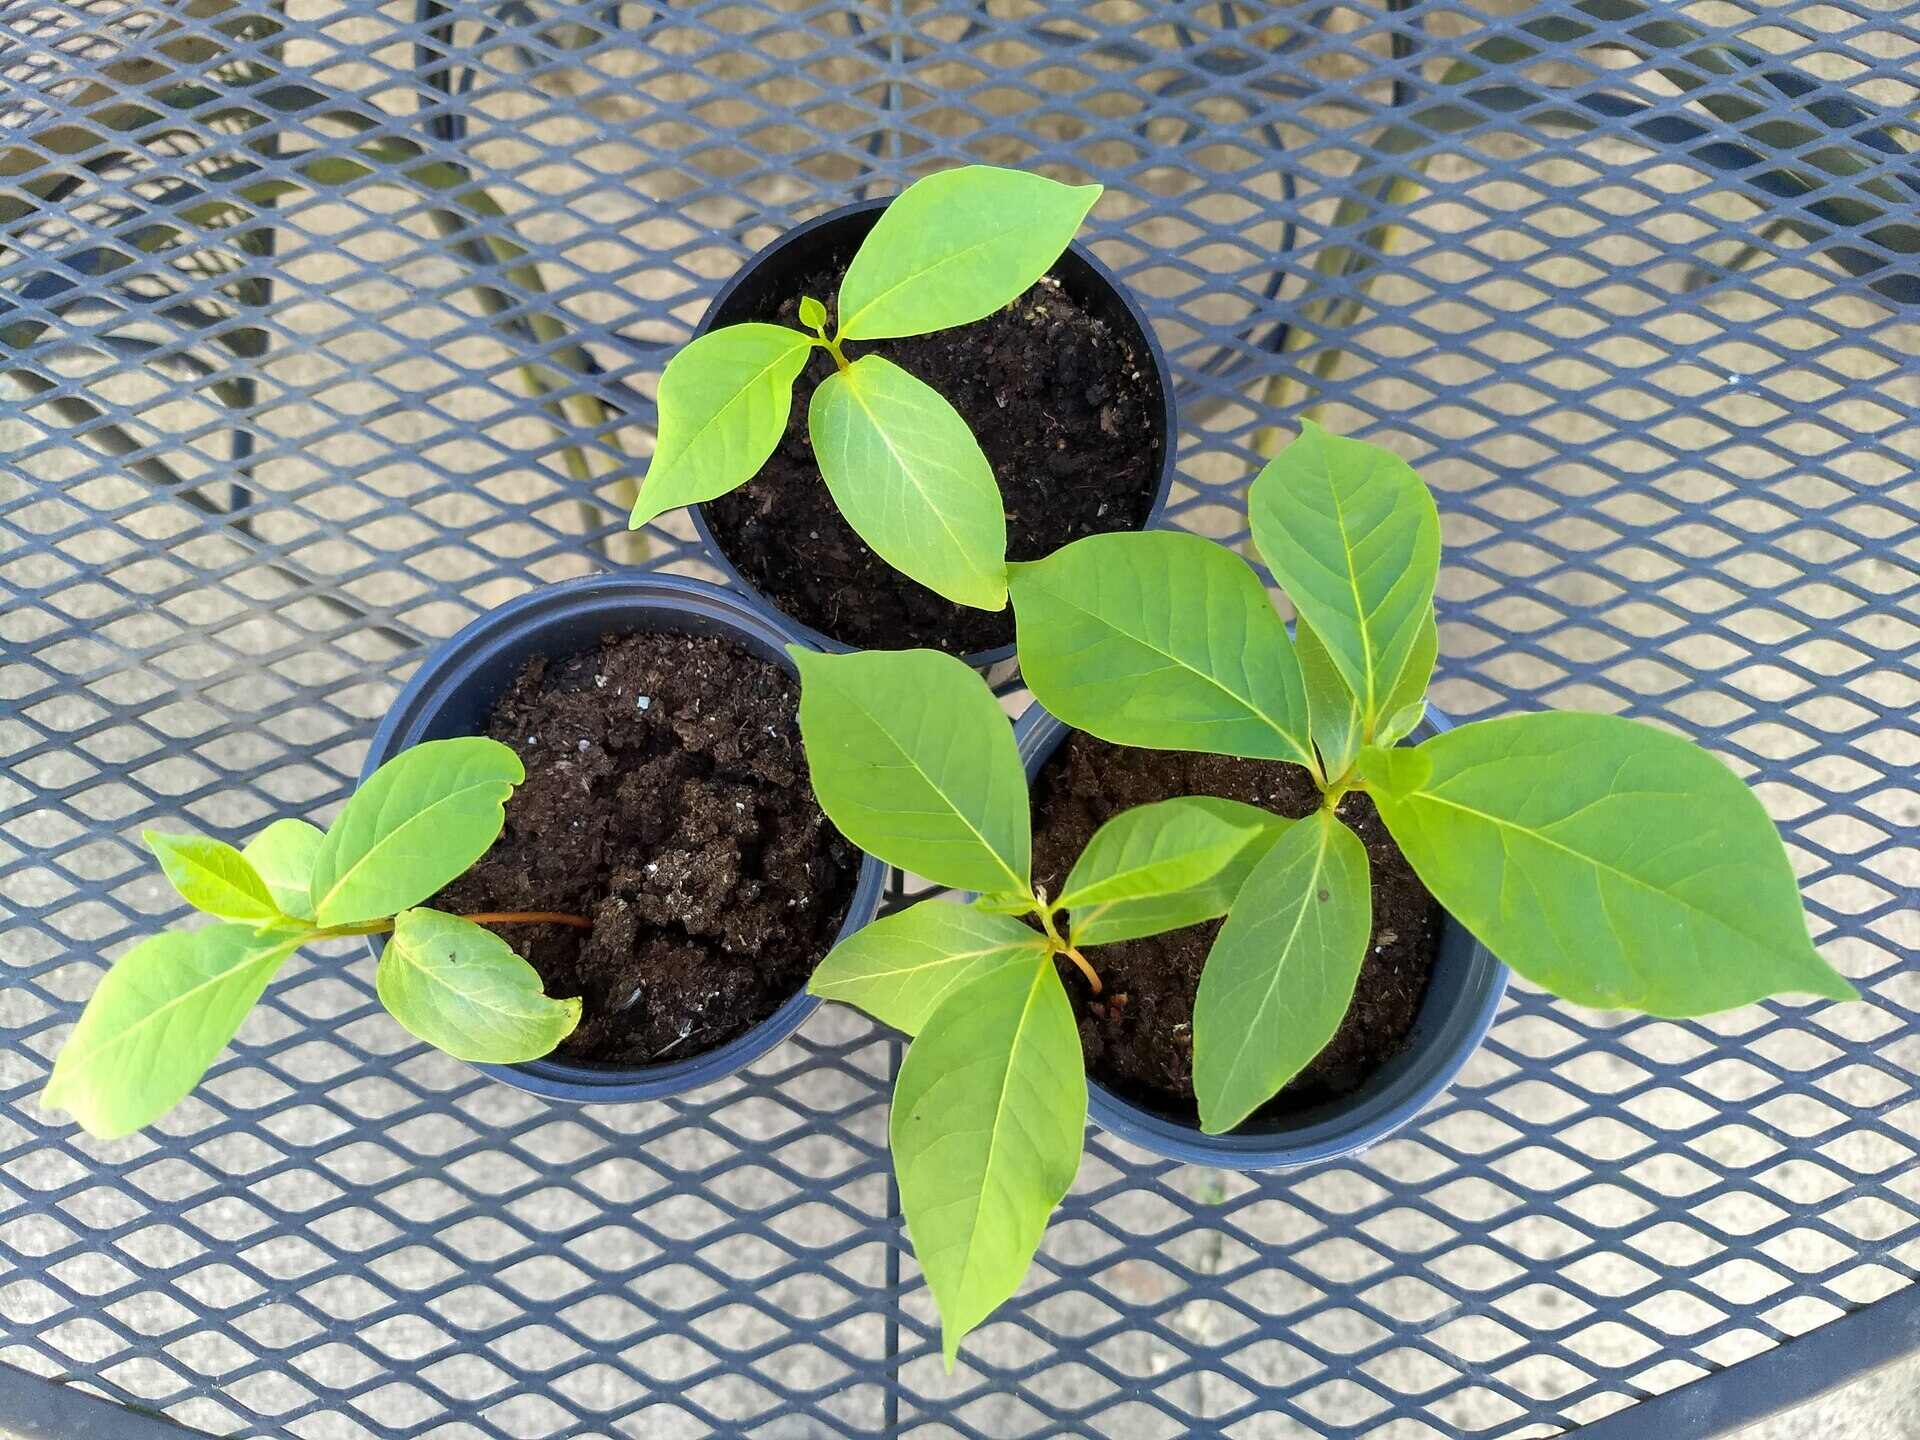
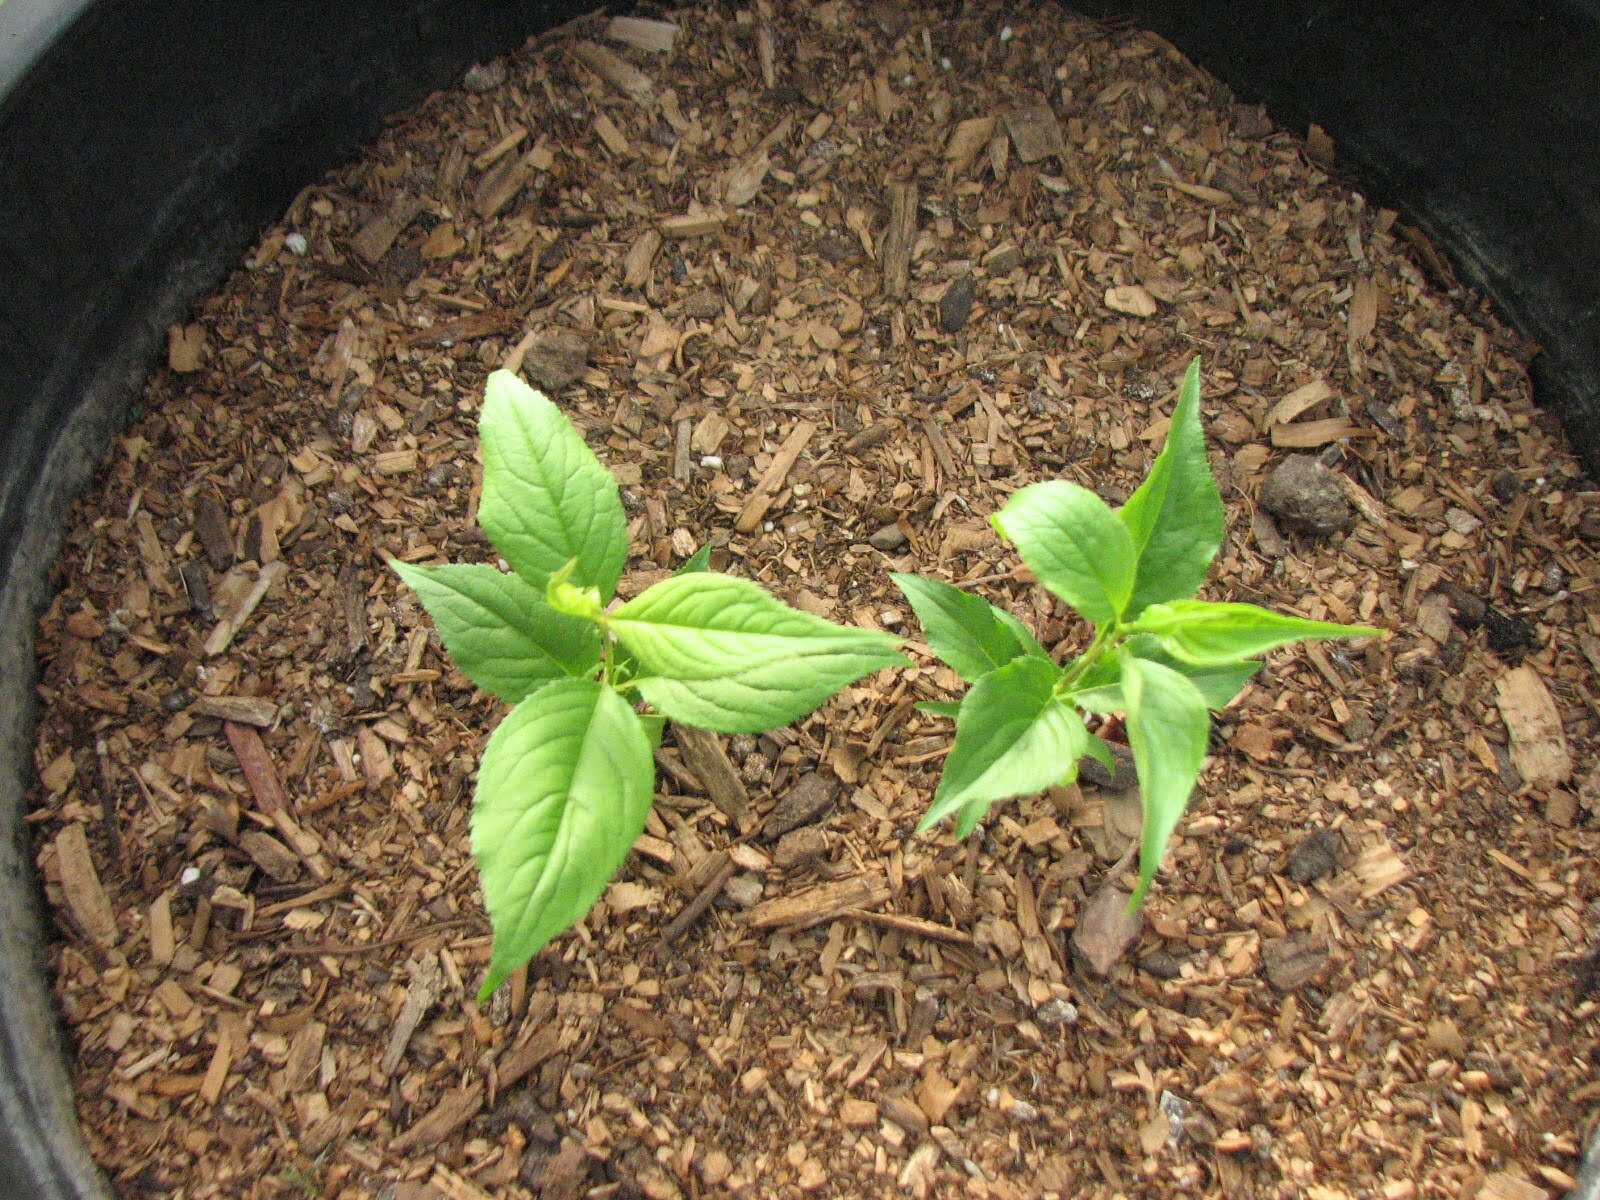
By following these steps, you are giving the persimmon seeds the best chance to germinate and grow into healthy seedlings. Now it’s time to move on to the next step: providing the right conditions for the growing seedlings.
To plant a persimmon tree from seed, first remove the seeds from ripe fruit and wash off any pulp. Then, plant the seeds in well-draining soil, keep them moist, and wait for them to germinate. Keep in mind that it may take several years for the tree to produce fruit.
Read more: How To Plant A Pomegranate Tree From Seeds
Step 5: Providing the right conditions
As your persimmon seedlings begin to grow, it’s crucial to provide them with the right conditions to ensure their healthy development. Here are some important factors to consider:
Light: Persimmon trees thrive in full sunlight. Once the seedlings have sprouted and developed their first set of true leaves, gradually expose them to increasing amounts of direct sunlight. Aim for at least 6-8 hours of sunlight per day.
Temperature: Persimmon trees prefer warm temperatures. Maintain a temperature range of around 60-80°F (15-27°C). Avoid exposing the seedlings to extreme heat or cold.
Watering: Keep the soil consistently moist but not waterlogged. Water the seedlings regularly, aiming for a balance between keeping the soil moist and avoiding waterlogged conditions that can cause root rot. Remember to adjust the watering schedule based on the environmental conditions and the moisture level of the soil.
Fertilizer: After the seedlings have developed a few sets of true leaves, you can start applying a balanced fertilizer. Choose a slow-release fertilizer specifically formulated for fruit trees or use a well-diluted liquid fertilizer. Follow the manufacturer’s instructions for application rates and frequency.
Air circulation: Good air circulation is important for preventing diseases and promoting healthy growth. Avoid overcrowding the seedlings and provide adequate spacing between them. You can also gently fan the seedlings to promote airflow and strengthen their stems.
Protection from pests: Keep an eye out for pests such as aphids, caterpillars, or mites that can damage the seedlings. Regularly inspect the leaves and stems and take appropriate measures if you spot any pests. Additionally, you can use organic pest control methods or introduce beneficial insects to keep the pest population in check.
By providing the right conditions for your persimmon seedlings, you are ensuring their optimal growth and setting them up for a healthy and fruitful future. As the seedlings continue to develop, it’s essential to provide them with proper care and attention. Let’s move on to the next step: caring for your persimmon tree.
Step 6: Caring for your persimmon tree
Caring for your persimmon tree is essential to promote its overall health, growth, and fruit production. Here are some key aspects to consider when caring for your persimmon tree:
Watering: Adequate and consistent watering is crucial, especially during the tree’s early years. Water deeply and evenly, ensuring that the soil around the tree is thoroughly moistened. However, avoid overwatering, as excess moisture can lead to root rot. Monitor the moisture level of the soil and adjust your watering schedule accordingly.
Pruning: Pruning helps shape your persimmon tree and encourages healthy growth. During the dormant season, remove any dead, damaged, or crowded branches. Prune for structure, allowing air and sunlight to reach all parts of the tree. Additionally, thin out excessive fruit to avoid overcrowding and promote better-sized fruits.
Fertilizing: Persimmon trees benefit from regular fertilization. Apply a balanced fertilizer in early spring and again in summer. Use a fertilizer specifically formulated for fruit trees and follow the recommended application rates. Be mindful not to over-fertilize, as excessive nitrogen can lead to excessive leaf growth at the expense of fruit production.
Pest and disease control: Monitor your persimmon tree for common pests like aphids, scales, and mites. Regularly inspect the leaves, branches, and fruits for any signs of infestation or disease. If necessary, employ organic pest control methods or use insecticidal soap or horticultural oils. Proper sanitation practices, such as removing fallen leaves and fruits, can also help prevent disease and pest problems.
Mulching: Mulching around the base of your persimmon tree helps conserve moisture, suppress weeds, and maintain a consistent soil temperature. Apply a layer of organic mulch, such as wood chips or straw, around the tree, ensuring it doesn’t touch the trunk. Refresh the mulch annually.
Protection from extreme weather: Provide protection for your persimmon tree during extreme weather conditions. In colder regions, consider wrapping the trunk or providing a protective cover to prevent frost damage. During heatwaves, provide shade or temporary shelter to shield the tree from excessive heat and sunburn.
Regular monitoring: Keep a close eye on your persimmon tree, especially during the growing season. Monitor for any signs of stress, disease, or nutrient deficiencies. Promptly address any issues that arise to ensure the tree’s health and productivity.
By following these care guidelines, you can nurture your persimmon tree and help it thrive for years to come. Soon, you’ll be able to savor the delicious fruits of your labor. In the next step, we will explore how to transplant your persimmon seedling.
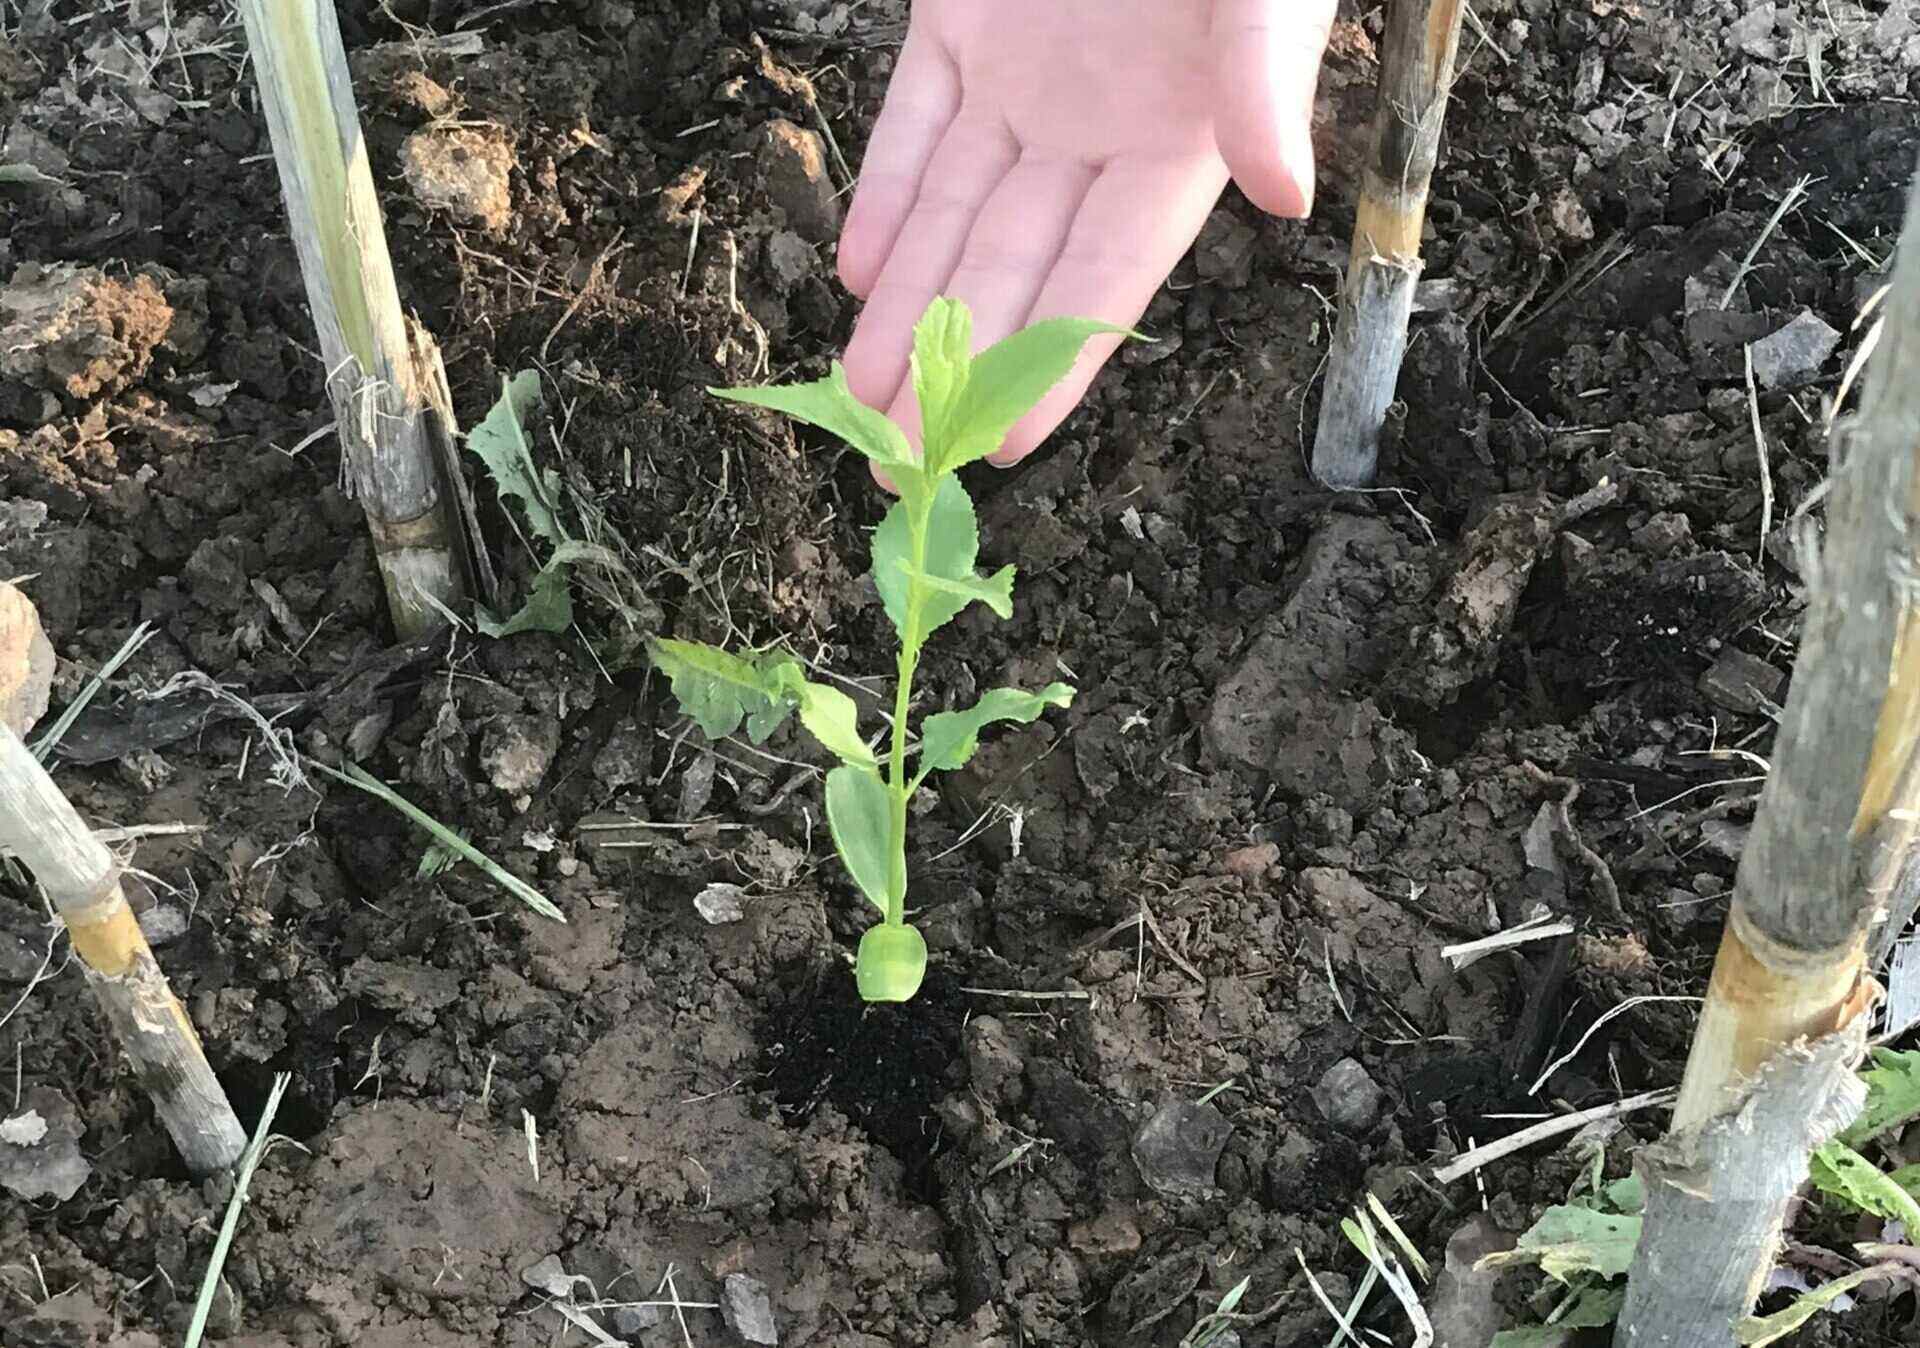
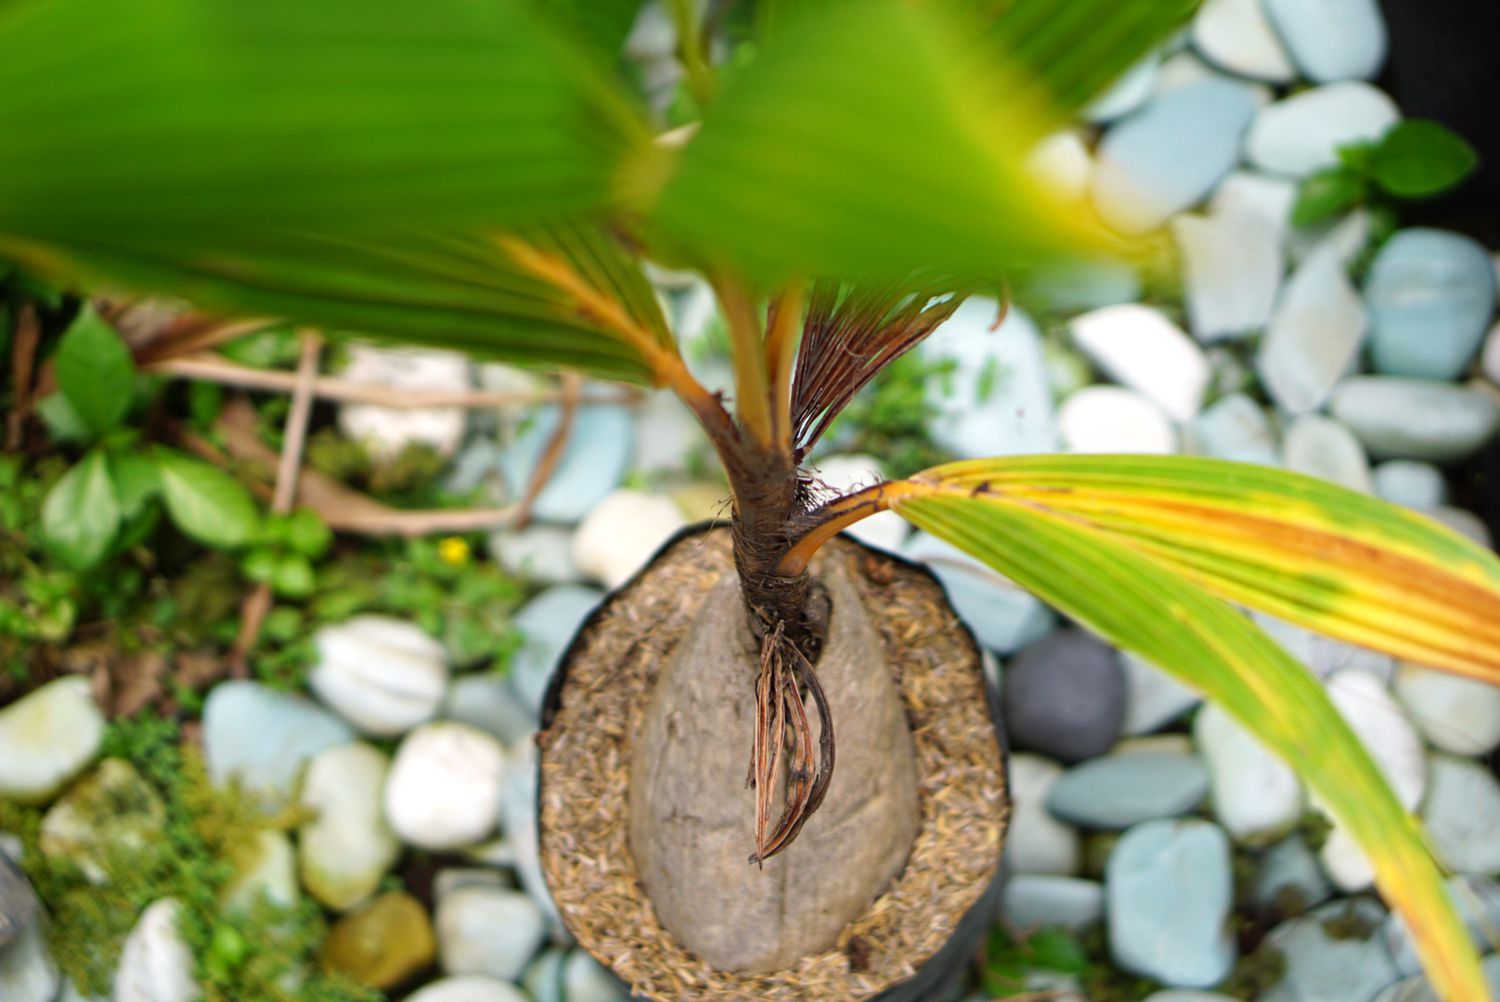
Step 7: Transplanting the seedling
As your persimmon seedling grows and develops, there may come a time when it outgrows its initial container and needs to be transplanted into a larger pot or the garden. Transplanting should be done with care to minimize shock and ensure the successful establishment of the tree. Follow these steps to transplant your persimmon seedling:
- Choose the right time: Transplant your persimmon seedling during the dormant season, preferably in late winter or early spring. This allows the tree to adjust to its new location before the active growing season begins.
- Select the planting location: Choose a site in your garden that receives full sunlight and has well-drained soil. Ensure there is enough space for the persimmon tree to grow to its mature size.
- Prepare the new planting hole: Dig a hole in the garden that is slightly larger and deeper than the root ball of your persimmon seedling.
- Remove the seedling from its current container: Gently tap the sides and bottom of the container to loosen the root ball. Carefully lift the seedling by holding the base of the stem or the root ball. Avoid pulling on the delicate stems or leaves.
- Plant the seedling: Place the persimmon seedling in the prepared hole, making sure the root ball sits level with or slightly above the soil surface. Backfill the hole with soil, gently firming it around the roots as you go. Avoid compacting the soil too heavily.
- Water thoroughly: After transplanting, water the newly planted seedling thoroughly to settle the soil and promote root establishment. Provide regular irrigation in the following weeks to keep the soil consistently moist.
- Apply mulch: Apply a layer of organic mulch around the base of the seedling, leaving a small gap around the trunk. Mulch helps conserve moisture and suppresses weed growth.
- Monitor and care for the transplanted seedling: Keep a close eye on the transplanted seedling and provide proper care, including regular watering, protection from extreme weather, and ongoing maintenance such as pruning and fertilization.
Transplanting your persimmon seedling allows it to have more space and resources for proper growth and development. Be sure to follow these steps carefully to minimize stress and promote successful establishment. With proper care and attention, your persimmon tree will thrive in its new location and reward you with a bountiful harvest.
Step 8: Conclusion
Congratulations on successfully planting a persimmon tree from seed! By following the step-by-step process outlined in this guide, you’ve embarked on an exciting journey of growing your own persimmon tree and enjoying the fruits of your labor. Here’s a recap of the steps we covered:
- Gathered your materials
- Prepared the seed
- Implemented the stratification process
- Planted the seed
- Provided the right conditions
- Cared for your persimmon tree
- Transplanted the seedling
Throughout this process, you’ve learned the importance of selecting ripe persimmons for seeds, preparing the seeds for germination, and providing the right conditions for healthy growth. You’ve also discovered how to care for your persimmon tree, including watering, fertilizing, pruning, and protecting it from pests and extreme weather.
Remember, growing a persimmon tree from seed may result in slight variations in fruit characteristics and tree growth compared to the parent plant. However, this only adds to the excitement and uniqueness of your gardening experience.
As your persimmon tree continues to grow, be patient and provide ongoing care, ensuring it has the necessary sunlight, water, nutrients, and protection. With time, you can look forward to the joy of harvesting sweet and delicious persimmons from your very own tree.
So, embrace the journey and enjoy the process of watching your persimmon tree thrive. Happy gardening!
Excited about your new persimmon tree? Keep that green thumb working and discover our creative garden fence ideas that can reshape any outdoor space with style and function. Once that's set, you might wonder about other seeds and their journey from tiny specks to lush greenery. Don’t miss our detailed guide on how long for seed to germinate to help track your garden's progress efficiently.
Frequently Asked Questions about How To Plant Persimmon Tree From Seed
Was this page helpful?
At Storables.com, we guarantee accurate and reliable information. Our content, validated by Expert Board Contributors, is crafted following stringent Editorial Policies. We're committed to providing you with well-researched, expert-backed insights for all your informational needs.


0 thoughts on “How To Plant Persimmon Tree From Seed”