Home>Garden Essentials>How To Plant Red Clover Seed

Garden Essentials
How To Plant Red Clover Seed
Modified: August 17, 2024
Learn how to plant red clover seed in your garden and enjoy beautiful blooms all season long. Follow our step-by-step guide for successful gardening
(Many of the links in this article redirect to a specific reviewed product. Your purchase of these products through affiliate links helps to generate commission for Storables.com, at no extra cost. Learn more)
Introduction
Gardening enthusiasts often seek out new and vibrant plants to add to their landscapes. Red clover, a versatile and beautiful flowering plant, is an excellent choice for any garden. Not only does it add a splash of color, but it also offers numerous benefits for both the garden and the gardener.
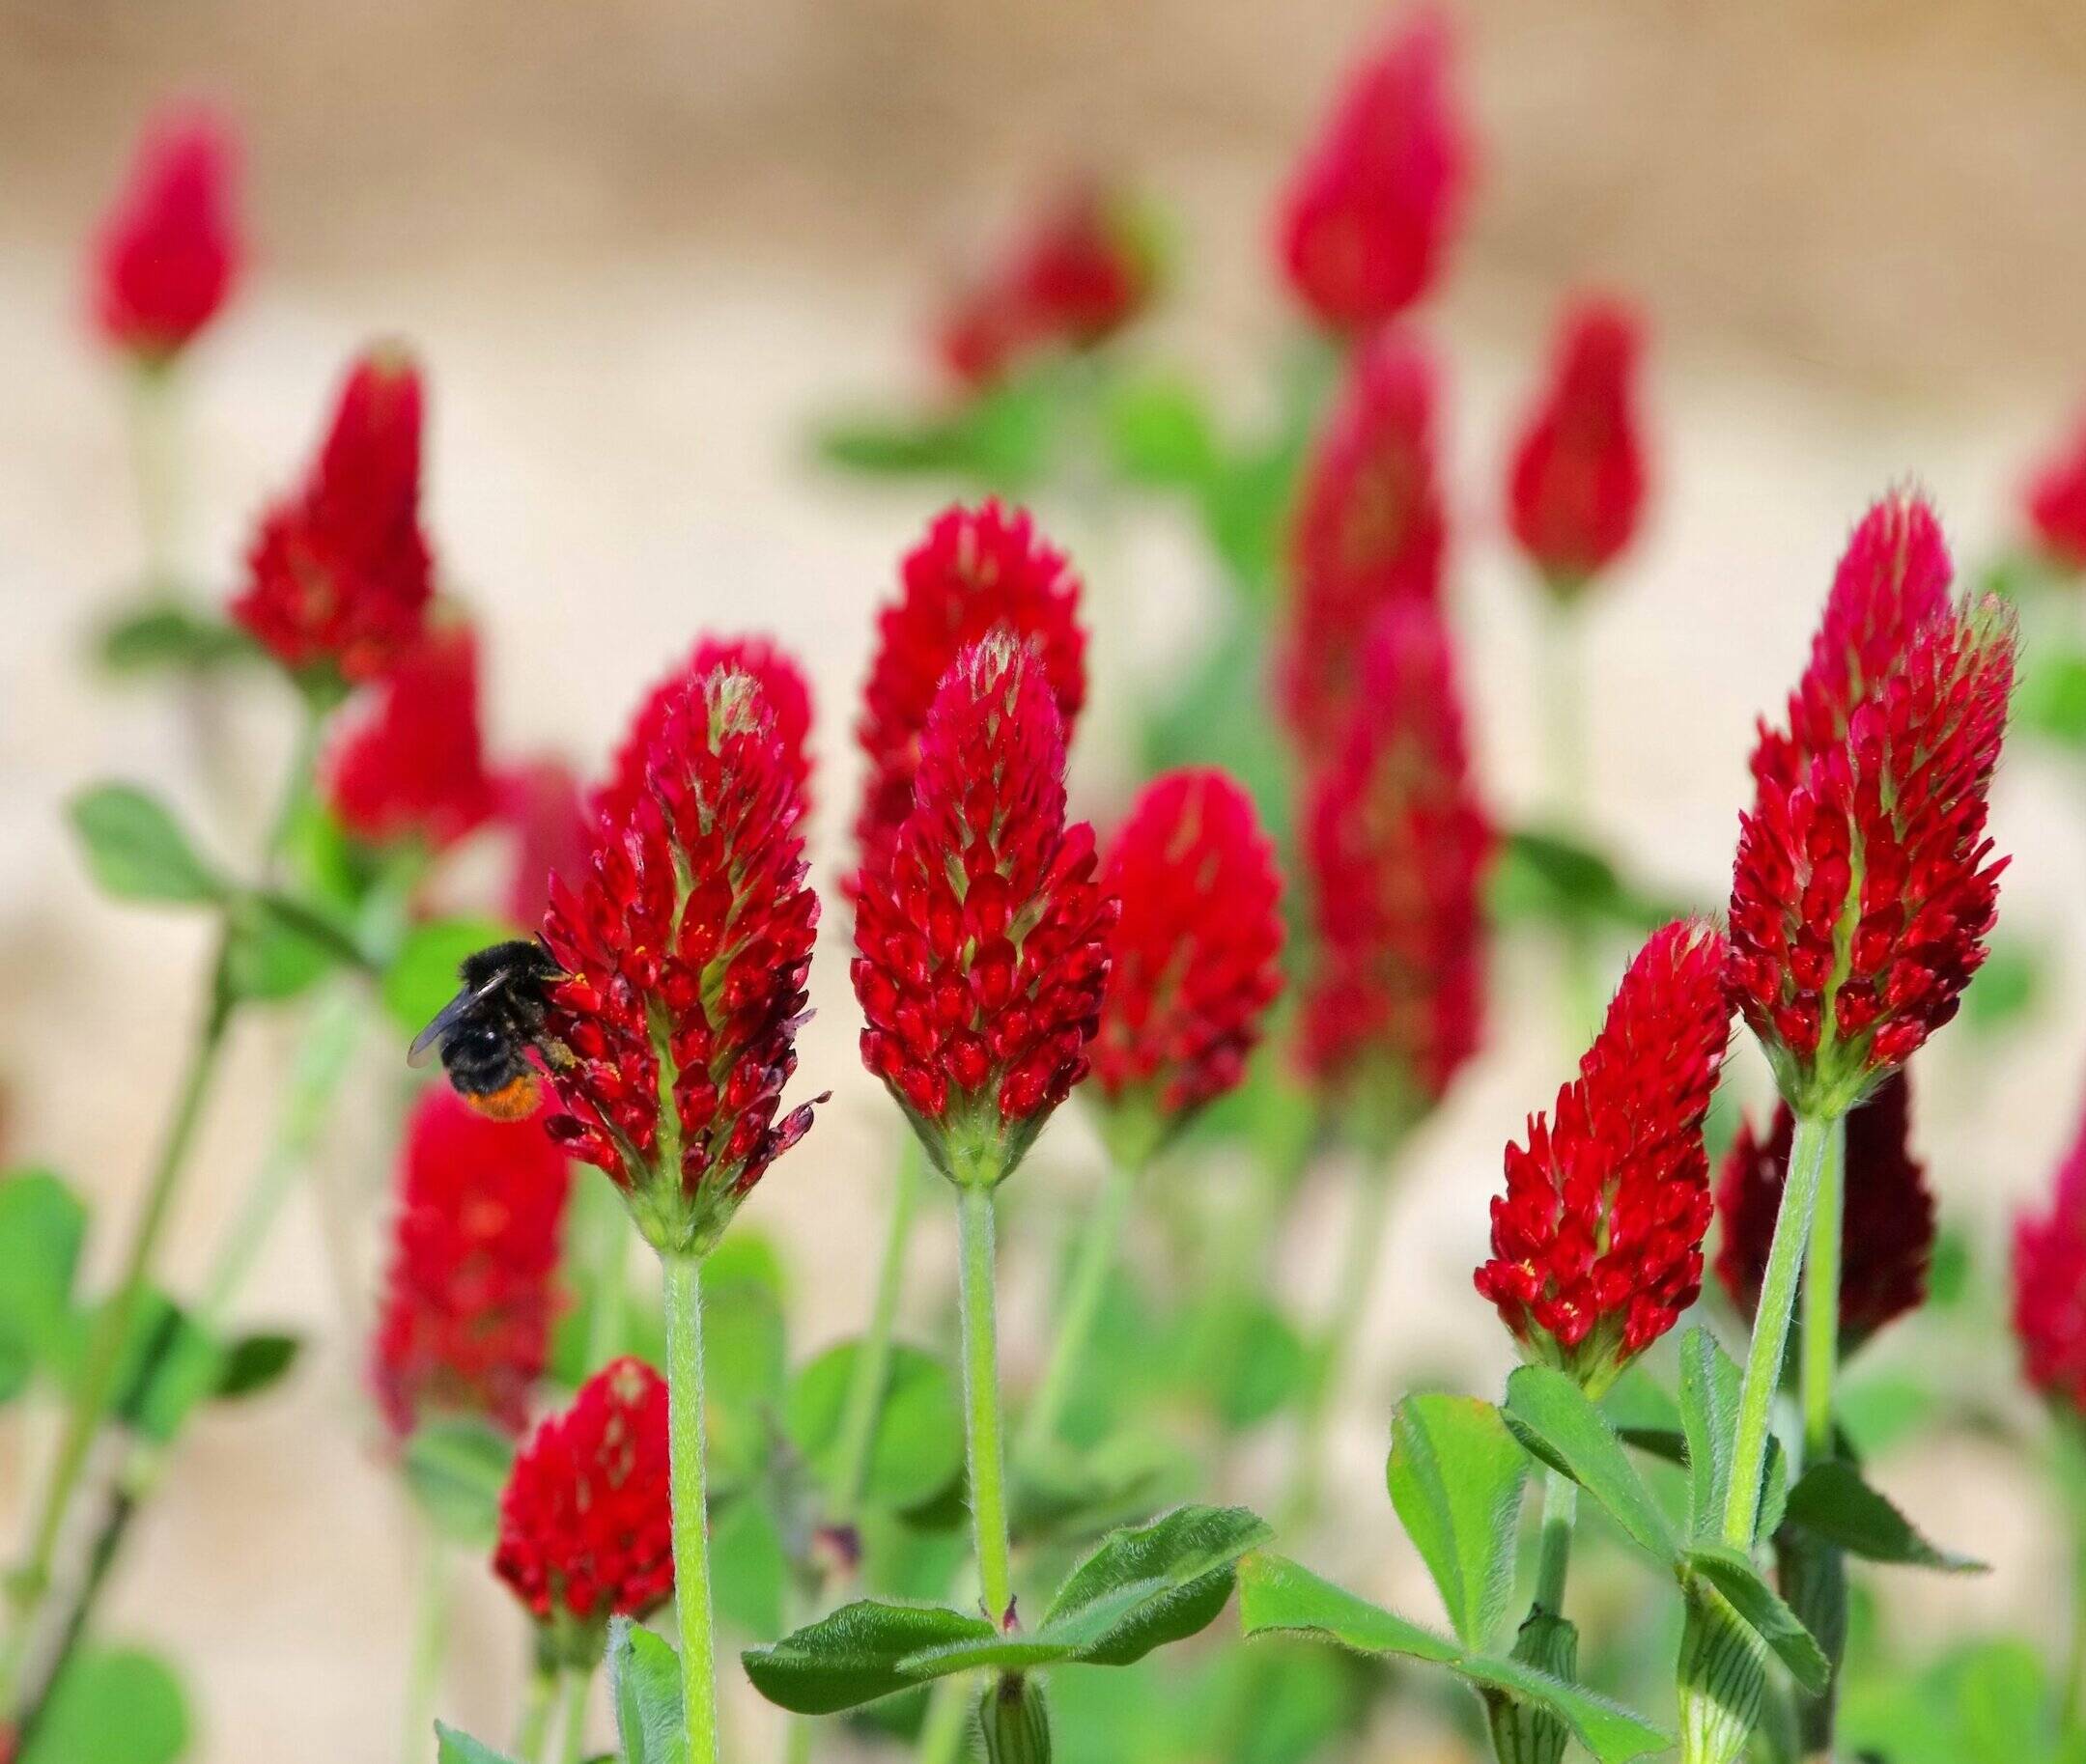
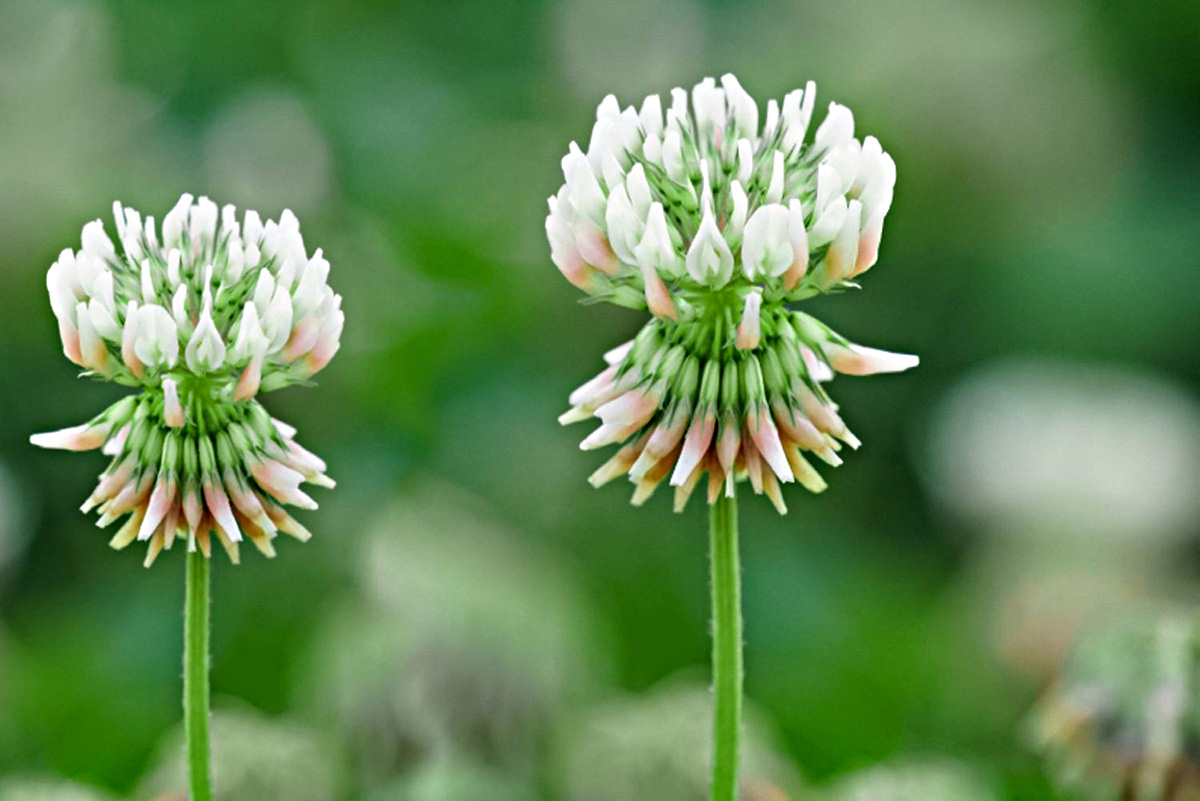
Red clover, scientifically known as Trifolium pratense, belongs to the legume family and is a popular choice for its attractive crimson flowers and rich green foliage. It is a perennial plant that can thrive in a variety of climates and soil types. Whether you have a small backyard garden or a sprawling landscape, red clover can be a valuable addition to enhance its overall beauty.
Aside from its aesthetic appeal, red clover offers many benefits to the environment and can even improve the quality of your soil. As a nitrogen-fixing plant, it has the ability to convert atmospheric nitrogen into a form that enriches the soil, making it more fertile and promoting healthy growth in surrounding plants. This makes red clover a great companion plant and a natural way to enhance soil health.
Furthermore, red clover is an excellent choice for attracting pollinators such as bees and butterflies. Its vibrant flowers provide a rich source of nectar, making it an ideal addition to any pollinator-friendly garden. By planting red clover, you can support the local ecosystem, promote biodiversity, and contribute to the well-being of these essential insects.
Additionally, red clover offers several benefits for human health. It has long been used in traditional medicine for its various medicinal properties. The flowers and leaves contain compounds that have been attributed with potential anti-inflammatory, estrogenic, and antioxidant effects. Red clover is also a popular ingredient in herbal teas and supplements, often used to alleviate symptoms related to menopause, improve cardiovascular health, and support overall well-being.
In this article, we will guide you through the process of planting red clover seeds, from choosing the right time and location to caring for the plants as they grow. Whether you are a seasoned gardener or a beginner, we are here to help you successfully incorporate red clover into your garden and enjoy its many benefits. So let’s get started and learn how to plant red clover seeds!
Key Takeaways:
- Red clover is a versatile and beautiful plant that attracts pollinators, improves soil fertility, and offers potential health benefits. It’s easy to plant and care for, making it a valuable addition to any garden.
- By following simple steps like choosing the right time and location, preparing the soil, and employing effective planting techniques, anyone can successfully grow and maintain a vibrant red clover garden.
Read more: How To Plant Clover Seed
Step 1: Choosing the right time and location
Before planting red clover seeds, it is essential to carefully select the right time and location for optimal growth and success. Here are some factors to consider:
Climate and Season
Red clover can thrive in a variety of climates but generally prefers mild temperatures. It grows best in cool-season regions where the average temperature ranges between 60 to 75 degrees Fahrenheit (15 to 24 degrees Celsius). It can also tolerate light frosts.
For spring planting, ensure that the soil has warmed up to at least 50 degrees Fahrenheit (10 degrees Celsius) before sowing the seeds. In cooler climates, it is advisable to plant red clover seeds in early spring to provide ample time for growth before the heat of summer.
In warmer regions, fall planting is recommended to take advantage of the cooler temperatures and sufficient rainfall. By planting in fall, the red clover will establish its roots before winter and resume growth in early spring.
Sunlight and Shade
Red clover thrives in full sun but can also tolerate partial shade. Ensure that the chosen location receives at least 6 to 8 hours of direct sunlight each day to promote healthy growth and vibrant blooms.
If planting in an area with partial shade, make sure it receives at least 4 hours of sunlight every day. Avoid planting in areas with dense shade, as this can inhibit the growth and overall health of the plants.
Soil Type and Condition
Red clover is adaptable to various soil types but prefers well-draining and fertile soil. It can tolerate a wide range of pH levels but thrives best in slightly acidic to neutral soil, with a pH range of 6 to 7.
Prior to planting, assess the condition of the soil. Remove any weeds, rocks, or debris, and amend the soil if necessary. Incorporate organic matter such as compost or well-rotted manure to ensure proper drainage and nutrient availability for the plants.
It is also important to conduct a soil test to determine the nutrient composition of the soil. This will enable you to make any necessary adjustments to ensure that the soil provides the ideal conditions for red clover growth.
Read more: When To Plant Clover Seed For Lawn
Location Considerations
When choosing the planting location, consider the future use of the area. Red clover is often used as a cover crop, green manure, or as a forage crop for livestock. If using it as a cover crop or green manure, select an area that requires soil improvement or weed suppression.
If you intend to harvest the red clover for forage, ensure that the planting area is accessible and provides adequate space for growth. Plan the layout in a way that allows easy mowing or mechanical harvesting if necessary.
By carefully considering these factors, you can choose the right time and location for planting red clover seeds, setting the stage for successful growth and a vibrant garden. Stay tuned for the next step, where we will discuss preparing the soil for planting.
Step 2: Preparing the soil
Preparing the soil is a crucial step in ensuring the successful growth and development of red clover plants. By creating the right conditions, you can provide the seeds with a conducive environment to germinate and establish strong roots. Here are the steps to prepare the soil:
Clear the area
Begin by clearing the planting area of any existing vegetation, weeds, rocks, or debris. Use a rake or garden fork to remove any obstructions and create a clean slate for the red clover seeds to thrive.
Loosen the soil
Red clover prefers loose and well-aerated soil for optimal growth. Use a garden tiller, a digging fork, or a shovel to loosen the soil to a depth of 4 to 6 inches (10 to 15 cm). This will help break up compacted soil and improve drainage.
Avoid over-tilling, as excessive disturbance to the soil can disrupt the natural structure and affect beneficial organisms. Aim for a balance between loosening the soil and maintaining its natural integrity.
Amend the soil
Assess the nutrient content and pH level of the soil by conducting a soil test. Based on the results, incorporate organic matter such as compost, well-rotted manure, or peat moss to improve the soil’s fertility and structure.
If the pH level is too low or too high, adjust it by adding soil amendments such as lime to raise the pH or elemental sulfur to lower it. Incorporate the amendments according to the recommended rates and thoroughly mix them into the soil.
Level the soil
Use a rake or garden tool to level the soil surface, ensuring it is even and free from any large clumps or depressions. This will provide a smooth base for seed sowing and promote uniform growth of the red clover plants.
Water the soil
Prior to planting, water the soil thoroughly to ensure it is adequately moist. This helps to create the ideal conditions for seed germination. Avoid waterlogging the soil, as this can lead to poor root development and hinder plant growth.
By following these steps to prepare the soil, you are setting the foundation for successful red clover growth. The next step will guide you through selecting the right seed variety and determining the optimal seed quantity for your planting area.
Step 3: Seed selection and quantity
Choosing the right red clover seed variety and determining the optimal seed quantity for your planting area is crucial to achieve successful germination and healthy growth. Here are the steps to follow:
Read more: When To Plant Crimson Clover Seed
Selecting the seed variety
There are several red clover seed varieties available, each with its own unique characteristics. When selecting a red clover seed variety, consider factors such as climate suitability, intended use, and desired aesthetics. Common red clover varieties include:
- Medium red clover: This variety is commonly used for its versatility and adaptability to a wide range of climates and soil types.
- Dwarf red clover: This compact variety is well-suited for smaller garden spaces or areas with low mowing tolerance.
- Double-cut red clover: This variety is often chosen for its improved regrowth after cutting or grazing, making it ideal for forage or hay production.
Consider the specific needs and goals for your red clover planting when selecting a seed variety. Consult with a local nursery or gardening center for recommendations based on your region’s climate and soil conditions.
Determining seed quantity
The optimal seed quantity for your planting area depends on factors such as the desired red clover density and the size of the area. The general recommendation is to sow 10 to 15 pounds of red clover seeds per acre.
If you have a smaller planting area, you can adjust the quantity accordingly. For example, if you have a 100 square foot garden bed, you can calculate the seed quantity based on the desired density. It is recommended to sow approximately 1 to 2 ounces of red clover seeds per 100 square feet.
Keep in mind that the planting density can vary depending on the intended use of red clover. For example, if using it as a cover crop or green manure, a higher density may be preferred to maximize soil improvement and weed suppression. On the other hand, if using it for forage, a lower density may be sufficient.
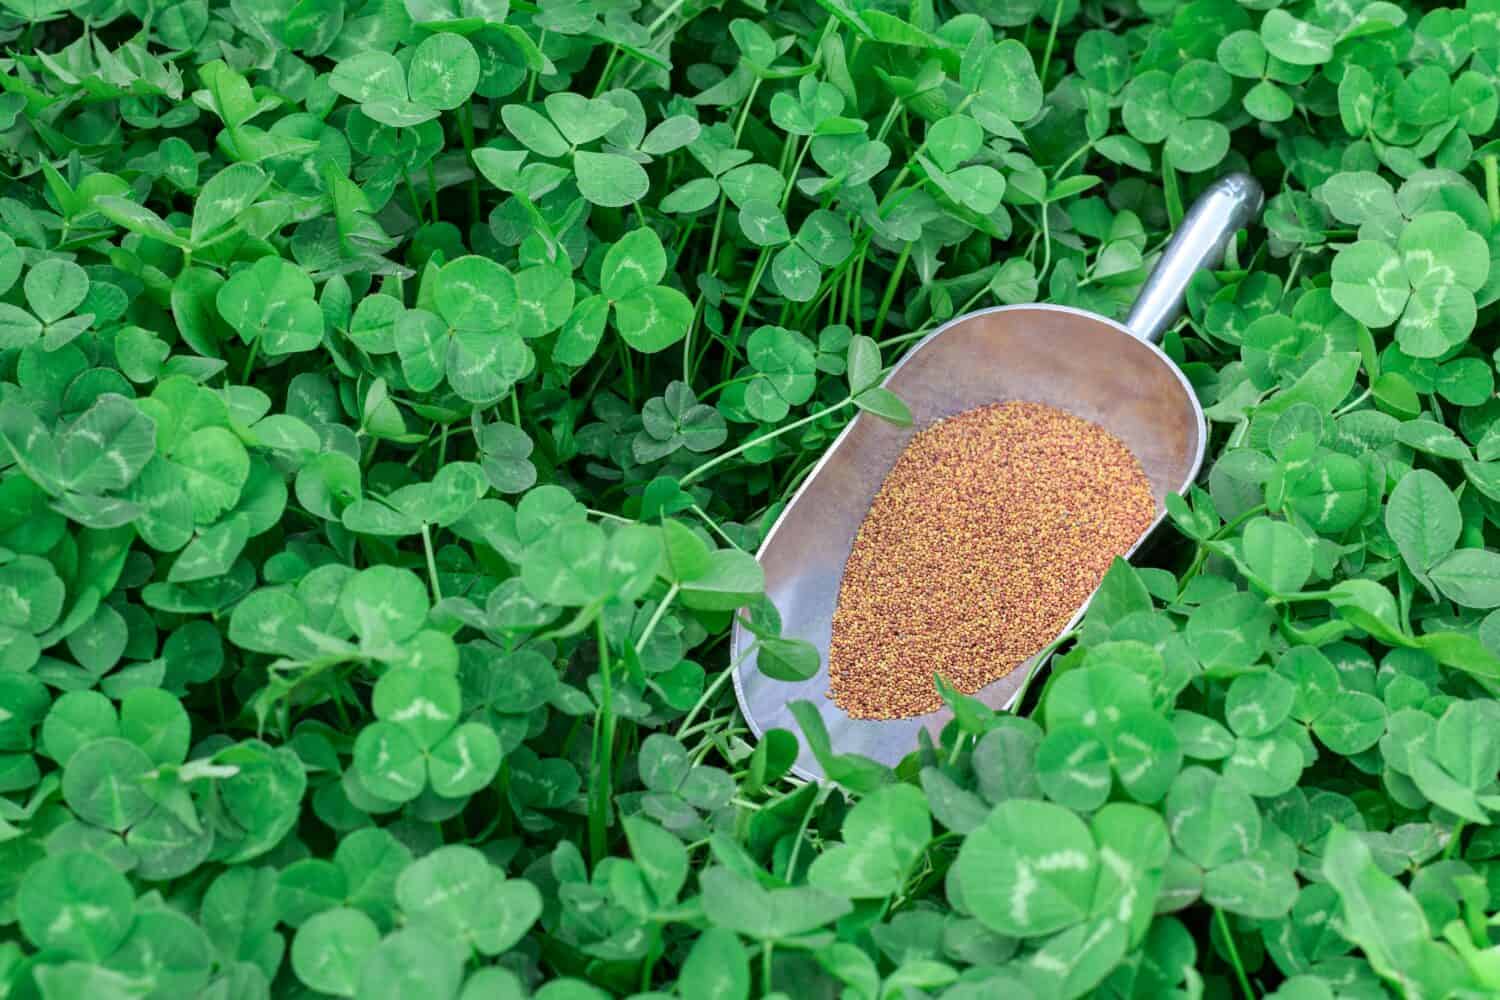
When purchasing red clover seeds, ensure they are of high quality and have a high germination rate. Look for seeds that are from a reputable supplier and have been tested for purity and viability. This will increase the chances of successful germination and vigorous plant growth.
By carefully selecting the appropriate red clover seed variety and determining the optimal seed quantity, you are setting the stage for successful growth and establishment. In the next step, we will discuss the techniques for planting red clover seeds effectively.
Step 4: Seed planting techniques
Now that you have selected the appropriate red clover seed variety and determined the optimal seed quantity, it’s time to explore various techniques for planting the seeds effectively. Here are some methods you can consider:
1. Broadcasting
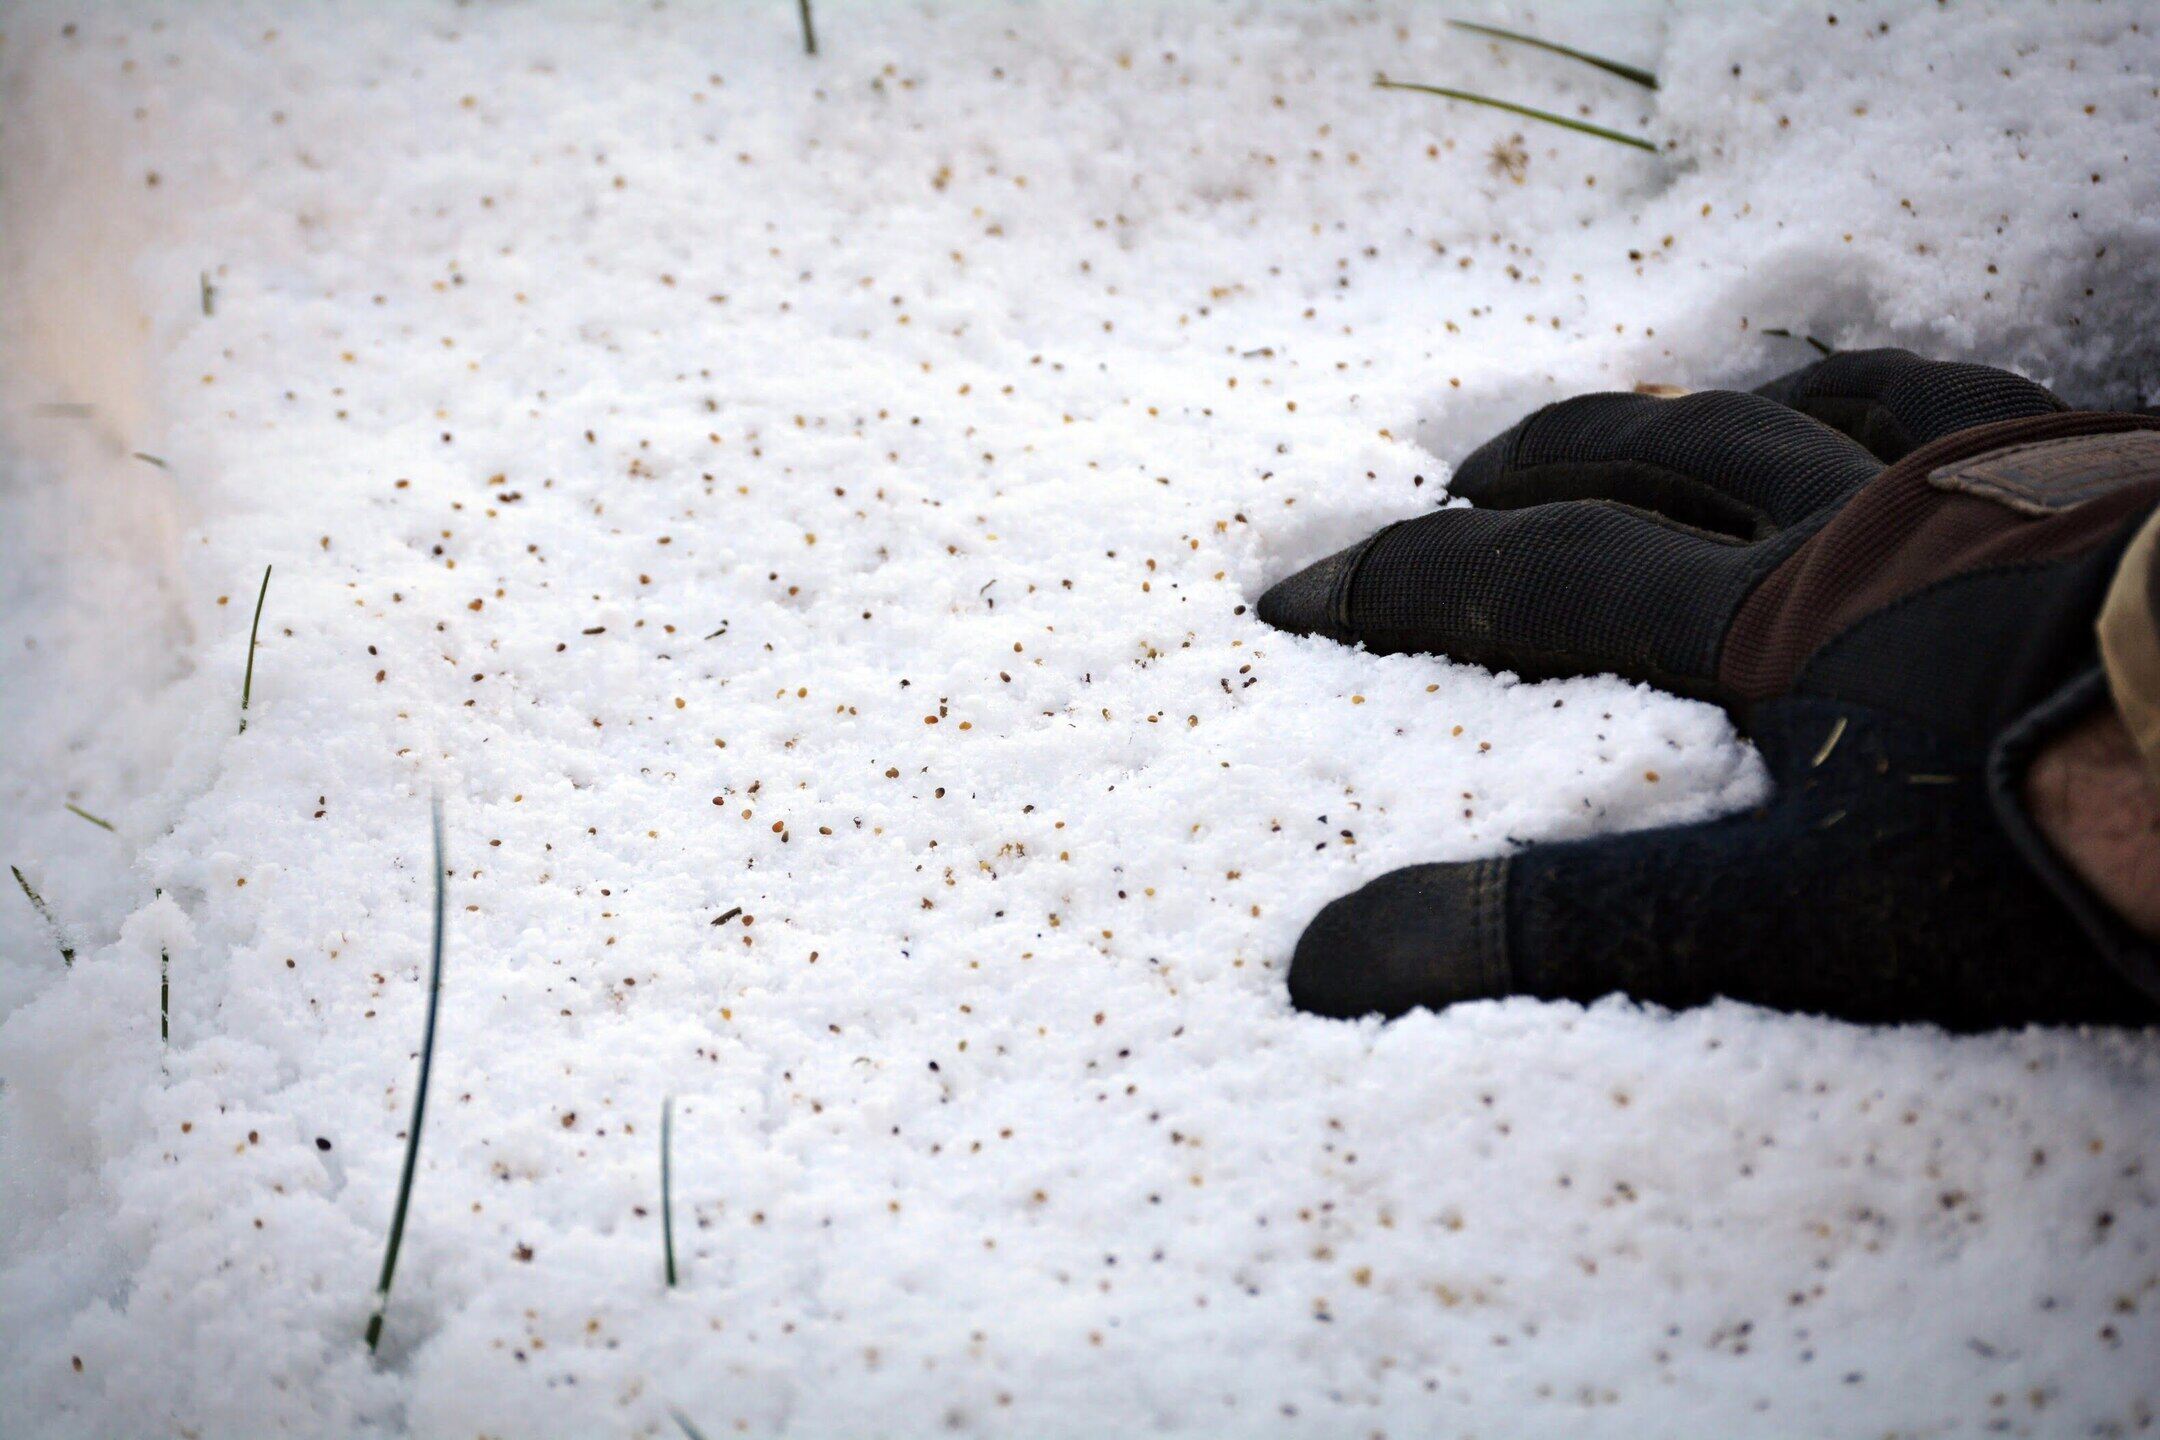
The broadcasting method involves scattering the red clover seeds evenly over the planting area by hand. This method is suitable for larger areas where precision is not essential. Before broadcasting, mix the seeds with a carrier material like sand or compost to help ensure even distribution.
After spreading the seeds, lightly rake the soil to cover the seeds with a thin layer of soil about ¼ to ½ inch deep. This will protect them from drying out and provide better seed-to-soil contact for germination.
Read more: How To Plant Red Pepper Seeds
2. Drill seeding
Drill seeding is a method often used for larger-scale plantings or when more precise seed placement is desired. This method involves using a seed drill or a mechanical seeder to create furrows in the soil and place the seeds at the desired depth.
Follow the instructions provided by the seed drill manufacturer for proper sowing depth and spacing. After sowing the seeds, lightly cover them with soil using a rake or by running the seed drill over the furrows again.
3. Hydroseeding
Hydroseeding is a technique commonly used for large areas or slopes. It involves mixing red clover seeds with a slurry of water, mulch, and additives, which is then sprayed onto the planting site using a specialized hydroseeder.
This method provides excellent seed-to-soil contact and ensures even distribution of the seeds. The mulch layer helps retain moisture, protects the seeds from erosion, and promotes germination. Follow the manufacturer’s instructions for the proper seed-to-mulch ratio and application rate.
4. Overseeding
If you already have an existing lawn or garden, you can introduce red clover seeds by overseeding. Prepare the soil by raking or aerating the surface to create a good seedbed. Then, broadcast the red clover seeds over the area and lightly rake them into the soil for better seed-to-soil contact.
Regardless of the planting method you choose, ensure that the seeds are evenly dispersed and have good contact with the soil. This will improve germination rates and promote uniform growth.
After planting, water the area gently to keep the soil moist but not saturated. Continue to monitor the moisture levels throughout the germination and establishment period.
By employing effective seed planting techniques, you are maximizing the chances for successful germination and growth of your red clover plants. In the next step, we will guide you through watering and care instructions to ensure the health and vitality of your red clover.
Step 5: Watering and care instructions
Proper watering and care are essential for the successful growth and establishment of red clover plants. Here are some guidelines to follow:
Read more: How To Germinate Angelica Plant – Gigas Red
Watering
After planting the red clover seeds, it is important to provide consistent moisture to support germination and early growth. Keep the soil evenly moist, but avoid over-watering, as excessive moisture can lead to rot or fungal diseases.
Water the planting area gently and regularly, especially during dry periods. Aim to keep the top inch of soil consistently moist. However, be mindful of the specific needs and conditions of your planting area, adjusting the watering schedule as necessary.
Once the red clover plants are established and actively growing, they are typically resilient and can tolerate some dry spells. Still, monitor the soil moisture and water as needed to prevent wilting or stress during prolonged periods of dry weather.
Weed control
To ensure the healthy growth of red clover, it is important to control weeds that compete for nutrients, water, and sunlight. Regularly inspect the planting area and remove any weeds by hand or using appropriate tools.
During the early stages of growth, red clover may benefit from mulching to suppress weed growth and conserve soil moisture. Apply a layer of organic mulch, such as straw or wood chips, around the base of the plants, taking care not to smother them.
Fertilization
Red clover is a nitrogen-fixing plant, meaning it has the ability to convert atmospheric nitrogen into a form that enriches the soil. In most cases, additional fertilization is not necessary for red clover. The plant’s ability to fix nitrogen naturally replenishes the soil’s nutrient levels.
Mowing and maintenance
If you are using red clover as a cover crop or green manure, consider mowing the plants before they reach full maturity to incorporate them into the soil. This can help improve organic matter and release nutrients for subsequent plantings.
If using red clover for forage, it can be harvested for hay before the plants reach full bloom. This typically provides the best balance between high nutritional value and yield. After harvest, the red clover will re-grow and produce a second cutting in favorable conditions.
Regularly monitor the plants for any signs of pests or diseases. If any issues arise, promptly take appropriate action using organic or targeted control methods suitable for red clover. Consult with local gardening resources or extension offices for advice on specific pest and disease management.
By following these watering and care instructions, you are providing the best conditions for the health and vitality of your red clover plants. In the next step, we will discuss harvesting and maintenance guidelines to ensure ongoing success of your red clover garden.
Read more: How Long For Crimson Clover To Germinate
Step 6: Harvesting and maintenance
Harvesting and proper maintenance are important aspects of growing red clover to ensure its long-term health and productivity. Here are some guidelines to follow:
Harvesting
The harvesting time for red clover depends on its intended use. If you are using it as a cover crop or green manure, you can incorporate the plants into the soil by mowing them down before they reach full maturity. This allows the organic matter to decompose and release nutrients into the soil.
If you are growing red clover for forage, it is typically harvested for hay before the blooms reach their peak. This is when the plants have the highest nutritional content and palatability for livestock. Cut the plants to a height of 2 to 4 inches above the ground, taking care not to damage the regrowth buds.
Maintenance
After the initial harvest, red clover will regrow and produce a second cutting, especially if the growing conditions are favorable. It is important to maintain good overall plant health to promote multiple harvests and prolong the lifespan of the red clover stand.
- Weed control: Continue to monitor and manage weeds to prevent competition for resources. Hand-pulling or the use of appropriate tools can help keep the planting area free from unwanted vegetation.
- Watering: Once established, red clover is relatively drought-tolerant. However, during dry periods, it may benefit from supplemental watering to maintain adequate moisture levels.
- Fertilization: In most cases, red clover does not require additional fertilization. Its nitrogen-fixing ability naturally replenishes soil nutrients. However, if soil tests indicate nutrient deficiencies, consider applying organic fertilizers or compost to provide necessary nutrients.
- Monitoring: Regularly monitor the plants for any signs of pests or diseases. Early detection allows for prompt intervention and appropriate treatment measures to minimize damage.
- Re-seeding: If you notice any bare patches or thinning areas in your red clover stand, consider overseeding to maintain a dense and productive planting. Broadcast additional red clover seeds and gently rake them into the soil for optimal germination and establishment.
By practicing regular maintenance and adhering to proper harvesting techniques, you can enjoy multiple harvests from your red clover garden and ensure its long-term productivity. However, it’s important to remember that red clover is a relatively short-lived perennial, typically lasting 2 to 3 years. Eventually, it will decline, and re-establishment may be necessary if desired.
In the next step, we will explore common problems and troubleshooting techniques to help you address any issues that may arise in your red clover garden.
Step 7: Common problems and troubleshooting
While red clover is generally a hardy and resilient plant, it can still face certain issues that can affect its growth and health. Being aware of common problems and their potential solutions will help you troubleshoot and maintain a thriving red clover garden. Here are some common problems and their corresponding troubleshooting techniques:
Read more: How To Inoculate Clover Seed
Poor germination
If you notice patchy or uneven germination of red clover seeds, the issue might lie with poor seed quality or unfavorable environmental conditions. Ensure that you are using high-quality seeds with a good germination rate from a reputable supplier. Additionally, check the soil moisture levels, temperature, and overall environmental conditions to ensure they are in the optimal range for seed germination. Adjust watering and temperature if necessary. If poor germination persists, consider overseeding to fill in any gaps.
Weed competition
Weeds can compete with red clover for resources and hinder its growth. Regularly inspect the planting area and remove any weeds that emerge. You can physically pull out the weeds, use appropriate weeding tools, or consider applying organic mulch to suppress weed growth. Mulching can help create a barrier that inhibits weed seed germination and reduces weed establishment.
Insect pests
Red clover can be susceptible to various insect pests, including aphids, weevils, and caterpillars. Monitor your plants regularly for signs of pest infestations, such as distorted growth or holes in leaves. If detected, consider using natural insecticidal sprays or introducing beneficial insects that prey on pests. Avoid using synthetic pesticides, as they can harm pollinators and beneficial insects.
Diseases
Red clover can be affected by diseases such as powdery mildew, leaf spot, and root rot. To prevent diseases, provide adequate airflow and avoid overcrowding by maintaining appropriate spacing between plants. Water at the base of the plants and avoid wetting the foliage excessively, as damp conditions can promote disease development. If diseases are identified, remove and dispose of affected plant parts to prevent the spread. Consider using organic fungicides as a last resort if necessary.
Read more: How Long For White Clover To Germinate
Nutrient deficiencies
Red clover plants may exhibit signs of nutrient deficiencies, such as yellowing leaves or stunted growth. Conduct a soil test to determine nutrient levels and amend the soil accordingly. If nitrogen deficiency is suspected, avoid using nitrogen-rich fertilizers, as red clover is capable of fixing its own nitrogen. Instead, focus on providing adequate phosphorus, potassium, and micronutrients to support overall plant health.
By being proactive in identifying and addressing common problems, you can minimize their impact and maintain a healthy red clover garden. Regular monitoring, proper cultural practices, and timely intervention will go a long way in ensuring the success of your red clover plants.
With these comprehensive steps and guidelines, you are now equipped with the knowledge to successfully plant, care for, and troubleshoot any issues that may arise in your red clover garden. Enjoy the beauty and benefits that red clover brings to your landscape, and may your garden flourish with vibrant blooms and thriving plants!
Conclusion
Congratulations! You have learned how to plant, care for, and troubleshoot a red clover garden. By incorporating red clover into your landscape, you not only enhance its beauty but also benefit from its numerous advantages.
Red clover, with its vibrant crimson flowers and rich green foliage, adds a stunning touch to any garden. It attracts pollinators like bees and butterflies, contributing to the health and sustainability of the local ecosystem. As a nitrogen-fixing plant, red clover naturally improves soil fertility, making it an excellent companion for other crops and promoting overall soil health.
In addition to its ecological benefits, red clover holds medicinal properties and is a popular ingredient in herbal teas and supplements. Its compounds have been associated with potential anti-inflammatory, estrogenic, and antioxidant effects, offering a natural remedy for various health concerns.
When planting red clover, choosing the right time and location is crucial. It thrives in mild climates and prefers full sun to partial shade. Preparing the soil by removing any debris, loosening it, and incorporating organic matter ensures optimal growth and development.
With the appropriate seed selection and quantity, red clover seeds can be sown using broadcasting, drill seeding, hydroseeding, or overseeding techniques. Adequate watering, weed control, and monitoring of pests and diseases are essential for the well-being of the plants.
Harvesting can be done by mowing the plants for incorporation into the soil or forage purposes. Regular maintenance, including weed control and appropriate watering, will help ensure the longevity and productivity of your red clover garden.
Keep an eye out for common problems such as poor germination, weed competition, insect pests, diseases, and nutrient deficiencies. By applying proper troubleshooting techniques, you can address these issues effectively and maintain a healthy red clover garden.
Remember, gardening is a journey, and each step you take contributes to the growth and vibrancy of your garden. Enjoy the process of nurturing and tending to your red clover plants, and may your garden be filled with the beauty and benefits that red clover brings.
So go ahead, start planning and planting your red clover garden now. Embrace the joy of gardening and create a beautiful and thriving oasis with the addition of this versatile and captivating flowering plant.
Frequently Asked Questions about How To Plant Red Clover Seed
Was this page helpful?
At Storables.com, we guarantee accurate and reliable information. Our content, validated by Expert Board Contributors, is crafted following stringent Editorial Policies. We're committed to providing you with well-researched, expert-backed insights for all your informational needs.

0 thoughts on “How To Plant Red Clover Seed”