Home>Garden Essentials>How To Remove Old Landscaping
Garden Essentials
How To Remove Old Landscaping
Modified: March 7, 2024
Learn how to remove old landscaping and transform your garden into a fresh space. Take the first step towards a stunning new outdoor aesthetic.
(Many of the links in this article redirect to a specific reviewed product. Your purchase of these products through affiliate links helps to generate commission for Storables.com, at no extra cost. Learn more)
Introduction
Having a well-maintained and aesthetically pleasing garden is the desire of many homeowners. However, there may come a time when you need to remove old landscaping to make way for a fresh start or a new design. Whether you’re tackling a small flower bed or a larger garden space, proper planning and execution are crucial to ensure a successful removal process.
In this article, we will guide you through the step-by-step process of removing old landscaping. From assessing the existing plants and shrubs to clearing the area and finalizing the landscape, we’ll cover everything you need to know. So grab your gardening gloves and let’s get started!
Key Takeaways:
- Assess your garden and plan ahead before removing old landscaping. Consider the health of plants, necessary tools, and disposal methods to ensure a smooth and successful removal process.
- Take caution when removing trees and larger features, and prioritize safety. Clear the area of debris, level the ground, and finalize the landscape to create a fresh and inviting garden space.
Read more: How To Remove Old Decking Boards
Step 1: Assessing the Existing Landscaping
Before embarking on the journey of removing old landscaping, it’s important to assess the current state of your garden. This will help you understand the scope of the project and determine the necessary tools, equipment, and resources needed.
Start by taking a close look at the plants, shrubs, trees, and any other landscaping features in your garden. Identify which elements you want to keep and which ones you want to remove. Consider factors such as the health of the plants, their size, and their compatibility with your new design plans.
If there are any plants or trees that are diseased or dead, it’s best to remove them completely to prevent the spread of diseases to other plants. Additionally, if certain plants have overgrown and are taking up too much space or blocking access, you may need to remove them as well.
Make a list of all the things you plan to remove and note down any specific challenges or considerations associated with each item. This will help you plan out the subsequent steps and ensure a smooth removal process.
Furthermore, it’s important to consider the impact of removing the landscaping on the existing soil and drainage. Take note of any areas that may require additional soil amendment or drainage solutions after the removal is complete.
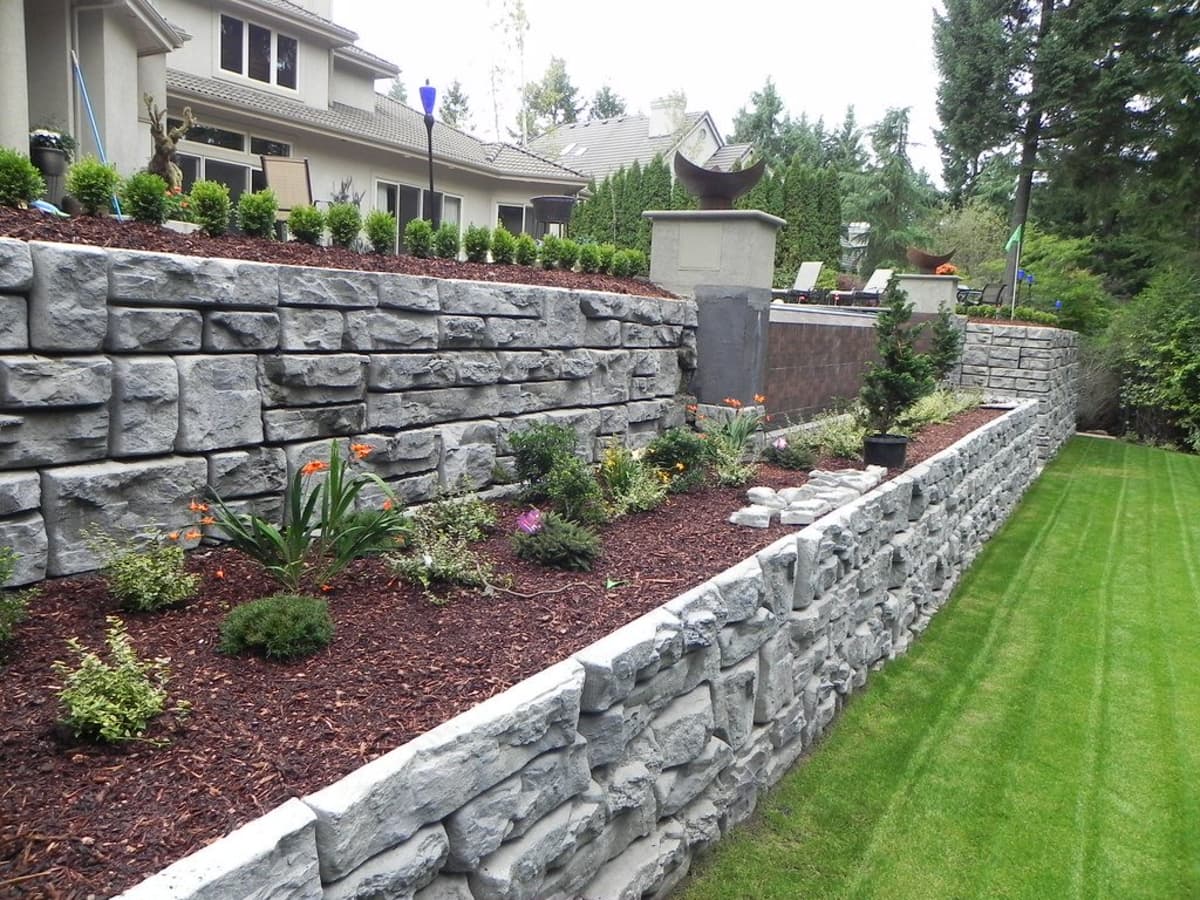
Remember to also assess any hardscape elements, such as pathways, fences, or retaining walls, in your garden. Evaluate their condition and determine whether they need to be removed or preserved. Keeping these elements intact can save you time and money in the long run.
By thoroughly assessing your existing landscaping, you’ll gain a clear understanding of the work ahead and be better prepared for the subsequent steps in the removal process.
Step 2: Planning and Preparing for Removal
Once you have assessed the existing landscaping, it’s time to plan and prepare for the removal process. This step is crucial, as it will ensure that the removal is carried out efficiently and with minimal disruption to your garden.
First, create a detailed plan outlining the specific order in which you will remove the plants, shrubs, trees, and other landscaping features. Consider factors such as accessibility, proximity to structures or other plants, and the size and complexity of each item. This plan will serve as a roadmap for the removal process and help you stay organized.
Next, gather the necessary tools and equipment for the job. Depending on the size of your garden and the items you need to remove, you may require tools such as pruners, loppers, shovels, a wheelbarrow, and a chainsaw for larger trees. It’s essential to have the right tools on hand to ensure a smooth and efficient removal process.
Before you begin the removal, take precautions to protect yourself and your surroundings. Wear protective clothing, including gloves, goggles, and sturdy footwear, to avoid any injuries. If you’re working with larger trees or using power tools, consider enlisting the help of a professional to ensure safety.
Consider the disposal method for the removed landscaping. If you’re dealing with smaller plants, shrubs, or clippings, you can compost them if they are disease-free. However, if you have larger trees or debris, you may need to rent a dumpster or arrange for a waste removal service. Determine the most appropriate disposal method and make the necessary arrangements ahead of time.
Lastly, communicate your plans with any other individuals who may be impacted by the removal process. If you share a property with neighbors, inform them of your plans and any potential disruptions. This will help maintain a positive relationship and avoid any unforeseen issues during the removal process.
By carefully planning and preparing for the removal, you’ll ensure that the process runs smoothly and that you’re fully equipped to tackle the next steps.
Step 3: Removing Plants and Shrubs
Now that you have assessed your existing landscaping and planned for the removal process, it’s time to start removing the plants and shrubs from your garden. This step requires careful precision and attention to detail to ensure that the plants are removed properly and without causing damage.
Begin by preparing the area around the plant or shrub you intend to remove. Clear away any debris, such as fallen leaves or branches, and create a clear workspace. This will make it easier to maneuver and safely remove the plant.
If the plant or shrub is smaller in size, you can begin by gently loosening the soil around the base using a small hand shovel or garden fork. Take care not to damage the roots or surrounding plants. Gradually work your way around the plant, easing it out of the ground with caution.
If the roots are densely packed, you may need to employ a more robust tool, such as a mattock or a garden spade, to loosen the soil and expose the roots. Slowly work your way around the plant, applying gentle force to lift it from the ground.
For larger plants or shrubs, you may need to use a digging machine or recruit some extra hands to assist with the removal process. Ensure that everyone involved knows how to safely operate the machinery or handle the plant to avoid any accidents.
Once the plant or shrub has been successfully removed, shake off excess soil from the roots and place it in a pot or container if you plan on transplanting it elsewhere. If not, you can dispose of the plant or add it to your compost pile if it’s disease-free.
After removing each plant or shrub, take a moment to inspect the surrounding area for any leftover roots or debris. Remove any remaining roots or rocks to prepare the ground for the next step in the removal process.
Repeat this process for each plant or shrub you wish to remove, following your predetermined plan. Take breaks as needed and stay hydrated to ensure your safety and well-being throughout the process.
By taking your time and carefully removing each plant or shrub, you’ll ensure a successful removal and pave the way for a fresh start in your garden.
Use a shovel to dig up old plants and roots. Pull out any remaining weeds and rocks. Consider renting a sod cutter for removing old grass. Dispose of debris properly.
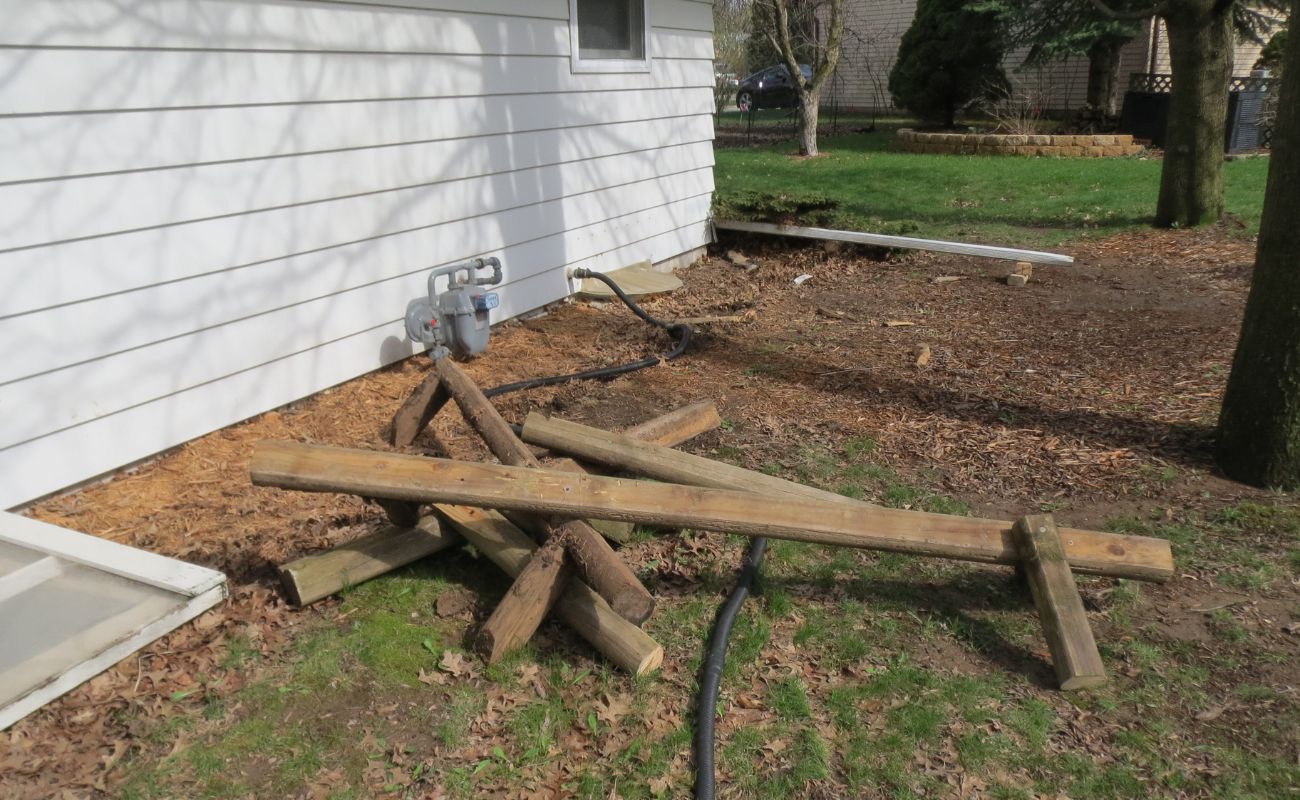
Step 4: Removing Trees and Larger Features
Removing trees and larger features from your garden requires extra precaution and possibly professional assistance. These tasks can be challenging and potentially dangerous if not approached with the right knowledge and equipment. If you’re unsure about your abilities or if the task seems too complex, it’s best to consult a certified arborist or tree removal company to ensure a safe and successful removal.
Before removing any trees, conduct a thorough assessment to identify potential risks and hazards. Determine the size of the tree and its proximity to structures, power lines, or other plants. If any of these factors pose a risk, it’s crucial to seek professional help.
If you decide to pursue the tree removal yourself, ensure you have the necessary tools and equipment. These may include a chainsaw, safety gear (such as gloves, goggles, and a helmet), ropes, and sturdy ladders or an aerial lift if needed.
Start by removing any smaller branches from the tree using the appropriate pruning techniques. Carefully work your way up the tree, cutting branches one by one and lowering them to the ground safely. This step will help reduce the weight and size of the tree, making it easier to remove.
Once the branches have been removed, assess the safest approach to felling the tree. Take into consideration the direction it leans, nearby structures, and the space available for it to fall. If there are any concerns about safety or the tree’s size, it is advised to seek professional assistance.
If you proceed with felling the tree yourself, ensure you have a clear escape route and make a horizontal cut, known as a notch cut, on the side where you want the tree to fall. Then, make a horizontal cut from the opposite side, slightly above the notch cut. This will cause the tree to fall in the intended direction.
Remember, tree removal is a dangerous task, and if you’re not confident in your abilities or if the tree is particularly large or poses significant hazards, it’s best to consult a professional. They will have the necessary expertise and equipment to ensure a safe and efficient removal.
In addition to trees, larger features such as rocks, ponds, or structures may need to be removed. Assess the complexity of the task and determine whether DIY removal is feasible or if professional assistance is required. Always prioritize safety throughout the process.
By approaching the removal of trees and larger features with caution and the necessary expertise, you’ll ensure a safe and successful removal process in your garden.
Read more: How To Remove An Old Bathtub Spout
Step 5: Removing Debris and Clearing the Area
After removing the plants, shrubs, trees, and larger features from your garden, it’s time to focus on the clean-up process. This step involves removing debris and ensuring that the area is clear and ready for the next phase of your landscape project.
Start by gathering all the removed plants, shrubs, branches, and other vegetation and stack them in a designated area. If you plan on composting, separate the disease-free plant materials from any diseased or invasive species. This will help prevent the spread of diseases or pests in your compost pile.
Next, clear any remaining debris from the area. This can include fallen leaves, twigs, rocks, or any other unwanted elements in your garden. Use a rake or a leaf blower to gather and remove the debris, ensuring that the entire area is clean and free of obstructions.
If the removal process generated a significant amount of green waste, consider renting a dumpster or contacting a waste removal service. They can provide you with a container to dispose of the debris conveniently and responsibly.
Inspect the ground for any remaining roots or stumps that may hinder future landscaping efforts. Use a shovel or an axe to remove any residual roots, taking care not to damage the surrounding soil.
As you clear the area, take the opportunity to examine the soil and assess its health. If necessary, consider amending the soil with organic matter such as compost or fertilizer to enrich its nutrients and promote optimal plant growth for your new landscaping design.
Ensure that any pathways, hardscapes, or structures in the garden are clean and free of debris as well. Sweep the surfaces, remove any weeds, and repair any damages or cracks to maintain a neat and appealing appearance.
Once the area is cleaned and all debris is removed, take a moment to step back and admire your progress. The cleared and clean space sets the stage for the exciting renewal of your garden and paves the way for the final step in the removal process.
By diligently removing debris and clearing the area, you’ll create a clean canvas for your new landscaping project and ensure that it starts on a fresh and tidy note.
Step 6: Leveling and Finalizing the Landscape
Congratulations, you’re now in the final step of the removal process! Step 6 entails leveling the ground and finalizing the landscape to prepare for your new garden design. This step involves shaping the terrain and making any necessary adjustments to ensure a smooth and visually appealing landscape.
Begin by assessing the overall levelness of the ground. Use a long, straight board or a level to check for any uneven areas. Identify any high spots or depressions that need to be addressed.
If there are high spots, you can use a shovel or a garden rake to redistribute the soil and bring them level with the rest of the area. Conversely, if there are depressions, add soil and compact it gently to raise them to the desired level. Take care to maintain proper drainage and prevent water from pooling in any areas.
Consider the layout and design of your new garden. If you plan on installing new features like pathways, flower beds, or seating areas, mark out their locations on the leveled ground. This will help you visualize the final layout and ensure that you have sufficient space for each element.
If you’re working with larger areas, you may need to rent a mechanical compactor to ensure a firm and stable foundation. This will help prevent the ground from settling in the future and maintain the integrity of your landscape design.
Once the ground is leveled, it’s time to finalize the landscape by implementing your new design. This may involve planting new flowers, shrubs, or trees in the desired locations. Consider the needs of the plants, such as their sunlight and watering requirements, and choose species that will thrive in your garden’s conditions.
If you’re installing any hardscape features, such as retaining walls or pathways, follow the proper installation guidelines. Ensure that they are level and securely positioned to withstand the elements and provide long-lasting functionality.
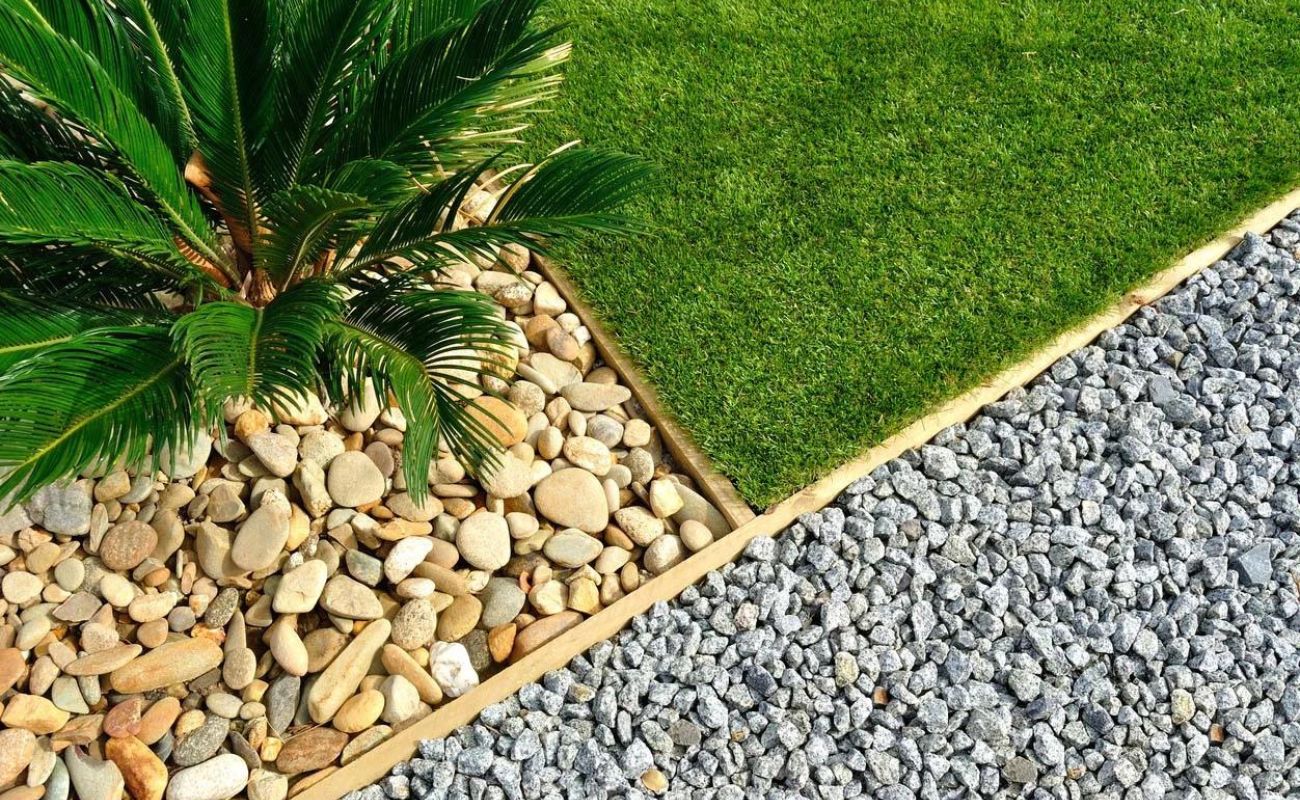
Take this opportunity to add organic mulch or decorative rocks to the flower beds and around the base of plants. This will help conserve moisture, suppress weeds, and enhance the overall aesthetics of your garden.
Finally, water the newly planted vegetation thoroughly and monitor their progress. Follow the recommended watering and care instructions for each plant to promote healthy growth and establish a solid foundation for your new landscape.
By leveling the ground and finalizing the landscape, you’ll create a visually pleasing and well-designed garden space that will bring joy and beauty for years to come.
Conclusion
Removing old landscaping can be a challenging yet rewarding process. By following the steps outlined in this article, you can successfully remove plants, shrubs, trees, and other features to make way for a fresh start or a new garden design. Remember to approach the removal process with care, ensuring your safety and the preservation of the surrounding environment.
Start by assessing the existing landscaping and determining what needs to be removed. Plan and prepare for the removal process, gathering the necessary tools and equipment. Carefully remove plants and shrubs, taking precautions not to damage the roots or surrounding area. If necessary, seek professional assistance for the removal of trees or larger features to ensure safety.
After the removal, clear the area of debris and level the ground, making any necessary adjustments. This will create a clean canvas for your new landscaping project. Finalize the landscape by implementing your design plans, planting new vegetation, and adding hardscape features. Water and care for the newly planted elements, providing them with the best possible growing conditions.
Remember, creating a beautiful and thriving garden takes time and effort. Be patient with the process and enjoy the journey of transforming your outdoor space. Seek inspiration, consult with experts when needed, and most importantly, have fun with your new landscape creation.
With proper planning and execution, you can remove old landscaping and create a refreshed and inviting garden that will be enjoyed for years to come.
Frequently Asked Questions about How To Remove Old Landscaping
Was this page helpful?
At Storables.com, we guarantee accurate and reliable information. Our content, validated by Expert Board Contributors, is crafted following stringent Editorial Policies. We're committed to providing you with well-researched, expert-backed insights for all your informational needs.


0 thoughts on “How To Remove Old Landscaping”