Home>Articles>How To Clean Old Hardwood Floors After Removing Carpet
Articles
How To Clean Old Hardwood Floors After Removing Carpet
Modified: February 23, 2024
Learn how to clean old hardwood floors after removing carpet with these helpful articles. Keep your floors looking their best with our expert tips and tricks.
(Many of the links in this article redirect to a specific reviewed product. Your purchase of these products through affiliate links helps to generate commission for Storables.com, at no extra cost. Learn more)
Introduction
Hardwood floors are not only beautiful but also durable, adding a touch of elegance to any home. However, if you’ve recently removed carpeting that was covering old hardwood floors, you may find that they are in need of some deep cleaning and restoration. Over time, carpet adhesive, dirt, and grime can accumulate on the surface of the hardwood, leaving it looking dull and worn.
This article will guide you through the process of cleaning old hardwood floors after removing carpet, helping you restore their natural beauty and shine. Whether you’re planning to re-stain the floors or simply want to improve their appearance, following these steps will give you the best results.
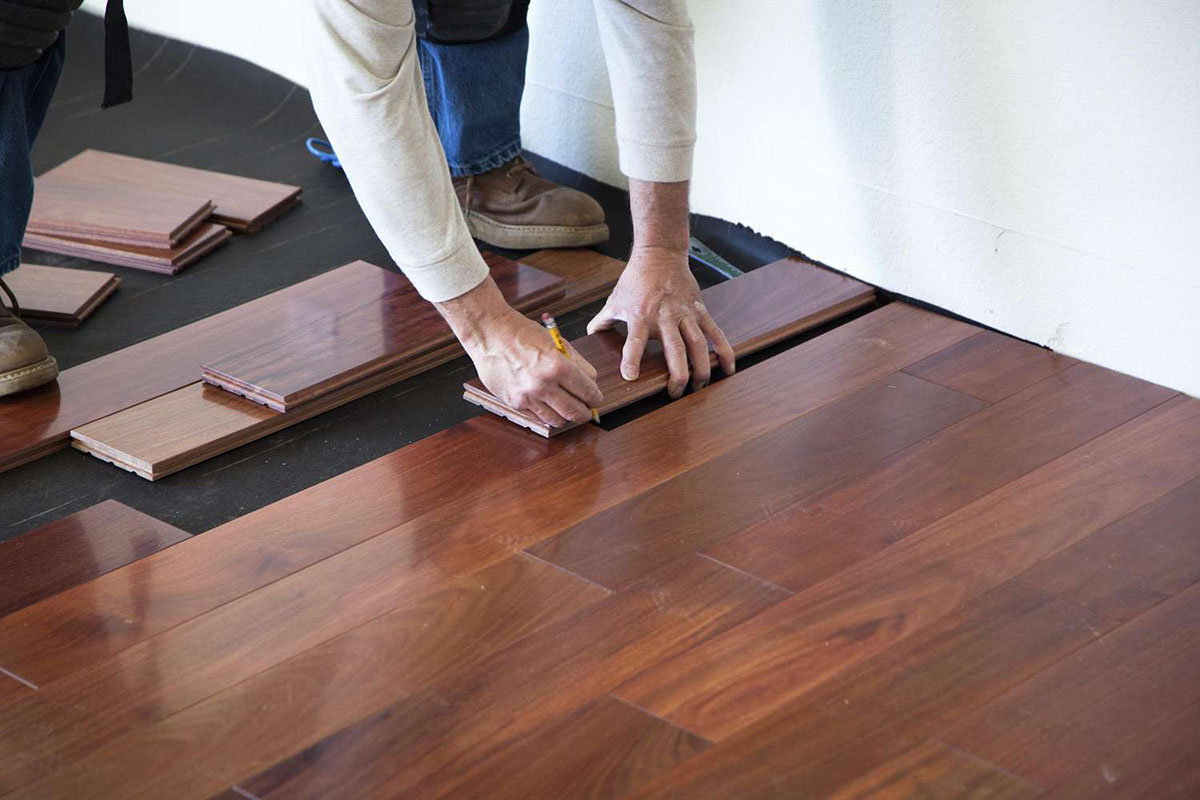
Before you begin the cleaning process, it’s important to assess the condition of the hardwood floors. Look out for any visible damage, such as deep scratches or gouges, that may require professional repair. Additionally, check if there are any raised nails or loose floorboards that need to be fixed. Taking care of these issues beforehand will ensure that your cleaning efforts yield the desired outcome.
Once you’ve assessed the condition of the floors, gather all the necessary cleaning supplies. You’ll need a broom or vacuum cleaner, a mop, microfiber cloths, a bucket, and a mild cleaning solution. Avoid using harsh chemical cleaners, as they can strip the finish and damage the wood. Instead, opt for a pH-neutral cleaner specifically designed for hardwood floors.
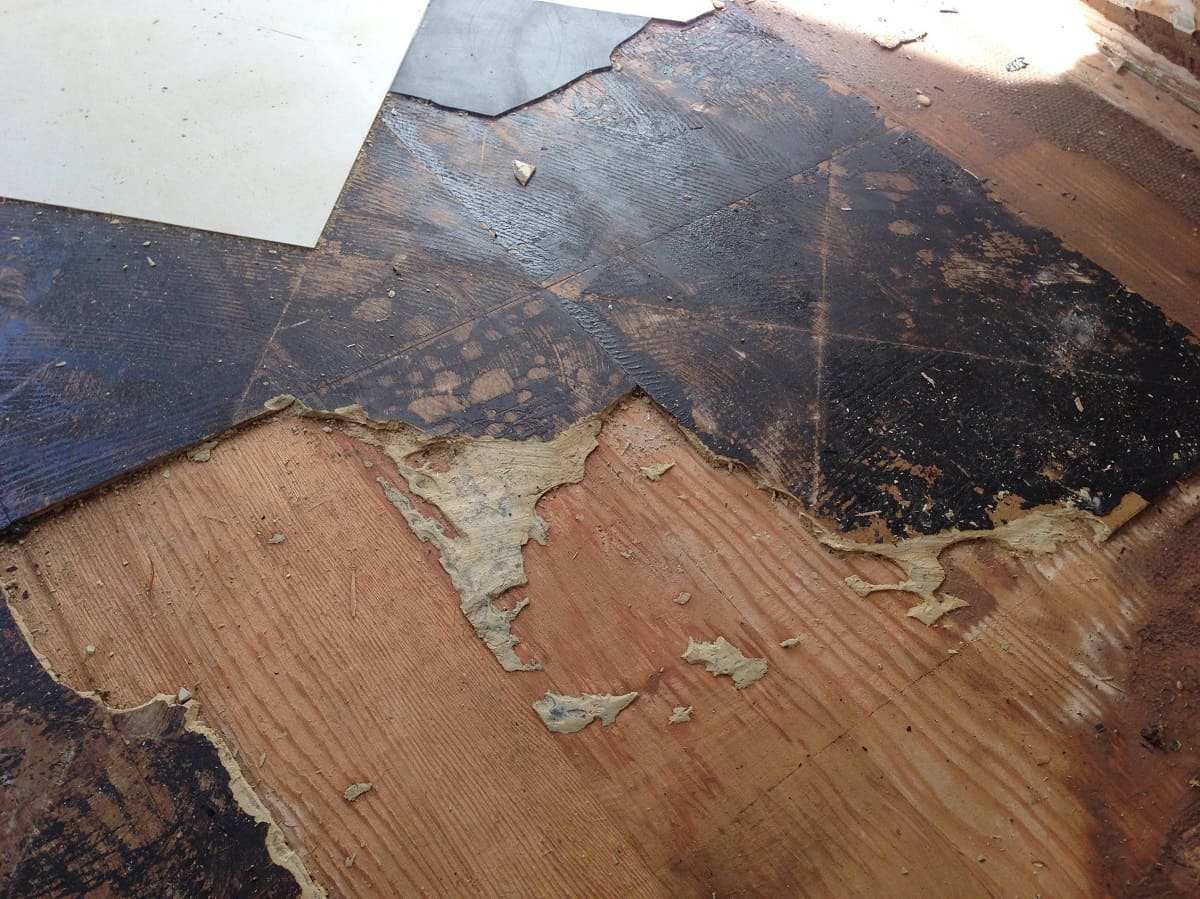
Before proceeding with the cleaning, it’s crucial to remove any residue left behind from the carpet adhesive. Use a scraper or a plastic putty knife to gently scrape off any sticky residue from the surface of the hardwood. Be careful not to scratch or damage the wood in the process. If stubborn residue remains, you can try using a commercial adhesive remover specifically designed for hardwood floors.
Next, vacuum or sweep the hardwood floors thoroughly to remove loose dirt and debris. Use a soft-bristle brush attachment or a broom with soft bristles to avoid scratching the surface. Pay special attention to the corners and edges where dirt tends to accumulate.
With the surface free from debris, it’s time to choose the right cleaning solution for your hardwood floors. As mentioned earlier, opt for a pH-neutral cleaner that is specifically formulated for hardwood. Dilute the cleaner according to the manufacturer’s instructions in a bucket of warm water.
Key Takeaways:
- Assess the condition of your old hardwood floors before cleaning to identify any damage or necessary repairs, ensuring that your efforts yield the desired results and prevent potential damage.
- Use a pH-neutral cleaner and gentle cleaning techniques to effectively remove carpet residue, stubborn stains, and spots from your old hardwood floors, restoring their natural beauty and elegance.
Assessing the Condition of the Hardwood Floors
Before diving into the cleaning process, it’s important to assess the condition of the hardwood floors. This step will help you identify any existing damage or issues that need to be addressed before proceeding further. By carefully inspecting the floors, you can determine the appropriate cleaning methods and avoid potential damage.
Start by examining the surface of the hardwood floors for any visible scratches, gouges, or stains. Use a flashlight if needed to get a better view of finer details. Take note of any areas that require special attention or professional repair.
If you notice deep scratches or gouges that penetrate the wood, it’s best to consult a professional before attempting to clean them yourself. They may recommend sanding and refinishing the affected areas to restore the floors to their original condition.
Additionally, check for any raised nails or loose floorboards. These can be hazards and should be addressed before cleaning the floors. Nail down any raised nails and secure any loose floorboards to ensure the stability of the hardwood flooring.
It’s also important to assess the condition of the finish on the hardwood floors. Over time, the protective finish can wear down, leaving the wood vulnerable to damage. Look for signs of excessive wear or areas where the finish has completely worn off. In these cases, it may be necessary to refinish the floors after cleaning them.
Pay attention to any gaps or cracks between the floorboards as well. If you notice large gaps or significant movement between the boards, it may indicate a moisture issue or underlying structural problems. It’s essential to address these issues before proceeding with any cleaning or maintenance.
By thoroughly assessing the condition of the hardwood floors, you can make informed decisions on how to best clean and maintain them. Professional help may be required for major repairs or refinishing work, ensuring the longevity and beauty of your hardwood floors.
Gathering the Necessary Cleaning Supplies
Before you begin cleaning your old hardwood floors, it’s important to gather all the necessary cleaning supplies. Having the right tools and products on hand will ensure an effective and efficient cleaning process. Here are the essential items you’ll need:
- Broom or vacuum cleaner: Start by having a broom or vacuum cleaner with a soft-bristle brush attachment. This will allow you to remove loose dirt, dust, and debris from the surface of the hardwood floors.
- Mop: A mop with a microfiber head is ideal for cleaning hardwood floors. Microfiber is gentle on the wood and effectively picks up dirt without scratching the surface.
- Microfiber cloths: These soft and absorbent cloths are useful for wiping down surfaces and drying the floors after cleaning.
- Bucket: A bucket will be necessary for diluting and holding the cleaning solution.
- Mild cleaning solution: It’s important to use a pH-neutral cleaner specifically designed for hardwood floors. Avoid harsh chemicals, as they can damage the wood and strip the finish.
- Scrub brush: If there are stubborn stains or spots on the hardwood floors, a soft-bristle scrub brush can be used to gently scrub them away.
- Protective gloves: While not directly related to the cleaning process, wearing protective gloves is a good practice to protect your hands from any chemicals or cleaning solutions.
When selecting cleaning products, it’s crucial to read the labels and choose those that are safe for use on hardwood floors. Avoid using abrasive cleaners, ammonia-based solutions, or wax-based products, as they can cause damage to the wood and leave a residue on the surface.
Having all these supplies ready before you start cleaning will streamline the process and ensure that you’re well-equipped to tackle any dirt, grime, or stains on your old hardwood floors. Remember to follow the instructions on the cleaning products and tools to achieve the best results.
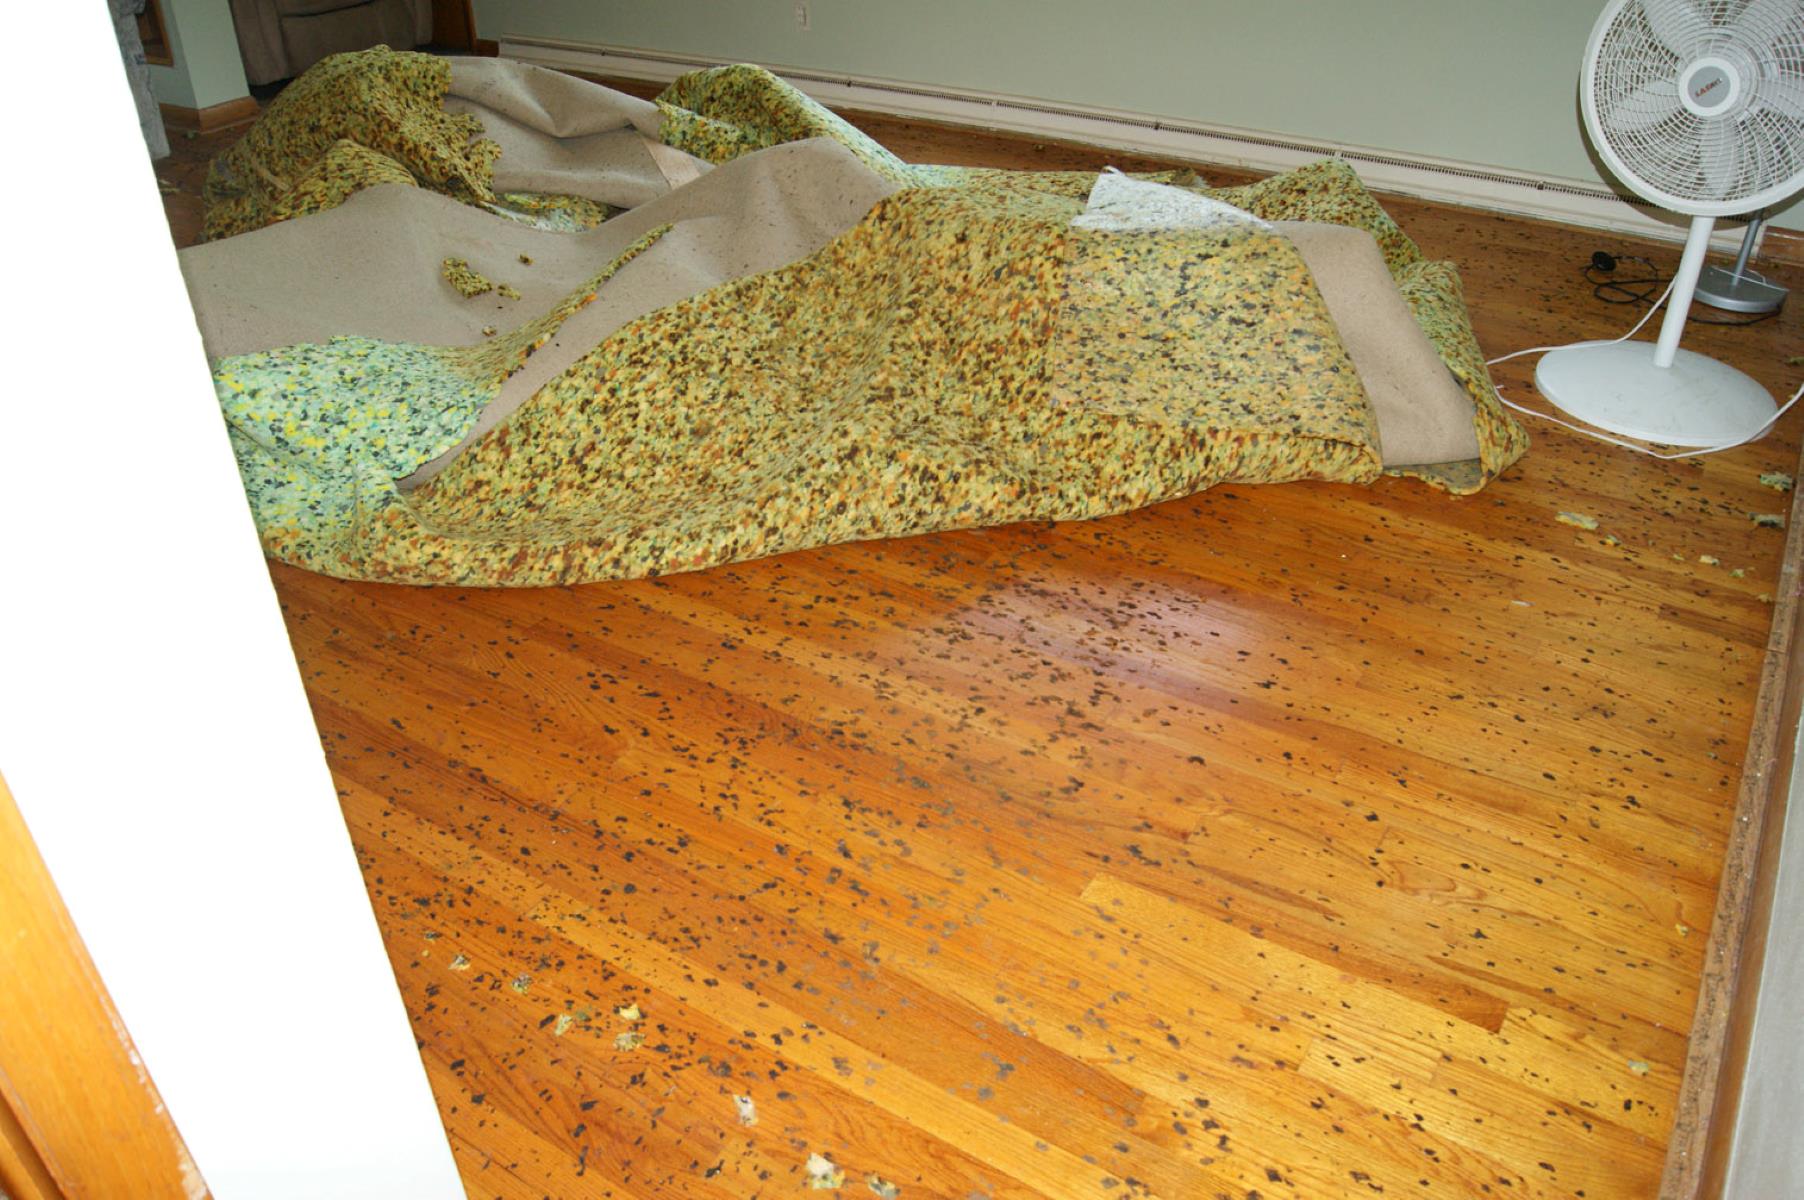
Removing Carpet Residue from the Floors
After removing carpet from your old hardwood floors, you may be left with sticky residue from the carpet adhesive. It’s important to remove this residue before proceeding with the cleaning process to ensure that your hardwood floors are properly cleaned and restored. Here’s how you can effectively remove carpet residue:
- Start by examining the floor to identify areas where residue is present. Look for sticky spots or patches that may feel tacky to the touch.
- Using a plastic putty knife or a scraper, gently scrape off the residue from the surface of the hardwood floors. Be careful not to apply too much pressure or use a sharp-edged tool that could scratch the wood. Work in small sections, applying gentle pressure to lift the residue.
- If the residue is stubborn and doesn’t come off easily, you can try using a commercial adhesive remover specifically designed for hardwood floors. Follow the instructions on the product carefully and test it in a small inconspicuous area first to ensure it doesn’t damage the wood or finish.
- Apply the adhesive remover to the affected area and let it sit for a few minutes to soften the residue. Then, use a clean cloth or a soft-bristle brush to gently scrub the area in a circular motion. Wipe away the residue using a clean microfiber cloth.
- Rinse the area with a damp cloth to remove any remaining residue or cleaner. Dry the floor thoroughly before proceeding with the next steps of the cleaning process.
It’s important to remember that patience is key when removing carpet residue from hardwood floors. Take your time and work in small sections to ensure that the residue is completely removed without causing damage to the wood. If the residue persists or if you’re unsure about how to proceed, consult a professional for guidance.
By effectively removing carpet residue, you’ll be able to start the cleaning process on a clean and pristine surface, allowing you to achieve optimal results when restoring your old hardwood floors.
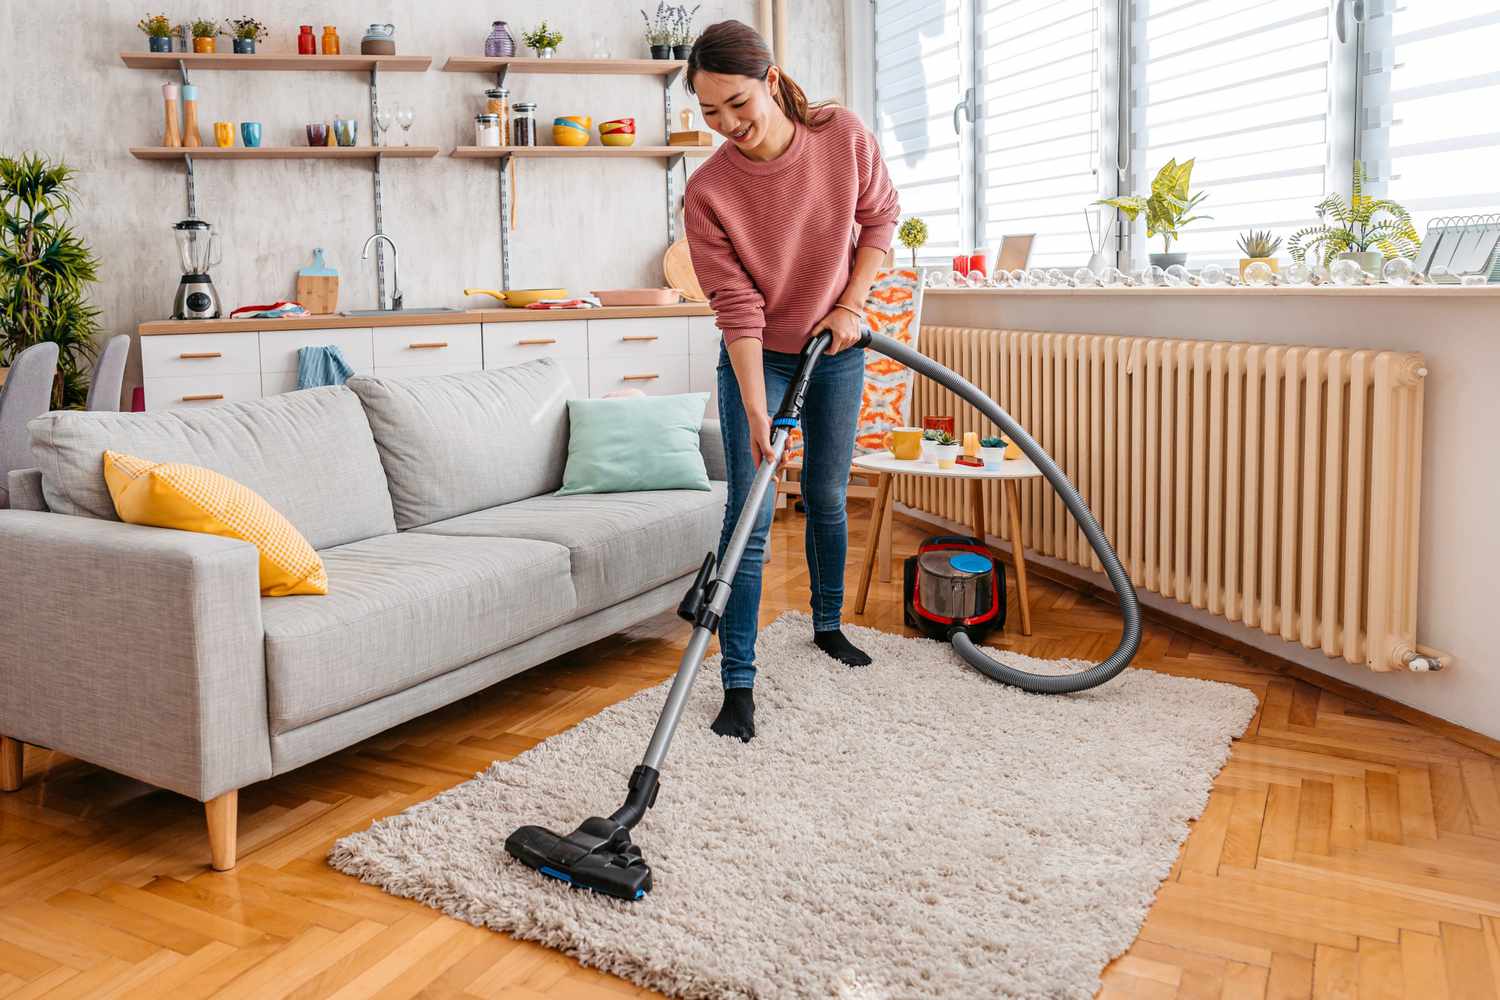
Vacuuming and Sweeping the Hardwood Floors
Before delving into the primary cleaning process, it’s crucial to thoroughly vacuum and sweep your hardwood floors. This step helps remove loose dirt, dust, and debris, ensuring a clean surface for the subsequent cleaning steps. Here’s how you can effectively vacuum and sweep your hardwood floors:
- If you have a vacuum cleaner with a soft-bristle brush attachment, it’s the ideal choice for cleaning hardwood floors. This attachment is designed to effectively remove dust and dirt without scratching or damaging the wood. If your vacuum doesn’t have this attachment, a broom with soft bristles can also be used.
- Begin by removing any large debris, such as pieces of carpet fibers or larger dirt particles, by hand. This step prevents damage to your vacuum or broom and ensures that the floor is ready for a thorough cleaning.
- Starting from one end of the room, slowly and methodically move the vacuum or broom across the hardwood floor. Work in small sections, paying close attention to corners and edges where dirt and dust tend to accumulate.
- When vacuuming, make smooth and deliberate movements to effectively pick up dirt and avoid scratching the floor. If using a broom, use gentle sweeping motions, ensuring that you sweep the dirt towards the center of the room for easy disposal.
- While vacuuming or sweeping, be mindful of not hitting the floor with the vacuum cleaner or broom. These impacts can cause small scratches on the surface of the hardwood.
- For hard-to-reach areas, such as crevices between floorboards or corners, use a soft-bristle brush or a microfiber cloth to gently remove any dirt or dust.
By thoroughly vacuuming and sweeping your hardwood floors before the primary cleaning process, you’ll eliminate loose dirt and debris, making it easier to tackle stubborn stains and restore the natural beauty of your old hardwood floors.
Keep in mind that regular vacuuming and sweeping are essential for maintaining the cleanliness and longevity of your hardwood floors. It’s recommended to perform these tasks on a weekly basis to prevent the buildup of dirt and dust.
Choosing the Right Cleaning Solution
When it comes to cleaning old hardwood floors, choosing the right cleaning solution is crucial. Using the wrong cleaner can damage the wood or leave a residue that dulls the floor’s natural beauty. Here are some tips to help you select the appropriate cleaning solution for your hardwood floors:
- Look for pH-neutral cleaners: Hardwood floors are sensitive to acidic or alkaline substances. Therefore, it’s important to choose a pH-neutral cleaner specifically designed for use on hardwood floors. This ensures that the cleaner won’t damage the wood or affect the finish.
- Avoid harsh chemicals: Harsh chemicals, such as bleach or ammonia-based cleaners, can strip the protective finish of the hardwood and cause discoloration. Opt for cleaners that are labeled as safe for hardwood floors and are free from abrasive or harsh ingredients.
- Consider manufacturer’s recommendations: If you have a specific brand or type of hardwood flooring, check the manufacturer’s recommendations for cleaning products. They may provide guidance on which cleaners are best suited for their particular type of hardwood flooring.
- Test in a small area: Before using a new cleaning solution on your entire hardwood floor, it’s wise to test it in a small, inconspicuous area first. Apply a small amount of the cleaner, following the instructions, and observe if there is any adverse reaction on the wood or finish.
- Consult a professional: If you’re unsure about which cleaning solution to use or if your hardwood floors require special care, consider consulting a professional. They can provide expert advice tailored to your specific flooring needs and help you make the best choice.
Once you’ve chosen the appropriate cleaning solution, follow the instructions provided by the manufacturer. Typically, you will dilute the cleaner according to the instructions and mix it with warm water in a bucket.
Remember, less is more when it comes to cleaning solutions. Using excessive amounts of cleaner can leave behind a residue or make the floor slippery. Stick to the recommended dilution ratios and use a mop or microfiber cloth dampened with the cleaning solution to clean the hardwood floors.
By selecting the right cleaning solution for your old hardwood floors, you can effectively remove dirt, grime, and stains while maintaining the beauty and integrity of the wood.
Use a mixture of warm water and mild dish soap to gently clean the old hardwood floors. Avoid using excessive water and be sure to dry the floors thoroughly after cleaning to prevent any damage.
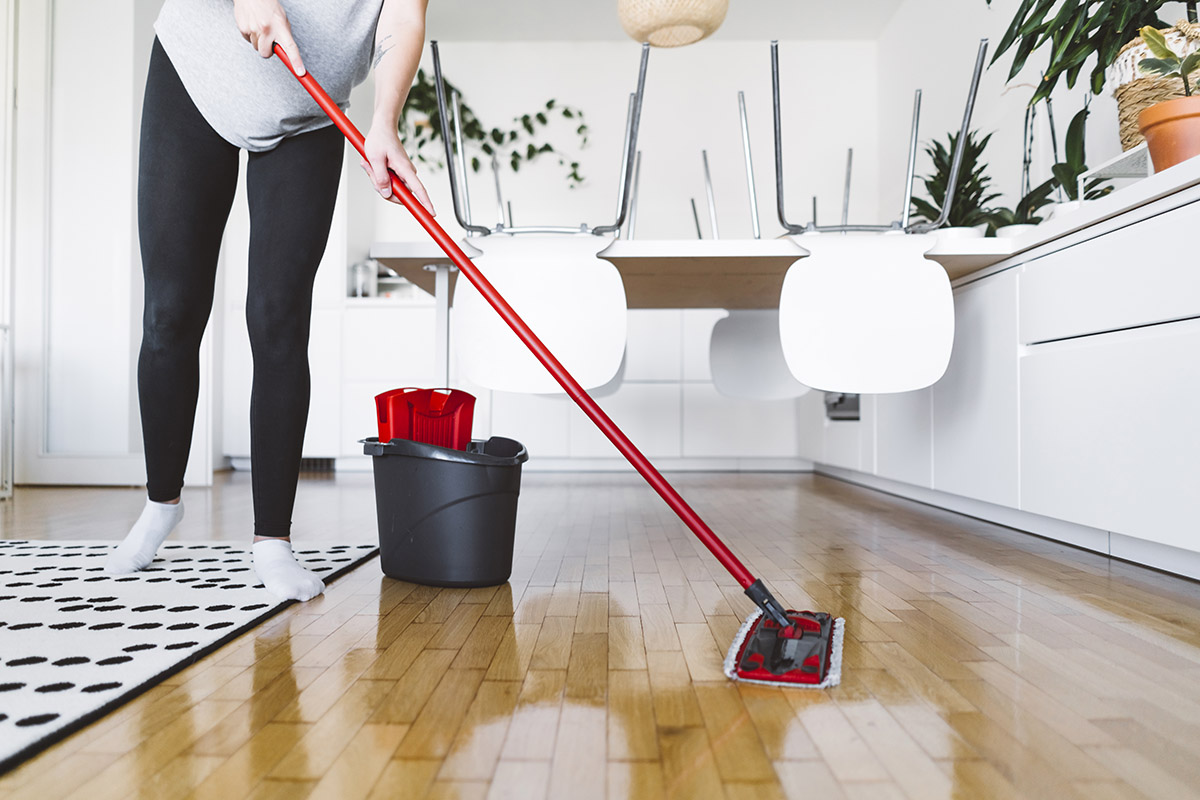
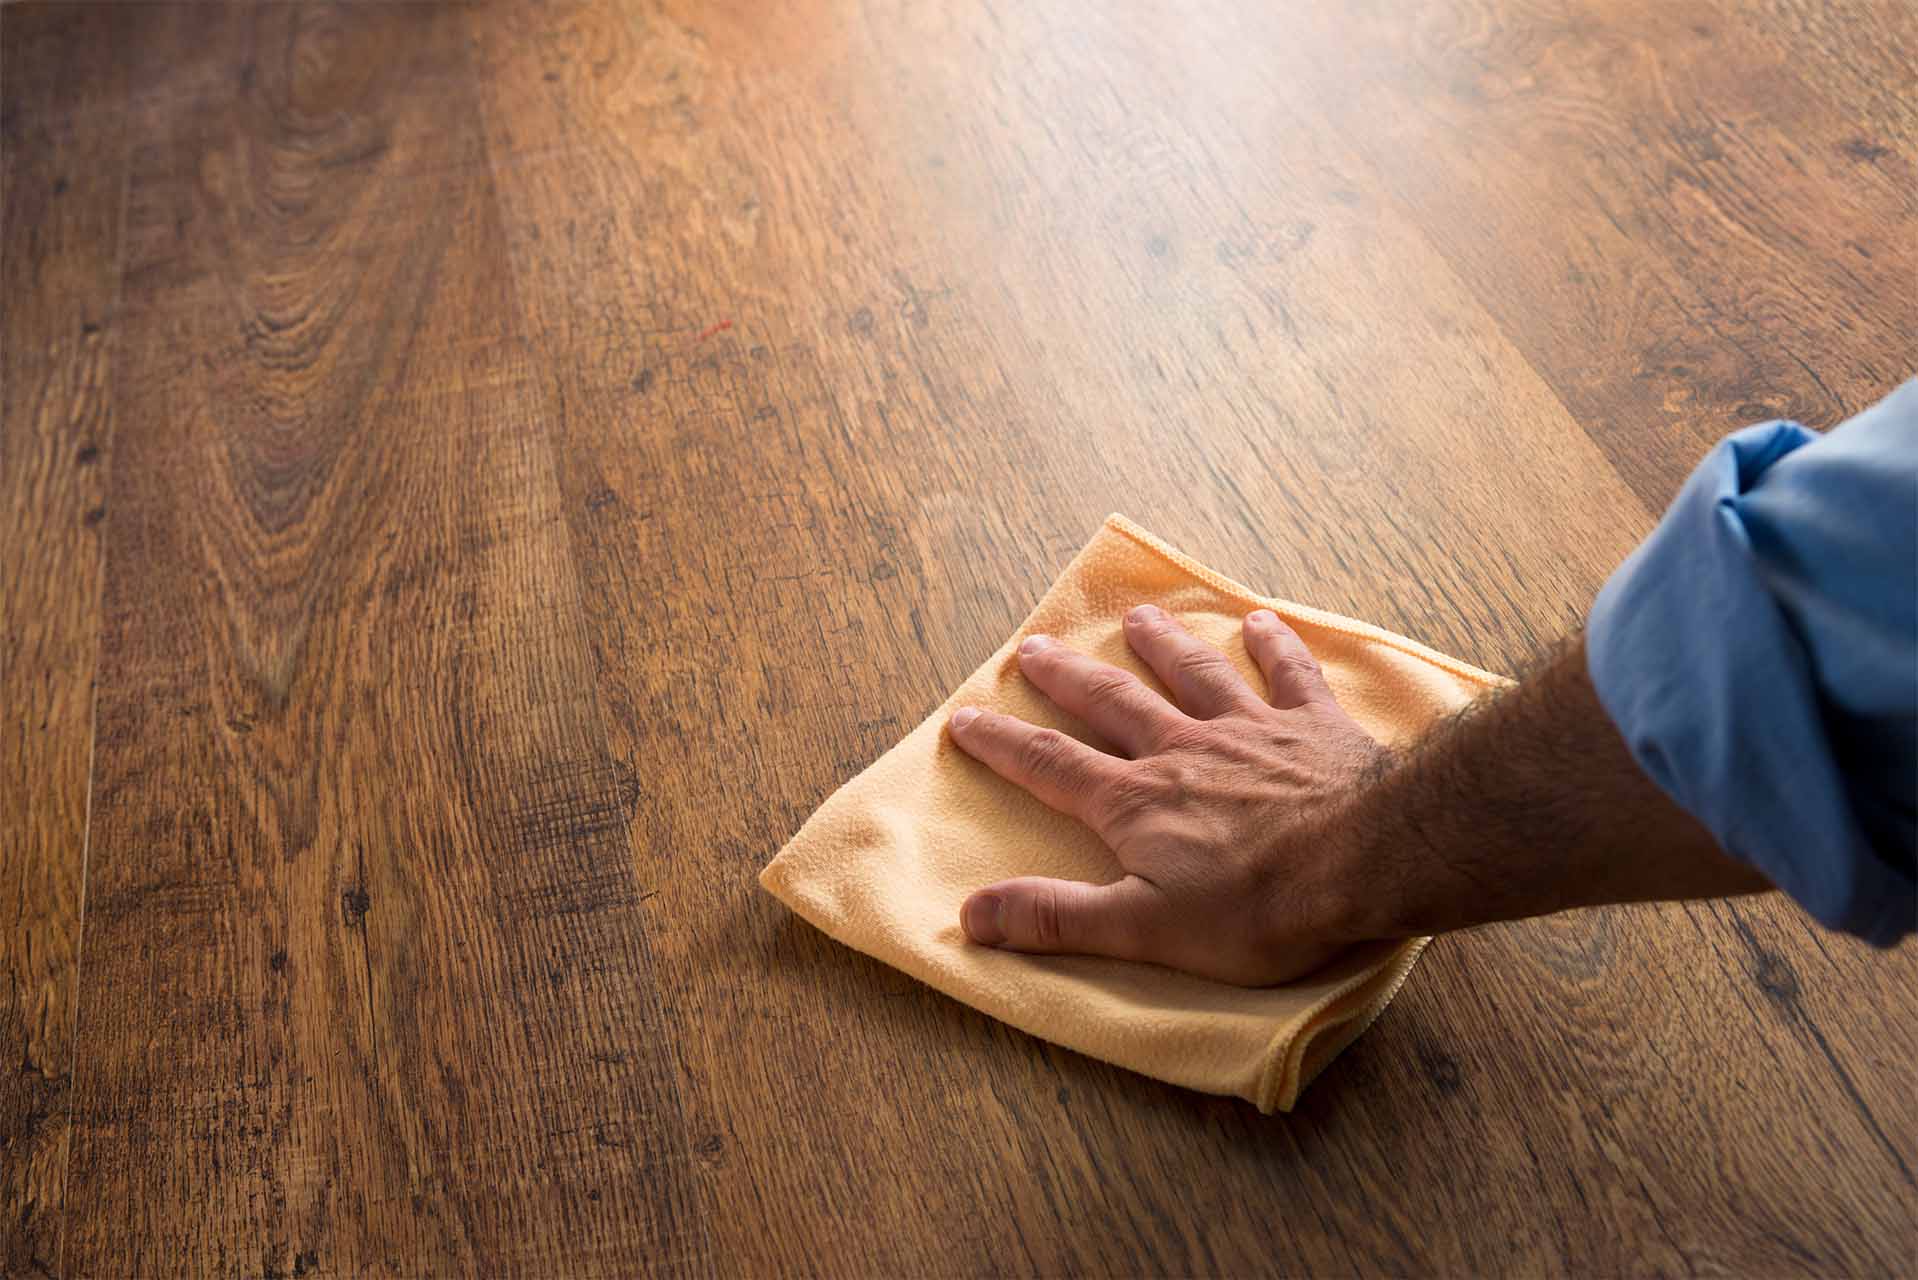
Mopping the Hardwood Floors
Once you’ve gathered the necessary cleaning supplies and chosen the right cleaning solution, it’s time to start mopping your old hardwood floors. Mopping helps to remove deeper dirt and grime and leaves your floors looking clean and refreshed. Follow these steps for effective mopping:
- Prepare the mop: If you’re using a mop with a removable and washable microfiber head, make sure it’s clean and free from any debris or dirt from previous use. If using a traditional mop, ensure that it’s clean and in good condition.
- Dilute the cleaning solution: Follow the instructions provided by the manufacturer to dilute the cleaning solution with warm water in a bucket. It’s essential to use the recommended dilution ratio to prevent any potential damage to the hardwood floors.
- Dampen the mop: Dip the mop head into the bucket of cleaning solution and gently squeeze out any excess liquid. The mop should be damp, not dripping wet, to avoid oversaturating the hardwood floors.
- Mop in sections: Work in small sections, starting from one corner of the room and mopping towards the exit. This allows you to cover the entire floor without stepping on the wet areas. Aim for smooth and even strokes, moving the mop in a figure-eight or back-and-forth motion to ensure thorough cleaning.
- Pay attention to corners and edges: Use the edges of the mop or a microfiber cloth to clean hard-to-reach areas, such as corners and along the baseboards. These areas tend to accumulate more dirt and dust, so giving them extra attention will result in a more thorough clean.
- Change the cleaning solution if necessary: If the cleaning solution becomes visibly dirty or cloudy, replace it with a fresh batch. Continuously mopping with dirty water will only spread the dirt around and make the floors appear dull.
- Wipe dry: After mopping each section, use a clean microfiber cloth to wipe dry the surface of the hardwood floors. This helps to remove any excess moisture and prevents water from seeping into the wood and causing damage.
Always remember to mop the hardwood floors using a gentle touch. Avoid using excessive force or scrubbing aggressively, as this can result in scratches or damage to the wood. Additionally, never leave standing water on the hardwood floors, as it can seep into the cracks and cause warping or swelling.
By properly mopping your old hardwood floors, you’ll be able to effectively clean and restore their natural beauty, bringing life back into your home.
Dealing with Stubborn Stains and Spots
Even with regular cleaning, old hardwood floors can develop stubborn stains and spots that are challenging to remove. Whether it’s pet stains, oil spills, or dried-on substances, addressing these stubborn stains requires a targeted approach. Here’s how you can effectively deal with stubborn stains and spots on your hardwood floors:
- Identify the stain: Before attempting to remove a stain, it’s crucial to identify its nature. Different types of stains may require specific cleaning techniques or products. For example, water-based stains can usually be tackled with water and mild soap, while oil-based stains may need a different approach.
- Gently blot the stain: If the stain is fresh or wet, start by gently blotting it with a clean, absorbent cloth or paper towel. Avoid rubbing the stain, as it can spread it further or drive it deeper into the wood.
- Use a targeted stain remover: Depending on the type of stain, you can use a targeted stain remover or cleaner. There are various commercial stain removers available that are specifically designed for use on hardwood floors. Follow the product instructions carefully and test it in an inconspicuous area first to ensure that it doesn’t damage or discolor the wood.
- Apply the stain remover: Apply a small amount of the stain remover directly onto the stain, allowing it to penetrate and break down the stain. Let it sit for a few minutes to work its magic.
- Gently scrub the stain: Once the stain remover has had time to work, use a soft-bristle brush or a clean cloth to gently scrub the stain in a circular motion. Be cautious not to scrub too hard, as it can cause surface damage to the wood.
- Wipe away the residue: After scrubbing, use a clean, damp cloth to wipe away the residue of the stain remover. Rinse the cloth frequently to ensure that you’re not spreading the stain or residue to other areas of the floor.
- If the stain persists: For stubborn stains that don’t respond to regular cleaning methods, it may be necessary to consult a professional hardwood floor cleaner. They have specialized tools and techniques to tackle even the most stubborn stains and can provide guidance on the best course of action.
It’s important to note that prevention is better than cure when it comes to stains on hardwood floors. Clean up spills and accidents promptly, place mats or rugs in high-traffic areas, and use furniture pads to prevent scratches and gouges.
By employing these techniques and being diligent in the care of your hardwood floors, you can effectively deal with stubborn stains and spots, restoring the beauty and integrity of your old hardwood floors.
Drying and Finishing the Cleaning Process
After thoroughly cleaning your old hardwood floors, it’s important to properly dry and finish them to ensure a beautiful and long-lasting result. Drying and finishing the cleaning process involves removing excess moisture and applying protective measures to enhance the appearance and durability of the hardwood floors. Here’s how to effectively dry and finish the cleaning process:
- Remove excess moisture: Use a clean, dry microfiber cloth or towel to gently wipe off any excess moisture on the hardwood floors. Pay special attention to corners and edges where water may have accumulated during the cleaning process.
- Allow proper airflow: After mopping or wiping, ensure that there is sufficient airflow in the room to facilitate the drying process. Open windows or doors, and use fans or air circulators to promote air circulation. This helps to prevent any moisture from being trapped on the surface of the wood.
- Avoid walking on wet floors: As the floors dry, it’s crucial to avoid walking on them until they’re completely dry. Walking on wet floors can leave footprints or smudges, and it may result in dirt or debris being tracked onto the freshly cleaned surface.
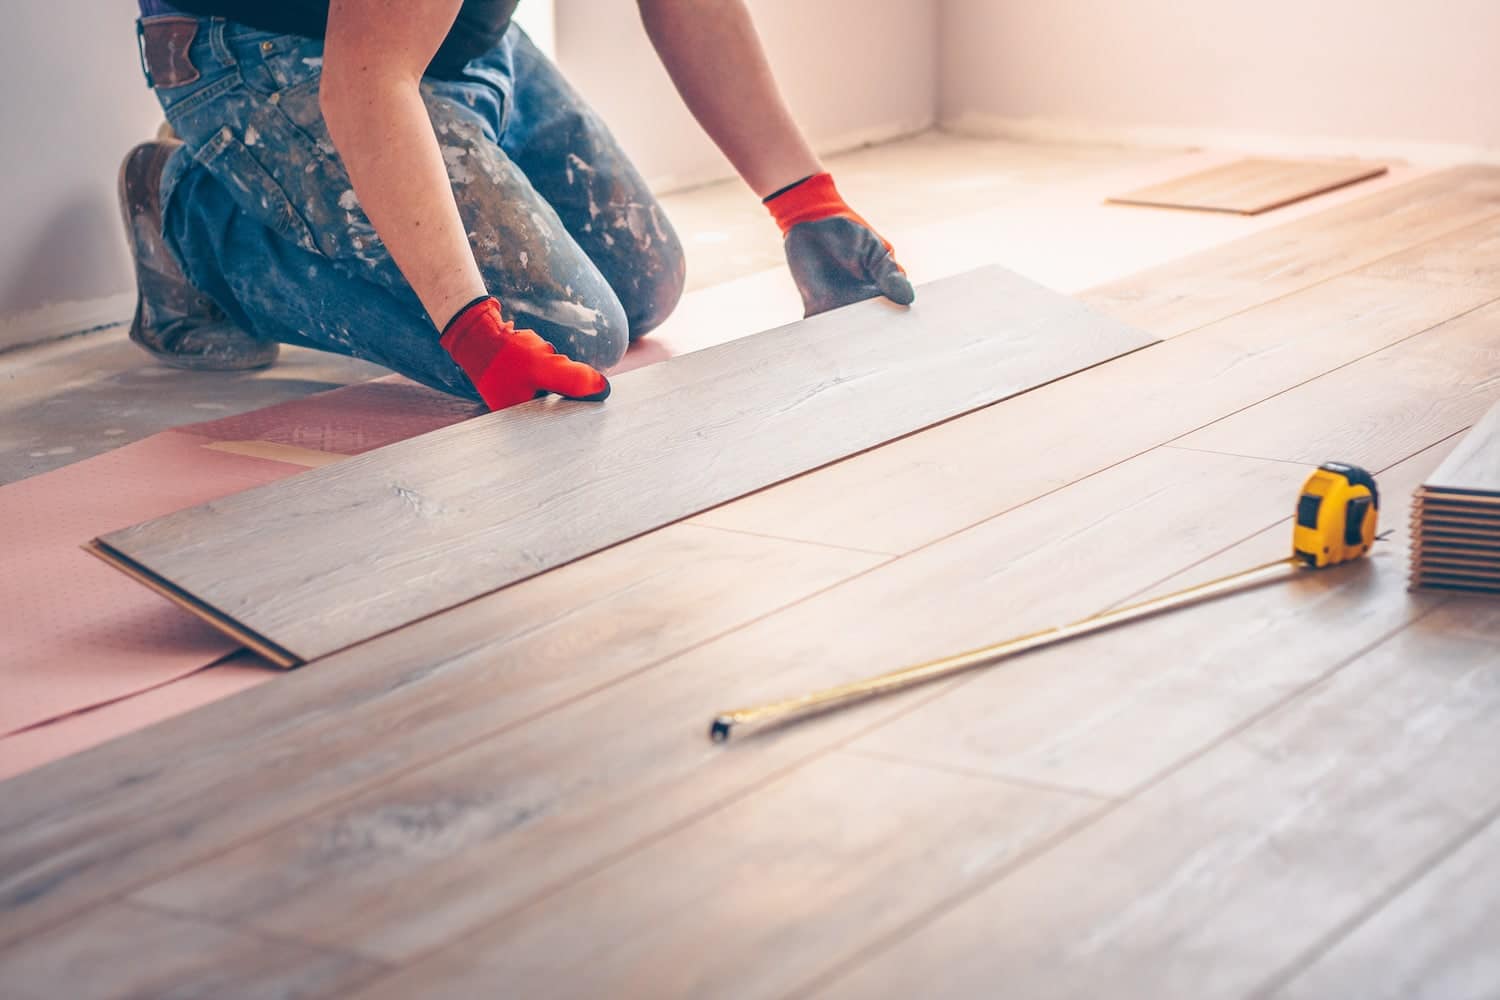
- Apply a protective finish: Once the floors are fully dry, consider applying a protective finish to further enhance their appearance and durability. There are various options available, such as polyurethane, wax, or oil-based finishes. Refer to the manufacturer’s instructions and choose a finish that suits your specific type of hardwood flooring.
- Follow the instructions: When applying the protective finish, carefully follow the instructions provided by the manufacturer. Apply a thin, even coat using a clean applicator or brush, and allow it to dry completely before applying subsequent coats, if necessary. Ensure proper ventilation during the application process.
- Allow sufficient curing time: After applying the protective finish, allow the floors to cure according to the manufacturer’s instructions. This curing time ensures that the finish fully sets and provides optimal protection to the wood. Avoid placing furniture or heavy items on the floors until they have fully cured.
Drying and finishing the cleaning process is essential for maintaining the beauty and longevity of your old hardwood floors. Properly drying the floors minimizes the risk of water damage and ensures that the finish adheres properly. Applying a protective finish provides an extra layer of protection against scratches, stains, and wear.
By following these steps and allowing sufficient drying and curing time, you can enjoy clean, beautiful hardwood floors that will continue to enhance the aesthetic appeal of your home for years to come.
Maintaining and Caring for the Cleaned Hardwood Floors
Now that you have successfully cleaned and restored your old hardwood floors, it’s important to implement proper maintenance and care to keep them looking their best. Regular upkeep will help preserve the beauty and longevity of your hardwood floors. Here are some tips for maintaining and caring for your cleaned hardwood floors:
- Sweep or vacuum regularly: To prevent dirt, dust, and debris from building up, sweep or vacuum your hardwood floors regularly. Use a soft-bristle broom or a vacuum cleaner with a brush attachment to avoid scratching the wood. Focus on high-traffic areas, corners, and edges where dirt tends to accumulate.
- Use mats and rugs: Place mats or rugs at entryways to trap dirt, dust, and moisture before it reaches the hardwood floors. This helps prevent scratches, dings, and the tracking in of debris. Consider using non-slip pads under the mats to prevent slippage or shifting.
- Wipe up spills promptly: Accidents happen, so it’s essential to clean up spills promptly to prevent stains or water damage to the wood. Use a clean, absorbent cloth or towel to blot the spill and dry the area thoroughly. Avoid using excessive water, as prolonged exposure to moisture can cause warping or swelling.
- Avoid excess moisture: Hardwood floors are sensitive to moisture, so it’s important to avoid excessive water or humidity in the room. Use a dehumidifier if necessary to maintain proper humidity levels. Additionally, wipe away any water or liquid spills immediately to prevent absorption into the wood.
- Prevent scratches: Take preventive measures to avoid scratches on your hardwood floors. Place furniture pads or felt protectors under furniture legs to prevent them from scratching the floor when moved. Use caution when moving heavy objects across the floor and avoid dragging them.
- Trim pet nails: If you have pets, trim their nails regularly to prevent them from scratching the hardwood floors. Keep pet areas clean and ensure accidents are cleaned up promptly to prevent stains and odors.
- Protect from direct sunlight: Prolonged exposure to direct sunlight can cause fading and discoloration of hardwood floors. Use window treatments, such as blinds or curtains, to minimize direct sunlight in the room. Consider moving rugs or furniture periodically to prevent uneven fading.
- Periodic deep cleaning: Over time, your hardwood floors may require periodic deep cleaning to remove stubborn dirt or grime. Follow the cleaning methods and products recommended for your specific type of hardwood flooring. Avoid using steam cleaners, as they can damage the wood and finish.
- Regular inspections: Conduct regular inspections of your hardwood floors to identify any signs of damage or wear. Look out for cracks, gaps, or loose floorboards and address them promptly to prevent further damage.
By following these maintenance tips and caring for your cleaned hardwood floors, you can preserve their beauty and extend their lifespan. Regular cleaning and preventive measures will help keep your hardwood floors looking stunning for years to come.
Conclusion
Cleaning old hardwood floors after removing carpet can be a rewarding process that restores the natural beauty and elegance of your home. By following the steps outlined in this article, you can effectively clean, remove stains, and rejuvenate your hardwood floors.
Assessing the condition of the hardwood floors is crucial before starting the cleaning process. Identifying any damage or necessary repairs ensures that your efforts yield the desired results. Gathering the necessary cleaning supplies, including a pH-neutral cleaner and the right tools, sets the foundation for a successful cleaning experience.
Removing carpet residue is an important step to achieve a clean surface. Scrubbing away the residue with a plastic putty knife and using an adhesive remover if necessary will help prepare the hardwood floors for the subsequent cleaning steps.
Vacuuming and sweeping the hardwood floors thoroughly eliminates loose dirt and debris, providing a clean canvas for the cleaning process. Choosing the right cleaning solution, such as a pH-neutral cleaner, is essential to avoid damaging the wood or leaving behind residue.
Mopping the hardwood floors with a damp mop, following the recommended dilution ratio of the cleaning solution, ensures a deep and thorough clean. Dealing with stubborn stains and spots requires targeted stain removers and gentle scrubbing techniques to restore the floors’ pristine appearance.
After completing the cleaning process, drying the hardwood floors and applying a protective finish will enhance their appearance and durability. Proper maintenance and care, such as regular sweeping, prompt spill cleanup, and avoiding excessive moisture, are essential for prolonging the longevity of the cleaned hardwood floors.
By following these steps and incorporating regular maintenance into your routine, you can enjoy the beauty and elegance of your old hardwood floors for many years to come. Remember to assess the condition, gather supplies, clean thoroughly, and maintain regularly to keep your hardwood floors looking their best.
Frequently Asked Questions about How To Clean Old Hardwood Floors After Removing Carpet
Was this page helpful?
At Storables.com, we guarantee accurate and reliable information. Our content, validated by Expert Board Contributors, is crafted following stringent Editorial Policies. We're committed to providing you with well-researched, expert-backed insights for all your informational needs.