Home>Garden Essentials>Garden Storage>How To Install String Light Poles In Your Backyard

Garden Storage
How To Install String Light Poles In Your Backyard
Modified: October 19, 2024
Learn how to easily install string light poles in your backyard for stylish and convenient outdoor storage. Transform your space with these simple steps!
(Many of the links in this article redirect to a specific reviewed product. Your purchase of these products through affiliate links helps to generate commission for Storables.com, at no extra cost. Learn more)
Introduction
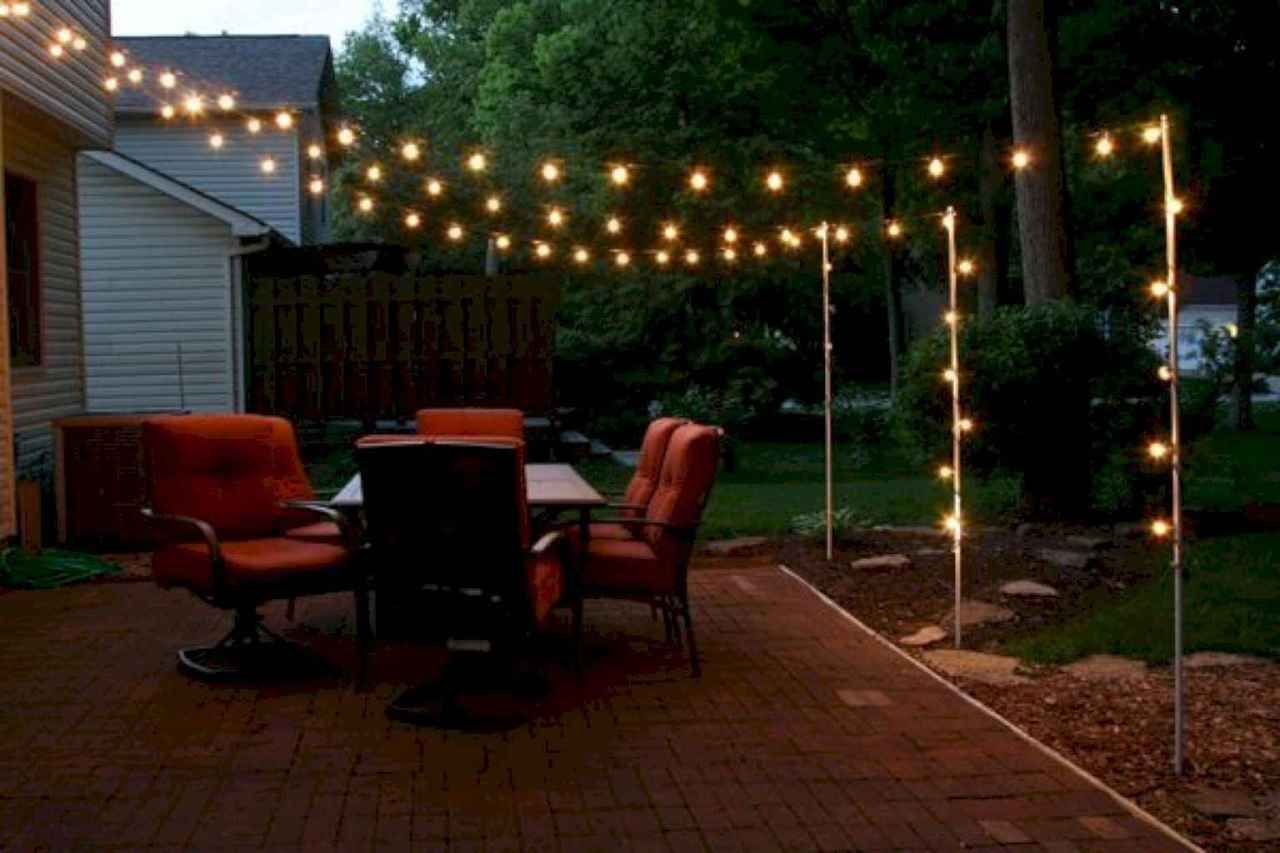
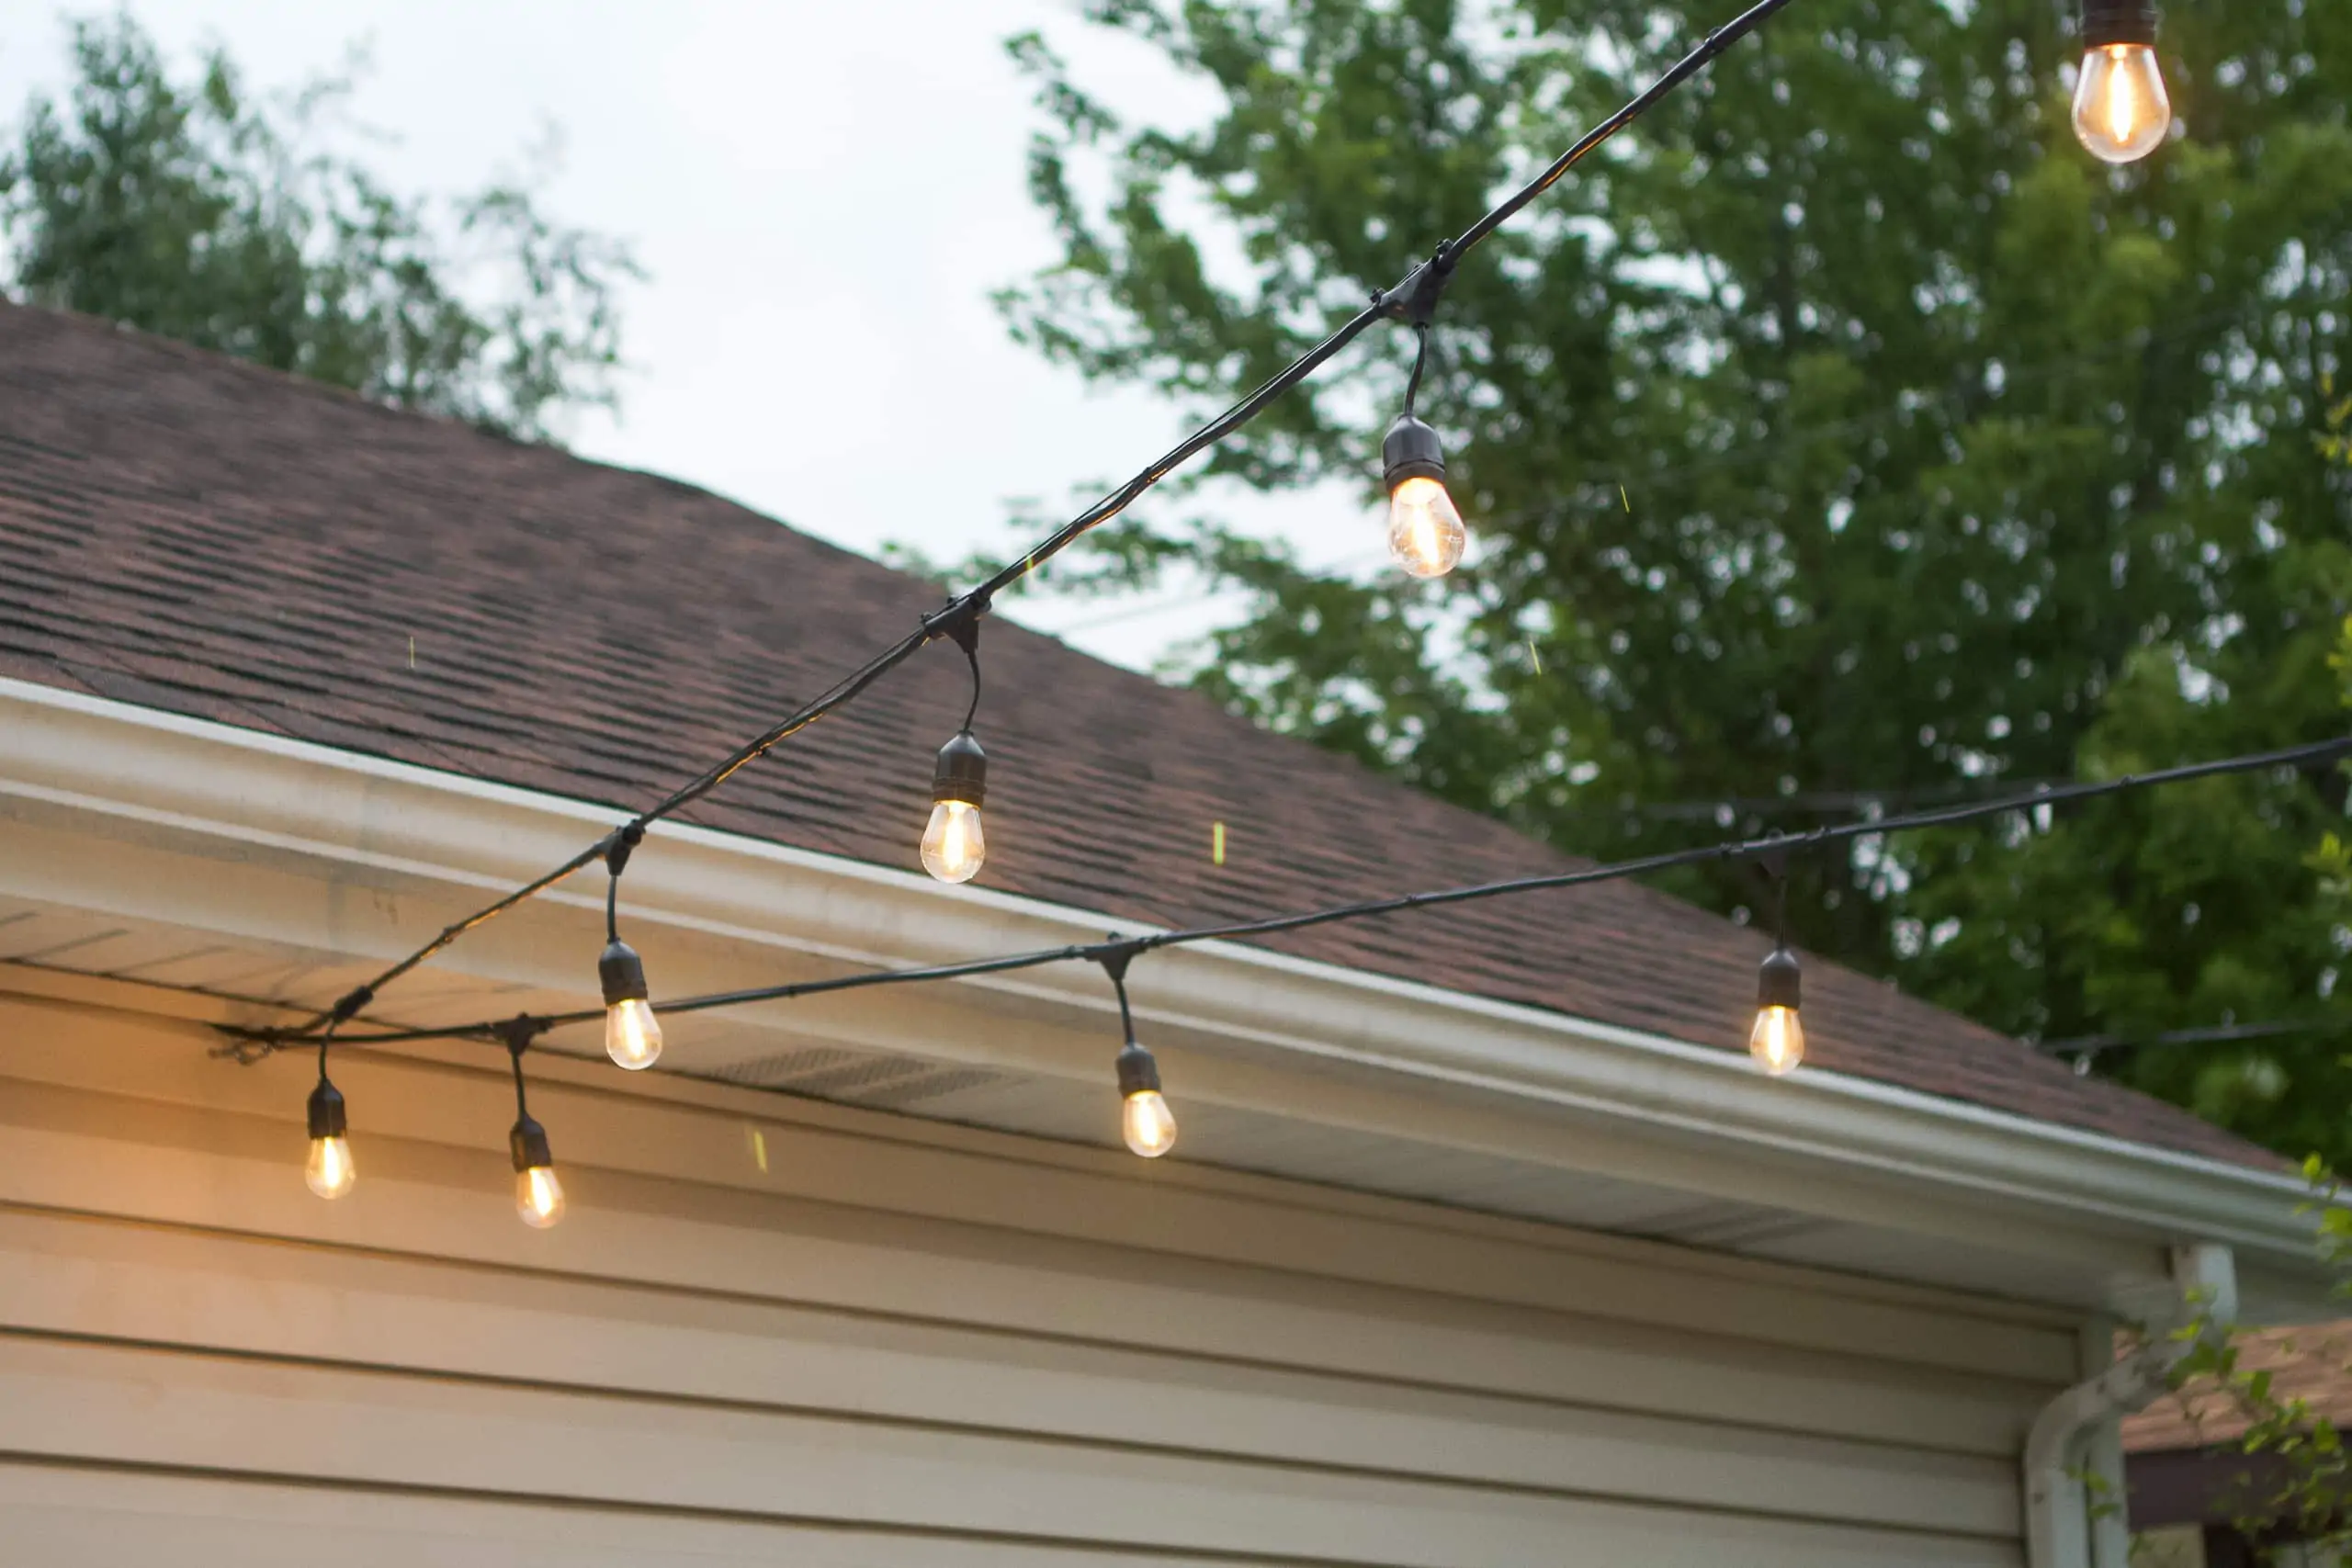
Installing string light poles in your backyard is a fantastic way to create a warm and inviting atmosphere, perfect for entertaining guests or simply enjoying a cozy evening outdoors. Not only do these light poles add a touch of beauty and charm to your outdoor space, but they also provide functional lighting for nighttime activities.
Whether you’re hosting a backyard barbecue, throwing a party, or just relaxing with your loved ones, string light poles can transform any ordinary outdoor area into a magical and enchanting space. The soft glow of the lights creates a welcoming ambiance that instantly elevates the overall aesthetic of your backyard.
In this guide, we will walk you through the step-by-step process of installing string light poles in your backyard. From choosing the perfect location to hanging the lights, we will cover all the essential details. So, grab your tools and let’s get started on this exciting DIY project!
*Note: Before beginning any installation, always ensure that you have the necessary permissions and adhere to local regulations regarding outdoor lighting.*
Next, we will discuss the first step in the process: choosing the perfect location for your string light poles.
Key Takeaways:
- Choosing the perfect location, gathering the right tools, and measuring and marking pole placement are crucial steps in creating a captivating outdoor ambiance with string light poles.
- Setting poles in concrete, attaching hooks or eye screws, and hanging the string lights will bring your backyard to life with a warm and enchanting glow, perfect for relaxation and entertaining.
Read more: How To Install Vine Poles
Step 1: Choose the Perfect Location
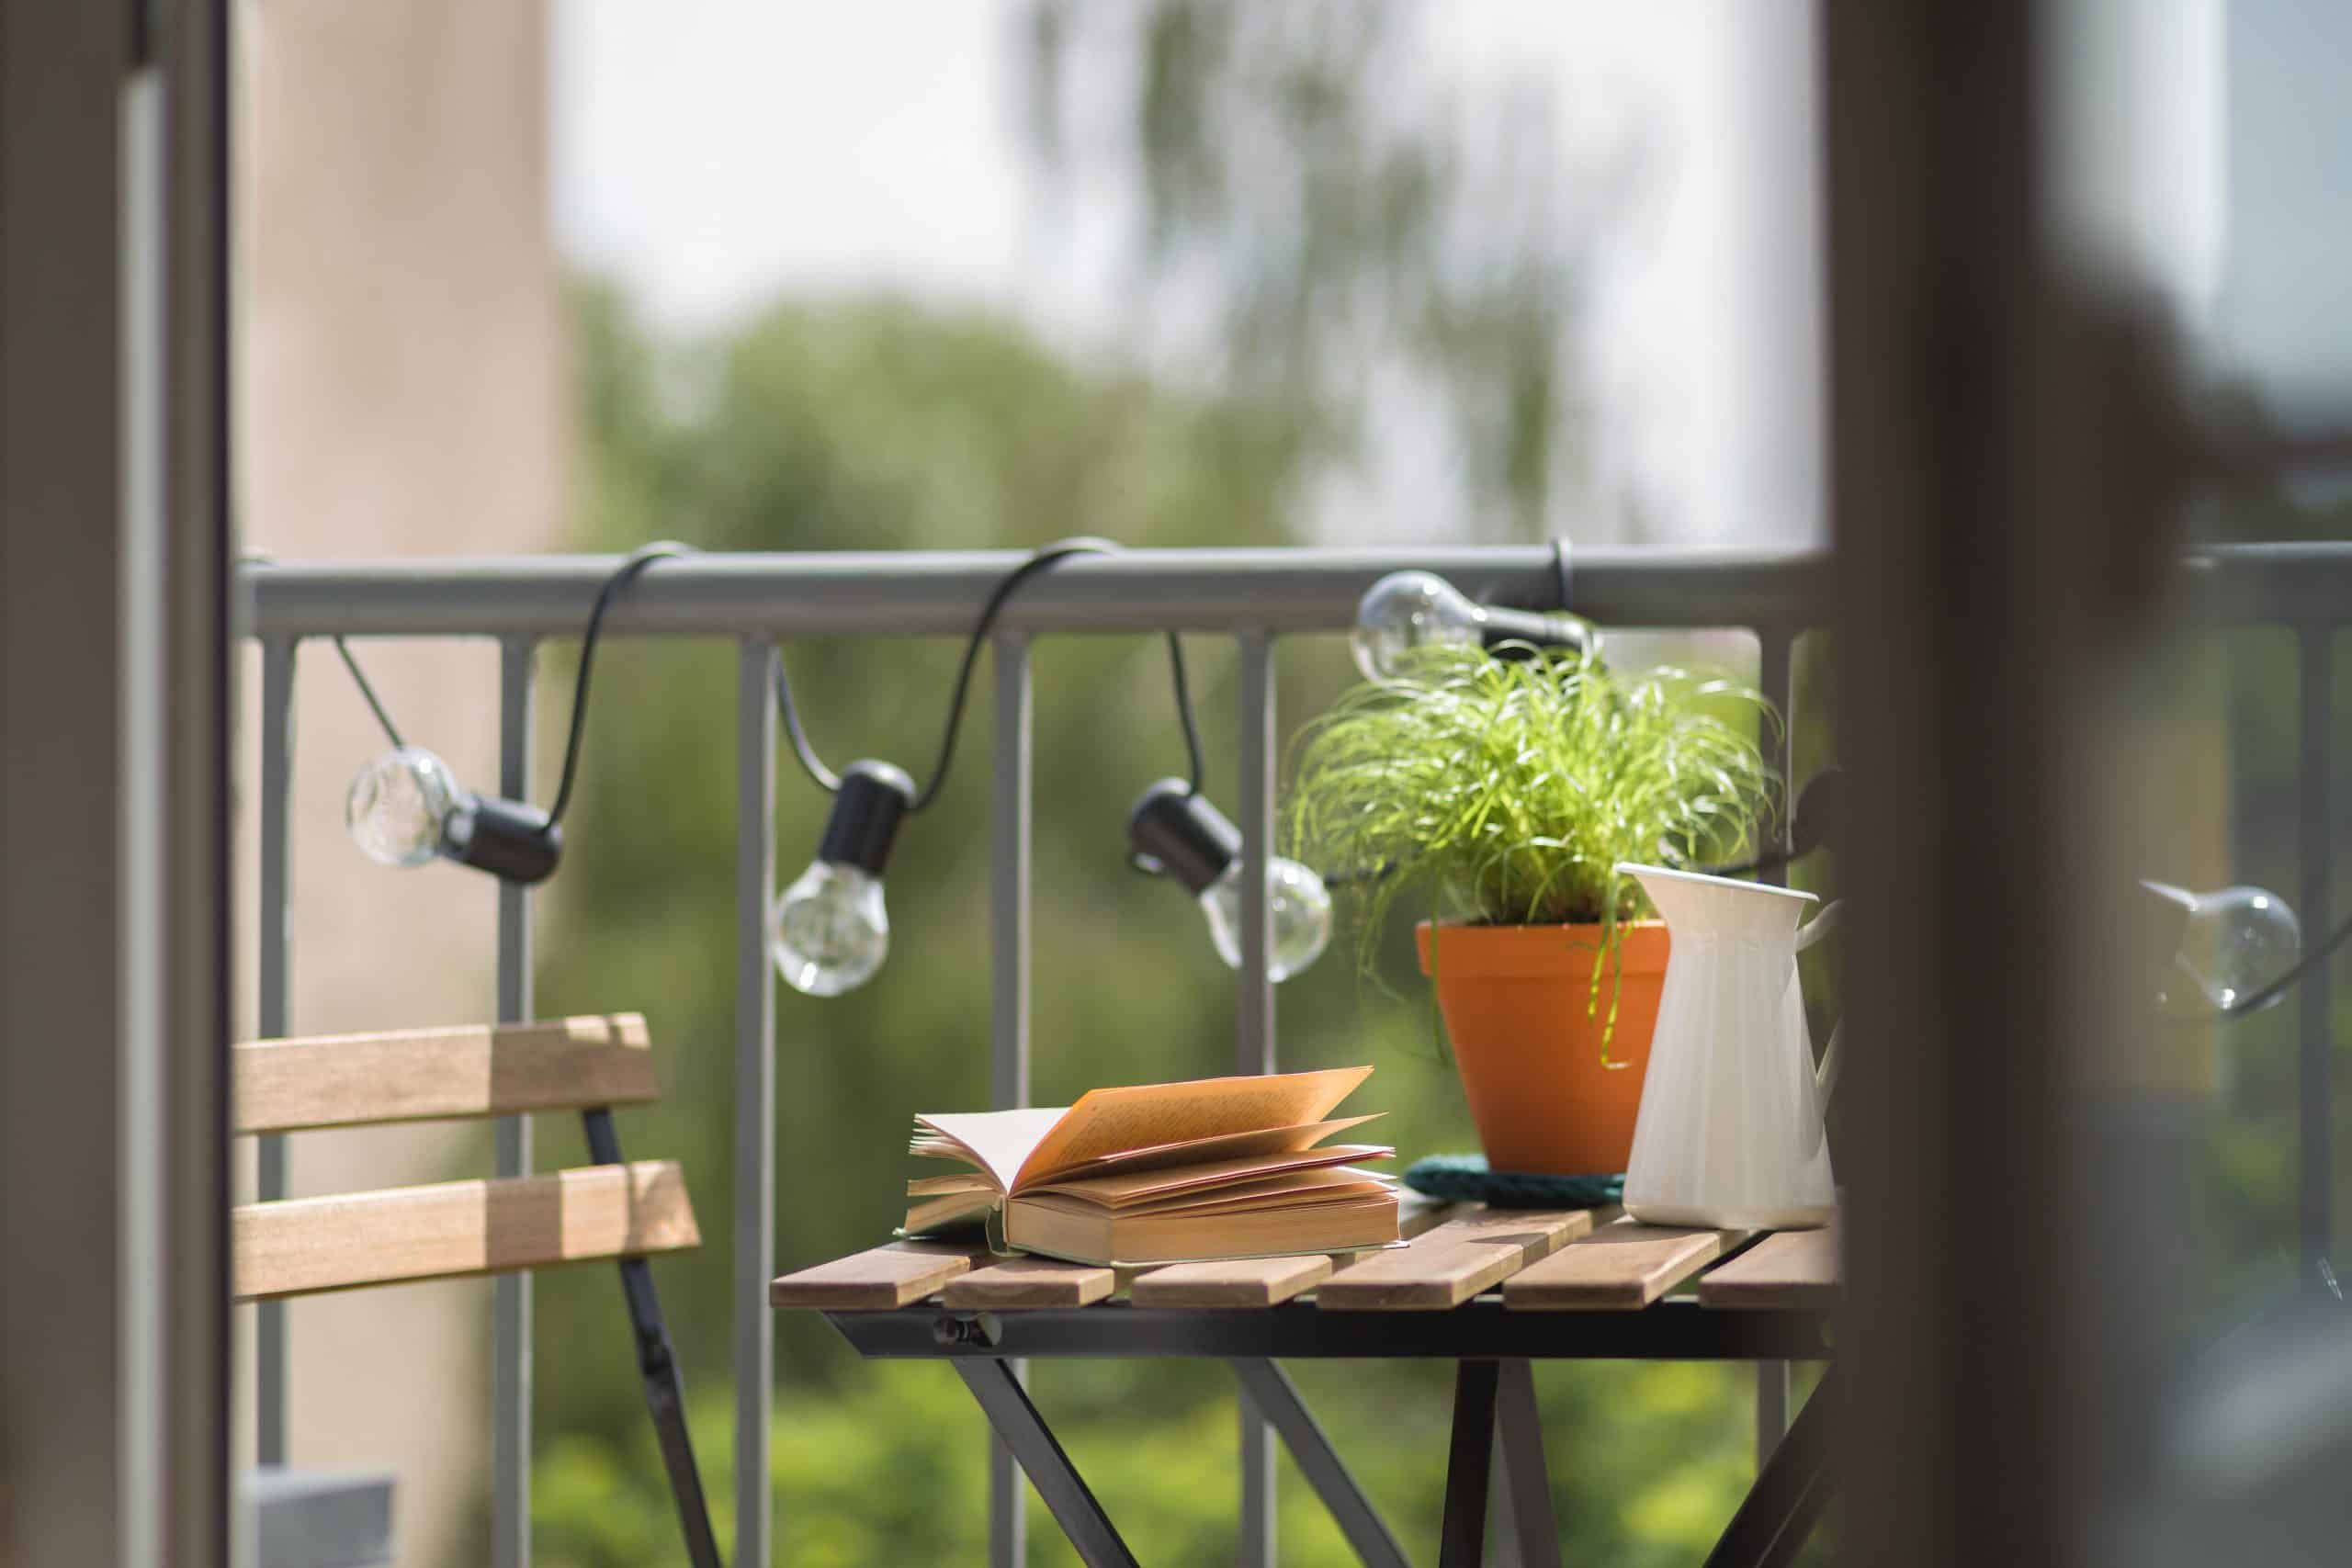
Before you start installing string light poles in your backyard, it’s important to carefully choose the location where you want them to be placed. Consider the overall layout of your outdoor space and think about how the light poles will enhance the ambiance and functionality of the area.
Here are a few things to keep in mind when selecting the perfect location:
1. Evaluate the size and shape of your backyard: Take a walk around your yard and assess its size and shape. Determine the areas where you want to create a focal point with the string lights. It could be a patio, a seating area, or a walkway. Visualize how the lights will accentuate these spaces.
2. Consider the proximity to power sources: Ensure that the chosen location is close to an electrical outlet or power source. String lights require a power supply, so you’ll need to plan accordingly. If there is no existing electrical connection, consult with a professional electrician to install one.
3. Take into account the natural elements: Consider the surrounding trees, plants, and structures when selecting the location. Look for spots that have adequate clearance from any potential hazards, such as branches or overhangs. Also, consider the direction and strength of the wind, as it may affect the hanging and stability of the lights.
4. Reflect on the desired lighting effect: Think about the effect you want to achieve with the string lights. Do you want a cozy and intimate atmosphere or a bright and festive ambiance? This will help you determine the distance between each pole and the type of bulbs or lighting fixtures to use.
5. Ensure ease of access: Keep in mind that you may need to access the poles for maintenance or to adjust the lights. Choose a location that is easily accessible, allowing you to reach the poles without any inconvenience.
By carefully considering these factors, you can select the perfect location for your string light poles. Once you have decided on the ideal spot, it’s time to gather the necessary tools and materials for the installation process.
Step 2: Gather the Necessary Tools and Materials
To ensure a smooth and efficient installation process, it’s important to gather all the necessary tools and materials before you start installing string light poles in your backyard. Having everything on hand will save you time and prevent any interruptions during the process.
Here’s a list of the essential tools and materials you will need:
1. String lights: Choose weather-resistant and outdoor-rated string lights that suit your aesthetic preferences. Opt for LED bulbs, as they are energy-efficient and have a longer lifespan.
2. Poles: Select sturdy and durable poles to support the weight of the string lights. Popular options include metal poles, wooden posts, or PVC pipes. Make sure the height and thickness of the poles meet your desired specifications.
3. Concrete mix: You will need concrete mix to secure the poles firmly in the ground. Choose a high-quality concrete mix that is suitable for outdoor applications.
4. Digging tools: Depending on the type of soil in your backyard, you may need a shovel, post hole digger, or an auger to dig the holes for the poles. Consider renting or borrowing these tools if you don’t already have them.
5. Level: A level will help you ensure that the poles are installed straight and upright. A bubble level or a laser level can be handy for this task.
6. Measuring tape: Accurate measurements are crucial for proper pole placement. A measuring tape will help you determine the distance between each pole and ensure uniformity.
7. Eye screws or hooks: You will need hooks or eye screws to hang the string lights from the poles. Choose durable and rust-resistant options that can hold the weight of the lights.
8. Concrete mixing tools: Depending on the specific concrete mix you are using, you may need a wheelbarrow, bucket, or a mixing drill to prepare the concrete.
9. Safety equipment: Always prioritize safety during any DIY project. Wear protective gloves, safety glasses, and appropriate footwear to protect yourself during the installation process.
Once you have gathered all the necessary tools and materials, you will be well-prepared to move on to the next step: measuring and marking the pole placement.
Step 3: Measure and Mark the Pole Placement
Now that you have gathered all the necessary tools and materials, it’s time to measure and mark the pole placement in your backyard. This step is essential to ensure that the string light poles are installed in the desired locations and at the correct distances.
Follow these steps to measure and mark the pole placement:
1. Determine the spacing between the poles: Consider the length of the string lights and the desired aesthetic. Typically, a spacing of 8 to 10 feet between each pole works well. Measure and mark the spots where each pole will be placed along your desired area.
2. Use a measuring tape: Measure the distance from the starting point to the first marked spot for the first pole. Ensure accurate measurements to maintain consistency throughout the installation.
3. Use stakes or flags: To mark the pole placement, insert stakes or use flags at the marked spots. This will give you a visual reference as you proceed with the installation.
4. Double-check the alignment: Before proceeding further, double-check the alignment of the marked spots. Make any necessary adjustments to ensure that the poles will be evenly spaced and aligned.
5. Clear the marked area: Clear any debris or obstacles in the marked area to make the digging and installation process easier.
6. Start digging the holes: Using the appropriate digging tool (shovel, post hole digger, or auger), start digging the holes at each of the marked spots. The depth of the holes should be at least 18 inches to ensure stability for the poles.
7. Ensure proper spacing and levelness: As you dig each hole, periodically check the spacing and alignment between the holes. Use a level to ensure that each hole is dug to the correct depth and that the bottoms are level.
By carefully measuring and marking the pole placement, you will ensure that the string light poles are positioned accurately and uniformly in your backyard. Once the holes are dug, it’s time to move on to the next step: setting the poles in concrete.
Step 4: Dig the Holes for the Poles
Now that you have measured and marked the pole placement in your backyard, it’s time to dig the holes for the poles. This step is crucial as it will provide a stable foundation for the string light poles, ensuring they remain upright and secure.
Follow these steps to dig the holes for the poles:
1. Begin with the first marked spot: Start digging the hole at the first marked spot using your chosen digging tool. The size of the hole should be slightly wider than the diameter of the pole to allow for the addition of concrete.
2. Dig to the recommended depth: The depth of the hole will depend on various factors, including the height of the poles and the type of soil in your backyard. As a general guideline, aim for a depth of at least 18 inches to provide stability. However, if you live in an area with freeze-thaw cycles or have loose or sandy soil, consider digging deeper to ensure even greater stability.
3. Remove any debris: As you dig, remove any rocks, roots, or other debris that may interfere with the placement of the poles.
4. Check for levelness: Once the hole is dug, check for levelness using a bubble level. The bottom of the hole should be level to ensure that the pole sits upright.
5. Repeat the process for all holes: Move on to the next marked spot and repeat the digging process. Ensure that the spacing and alignment between the holes are consistent to maintain a visually pleasing arrangement.
6. Dispose of the excess soil: After all the holes are dug, dispose of the excess soil in a responsible manner. You can use it to fill in other areas of your yard or garden that may need leveling.
By carefully digging the holes for the poles, you are establishing a solid foundation for the string light installation. This step sets the stage for the next crucial step: setting the poles in concrete for added stability and longevity.
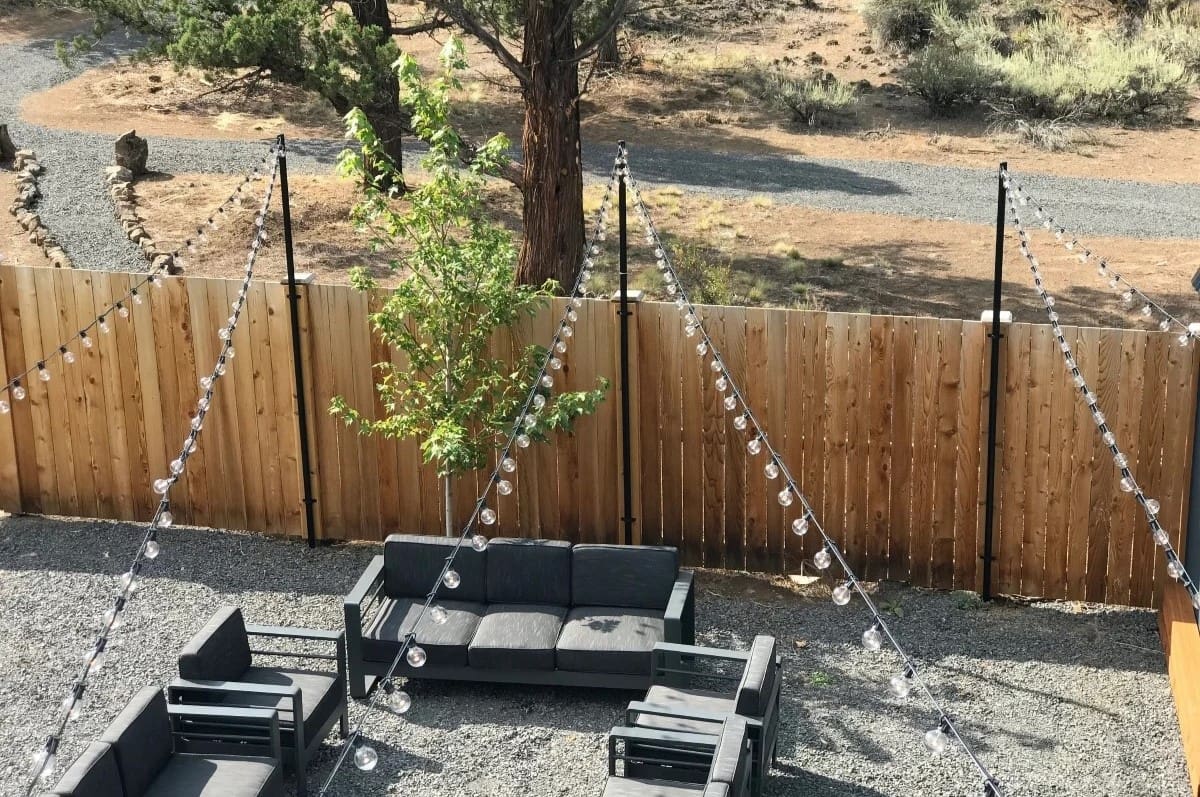
When installing string light poles in your backyard, make sure to measure and mark the locations for the poles accurately to ensure they are evenly spaced and secure. Use a level to ensure the poles are straight before securing them in place.
Read more: How To Store String Lights
Step 5: Set the Poles in Concrete
After successfully digging the holes for the poles, the next step in installing string light poles is to set them in concrete. This will provide the necessary stability and ensure that the poles remain in place, even during harsh weather conditions.
Follow these steps to set the poles in concrete:
1. Prepare the concrete mix: Follow the manufacturer’s instructions to prepare the concrete mix in a wheelbarrow, bucket, or mixing drill. Make sure to achieve the right consistency—neither too dry nor too runny.
2. Place the pole in the hole: With the help of a friend or family member, carefully place the pole in the center of the hole. Ensure that the pole is level by checking with a bubble level.
3. Pour the concrete mix: Start pouring the concrete mix around the pole, ensuring it fills the hole completely. Take care not to disturb the levelness of the pole as you pour the concrete.
4. Consolidate the concrete: Use a stick or a metal rod to gently push and consolidate the concrete around the pole. This will remove any air pockets and ensure that the concrete is evenly distributed.
5. Double-check the alignment: While the concrete is still wet, double-check the alignment of the pole. Make any necessary adjustments to ensure that the pole is straight and upright.
6. Repeat the process for all poles: Move on to the next hole and repeat the process for setting the pole in concrete. Ensure that each pole is positioned correctly, level, and aligned.
7. Allow the concrete to cure: Let the concrete cure as per the manufacturer’s instructions. This typically involves leaving it undisturbed for at least 24 to 48 hours, depending on the specific concrete mix. Avoid placing any weight or stress on the poles during this period.
Setting the poles in concrete is a vital step to ensure the stability and longevity of your string light installation. Once the concrete has fully cured, you can proceed to the next step: attaching hooks or eye screws to the poles for hanging the string lights.
Step 6: Attach Hooks or Eye Screws to the Poles
With the poles securely set in concrete, you’re ready to move on to the next step in installing your string light poles: attaching hooks or eye screws. These will serve as the anchor points for hanging your string lights, ensuring they are securely and evenly spaced along the poles.
Follow these steps to attach hooks or eye screws to the poles:
1. Determine the placement: Decide where you want to attach the hooks or eye screws on each pole. Depending on your design preference, you may choose to have multiple attachment points or just one at the top. Generally, attaching hooks or eye screws every 1-2 feet is a good spacing guideline.
2. Choose the right hardware: Select hooks or eye screws that are sturdy and suitable for outdoor use. Look for options that are resistant to rust and corrosion. The size of the hardware will depend on the thickness and material of the poles you’re using.
3. Pre-drill pilot holes: To make installation easier and prevent the poles from splitting or cracking, pre-drill pilot holes at the marked attachment points using a drill bit that matches the size of the hardware. Be sure to drill straight and avoid drilling too deep. Remove any debris from the holes after drilling.
4. Attach the hooks or eye screws: Insert and screw the hooks or eye screws into the pre-drilled holes. Use a screwdriver or a drill with a screwdriver bit, depending on the type of hardware you’re using. Ensure the hooks or eye screws are securely fastened but avoid over-tightening, as this may damage the poles.
5. Double-check the alignment: While attaching the hooks or eye screws, double-check the alignment of each one. Make any necessary adjustments to ensure they are straight and level. Consistent alignment will ensure that your string lights hang evenly and look visually appealing.
6. Test the strength: Before hanging the string lights, ensure that the hooks or eye screws are securely attached and can support the weight of the lights. Give them a gentle tug to confirm their stability. If any of the attachments feel loose, tighten them further or consider using a different hardware option.
By attaching hooks or eye screws to the poles, you’re creating the anchor points for hanging your string lights. Once this step is complete, you can move on to the final step: hanging the string lights and bringing your backyard to life with a warm and beautiful glow.
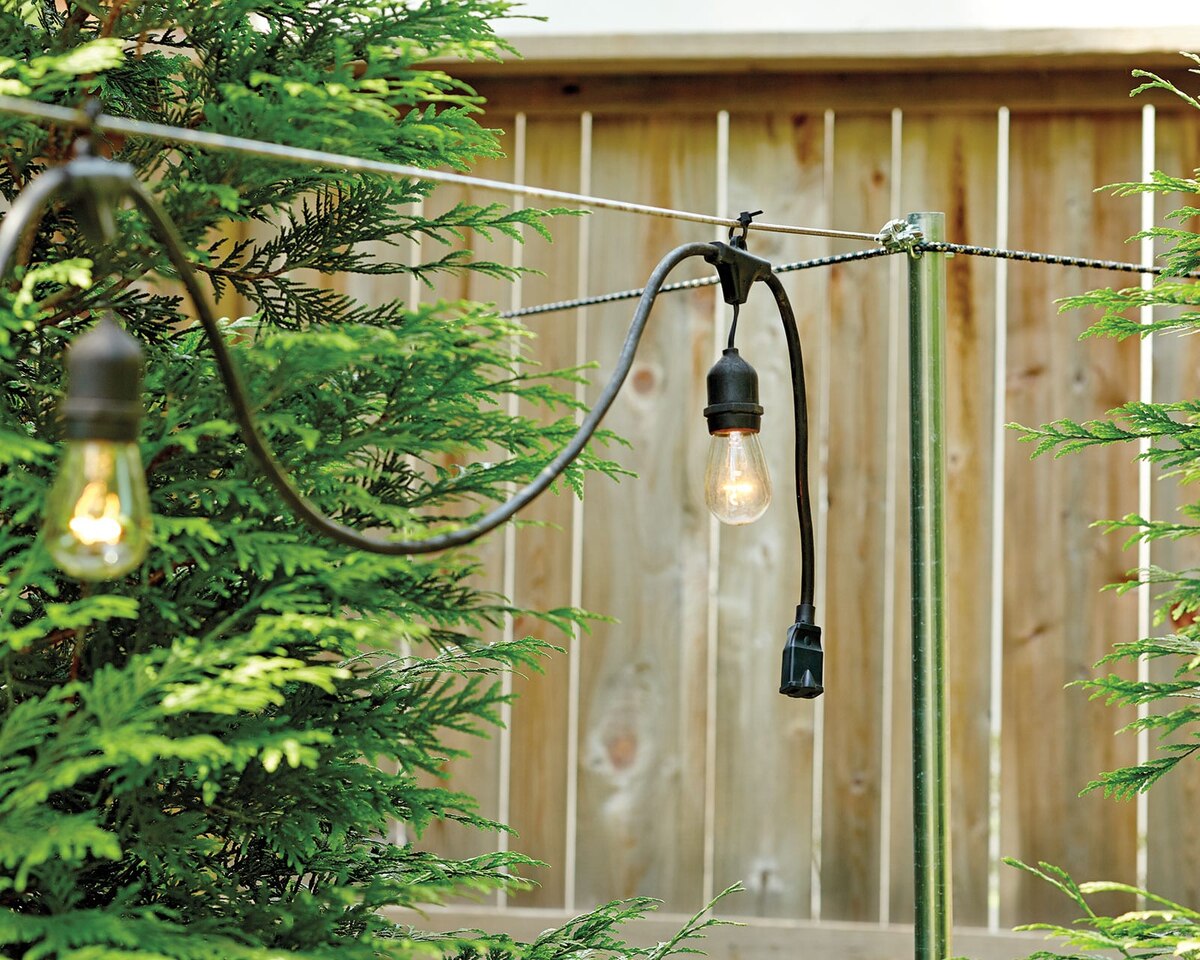
Step 7: Hang the String Lights
Congratulations! You have reached the final step in installing your string light poles: hanging the string lights. This is where your backyard transformation comes to life as you create a captivating and magical atmosphere with the soft glow of the lights.
Follow these steps to hang the string lights:
1. Start at one end: Begin by attaching one end of the string lights to the first hook or eye screw on one of the poles. Depending on the type of string lights you have, there may be built-in loops, clips, or hooks that make hanging easier. Otherwise, use zip ties or outdoor-rated string to secure the lights to the hooks or eye screws.
2. Work your way across: With the first end secured, carefully run the string lights across to the next pole, creating a taut line. Ensure that the lights are evenly spaced and not sagging or drooping.
3. Secure the lights along the poles: As you reach each pole, use the hooks or eye screws to secure the string lights in place. This will ensure that they stay in position and continue to create a beautiful display.
4. Continue the pattern: Repeat step 2 for the remaining poles, following the pattern and spacing you desire. Keep checking the alignment and tautness of the lights as you go along to achieve a professional and visually pleasing installation.
5. Connect multiple strands (if applicable): If you have multiple strands of string lights, make sure to connect them properly to create a seamless and continuous illumination. Follow the manufacturer’s instructions for connecting and extending the strands, using waterproof connectors if necessary.
6. Adjust and test the lighting effect: Once all the string lights are hung, step back and evaluate the lighting effect. Make any necessary adjustments to ensure that the lights are evenly distributed and creating the desired ambiance. If needed, reposition certain lights or tighten the tension to optimize the overall appearance.
7. Test the lights: Before completing the installation, test the lights to ensure they are functioning properly. Plug them in and confirm that all bulbs are lit and there are no issues with connectivity or performance. If any bulbs are not working, replace them as needed.
Now sit back, relax, and enjoy the enchanting ambiance created by your beautifully hung string lights. Whether you’re hosting a backyard get-together or simply unwinding after a long day, the warm glow and inviting atmosphere will surely make your outdoor space a favorite spot for relaxation and enjoyment. Congratulations on a successful string light pole installation!
Conclusion
Installing string light poles in your backyard can transform an ordinary outdoor space into a captivating and inviting area that you can enjoy day and night. By following the steps outlined in this guide, you can successfully create a warm and enchanting atmosphere that will enhance your outdoor experience.
In the beginning, we discussed the importance of choosing the perfect location for your string light poles. By considering factors such as size, proximity to power sources, natural elements, and desired lighting effect, you can select the ideal spot for your installation.
We then moved on to gathering the necessary tools and materials. From string lights and poles to concrete mix and digging tools, having everything on hand will ensure a smooth and efficient installation process.
The next steps involved measuring and marking the pole placement, digging the holes, setting the poles in concrete, and attaching the hooks or eye screws. Each of these steps is crucial in ensuring the stability and safety of your string light poles.
Finally, we discussed the exciting moment of hanging the string lights. By carefully securing the lights along the poles and paying attention to spacing and alignment, you can create a visually stunning display that will elevate the ambiance of your backyard.
Now, it’s time for you to enjoy the fruits of your labor. Relax in your beautifully illuminated outdoor space, host memorable gatherings, or simply unwind amidst the enchanting glow of the string lights. Embrace the cozy atmosphere and the magical charm they bring to your backyard.
Remember, when working with electrical components and installations, always prioritize safety. If you’re unsure about any steps in the installation process, it’s recommended to consult with a professional electrician or seek guidance from knowledgeable individuals.
With the guidance provided in this guide, you have all the information you need to successfully install string light poles in your backyard. So, gather your tools, follow the steps, and prepare to create unforgettable memories in your newly transformed outdoor oasis. Cheers to a beautifully illuminated backyard!
Frequently Asked Questions about How To Install String Light Poles In Your Backyard
Was this page helpful?
At Storables.com, we guarantee accurate and reliable information. Our content, validated by Expert Board Contributors, is crafted following stringent Editorial Policies. We're committed to providing you with well-researched, expert-backed insights for all your informational needs.


0 thoughts on “How To Install String Light Poles In Your Backyard”