Home>Furniture & Design>Outdoor Furniture>How To Clean Outdoor Metal Light Fixtures
Outdoor Furniture
How To Clean Outdoor Metal Light Fixtures
Modified: August 21, 2024
Learn how to properly clean and maintain your outdoor metal light fixtures to keep them looking their best. Discover expert tips for preserving your outdoor-furniture-furniture-and-design.
(Many of the links in this article redirect to a specific reviewed product. Your purchase of these products through affiliate links helps to generate commission for Storables.com, at no extra cost. Learn more)
Introduction
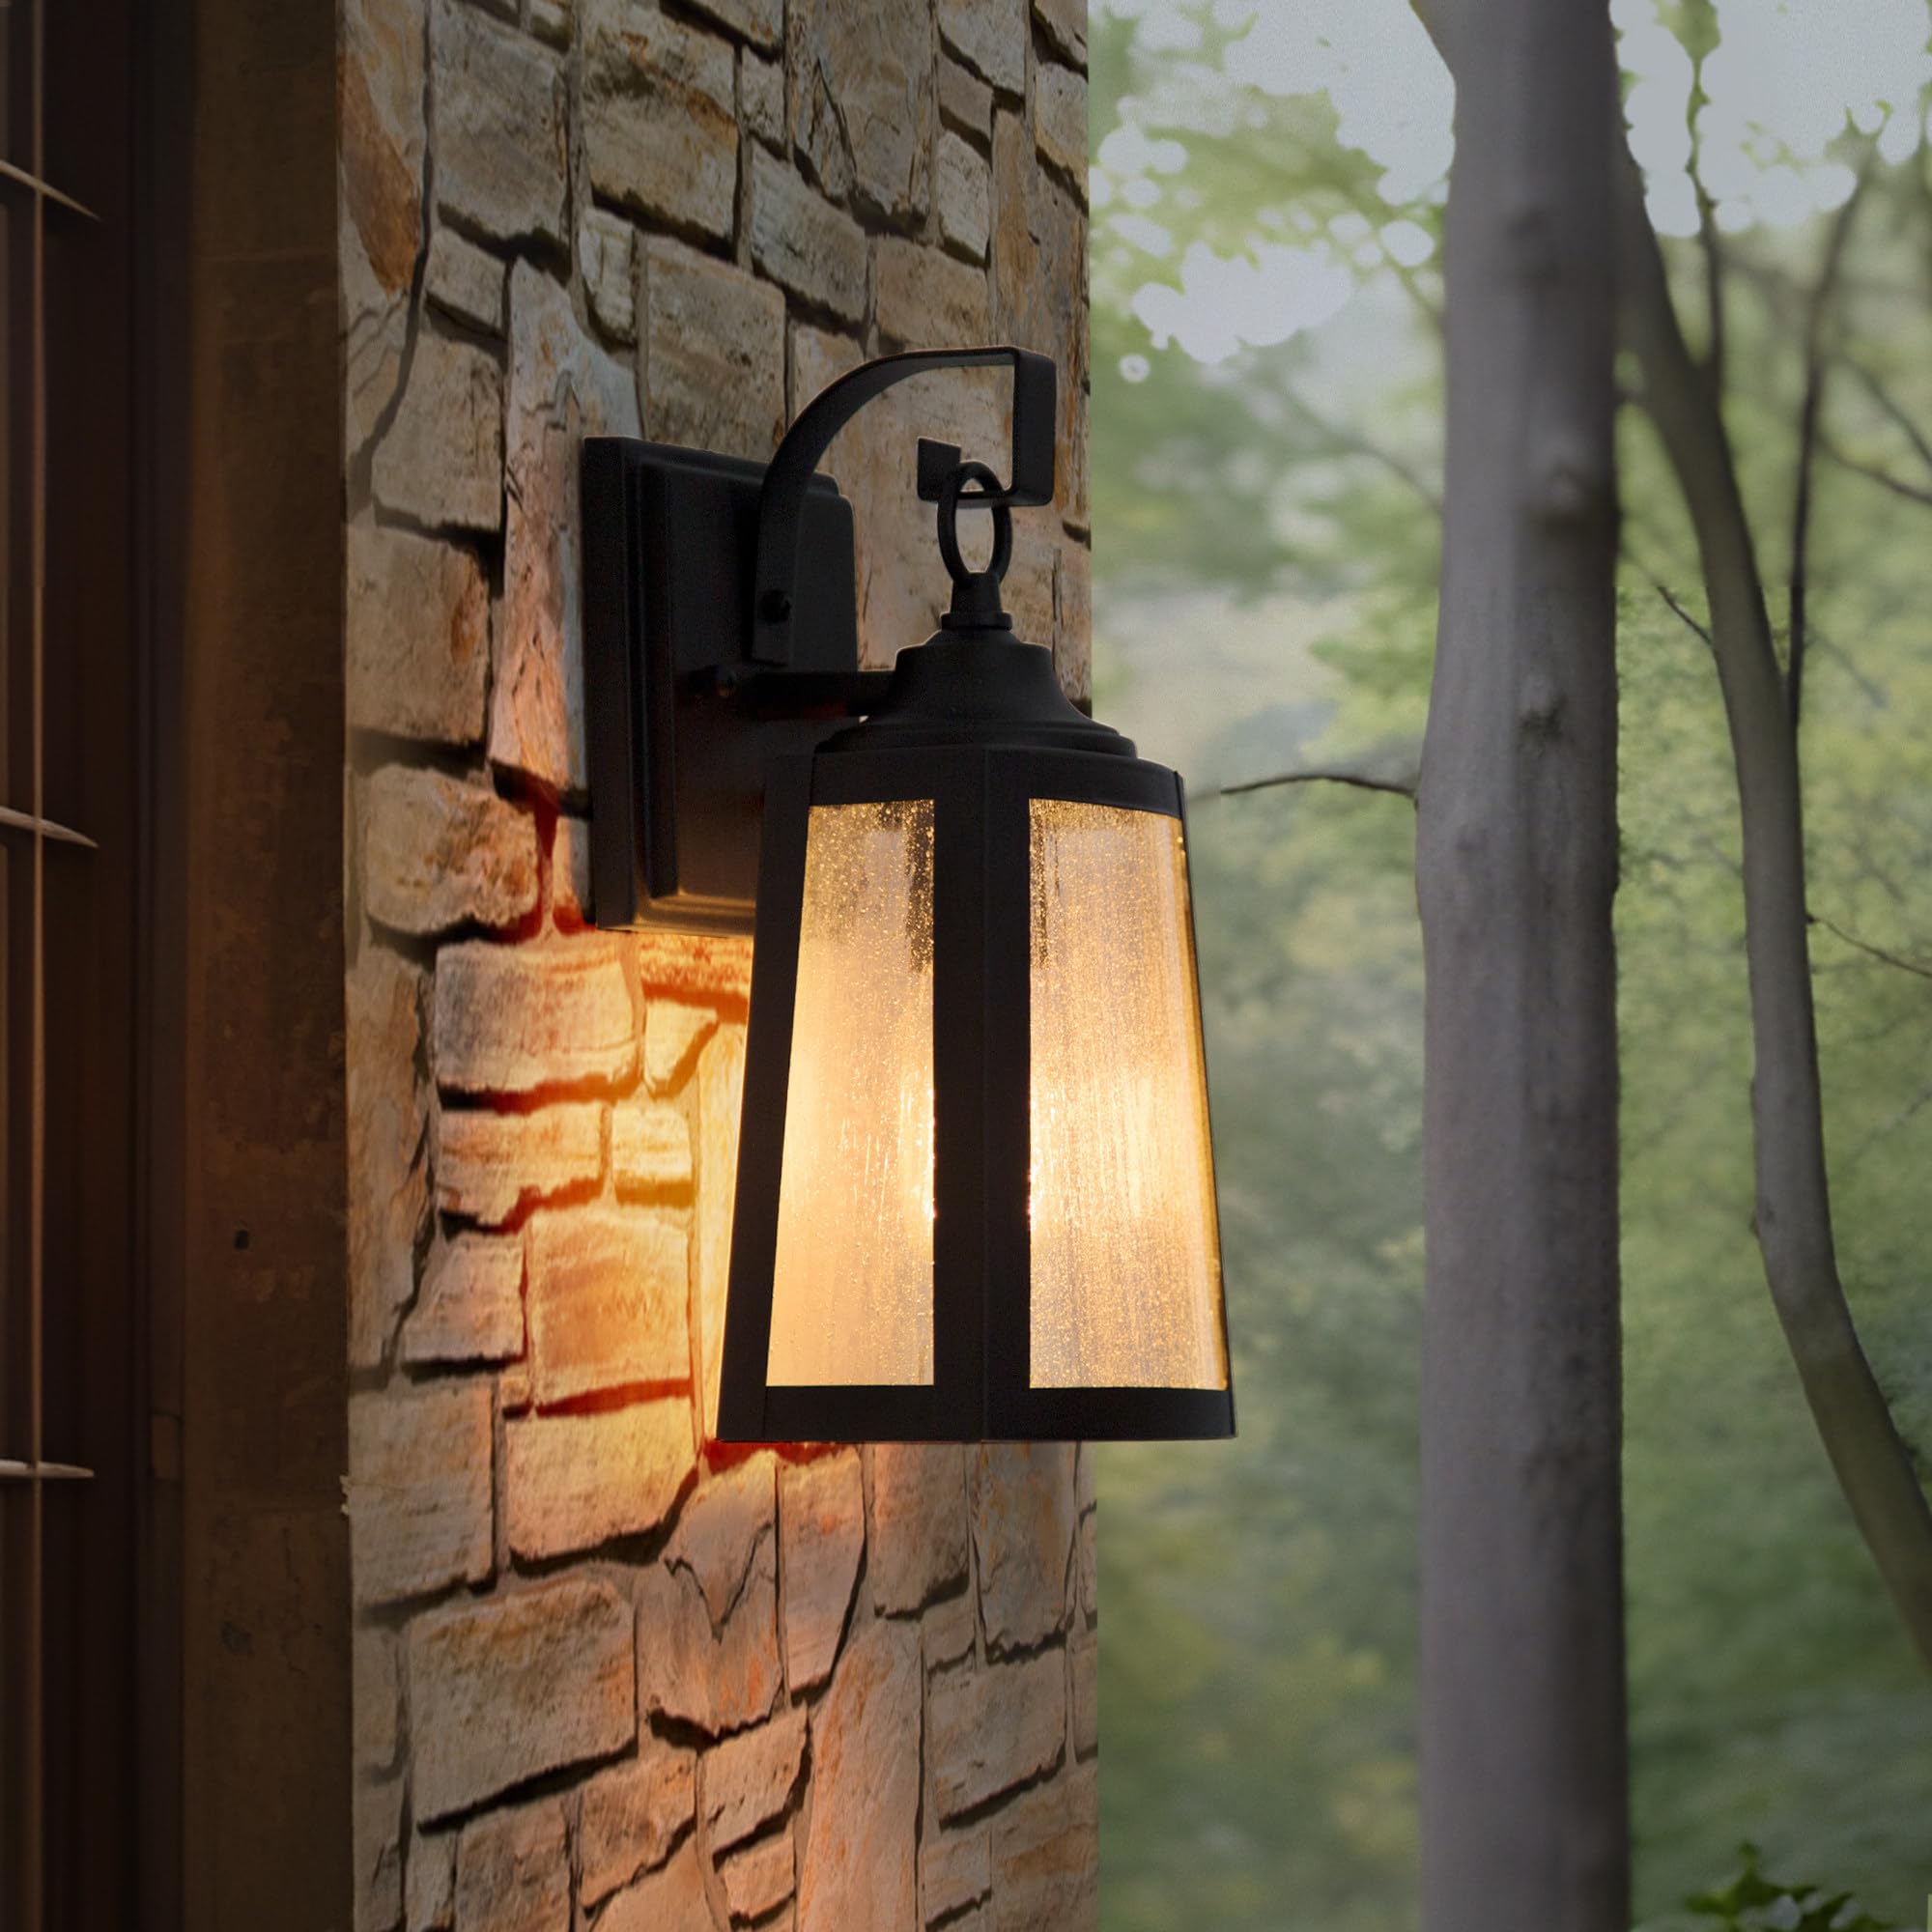
Welcome to our comprehensive guide on how to clean outdoor metal light fixtures. Outdoor lighting not only enhances the aesthetic appeal of your home but also provides safety and security. Over time, outdoor metal light fixtures can accumulate dirt, dust, and grime, diminishing their brightness and overall appearance. Regular cleaning not only restores their luster but also ensures their longevity.
In this article, we will walk you through the step-by-step process of effectively cleaning outdoor metal light fixtures. By following these simple yet crucial maintenance steps, you can ensure that your outdoor lighting continues to illuminate your outdoor space with brilliance.
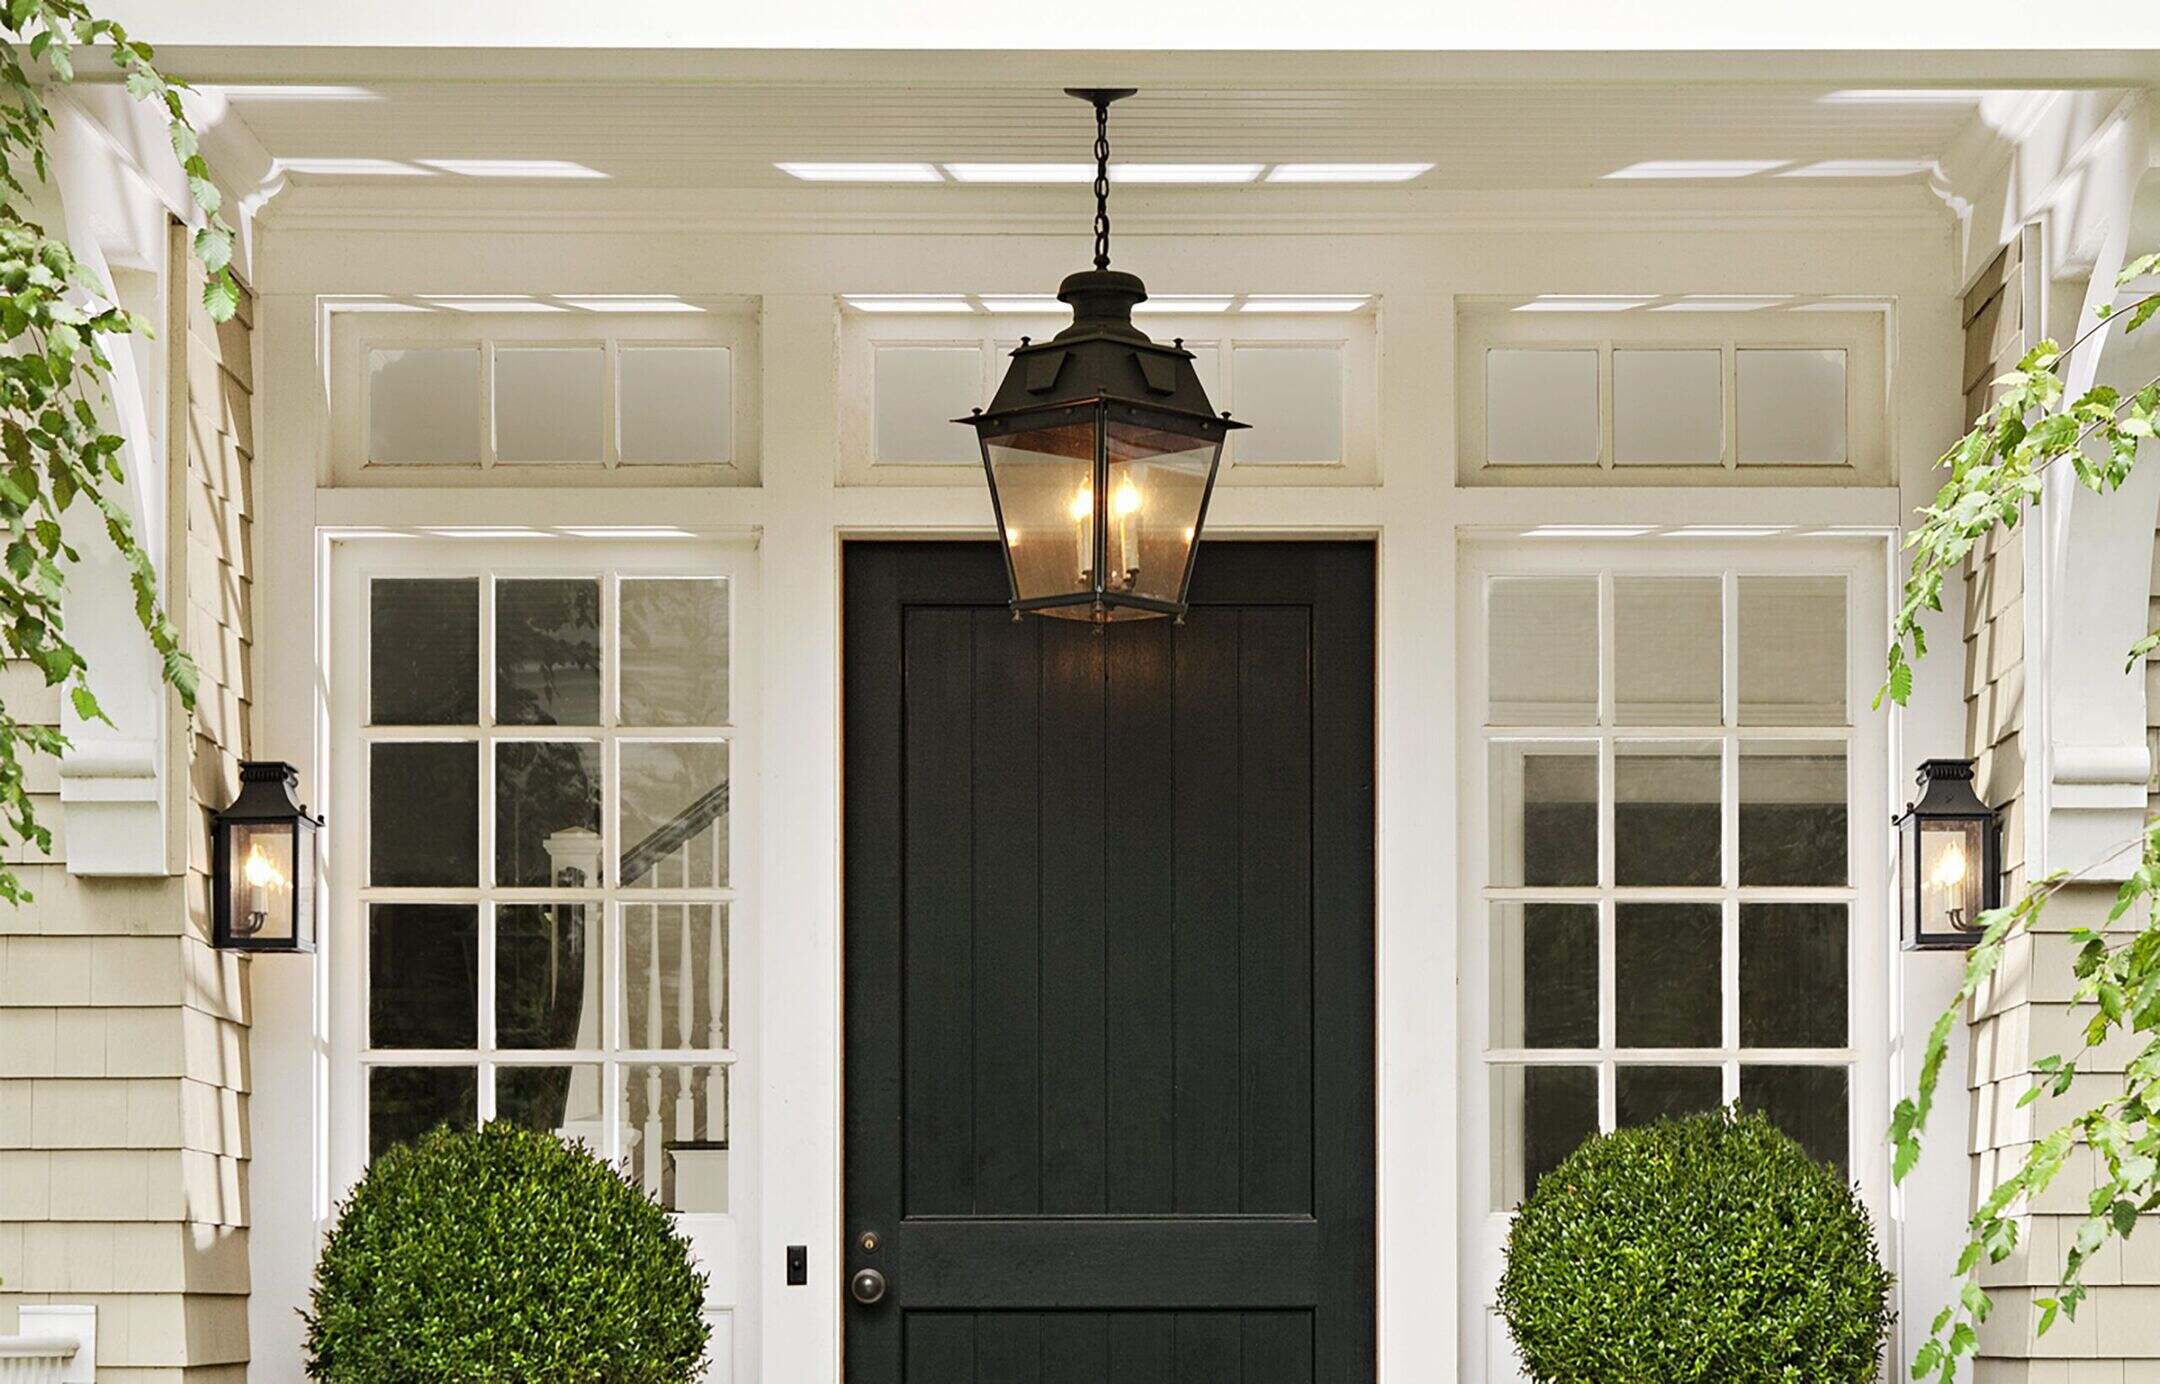
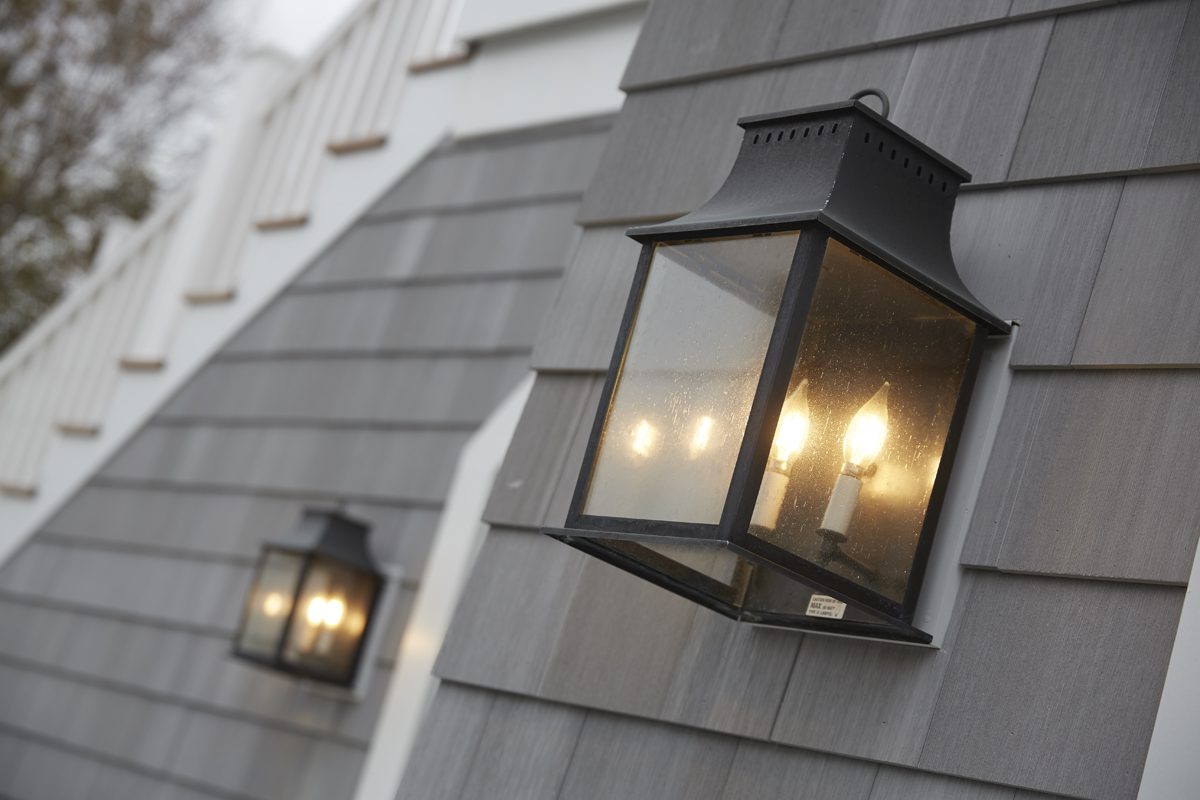
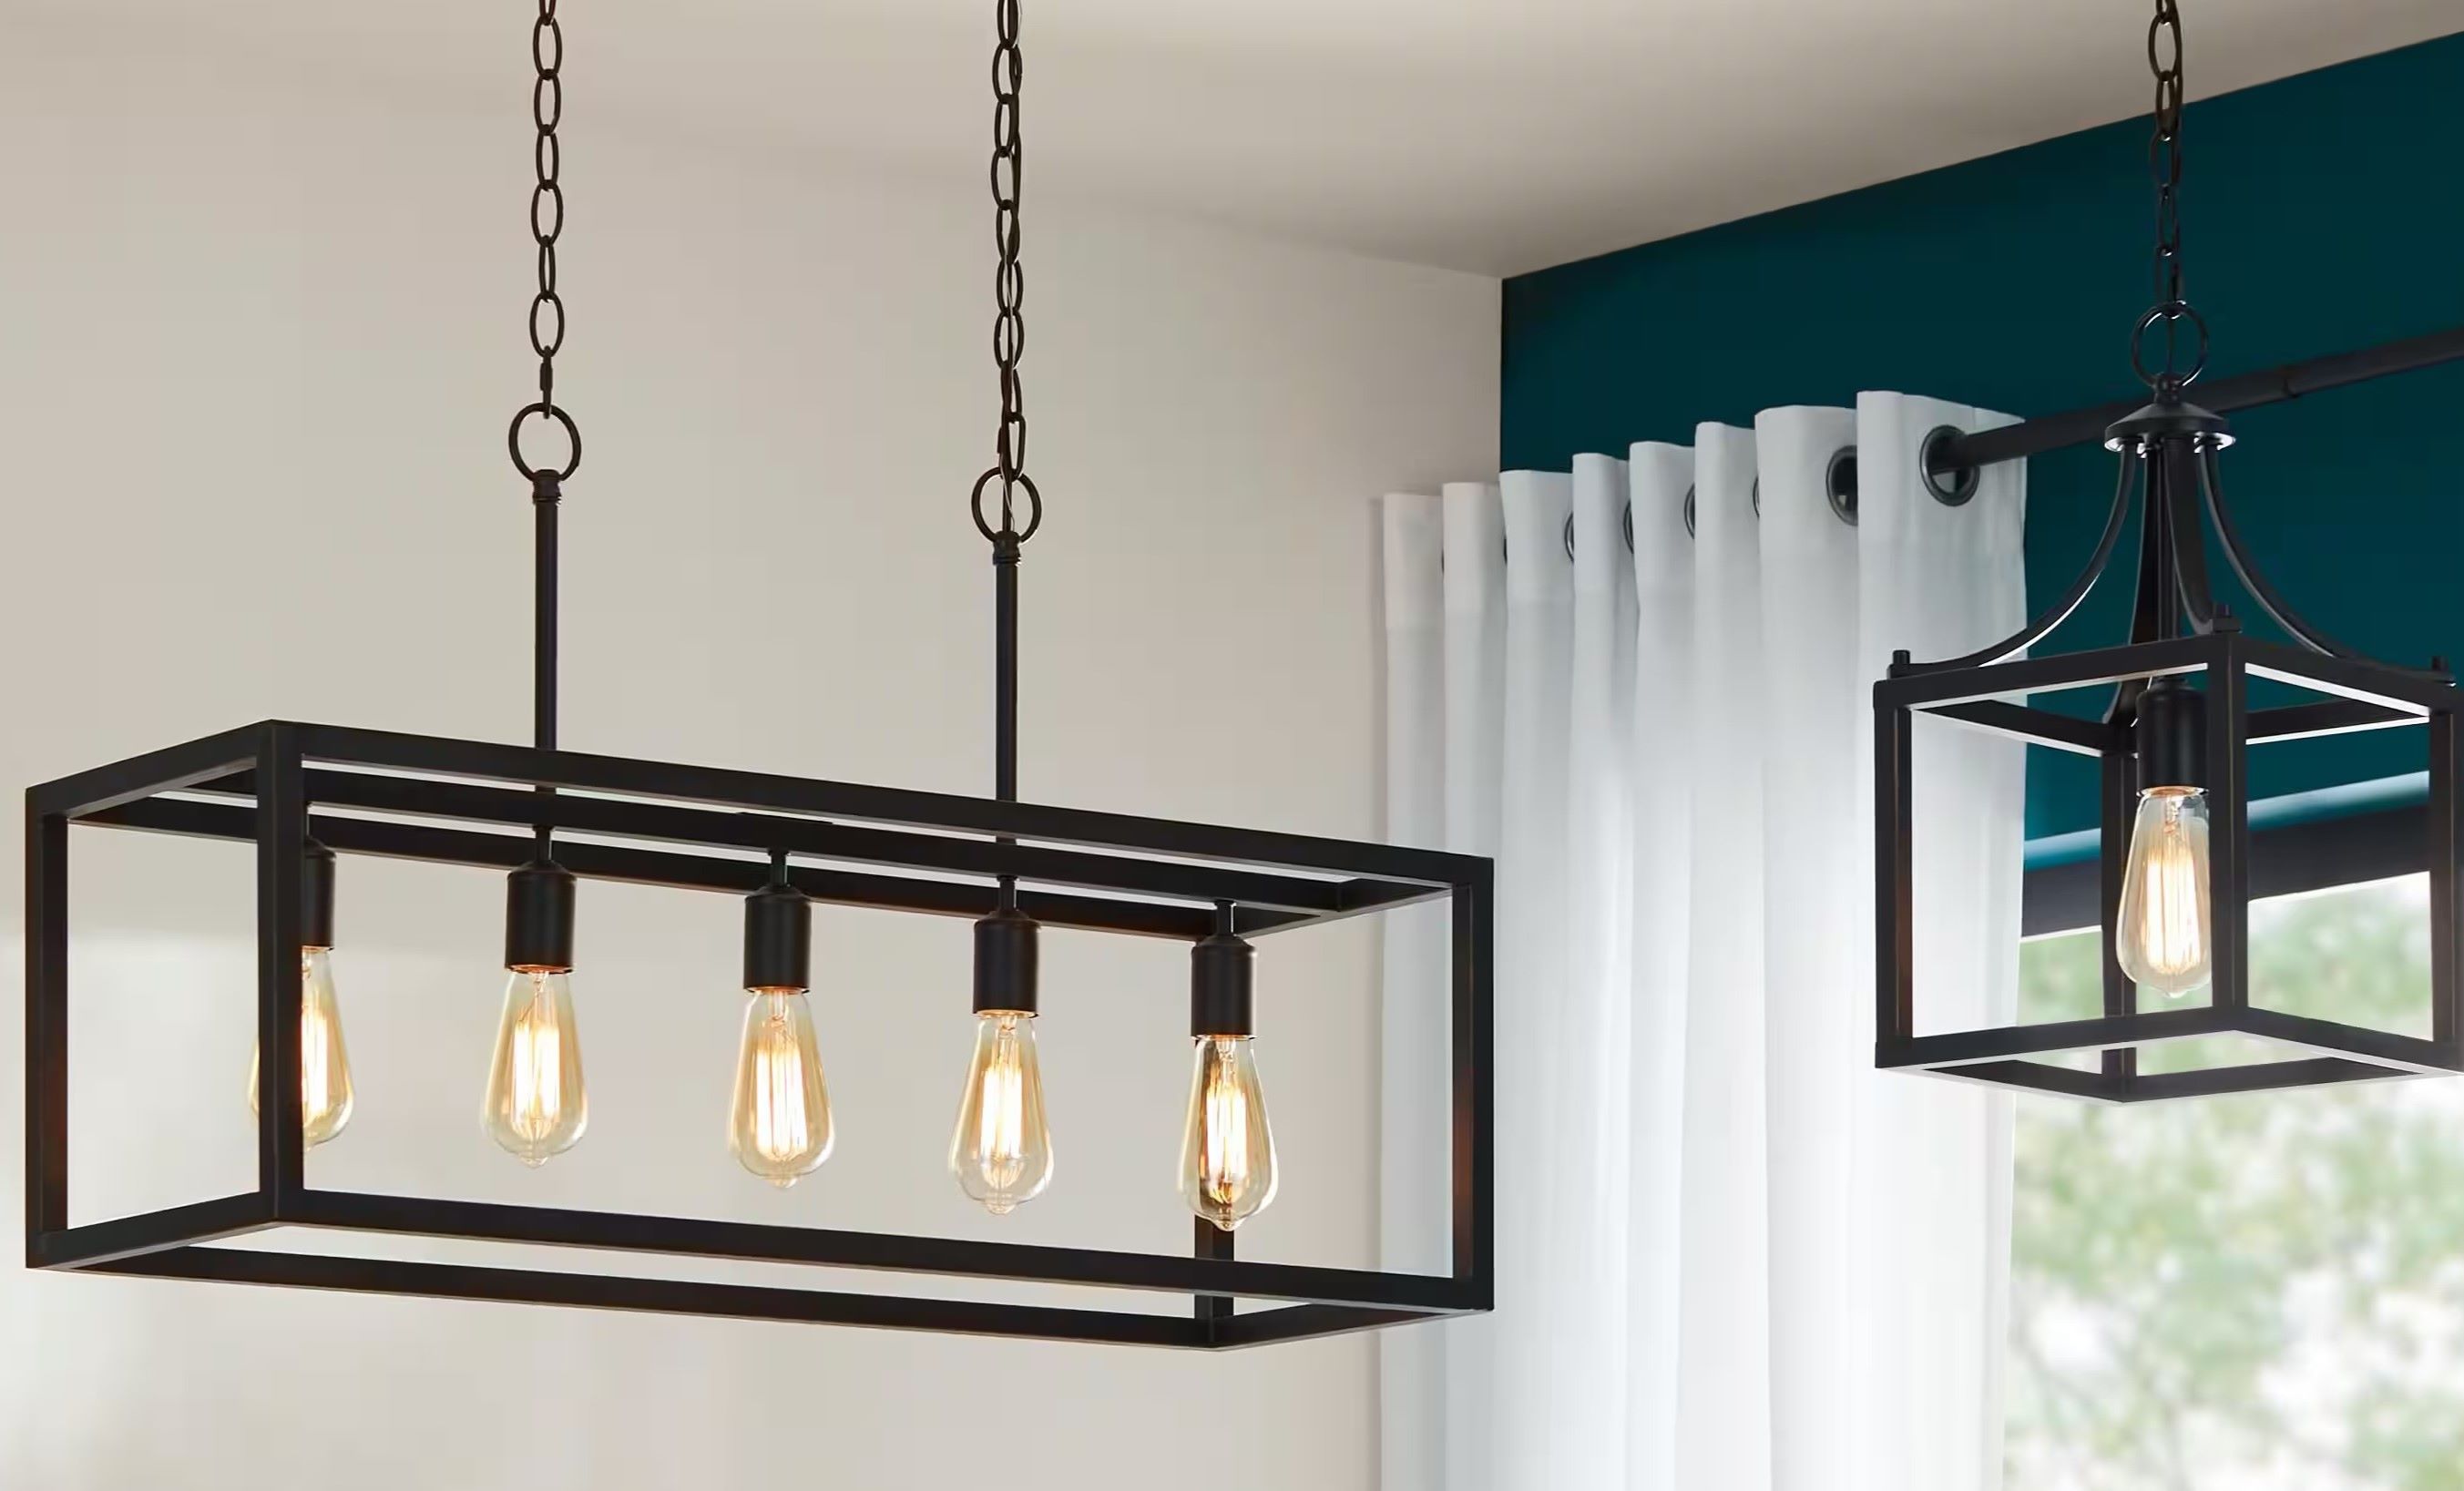
Whether you have wall-mounted sconces, pendant lights, or post-mounted fixtures, proper cleaning and maintenance are essential to keep them looking their best. Additionally, routine cleaning can prevent corrosion and extend the lifespan of your outdoor metal light fixtures.
Join us as we delve into the safety precautions, tools and materials needed, and the detailed steps to clean and maintain your outdoor metal light fixtures. With a little effort and the right approach, you can keep your outdoor lighting fixtures shining brightly for years to come. Let's get started!
Key Takeaways:
- Regular cleaning and maintenance of outdoor metal light fixtures ensures they shine brightly, enhancing outdoor ambiance and safety. Prioritize safety, gather tools, deactivate power, clean, inspect, and reinstall for optimal results.
- By following safety precautions, gathering tools, and methodically cleaning, inspecting, and reinstalling outdoor metal light fixtures, you can preserve their appearance, functionality, and longevity. Regular maintenance prevents potential issues and ensures a welcoming outdoor environment.
Read more: How To Seal Outdoor Light Fixture
Safety Precautions
Before embarking on the cleaning process for outdoor metal light fixtures, it’s crucial to prioritize safety. Here are some essential safety precautions to keep in mind:
- Turn off the Power: Always switch off the power to the light fixture at the circuit breaker or fuse box before attempting any maintenance or cleaning. This step is vital to prevent the risk of electrical shock.
- Allow the Fixture to Cool: If the light fixture has been in use, allow it to cool down before starting the cleaning process. Hot surfaces can cause burns or discomfort, so exercising caution is paramount.
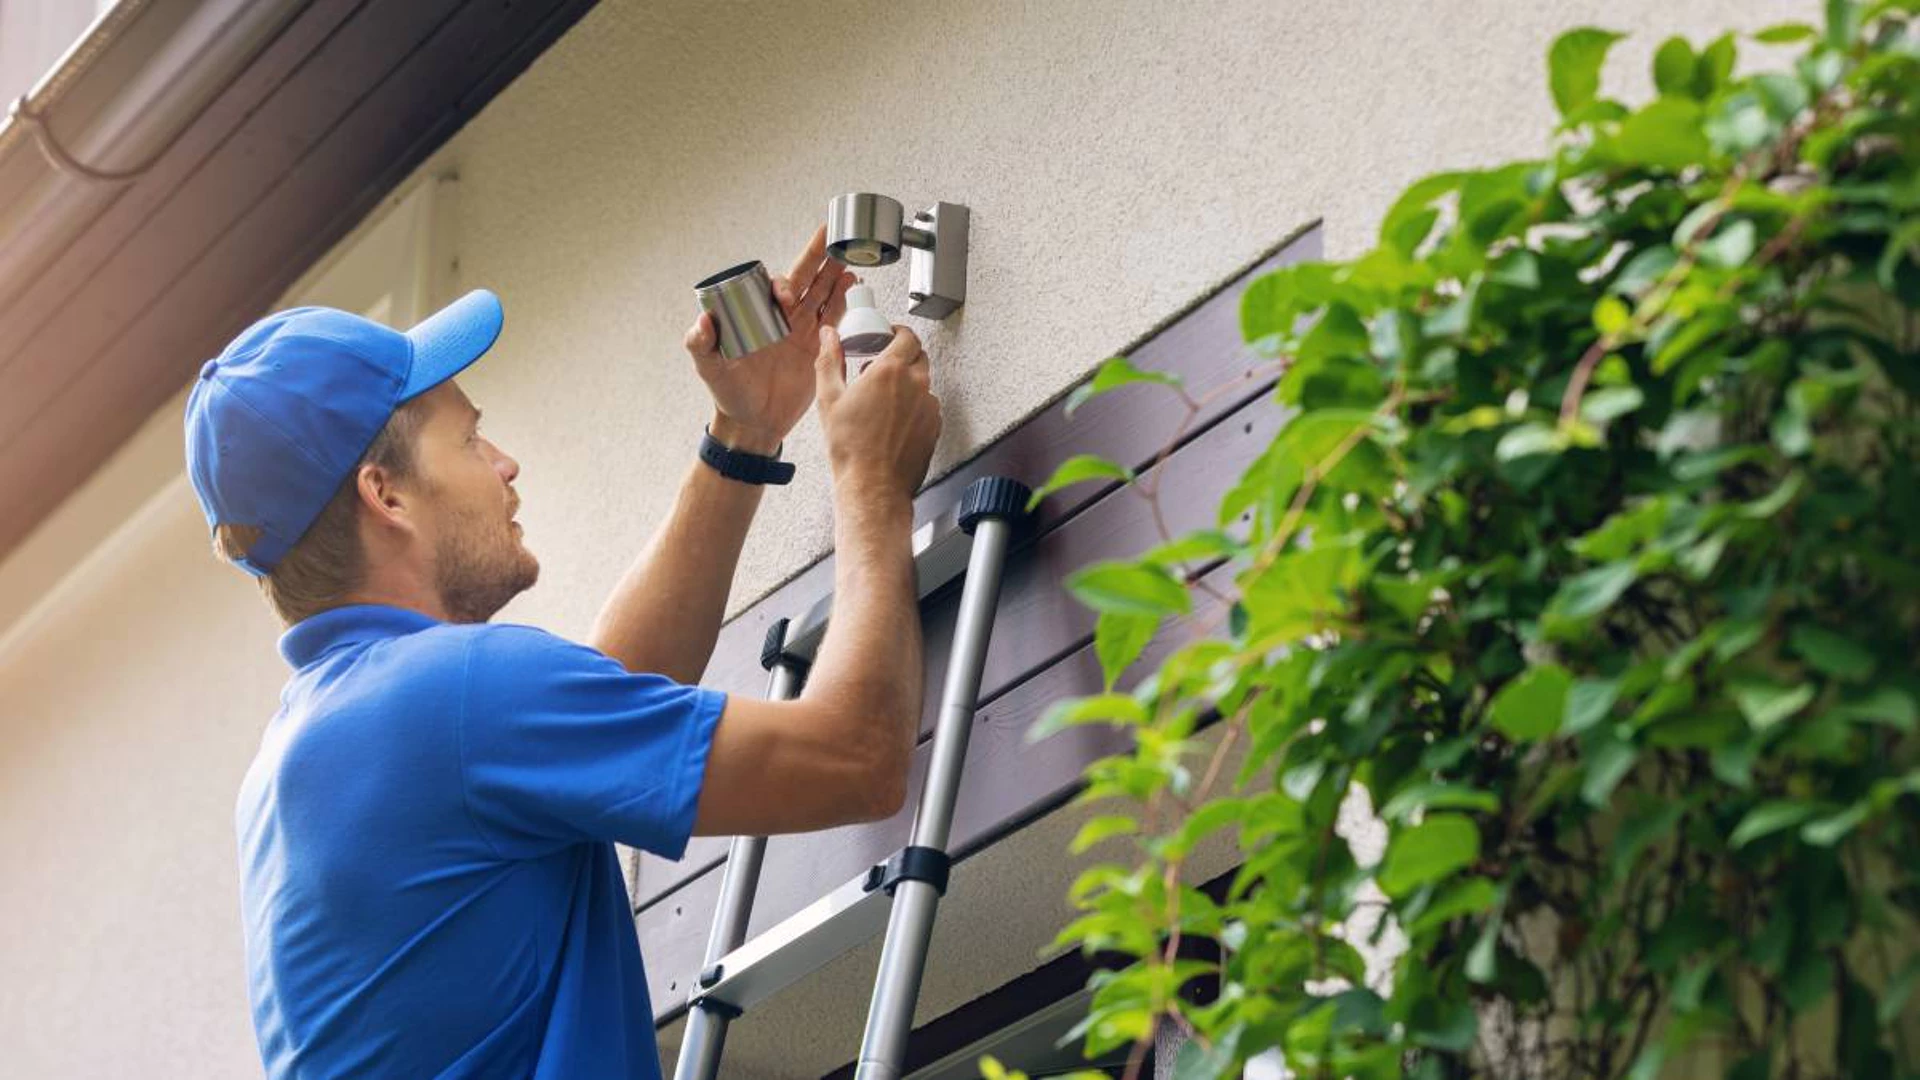
- Use Ladders Safely: If the light fixture is positioned at a height that requires a ladder for access, ensure that the ladder is stable and positioned on a level surface. Always maintain three points of contact while ascending or descending the ladder.
- Protective Gear: Wear appropriate protective gear, such as gloves and safety glasses, to shield your hands and eyes from debris, cleaning solutions, and any potential hazards.
- Mind the Environment: Consider the surrounding environment when cleaning outdoor light fixtures. Avoid using harsh chemicals that could harm nearby plants or contaminate the soil.
- Inspect for Damage: While cleaning the fixture, take the opportunity to inspect for any signs of damage, such as frayed wires, corrosion, or loose connections. If any issues are detected, refrain from using the fixture until it has been professionally inspected and repaired.
By adhering to these safety precautions, you can ensure a secure and risk-free cleaning process for your outdoor metal light fixtures. Prioritizing safety not only protects you from potential harm but also contributes to the longevity and optimal functioning of your lighting fixtures.
Tools and Materials Needed
Before you begin cleaning your outdoor metal light fixtures, it’s essential to gather the necessary tools and materials to streamline the process and achieve optimal results. Here’s a comprehensive list of what you’ll need:
Tools:
- Ladder: Depending on the height of the light fixture, a sturdy ladder may be required to access and remove the fixture safely.
- Screwdriver Set: A set of screwdrivers, including flathead and Phillips head varieties, will be necessary for removing the fixture's cover or accessing internal components.
- Soft-bristled Brush: A gentle brush, such as a paintbrush or a dedicated soft-bristled cleaning brush, will help dislodge and remove loose dirt and debris from the fixture's surface.
- Bucket: A bucket or basin will be useful for mixing cleaning solutions and holding water for rinsing.
- Clean Cloths or Microfiber Towels: Soft, lint-free cloths or microfiber towels are essential for wiping down the fixture and ensuring a streak-free finish.
- Gloves and Safety Glasses: To protect your hands and eyes during the cleaning process, wear durable gloves and safety glasses.
Materials:
- Mild Soap or Detergent: A gentle, non-abrasive soap or detergent will serve as the primary cleaning solution for removing dirt and grime from the fixture's surface.
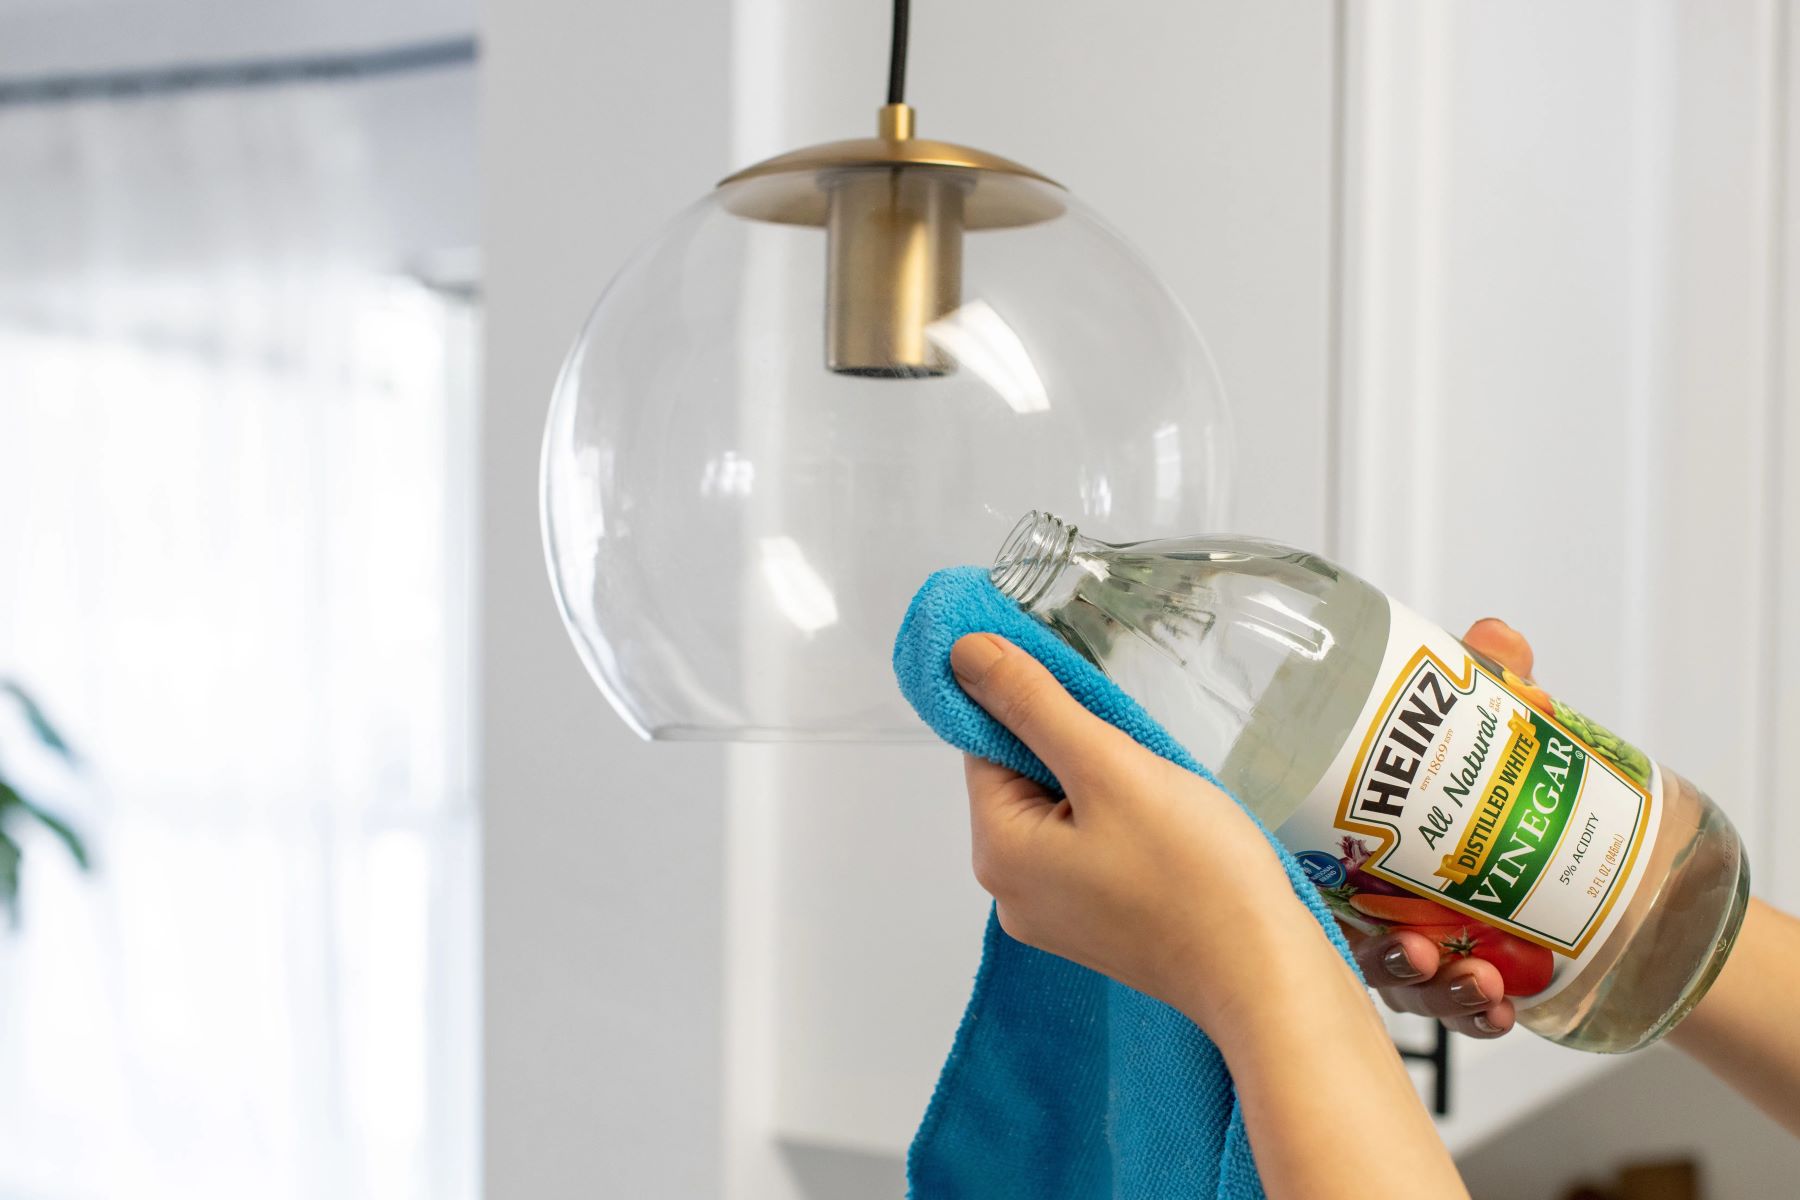
- Vinegar: White vinegar can be used to tackle stubborn mineral deposits or hard water stains on metal surfaces.
- Baking Soda: This versatile household staple can be utilized to create a gentle abrasive paste for targeted cleaning of tough stains or buildup.
- Clean Water: Access to clean water for rinsing the fixture and diluting cleaning solutions is essential.
- Rust Inhibitor (if applicable): If the fixture shows signs of rust or corrosion, a rust inhibitor may be necessary to prevent further deterioration.
By ensuring that you have these tools and materials on hand, you’ll be well-prepared to tackle the cleaning and maintenance of your outdoor metal light fixtures with ease and efficiency.
Read more: How To Test An Outdoor Light Fixture
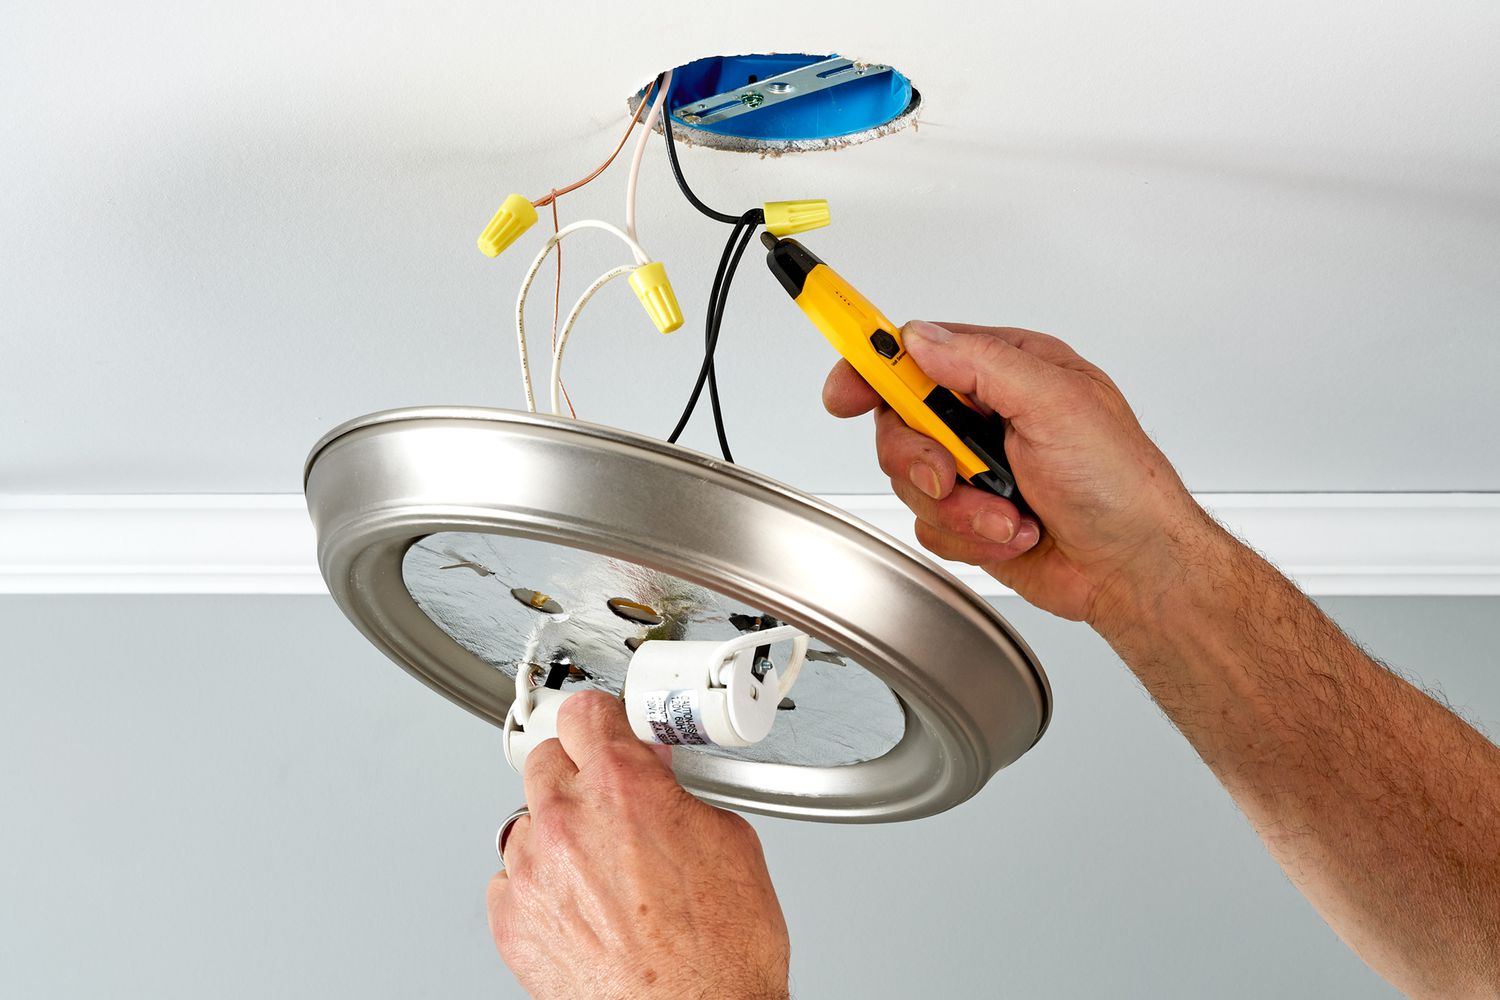
Step 1: Turn Off the Power
Prior to initiating the cleaning process for your outdoor metal light fixtures, it is imperative to deactivate the power supply to the fixture to ensure a safe working environment. Follow these essential steps to turn off the power:
- Locate the Circuit Breaker or Fuse Box: Identify the specific circuit breaker or fuse that controls the power supply to the outdoor light fixture. This information is typically documented on the electrical panel or in the home’s electrical system records.
- Switch Off the Power: Carefully flip the corresponding circuit breaker switch to the "off" position. If your home is equipped with fuses, unscrew and remove the fuse controlling the fixture’s power supply.
- Verify the Power Deactivation: Once the circuit breaker or fuse has been switched off, test the fixture by flipping the light switch to the "on" position. If the power has been successfully deactivated, the light should not illuminate. This verification step is crucial for ensuring that the power supply has been safely disconnected.
- Add a Cautionary Note: To prevent accidental activation of the circuit breaker or fuse while you are working on the fixture, consider placing a visible note or tag near the electrical panel, indicating that maintenance is in progress and the power should not be restored until the work is completed.
By meticulously following these steps to deactivate the power supply, you can mitigate the risk of electrical hazards and work confidently on cleaning and maintaining your outdoor metal light fixtures in the subsequent steps.
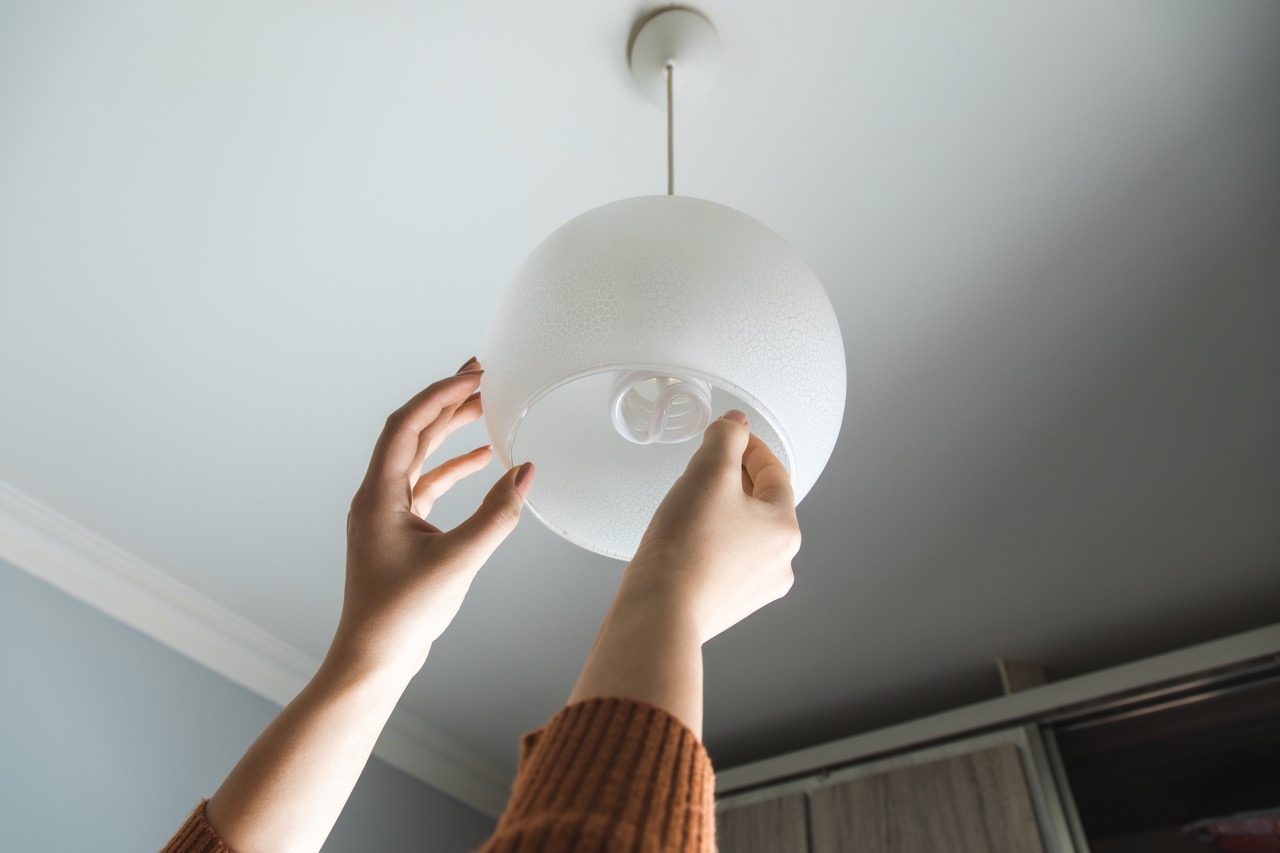
Step 2: Remove the Light Fixture
With the power supply safely turned off, the next crucial step in cleaning your outdoor metal light fixture is to remove it from its mounting. Follow these steps to effectively remove the fixture:
- Access the Fixture: Position a stable ladder beneath the light fixture, ensuring that it is secure and on a level surface. Ascend the ladder carefully to reach the fixture.
- Detach the Cover or Housing: If the fixture is equipped with a cover or housing, use a suitable screwdriver to remove the screws securing it in place. Gently set the cover aside, ensuring that it is placed on a clean and safe surface to prevent damage.
- Disconnect the Wiring: Carefully disconnect the wiring connected to the light fixture. Depending on the type of fixture, this may involve unscrewing wire nuts or releasing other types of connectors. Exercise caution and refer to the fixture’s manual or documentation for specific instructions.
- Remove Mounting Hardware: If the fixture is mounted to a wall, post, or other structure, remove the mounting hardware securing it in place. Keep track of the screws, bolts, or other fasteners to ensure they are not misplaced during the cleaning process.
- Secure the Fixture: Once the fixture is detached, handle it with care to prevent any damage or undue stress on the wiring. Place it in a secure location, away from the cleaning area, to avoid accidental contact with cleaning solutions or water.
By following these steps to safely remove the light fixture, you can set the stage for thorough cleaning and maintenance without the hindrance of the fixture’s mounting. This process also enables you to inspect the fixture closely for any signs of wear, damage, or areas requiring attention during the cleaning process.
Step 3: Clean the Fixture
Now that the outdoor metal light fixture has been safely removed, it’s time to focus on cleaning and restoring its appearance. Follow these steps to effectively clean the fixture:
- Remove Loose Debris: Use a soft-bristled brush or a clean, dry cloth to gently remove any loose dirt, dust, or debris from the fixture’s surface. Pay attention to crevices, corners, and intricate details where dirt may accumulate.
- Prepare a Cleaning Solution: In a bucket or basin, mix a solution of mild soap or detergent with warm water. This gentle cleaning solution will help break down grime and dirt without causing damage to the metal surface.
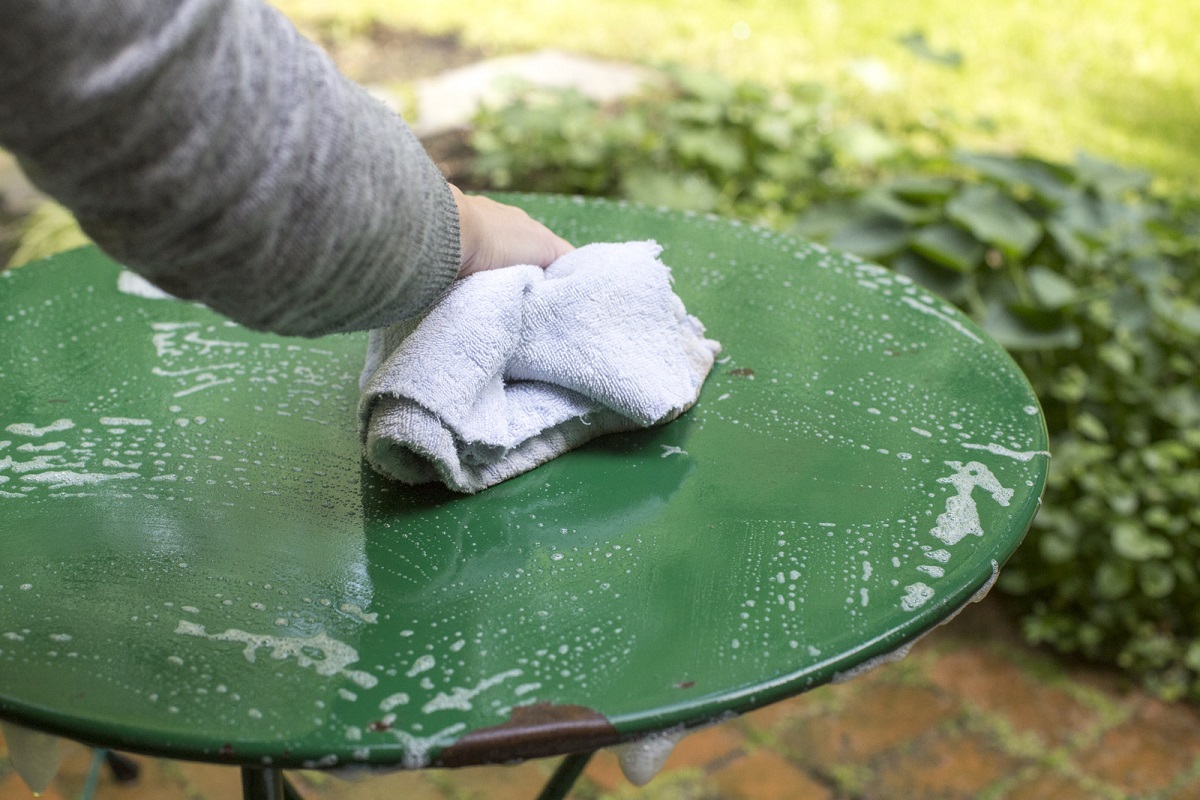
- Scrub and Clean: Dip a soft cloth or sponge into the cleaning solution and begin to gently scrub the entire surface of the fixture. Focus on areas with visible dirt or discoloration, and take care to clean any glass or translucent panels if present.
- Tackle Stubborn Stains: For persistent stains or hard water deposits, create a paste using baking soda and water. Apply the paste to the affected areas and gently scrub with a soft brush or cloth. Rinse thoroughly to remove the paste and residue.
- Address Rust or Corrosion: If the fixture exhibits signs of rust or corrosion, use a solution of white vinegar to target these areas. Apply the vinegar using a cloth or sponge, allowing it to sit for a few minutes before gently scrubbing the affected areas.
- Rinse and Dry: After cleaning the fixture, use clean water to thoroughly rinse away any remaining cleaning solution or residue. Ensure that all traces of cleaning agents are removed to prevent streaking or damage. Once rinsed, use a dry cloth to gently pat the fixture dry, removing excess moisture.
By meticulously following these steps, you can effectively clean your outdoor metal light fixture, restoring its luster and ensuring that it continues to illuminate your outdoor space with brilliance. Thorough cleaning not only enhances the fixture’s appearance but also contributes to its longevity and optimal performance.
To clean outdoor metal light fixtures, mix warm water with mild soap. Use a soft cloth to gently scrub the fixtures, then rinse with clean water and dry thoroughly to prevent rust.
Step 4: Inspect and Replace
After cleaning the outdoor metal light fixture, it’s essential to conduct a thorough inspection to identify any areas requiring maintenance or replacement. Follow these steps to inspect and address any potential issues:
- Inspect the Wiring: Carefully examine the wiring connected to the fixture for any signs of fraying, wear, or damage. Ensure that the connections are secure and free from corrosion or rust. If any issues are detected, consider consulting a professional electrician for repairs or replacements.
- Check for Corrosion: Inspect the entire fixture for signs of corrosion, especially in areas prone to moisture exposure. If minor corrosion is present, use a rust inhibitor to prevent further deterioration. For severe corrosion, consider replacing affected components or seeking professional assistance.
- Assess the Bulbs: Evaluate the condition of the light bulbs within the fixture. If any bulbs are dim, flickering, or damaged, replace them with new, compatible bulbs to ensure optimal illumination. Additionally, consider upgrading to energy-efficient LED bulbs for long-term cost savings and improved performance.
- Examine Glass or Translucent Panels: If the fixture incorporates glass or translucent panels, inspect them for cracks, chips, or discoloration. Replace any damaged panels to maintain the fixture’s integrity and visual appeal. Clean the panels thoroughly before reinstallation.
- Verify Mounting Hardware: Check the mounting hardware, such as screws, bolts, or brackets, for signs of rust, wear, or damage. Replace any compromised hardware to ensure secure reinstallation of the fixture and prevent potential safety hazards.
By conducting a comprehensive inspection and addressing any issues promptly, you can ensure that your outdoor metal light fixture is in optimal condition and ready for reinstallation. Regular maintenance and proactive replacements contribute to the fixture’s longevity and reliable performance, enhancing the overall functionality of your outdoor lighting.
Read more: How To Waterproof Outdoor Light Fixture
Step 5: Reinstall the Fixture
With the cleaning, inspection, and necessary replacements completed, it’s time to reposition and reinstall the outdoor metal light fixture. Follow these steps to ensure a secure and successful reinstallation:
- Position the Fixture: Place the cleaned and inspected fixture in a convenient location near its original mounting position. Ensure that the area is clear and accessible for the reinstallation process.
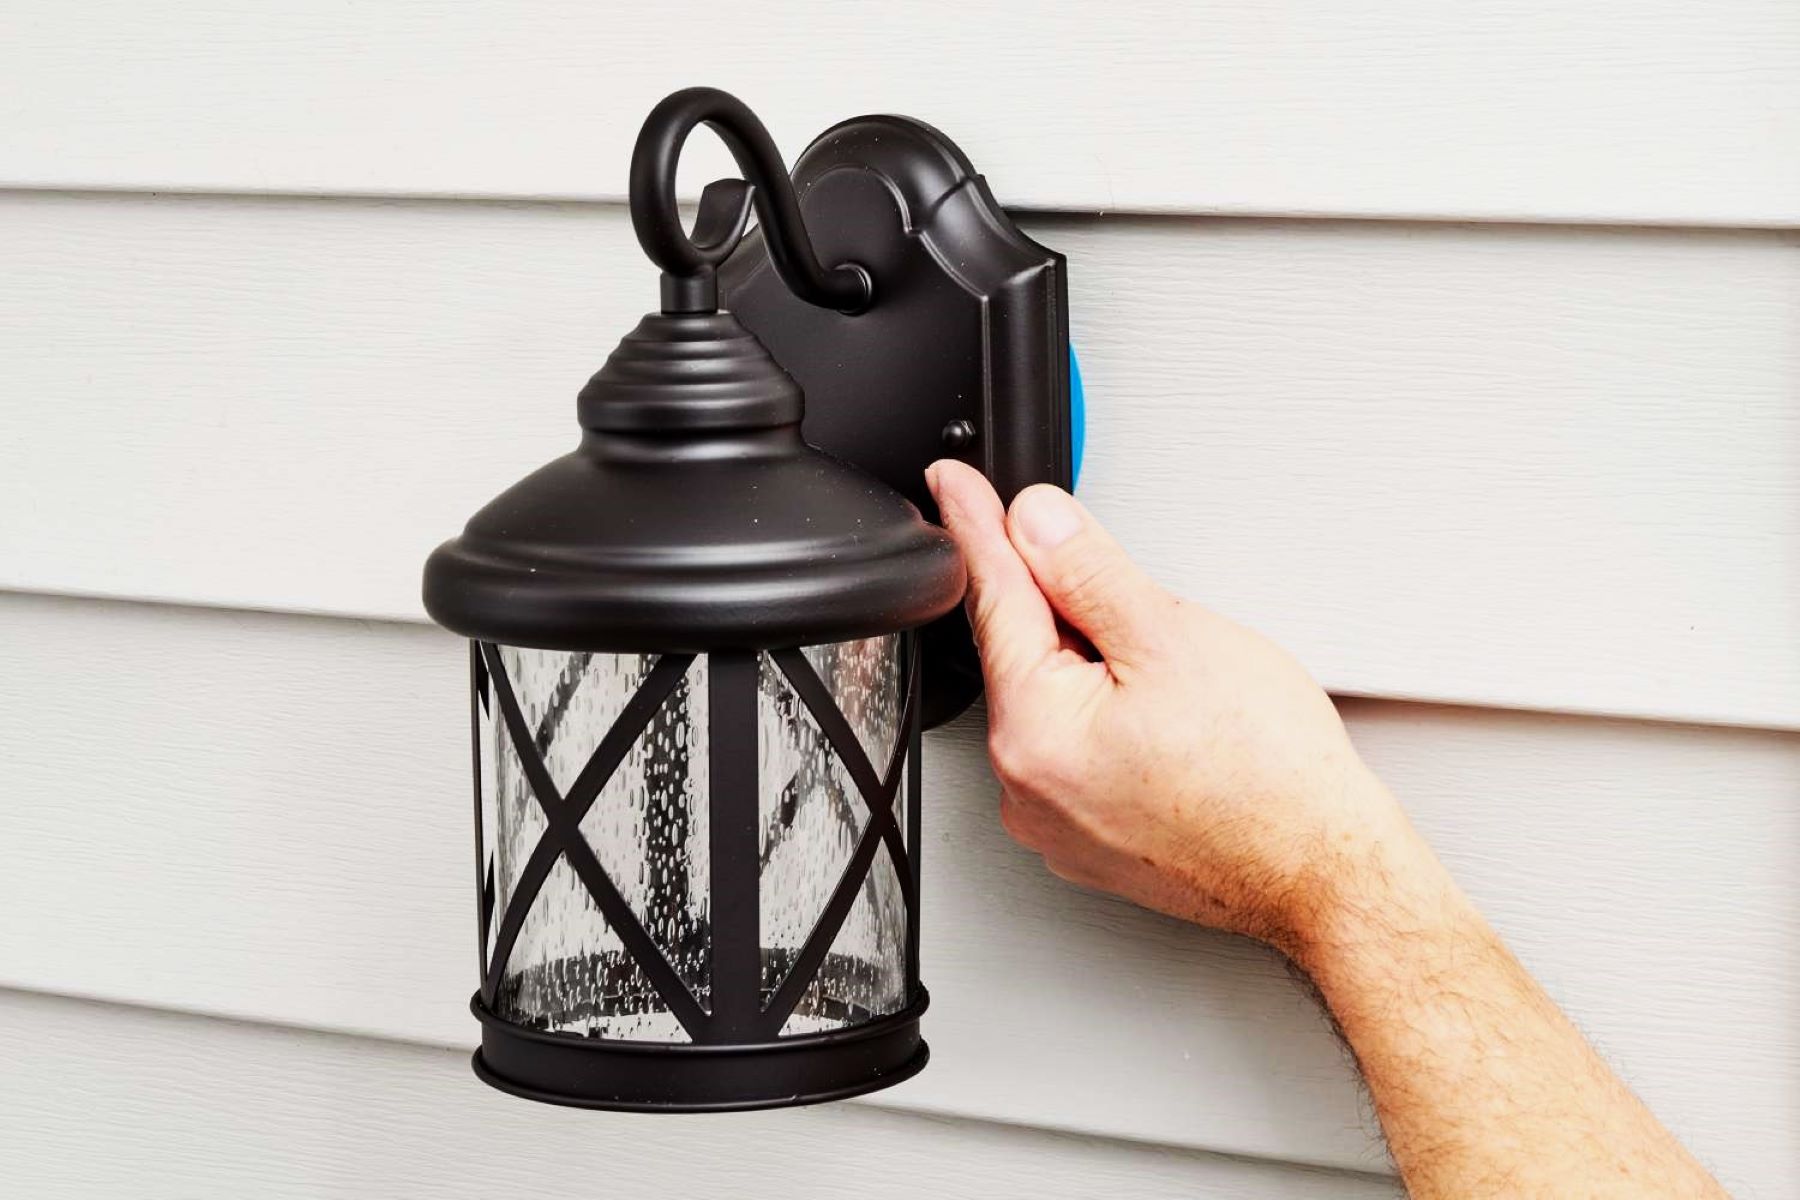
- Reattach Mounting Hardware: If the fixture was mounted to a wall, post, or other structure, reattach the mounting hardware securely. Use the appropriate screws, bolts, or brackets to fasten the fixture in place, ensuring a stable and level installation.
- Connect the Wiring: Carefully reconnect the wiring to the fixture, following the manufacturer’s instructions and ensuring that the connections are secure and properly insulated. Tuck any excess wiring neatly into the mounting or junction box, if applicable.
- Secure the Cover or Housing: If the fixture includes a cover or housing, position it over the fixture and secure it in place using the appropriate screws. Ensure that the cover is aligned correctly and sits flush with the fixture’s body.
- Turn on the Power: Return to the circuit breaker or fuse box and switch the power supply back on for the outdoor light fixture. Test the fixture by flipping the light switch to the "on" position to verify that it illuminates properly.
- Adjust and Align: Once the power is restored, take a moment to adjust the fixture’s position and alignment as needed. Ensure that the light is projecting in the desired direction and that the fixture is securely fastened to its mounting surface.
By methodically following these steps, you can successfully reinstall the outdoor metal light fixture, ensuring that it is securely positioned and ready to illuminate your outdoor space with renewed brilliance. A properly installed and aligned fixture enhances both the aesthetic and functional aspects of your outdoor lighting, contributing to a welcoming and well-lit outdoor environment.
Conclusion
Congratulations on successfully completing the comprehensive cleaning and maintenance process for your outdoor metal light fixture! By following the step-by-step guide outlined in this article, you have taken proactive measures to ensure that your outdoor lighting continues to shine brightly and enhance the ambiance of your outdoor space.
Regular cleaning and maintenance are essential for preserving the appearance, functionality, and longevity of outdoor metal light fixtures. By prioritizing safety precautions, gathering the necessary tools and materials, and following the meticulous steps to deactivate the power, remove, clean, inspect, and reinstall the fixture, you have demonstrated a commitment to maintaining your outdoor lighting to the highest standards.
Remember that routine cleaning and inspection can prevent potential issues, such as corrosion, wiring damage, and diminished illumination, ensuring that your outdoor metal light fixtures remain in optimal condition for years to come. Additionally, proactive replacements of bulbs, mounting hardware, and damaged components contribute to the reliability and performance of your outdoor lighting system.
As you admire the refreshed appearance of your outdoor metal light fixture and bask in its renewed radiance, take pride in the care and attention you have invested in preserving this essential element of your outdoor environment. The enhanced illumination and visual appeal provided by well-maintained outdoor lighting create a welcoming and secure atmosphere for your outdoor gatherings, leisure activities, and everyday enjoyment.
By incorporating regular cleaning and maintenance of your outdoor metal light fixtures into your home care routine, you can continue to illuminate your outdoor space with brilliance, creating an inviting and enchanting ambiance for all to enjoy.
Thank you for joining us on this enlightening journey of outdoor metal light fixture maintenance. We hope this guide has empowered you with the knowledge and confidence to keep your outdoor lighting fixtures shining brightly for years to come.
Frequently Asked Questions about How To Clean Outdoor Metal Light Fixtures
Was this page helpful?
At Storables.com, we guarantee accurate and reliable information. Our content, validated by Expert Board Contributors, is crafted following stringent Editorial Policies. We're committed to providing you with well-researched, expert-backed insights for all your informational needs.

0 thoughts on “How To Clean Outdoor Metal Light Fixtures”