Articles
How To Install A Backyard Fence
Modified: October 22, 2024
Learn how to install a backyard fence with our informative articles. Get step-by-step guides and expert tips for a successful fence installation.
(Many of the links in this article redirect to a specific reviewed product. Your purchase of these products through affiliate links helps to generate commission for Storables.com, at no extra cost. Learn more)
Introduction
Installing a backyard fence is a great way to enhance the privacy, security, and aesthetic appeal of your outdoor space. Whether you want to keep out nosy neighbors, create a safe play area for children and pets, or simply add a touch of charm to your yard, a fence can be a practical and stylish addition to any home.
However, the process of installing a backyard fence can be daunting if you’re not familiar with the necessary steps and considerations. That’s why we’ve put together this comprehensive guide to help you navigate through the installation process with ease.
In this article, we will walk you through each step of the installation process, from planning and preparation to adding finishing touches and maintenance. By following this guide, you’ll gain the knowledge and confidence to successfully install a backyard fence that meets your specific needs and preferences.
Before we embark on this fencing journey, it’s important to note that local building codes and homeowners association guidelines may dictate certain specifications for fence installations in your area. Be sure to check with your local authorities and associations to ensure compliance before starting your fence installation project.
So, without further ado, let’s dive into the steps required to install a backyard fence that will not only enhance the functionality of your outdoor space but also add beauty and value to your property.
Key Takeaways:
- Proper planning, material selection, and meticulous installation are crucial for a successful backyard fence project. Compliance with local regulations and regular maintenance ensure long-term functionality and aesthetic appeal.
- Installing a backyard fence not only provides privacy and security but also adds value and beauty to your property. Personalizing and maintaining the fence enhances its appeal and reflects your style and taste.
Read more: How To Install Fence On A Slope
Step 1: Planning and Preparing
The first step in installing a backyard fence is to carefully plan and prepare for the project. This stage is crucial as it sets the foundation for the rest of the installation process.
1.1 Determine your fence’s purpose and style:
Before selecting a fence design, consider your primary reason for installing the fence. Are you looking to enhance privacy, provide security, keep children or pets contained, or simply add aesthetic appeal? Identifying your primary goal will help you choose the right fence style and materials.
1.2 Check local regulations and guidelines:
It’s essential to be aware of any local regulations or guidelines regarding fence installations in your area. Local building codes, zoning restrictions, and homeowners association rules can dictate factors such as fence height, setback requirements, and even the materials you can use. Familiarize yourself with these regulations before making any decisions.
1.3 Measure and mark your property boundaries:
Accurately measuring and marking your property boundaries is essential to ensure that your fence installation stays within your property lines and avoids encroaching on your neighbor’s land. Use a measuring tape or a professional land survey to determine the exact boundaries of your property.
1.4 Discuss your plans with neighbors:
If your fence will be adjacent to a neighbor’s property, consider having a friendly conversation with them to inform them of your plans. This can help avoid any disagreements or misunderstandings and can even open up the possibility of sharing the cost of the fence construction.
1.5 Determine your budget:
Establishing a budget for your fence installation will help you make informed decisions about the materials and design. Consider all aspects, including the cost of materials, labor (if hiring professionals), and any additional elements such as gates or decorative features.
1.6 Research and select the right materials:
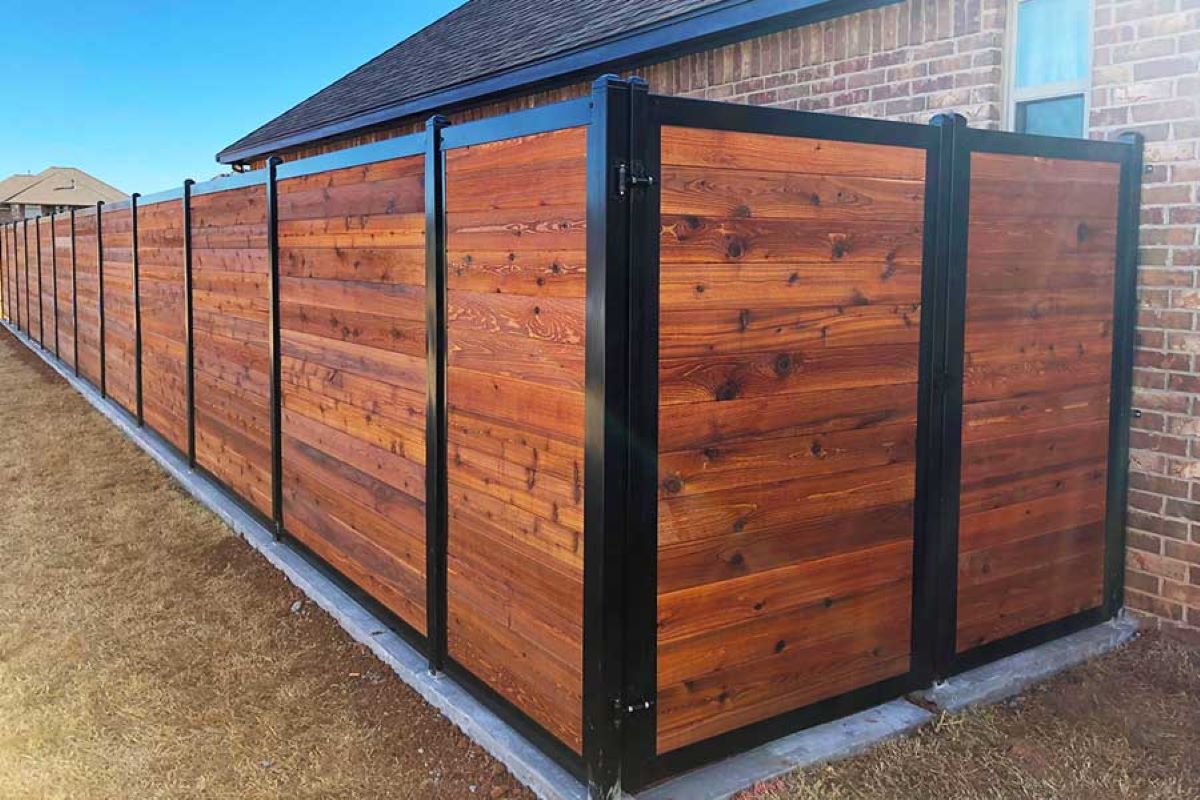
There is a wide range of fence materials available, each with its own advantages and disadvantages. Common options include wood, vinyl, aluminum, chain link, and composite materials. Consider factors such as durability, maintenance requirements, and aesthetic appeal when choosing the right material for your fence.
By meticulously planning and preparing for your fence installation, you’ll ensure a smoother process and a successful end result that meets your needs and preferences. Once you’ve completed these initial steps, you’re ready to move on to the next stage of the installation process: choosing the right fence for your backyard.
Step 2: Choosing the Right Fence
Now that you have completed the planning and preparation stage, it’s time to select the right fence for your backyard. This step is crucial as it will determine the functionality, aesthetic appeal, and long-term maintenance requirements of your fence.
2.1 Consider your needs and goals:
Think about your primary reasons for installing the fence. Are you looking for privacy, security, or simply adding an attractive boundary to your property? Understanding your needs and goals will help you narrow down your options.
2.2 Assess your landscape and surroundings:
Evaluate the natural elements around your backyard, such as the terrain, vegetation, and existing structures. Take note of any slopes, trees, or obstructions that may impact the installation process or the type of fence you can choose.
2.3 Explore different fence styles:
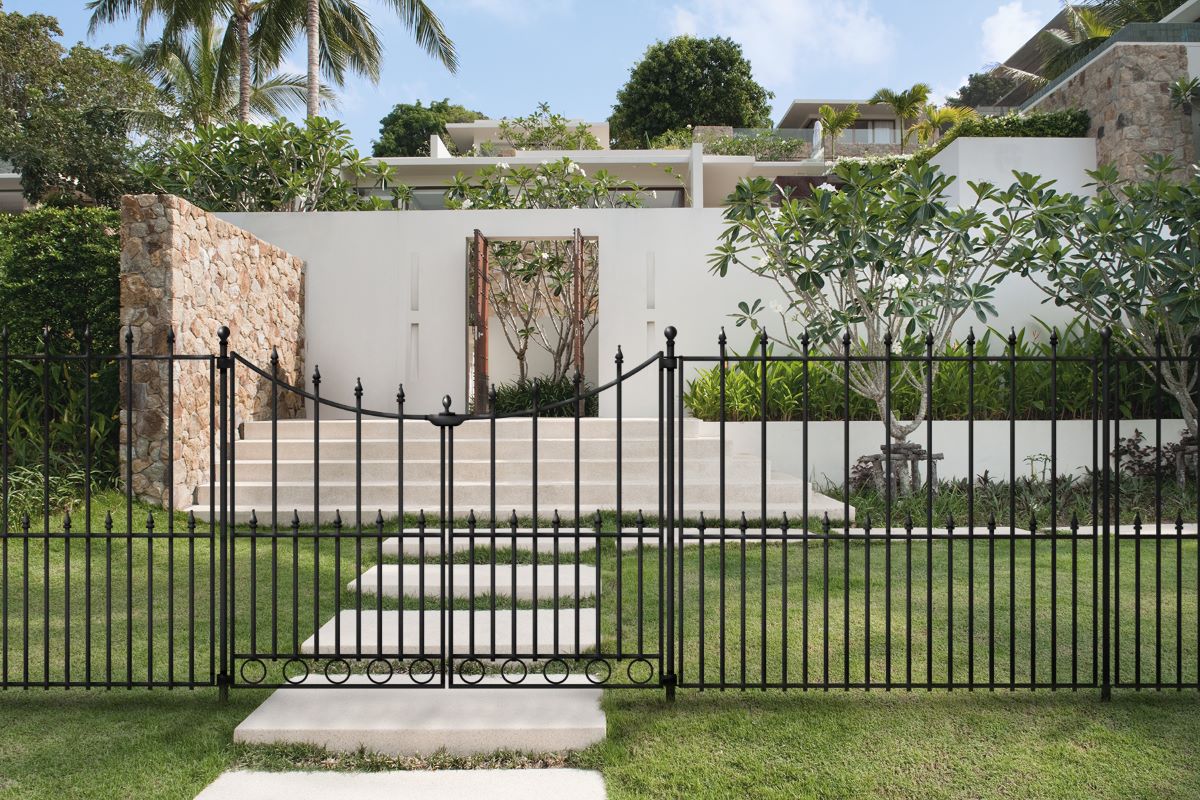
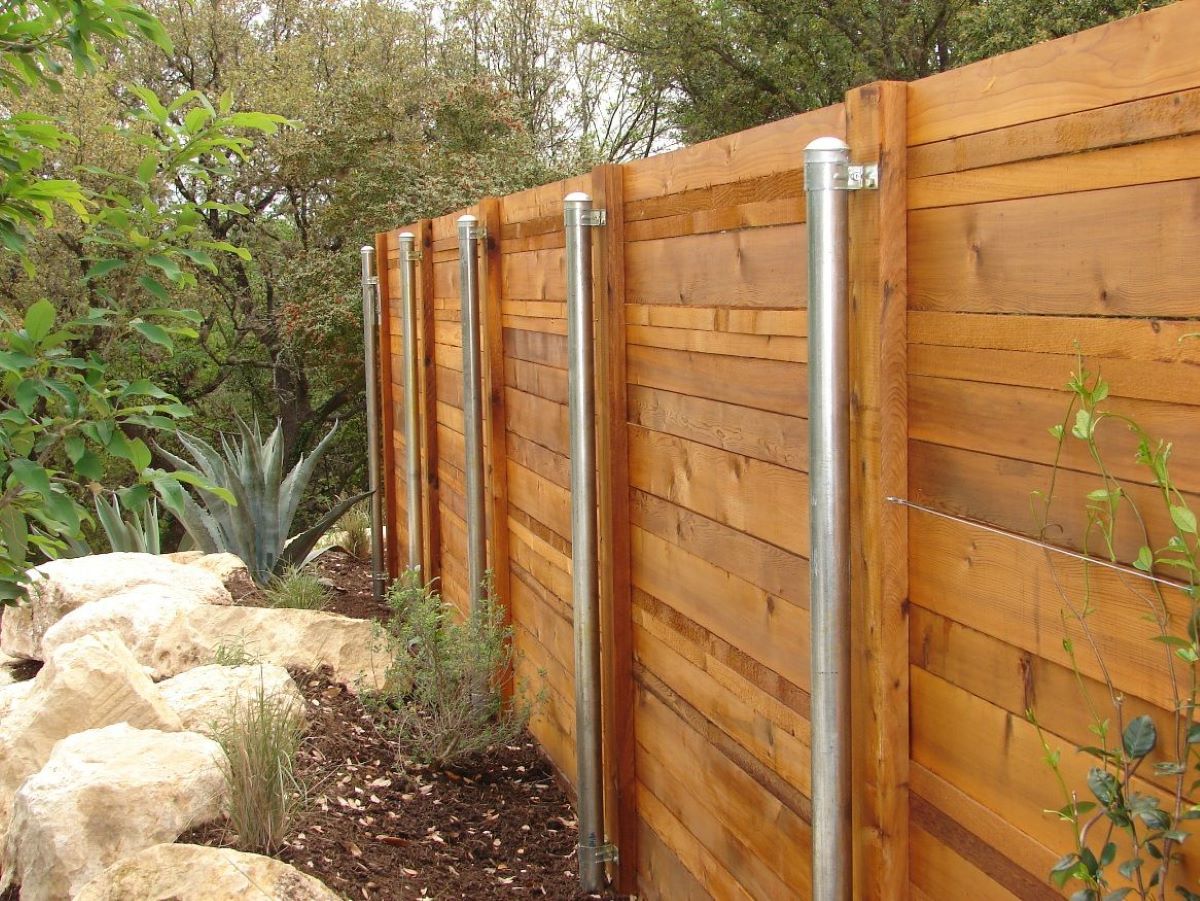
Fences come in various styles, each offering its own unique look and functionality. Some popular options include picket fences, privacy fences, chain-link fences, and ornamental fences. Research different styles and determine which one aligns best with your taste and meets your specific needs.
2.4 Consider maintenance requirements:
Each fence material comes with its own level of maintenance requirements. Wood fences, for example, may require regular painting or staining, while vinyl and aluminum fences are generally low-maintenance. Consider how much time and effort you’re willing to invest in maintaining your fence.
2.5 Evaluate the cost:
Budget is an important factor in choosing the right fence. Different materials and styles have different price ranges, so consider the overall cost of materials, installation, and long-term maintenance. Factor in any additional features you may want, such as gates or decorative elements.
2.6 Seek professional guidance:
If you’re unsure about the best fence option for your backyard, consulting with a professional will provide valuable insight and recommendations. Fence contractors or experts can assess your specific needs and offer expert advice on the most suitable fence materials and styles.
By carefully considering your needs, evaluating your surroundings, exploring different fence styles, and factoring in maintenance requirements and costs, you can confidently choose the right fence for your backyard. Once you have made your decision, you are now ready to move forward to the next step in the installation process: gathering materials and tools.
Step 3: Gathering Materials and Tools
Now that you have chosen the perfect fence for your backyard, it’s time to gather all the necessary materials and tools for the installation process. Having everything prepared in advance will help streamline the construction process and minimize delays.
3.1 List of materials:
Review the requirements of your chosen fence design and make a list of all the materials you’ll need. This may include fence panels, posts, rails, pickets, nails, screws, concrete, gravel, gate hardware, and any additional accessories or decorative elements.
3.2 Quality check:
Ensure that all materials are of good quality and are suitable for your specific fence design. Check for any damage or defects before proceeding with the installation.
3.3 Tools needed:
Make sure you have all the necessary tools to complete the installation. Common tools include a measuring tape, level, post hole digger, shovel, hammer, screwdriver, drill, saw, string line, and safety equipment such as gloves and goggles.
3.4 Purchase or gather supplies:
Once you have created your list and checked your existing supplies, purchase any missing materials from a reliable supplier. It’s a good idea to buy some extra panels, pickets, or posts as backup in case of breakage during installation.
3.5 Rent equipment if needed:
If you don’t already own certain tools, consider renting them from a tool rental store. This can help save costs and ensure you have access to specialized equipment that may only be necessary for this installation.
3.6 Organize and store materials:
Group your materials and tools together in a designated area near your installation site. Keep them organized and protected from any potential damage, ensuring easy accessibility during the installation process.
Taking the time to gather all necessary materials and tools before starting the installation will not only save you time and effort but also prevent any unnecessary delays due to missing items. Once you have everything prepared, it’s time to move on to the next step: marking and preparing the fence line.
Step 4: Marking and Preparing the Fence Line
Before you can start installing the fence, it’s important to mark and prepare the fence line properly. This ensures that your fence will be straight, level, and aligned with your property boundaries. Here are the steps to follow:
4.1 Gather your supplies:
Before marking the fence line, gather your supplies, including stakes, string line, measuring tape, and a can of spray paint or marking flags. These tools will help you establish a clear and accurate fence line.
4.2 Determine the fence line:
Using a measuring tape or a professional land survey, determine the exact location of your property boundaries. Mark these points with stakes or flags to indicate where your fence will begin and end.
4.3 Establish the fence height:
Consider the height of your fence and mark a reference point at the desired height on each corner post. Use a string line or level to ensure that the height is consistent throughout the fence line.
4.4 Mark the post locations:
Using the measurements specified by your chosen fence design, mark the locations for the fence posts along the fence line. Typically, posts are spaced 6 to 8 feet apart, but this may vary depending on the type of fence you’re installing.
4.5 Lay out the string line:
Attach the string line between the corner post marks, ensuring that it is taut. This line will act as a guide to ensure a straight and level fence installation.
4.6 Double-check the measurements:
Before proceeding with digging the post holes, it’s crucial to double-check all your measurements and ensure that they are accurate. This will help avoid any errors or misalignment during the installation process.
4.7 Spray paint the fence line:
Using a can of spray paint or marking flags, mark the ground along the string line to indicate the exact location of the fence line. This will serve as a visual guide during the installation process.
4.8 Remove any obstacles:
Walk along the marked fence line and remove any obstacles such as rocks, debris, or vegetation that may hinder the installation process or interfere with the fence layout.
By taking the time to carefully mark and prepare the fence line, you ensure that your fence will be properly aligned and visually appealing. Once you’ve completed these steps, you’re ready to move on to the next stage: digging fence post holes.
Read more: How To Install An Aluminum Fence
Step 5: Digging Fence Post Holes
Now that you have marked the fence line, it’s time to dig the fence post holes. Properly dug holes will provide a solid foundation for your fence, ensuring its stability and longevity. Here are the steps to follow:
5.1 Measure and mark the hole locations:
Using your marked fence line as a reference, measure and mark the locations for the fence post holes. These holes are typically dug at each corner and at regular intervals along the fence line, depending on the spacing specified by your chosen fence design.
5.2 Choose the right tools:
The tools you’ll need for digging fence post holes include a post hole digger or an auger, a shovel, a digging bar, a tape measure, and a level. Ensure that your tools are in good condition and appropriate for the soil type in your yard.
5.3 Check for any underground utilities:
Before digging, it’s important to check for any underground utilities such as gas, water, or electrical lines. Call your local utility companies to come and mark the locations of these lines to avoid any accidents or disruptions.
5.4 Dig the holes:
Start by using the post hole digger or auger to break the ground and remove the initial soil. Continue digging until you reach the desired depth for your fence posts. Typically, post holes should be approximately one-third of the total length of the fence post above ground.
5.5 Ensure proper hole spacing:
Measure the distance between each hole to ensure that they are correctly spaced according to your fence design. This will help maintain the structural integrity and appearance of your fence.
5.6 Level the holes:
Use a level to ensure that each hole is dug to the proper depth and is level with the ground. Adjust the hole depth if necessary to maintain a consistent fence height.
5.7 Remove excess soil:
Clear any excess soil or debris from the holes, ensuring that the bottoms are flat and even. This will provide a stable base for the fence posts.
5.8 Protect the holes:
If you’re not planning to install the fence posts immediately, consider covering the holes to prevent rainwater, animals, or debris from entering and potentially causing damage.
By following these steps and taking the time to dig proper and evenly spaced fence post holes, you’ll lay the foundation for a sturdy and durable fence. With the post holes prepared, you’re ready to move on to the next step: setting the fence posts.
Before installing a backyard fence, be sure to check with local authorities for any zoning or permit requirements. It’s important to comply with regulations to avoid potential fines or having to remove the fence.
Step 6: Setting Fence Posts
Setting the fence posts is a critical step in the fence installation process, as it provides the structural support for the entire fence. Properly set posts ensure the stability and longevity of your fence. Here are the steps to follow:
6.1 Prepare the posts:
Before setting the fence posts, ensure that they are properly prepared. If using wooden posts, consider treating them with a wood preservative to protect against rot and decay. For metal or vinyl posts, ensure they are clean and free from any dirt or debris.
6.2 Insert the posts into the holes:
Carefully lower each fence post into its designated hole, ensuring it is aligned with the marked fence line and the desired height. Use a level to check that the post is perfectly vertical.
6.3 Add support or braces:
If necessary, install temporary support or braces to hold the posts in place until the concrete sets. This will prevent the posts from leaning or shifting during the installation process.
6.4 Mix and pour the concrete:
In a wheelbarrow or mixing container, prepare the concrete mix according to the manufacturer’s instructions. Pour the concrete into each post hole, ensuring it fills the hole completely around the post.
6.5 Check the post alignment:
While the concrete is still wet, double-check the alignment of each post. Make any necessary adjustments to ensure they are perfectly aligned with the fence line and at the desired height.
6.6 Allow the concrete to set:
Follow the manufacturer’s instructions regarding the curing time for the concrete. Typically, it takes 24 to 48 hours for the concrete to fully set. Avoid placing any excessive weight or strain on the posts during this time.
6.7 Remove temporary supports or braces:
Once the concrete has fully cured, remove any temporary supports or braces that were used to hold the posts in place. Check the stability of the posts to ensure they are securely set in the ground.
By following these steps, you’ll ensure that your fence posts are properly set, providing a sturdy foundation for your fence. With the fence posts in place, you’re ready to move on to the next step: installing the fence panels or boards.
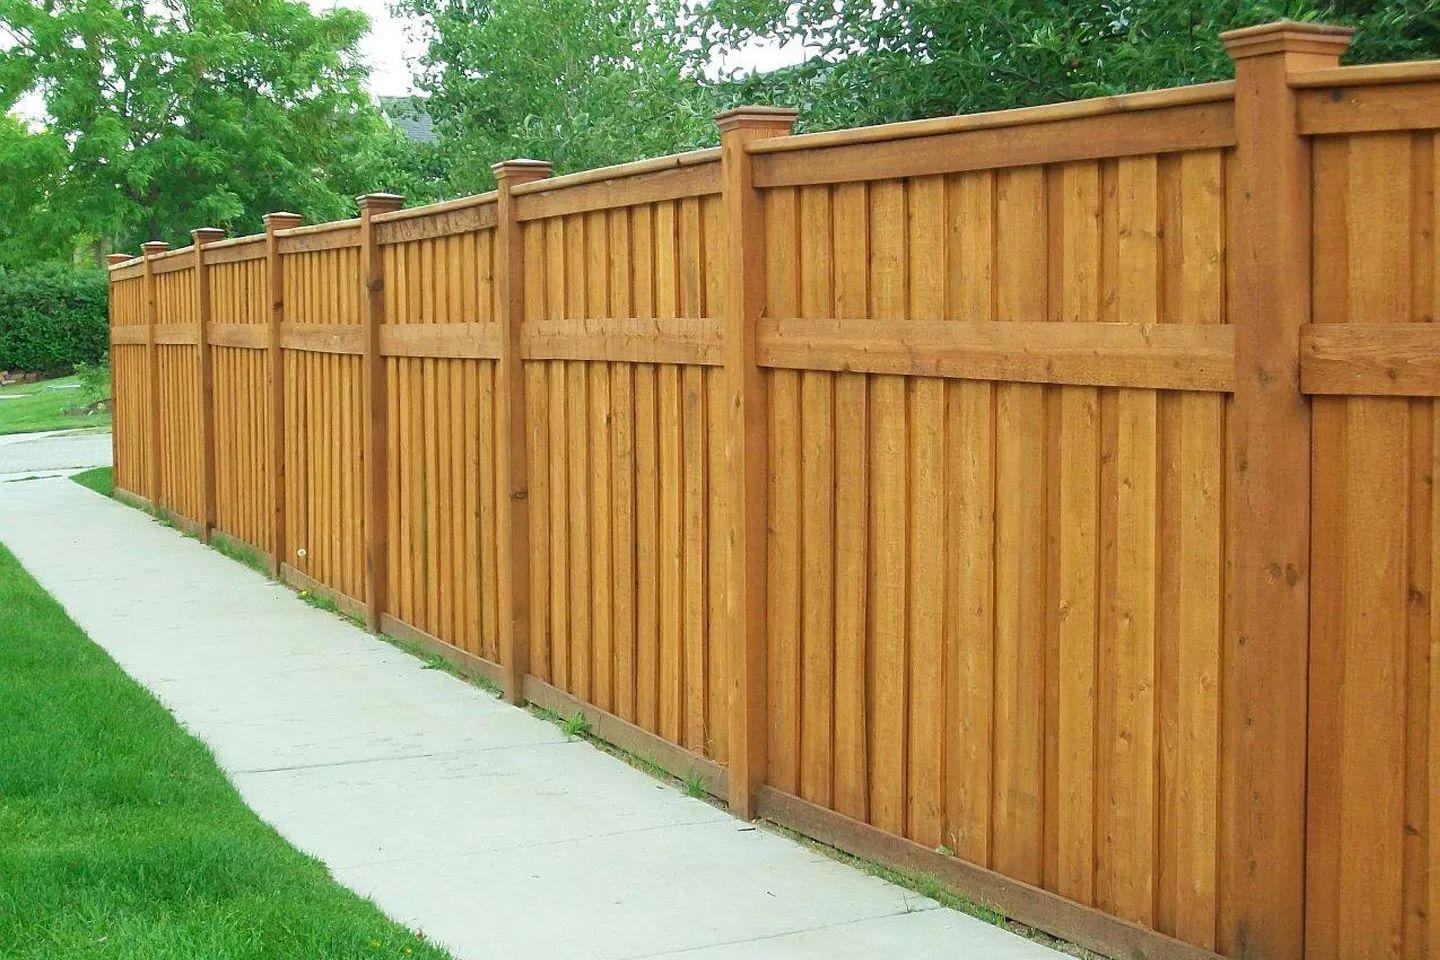
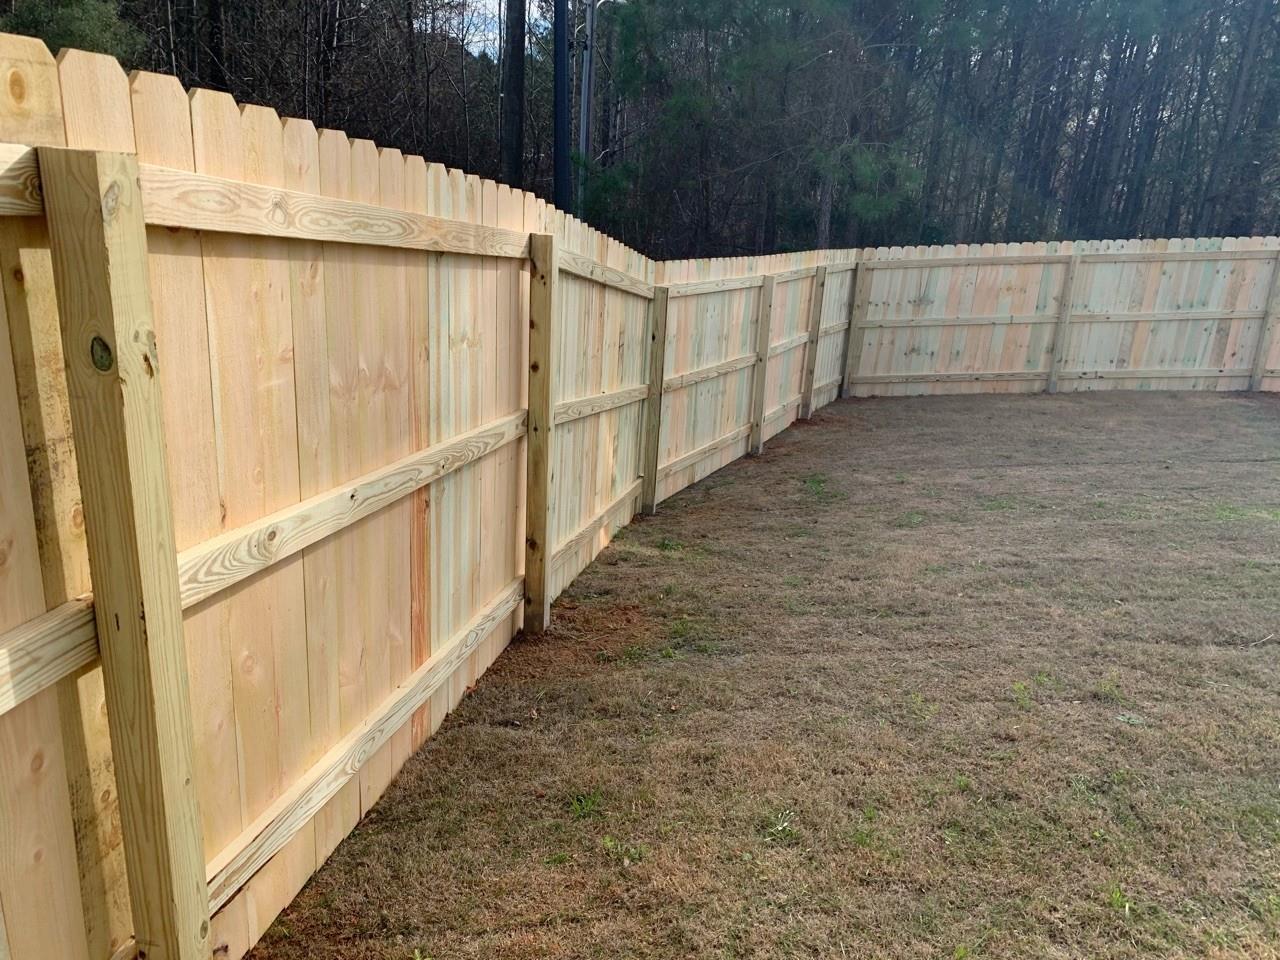
Step 7: Installing Fence Panels or Boards
With the fence posts securely set in place, it’s time to install the fence panels or boards. This step brings your fence to life, defining its structure and providing the desired level of privacy, security, or aesthetics. Here’s how to install fence panels or boards:
7.1 Prepare the fence panels or boards:
If using pre-built fence panels, ensure they are properly aligned and sized to fit between the fence posts. If you are using individual boards, measure and cut them to the appropriate length and width according to your design.
7.2 Attach the panels or boards to the posts:
Starting at one end of the fence, align the first panel or board with the top and bottom of the fence posts. Use screws or nails to securely attach the panel or board to the posts, ensuring they are level and plumb.
7.3 Space the panels or boards:
If using multiple panels or boards, evenly space them along the fence line, leaving room for any expansion or contraction that may occur. Use spacers or measuring tools to maintain a consistent gap between each panel or board.
7.4 Secure the panels or boards together:
If using individual boards, attach them to horizontal support rails or stringers to provide additional stability and strength to the fence. Make sure these rails are level and securely fastened to the fence posts.
7.5 Check the alignment and level:
Regularly check the alignment and level as you install each panel or board, making any necessary adjustments. This will ensure that your fence has a clean and professional appearance.
7.6 Trim or cut the panels or boards:
If needed, trim or cut the panels or boards to fit around any obstacles or uneven terrain. Use a saw or other appropriate cutting tools to achieve a precise fit.
7.7 Repeat the process:
Continue attaching the remaining fence panels or boards in the same manner until you reach the end of the fence line.
7.8 Add finishing touches:
Once all the fence panels or boards are installed, take the time to inspect the entire fence for any loose screws or nails. Make any necessary adjustments or add extra fasteners to ensure the fence is secure and free from any potential hazards.
By following these steps, you’ll successfully install the fence panels or boards, transforming your fence into a functional and aesthetically pleasing structure. With the panels or boards in place, you’re ready to move on to the next step: attaching the gate(s) to your fence.
Step 8: Attaching Gate(s)
The gate serves as an entry point and adds functionality to your fence. It allows easy access to your yard while maintaining security and enhancing the overall appearance. Here’s how to properly attach the gate(s) to your fence:
8.1 Choose the right gate:
Select a gate that complements the overall design and style of your fence. Consider factors such as the material, height, width, and the number of gate panels required to fit the opening.
8.2 Determine the gate placement:
Decide where you want to install the gate along the fence line. Ensure there is enough space to accommodate the gate panel and the opening and closing motion without any obstruction.
8.3 Mark and measure the gate placement:
Use a measuring tape to mark the exact location and dimensions of the gate opening. Ensure the measurements are accurate to ensure a proper fit for the gate panel.
8.4 Install gate posts:
If your gate requires additional support, install gate posts on each side of the gate opening. These posts should be sturdy and securely attached to the ground to withstand the weight and movement of the gate.
8.5 Attach the gate hinges:
Attach the gate hinges to the gate post and gate panel, ensuring they are level and properly aligned. Use the appropriate screws or bolts to secure the hinges in place.
8.6 Hang the gate panel:
With the hinges attached, carefully hang the gate panel on the gate post. Make sure the gate is level and aligned with the fence line and adjust the hinges if necessary for a proper fit.
8.7 Install the gate latch:
Attach the gate latch or lock to the gate panel and the adjacent fence post. Ensure that the latch functions correctly and securely locks the gate when closed.
8.8 Test the gate:
Before completing the installation, test the gate to ensure smooth opening and closing. Make any necessary adjustments to the hinges, latch, or gate panel to ensure proper functionality.
8.9 Add additional gate support:
If needed, install additional gate supports such as wheels or hardware to provide extra stability and ease of use, especially for larger or heavier gate panels.
By following these steps, you’ll successfully attach the gate(s) to your fence, providing a functional entry point to your yard. Once the gate is properly installed, you’re ready to move on to the final step: adding finishing touches and ensuring proper maintenance of your fence.
Read more: How To Install Pool Fence
Step 9: Adding Finishing Touches and Maintenance
After completing the installation of your backyard fence, there are a few final steps to take to add finishing touches and ensure its long-term durability and aesthetic appeal. Here are the final steps:
9.1 Inspect and clean the fence:
Thoroughly inspect the entire fence for any loose screws or nails, cracks, or damage. Tighten any loose fasteners and repair any minor issues. Clean the fence panels or boards using a mild detergent and water mixture or a specialized fence cleaner, if needed.
9.2 Apply a protective finish:
If you have a wood fence, consider applying a protective finish such as stain, paint, or sealant to enhance its longevity and protect it from the elements. Follow the manufacturer’s instructions and allow sufficient drying time before using your fence.
9.3 Decorate or personalize your fence:
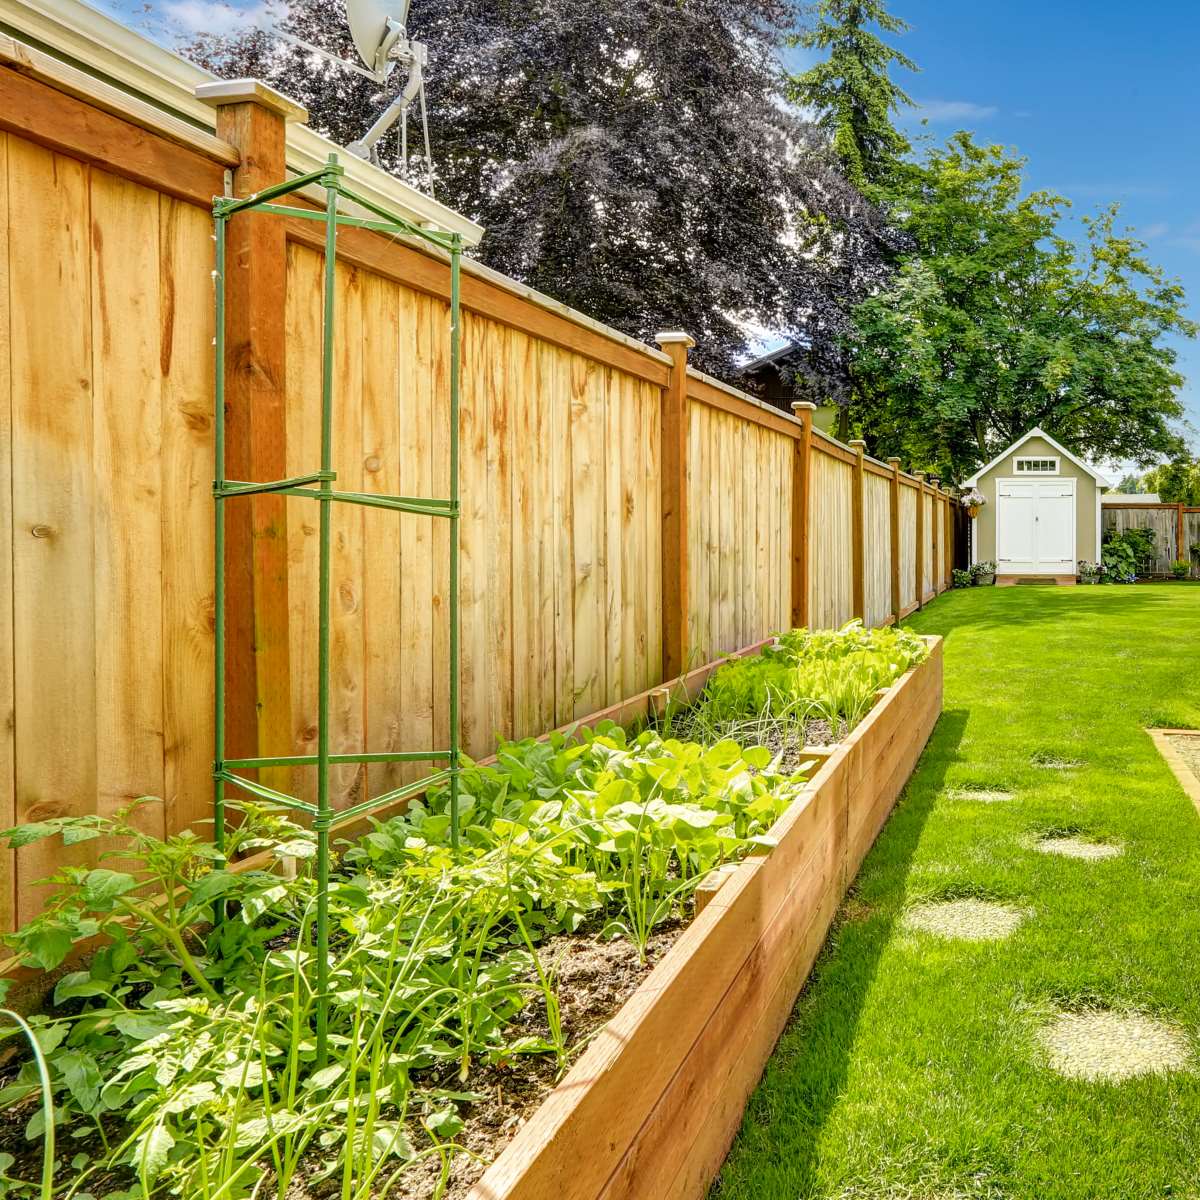
Add your personal touch by decorating your fence with plants, hanging baskets, or outdoor decor that complements your overall outdoor theme. This will enhance the visual appeal of your fence and add character to your backyard.
9.4 Regular maintenance:
To keep your fence in optimal condition, establish a regular maintenance routine. This may include inspecting for any repairs needed, clearing debris from around the fence, and performing occasional cleaning or resealing as necessary.
9.5 Landscaping around the fence:
Add landscaping elements such as flowers, shrubs, or mulch around the base of your fence. This not only adds beauty to your yard but also helps prevent soil erosion and provides a finished look to your fencing project.
9.6 Secure gates and locks:
Regularly check the gates and locks to ensure they are working correctly and securely closing. Replace any damaged or worn-out hardware as needed to maintain the security and functionality of your fence.
9.7 Stay vigilant:
Periodically inspect your fence for any signs of wear and tear, damage, or potential issues. Address any problems promptly to prevent them from escalating and compromising the integrity of your fence.
By following these final steps, you can add the finishing touches to your backyard fence and ensure it remains in good condition for years to come. With proper maintenance and care, your fence will continue to serve its purpose and enhance the overall beauty and functionality of your outdoor space.
Conclusion
Congratulations! You have successfully completed the installation of your backyard fence. By following the step-by-step guide provided in this article, you have transformed your outdoor space into a private, secure, and aesthetically pleasing sanctuary.
Installing a backyard fence may seem like a daunting task, but with proper planning, preparation, and execution, it can be a rewarding and fulfilling project. Your fence not only serves practical purposes such as privacy and security but also adds beauty and value to your property.
Remember, before starting any fence installation, always check local regulations and guidelines to ensure compliance. Additionally, consult with professionals or experts as needed for guidance and recommendations to ensure the best outcome.
Whether you chose a classic picket fence, a sturdy privacy fence, or an ornamental fence, each step of the installation process was carefully designed to help you create a fence that meets your specific needs and preferences.
Maintaining your fence is essential for its longevity and continued functionality. Regular inspections, cleaning, and repairs will ensure that your fence remains in optimal condition throughout the years.
Enjoy your newly installed backyard fence and make the most of the privacy, security, and beauty it provides. Personalize it with your choice of plants, decorations, or landscaping elements to truly make it a reflection of your style and taste.
Remember, a well-maintained fence not only enhances the appeal of your home but also adds value to your property. So, take pride in your fence, and relish in the benefits it brings to your outdoor living space.
Thank you for choosing this comprehensive guide to installing a backyard fence. We hope it has been informative, helpful, and inspiring throughout your fencing journey. Now, go out and enjoy the fruits of your hard work, knowing that you have created a beautiful and functional addition to your backyard!
Frequently Asked Questions about How To Install A Backyard Fence
Was this page helpful?
At Storables.com, we guarantee accurate and reliable information. Our content, validated by Expert Board Contributors, is crafted following stringent Editorial Policies. We're committed to providing you with well-researched, expert-backed insights for all your informational needs.


0 thoughts on “How To Install A Backyard Fence”