Home>Gardening & Outdoor>Landscaping Ideas>How To Redo A Garden Bed
Landscaping Ideas
How To Redo A Garden Bed
Modified: August 27, 2024
Learn how to redo a garden bed with our expert landscaping ideas. Transform your outdoor space with our step-by-step guide.
(Many of the links in this article redirect to a specific reviewed product. Your purchase of these products through affiliate links helps to generate commission for Storables.com, at no extra cost. Learn more)
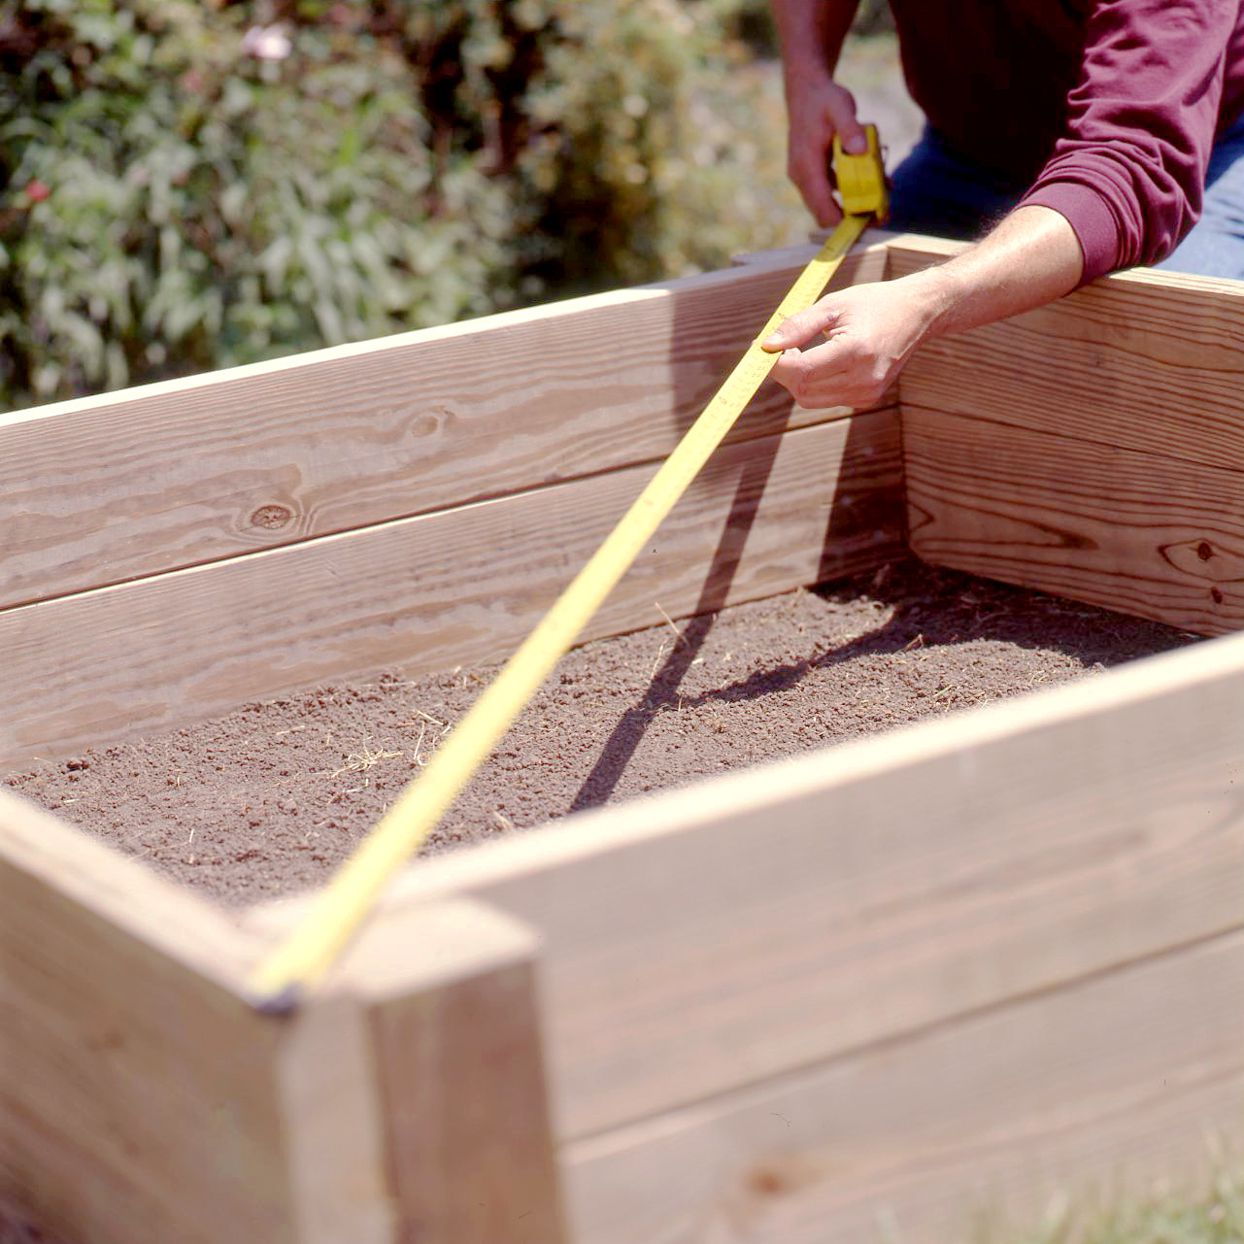
Assessing the Current Garden Bed
Before embarking on the exciting journey of revamping your garden bed, it's crucial to assess the current state of affairs. This initial step sets the stage for a successful garden transformation and ensures that your efforts yield a flourishing and visually appealing outdoor space.
Read more: How To Redo Fireplace
Evaluating the Existing Plants and Soil
Begin by closely examining the plants currently inhabiting the garden bed. Take note of their health, size, and overall appearance. Are they thriving, or do they appear lackluster and in need of rejuvenation? Assessing the condition of the existing plants provides valuable insights into which ones may require replacement or additional care.
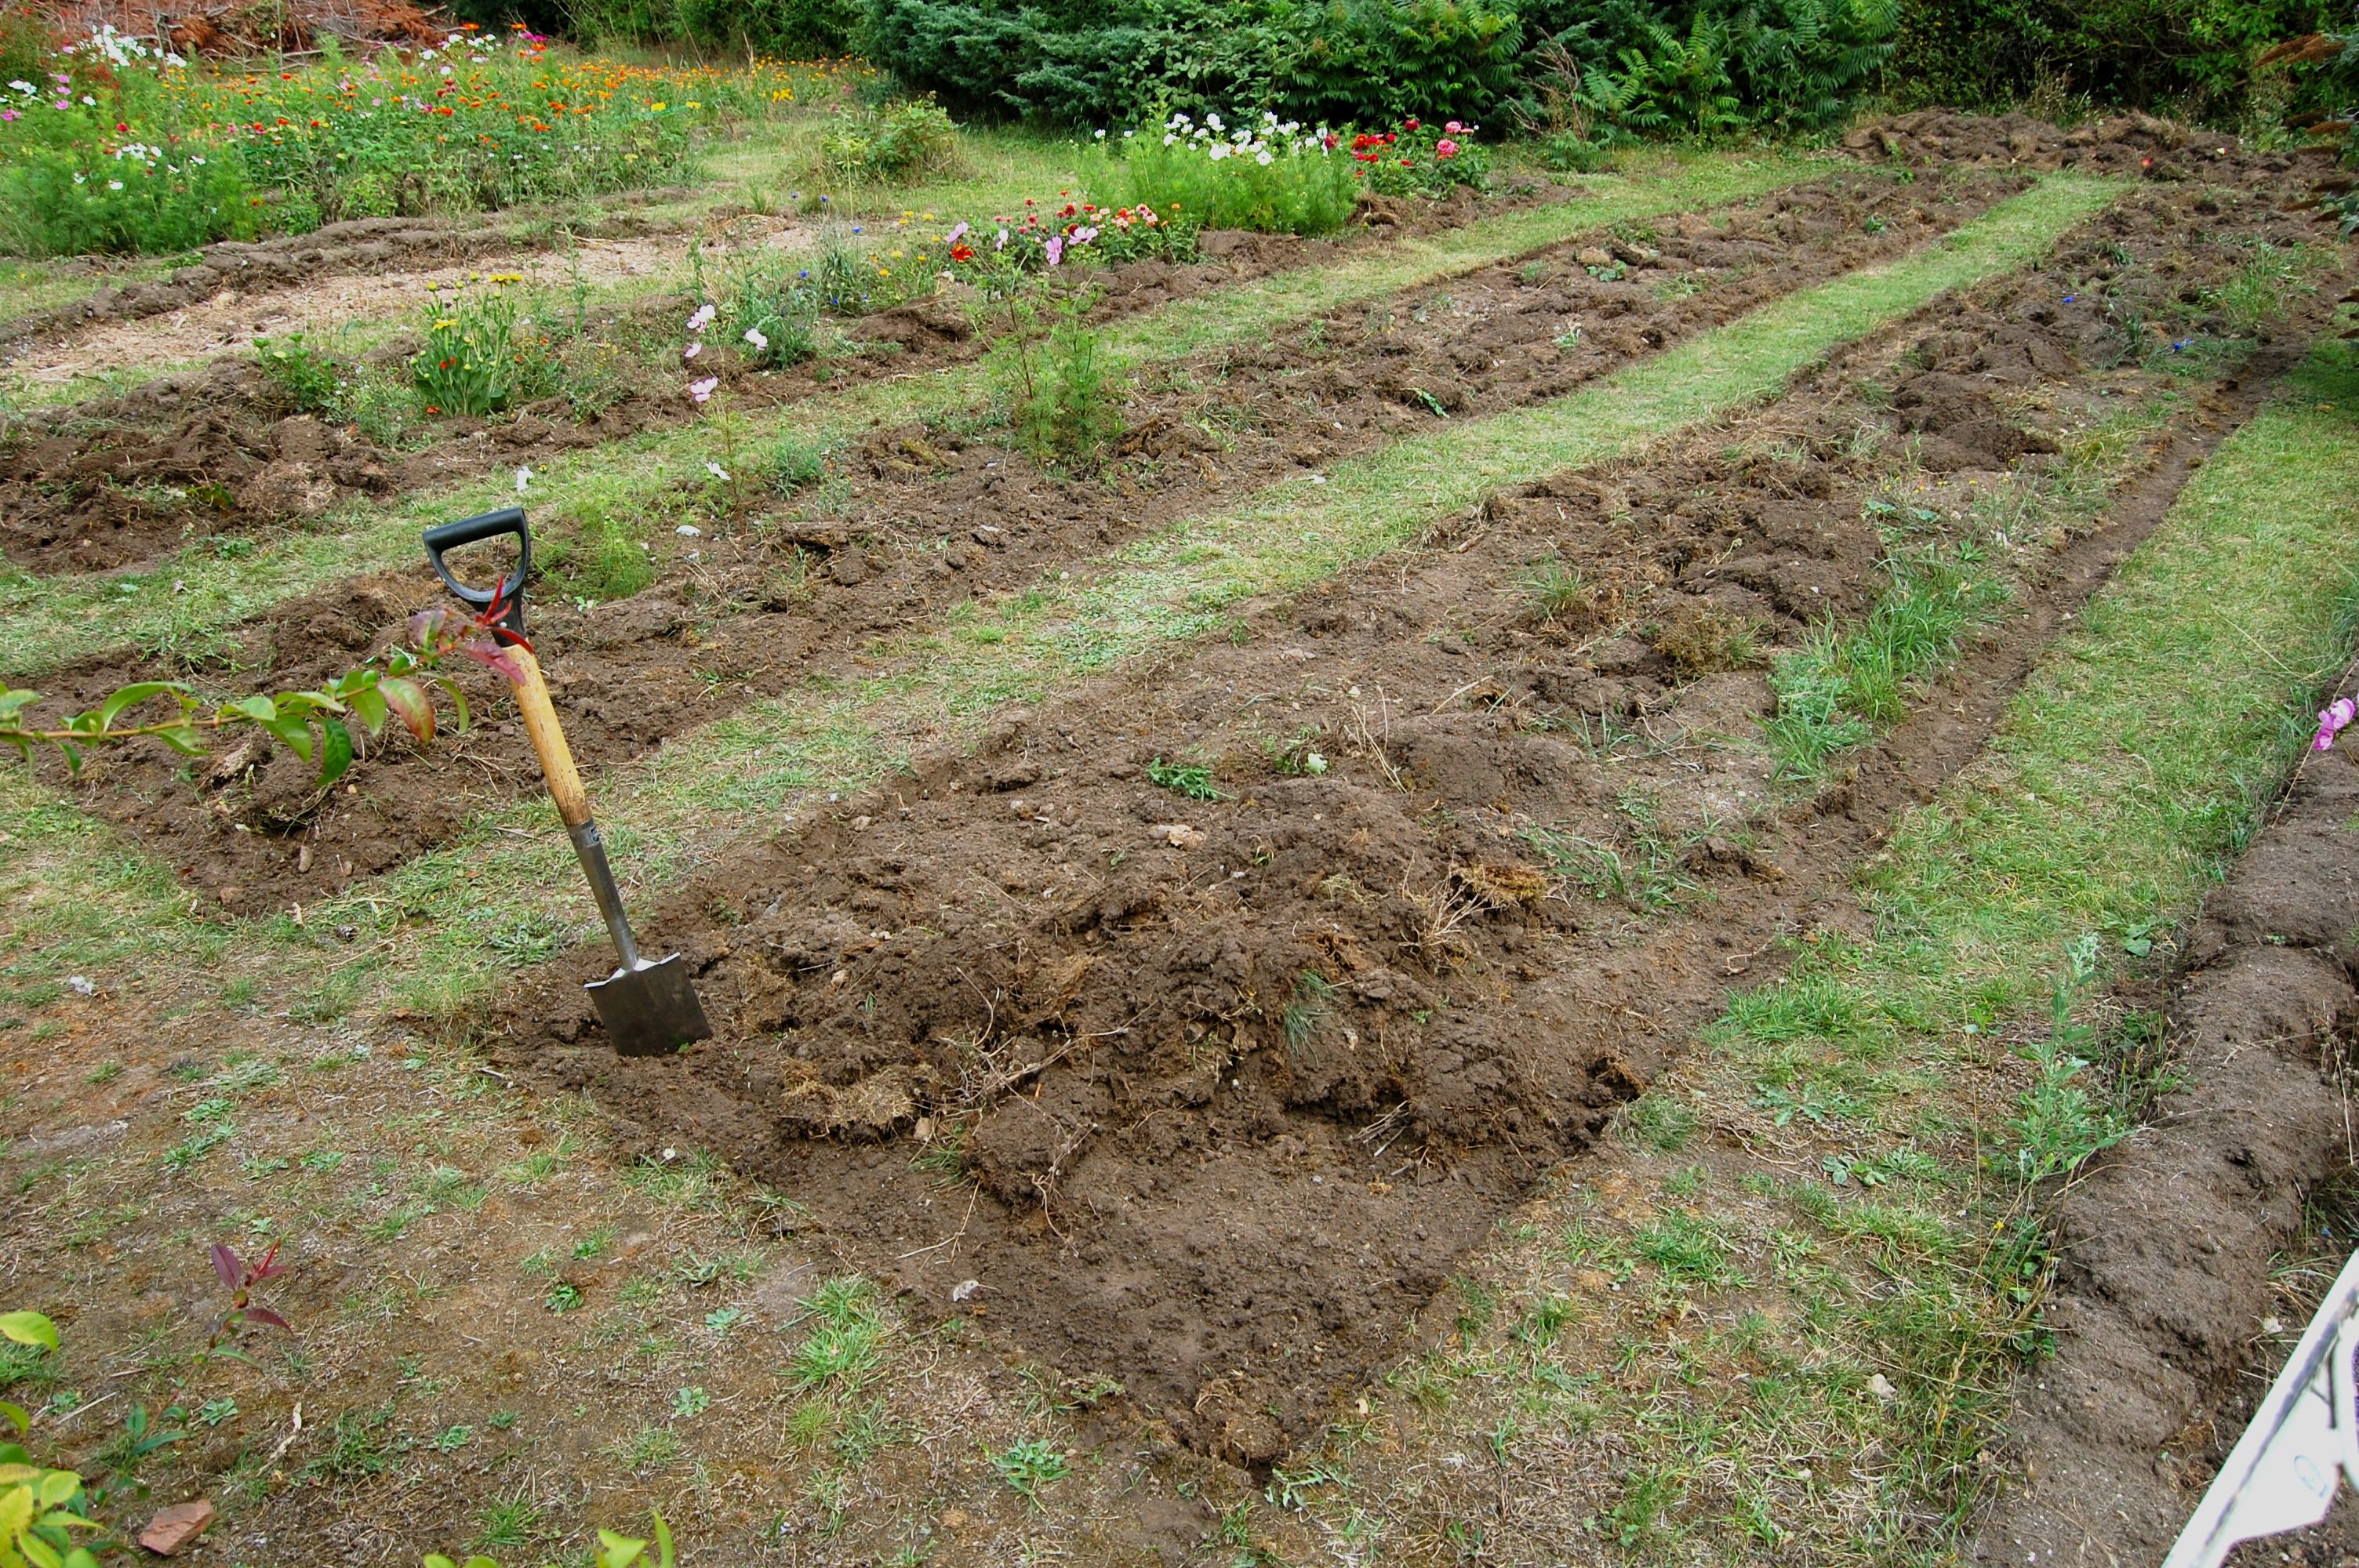
Next, turn your attention to the soil. Gently dig into the earth to assess its texture, moisture levels, and composition. Is the soil compacted and in need of aeration? Does it drain effectively, or does it retain water, potentially causing root rot? Understanding the soil's characteristics is essential for determining the necessary amendments to promote optimal plant growth.
Noting the Environmental Factors
Consider the environmental factors that impact the garden bed. Observe the amount of sunlight the area receives throughout the day. Is it a full-sun location, or does it experience partial or full shade? Understanding the sunlight exposure enables you to select plants that thrive in the specific light conditions of the garden bed.
Additionally, take note of the prevailing wind patterns and the microclimate of the area. Is the garden bed sheltered from strong winds, or does it experience constant exposure? These factors influence plant selection and placement, ensuring that the chosen flora can withstand the environmental conditions and thrive in their new home.
Documenting the Aesthetic and Functional Aspects
Finally, consider the aesthetic and functional aspects of the garden bed. Evaluate the overall design, including the arrangement of plants, colors, and textures. Assess whether the current layout complements the surrounding landscape and aligns with your desired garden aesthetic.
Furthermore, consider the functional aspects, such as the garden bed's role in the overall landscape design. Does it serve as a focal point, a border, or a backdrop for other garden elements? Understanding the garden bed's functional purpose guides the selection of plants and design elements that enhance its role within the broader outdoor space.
By thoroughly assessing the current garden bed, you lay the groundwork for a successful garden makeover. This comprehensive evaluation equips you with the knowledge needed to make informed decisions regarding plant selection, soil amendments, and design enhancements, setting the stage for a vibrant and thriving garden bed.
Key Takeaways:
- Assess the current garden bed by evaluating existing plants, soil, sunlight exposure, and design. This helps make informed decisions for a successful garden makeover.
- Clear out existing plants and debris meticulously to create a fresh start and prepare for new flora. This symbolic renewal infuses the space with vitality and potential.
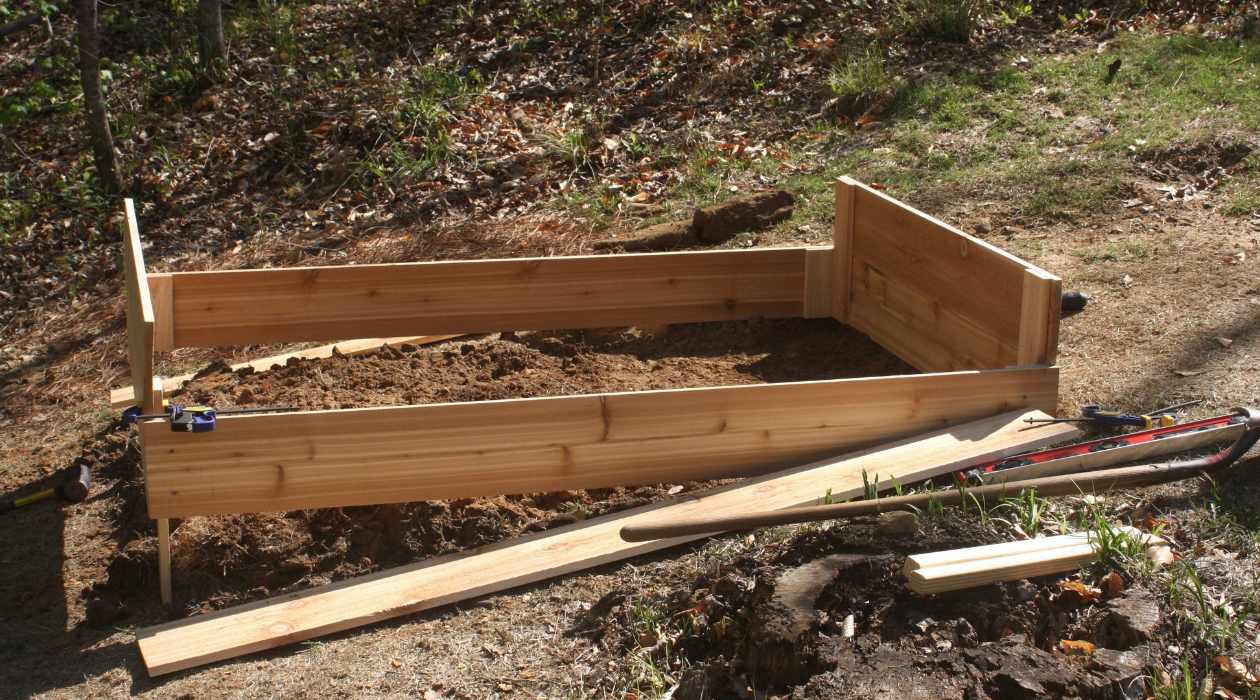
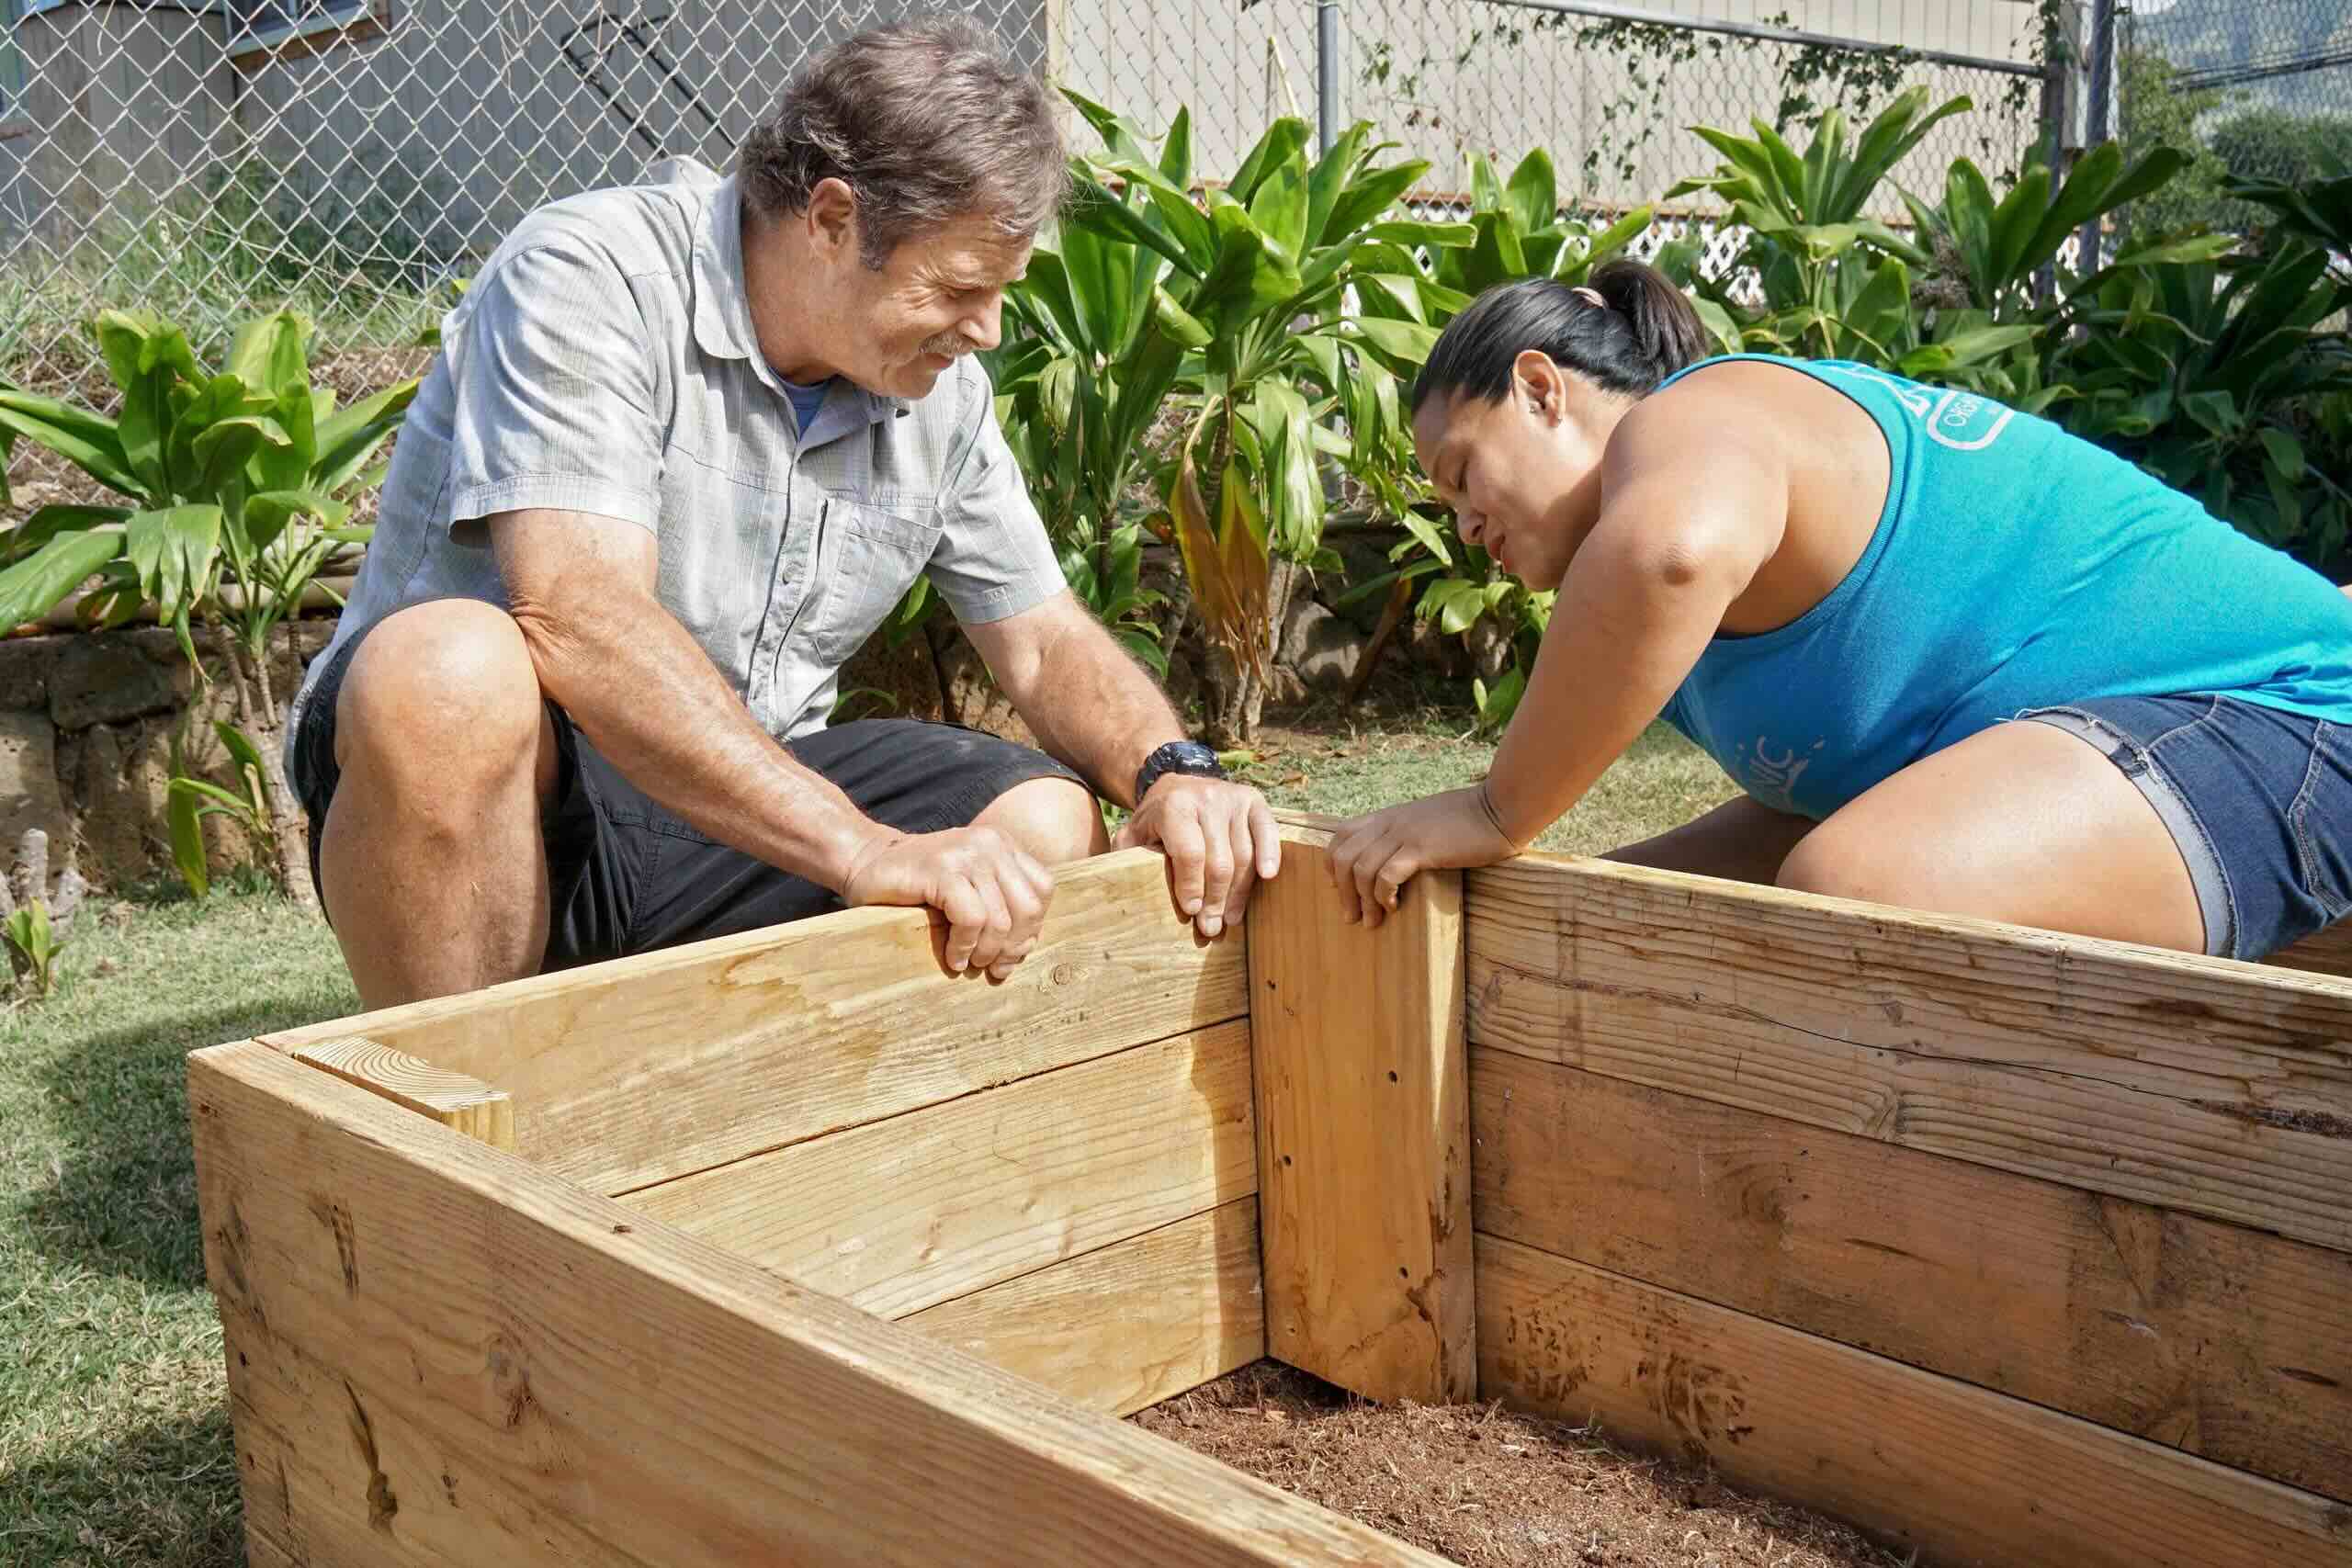
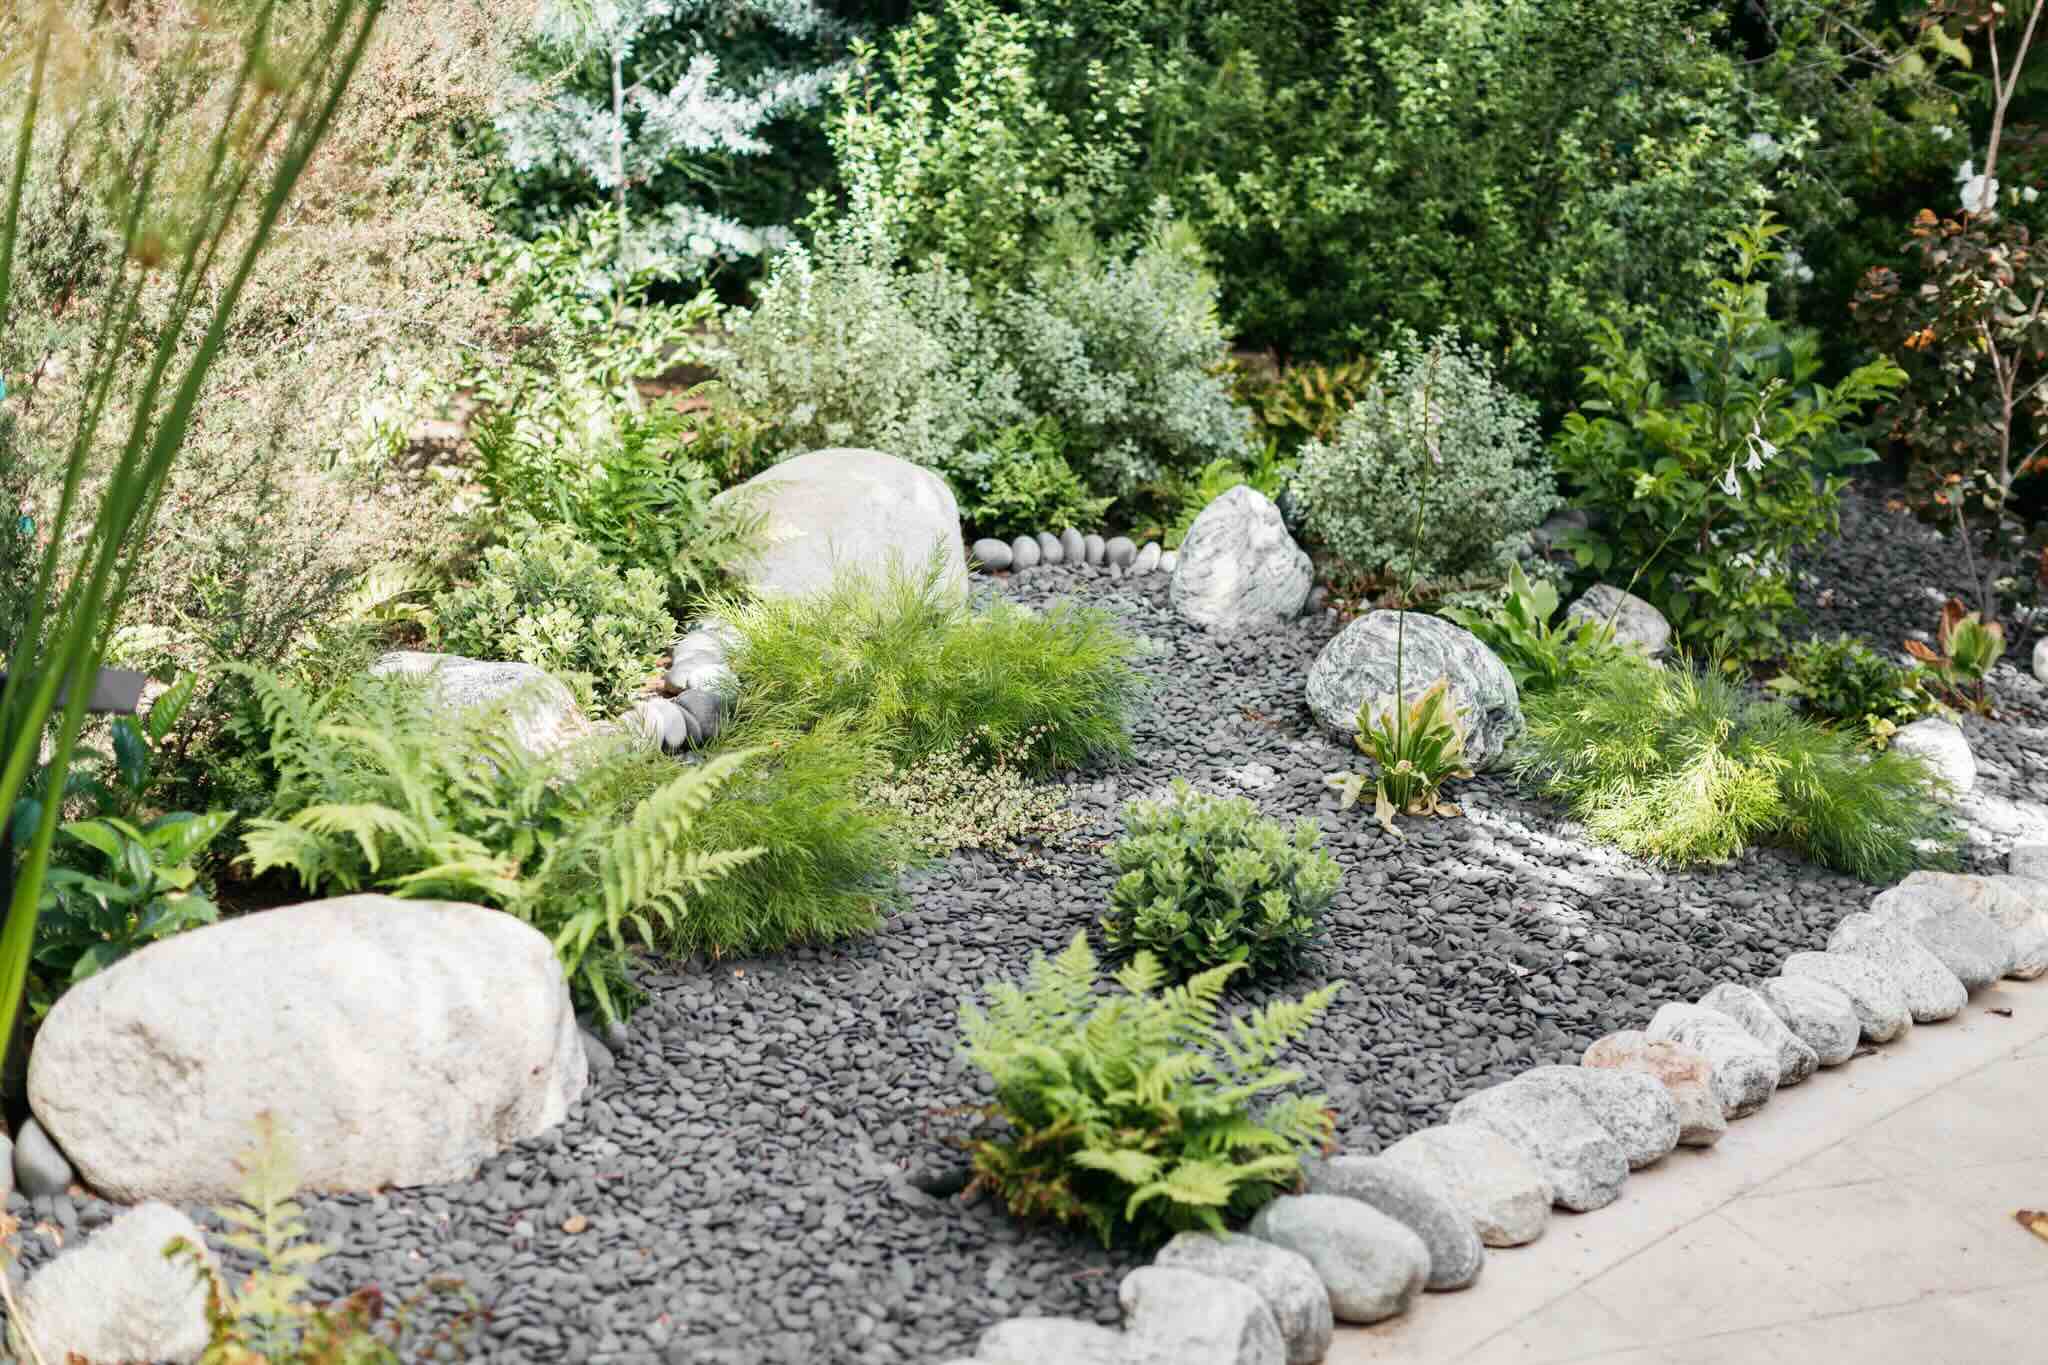
Clearing Out the Existing Plants and Debris
Embarking on the journey to rejuvenate a garden bed involves a crucial step: clearing out the existing plants and debris. This process sets the stage for a fresh start, allowing new flora to thrive and breathe life into the outdoor space. As you delve into this transformative task, meticulous attention to detail and a methodical approach will pave the way for a successful garden bed makeover.
Begin by carefully removing the existing plants from the garden bed. Gently uproot each plant, taking care to preserve the surrounding soil and minimize disruption to the earth. As you unearth the flora, assess their condition and viability for relocation. Healthy and vibrant plants may find a new home elsewhere in the garden, while those showing signs of decline may need to be replaced with fresh, resilient specimens.
Once the plants have been carefully relocated or set aside for replacement, turn your focus to the accumulated debris within the garden bed. Clear away fallen leaves, twigs, and any other organic matter that may have accumulated over time. This meticulous tidying process creates a clean canvas for the subsequent stages of the garden bed transformation.
As you clear out the existing plants and debris, take the opportunity to inspect the soil once more. Remove any lingering roots, weeds, or invasive plants that may have taken root in the earth. By thoroughly cleansing the soil of unwanted intruders, you create an optimal environment for the new plants to flourish without competition for resources.
In addition to physical debris, consider the emotional and mental benefits of this clearing process. As you meticulously tend to the garden bed, you engage in a therapeutic and rejuvenating activity. The act of clearing out the existing plants and debris serves as a symbolic renewal, signaling the start of a fresh chapter for the garden bed and infusing the space with a sense of vitality and potential.
By methodically clearing out the existing plants and debris, you lay the groundwork for a revitalized garden bed. This meticulous process not only prepares the space for new flora but also symbolizes a fresh beginning, infusing the outdoor environment with renewed energy and the promise of vibrant growth.
Read more: How To Create A Garden Bed
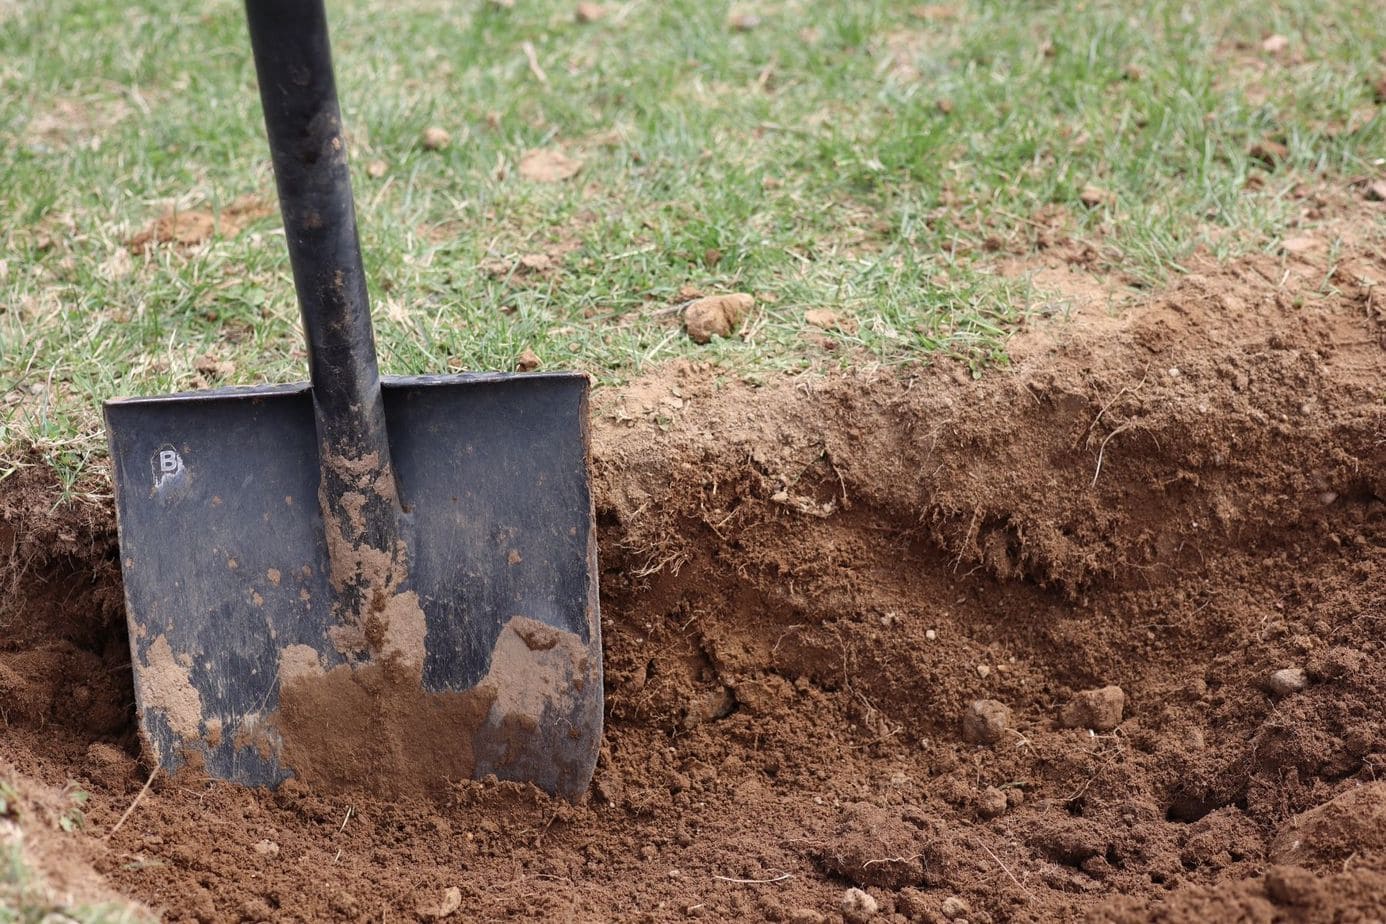
Amending the Soil
Amending the soil is a pivotal step in revitalizing a garden bed, as it directly impacts the health and vitality of the plants that will call this space home. By enriching the soil with essential nutrients and improving its structure, you create an optimal foundation for robust plant growth and long-term flourishing. This transformative process involves a thoughtful approach and a deep understanding of the soil's composition, ensuring that the amended earth provides an ideal environment for the new flora.
Begin by testing the soil to assess its pH levels and nutrient content. This crucial step provides valuable insights into the soil's current state, guiding the selection of appropriate amendments. Soil testing kits are readily available and offer a simple yet effective means of gauging the earth's characteristics. Once the test results are obtained, they serve as a roadmap for the specific amendments needed to optimize the soil for plant growth.
Based on the soil test results, select organic amendments that align with the identified deficiencies. Common soil amendments include compost, well-rotted manure, and organic matter rich in nutrients. These natural additives enhance the soil's fertility, improve its texture, and promote beneficial microbial activity. Incorporating organic matter into the soil fosters a thriving ecosystem below the surface, supporting the roots of the newly planted flora and facilitating nutrient uptake.
In addition to organic amendments, consider the incorporation of mineral-based additives to address specific deficiencies revealed by the soil test. For instance, if the soil test indicates a lack of essential minerals such as calcium or magnesium, targeted mineral supplements can rectify these imbalances. By addressing the soil's specific needs through a tailored approach, you create an environment that nurtures healthy plant development and resilience.
Once the selected amendments are at hand, carefully incorporate them into the soil, ensuring thorough mixing to achieve a uniform distribution. This process may involve tilling the earth to integrate the amendments effectively, promoting a harmonious blend of organic matter and minerals throughout the soil. By methodically amending the soil, you create a nutrient-rich and well-structured foundation that sets the stage for vibrant plant growth and long-term garden vitality.
Amending the soil is a transformative endeavor that lays the groundwork for a thriving garden bed. By enriching the earth with essential nutrients, improving its structure, and fostering a balanced ecosystem, you cultivate an environment where new plants can flourish and thrive. This thoughtful and strategic approach to soil enhancement ensures that the garden bed becomes a nurturing haven for vibrant flora, embodying the potential for enduring beauty and vitality.
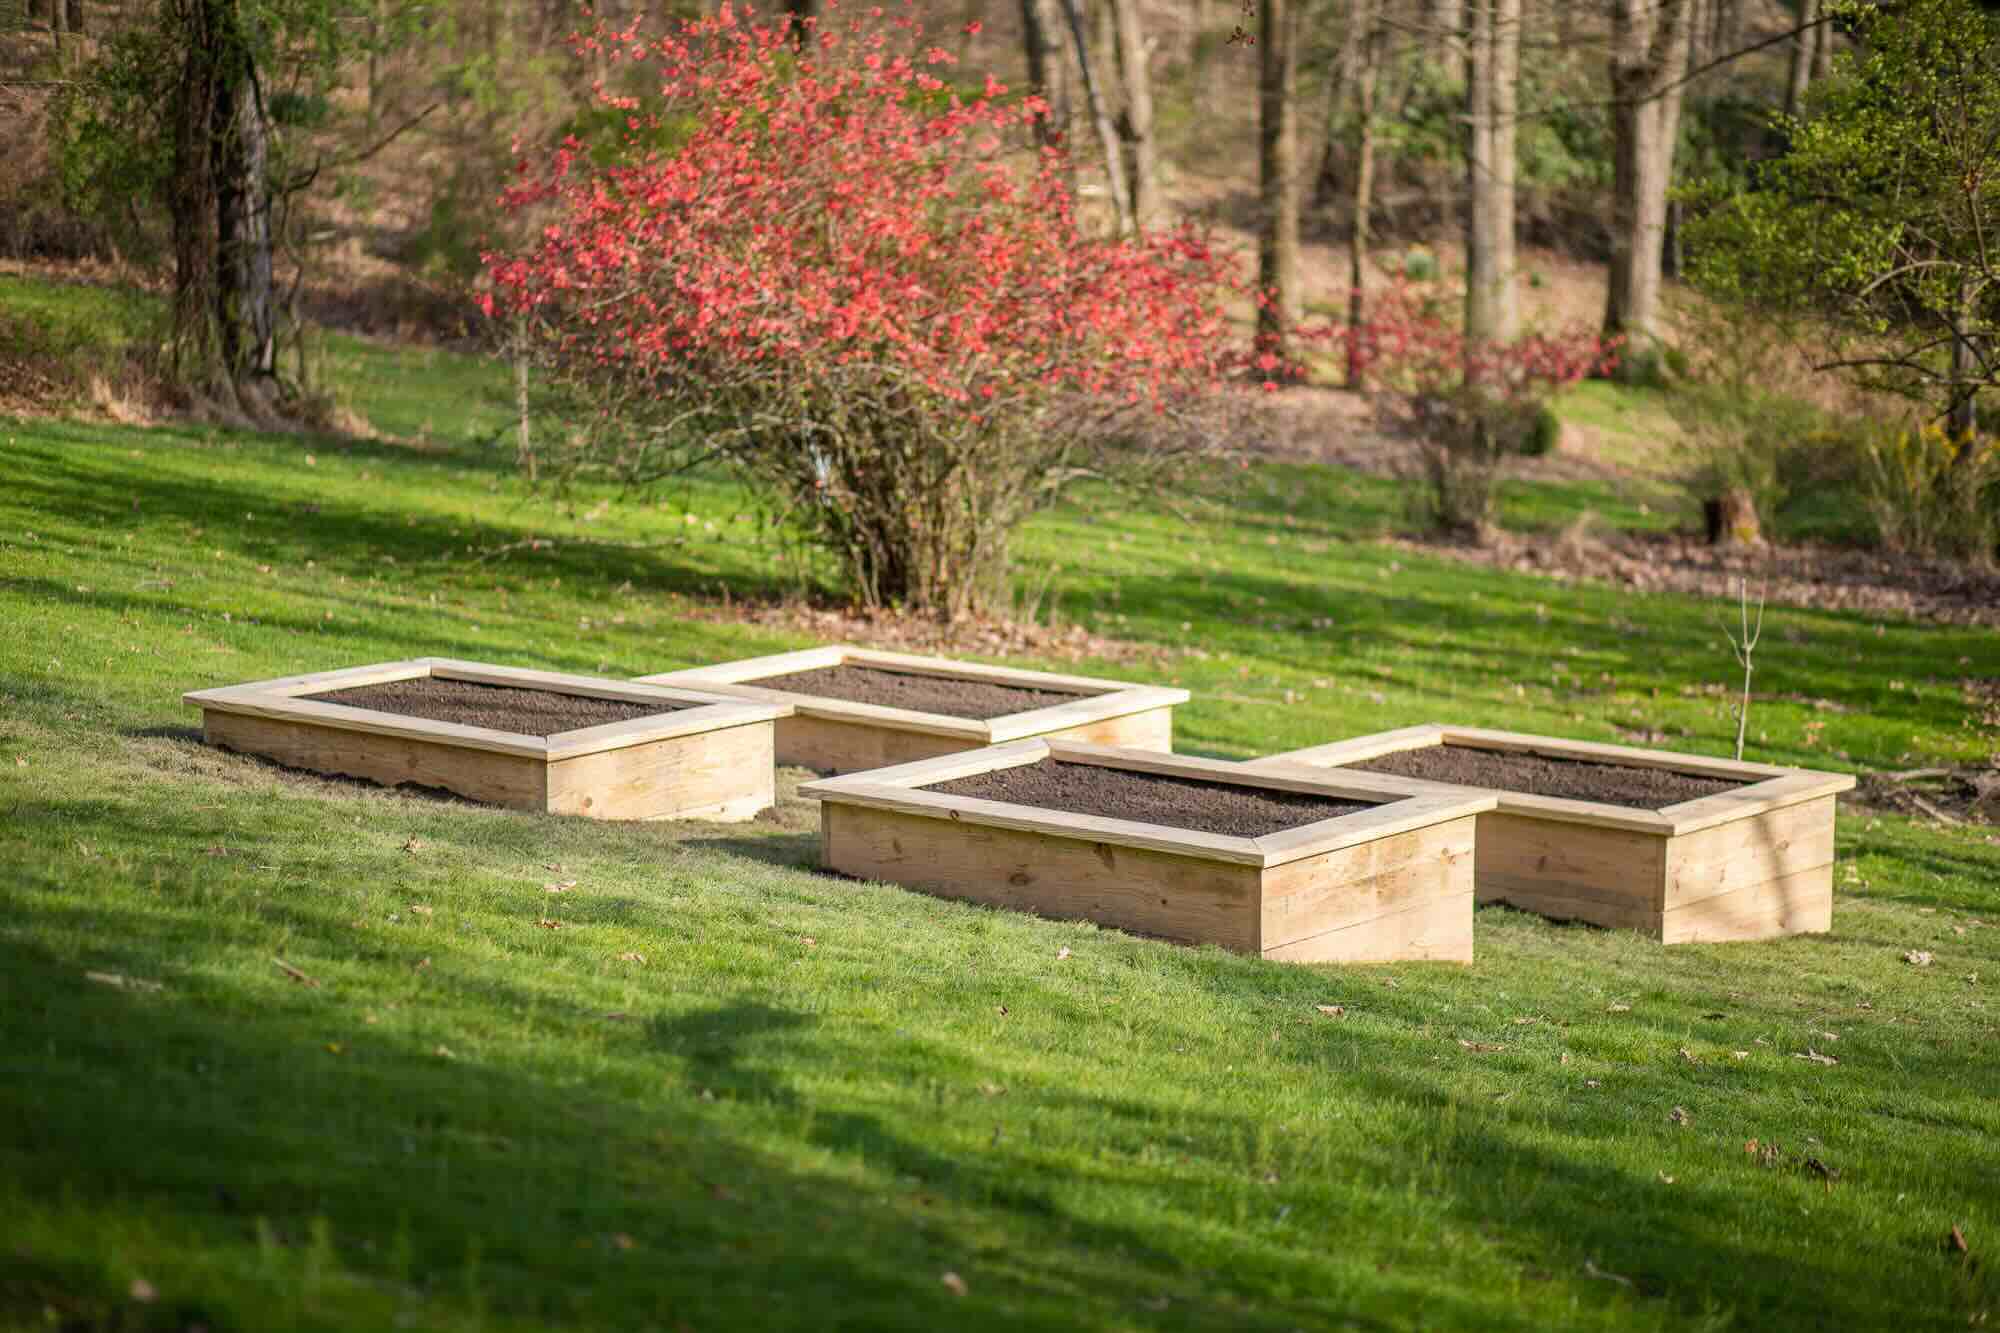
Choosing and Planting New Plants
Selecting and planting new plants is a pivotal phase in the rejuvenation of a garden bed, marking the transition from preparation to transformation. This stage presents an opportunity to infuse the outdoor space with vibrant colors, captivating textures, and a harmonious blend of flora that collectively elevate the garden bed's visual appeal and ecological diversity.
Research and Selection
Before embarking on the selection process, conduct thorough research to identify plant species that thrive in the garden bed's specific environmental conditions. Consider factors such as sunlight exposure, soil moisture levels, and prevailing wind patterns to ensure that the chosen plants are well-suited to their new home. Additionally, take into account the mature size of the plants to maintain a balanced and visually appealing composition within the garden bed.
When selecting plants, aim for a diverse yet cohesive mix that encompasses varying heights, colors, and blooming seasons. This approach creates visual interest and ensures year-round appeal, with different plants taking center stage as the seasons change. Consider incorporating native species, as they are well-adapted to the local climate and provide essential support for native wildlife, contributing to the garden bed's ecological sustainability.
Planting Process
Once the selection is finalized, embark on the planting process with care and precision. Begin by arranging the selected plants within the garden bed, considering their mature sizes and growth patterns to achieve an aesthetically pleasing and harmonious layout. Take into account the plants' individual requirements, such as spacing and soil preferences, to create an environment where each species can thrive.
As you dig the planting holes, ensure that they are of sufficient depth and width to accommodate the plants' root systems comfortably. Gently remove the plants from their containers, taking care to loosen the roots and position them at the appropriate depth within the prepared holes. Backfill the holes with soil, gently firming it around the base of each plant to provide stability and optimal contact with the roots.
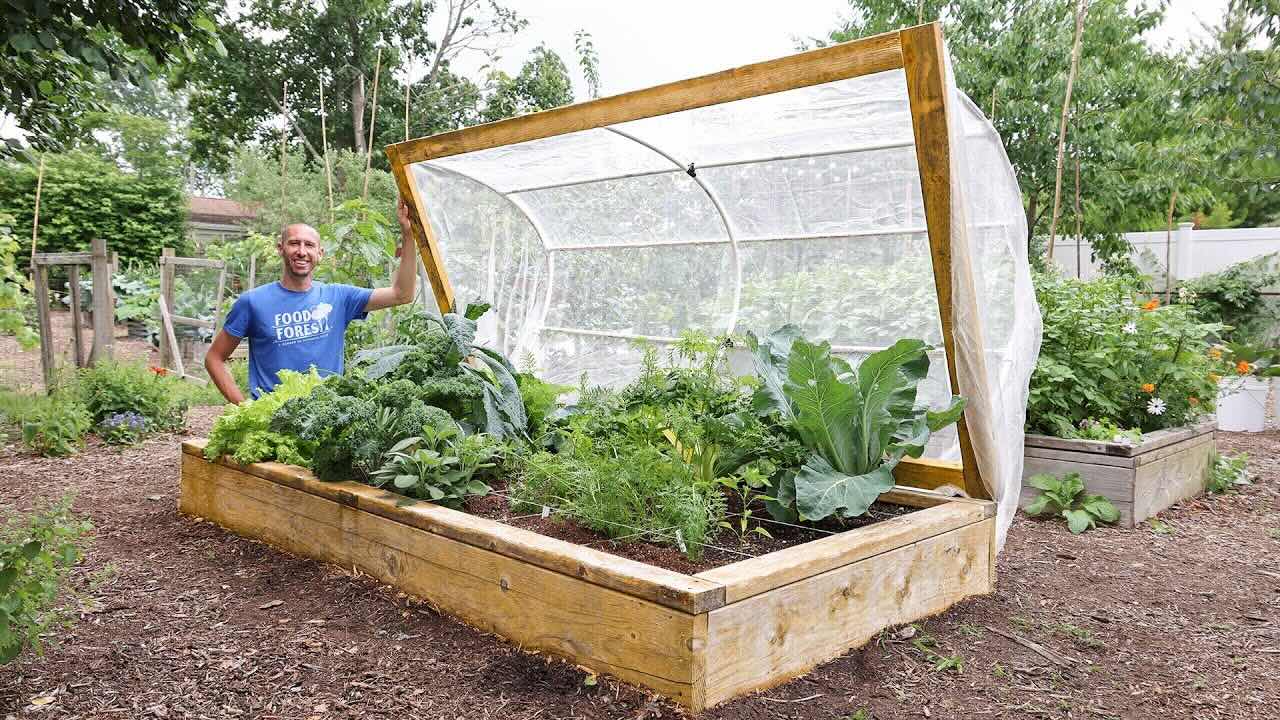
Following the planting process, provide the newly installed plants with ample water to support their establishment. Consider applying a layer of organic mulch around the base of each plant to conserve soil moisture, suppress weed growth, and promote a favorable microclimate for root development. This meticulous approach to planting sets the stage for the new plants to take root, thrive, and contribute to the garden bed's renewed vitality.
By thoughtfully selecting and planting new flora, you breathe new life into the garden bed, infusing it with a captivating tapestry of colors, textures, and natural beauty. This transformative process not only enhances the visual appeal of the outdoor space but also fosters a thriving ecosystem that supports local biodiversity and ecological balance. As the newly planted flora takes root and flourishes, the garden bed becomes a vibrant and enchanting haven, embodying the promise of enduring natural splendor.
Read more: How To Design A Garden Bed
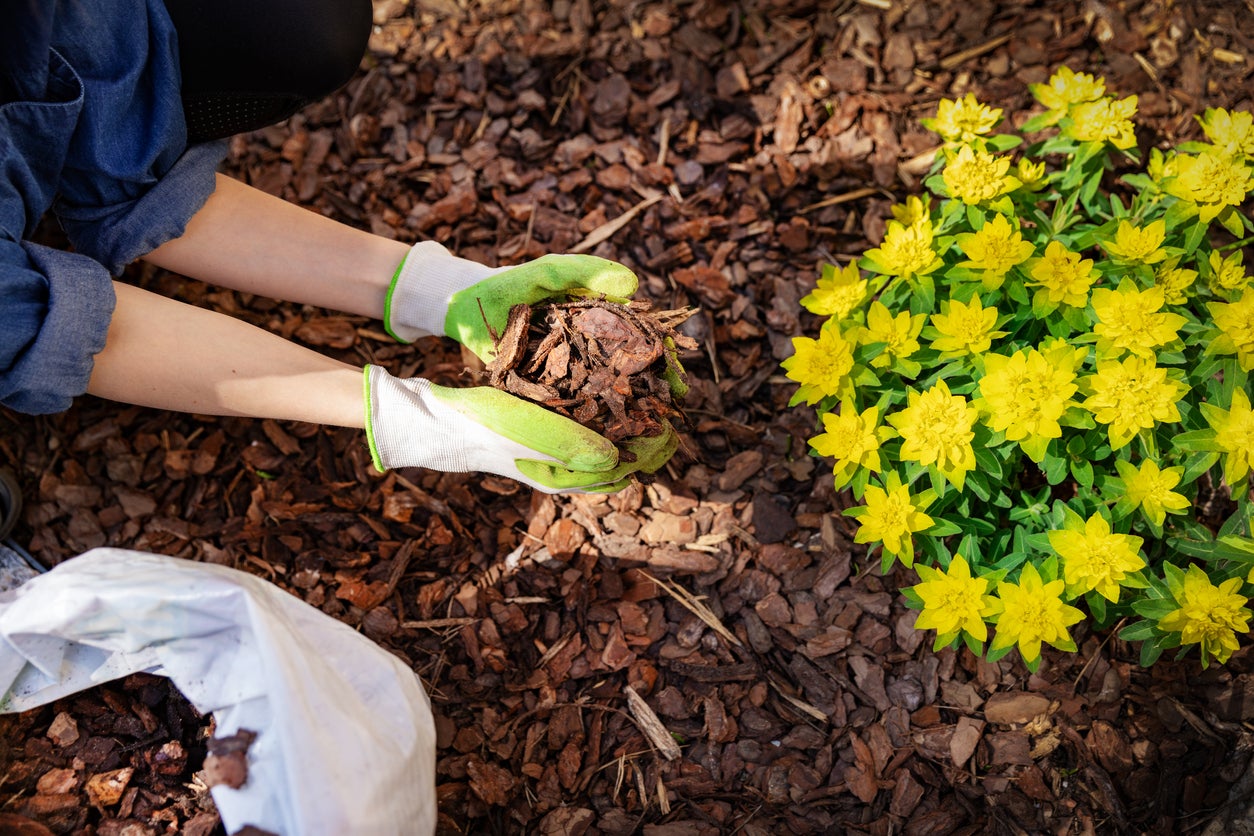
Mulching and Watering the Garden Bed
Mulching and watering are essential components of garden bed maintenance, playing a crucial role in nurturing the newly planted flora and sustaining the overall health of the outdoor space. These practices not only contribute to the visual appeal of the garden bed but also support the long-term vitality of the plants, fostering a thriving ecosystem that enhances the beauty and sustainability of the outdoor environment.
Mulching for Moisture Retention and Weed Suppression
Applying a layer of organic mulch to the garden bed serves multiple beneficial purposes. Firstly, mulch acts as a protective barrier, conserving soil moisture by reducing evaporation and minimizing water loss due to environmental factors. This moisture retention is particularly vital during dry spells or hot weather, providing a consistent and favorable environment for the plants' root systems to thrive.
Moreover, mulch serves as a natural weed suppressant, inhibiting the germination and growth of unwanted plants that may compete with the newly established flora for essential resources. By creating a barrier that impedes weed growth, mulch contributes to the overall health and visual tidiness of the garden bed, allowing the selected plants to flourish without undue competition.
Watering for Optimal Plant Health
Effective and mindful watering is paramount to the success of the newly planted flora. It is essential to establish a watering routine that aligns with the specific needs of the plants and the prevailing environmental conditions. Consider factors such as soil moisture levels, plant species, and weather patterns when determining the frequency and volume of watering.
When watering the garden bed, aim to provide deep, thorough irrigation that penetrates the soil and reaches the plants' root zones. This encourages robust root development and resilience, enabling the plants to withstand environmental stressors and thrive in their new environment. Additionally, watering in the early morning or late afternoon helps minimize water loss due to evaporation, ensuring that the plants receive the maximum benefit from each watering session.
The Synergistic Impact
When combined, mulching and watering create a synergistic impact that fosters an optimal environment for the garden bed's flora. The moisture retention facilitated by mulch complements the watering regimen, reducing the frequency of irrigation while promoting consistent soil moisture levels. This harmonious balance supports the plants' health and vitality, contributing to their long-term resilience and overall flourishing within the garden bed.
In essence, mulching and watering are integral components of garden bed care, working in tandem to sustain the health and beauty of the outdoor space. By embracing these practices, you nurture a vibrant and sustainable ecosystem, where the newly planted flora can thrive and contribute to the enduring allure of the garden bed.
Frequently Asked Questions about How To Redo A Garden Bed
Was this page helpful?
At Storables.com, we guarantee accurate and reliable information. Our content, validated by Expert Board Contributors, is crafted following stringent Editorial Policies. We're committed to providing you with well-researched, expert-backed insights for all your informational needs.


0 thoughts on “How To Redo A Garden Bed”