Home>Gardening & Outdoor>Landscaping Ideas>How To Prep A Garden Bed
Landscaping Ideas
How To Prep A Garden Bed
Modified: February 16, 2024
Learn how to prep a garden bed with our expert landscaping ideas. Get tips on soil preparation, planting, and maintenance for a thriving garden.
(Many of the links in this article redirect to a specific reviewed product. Your purchase of these products through affiliate links helps to generate commission for Storables.com, at no extra cost. Learn more)
Choose the Right Location
Selecting the right location for your garden bed is crucial for the success of your landscaping endeavors. The ideal location can significantly impact the growth and health of your plants. Here's how to choose the perfect spot for your garden bed:
-
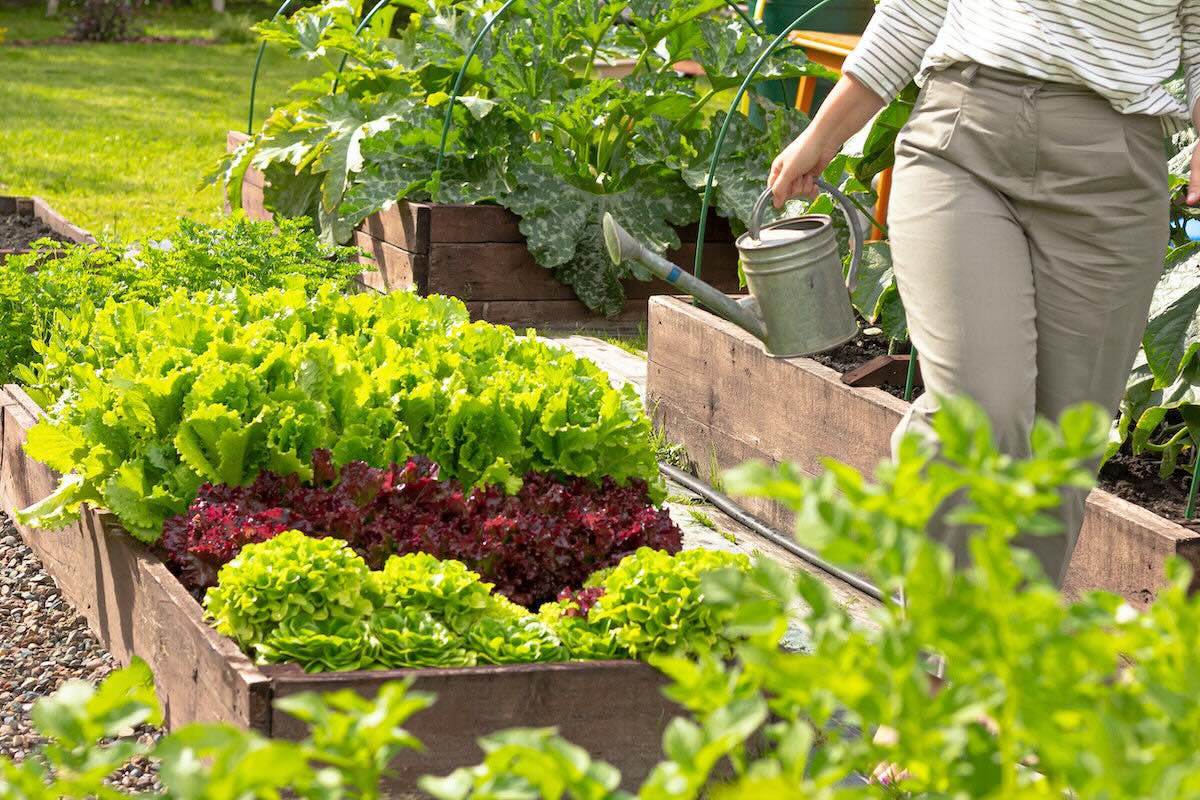
Sunlight Exposure: Determine the amount of sunlight the area receives throughout the day. Most vegetables and flowers thrive in full sunlight, which typically means a minimum of six hours of direct sunlight daily. However, some plants, such as lettuce and spinach, prefer partial shade. Understanding the sunlight requirements of your chosen plants is essential when selecting the location for your garden bed.
-
Accessibility to Water: Ensure that the chosen location is within reach of a water source. Whether you plan to water your garden bed manually or use an irrigation system, having easy access to water is crucial for the well-being of your plants. Additionally, consider the drainage in the area to prevent waterlogging, which can be detrimental to plant roots.
-
Protection from Wind: Assess the area for potential wind exposure. Strong winds can damage delicate plants and dry out the soil, leading to stunted growth. If your chosen location is prone to strong winds, consider installing a windbreak or selecting wind-resistant plant varieties.
-
Soil Quality: Evaluate the soil quality in the area. While you will likely amend the soil before planting, it's beneficial to start with a location that has good soil structure. Conduct a simple soil test to determine its pH level and composition. This will guide you in selecting plants that are well-suited to the existing soil conditions or in making necessary amendments to improve the soil quality.
-
Proximity to Home: Consider the proximity of the garden bed to your home. Having the garden bed within close reach makes it easier to tend to and monitor your plants. Additionally, a nearby location encourages frequent visits, allowing you to quickly address any issues that may arise.
By carefully considering these factors, you can choose a location that provides the optimal conditions for your garden bed, setting the stage for a thriving and bountiful landscape.
Key Takeaways:
- Choose the Right Location: Find a sunny, accessible, and wind-protected spot for your garden bed. Test the soil and consider proximity to your home for a thriving garden.
- Mulch the Bed: Mulching conserves moisture, suppresses weeds, and enriches soil. Choose the right mulch and maintain the layer for a healthy and vibrant garden.
Read more: How To Design A Garden Bed
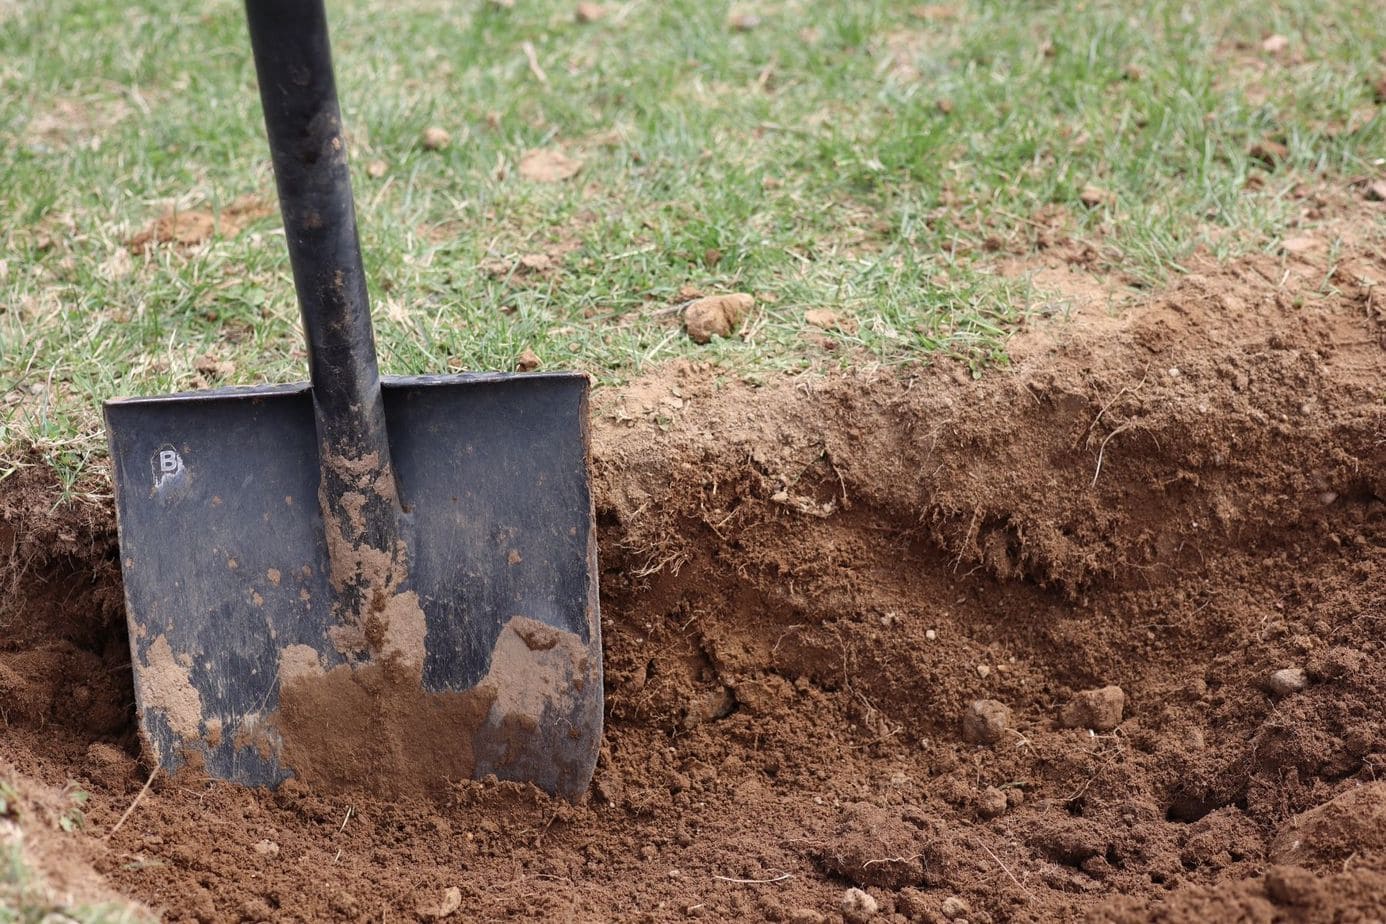
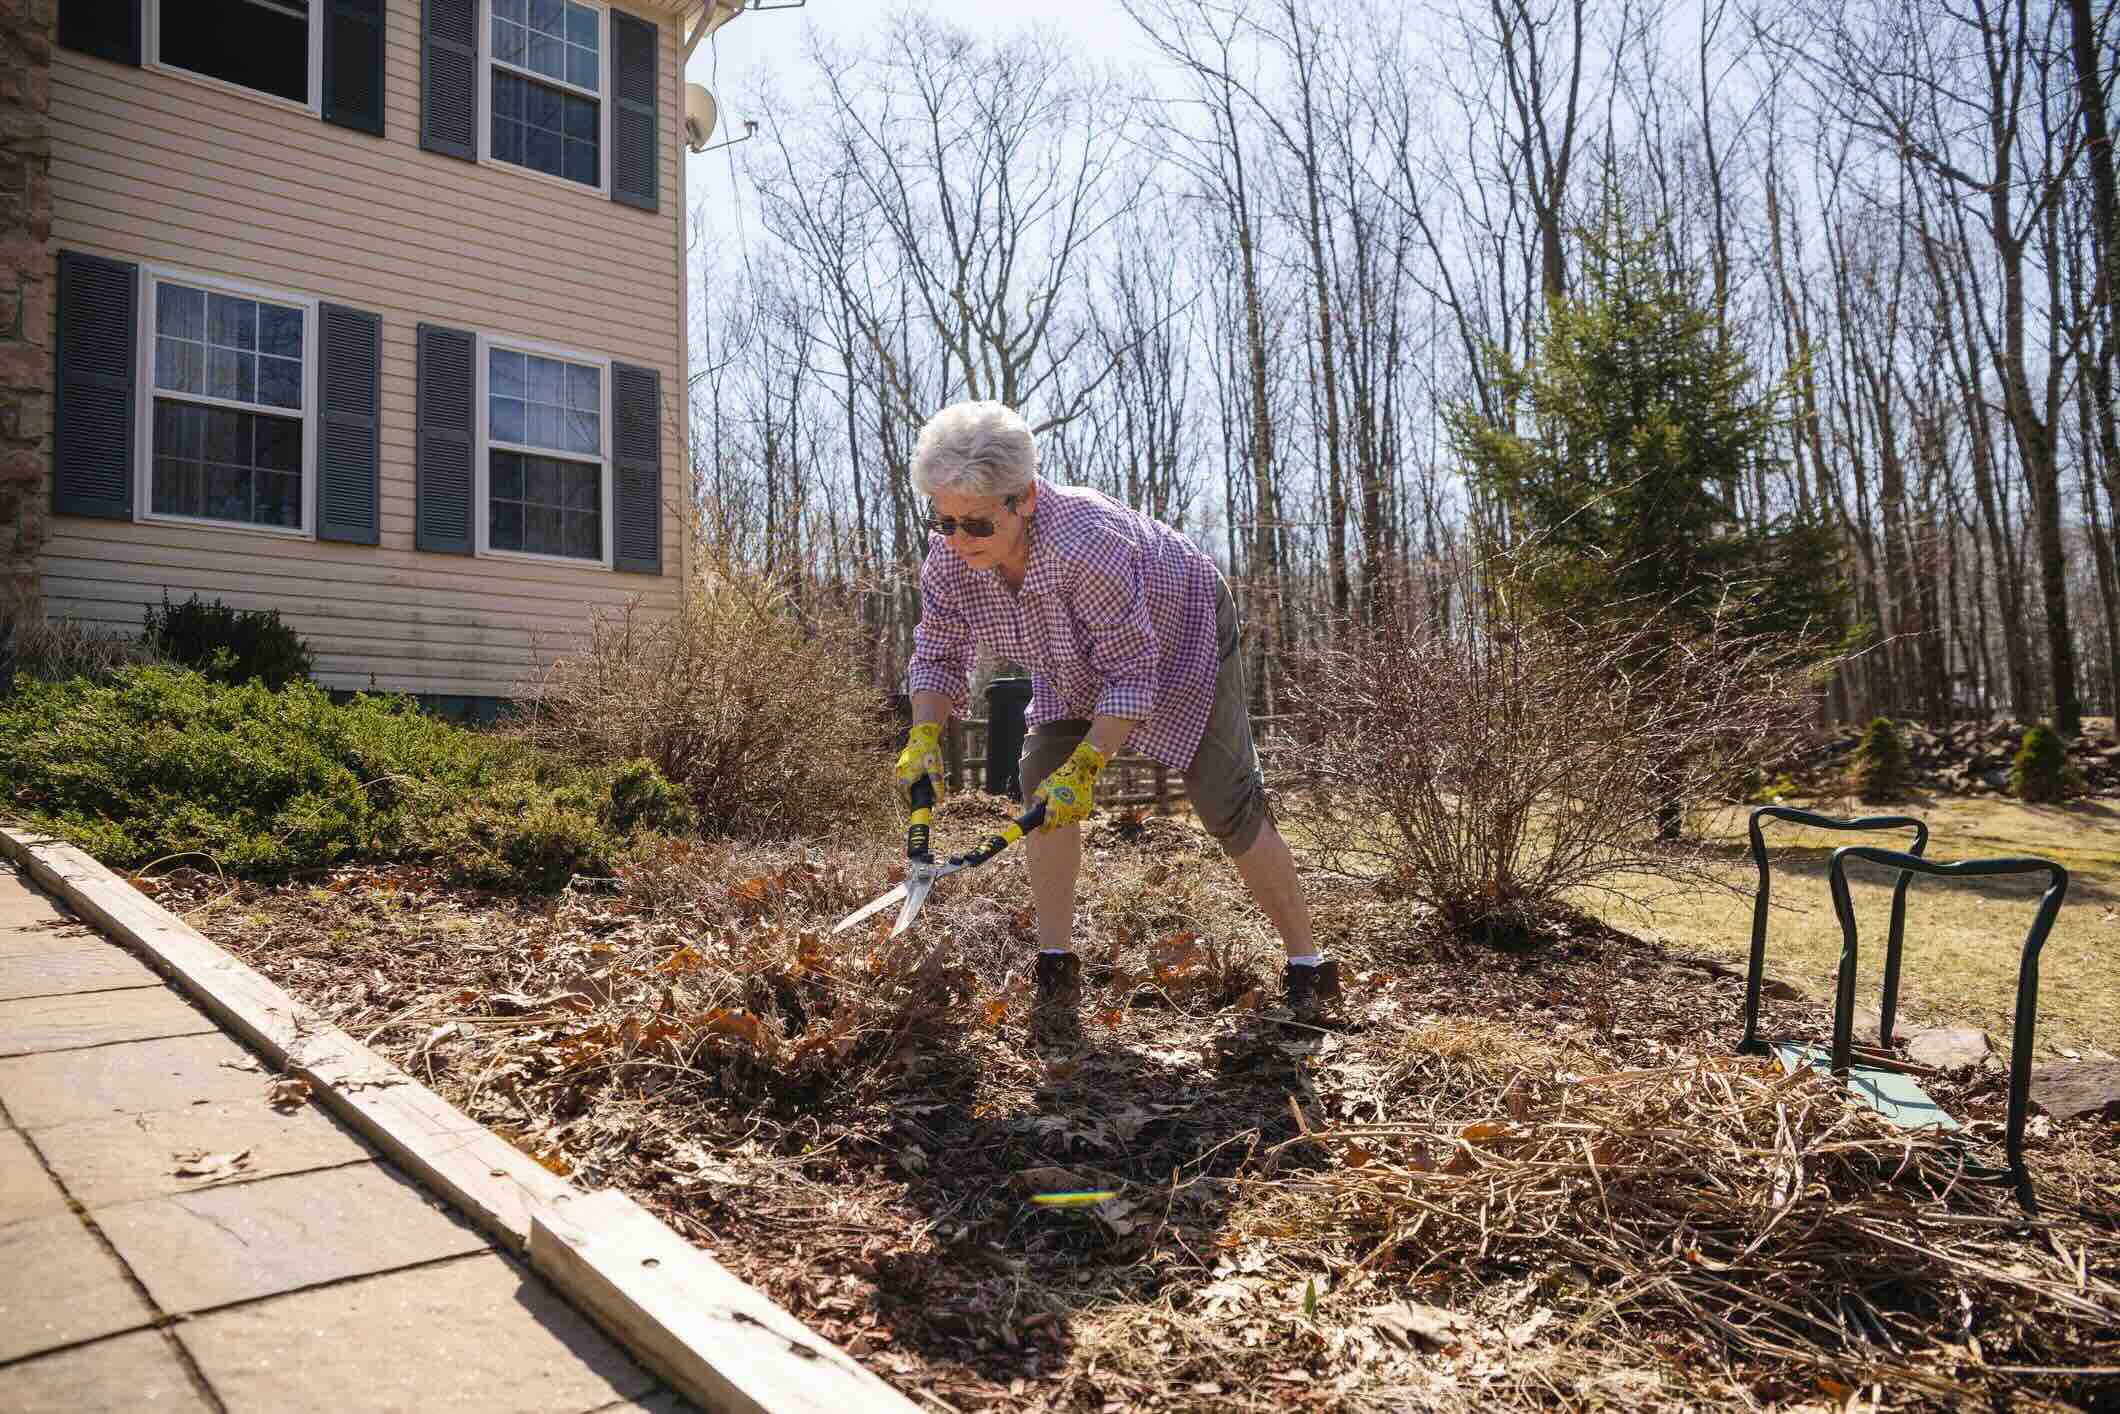
Clear the Area
Before you start prepping your garden bed, it's essential to clear the designated area of any existing vegetation, debris, and obstacles. This process sets the stage for a clean and fertile canvas for your plants to flourish. Here's a detailed guide on how to effectively clear the area for your garden bed:
-
Remove Weeds and Unwanted Vegetation: Begin by removing any weeds, grass, or unwanted vegetation from the area. Use a garden hoe, shovel, or a weed removal tool to uproot the plants, ensuring that you extract the roots to prevent regrowth. It's important to be thorough in this step to minimize competition for nutrients and space once your desired plants are in place.
-
Clear Debris and Rocks: Take the time to clear the area of any debris, rocks, or large stones that may hinder the growth of your plants or impede your gardening activities. Raking the area can help unearth hidden debris and smooth out the surface, providing a clean and level base for your garden bed.
-
Address Unwanted Structures: If there are any unwanted structures, such as old edging, deteriorating fencing, or remnants of previous garden beds, dismantle and clear them from the area. This ensures that your new garden bed has a fresh start without any encumbrances.
-
Consider Using a Weed Barrier: To further prevent weed growth and maintain a tidy garden bed, consider laying a weed barrier fabric over the cleared area. This permeable material suppresses weed growth while allowing water and nutrients to penetrate the soil, creating an optimal environment for your plants.
-
Inspect for Underground Utilities: Before proceeding with any digging or ground preparation, it's crucial to inspect the area for any underground utilities, such as irrigation lines, electrical cables, or plumbing. Contact your local utility companies to mark the locations of these utilities to avoid accidental damage during the clearing and subsequent gardening activities.
By meticulously clearing the area of any unwanted vegetation, debris, and potential obstacles, you create a clean and fertile space primed for the next steps in preparing your garden bed. This thorough preparation sets the foundation for a successful and flourishing garden that you can nurture and enjoy.
Test the Soil
Testing the soil is a crucial step in preparing a garden bed, as it provides valuable insights into the composition and characteristics of the soil, enabling you to make informed decisions about the types of plants to cultivate and the necessary soil amendments. Conducting a soil test involves assessing key factors such as pH levels, nutrient content, and texture, all of which directly impact the growth and vitality of your plants.
Soil pH Levels
The pH level of the soil influences the availability of essential nutrients to plants. Most plants thrive in soil with a neutral to slightly acidic pH range of 6.0 to 7.0. However, certain plants may have specific pH preferences. Conducting a pH test using a soil testing kit or through a professional soil testing service allows you to determine the current pH level of the soil in your garden bed. Based on the results, you can adjust the pH by incorporating amendments such as lime to raise the pH or elemental sulfur to lower it, creating an optimal growing environment for your chosen plants.
Nutrient Content
Assessing the nutrient content of the soil is vital for understanding its fertility and the potential need for additional nutrients. A comprehensive soil test provides insights into the levels of essential nutrients such as nitrogen, phosphorus, and potassium, as well as secondary nutrients and micronutrients. By understanding the existing nutrient levels, you can tailor your fertilizer application and soil amendments to address any deficiencies and ensure that your plants receive the necessary nutrients for robust growth and development.
Read more: How To Mulch A Garden Bed
Soil Texture and Composition
The texture and composition of the soil significantly impact its drainage, aeration, and overall suitability for plant growth. Soil with a balanced composition of sand, silt, and clay allows for proper water retention and drainage. Conducting a simple soil texture test, such as the ribbon test, enables you to determine the proportions of these components in your soil. Additionally, understanding the soil composition guides you in making amendments to improve its structure, promoting healthy root development and overall plant vigor.
By thoroughly testing the soil in your garden bed, you gain valuable insights that inform your gardening decisions, ensuring that you create an optimal environment for your plants to thrive. This proactive approach sets the stage for a successful and rewarding gardening experience, where you can witness the beauty and abundance of a well-nurtured landscape.
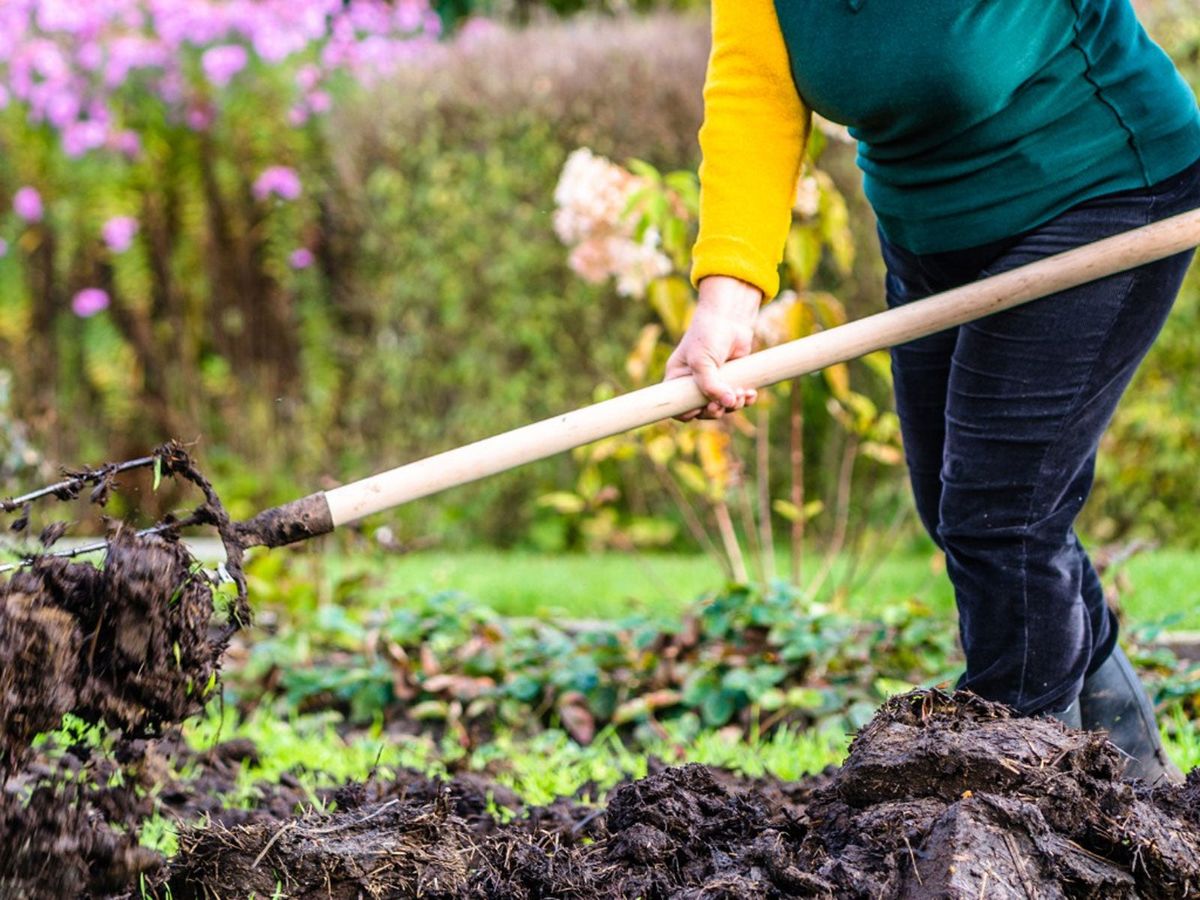
Add Organic Matter
Incorporating organic matter into your garden bed is a fundamental step in creating a fertile and nurturing environment for your plants. Organic matter, derived from natural sources such as compost, aged manure, and decomposed plant material, enriches the soil with essential nutrients, improves its structure, and fosters a thriving ecosystem for beneficial microorganisms. Here's a comprehensive guide on how to effectively add organic matter to your garden bed:
Assessing the Soil Composition
Before adding organic matter, it's beneficial to assess the existing soil composition to understand its texture, drainage capabilities, and nutrient content. By conducting a soil texture test and analyzing the soil's structure, you can identify any deficiencies and determine the appropriate type and quantity of organic matter needed to enhance the soil's fertility and structure.
Selecting Organic Amendments
Choose high-quality organic amendments such as well-aged compost, composted manure, leaf mold, or organic mulches. These organic materials not only provide a rich source of nutrients but also contribute to the improvement of soil texture, water retention, and aeration. Additionally, organic matter acts as a natural slow-release fertilizer, ensuring a steady supply of nutrients to your plants over time.
Read more: How To Create A Garden Bed
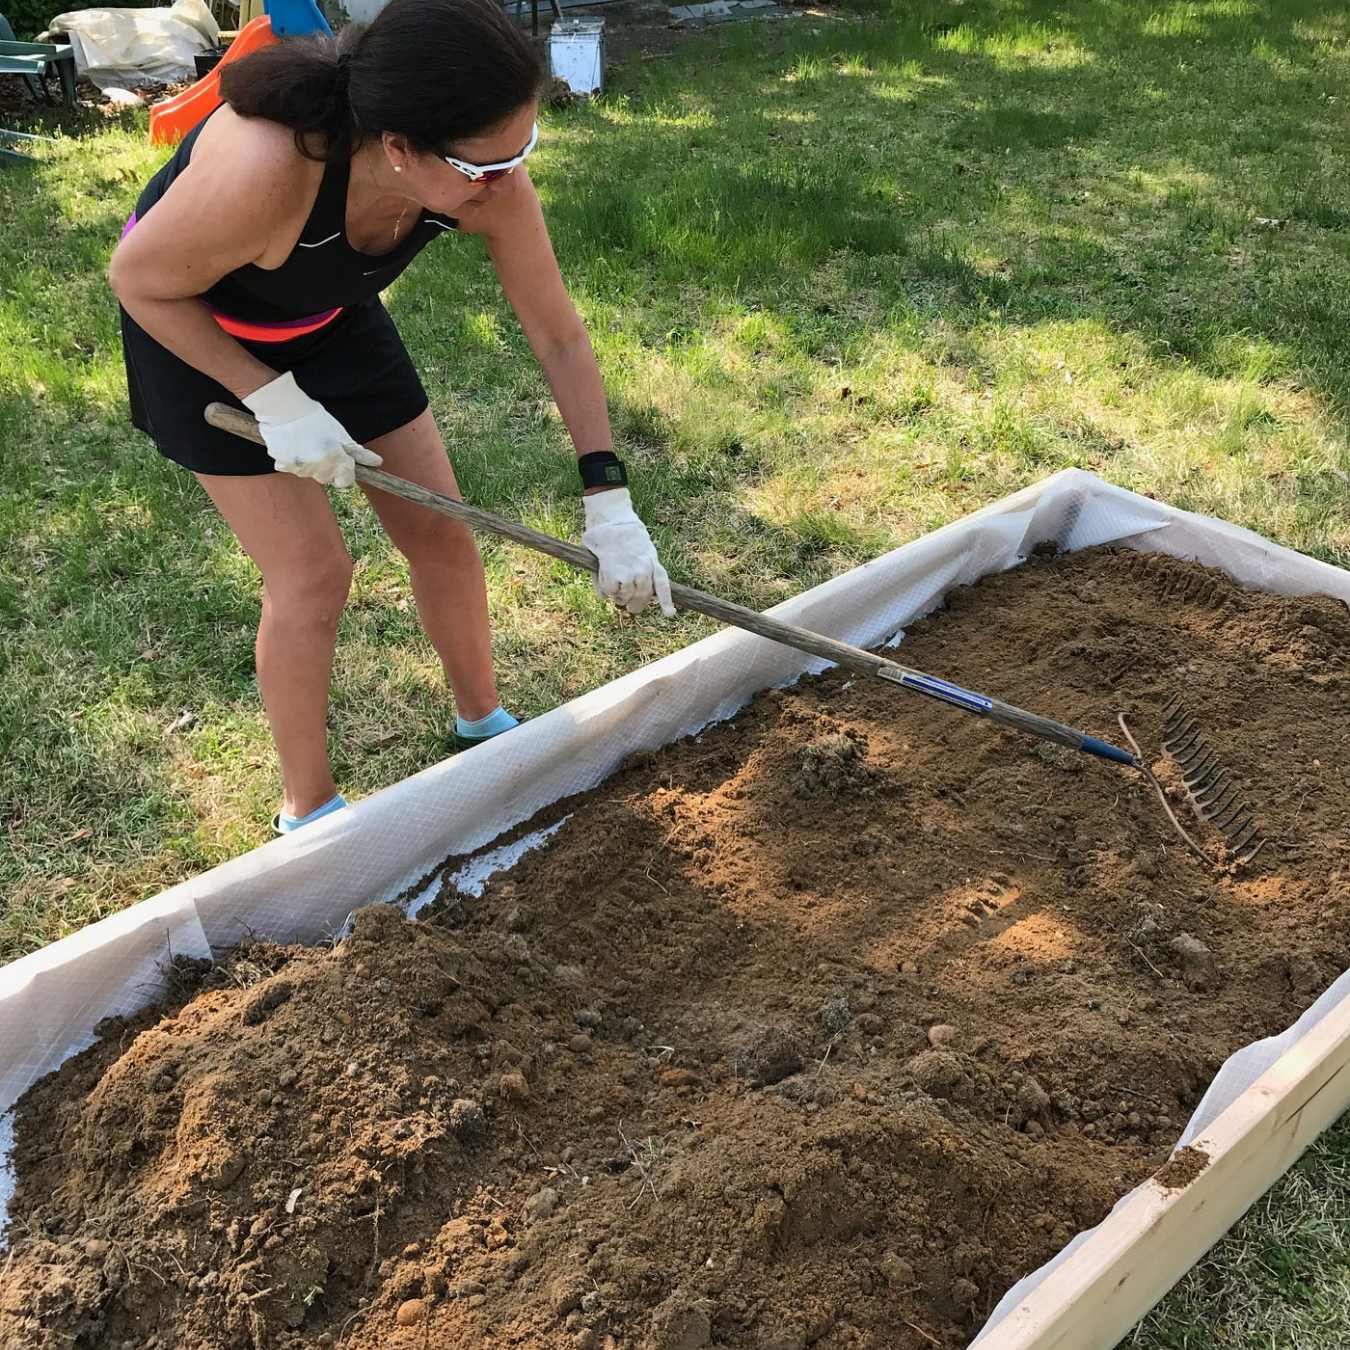
Incorporating Organic Matter
Once you have selected the appropriate organic amendments, it's time to incorporate them into the garden bed. Spread a layer of organic matter, approximately 2 to 3 inches thick, over the cleared and prepared soil surface. Use a garden fork or a tiller to gently work the organic matter into the soil to a depth of 6 to 8 inches. This process ensures that the organic matter is evenly distributed and integrated with the existing soil, creating a harmonious blend that promotes optimal plant growth.
Benefits of Organic Matter
The addition of organic matter offers a myriad of benefits to your garden bed. It enhances soil fertility, promotes beneficial microbial activity, improves soil structure, and enhances water retention, all of which are essential for the health and vitality of your plants. Furthermore, organic matter aids in weed suppression, reduces soil erosion, and contributes to the overall sustainability of your garden ecosystem.
Maintenance and Future Considerations
As your garden bed evolves, periodic additions of organic matter will help maintain soil fertility and structure. Consider incorporating organic matter annually or as needed, especially before planting new crops or rejuvenating existing plantings. Additionally, explore the possibility of creating your own compost from kitchen scraps and garden waste, further enriching your garden bed with sustainable and nutrient-rich organic matter.
By adding organic matter to your garden bed, you create a nurturing foundation for your plants to thrive, ensuring a bountiful and sustainable landscape that brings joy and abundance to your gardening endeavors.
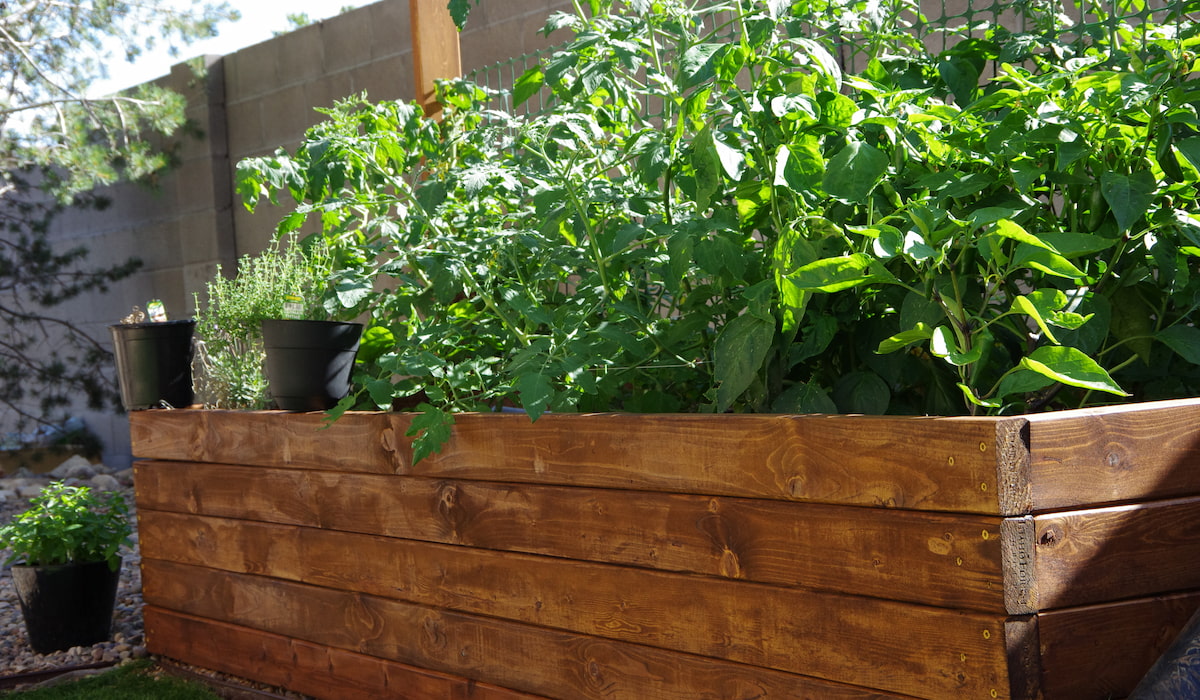
Create Rows or Beds
Creating rows or beds within your garden space is a strategic and practical approach to organizing and optimizing plant growth. Whether you are cultivating vegetables, flowers, or herbs, the layout of your garden bed plays a significant role in maximizing space, facilitating maintenance, and promoting healthy plant development. Here's a detailed exploration of the process of creating rows or beds for your garden:
Read more: How To Clear A Garden Bed
Assessing Space and Planting Needs
Before establishing rows or beds, assess the available space and consider the specific needs of the plants you intend to grow. Take into account the mature size of the plants, their spacing requirements, and any companion planting considerations. Understanding the spatial requirements of your chosen plants allows you to plan the layout effectively, ensuring that each plant has adequate room to thrive and access to essential resources.
Determining Row or Bed Orientation
The orientation of your rows or beds can impact factors such as sunlight exposure, water distribution, and overall garden aesthetics. Consider the natural path of the sun across your garden space and arrange your rows or beds to optimize sunlight exposure for the plants. Additionally, align the rows or beds to facilitate efficient watering and maintenance, creating a harmonious and functional layout.
Establishing Pathways and Access Points
Incorporate pathways or access points between the rows or beds to facilitate easy navigation and maintenance. Well-defined pathways allow for convenient access to all areas of the garden bed, minimizing soil compaction and damage to plantings. Consider using materials such as mulch, stepping stones, or gravel to delineate pathways and create a visually appealing and organized garden layout.
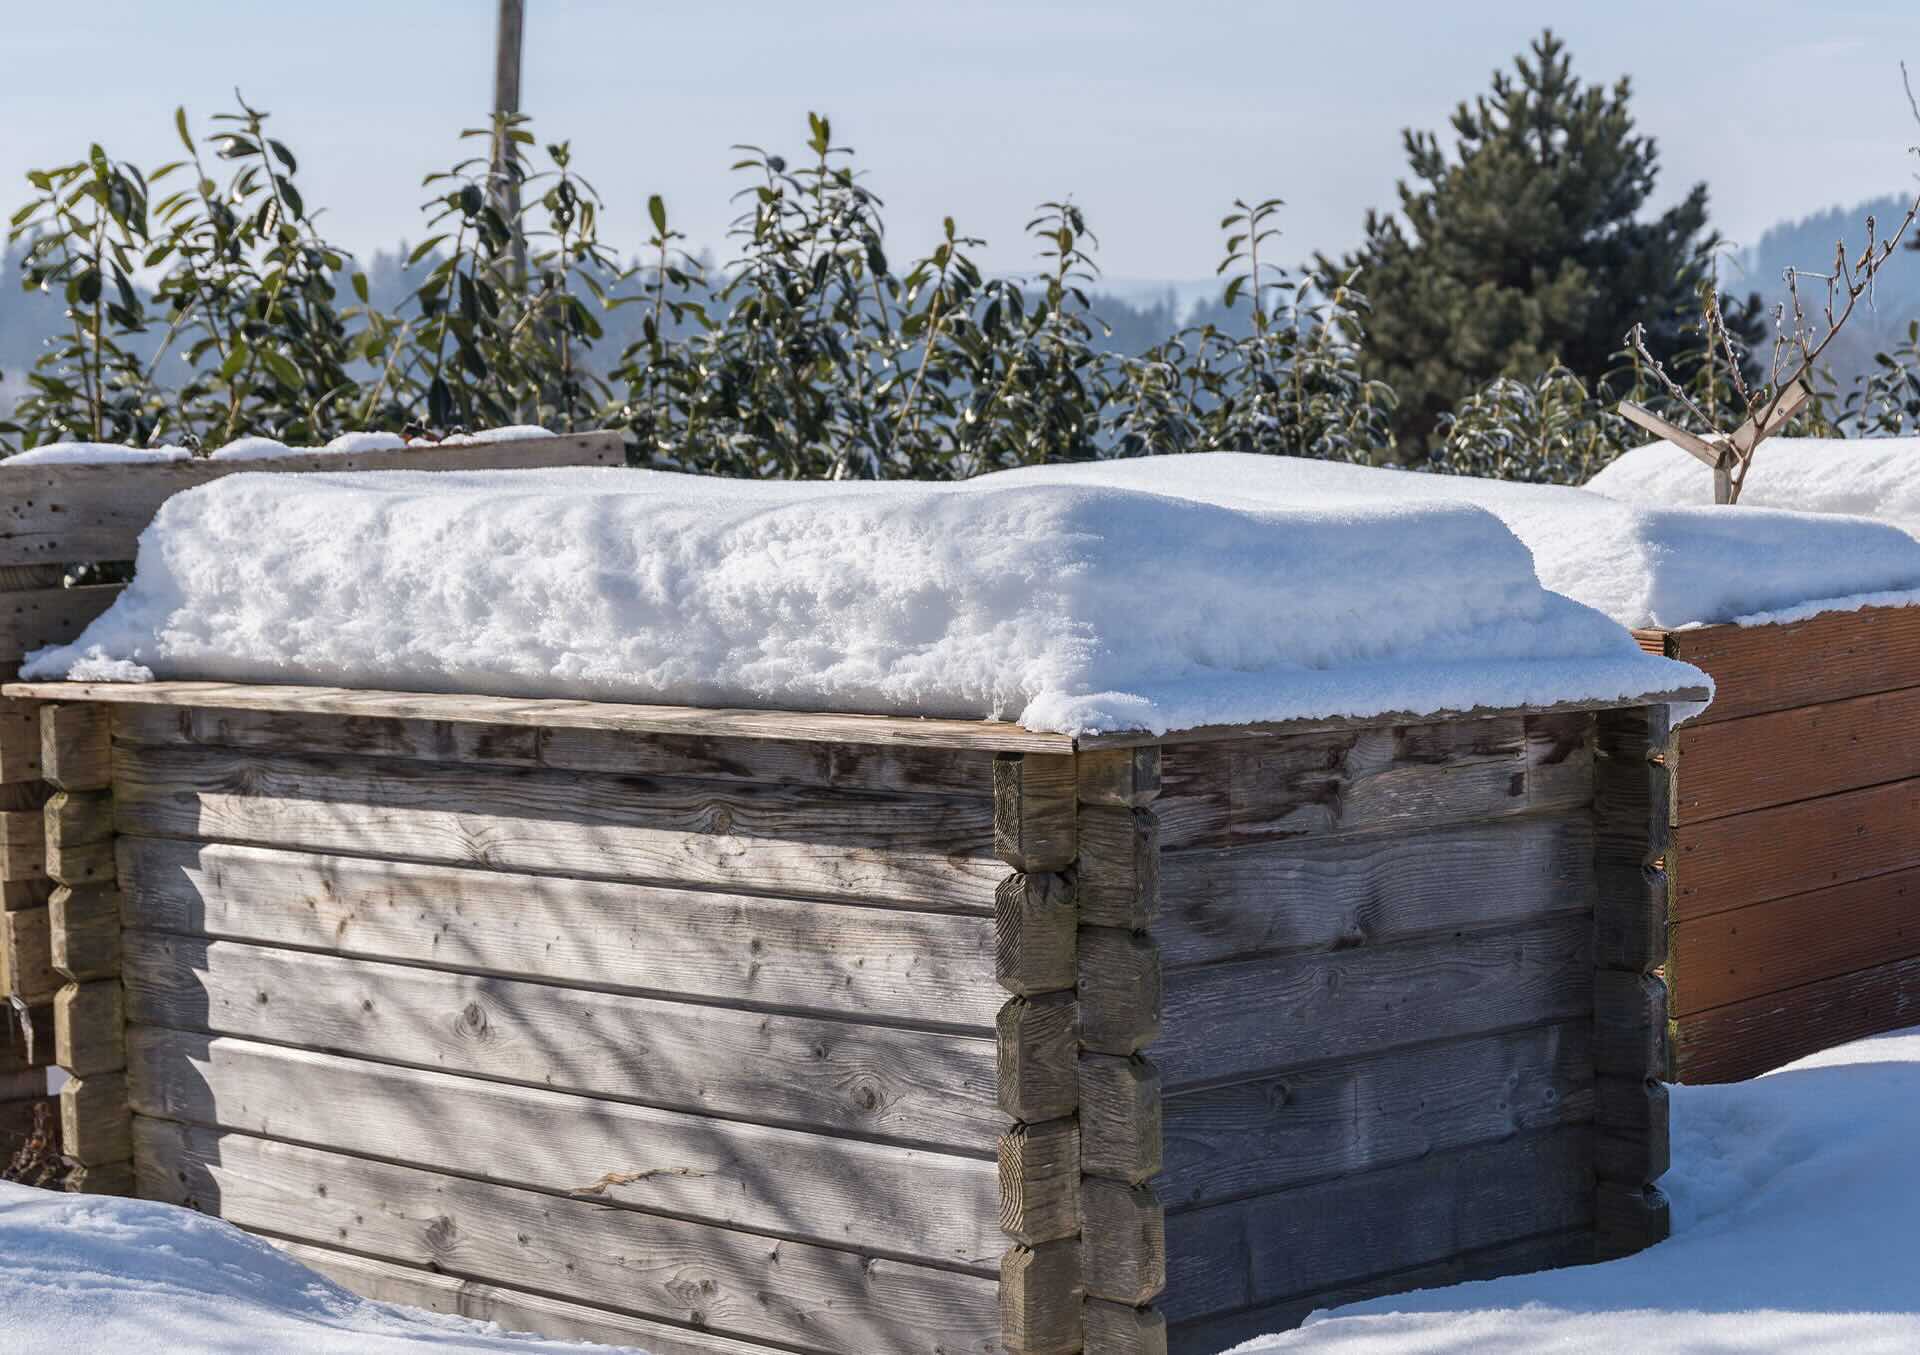
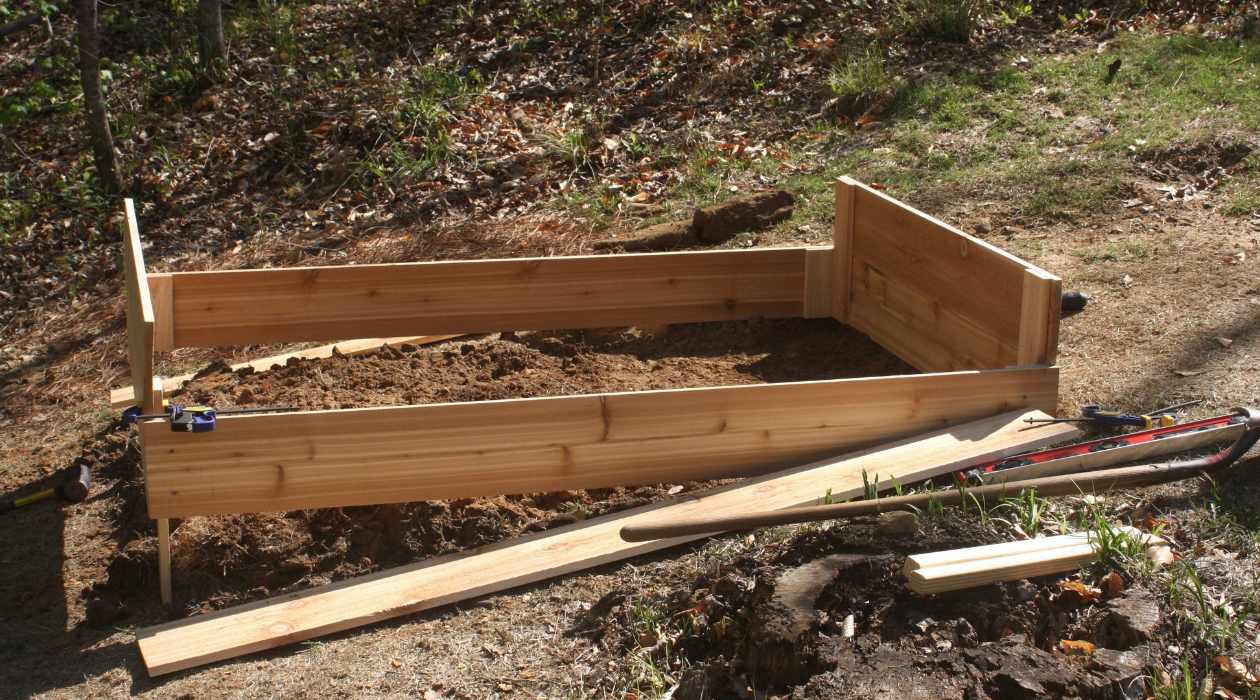
Implementing Raised Beds or Traditional Rows
Choose between raised beds and traditional in-ground rows based on your gardening preferences and the specific needs of your plants. Raised beds offer benefits such as improved drainage, better soil structure, and reduced weed competition. They are particularly advantageous for areas with poor soil quality or limited space. Traditional in-ground rows are suitable for larger garden spaces and may be preferred for certain types of crops or gardening styles.
Read more: How To Redo A Garden Bed
Maintaining Consistent Spacing and Alignment
When creating rows or beds, maintain consistent spacing and alignment to promote uniform plant growth and efficient maintenance. Use gardening tools such as a string line, measuring tape, or a garden marker to ensure precise placement of rows or beds. Consistent spacing allows for proper airflow, light exposure, and ease of care, contributing to the overall health and productivity of your garden.
Incorporating Companion Planting and Crop Rotation
Consider incorporating companion planting and crop rotation principles into the layout of your rows or beds. Companion planting involves strategically placing compatible plants together to enhance growth, repel pests, and maximize space utilization. Additionally, practicing crop rotation within your rows or beds helps prevent soil depletion and minimizes pest and disease issues, contributing to the long-term health of your garden.
By thoughtfully creating rows or beds within your garden space, you establish a well-organized and efficient layout that supports the optimal growth and productivity of your plants. This strategic approach to garden design sets the stage for a thriving and visually appealing landscape that reflects your dedication to sustainable and rewarding gardening practices.
Mulch the Bed
Mulching the garden bed is a vital step in maintaining soil health, conserving moisture, suppressing weed growth, and enhancing the overall aesthetics of your garden. By applying a layer of mulch to the prepared garden bed, you create a protective and nurturing environment for your plants to thrive. Here's a comprehensive guide on the significance of mulching and the best practices for mulching your garden bed.
Benefits of Mulching
Mulch serves as a protective barrier that shields the soil from extreme temperatures, minimizing moisture loss during hot weather and insulating the soil during colder periods. This protective function is especially beneficial for young plants and delicate root systems, providing them with a stable and conducive environment for growth.
In addition to moisture retention, mulch acts as a natural weed suppressant, inhibiting the germination and growth of unwanted plants. By preventing sunlight from reaching the soil surface, mulch helps to smother weeds and reduce the need for frequent manual weeding, allowing your desired plants to thrive without competition.
Furthermore, organic mulches, such as shredded leaves, straw, or wood chips, gradually decompose over time, enriching the soil with organic matter and essential nutrients. This decomposition process contributes to the improvement of soil structure, promotes beneficial microbial activity, and fosters a healthy and balanced ecosystem within the garden bed.
Read more: How To Edge A Garden Bed
Best Practices for Mulching
When mulching your garden bed, consider the following best practices to ensure optimal results:
-
Selecting the Right Mulch: Choose a suitable mulching material based on your garden's specific needs and aesthetic preferences. Organic mulches offer the added benefit of contributing to soil fertility, while inorganic mulches, such as gravel or landscape fabric, provide long-lasting weed suppression and moisture retention.
-
Applying the Mulch: Spread a layer of mulch, approximately 2 to 4 inches thick, over the soil surface, ensuring that the area around the base of plants is left clear to prevent moisture-related issues and stem rot. Take care not to pile the mulch against plant stems or trunks, as this can create a favorable environment for pests and diseases.
-
Maintaining the Mulch Layer: Periodically inspect the mulch layer and replenish it as needed to maintain the desired thickness. Mulch decomposition, weather conditions, and natural settling may necessitate occasional top-ups to sustain the benefits of mulching throughout the growing season.
By adhering to these best practices, you can harness the full potential of mulch in promoting soil health, conserving moisture, and fostering a thriving garden environment.
Incorporating mulch into your garden bed management practices not only enhances the visual appeal of your landscape but also contributes to the long-term health and productivity of your plants. This simple yet impactful technique reflects your commitment to sustainable gardening practices and sets the stage for a vibrant and flourishing garden bed.
Frequently Asked Questions about How To Prep A Garden Bed
Was this page helpful?
At Storables.com, we guarantee accurate and reliable information. Our content, validated by Expert Board Contributors, is crafted following stringent Editorial Policies. We're committed to providing you with well-researched, expert-backed insights for all your informational needs.


0 thoughts on “How To Prep A Garden Bed”