Home>Gardening & Outdoor>Outdoor Recreation & Activities>How To Install A Ground Trampoline

Outdoor Recreation & Activities
How To Install A Ground Trampoline
Modified: October 21, 2024
Learn how to properly install a ground trampoline for safe and enjoyable outdoor recreation and activities. Follow our step-by-step guide for a hassle-free setup.
(Many of the links in this article redirect to a specific reviewed product. Your purchase of these products through affiliate links helps to generate commission for Storables.com, at no extra cost. Learn more)
Introduction
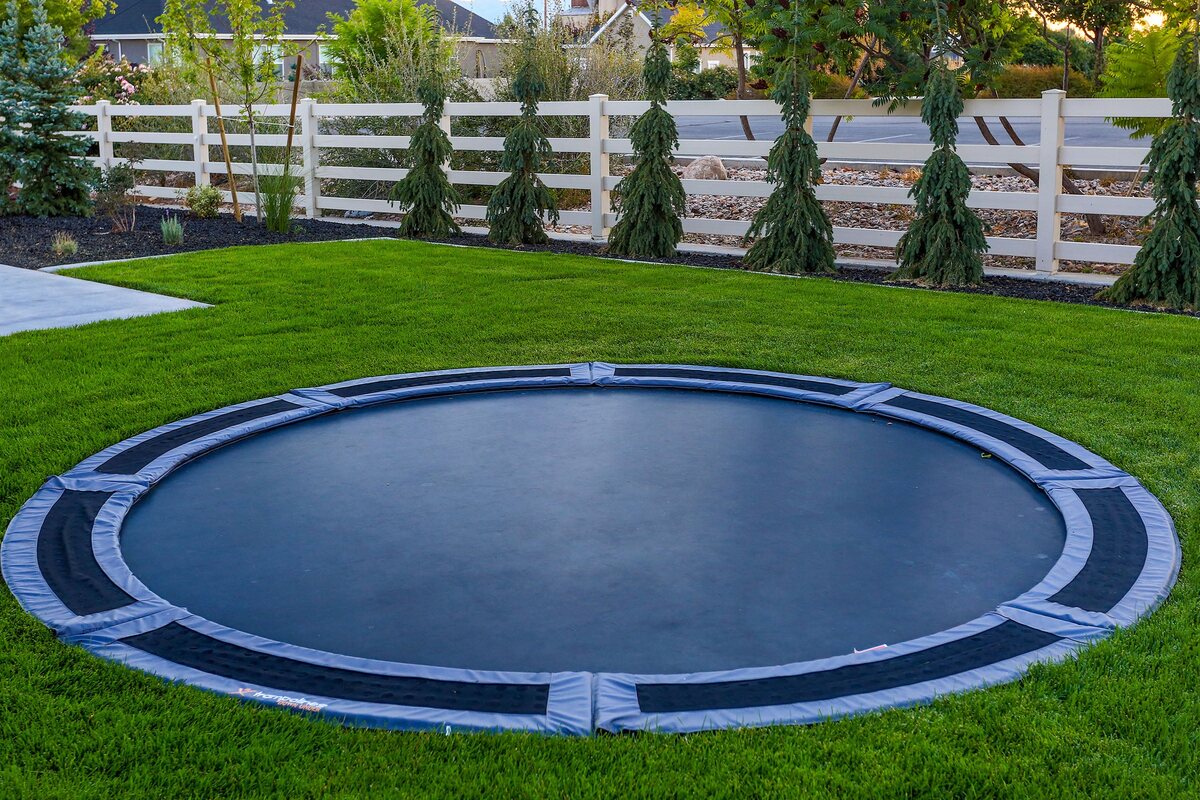
So, you've decided to add a ground trampoline to your backyard? Congratulations! You're about to embark on a thrilling journey that will transform your outdoor space into a hub of excitement and adventure. Ground trampolines offer a unique and exhilarating way for families and friends to engage in physical activity while enjoying the great outdoors.
Installing a ground trampoline requires careful planning, precise execution, and a touch of creativity. Whether you're a seasoned DIY enthusiast or a first-time trampoline owner, this comprehensive guide will walk you through the step-by-step process of installing a ground trampoline. From selecting the ideal location to securing the trampoline in place, each stage plays a crucial role in ensuring a safe and enjoyable experience for everyone.
As we delve into the nitty-gritty details, you'll gain valuable insights into the best practices for preparing the ground, assembling the trampoline, and implementing safety measures. By the end of this journey, you'll be equipped with the knowledge and confidence to create a captivating trampoline haven that beckons with irresistible allure.
So, fasten your seatbelt (or should I say, lace up your sneakers?), and get ready to uncover the secrets of ground trampoline installation. Let's dive in and transform your backyard into a haven of boundless fun and adventure!
Key Takeaways:
- Choose a flat, clear, and accessible spot for your ground trampoline to ensure safety and enjoyment. Consider sun exposure, visibility, and overhead clearance when selecting the perfect location.
- Prepare the ground meticulously by clearing debris, leveling the area, adding drainage, and securing a protective layer. This sets the stage for a stable and secure trampoline foundation.
Read more: How To Make An In Ground Trampoline
Choosing the Right Location
Before diving into the installation process, it’s crucial to carefully select the perfect spot for your ground trampoline. The location you choose will significantly impact the safety, longevity, and overall enjoyment of the trampoline. Here are some key factors to consider when choosing the right location:
- Level Ground: Opt for a flat and level area in your backyard to ensure stability and safety. Avoid sloped or uneven terrain, as it can compromise the trampoline’s structural integrity and pose a risk of tipping over during use.
- Adequate Clearance: Ensure that there is sufficient overhead clearance above the trampoline. Remove any overhanging branches, wires, or other obstructions to create a clear space that allows for safe and unrestricted bouncing.
- Sun Exposure: Consider the sun’s trajectory throughout the day and aim to position the trampoline in an area that offers a balance of shade and sunlight. This will prevent the trampoline mat from becoming excessively hot and uncomfortable for users.
- Accessibility: Choose a location that provides easy access to the trampoline while allowing for a clear pathway around it. This accessibility will facilitate maintenance tasks, such as cleaning and inspecting the trampoline, and ensure that users can enter and exit the trampoline area safely.
- Visibility: Position the trampoline in a visible area that allows caregivers or supervisors to maintain a clear line of sight to the trampoline. This visibility is essential for monitoring users and ensuring their safety during play.
By carefully evaluating these factors and selecting an optimal location, you’ll lay a solid foundation for a safe, enjoyable, and long-lasting ground trampoline experience. Once you’ve identified the perfect spot, you’re ready to move on to the next phase: preparing the ground for installation.
Preparing the Ground
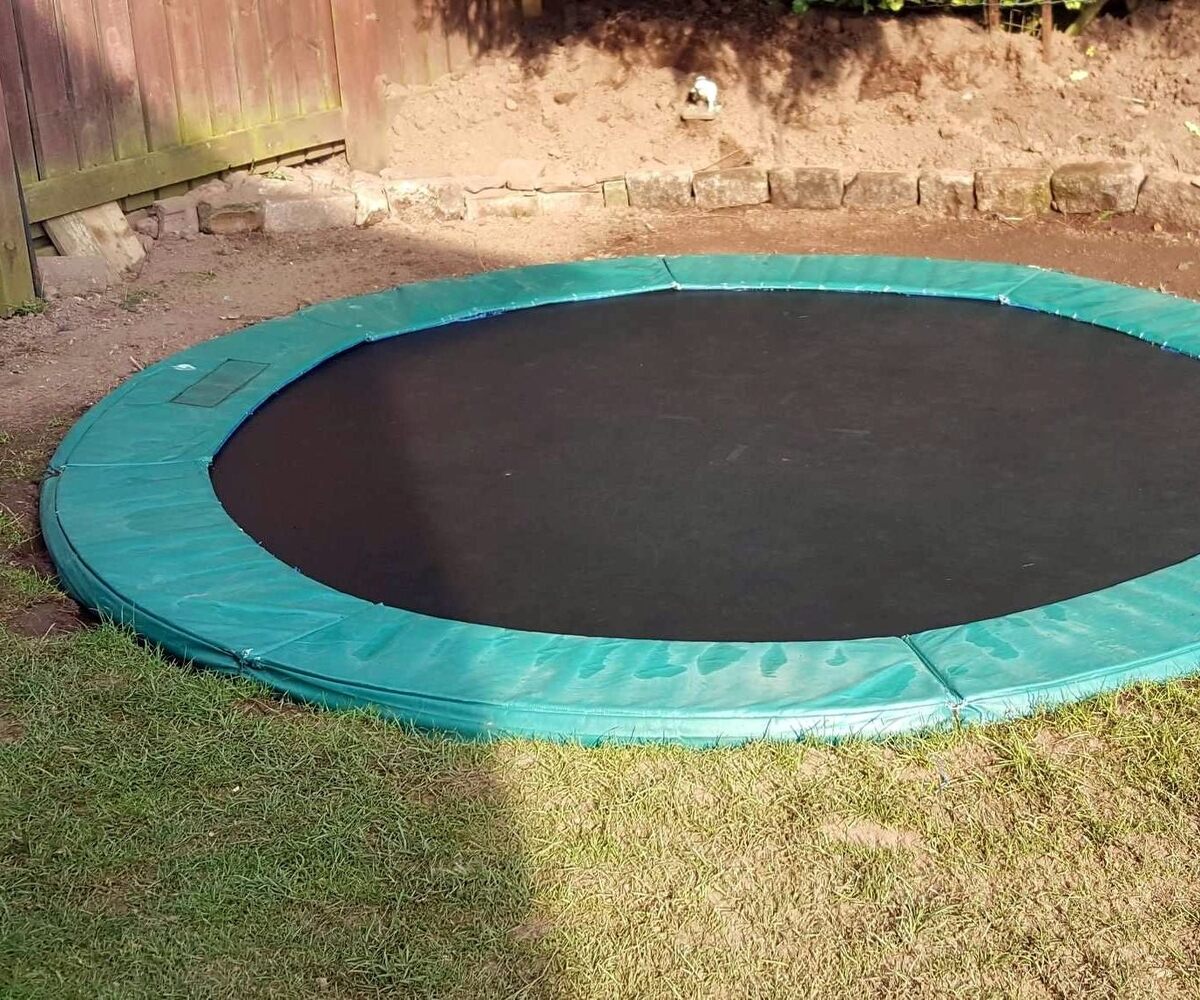
With the ideal location selected, it’s time to prepare the ground for the installation of your ground trampoline. This crucial step sets the stage for a stable and secure trampoline foundation, ensuring optimal performance and safety. Here’s a comprehensive guide to preparing the ground:
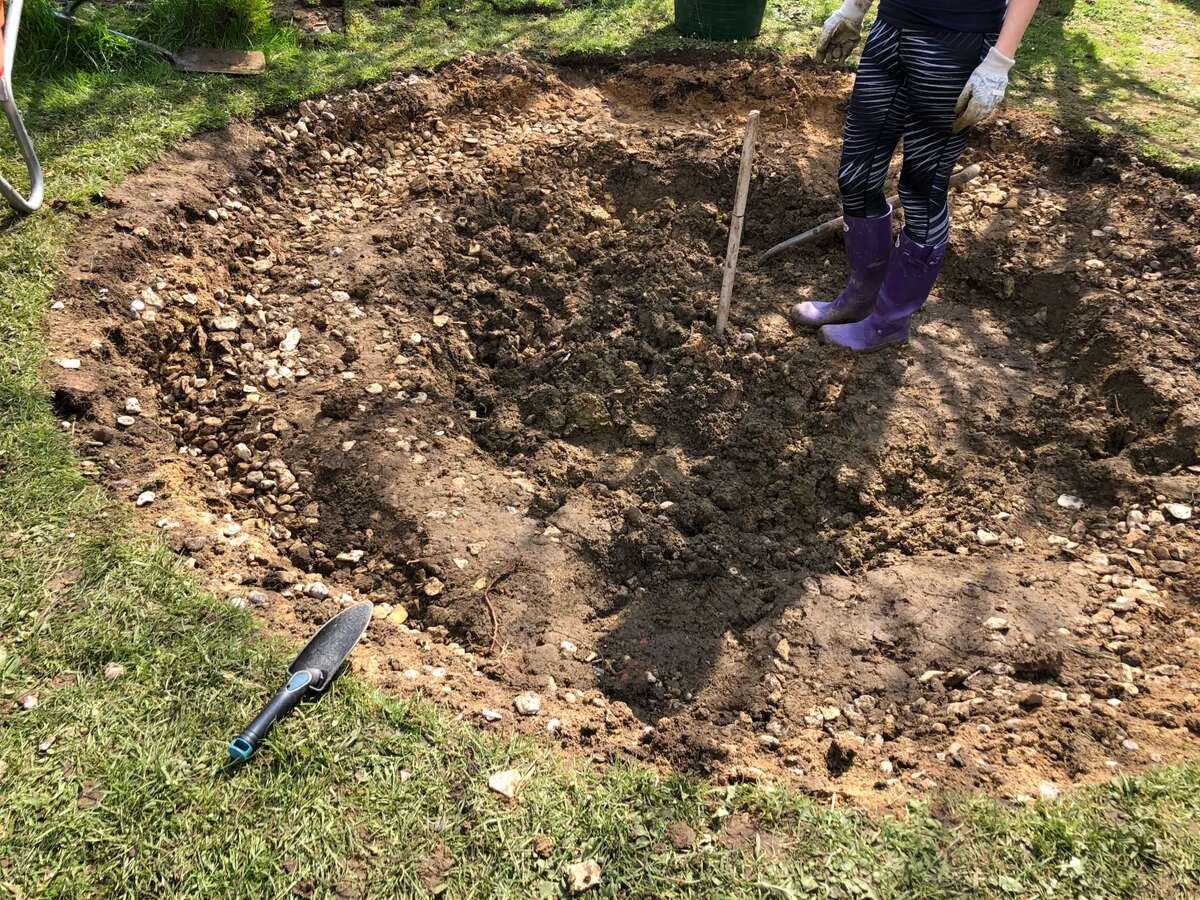
- Clear the Area: Begin by clearing the designated area of any debris, rocks, or sharp objects that could potentially damage the trampoline or cause injury. Ensure that the ground is free from any obstructions that may impede the installation process.
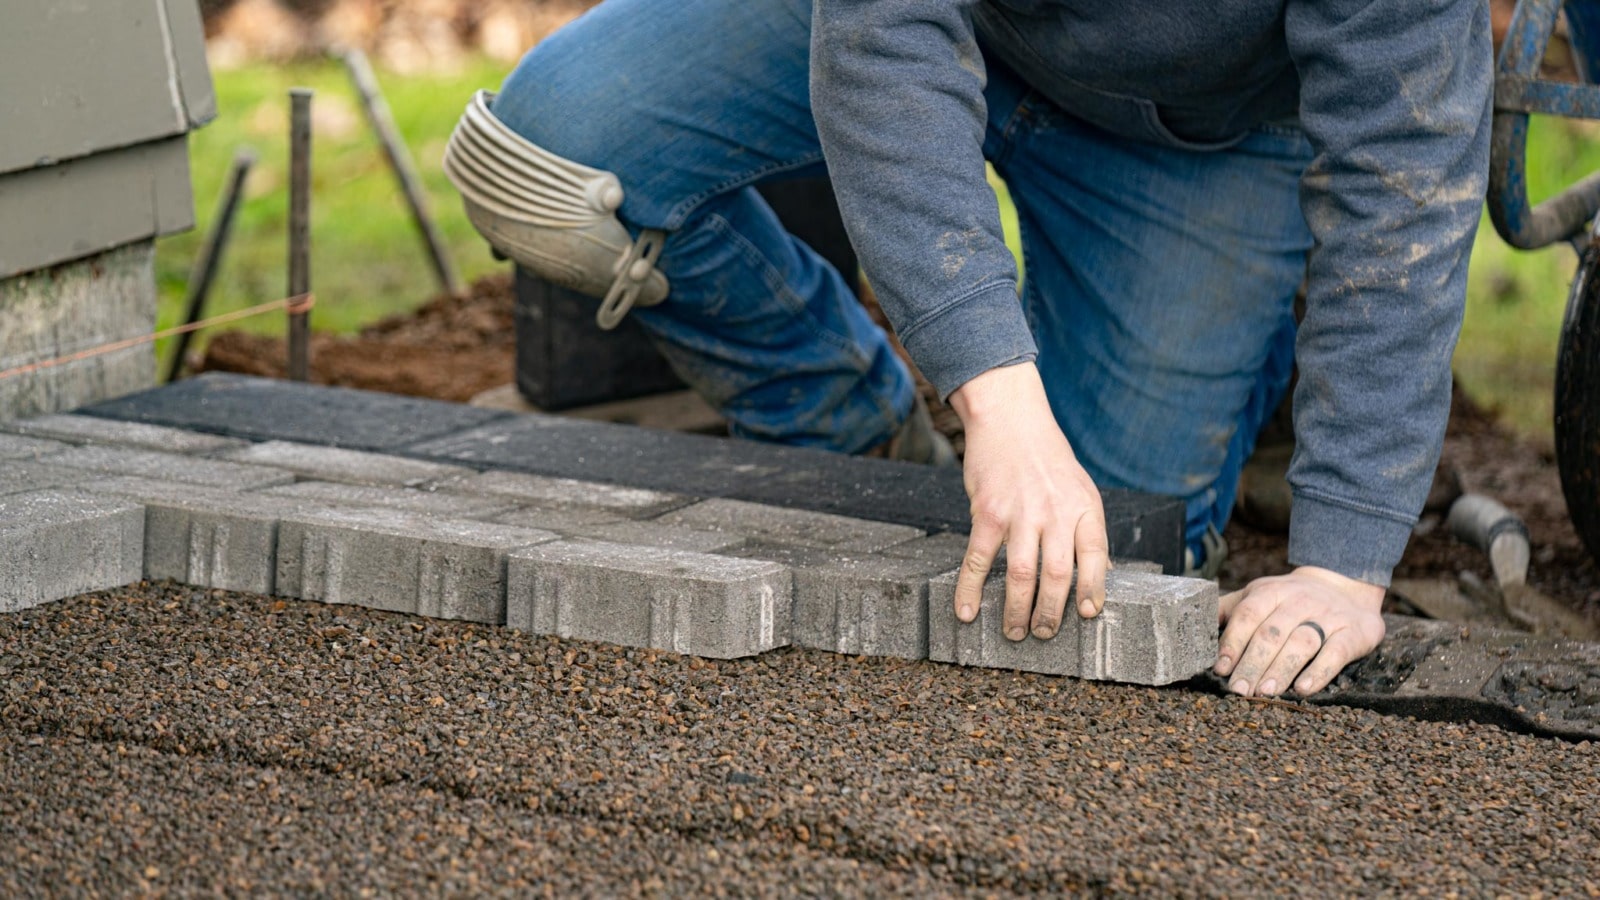
- Level the Ground: Use a shovel, rake, and a spirit level to meticulously level the ground where the trampoline will be placed. This step is essential for preventing the trampoline from leaning or wobbling during use, promoting a stable and secure setup.
- Install Drainage: If the selected area is prone to water accumulation, consider implementing drainage solutions to prevent water from pooling beneath the trampoline. Proper drainage will help maintain the integrity of the trampoline frame and components over time.
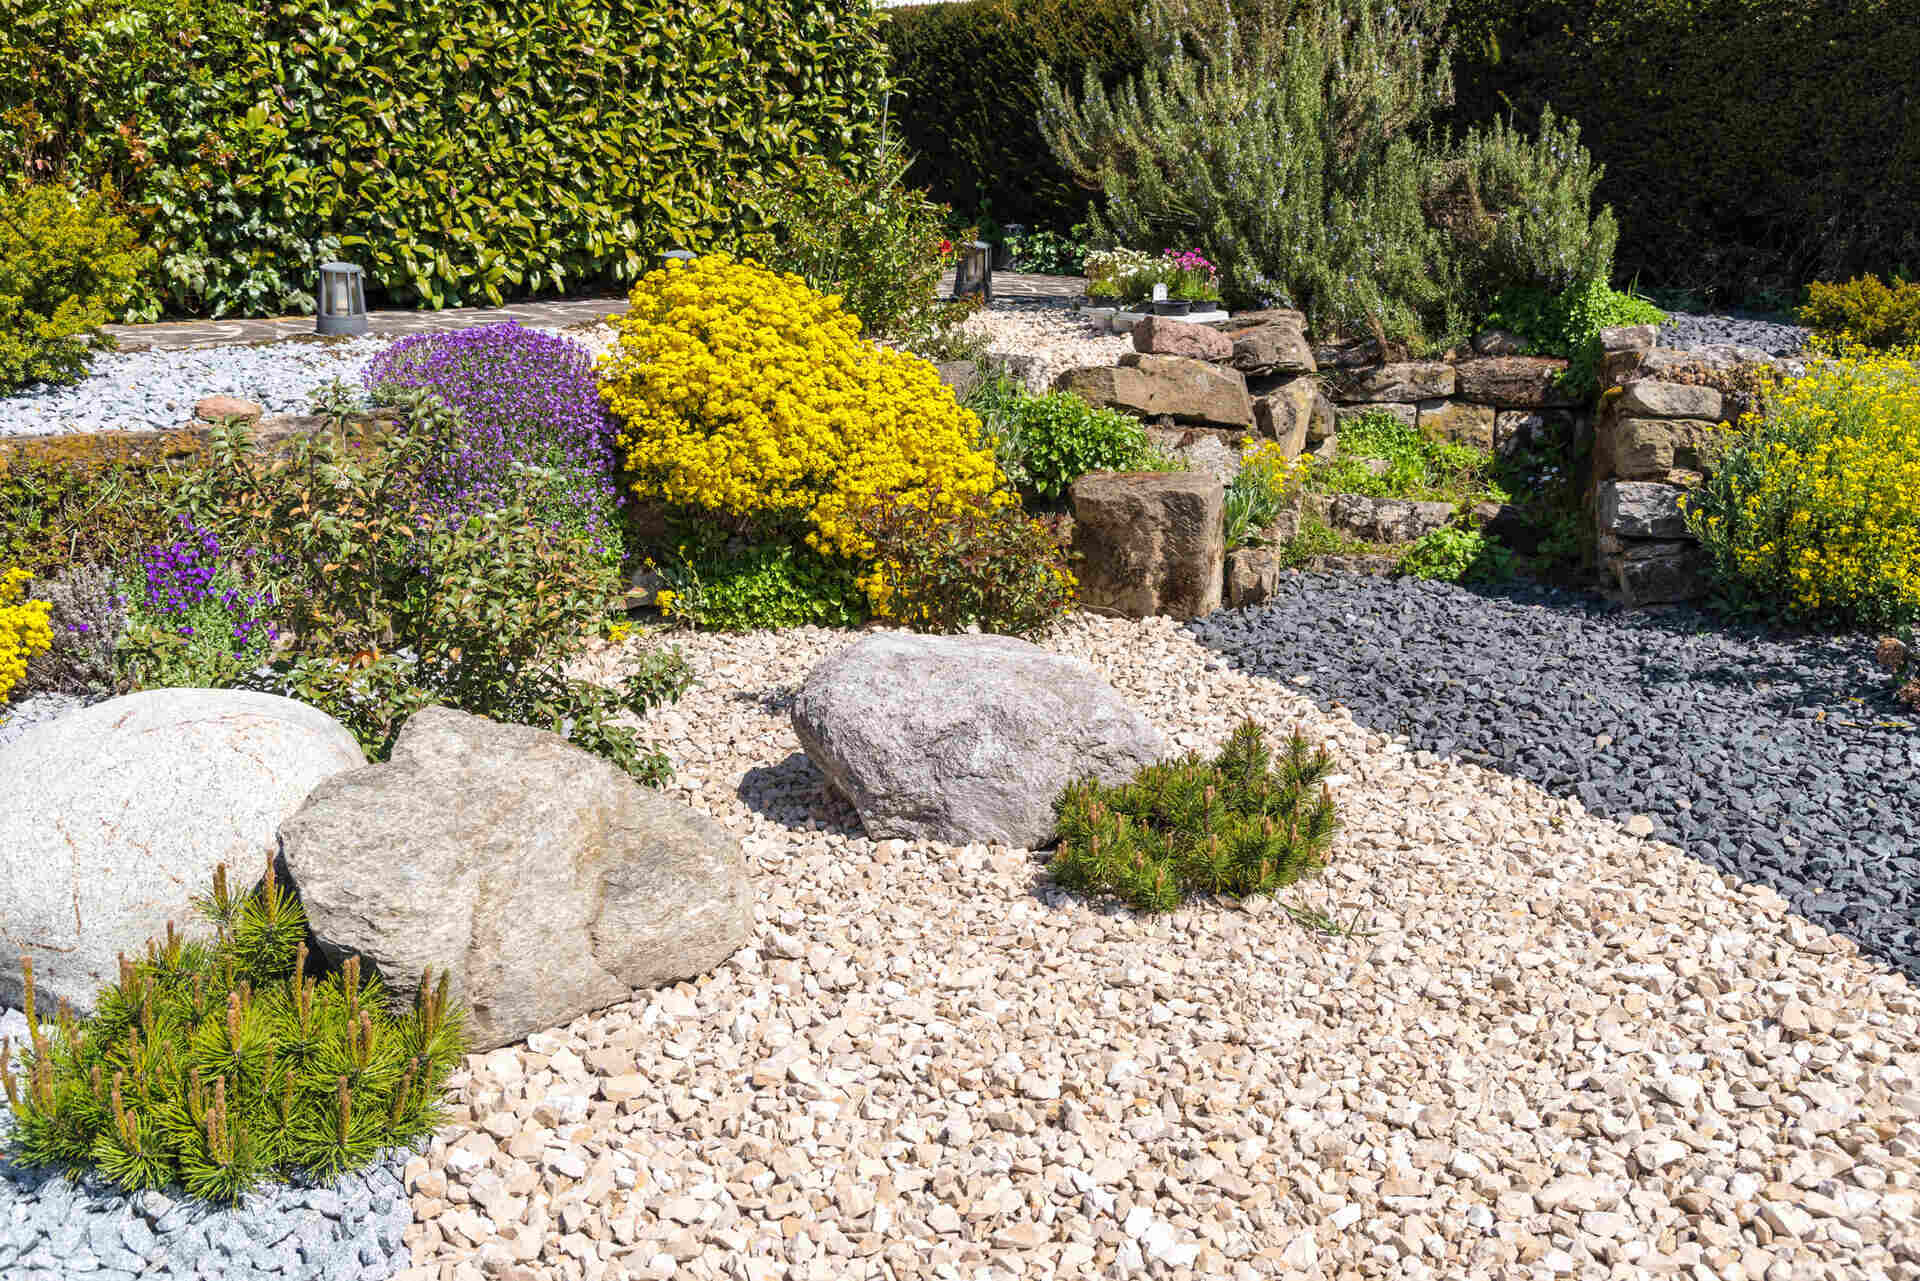
- Add a Protective Layer: To safeguard the trampoline and its users, consider adding a protective layer beneath the trampoline. Options include a specialized trampoline ground cover or a thick, impact-absorbing material such as rubber mulch or wood chips.
- Secure the Ground Cover: If using a protective ground cover, ensure that it is securely anchored and evenly distributed across the designated area. This will prevent the cover from shifting or bunching up during trampoline use, maintaining a smooth and safe surface.
By meticulously preparing the ground according to these guidelines, you’ll establish a solid and secure foundation for your ground trampoline. This groundwork sets the stage for the next thrilling phase: assembling the trampoline and bringing your backyard oasis to life.
When installing a ground trampoline, make sure to level the ground and provide proper drainage to prevent water accumulation. This will help ensure the trampoline remains stable and safe for use.
Assembling the Trampoline
Now that the groundwork is laid, it’s time to embark on the exciting process of assembling your ground trampoline. This phase involves meticulously piecing together the trampoline components to create a safe, resilient, and exhilarating recreational space. Here’s a step-by-step guide to assembling the trampoline:
- Organize the Components: Lay out all the trampoline components, including the frame sections, springs, mat, safety padding, and any additional accessories, in an organized and accessible manner. This will streamline the assembly process and ensure that all components are accounted for.
- Follow the Manufacturer’s Instructions: Refer to the manufacturer’s assembly instructions provided with the trampoline. Carefully follow each step outlined in the manual, paying close attention to specific assembly sequences, recommended tools, and safety guidelines.
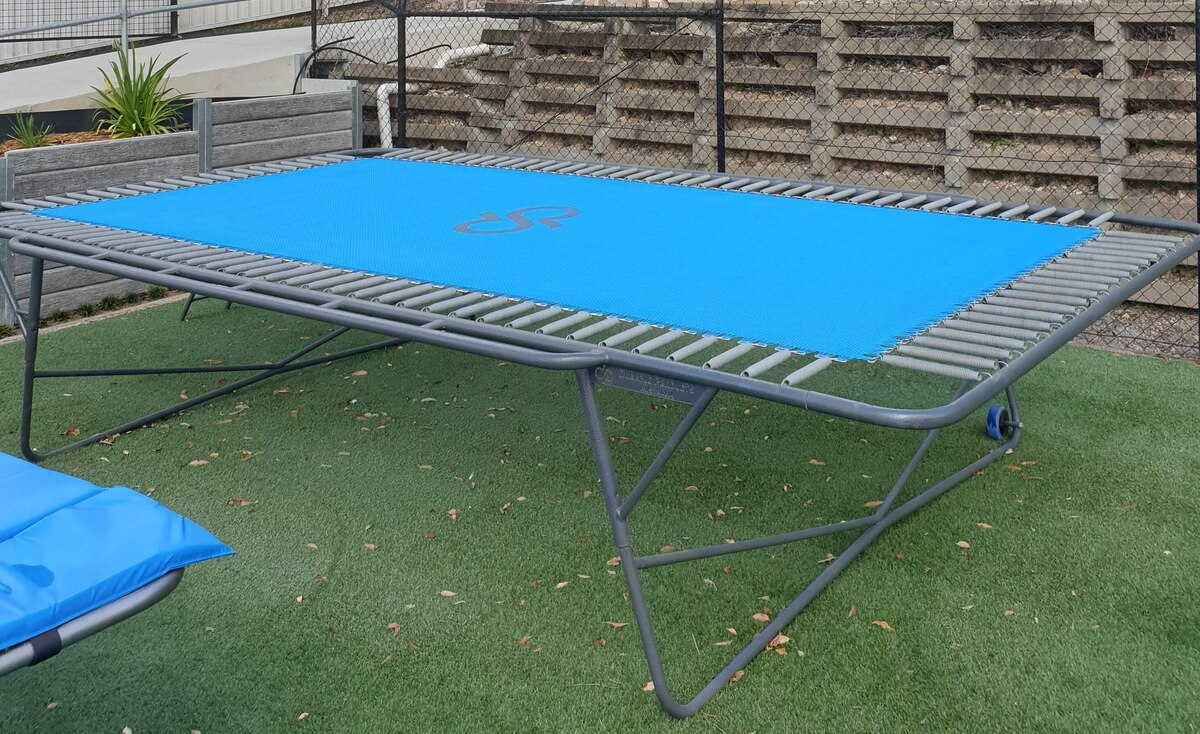
- Assemble the Frame: Begin by assembling the trampoline frame according to the manufacturer’s instructions. Connect the frame sections securely, ensuring that the frame is stable, level, and free from any sharp edges or protrusions that could pose a safety hazard.
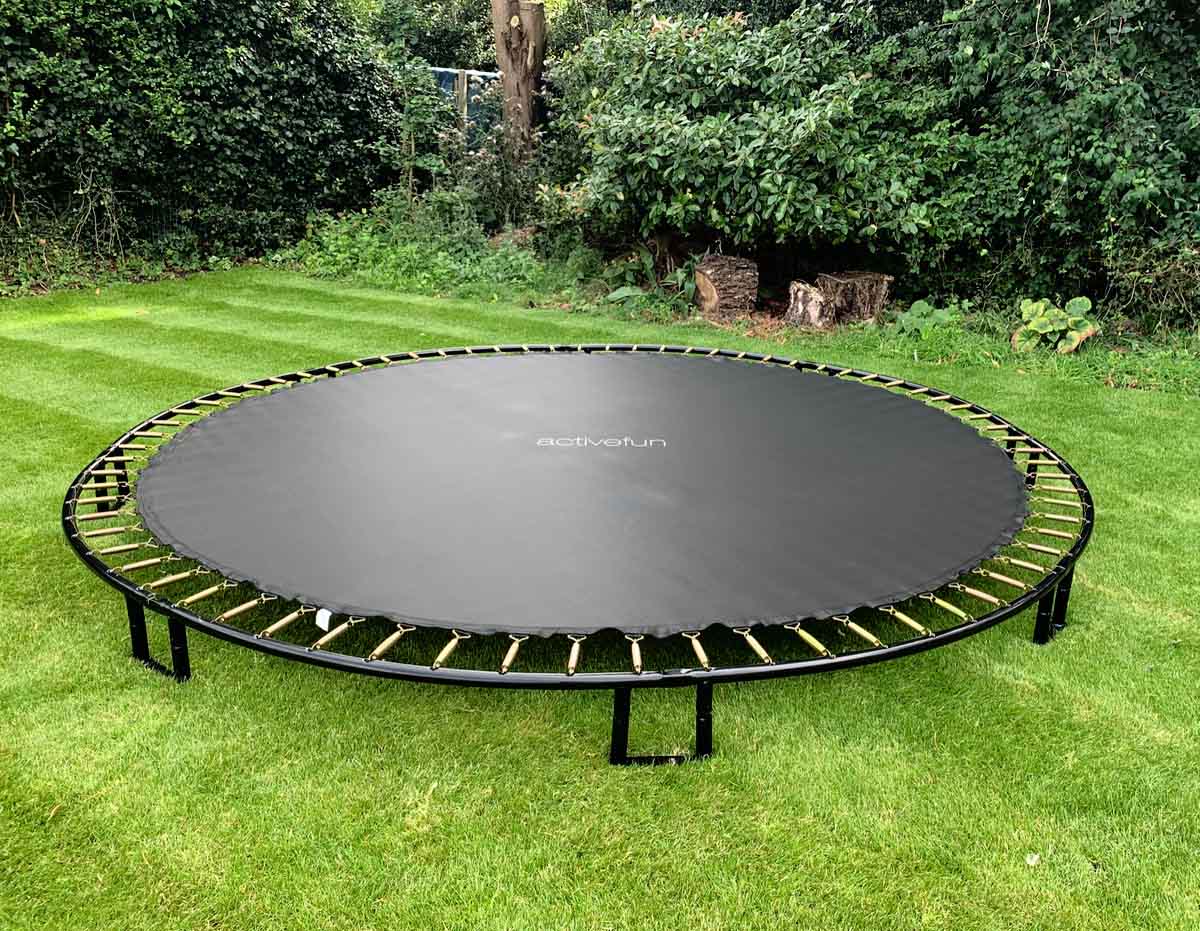
- Attach the Springs and Mat: With the frame in place, carefully attach the springs to the frame and secure them to the trampoline mat. Follow the recommended attachment pattern and tension guidelines to ensure uniform support and optimal bouncing performance.
- Install Safety Padding: Place the safety padding over the springs and frame, ensuring that it provides complete coverage and a secure fit. The padding serves as a crucial safety feature, offering protection against accidental contact with the springs and frame edges.
- Check and Double-Check: Once the trampoline is fully assembled, conduct a thorough inspection to verify that all components are securely fastened, the mat is properly tensioned, and the safety features are in place. This meticulous review will help ensure a safe and reliable trampoline setup.
By meticulously following these assembly guidelines and paying attention to detail, you’ll bring your ground trampoline to life with confidence and precision. With the trampoline fully assembled, it’s time to shift focus to the next critical phase: securing the trampoline in place to safeguard against potential hazards.
Securing the Trampoline
Securing your ground trampoline is a vital step in ensuring the safety and stability of the recreational setup. By implementing effective securing measures, you can minimize the risk of accidents, protect the trampoline from environmental factors, and prolong its lifespan. Here’s a comprehensive guide to securing the trampoline:
- Anchoring the Trampoline: Depending on the trampoline model and manufacturer recommendations, consider anchoring the trampoline to the ground using suitable anchoring kits or stakes. This will prevent the trampoline from shifting or tipping over during use, especially in windy conditions.
- Wind-Resistant Features: If your region experiences strong winds or inclement weather, explore wind-resistant accessories such as trampoline tie-down kits or wind stakes. These features provide added stability and minimize the risk of the trampoline becoming airborne during storms or gusty conditions.
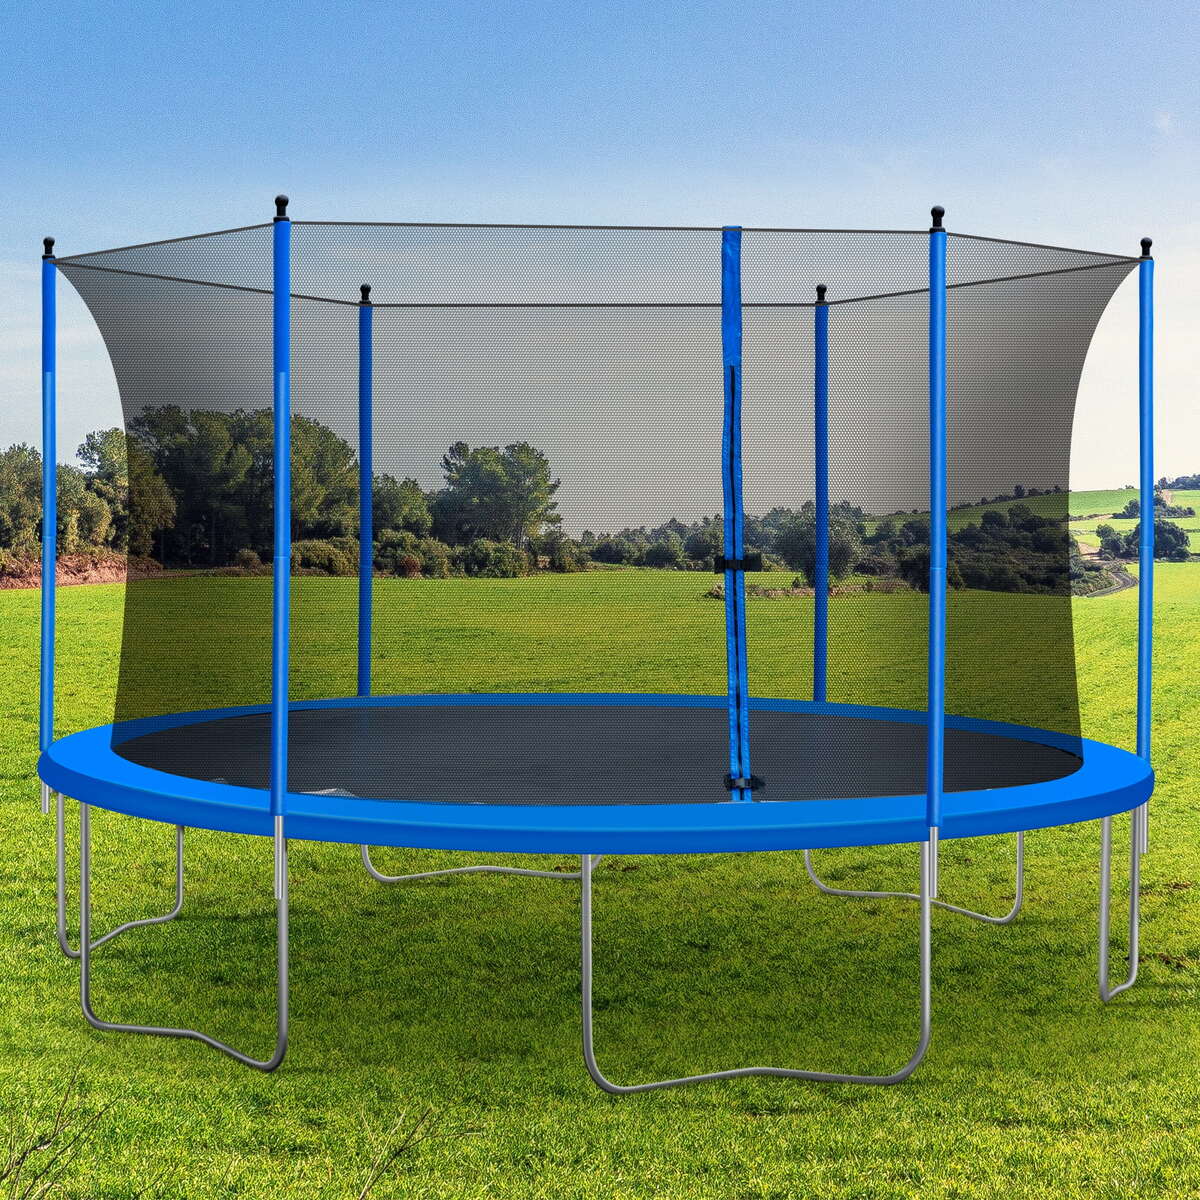
- Enclosure Systems: Install a robust trampoline enclosure system to create a secure boundary around the trampoline. This safety feature prevents users from accidentally bouncing or falling off the trampoline, reducing the risk of injuries and enhancing overall safety.
- Regular Inspections: Implement a routine inspection schedule to check the trampoline’s structural integrity, anchoring systems, and safety features. Regular inspections will help identify and address any potential issues or wear and tear, ensuring that the trampoline remains safe and secure for users.
- Weather Protection: Consider investing in weather-resistant trampoline covers or tarps to shield the trampoline from harsh weather conditions, UV exposure, and debris. Proper weather protection will extend the trampoline’s lifespan and maintain its appearance and performance over time.
By proactively securing your ground trampoline and implementing protective measures, you’ll create a safe, resilient, and long-lasting recreational space for endless hours of enjoyment. With the trampoline securely in place, you’ve successfully navigated through each phase of the installation process, culminating in a captivating and inviting trampoline haven in your backyard.
Read more: How To Level Ground For A Trampoline
Conclusion
Congratulations on successfully completing the installation of your ground trampoline! You’ve embarked on a remarkable journey, transforming your backyard into a captivating oasis of boundless fun and adventure. By carefully selecting the ideal location, preparing the ground, assembling the trampoline, and securing it in place, you’ve laid the foundation for a safe, exhilarating, and enduring recreational space for family and friends.
As you gaze upon the newly installed ground trampoline, envision the countless moments of joy, laughter, and active play that await. From soaring leaps to synchronized bounces, the trampoline beckons with irresistible allure, offering a dynamic outlet for physical activity and outdoor enjoyment.
Now, as the trampoline stands proudly in its designated spot, it’s time to savor the fruits of your labor and relish the prospect of creating cherished memories with loved ones. Whether it’s a spirited game of tag, a relaxing sun-soaked bounce, or an impromptu stargazing session, the trampoline invites you to embrace the simple pleasures of outdoor recreation.
Remember, safety is paramount when enjoying the trampoline. Encourage users to adhere to trampoline safety guidelines, supervise young bouncers, and conduct regular maintenance checks to ensure the trampoline remains in optimal condition. By prioritizing safety and responsible usage, you’ll create a welcoming and secure environment for trampoline enthusiasts of all ages.
As the seasons change and the trampoline becomes a focal point of outdoor gatherings and lively escapades, revel in the joy and camaraderie it fosters. Cherish the shared moments of laughter, the exhilarating leaps, and the sense of freedom that the trampoline imparts.
So, as the sun sets on the installation journey, a new chapter begins—one filled with endless possibilities for outdoor recreation and wholesome entertainment. Embrace the magic of your ground trampoline, and let the laughter and excitement echo through your backyard, creating unforgettable experiences for years to come.
Now, go forth and savor the exhilarating world of ground trampolining, where each bounce is a testament to the joy of outdoor adventure!
Frequently Asked Questions about How To Install A Ground Trampoline
Was this page helpful?
At Storables.com, we guarantee accurate and reliable information. Our content, validated by Expert Board Contributors, is crafted following stringent Editorial Policies. We're committed to providing you with well-researched, expert-backed insights for all your informational needs.



0 thoughts on “How To Install A Ground Trampoline”