Home>Gardening & Outdoor>Outdoor Structures>How To Build A 10×10 Shed

Outdoor Structures
How To Build A 10×10 Shed
Modified: August 27, 2024
Learn how to build a durable 10x10 shed for your outdoor space with our comprehensive guide. Find expert tips for constructing outdoor structures.
(Many of the links in this article redirect to a specific reviewed product. Your purchase of these products through affiliate links helps to generate commission for Storables.com, at no extra cost. Learn more)
Introduction
So, you've decided that you need some extra space in your backyard. Whether it's for storage, a workshop, or a cozy retreat, a 10×10 shed can be the perfect solution. Building your own shed can be a rewarding and cost-effective project that adds both function and charm to your outdoor space.
In this comprehensive guide, we'll walk you through the step-by-step process of building a 10×10 shed. From planning and preparation to the finishing touches, you'll gain valuable insights and practical tips to make your shed-building journey a success.
Not only will you save money by building your own shed, but you'll also have the freedom to customize it to fit your specific needs and style preferences. Whether you're a seasoned DIY enthusiast or a novice builder, this guide will equip you with the knowledge and confidence to tackle this project with ease.
So, roll up your sleeves, grab your tools, and let's dive into the exciting world of shed construction!
Key Takeaways:
- Building a 10×10 shed involves careful planning, precise construction, and personal touches. It adds functional and aesthetic value to your outdoor space, reflecting your creativity and craftsmanship.
- From zoning regulations to finishing touches, building a shed empowers you with construction skills and creative vision. It’s a DIY journey that enriches your property and lifestyle.
Read more: How Build A Shed
Planning and Preparation
Before you start swinging a hammer, it’s crucial to lay a solid foundation for your shed-building project. Proper planning and preparation will set the stage for a smooth and successful construction process.
First, consider the purpose of your shed. Will it be used for storage, as a workshop, or perhaps as a peaceful retreat? Understanding its intended use will help you make informed decisions about the shed’s design, layout, and features.
Next, check with your local building department to determine if there are any zoning restrictions, building codes, or permit requirements for constructing a shed on your property. Compliance with these regulations is essential to avoid future headaches and ensure that your shed is built to code.
Once you have a clear understanding of the regulatory aspects, it’s time to create a detailed plan for your shed. Consider factors such as the shed’s size, layout, door and window placements, and any additional features you’d like to include. Sketching out these details on paper or using a digital design tool can provide a visual roadmap for the construction process.
Furthermore, take stock of the tools and materials you’ll need for the project. From lumber and fasteners to roofing materials and paint, having a comprehensive list of supplies will streamline the procurement process and prevent unnecessary delays.
Lastly, establish a realistic timeline for the project, taking into account your availability, weather conditions, and any assistance you may need. Setting achievable milestones will help you stay organized and motivated throughout the construction journey.
By investing time in thorough planning and preparation, you’ll pave the way for a successful and enjoyable shed-building experience. With a clear vision, adherence to regulations, and a well-defined plan, you’re ready to embark on this exciting DIY adventure.
Choosing the Right Location
When it comes to building a shed, the location is more than just a matter of convenience; it can significantly impact the functionality and aesthetics of your outdoor structure. Selecting the right spot for your 10×10 shed is a crucial decision that requires careful consideration.
Begin by evaluating your property and identifying potential locations for the shed. Consider factors such as sunlight exposure, terrain, proximity to existing structures, and the overall visual impact on your outdoor space. Ideally, you’ll want to place the shed on a level area with good drainage to prevent water accumulation around the structure.
Furthermore, think about how the shed’s placement will complement the natural flow of your outdoor environment. Will it be tucked away in a secluded corner, or positioned as a focal point in your backyard landscape? Visualizing the shed’s placement in relation to your surroundings will help you create a harmonious and functional outdoor space.
Another critical aspect to consider is the accessibility of the shed. Whether you’re storing tools, equipment, or other items, easy access is essential. Additionally, if you plan to use the shed as a workshop or hobby space, proximity to utilities such as electricity and water may influence your location choice.
Before finalizing the location, it’s advisable to consult local regulations and property lines to ensure compliance and avoid any potential disputes. Understanding setback requirements and property boundaries will help you make an informed decision that aligns with legal and practical considerations.
Ultimately, the right location for your 10×10 shed should balance functionality, aesthetics, and practicality. By carefully assessing your property, considering local regulations, and envisioning the shed’s role in your outdoor space, you’ll be well-equipped to choose a location that enhances both the utility and beauty of your property.
Gathering Materials and Tools
With your shed’s location selected and the planning phase complete, it’s time to gather the essential materials and tools needed for the construction process. Having the right supplies on hand will streamline the building process and ensure that you can progress without unnecessary delays.
First and foremost, you’ll need to procure the necessary building materials. This typically includes pressure-treated lumber for the foundation and framing, as well as plywood for the walls and roof. Additionally, you’ll need roofing materials, such as shingles or metal panels, to provide weather protection for your shed.
Fasteners, such as nails, screws, and bolts, are essential for securing the structural components together. It’s important to select fasteners that are suitable for outdoor use and compatible with the materials you’re working with. Additionally, consider investing in a quality wood preservative to protect the lumber from moisture and decay.
In terms of tools, a basic set of carpentry tools will be indispensable for the construction process. This may include a circular saw, a hammer, a level, a measuring tape, a framing square, and a power drill. Depending on your shed’s design and any specific features you plan to incorporate, additional tools such as a nail gun, a ladder, and a chalk line may also be beneficial.
Safety equipment should not be overlooked. Protective gear, including safety goggles, work gloves, and hearing protection, is essential for ensuring a safe and comfortable working environment. If your shed construction involves heavy lifting or overhead work, consider using a hard hat and proper lifting equipment to prevent injuries.
Lastly, consider any finishing materials you may need, such as paint or stain for the exterior siding, as well as door hardware and window components if your shed includes these features.
By gathering all the necessary materials and tools before commencing construction, you’ll set the stage for a smooth and efficient building process. With a well-equipped workshop and a clear plan in hand, you’re ready to bring your 10×10 shed to life.
Building the Foundation
The foundation serves as the anchor for your shed, providing stability and protection against ground moisture. A well-constructed foundation is essential for ensuring the longevity and structural integrity of your 10×10 shed.
Before starting the foundation work, it’s crucial to prepare the site by clearing and leveling the ground. This involves removing any vegetation, rocks, or debris, and then using a shovel and a level to create a flat and even surface for the foundation.
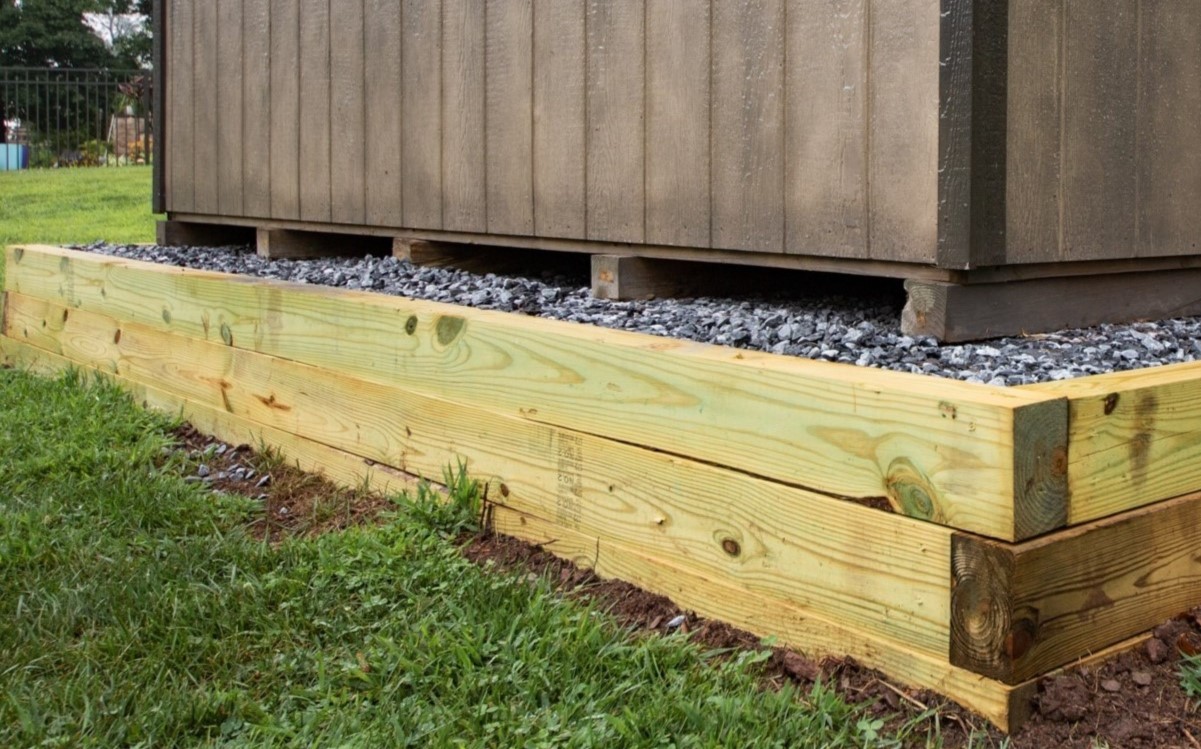
There are various foundation options to consider, including concrete piers, concrete slabs, and skids. The choice of foundation type will depend on factors such as local building codes, soil conditions, and personal preference. Regardless of the chosen method, it’s important to ensure that the foundation is level, square, and capable of supporting the weight of the shed.
If you opt for a concrete slab foundation, the process typically involves creating a formwork, pouring the concrete, and finishing the surface to achieve a smooth and level base. For concrete piers, holes are dug at specified intervals, and concrete is poured into the holes to create sturdy supports for the shed’s structure.
Skids, on the other hand, consist of pressure-treated beams placed directly on the ground to support the shed. This method is often used for smaller sheds and provides a simple and cost-effective foundation solution.
Regardless of the foundation type, it’s essential to allow for proper drainage around the shed to prevent water accumulation and potential damage. This may involve incorporating a slight slope away from the shed or installing a perimeter drainage system, depending on the site’s characteristics.
During the foundation construction, precision and attention to detail are paramount. Ensuring that the foundation is level, square, and structurally sound will provide a solid base for the rest of the shed’s construction. By investing time and effort into this foundational step, you’ll set the stage for a sturdy and long-lasting outdoor structure.
When building a 10×10 shed, make sure to start with a solid foundation, use pressure-treated lumber for the frame, and choose durable materials for the siding and roofing to ensure longevity and stability.
Read more: How To Build A Shed
Constructing the Frame
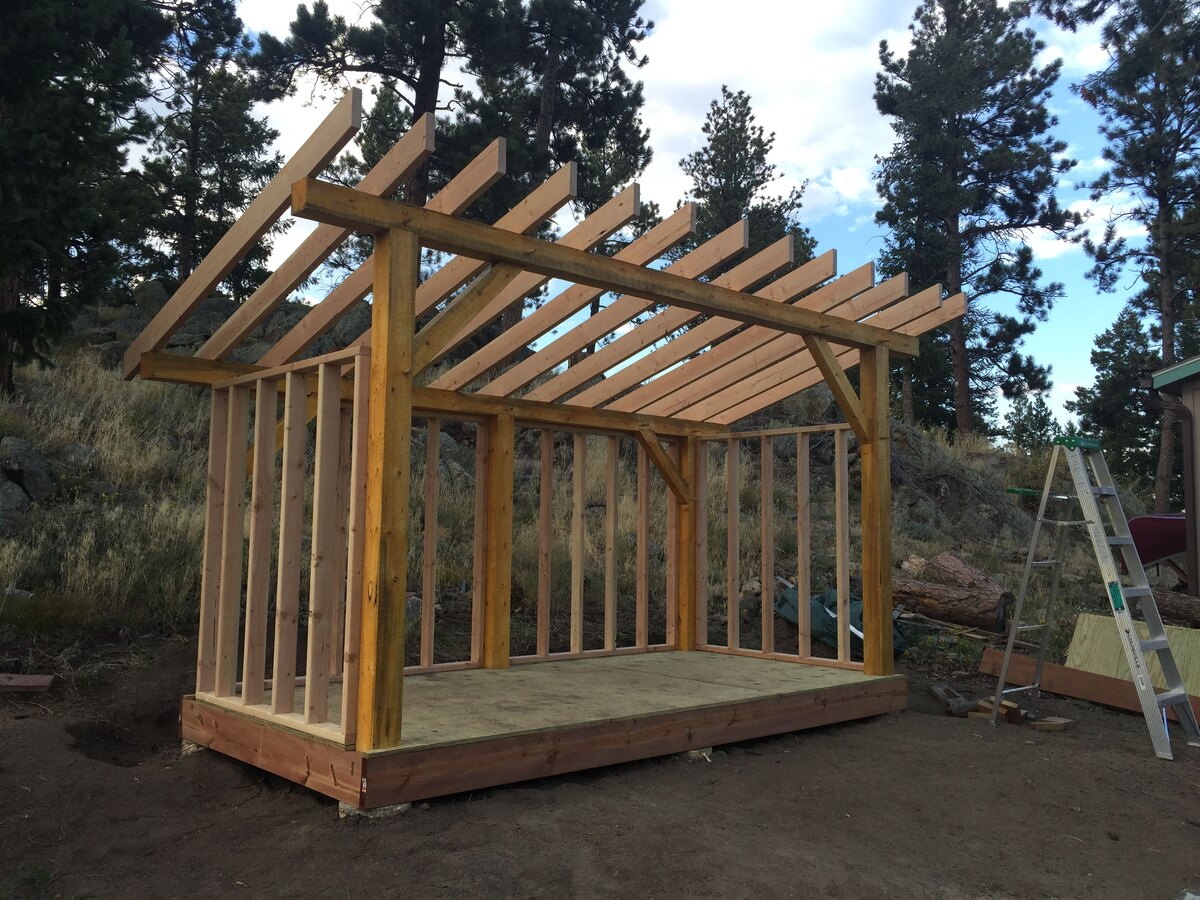
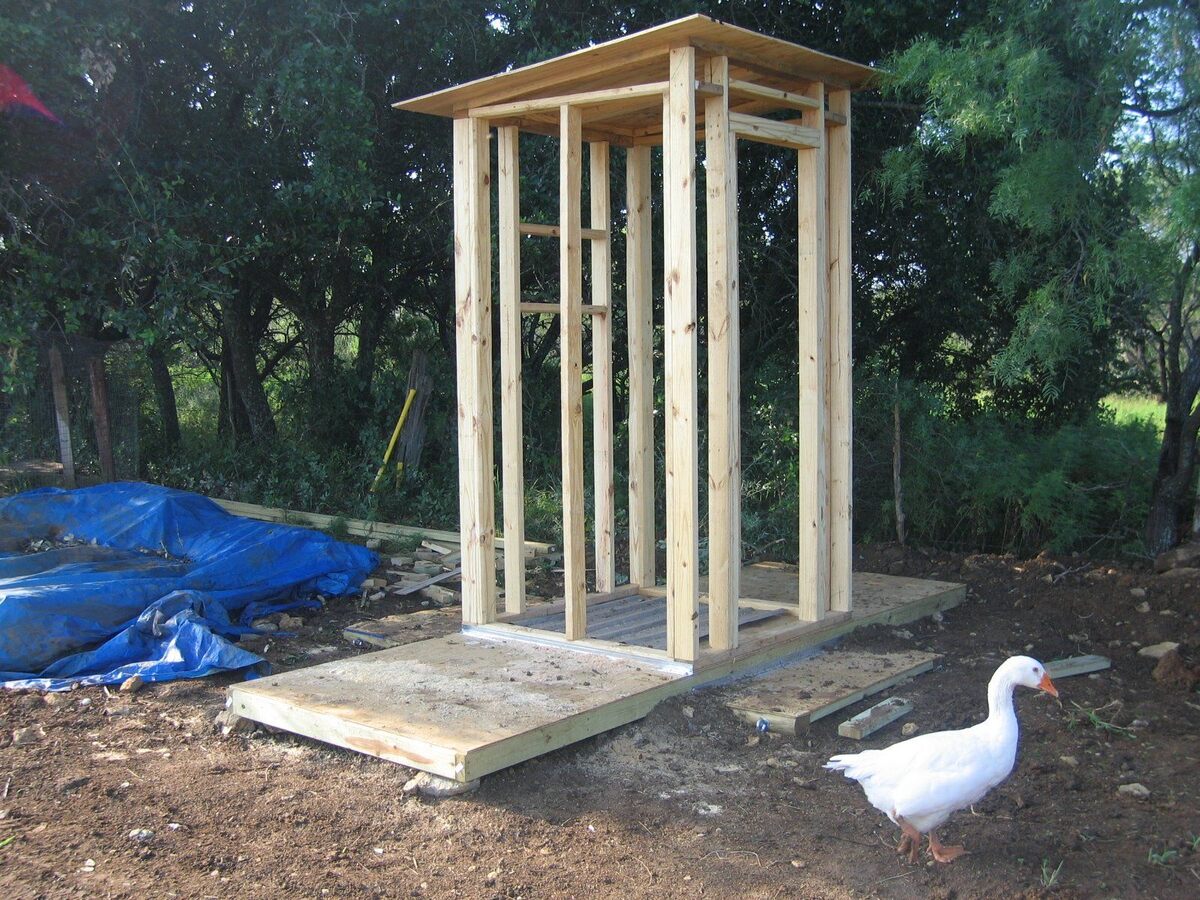
With the foundation in place, it’s time to move on to constructing the frame of your 10×10 shed. The frame serves as the skeletal structure of the shed, providing support for the walls, roof, and doors. Building a sturdy and well-constructed frame is crucial for the overall stability and durability of your shed.
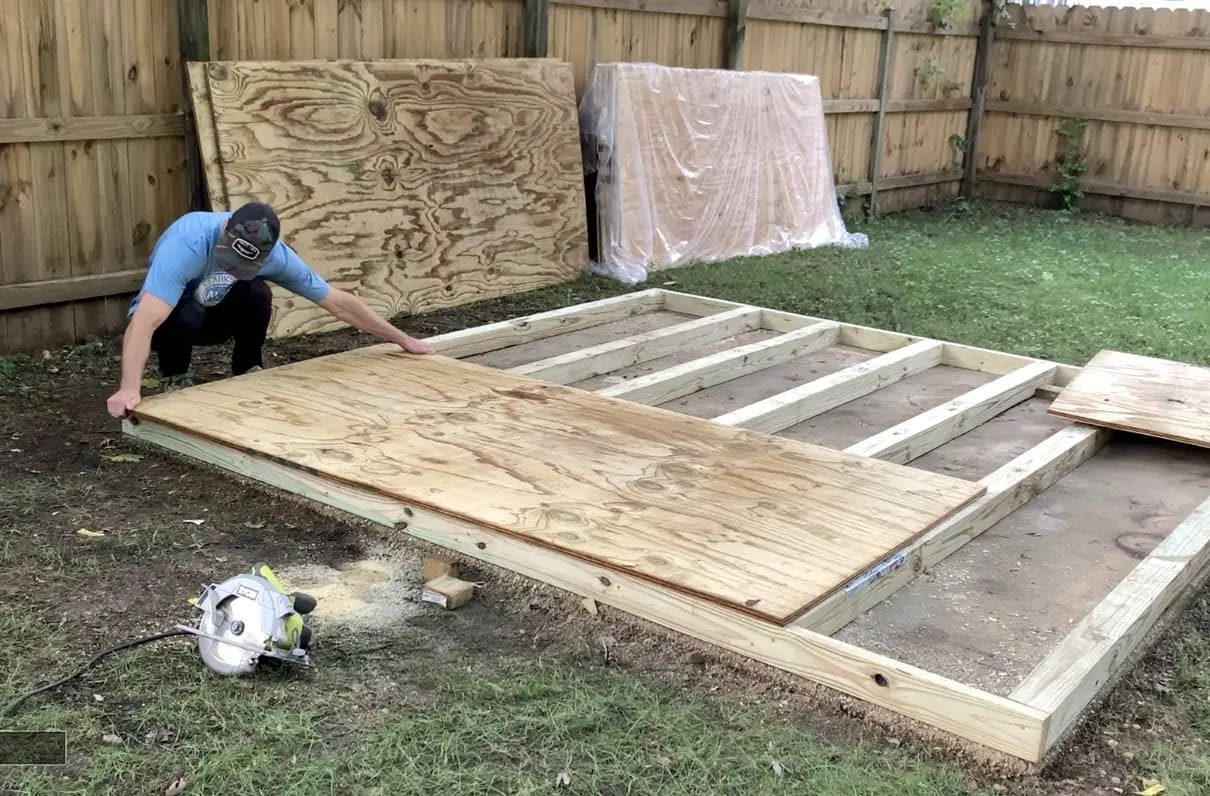
Begin by assembling the floor frame, which typically consists of pressure-treated joists and rim joists. These components are fastened together to create a rigid and level base for the shed. It’s essential to ensure that the floor frame is square and level to provide a solid foundation for the rest of the construction process.
Next, you’ll progress to constructing the wall frames. This involves cutting and assembling the wall studs, top plates, and bottom plates to create the vertical framework for the shed’s walls. Careful attention should be given to ensure that the wall frames are plumb and properly aligned, as this will facilitate the installation of siding and windows in the subsequent steps.
Once the wall frames are in place, it’s time to raise them and secure them to the floor frame. This may require the assistance of additional individuals to ensure that the wall frames are positioned accurately and securely anchored to the foundation. Fastening the wall frames to the foundation will further enhance the structural integrity of the shed.
After the wall frames are in position, you’ll proceed to construct the roof trusses or rafters, depending on your shed’s design. These components form the framework for the roof and are essential for providing structural support and ensuring proper water drainage. Careful measurement and precision are crucial when building the roof framework to ensure a secure and watertight roof structure.
Throughout the frame construction process, attention to detail and adherence to precise measurements are essential. By ensuring that the frame is accurately assembled and securely anchored to the foundation, you’ll create a solid and reliable structure for your 10×10 shed.
Installing the Roof
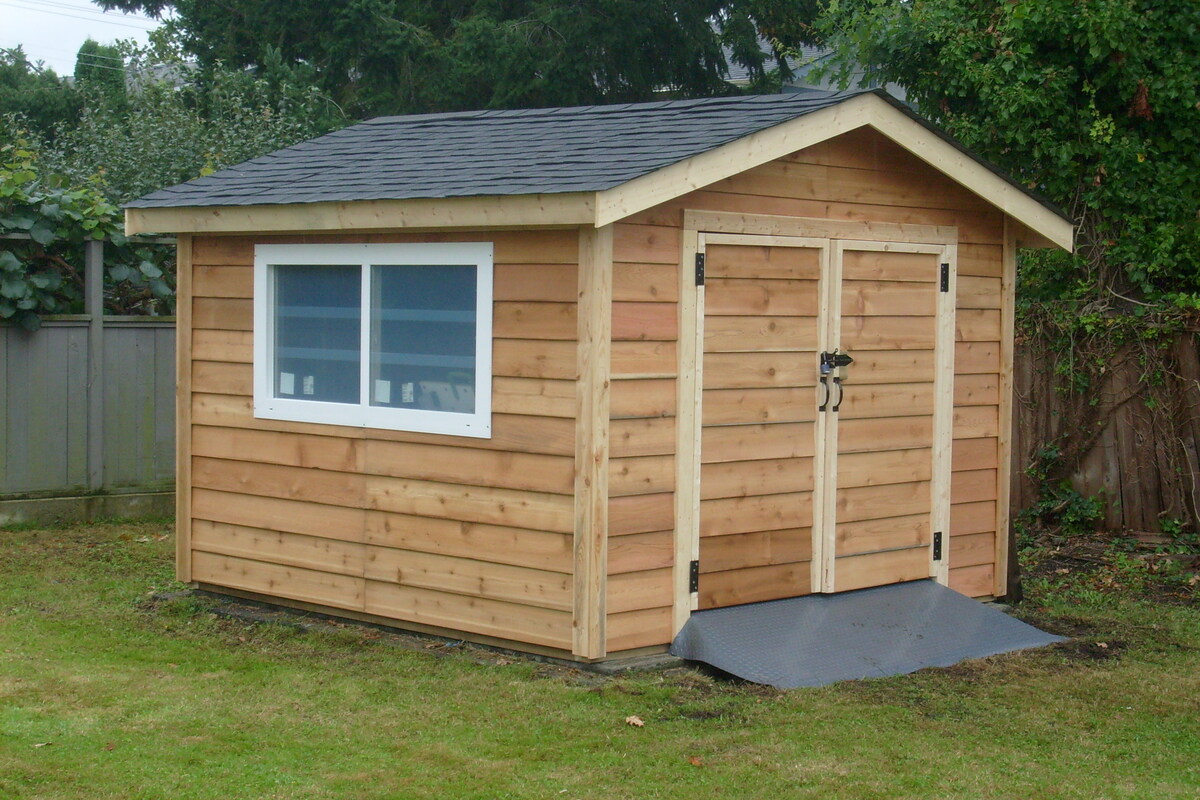
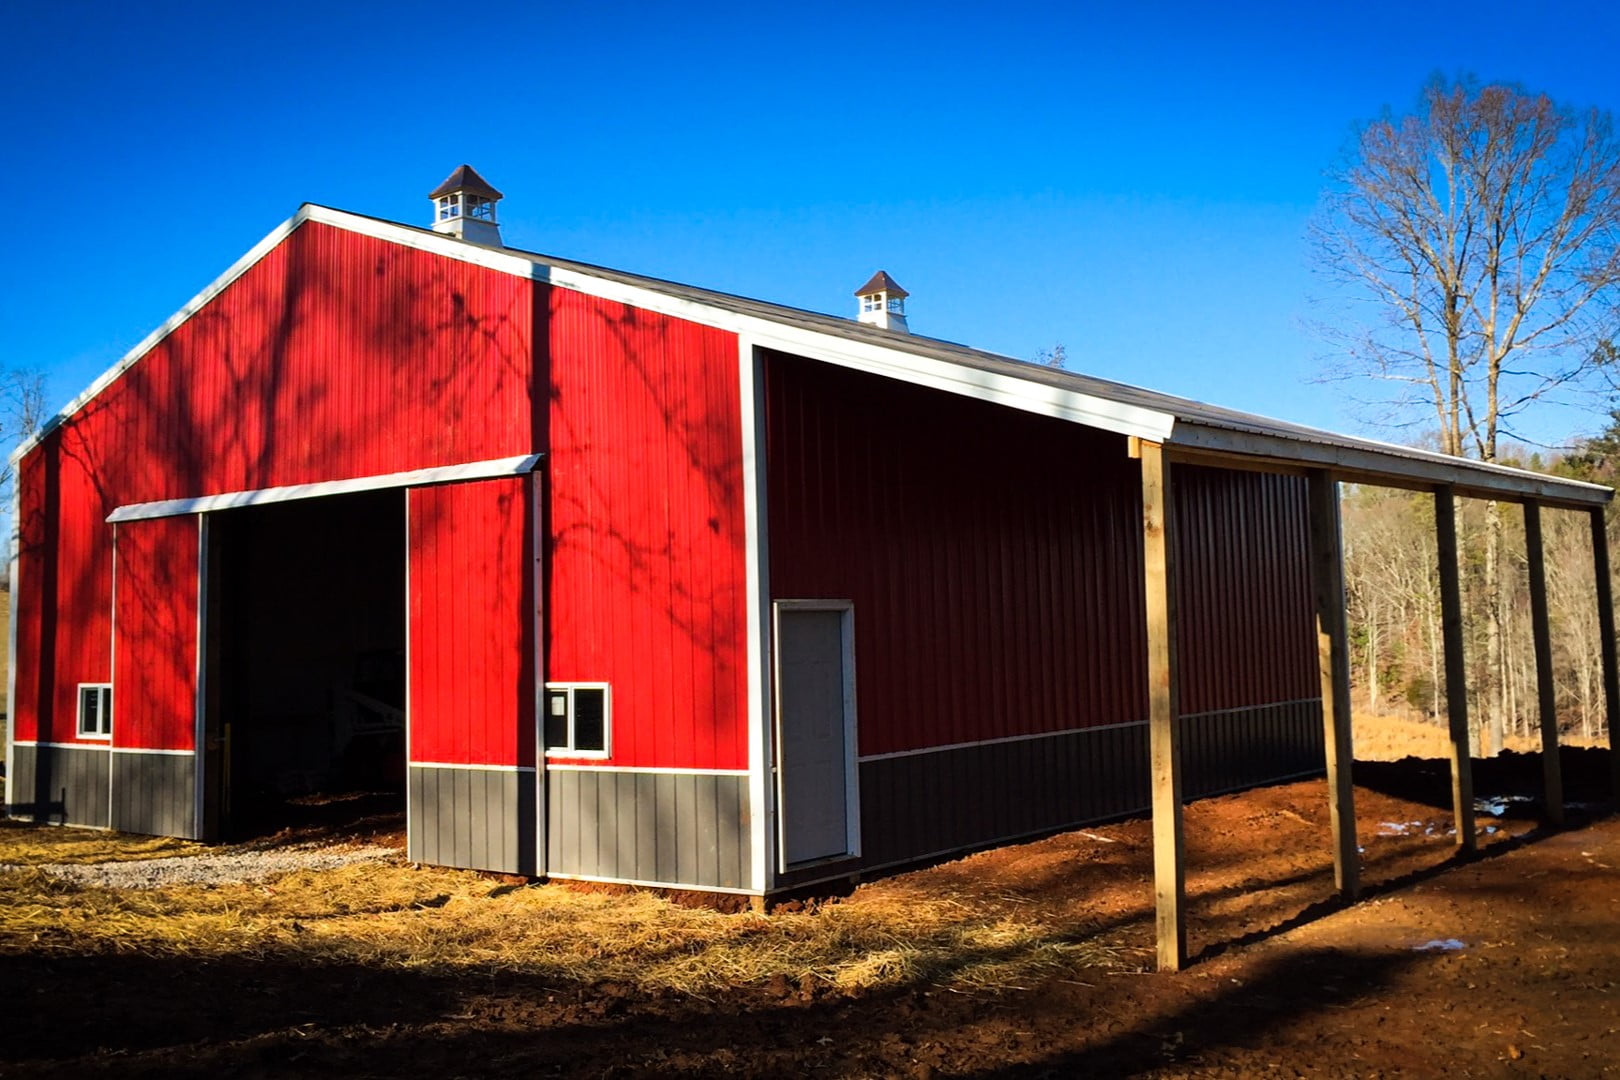
With the frame of your 10×10 shed in place, the next crucial step is to install the roof. The roof not only provides protection from the elements but also contributes to the overall structural integrity and visual appeal of the shed. Whether you opt for a traditional gable roof, a gambrel roof, or a simple lean-to design, careful attention to detail during the roof installation process is essential.
The first consideration when installing the roof is the choice of roofing materials. Common options include asphalt shingles, metal roofing panels, or cedar shakes, each offering distinct advantages in terms of durability, aesthetics, and weather resistance. Selecting high-quality roofing materials will ensure long-term performance and minimize maintenance requirements.
Prior to installing the roofing materials, it’s important to apply an underlayment to the roof deck to provide an additional layer of protection against moisture and ensure a watertight seal. The underlayment acts as a barrier between the roofing materials and the underlying structure, guarding against potential water infiltration and enhancing the shed’s weather resistance.
When installing asphalt shingles, begin at the lower edge of the roof and work your way upward, overlapping the shingles to create a water-shedding surface. Proper nailing and alignment of the shingles are critical to achieving a uniform and secure roof covering. For metal roofing panels, precise measurements and careful fastening are essential to ensure a tight fit and prevent water penetration.
In the case of a gable or gambrel roof, the installation of ridge caps and flashing at the roof junctions is crucial for preventing water intrusion and maintaining a weatherproof seal. Properly installed ridge caps and flashing will enhance the shed’s resistance to wind-driven rain and ensure long-term protection for the roof structure.
Throughout the roof installation process, safety measures should be prioritized, particularly when working at heights. Utilizing appropriate fall protection equipment, such as harnesses and lanyards, and exercising caution when navigating the roof will help prevent accidents and ensure a secure working environment.
By meticulously installing the roof and paying attention to the details of flashing, underlayment, and shingle alignment, you’ll create a durable and weather-resistant covering for your 10×10 shed. A well-constructed roof will not only enhance the shed’s functionality but also contribute to its visual appeal and long-term performance.
Adding Siding and Doors
As your 10×10 shed nears completion, the installation of siding and doors plays a pivotal role in enhancing both the functionality and aesthetic appeal of the structure. Siding not only provides weather protection but also contributes to the visual character of the shed, while the doors serve as the primary access points and contribute to the overall security and usability of the space.
When selecting siding materials, consider options such as vinyl, wood, engineered wood, or metal siding, each offering unique benefits in terms of durability, maintenance requirements, and visual appeal. Additionally, the choice of siding color and texture can significantly impact the shed’s overall appearance, allowing you to customize the exterior to align with your preferences and complement your property’s style.
Prior to installing the siding, it’s essential to apply a moisture barrier or house wrap to the exterior walls. This protective layer acts as a shield against water infiltration, enhancing the shed’s weather resistance and preventing potential damage to the underlying structure. Proper installation of the moisture barrier is crucial for ensuring long-term performance and minimizing the risk of moisture-related issues.
Once the moisture barrier is in place, the siding installation process can commence. Careful measurement and precision are essential to achieve a uniform and visually appealing siding application. Whether you opt for horizontal lap siding, vertical board-and-batten siding, or another style, attention to detail during the installation process will contribute to a professional and polished appearance for your shed.
Simultaneously, the installation of doors is a critical aspect of completing your shed. Whether you choose a single door or double doors, the selection of high-quality, weather-resistant doors is essential for ensuring security and ease of access. Additionally, consider features such as windows in the doors to introduce natural light into the shed’s interior and enhance its visual appeal.
Proper installation of the doors, including precise alignment, secure anchoring, and weather sealing, is essential to ensure functionality and long-term performance. Attention to details such as door hardware, locks, and hinges will further enhance the usability and security of the shed, providing peace of mind and convenience for its users.
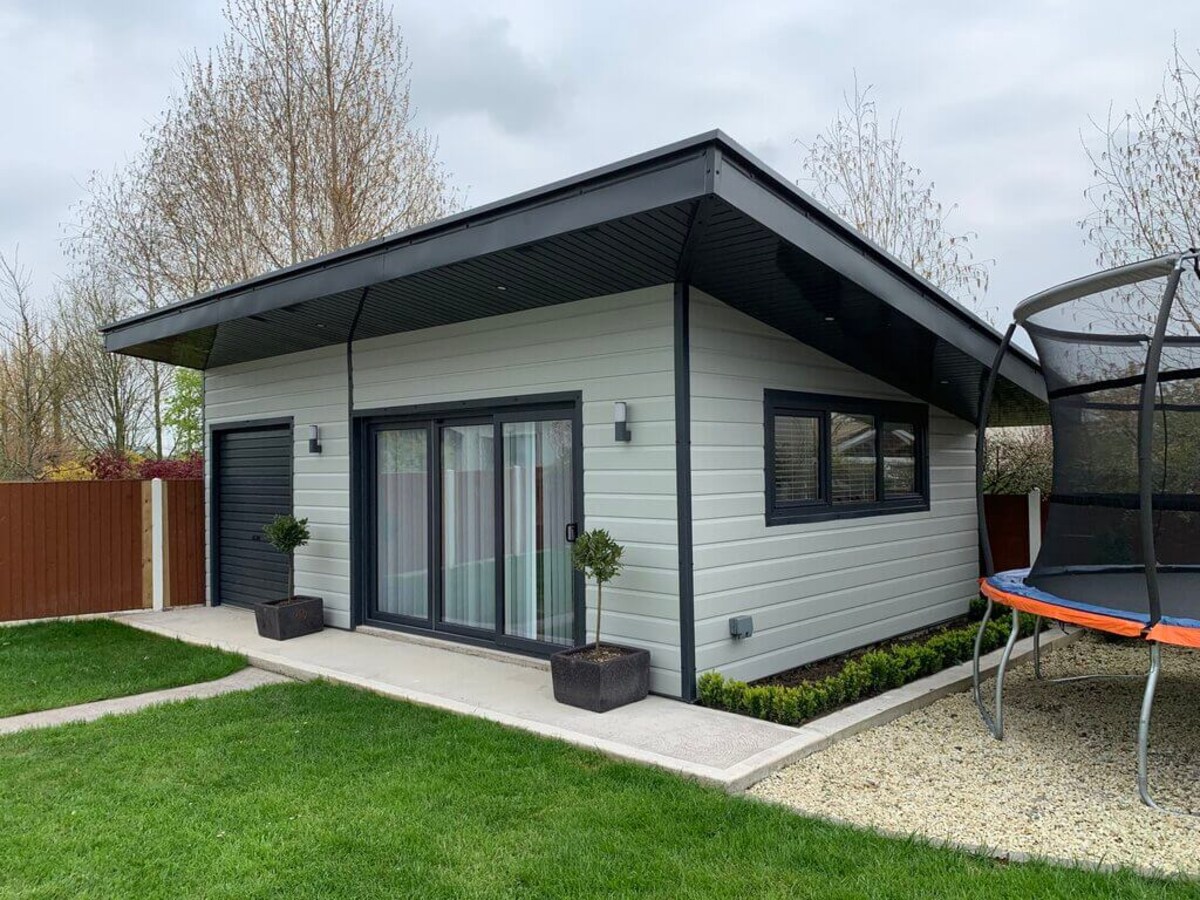
By meticulously installing the siding and doors, you’ll not only enhance the shed’s weather resistance and functionality but also elevate its visual appeal and contribute to a polished and professional exterior appearance. The careful selection and installation of siding and doors are essential steps in bringing your 10×10 shed to completion and ensuring its long-term performance and usability.
Finishing Touches
As the construction of your 10×10 shed draws to a close, attention to the finishing touches will elevate the functionality, aesthetics, and overall appeal of the structure. These final details add personality and functionality to the shed, transforming it from a basic outdoor structure into a versatile and visually appealing space.
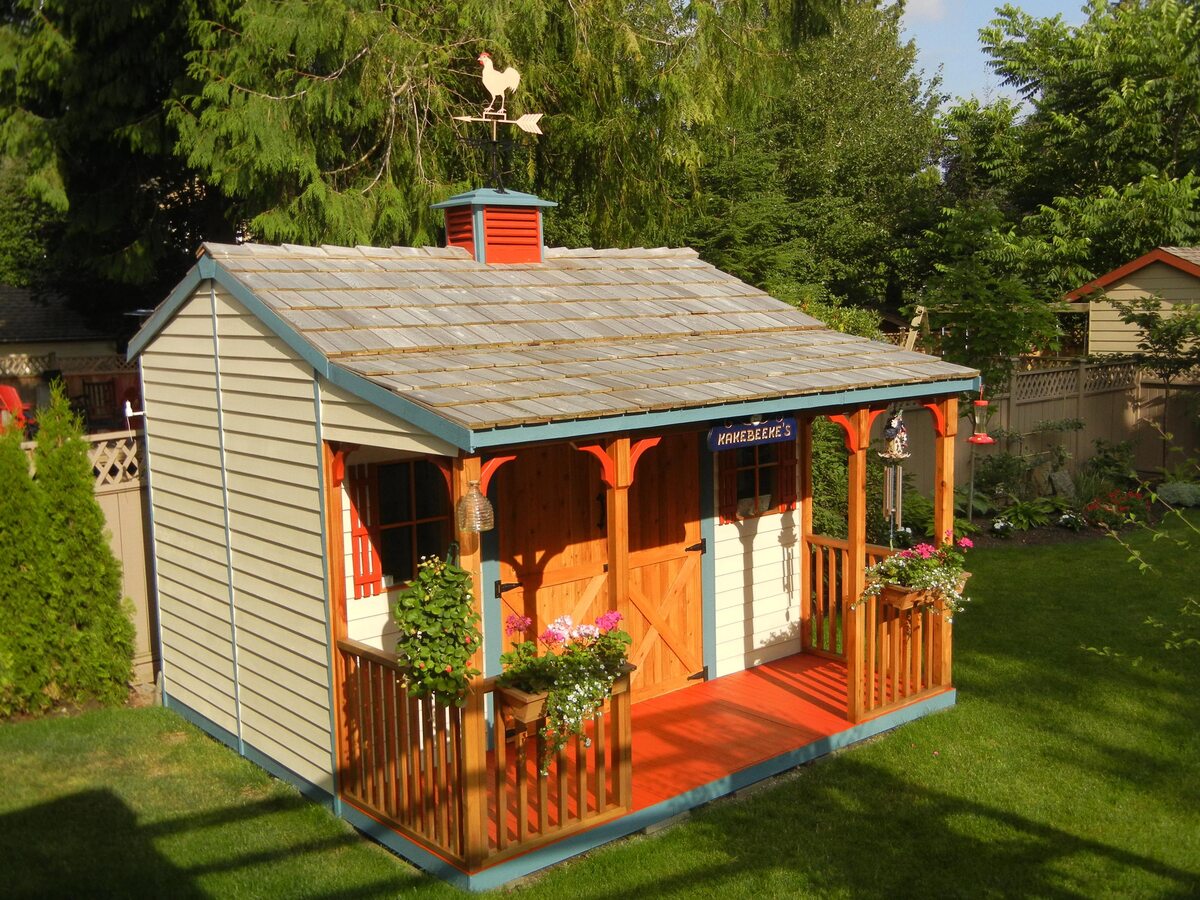
One of the essential finishing touches is the application of exterior paint or stain. The choice of color and finish can significantly impact the shed’s visual impact and its integration with the surrounding landscape. Whether you opt for a bold color to make a statement or a natural wood stain to blend seamlessly with the environment, the exterior finish will enhance the shed’s durability and visual appeal.
Furthermore, consider the addition of trim elements to the exterior, such as corner boards, fascia, and soffit. These details provide a polished and cohesive look, adding architectural interest and refinement to the shed’s design. Properly installed trim elements will contribute to a professional and finished appearance for the shed’s exterior.
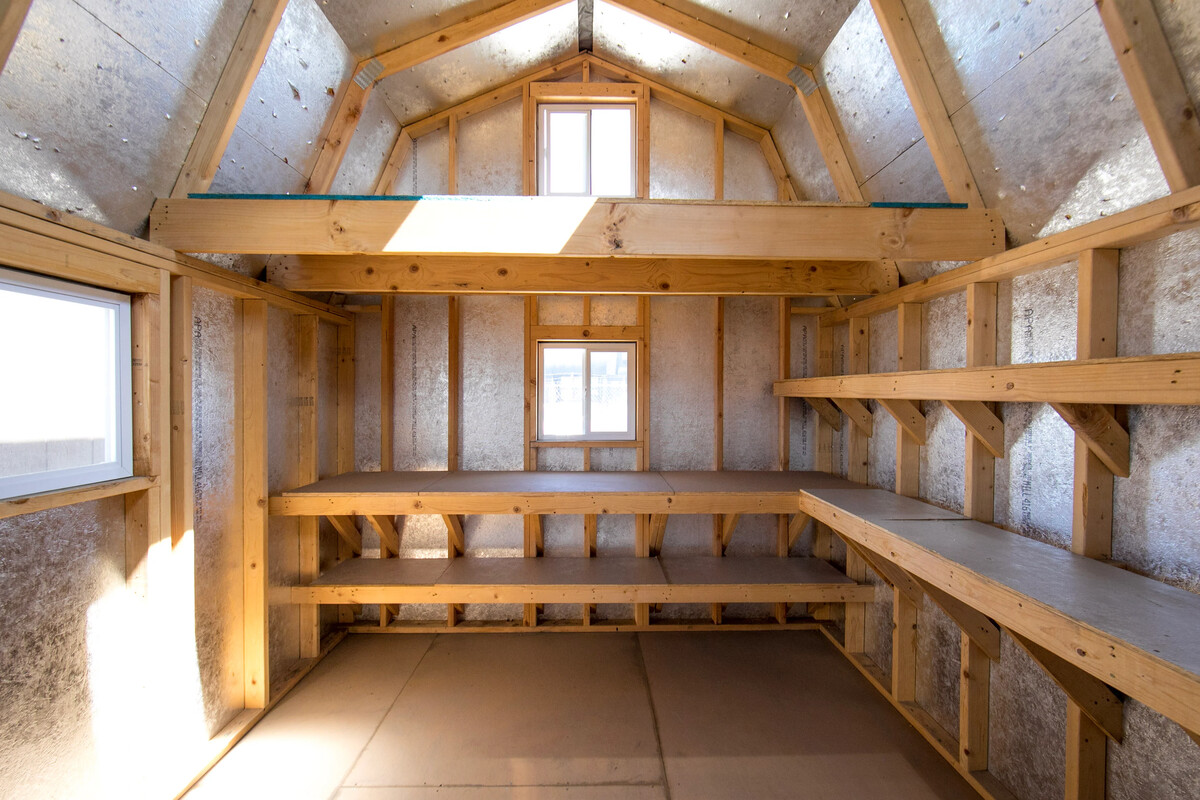
Internally, the finishing touches may include the installation of shelving, workbenches, or storage solutions tailored to your specific needs. These interior features enhance the shed’s functionality, providing organized storage space and work areas for various activities, whether it’s gardening, woodworking, or general storage.
Lighting is another crucial consideration for the shed’s usability. Whether you opt for natural light through windows or incorporate electrical lighting, ensuring adequate illumination will enhance the shed’s functionality and usability, particularly during evening hours or overcast days.
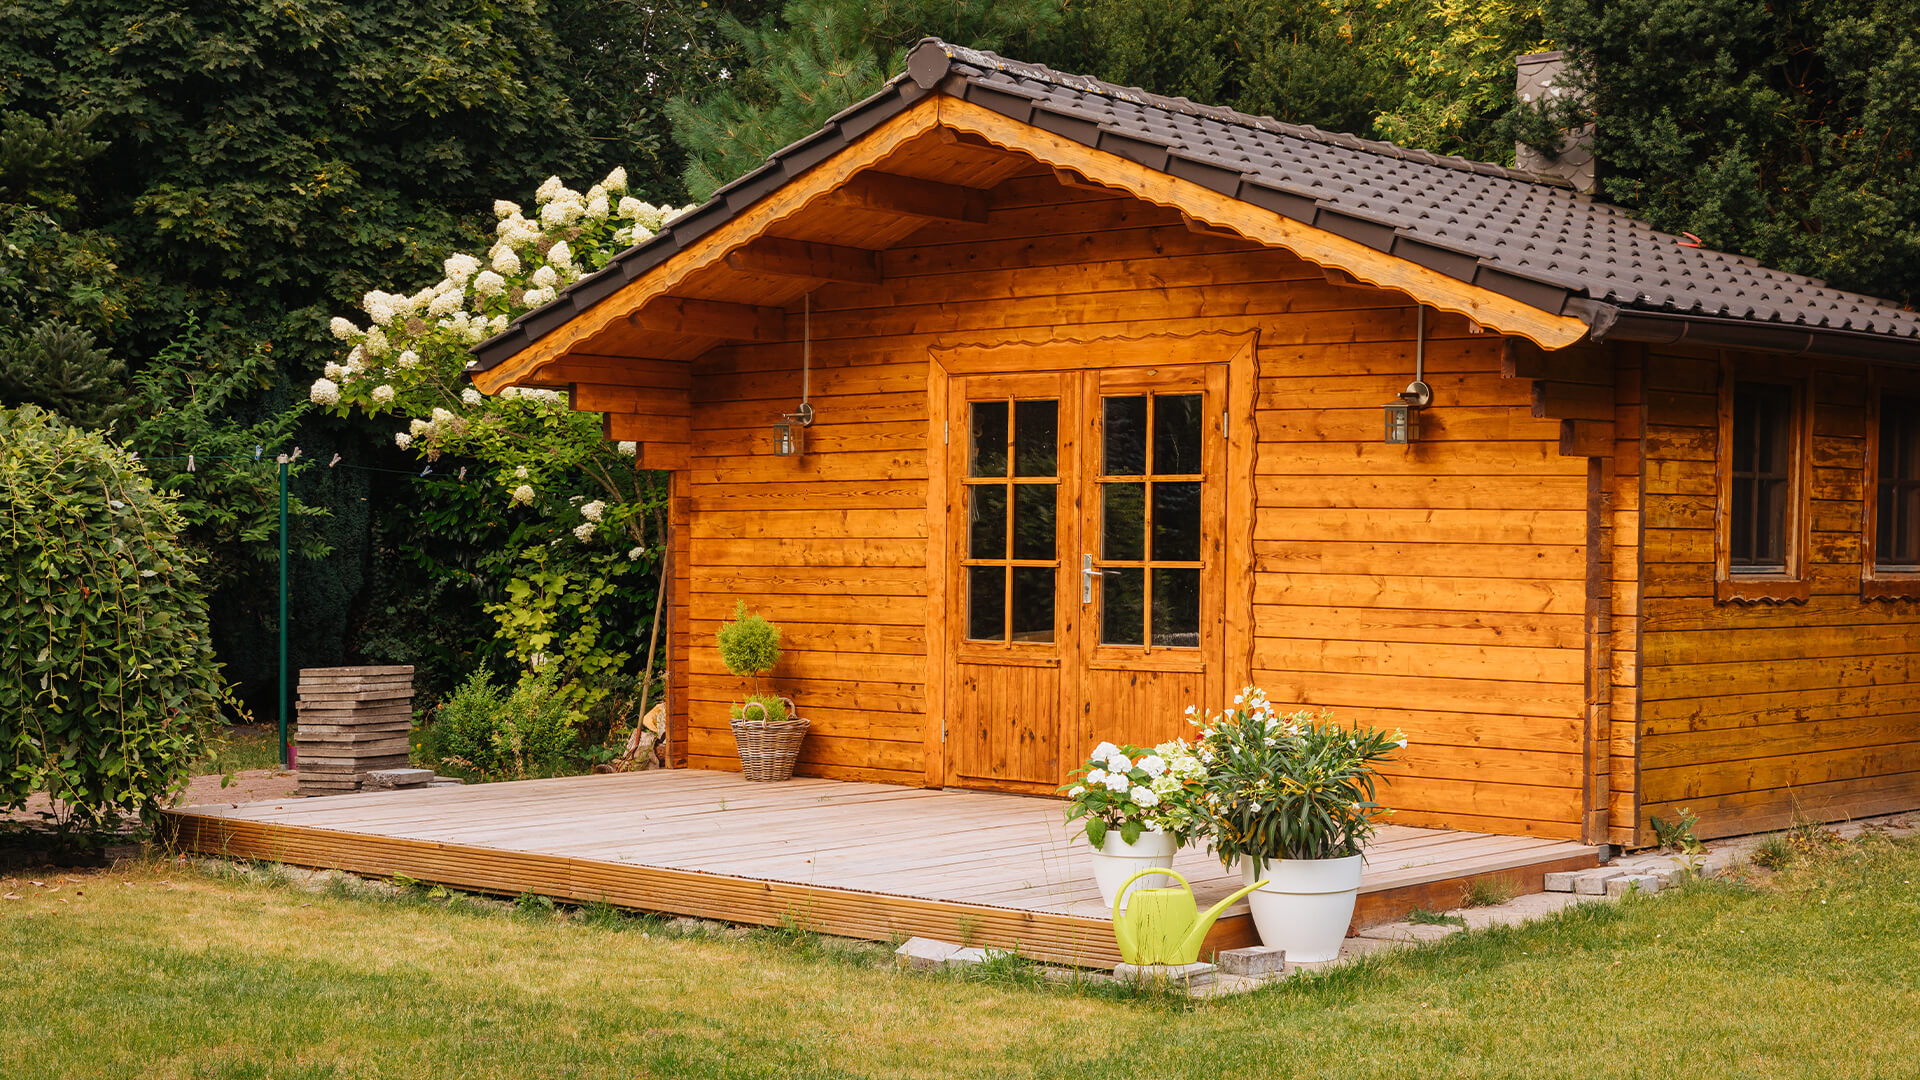
Finally, consider landscaping and exterior enhancements to integrate the shed seamlessly into your outdoor space. This may involve the addition of pathways, plantings, or decorative elements that create a cohesive and inviting environment around the shed.
The finishing touches are an opportunity to infuse your personal style and preferences into the shed, creating a space that reflects your needs and aesthetic sensibilities. By carefully considering the exterior finish, trim details, interior features, lighting, and landscaping, you’ll bring your 10×10 shed to its full potential, creating a versatile and visually appealing addition to your property.
Read more: How To Build A Bar Shed
Conclusion
Congratulations on completing the construction of your 10×10 shed! This journey from initial planning to the finishing touches has been a testament to your dedication and craftsmanship. As you stand back and admire the newly built shed in your backyard, you can take pride in the functional and aesthetic enhancement it brings to your outdoor space.
Building a shed is not just about creating a practical storage or workspace; it’s about adding a personal touch to your property and creating a space that reflects your needs and style. The process of constructing a shed involves careful planning, precise execution, and a creative vision, all of which have culminated in the realization of a valuable addition to your property.
Throughout this journey, you’ve navigated the intricacies of zoning regulations, selected the perfect location, meticulously assembled the frame, and added the finishing touches that make the shed uniquely yours. Each step has been an opportunity for learning, problem-solving, and creative expression, shaping the shed into a space that meets your specific requirements.
As you look ahead, envision the countless possibilities that your new shed offers. Whether it’s organizing gardening tools, pursuing DIY projects, or simply finding a tranquil retreat, the shed stands ready to serve your needs and adapt to your evolving lifestyle.
Moreover, the skills and knowledge you’ve gained from this project will continue to empower you in future endeavors. The confidence to tackle construction challenges, the eye for design and detail, and the satisfaction of bringing a vision to life are invaluable takeaways from this experience.
Finally, the shed serves as a symbol of creativity, resourcefulness, and the joy of hands-on craftsmanship. It’s a testament to the power of DIY projects in enriching our lives and surroundings, and a reminder that with determination and vision, we can transform ideas into tangible, meaningful spaces.
So, as you open the doors of your new 10×10 shed and step inside, may it be a space where creativity flourishes, where passions are pursued, and where moments of tranquility are savored. Your shed is not just a structure; it’s a reflection of your ingenuity and a canvas for the experiences that await within.
Embrace this new addition to your property, and may it bring you joy, inspiration, and a sense of accomplishment for years to come.
Frequently Asked Questions about How To Build A 10x10 Shed
Was this page helpful?
At Storables.com, we guarantee accurate and reliable information. Our content, validated by Expert Board Contributors, is crafted following stringent Editorial Policies. We're committed to providing you with well-researched, expert-backed insights for all your informational needs.



0 thoughts on “How To Build A 10×10 Shed”