Home>Gardening & Outdoor>Outdoor Structures>How To Assemble An Arrow Shed
Outdoor Structures
How To Assemble An Arrow Shed
Modified: March 2, 2024
Learn how to assemble an Arrow Shed and create a durable outdoor structure with our step-by-step guide. Get expert tips and advice for building outdoor structures.
(Many of the links in this article redirect to a specific reviewed product. Your purchase of these products through affiliate links helps to generate commission for Storables.com, at no extra cost. Learn more)
Introduction
Welcome to the world of outdoor storage solutions! Whether you're a seasoned DIY enthusiast or a novice looking to embark on your first backyard project, assembling an Arrow shed is a rewarding endeavor that offers both practical storage space and a sense of accomplishment. Arrow sheds are renowned for their durability, functionality, and ease of assembly, making them a popular choice for homeowners seeking reliable storage solutions.
In this comprehensive guide, we'll walk you through the step-by-step process of assembling an Arrow shed, providing valuable insights and practical tips to streamline the construction process. From preparing the site to securing the shed to the ground, each stage of the assembly is crucial to ensuring a sturdy and long-lasting structure.
By the end of this guide, you'll feel empowered to tackle the assembly with confidence, equipped with the knowledge and expertise needed to transform a pile of components into a functional and aesthetically pleasing outdoor storage space. So, roll up your sleeves, gather your tools, and let's dive into the exciting world of assembling an Arrow shed!
Key Takeaways:
- Gathering the right tools and preparing the site are crucial for assembling an Arrow shed. This ensures a smooth and efficient construction process, setting the stage for a sturdy and long-lasting structure.
- Securing the shed to the ground is a vital final step, enhancing its stability and resilience against external forces. This ensures a secure and reliable storage space for your belongings.
Read more: How To Assemble A Rubbermaid Shed
Step 1: Gather the Necessary Tools and Materials
Before embarking on the assembly process, it’s essential to gather all the required tools and materials. This proactive approach not only streamlines the construction process but also minimizes interruptions, ensuring a smooth and efficient assembly experience.
Here’s a comprehensive list of the essential tools and materials you’ll need:
- Tools: Gather a cordless drill with assorted drill bits, adjustable wrenches, screwdrivers, a rubber mallet, a level, and a stepladder. These tools will facilitate the assembly process and ensure precision and stability.
- Foundation Kit: Depending on your chosen shed model, you may require a compatible foundation kit, such as an Arrow floor frame kit or a base kit. These kits provide a stable base for your shed, protecting it from moisture and ensuring longevity.
- Shed Kit Components: Unpack the shed kit and take inventory of all components, including wall panels, roof panels, door frames, hardware, and any additional accessories specific to your shed model. Organizing these components beforehand will streamline the assembly and prevent delays.
- Anchor Kit: To secure your shed to the ground, an anchor kit is essential. This kit typically includes heavy-duty steel augers and cable clamps to firmly anchor the shed, safeguarding it against strong winds and inclement weather.
- Protective Gear: Prioritize safety by wearing appropriate protective gear, including work gloves, safety goggles, and sturdy footwear. These items are crucial for safeguarding yourself during the assembly process.
By ensuring that you have all the necessary tools and materials at your disposal, you’ll be well-prepared to initiate the assembly process with confidence and efficiency. With these essentials in hand, you’re one step closer to bringing your Arrow shed to life in your backyard sanctuary.
Step 2: Prepare the Site
Preparing the site for your Arrow shed is a critical initial step that sets the foundation for a sturdy and long-lasting structure. By meticulously attending to site preparation, you’ll create an optimal environment for the shed, ensuring stability and functionality for years to come.
Here’s a detailed guide to preparing the site for your Arrow shed:
- Check Local Regulations: Before commencing any groundwork, it’s imperative to check local building codes and regulations. Ensure compliance with setback requirements, property line restrictions, and any necessary permits to avoid potential issues in the future.
- Clear the Area: Clear the designated area of any debris, vegetation, or obstacles that may impede the shed’s installation. Level the ground to create a firm and even foundation, using a shovel and a rake to remove any protruding rocks, roots, or uneven surfaces.
- Foundation Preparation: If you’ve opted for a foundation kit, follow the manufacturer’s instructions to prepare the base. This may involve assembling a floor frame or laying a solid foundation, such as a plywood platform or concrete slab, to provide a stable and level surface for the shed.
- Positioning the Shed: Carefully mark the shed’s layout on the prepared site, ensuring that it aligns with your desired orientation and meets the required setbacks. Use stakes and string to outline the shed’s footprint, allowing you to visualize its placement and make any necessary adjustments before assembly.
- Consider Drainage: Assess the site’s drainage to prevent water accumulation around the shed. If necessary, incorporate measures such as French drains or gravel trenches to redirect water away from the shed, safeguarding it against moisture-related issues.
- Secure the Site: To prevent shifting or settling, consider anchoring the shed’s foundation to the ground using suitable anchors or fastening methods. This additional security fortifies the shed against external forces, enhancing its overall stability.
By meticulously preparing the site and adhering to these guidelines, you’ll establish a solid foundation for your Arrow shed, setting the stage for a seamless and successful assembly process. With the site meticulously primed, you’re poised to embark on the next stages of bringing your shed to fruition.
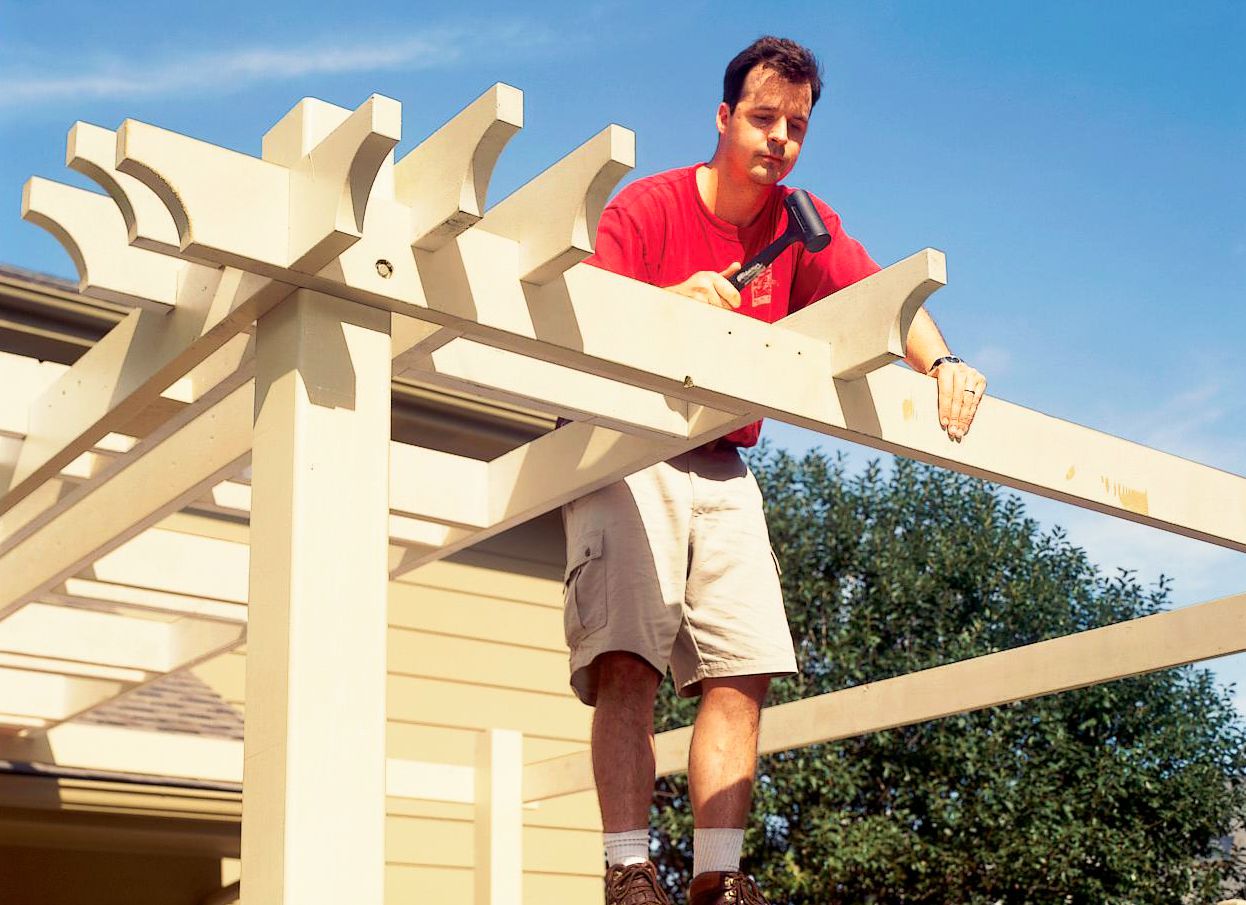
Step 3: Assemble the Frame
Assembling the frame forms the structural backbone of your Arrow shed, laying the groundwork for the enclosure and roof installation. This pivotal step demands precision and attention to detail to ensure a robust and stable framework for the entire structure.
Here’s a comprehensive guide to assembling the frame of your Arrow shed:
- Organize the Components: Lay out all the frame components in an organized manner, referencing the assembly manual to familiarize yourself with each part. This proactive approach streamlines the construction process and minimizes confusion during assembly.
- Follow the Sequence: Adhere to the manufacturer’s recommended sequence for assembling the frame components. Typically, this involves connecting the wall panels, corner posts, and roof beams in a systematic order, ensuring that each element aligns securely with the next.
- Utilize Fasteners Appropriately: Use the provided fasteners, such as screws or bolts, to securely join the frame components. Pay close attention to the recommended torque specifications to prevent over-tightening or under-tightening, which can compromise the structural integrity of the frame.
- Check for Squareness: Regularly assess the frame’s squareness and alignment as you progress, utilizing a carpenter’s square and a level to verify that the structure remains true and plumb. This meticulous attention to detail ensures that the frame is structurally sound and ready for the subsequent assembly stages.
- Enlist Assistance if Needed: Given the size and weight of certain frame components, consider enlisting the help of a friend or family member to assist with lifting and aligning the elements. This collaborative effort not only enhances safety but also facilitates a smoother assembly process.
- Verify Connections: Once the frame is fully assembled, carefully inspect all connections to confirm that they are secure and properly aligned. This comprehensive review mitigates the risk of potential issues and sets the stage for the seamless installation of subsequent components.
By meticulously assembling the frame with precision and care, you’re laying the groundwork for a sturdy and reliable Arrow shed. This foundational stage sets the tone for the shed’s structural integrity, bringing you one step closer to enjoying a functional and resilient outdoor storage space.
When assembling an Arrow Shed, make sure to carefully read and follow the instructions provided. Organize all the parts and tools before starting, and consider enlisting the help of a friend for certain steps to make the process easier and safer.
Step 4: Install the Roof Panels
Installing the roof panels is a pivotal stage in the assembly of your Arrow shed, as it not only provides protection from the elements but also contributes to the structural stability and aesthetic appeal of the structure. With careful attention to detail and precision, this step ensures that your shed is well-equipped to withstand various weather conditions while offering a secure storage environment.
Here’s a detailed guide to installing the roof panels of your Arrow shed:
- Prepare the Work Area: Clear the interior of the shed to create an unobstructed workspace for maneuvering the roof panels. This proactive measure minimizes potential obstructions and facilitates a smooth installation process.
- Position the Panels: With the assistance of a friend or family member, carefully lift and position the roof panels onto the frame, ensuring that they align with the designated grooves or mounting points. Exercise caution and use appropriate lifting techniques to prevent strain or injury during this process.
- Secure the Panels: Utilize the provided fasteners, such as screws or bolts, to securely attach the roof panels to the frame. Follow the manufacturer’s recommendations for fastening intervals and torque specifications to ensure a secure and weather-resistant roof assembly.
- Verify Alignment: Regularly assess the alignment and fit of the roof panels as you progress, adjusting as necessary to maintain a uniform and watertight seal. This meticulous approach minimizes the risk of potential leaks or structural issues related to the roof assembly.
- Weatherproofing: Once the roof panels are installed, consider applying weatherproofing sealant along the panel seams and edges to enhance the shed’s resilience against moisture ingress. This additional measure fortifies the roof assembly and safeguards the shed’s interior from potential water infiltration.
- Inspect for Stability: Upon completing the roof panel installation, carefully inspect the assembly to ensure that the panels are securely fastened and contribute to the overall stability of the shed. This comprehensive review verifies that the roof is structurally sound and ready for the subsequent stages of assembly.
By meticulously installing the roof panels with precision and attention to detail, you’re fortifying your Arrow shed against the elements while enhancing its overall structural integrity. This crucial stage brings you closer to completing your shed assembly, paving the way for the final touches that will transform it into a functional and resilient outdoor storage space.
Read more: How To Store Arrows
Step 5: Attach the Doors and Windows
Attaching the doors and windows to your Arrow shed marks a significant milestone in the assembly process, as it transforms the structure into a functional and accessible storage space. This stage requires precision and attention to detail to ensure that the doors and windows are securely installed, contributing to the shed’s overall functionality and aesthetic appeal.
Here’s a comprehensive guide to attaching the doors and windows to your Arrow shed:
- Prepare the Openings: Prior to installing the doors and windows, ensure that the designated openings in the shed’s frame are clean, free of debris, and appropriately sized to accommodate the fixtures. This preparatory step sets the stage for a seamless installation process.
- Assemble the Components: If the doors and windows require assembly, carefully follow the manufacturer’s instructions to construct the components, ensuring that all hardware and accessories are securely attached. This proactive approach streamlines the installation process and minimizes potential delays.
- Position the Fixtures: With the assistance of a friend or family member, position the doors and windows within their respective openings, ensuring a snug and square fit. Exercise caution and utilize appropriate lifting techniques to prevent damage to the fixtures or the shed’s frame during this process.
- Secure the Fixtures: Utilize the provided fasteners and hardware to securely attach the doors and windows to the shed’s frame, following the manufacturer’s recommended installation guidelines. Pay close attention to alignment and sealing to ensure that the fixtures operate smoothly and contribute to the shed’s weather resistance.
- Verify Functionality: Test the functionality of the doors and windows upon installation, ensuring that they open, close, and latch securely. Assess the operation of any included hardware, such as handles, locks, and hinges, to confirm that the fixtures are fully operational and contribute to the shed’s accessibility and security.
- Weatherproofing: Apply weatherproofing sealant around the perimeter of the doors and windows to create a watertight seal, safeguarding the shed’s interior from moisture infiltration. This additional measure enhances the shed’s resilience against inclement weather and contributes to its long-term durability.
By meticulously attaching the doors and windows with precision and care, you’re elevating your Arrow shed into a fully functional and accessible storage space. This transformative stage brings you one step closer to enjoying a versatile and secure outdoor storage solution, ready to accommodate your belongings with ease and reliability.
Step 6: Secure the Shed to the Ground
Securing your Arrow shed to the ground is a crucial final step in the assembly process, enhancing the structure’s stability and resilience against external forces. By firmly anchoring the shed, you’re fortifying it against wind uplift and ensuring its long-term integrity, creating a secure storage environment for your belongings.
Here’s a comprehensive guide to securing your Arrow shed to the ground:
- Assess the Anchoring Points: Identify the designated anchoring points on the shed’s frame or foundation, as specified by the manufacturer. These points are strategically positioned to maximize the shed’s resistance to uplift and ensure even weight distribution.
- Choose Suitable Anchors: Select appropriate anchors based on the shed’s foundation and the ground surface. Common anchor options include earth augers, concrete anchors, or mobile home anchors, each designed to provide robust fastening in various soil or surface conditions.
- Position the Anchors: With precision and care, position the selected anchors at the designated points, ensuring that they align with the shed’s frame or foundation. Follow the manufacturer’s recommendations for anchor placement and spacing to optimize the shed’s resistance to lateral and uplift forces.
- Secure the Anchors: Utilize the provided hardware and fasteners to securely attach the anchors to the shed’s frame or foundation, following the manufacturer’s specified installation guidelines. Verify that the anchors are snug and firmly seated to maximize their effectiveness in securing the shed.
- Tensioning and Testing: If utilizing cable-based anchoring systems, carefully tension the cables according to the manufacturer’s instructions, ensuring uniform tension across all anchor points. Test the anchoring system to confirm its stability and resistance to movement, making any necessary adjustments to achieve optimal security.
- Inspect and Reinforce: Conduct a comprehensive inspection of the anchoring system to verify its integrity and effectiveness. Reinforce any connections or components as needed, addressing any potential areas of concern to fortify the shed’s resistance to external forces.
By meticulously securing your Arrow shed to the ground with precision and attention to detail, you’re enhancing its resilience and longevity, creating a secure and reliable storage space for your possessions. This final stage of the assembly process ensures that your shed is steadfast against the elements, ready to serve as a dependable outdoor storage solution for years to come.
Conclusion
Congratulations on successfully assembling your Arrow shed! Through meticulous planning, attention to detail, and a commitment to precision, you’ve transformed a collection of components into a functional and resilient outdoor storage space. As you stand back and admire your completed shed, you can take pride in the knowledge that you’ve created a durable and reliable structure that will serve you well for years to come.
Throughout the assembly process, you’ve not only honed your DIY skills but also gained valuable insights into the meticulous craftsmanship and engineering that define Arrow sheds. From preparing the site and assembling the frame to installing the roof panels, attaching the doors and windows, and securing the shed to the ground, each step has contributed to the creation of a secure and versatile storage solution.
As you look forward to utilizing your Arrow shed, you can take comfort in knowing that your belongings are safeguarded within a sturdy and weather-resistant enclosure. Whether you’re storing gardening tools, outdoor equipment, or seasonal decorations, your shed stands ready to accommodate your storage needs with ease and reliability.
Remember that proper maintenance and periodic inspections will help preserve the integrity of your shed, ensuring that it continues to provide optimal protection and functionality. By keeping the shed clean, addressing any potential issues promptly, and safeguarding it from extreme weather conditions, you’ll prolong its lifespan and maximize its utility for years to come.
As you bask in the satisfaction of a job well done, take a moment to appreciate the transformation that has taken place in your backyard. Your Arrow shed not only offers practical storage space but also adds a touch of functionality and organization to your outdoor environment, enhancing the overall appeal and utility of your property.
Thank you for embarking on this rewarding journey of shed assembly. Your dedication and commitment to excellence have culminated in the creation of a reliable and resilient outdoor structure that will serve as a valuable asset in your home for years to come. Enjoy the convenience and peace of mind that your Arrow shed brings, and may it continue to enrich your outdoor living experience for many seasons ahead.
Frequently Asked Questions about How To Assemble An Arrow Shed
Was this page helpful?
At Storables.com, we guarantee accurate and reliable information. Our content, validated by Expert Board Contributors, is crafted following stringent Editorial Policies. We're committed to providing you with well-researched, expert-backed insights for all your informational needs.


0 thoughts on “How To Assemble An Arrow Shed”