Home>Gardening & Outdoor>Outdoor Structures>How To Build A Wood Shed

Outdoor Structures
How To Build A Wood Shed
Modified: August 27, 2024
Learn how to build a sturdy wood shed for your outdoor space with our comprehensive guide. Discover tips and techniques for creating durable outdoor structures.
(Many of the links in this article redirect to a specific reviewed product. Your purchase of these products through affiliate links helps to generate commission for Storables.com, at no extra cost. Learn more)
Introduction
So, you've decided to build a wood shed. Congratulations! This project is not only a practical addition to your property but also a rewarding opportunity to showcase your DIY skills. Whether you need extra storage space for your gardening tools, outdoor equipment, or firewood, a well-built wood shed can provide the perfect solution.
In this comprehensive guide, we will walk you through the step-by-step process of constructing a wood shed. From planning and preparation to adding the finishing touches, you will gain valuable insights into the key aspects of this project. By the end of this article, you will be equipped with the knowledge and confidence to embark on this fulfilling endeavor.
Before we dive into the nitty-gritty details of building a wood shed, it's important to emphasize the importance of careful planning and precise execution. By approaching this project with a clear vision and a well-thought-out strategy, you can ensure that your wood shed not only meets your practical needs but also complements the aesthetic appeal of your outdoor space.
So, roll up your sleeves, gather your tools, and let's embark on this exciting journey of creating a sturdy and stylish wood shed that will serve you well for years to come!
Key Takeaways:
- Planning and preparation are crucial for building a wood shed. Consider storage needs, design, and local regulations. Thorough planning sets the stage for a successful and satisfying construction process.
- Building a wood shed requires careful site selection, gathering materials and tools, constructing a solid foundation and frame, and adding siding and roofing. Attention to detail in finishing touches elevates the shed’s functionality and visual appeal.
Read more: How To Build A Simple Wood Shed
Planning and Preparation
Before you start swinging hammers and sawing lumber, it’s crucial to lay a solid foundation for your wood shed project. This begins with meticulous planning and thorough preparation, setting the stage for a successful and satisfying construction process.
The first step in planning your wood shed is to assess your storage needs and envision the ideal size and layout for the structure. Consider the items you intend to store, such as lawnmowers, gardening tools, bicycles, or firewood, and determine the amount of space required to accommodate these belongings comfortably. Additionally, factor in any potential future storage needs to ensure that your wood shed remains functional for years to come.
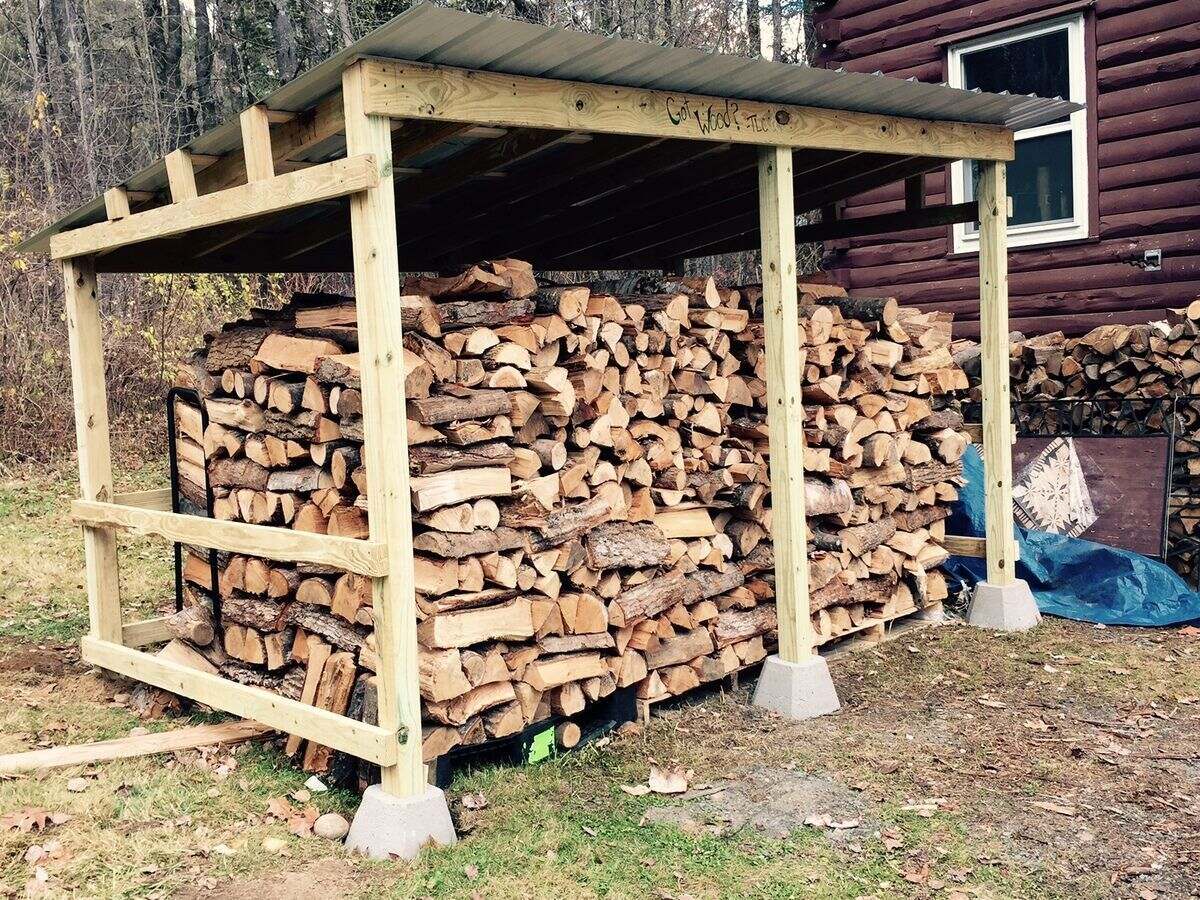
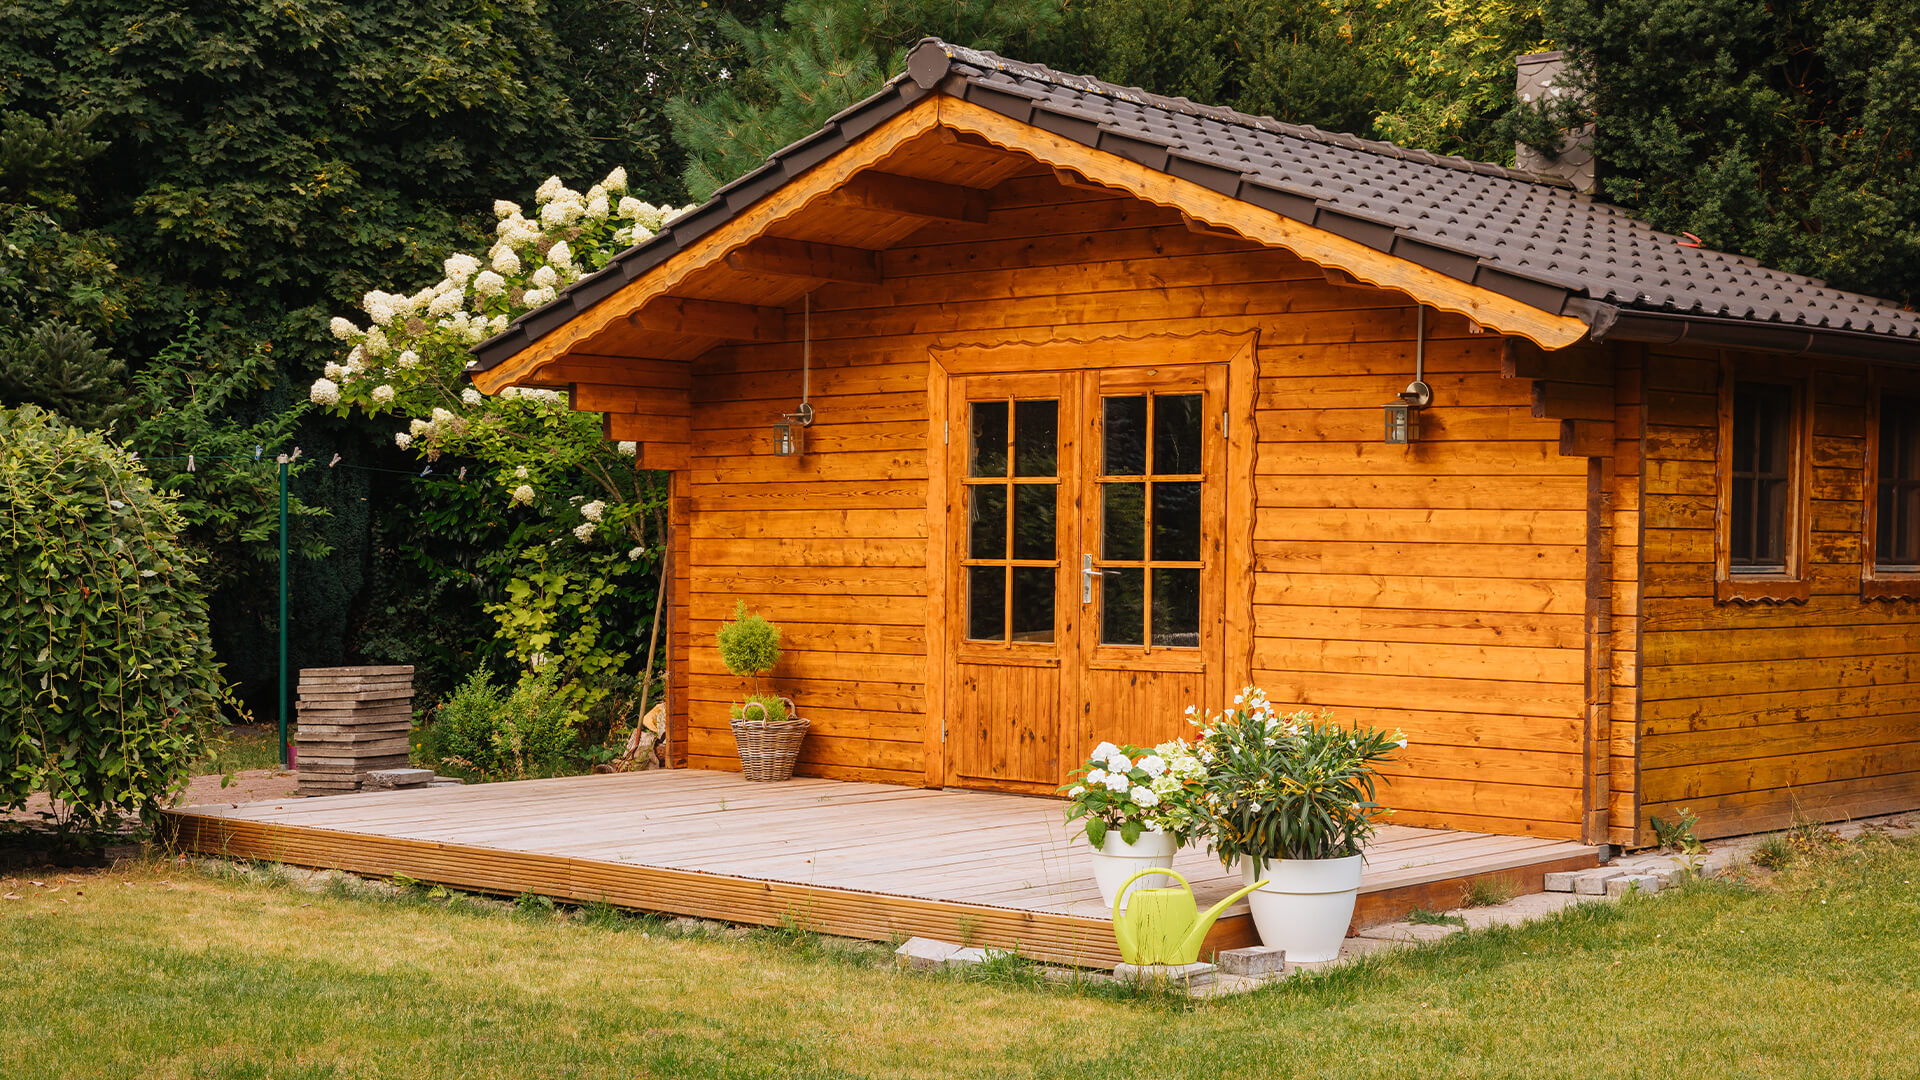
Once you have a clear understanding of your storage requirements, it’s time to decide on the design and style of your wood shed. Whether you prefer a traditional gable roof or a modern lean-to design, exploring different options and gathering inspiration can help you refine your vision for the project. Consider the architectural aesthetics of your existing property to ensure that the wood shed harmonizes with its surroundings.
Next, create a detailed plan or blueprint for your wood shed, outlining the dimensions, layout, and structural features. This plan will serve as a roadmap during the construction phase, guiding your efforts and minimizing the risk of errors or setbacks. If you’re not confident in your drawing skills, there are numerous online resources and software programs that can assist you in creating a professional and precise plan.
With the design and plan in place, it’s essential to review any local building codes, zoning regulations, or homeowners’ association guidelines that may impact the construction of your wood shed. Ensure that your project complies with all relevant requirements and obtain any necessary permits before proceeding further.
Finally, take stock of your tools and equipment, ensuring that you have everything you need to commence construction. From saws and drills to levels and measuring tapes, having the right tools at your disposal will streamline the building process and contribute to the quality of the final result.
By dedicating time to thorough planning and meticulous preparation, you can set the stage for a smooth and successful wood shed construction project, laying the groundwork for a structure that meets your practical needs and aesthetic aspirations.
Choosing the Right Location
When it comes to building a wood shed, the significance of selecting the right location cannot be overstated. The placement of your shed will not only impact its functionality but also contribute to the overall visual harmony of your outdoor space. Before breaking ground, consider the following factors to ensure that you choose the optimal location for your wood shed.
Accessibility and Convenience
First and foremost, assess the accessibility of potential locations for your wood shed. Ideally, the chosen spot should be easily reachable from your home or other frequently used areas of your property. Consider how you will transport items to and from the shed, and ensure that the location allows for convenient access without obstructing other outdoor activities or pathways.
Exposure to Natural Elements
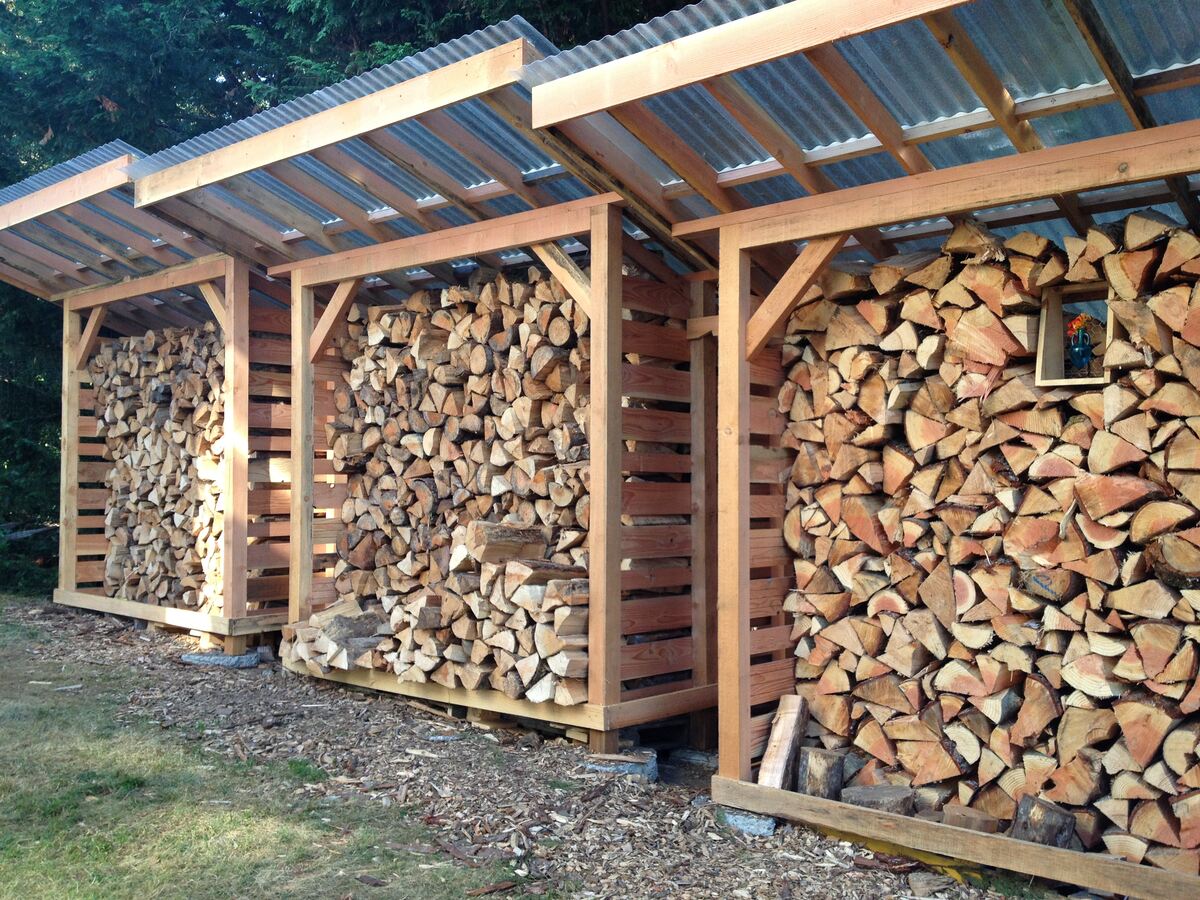
Take into account the exposure of the location to natural elements, such as sunlight, wind, and precipitation. Positioning your wood shed in an area that receives ample sunlight can help prevent moisture buildup and promote the natural drying of firewood, if that is one of the intended uses. Additionally, consider the prevailing wind direction and ensure that the shed is not excessively exposed to strong gusts that could compromise its structural integrity.
Read more: How To Build A Wood Foundation For A Shed
Ground Stability and Drainage
Assess the stability of the ground in potential locations, aiming to choose a spot with firm, level ground. Uneven or sloping terrain may require additional groundwork to create a stable foundation for the shed. Moreover, consider the drainage characteristics of the area to prevent water accumulation around the shed, which could lead to moisture-related issues over time.
Aesthetic Integration
Harmonizing the wood shed with the visual landscape of your property is essential for creating a cohesive and appealing outdoor environment. Take into account the architectural style of your home, existing landscaping features, and the overall layout of your outdoor space. By selecting a location that complements these elements, you can ensure that the wood shed becomes an integrated and attractive addition to your property.
By carefully evaluating these considerations and exploring potential locations on your property, you can identify the ideal spot for your wood shed. This thoughtful approach will not only enhance the functionality and longevity of the structure but also contribute to the overall aesthetic appeal of your outdoor space.
Gathering Materials and Tools
With the planning phase complete and the location selected, it’s time to gather the materials and tools necessary for building your wood shed. Ensuring that you have all the required components and equipment in place before commencing construction will streamline the building process and minimize interruptions. Here’s a comprehensive guide to gathering the essential materials and tools for your wood shed project.
Materials
The specific materials needed for your wood shed will depend on the design, size, and intended use of the structure. However, the following are common components required for most wood shed projects:
- Pressure-treated lumber for the foundation and framing
- Plywood or oriented strand board (OSB) for the walls and roof sheathing
- Exterior-grade siding, such as T1-11 or cedar panels
- Asphalt shingles or metal roofing for the roof covering
- Concrete blocks or pavers for the foundation support
- Fasteners, including nails, screws, and anchors
- Weather-resistant paint, stain, or sealant for finishing and protecting the wood
Ensure that you calculate the required quantities of each material based on your shed’s dimensions and design, allowing for a margin of error to accommodate unexpected needs.
Read more: How To Build A Wood Base For A Shed
Tools
Equipping yourself with the right tools is essential for executing the construction process efficiently and accurately. Here’s a list of essential tools for building a wood shed:
- Circular saw for cutting lumber and plywood
- Cordless drill/driver with screwdriver bits for fastening components
- Level for ensuring the evenness and alignment of structural elements
- Tape measure for precise measurements
- Hammer for driving nails and other fasteners
- Shovel for preparing the shed’s foundation
- Ladder for working at elevated heights during construction
- Paintbrushes or paint sprayer for applying finish to the shed
Before initiating the construction phase, verify that you have all the necessary tools and equipment in good working condition. If any tools are missing or in need of repair, take the time to address these requirements before starting the build.
By proactively gathering the required materials and tools, you can set the stage for a smooth and productive wood shed construction process. This preparation will contribute to the efficiency and quality of the build, bringing you one step closer to realizing your vision for a functional and visually appealing outdoor structure.
Building the Foundation
The foundation serves as the anchor of your wood shed, providing stability and structural integrity. A well-constructed foundation is essential for ensuring the longevity and durability of the entire structure. Here’s a step-by-step guide to building a solid foundation for your wood shed.
Site Preparation
Before laying the foundation, prepare the chosen site by clearing away any vegetation, rocks, or debris. Use a shovel to level the ground, removing any bumps or uneven areas. If the ground is sloped, consider using a tamper or compactor to create a level surface for the foundation.
Foundation Support
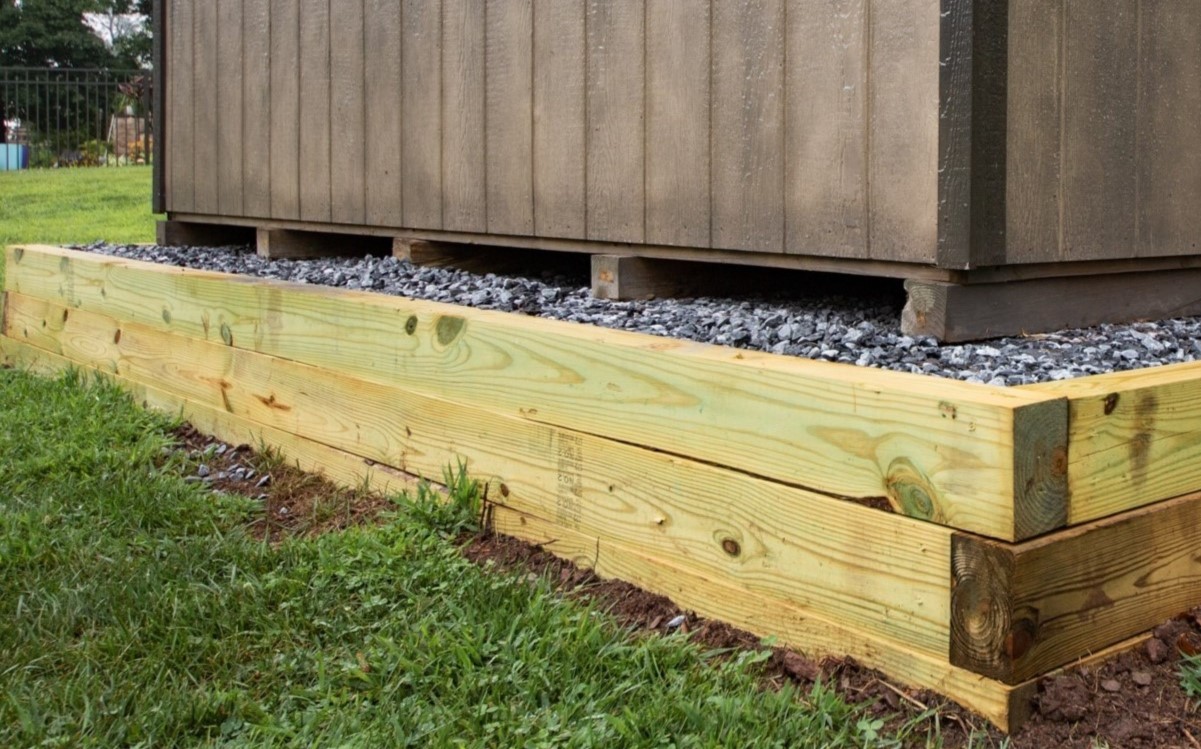
Depending on the size and design of your wood shed, you may opt for different foundation support options. Common approaches include using concrete blocks, pavers, or poured concrete footings. Ensure that the chosen support system is level and evenly spaced to provide consistent support for the shed’s structure.
Read more: How To Build A Wood Ramp For A Shed
Pressure-Treated Lumber Frame
Construct a sturdy frame using pressure-treated lumber to serve as the base of the shed’s foundation. This frame will rest on the chosen foundation support and provide a stable platform for the shed’s floor. Use a level to ensure that the frame is perfectly horizontal and square, making any necessary adjustments as needed.
Floor Decking
Once the frame is in place, install the floor decking material, such as plywood or oriented strand board (OSB), to create a solid and even floor surface for the wood shed. Secure the decking to the frame using appropriate fasteners, ensuring that it remains firmly attached and free of any protruding nails or screws.
Moisture Protection
Given the shed’s proximity to the ground, it’s crucial to implement measures for moisture protection. Consider applying a layer of moisture barrier, such as plastic sheeting, between the foundation and the floor decking to prevent moisture from seeping into the wood and causing potential damage over time.
By meticulously following these steps and paying attention to detail, you can establish a robust and reliable foundation for your wood shed. This foundational framework will serve as the groundwork for the subsequent stages of construction, setting the stage for the assembly of the shed’s walls, roof, and finishing touches.
Constructing the Frame
With the foundation in place, it’s time to shift your focus to constructing the frame of your wood shed. The frame forms the skeletal structure of the shed, providing support for the walls, roof, and overall stability of the building. Here’s a detailed guide to the step-by-step process of building the frame for your wood shed.
Read more: How To Build A Wood Tool Shed From Pallets
Materials and Measurements
Begin by gathering the necessary lumber for framing, ensuring that the materials are of high quality and suitable for outdoor use. Common choices include pressure-treated 2×4 or 2×6 lumber, depending on the design and size of your shed. Refer to your shed’s blueprint or plan to determine the precise measurements and angles for cutting the framing components.
Wall Framing
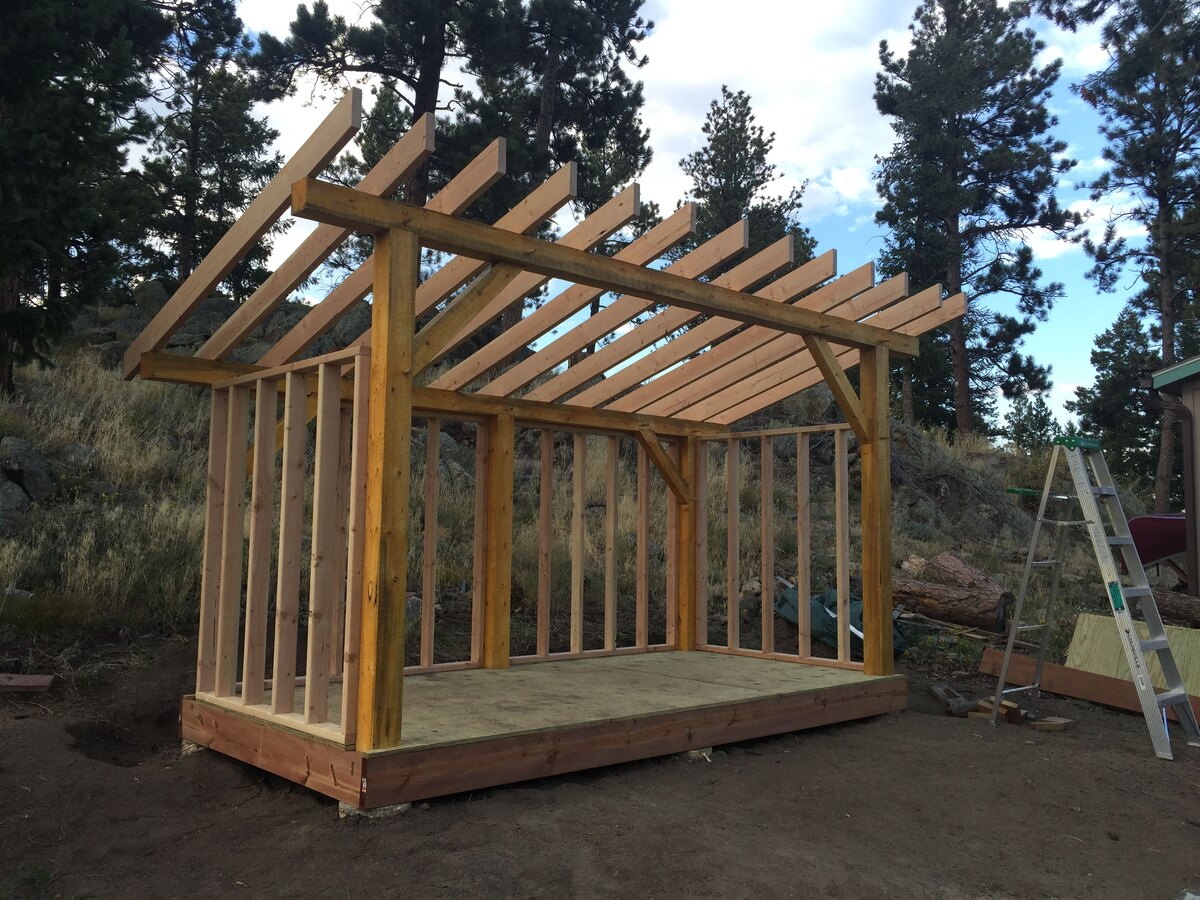
Start by constructing the wall frames on a flat, level surface, following the dimensions outlined in your shed plan. Use a framing square to ensure that the corners are perfectly square, which is crucial for the structural integrity of the shed. Install studs at regular intervals, typically 16 inches on center, to provide adequate support for the exterior siding and interior finishing materials.
Roof Trusses or Rafters
Once the wall frames are assembled, turn your attention to constructing the roof structure. Depending on your shed’s design, you may opt for prefabricated roof trusses or build rafters on-site. Ensure that the roof structure is designed to withstand the local weather conditions, including potential snow loads and wind forces. Properly constructed roof framing is essential for the shed’s long-term durability and weather resistance.
Door and Window Openings
If your shed design includes doors and windows, frame the openings accordingly, taking precise measurements to ensure that the openings align with the planned door and window sizes. Proper framing of these openings is essential for the installation of doors, windows, and trim during the later stages of construction.
Read more: How To Build A 10X10 Wood Shed
Alignment and Bracing
As you assemble the frame components, periodically check for alignment and plumbness, making any necessary adjustments to ensure that the frame is straight and true. Temporary bracing can help maintain the frame’s stability during construction, preventing any shifting or misalignment that could affect the shed’s overall integrity.
By meticulously following these steps and paying attention to detail, you can establish a robust and reliable frame for your wood shed. This frame will serve as the backbone of the structure, laying the groundwork for the installation of siding, roofing, and the subsequent finishing touches that will bring your wood shed to completion.
Adding Siding and Roofing
With the frame of your wood shed securely in place, the next crucial step is to add siding to the walls and roofing to the top. These elements not only contribute to the shed’s aesthetic appeal but also provide essential protection against the elements. Here’s a comprehensive guide to adding siding and roofing to your wood shed.
Exterior Siding
When it comes to siding options for your wood shed, you have a range of choices, including T1-11 plywood panels, cedar panels, vinyl siding, or other durable exterior-grade materials. Before installing the siding, ensure that the wall frames are sheathed with a weather-resistant barrier to protect the shed’s interior from moisture infiltration. Once the sheathing is in place, carefully install the siding panels, ensuring even alignment and secure fastening to the frame.
Windows and Doors
If your shed includes windows and doors, take care to integrate these elements seamlessly with the siding. Proper flashing and trim installation around windows and doors are essential for weatherproofing and aesthetic cohesion. Ensure that the openings for windows and doors are properly framed and trimmed to accommodate the installation of these components.
Read more: How Build A Shed
Roofing Installation
For the roofing of your wood shed, you can choose from a variety of materials, such as asphalt shingles, metal roofing panels, or cedar shakes, based on your aesthetic preferences and climate considerations. Begin by installing an underlayment to provide an additional layer of protection against moisture. Then, carefully apply the chosen roofing material, following the manufacturer’s guidelines for proper installation techniques and fastening methods.
Flashing and Ventilation
As you install the siding and roofing, pay close attention to flashing details to ensure that vulnerable areas, such as roof intersections, windows, and doors, are properly sealed against water intrusion. Additionally, consider incorporating ventilation features, such as soffit vents and ridge vents, to promote air circulation within the shed, which can help regulate temperature and reduce moisture buildup.
Finishing Touches
Once the siding and roofing are in place, take the time to inspect the installation for any gaps, loose components, or potential areas of concern. Address any issues promptly to ensure that the shed’s exterior is well-protected and visually appealing. Consider applying a protective finish, such as paint or stain, to the exterior surfaces to enhance durability and aesthetic appeal.
By following these guidelines and taking a meticulous approach to the installation of siding and roofing, you can ensure that your wood shed is well-protected against the elements and exudes a polished, finished appearance. These elements bring your shed one step closer to being a functional and visually appealing outdoor structure that enhances your property.
Finishing Touches
As you near the completion of your wood shed construction, it’s time to focus on the finishing touches that will elevate the functionality, aesthetics, and overall appeal of the structure. Attention to detail during this phase will ensure that your wood shed not only meets your practical needs but also enhances the visual harmony of your outdoor space. Here’s a comprehensive guide to the essential finishing touches for your wood shed.
Read more: How To Stain A Wood Shed
Interior Finishing
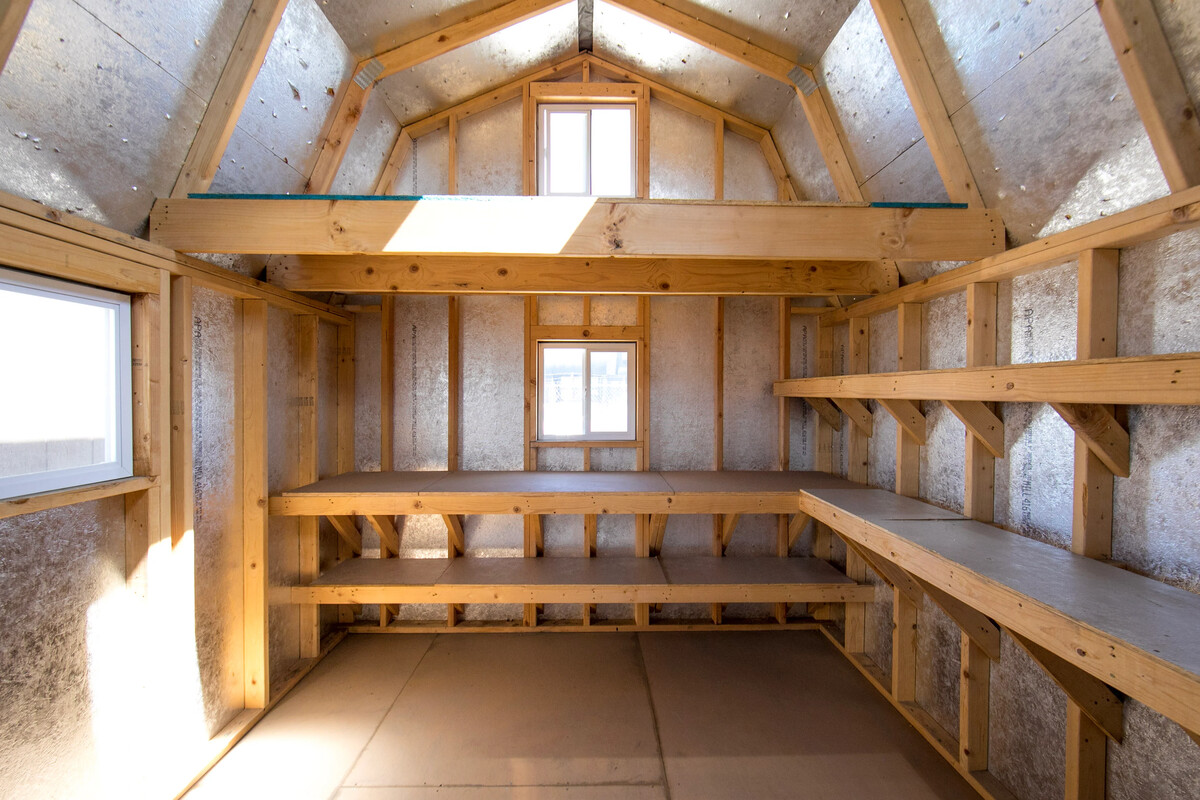
Depending on your intended use for the shed, consider interior finishing options that enhance its usability and comfort. This may include adding shelving, storage racks, or workbenches to optimize the organization and functionality of the interior space. Additionally, consider insulating the shed to regulate temperature and enhance comfort, especially if the shed will be used for extended periods or to store temperature-sensitive items.
Trim and Detailing
Applying trim around windows, doors, and corners can significantly enhance the visual appeal of your wood shed. Choose trim materials that complement the siding and overall design of the shed, adding a polished and cohesive look to the exterior. Pay attention to the precision of trim installation, ensuring clean lines and proper integration with the siding and roofing materials.
Hardware and Accessories
Install hardware and accessories that enhance the functionality and security of the shed, such as door handles, locks, hinges, and latches. Additionally, consider incorporating accessories that contribute to the shed’s usability, such as hooks for hanging tools, lighting fixtures for improved visibility, and any other features that align with your specific storage and usage requirements.
Landscaping and Integration
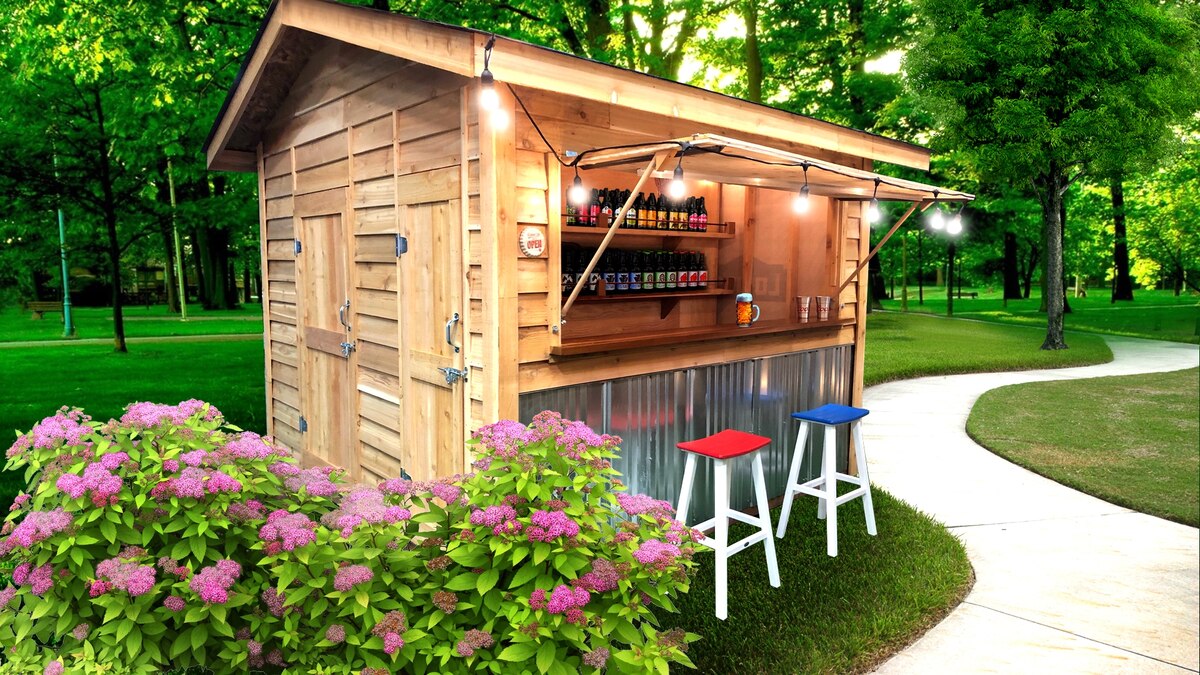
Integrate the wood shed into your property’s landscape by considering landscaping elements around the shed, such as pathways, plantings, or decorative features. This integration can create a harmonious connection between the shed and its surroundings, enhancing the overall aesthetic appeal of your outdoor space.
Read more: How To Build A Shed
Protective Treatments
Apply protective treatments to the exterior surfaces of the shed to enhance durability and weather resistance. This may include painting, staining, or sealing the wood to safeguard it from moisture, UV exposure, and other environmental factors. Choose treatments that align with your aesthetic preferences while providing long-term protection for the shed.
Final Inspection and Clean-Up
Before considering your wood shed project complete, conduct a thorough inspection of the structure, addressing any remaining tasks or potential areas of concern. This may include touch-up painting, tightening fasteners, or making minor adjustments to ensure that the shed meets your expectations. Once all tasks are addressed, proceed with a comprehensive clean-up to remove construction debris and leave the area surrounding the shed tidy and well-maintained.
By attending to these essential finishing touches, you can elevate your wood shed from a construction project to a fully realized and functional outdoor structure. These details contribute to the shed’s usability, durability, and visual appeal, ensuring that it becomes a valuable and harmonious addition to your property.
Conclusion
Congratulations on completing the construction of your wood shed! This endeavor has not only added a valuable and practical asset to your property but has also showcased your dedication to craftsmanship and the enhancement of your outdoor space. As you stand back and admire the finished structure, it’s important to reflect on the journey you’ve undertaken and the satisfaction of bringing your vision to life.
Throughout this comprehensive guide, we’ve explored the step-by-step process of building a wood shed, from meticulous planning and preparation to the execution of each construction phase. By approaching this project with care, attention to detail, and a commitment to quality, you’ve created a wood shed that not only meets your storage needs but also enhances the aesthetic appeal of your property.
As you enjoy the fruits of your labor, remember that your wood shed stands as a testament to your DIY skills and your ability to transform raw materials into a functional and visually appealing structure. Whether you use the shed for storing gardening tools, outdoor equipment, or firewood, it will serve as a reliable and valuable asset for years to come.
Furthermore, the knowledge and experience gained from this project can be applied to future endeavors, empowering you to tackle new construction projects with confidence and proficiency. The skills honed during the construction of your wood shed will continue to serve you well, whether you embark on additional outdoor projects or expand your DIY repertoire.
As you integrate your wood shed into your outdoor space, consider the landscaping and design elements that can further enhance its presence. By creating a cohesive and harmonious environment around the shed, you can maximize its visual impact and create an inviting and functional area within your property.
In closing, the completion of your wood shed marks not only the end of a construction project but the beginning of a new chapter in your outdoor living experience. Embrace the functionality, beauty, and pride that your wood shed brings, and let it inspire you to embark on future projects that enrich and elevate your living environment.
Congratulations once again on your achievement, and may your wood shed bring you years of practical utility and aesthetic delight!
Frequently Asked Questions about How To Build A Wood Shed
Was this page helpful?
At Storables.com, we guarantee accurate and reliable information. Our content, validated by Expert Board Contributors, is crafted following stringent Editorial Policies. We're committed to providing you with well-researched, expert-backed insights for all your informational needs.


0 thoughts on “How To Build A Wood Shed”