Home>Gardening & Outdoor>Outdoor Structures>How To Stain A Wood Shed
Outdoor Structures
How To Stain A Wood Shed
Modified: August 28, 2024
Learn how to stain a wood shed to protect it from the elements and enhance its appearance. Our outdoor structures staining guide has all the tips you need.
(Many of the links in this article redirect to a specific reviewed product. Your purchase of these products through affiliate links helps to generate commission for Storables.com, at no extra cost. Learn more)
Introduction
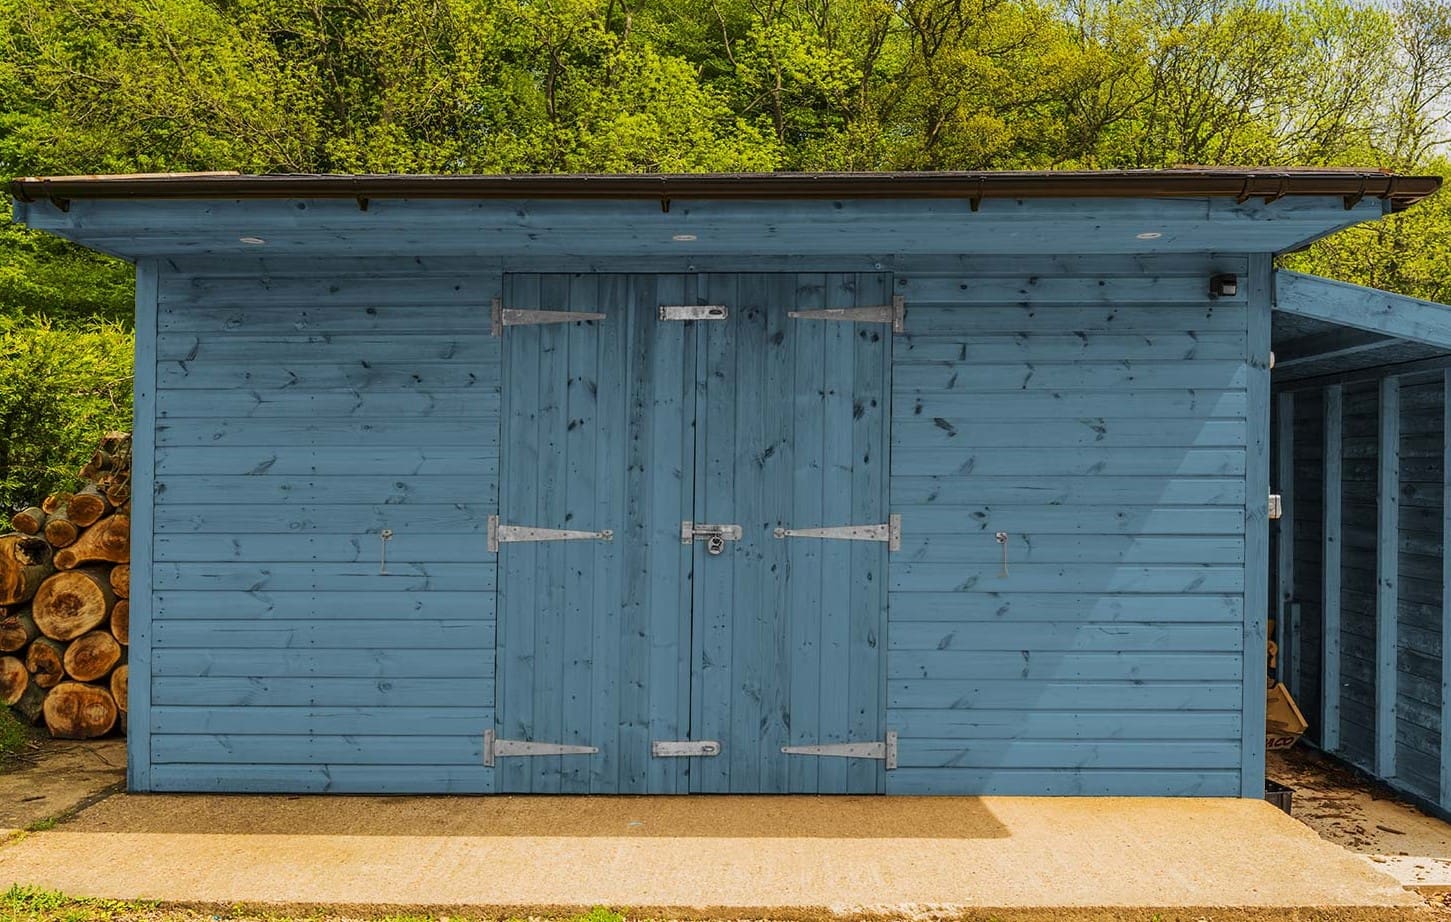
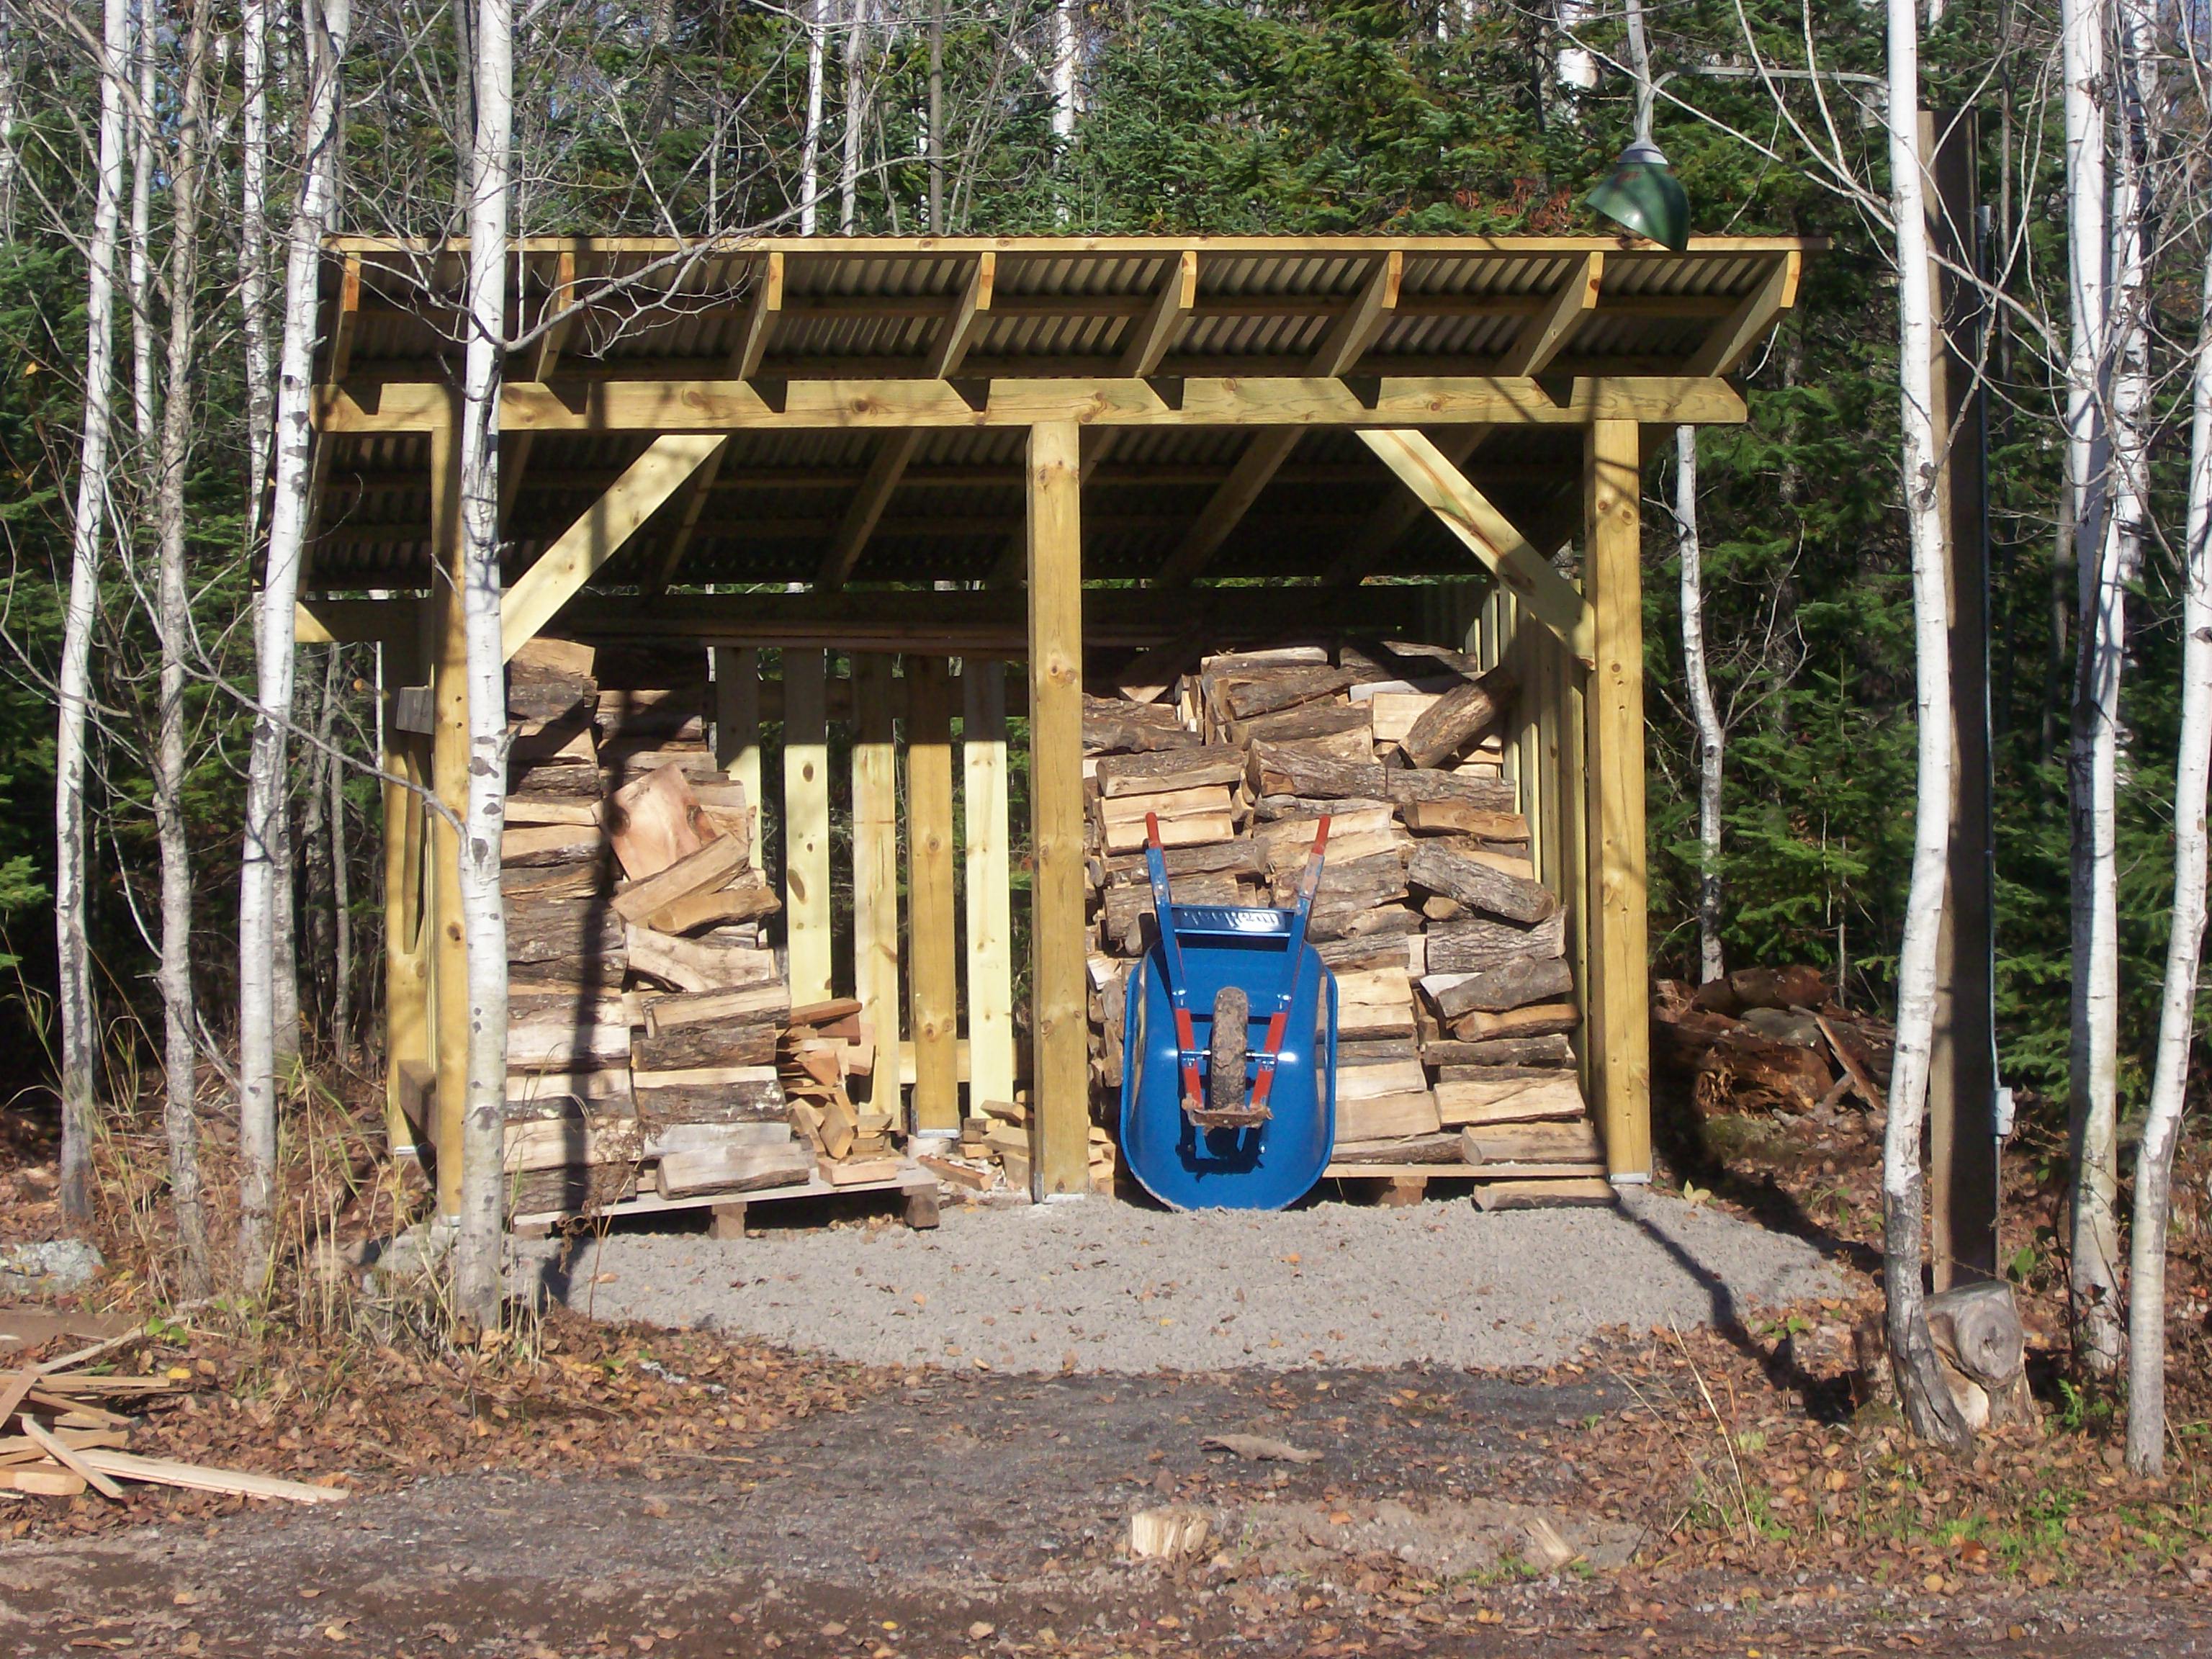
Staining a wood shed is a fantastic way to enhance its appearance and protect it from the elements. Whether you have a newly constructed shed or want to revitalize an existing one, applying a fresh coat of wood stain can breathe new life into the structure while extending its longevity. Not only does staining offer aesthetic benefits, but it also provides crucial protection against moisture, UV rays, and general wear and tear.
By taking the time to stain your wood shed properly, you can infuse it with character, deepen its natural beauty, and ensure its durability for years to come. This comprehensive guide will walk you through the process, from gathering the necessary materials to applying the stain and adding those final finishing touches. Whether you're a seasoned DIY enthusiast or a beginner looking to tackle a new project, this article will equip you with the knowledge and confidence to achieve stunning results. So, roll up your sleeves and get ready to transform your wood shed into a striking and resilient outdoor structure!
Key Takeaways:
- Transform your wood shed into a stunning and durable outdoor structure by following these comprehensive steps for wood staining. Elevate its appearance and safeguard it against the elements with confidence and precision.
- Embrace the rewarding journey of staining your wood shed to create a visually striking and resilient asset in your outdoor space. From preparation to finishing touches, your dedication will shine through in the revitalized structure.
Read more: How To Stain A Wood Ceiling
Materials Needed
Before embarking on the wood staining journey, it’s essential to gather the necessary materials to ensure a smooth and successful process. Here’s a list of items you’ll need:
- Wood Stain: Choose a high-quality wood stain that suits your preferences and complements the shed’s surroundings. Consider factors such as color, transparency, and UV protection when selecting the stain.
- Primer (Optional): If your shed’s wood surface is particularly porous or uneven, using a wood primer can help create a smooth base for the stain.
- Protective Gear: Prioritize safety by acquiring protective gear, including gloves, safety goggles, and a mask to shield yourself from fumes and potential splatters.
- Applicators: Depending on your preferred application method, gather brushes, rollers, or sprayers for applying the wood stain evenly and efficiently.
- Cleaning Supplies: Prepare a cleaning solution, such as a mild detergent and water, along with a stiff-bristled brush to cleanse the shed’s exterior before staining.
- Sandpaper or Sander: Smooth out any rough patches or imperfections on the wood surface using sandpaper or a sander to ensure a flawless finish.
- Tarp or Drop Cloths: Protect the surrounding area from drips and spills by laying down a tarp or drop cloths to catch any stray stain.
- Stir Stick: To thoroughly mix the wood stain and maintain its consistency, have a stir stick on hand for easy blending.
- Painter’s Tape: If there are specific areas of the shed that you want to avoid staining, use painter’s tape to create clean, precise edges.
- Finishing Sealer (Optional): After the staining process, consider applying a clear wood sealer to provide an extra layer of protection and enhance the stain’s longevity.
By ensuring that you have these materials at your disposal, you’ll be well-prepared to embark on the wood staining journey and achieve professional-quality results that will elevate the visual appeal and resilience of your wood shed.
Preparation
Proper preparation is key to achieving a flawless and enduring wood stain finish on your shed. Before diving into the staining process, take the time to prepare the wood surface and its surroundings to ensure optimal results.
Here’s a step-by-step guide to effectively prepare for the wood staining process:
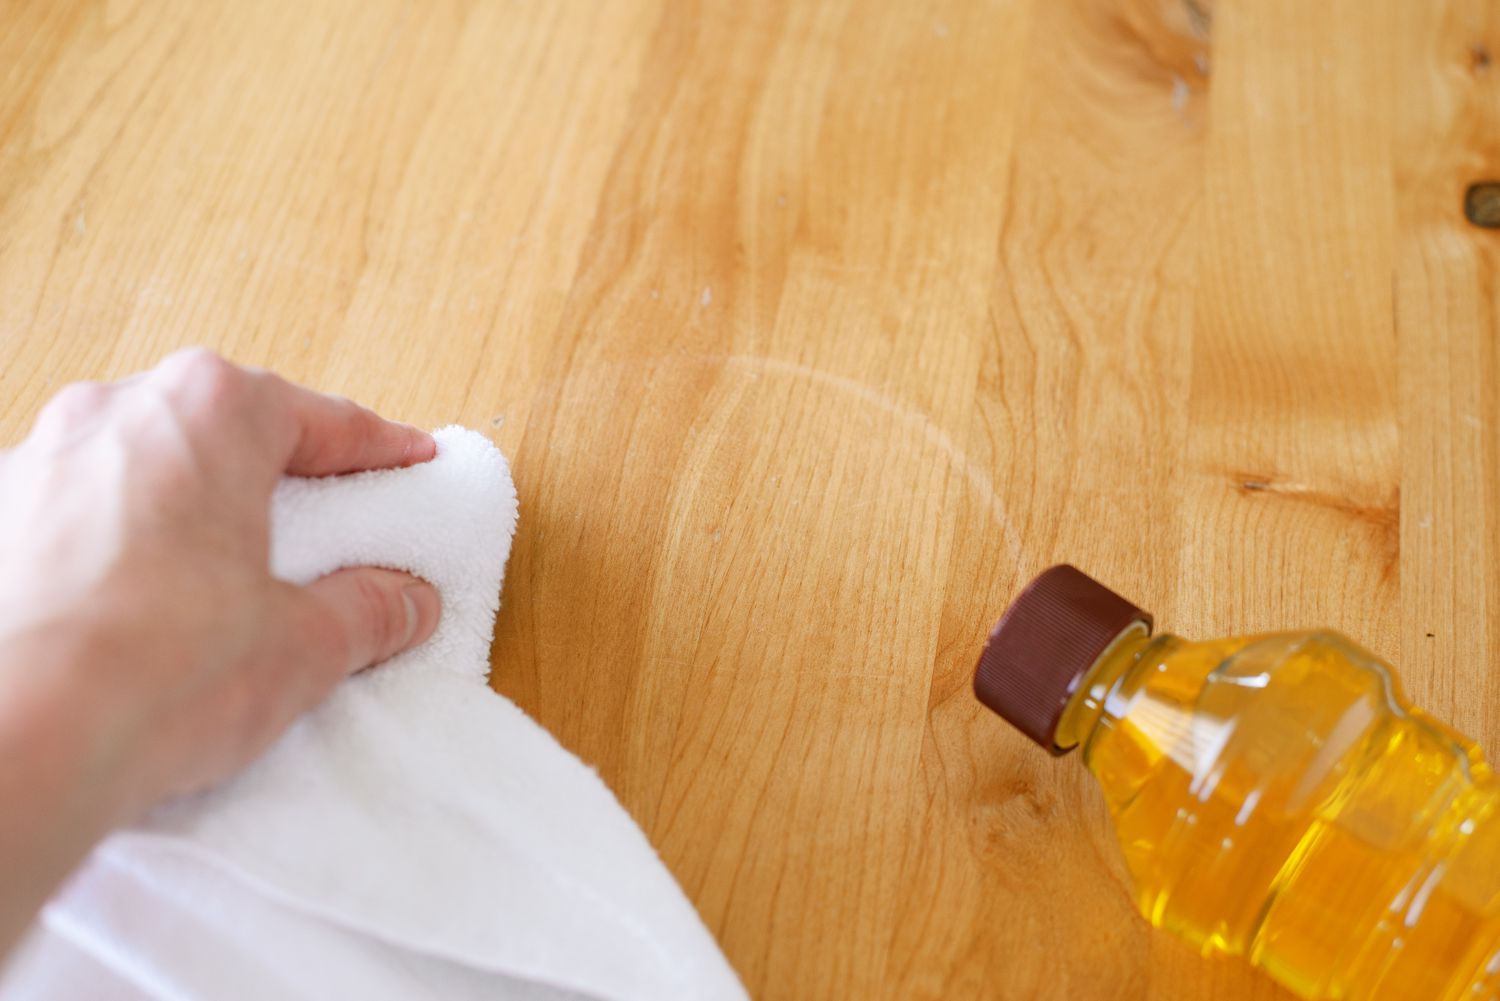
- Clean the Surface: Begin by thoroughly cleaning the exterior of the wood shed to remove any dirt, debris, or mildew that may have accumulated over time. Use a solution of mild detergent and water, along with a stiff-bristled brush, to scrub away grime and ensure a clean, uniform surface for the stain.
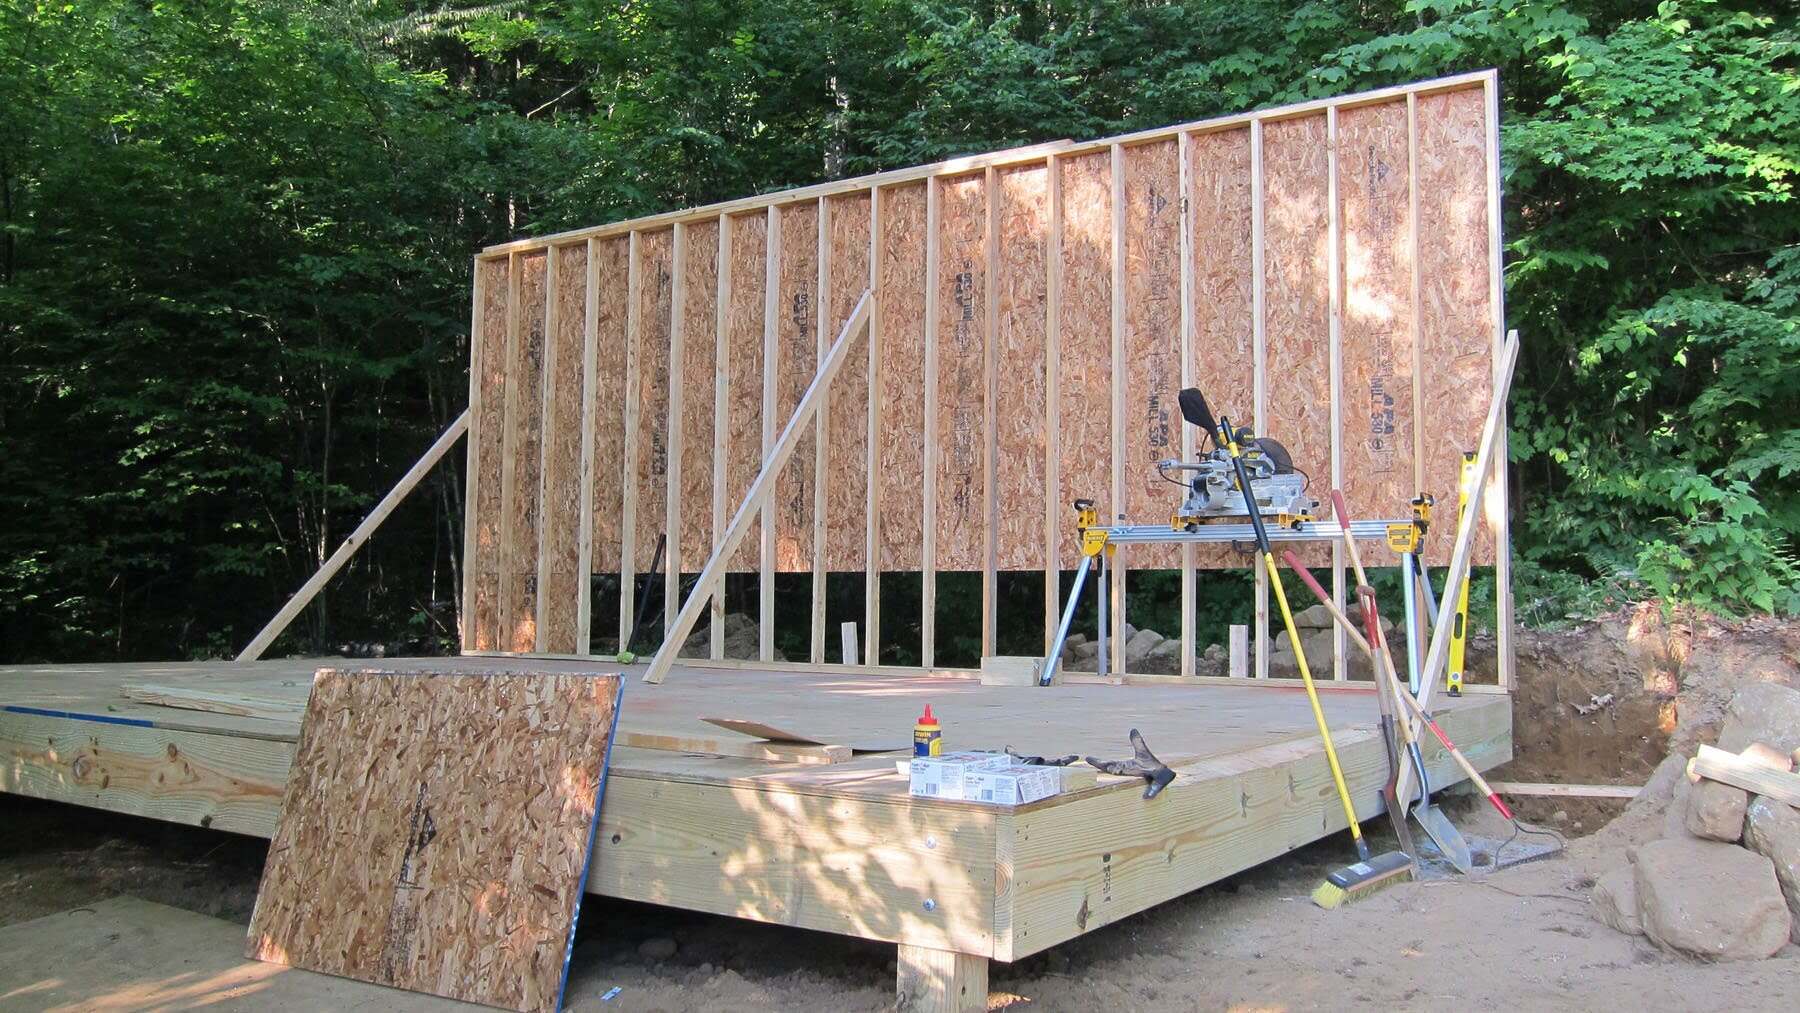
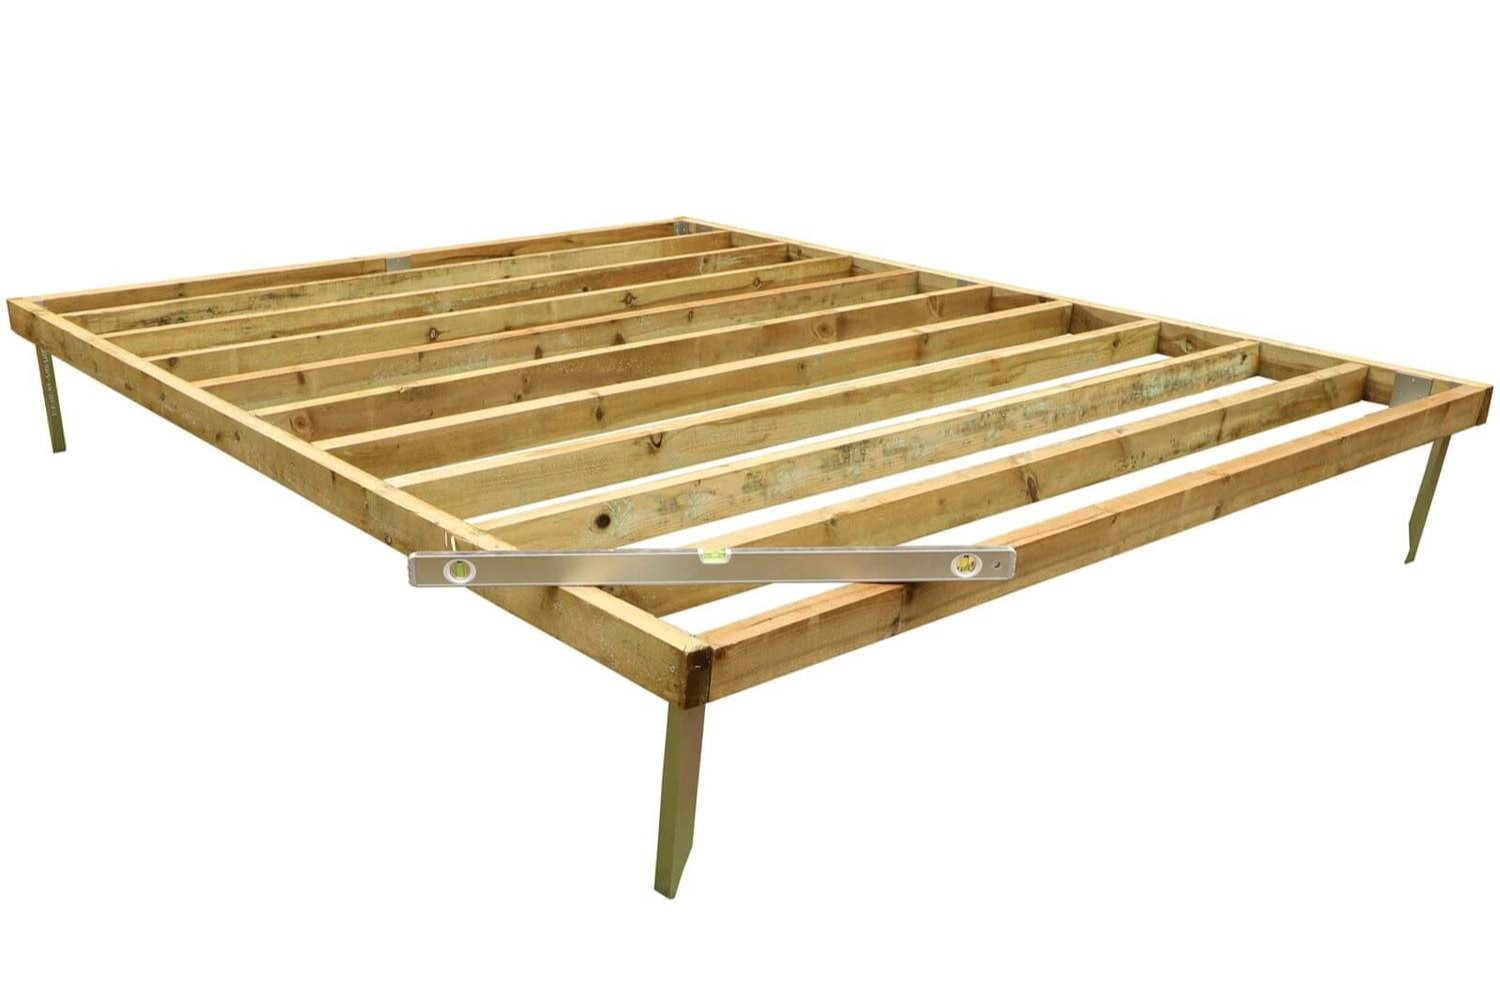
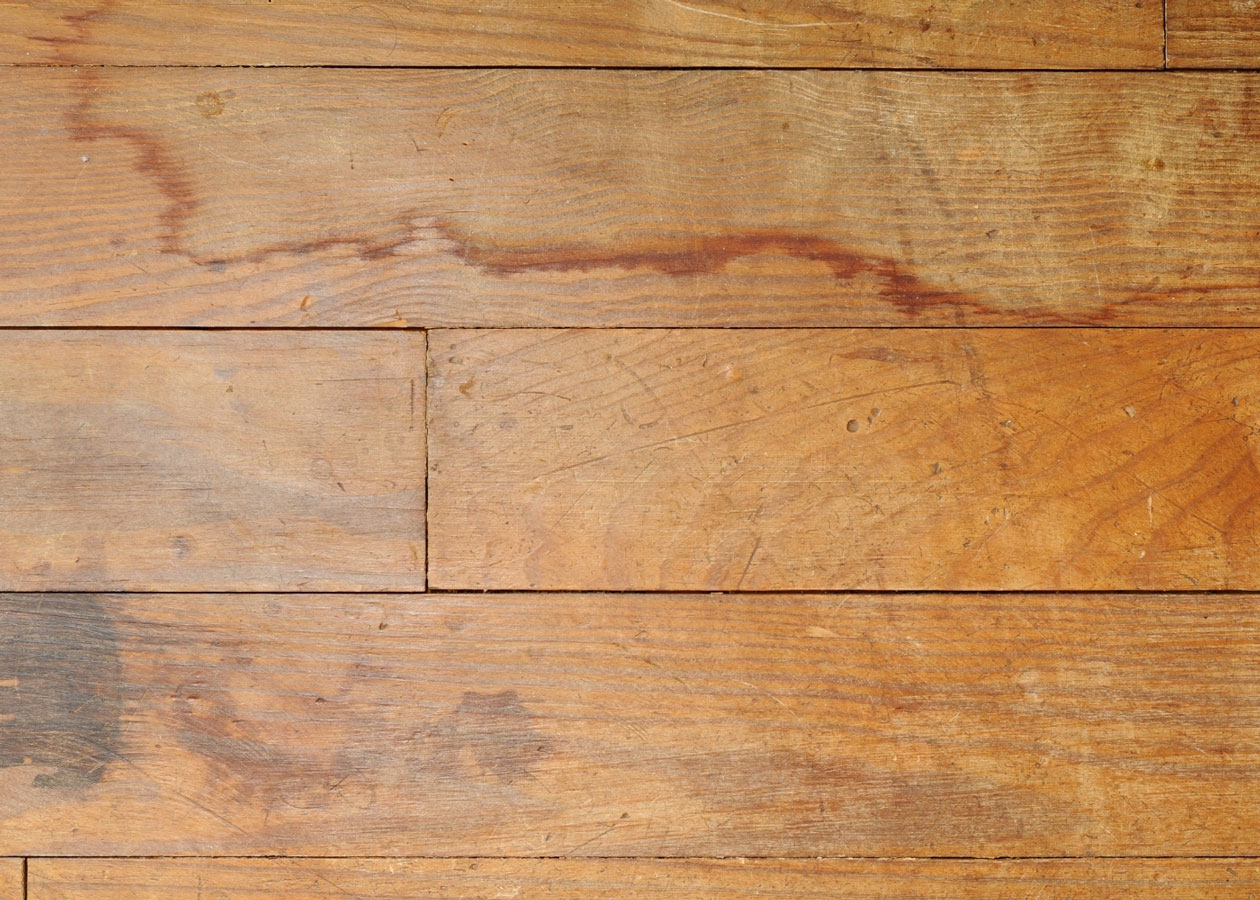
- Inspect and Repair: Carefully inspect the wood surface for any signs of damage, such as cracks, splinters, or loose boards. Address any issues by repairing or replacing damaged sections to guarantee a smooth and structurally sound foundation for the stain.
- Sand the Wood: Smooth out the wood surface by lightly sanding it with fine-grit sandpaper or a sander. This step helps to eliminate rough patches, imperfections, and previous coatings, allowing the wood stain to adhere evenly and penetrate the surface effectively.
- Protect Surrounding Areas: Shield nearby structures, plants, and other elements from potential splatters or drips by covering them with a tarp or drop cloths. Additionally, use painter’s tape to mark off any areas that you want to avoid staining, such as windows, trim, or hardware.
- Ensure Adequate Ventilation: If you’re working in a confined or poorly ventilated space, ensure proper airflow by opening windows and using fans to minimize exposure to fumes and facilitate the drying process.
- Don Protective Gear: Prioritize safety by donning protective gear, including gloves, safety goggles, and a mask, to shield yourself from potential splatters, fumes, and airborne particles during the staining process.
By diligently following these preparatory steps, you’ll set the stage for a successful wood staining experience and lay the groundwork for a stunning transformation of your wood shed. With the surface meticulously cleaned, repaired, and safeguarded, you can proceed with confidence and precision as you apply the wood stain to revitalize and protect your outdoor structure.
Before staining a wood shed, make sure to clean the surface thoroughly and sand any rough areas. Use a wood conditioner before applying the stain to ensure even color absorption. Apply the stain with a brush or rag in the direction of the wood grain for a smooth finish.
Applying the Stain
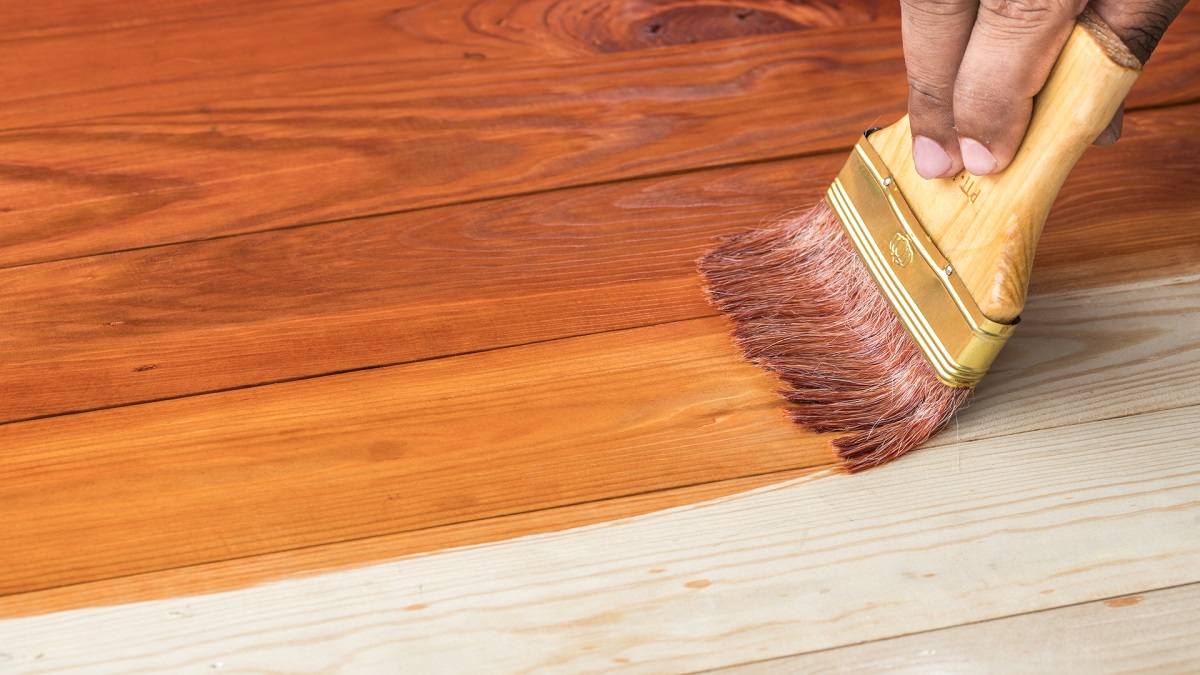
With the wood shed meticulously prepared, it’s time to embark on the transformative process of applying the wood stain. Whether you opt for a traditional brush application, a roller for larger surface areas, or a sprayer for increased efficiency, the key lies in executing the application method with care and attention to detail. Here’s a comprehensive guide to effectively applying the wood stain to your shed:
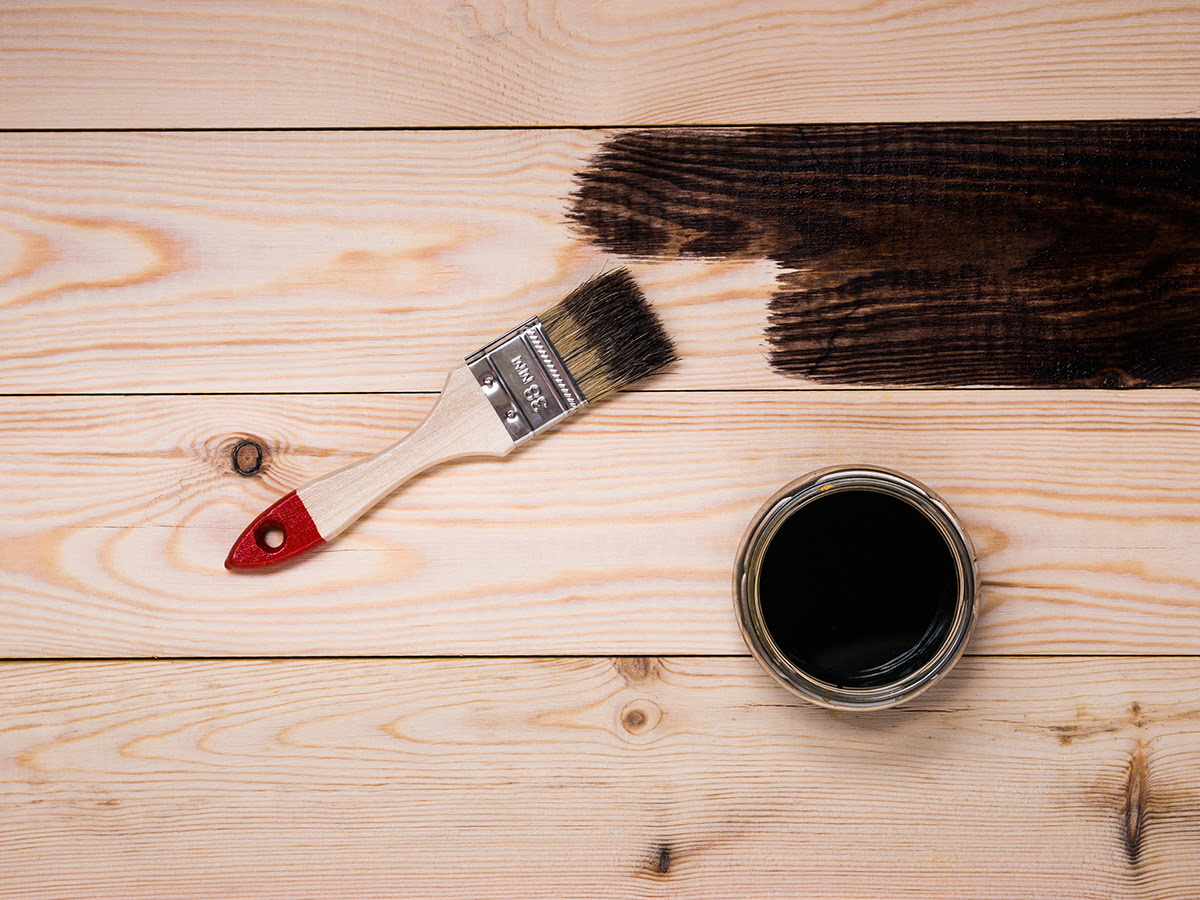
- Stir the Stain: Before beginning the application process, thoroughly stir the wood stain using a stir stick to ensure that the pigments and protective elements are evenly distributed throughout the solution.
- Start from the Top: If your shed features vertical siding, start at the top and work your way down to minimize drips and ensure a consistent finish. For horizontal surfaces, begin from one end and proceed methodically to avoid overlapping or uneven application.
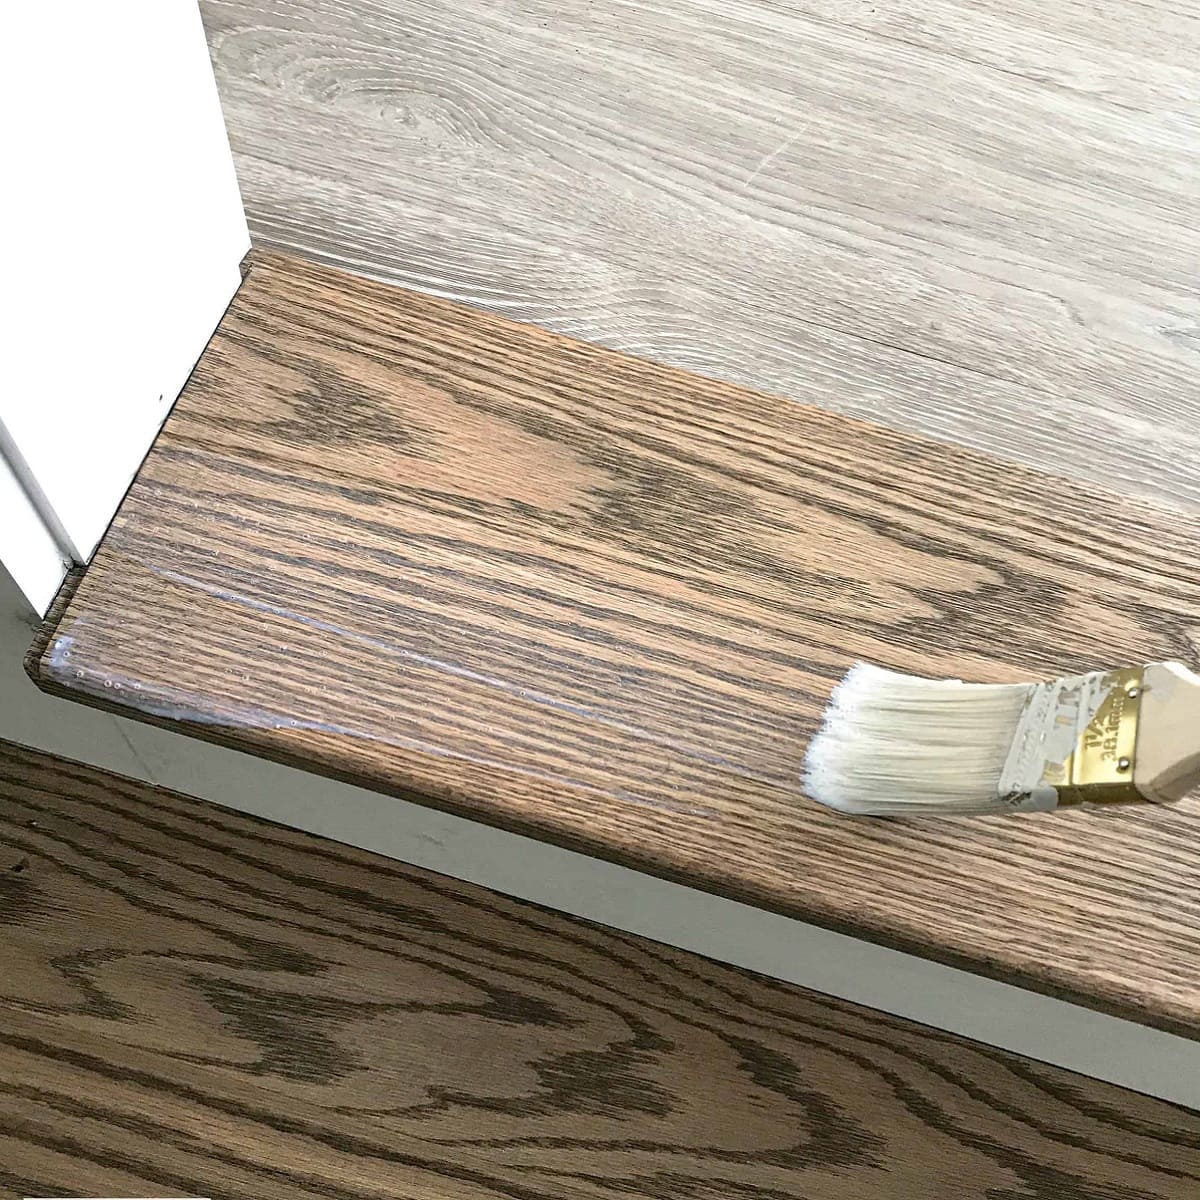
- Apply Even Coats: Whether using a brush, roller, or sprayer, strive to apply the wood stain in even coats, working with the natural grain of the wood. This approach ensures thorough coverage and allows the wood’s inherent beauty to shine through the stain.
- Work in Manageable Sections: To maintain control over the application process, work in manageable sections, focusing on one area at a time to prevent the stain from drying or pooling unevenly.
- Address Excess Stain: After applying the wood stain, promptly address any excess or drips by gently smoothing them out with a brush or cloth to prevent unsightly buildup and promote a uniform finish.
- Allow for Drying Time: Once the wood stain has been applied, allow ample time for it to dry according to the manufacturer’s recommendations. Avoid exposing the freshly stained shed to moisture or extreme weather conditions during this crucial drying period.
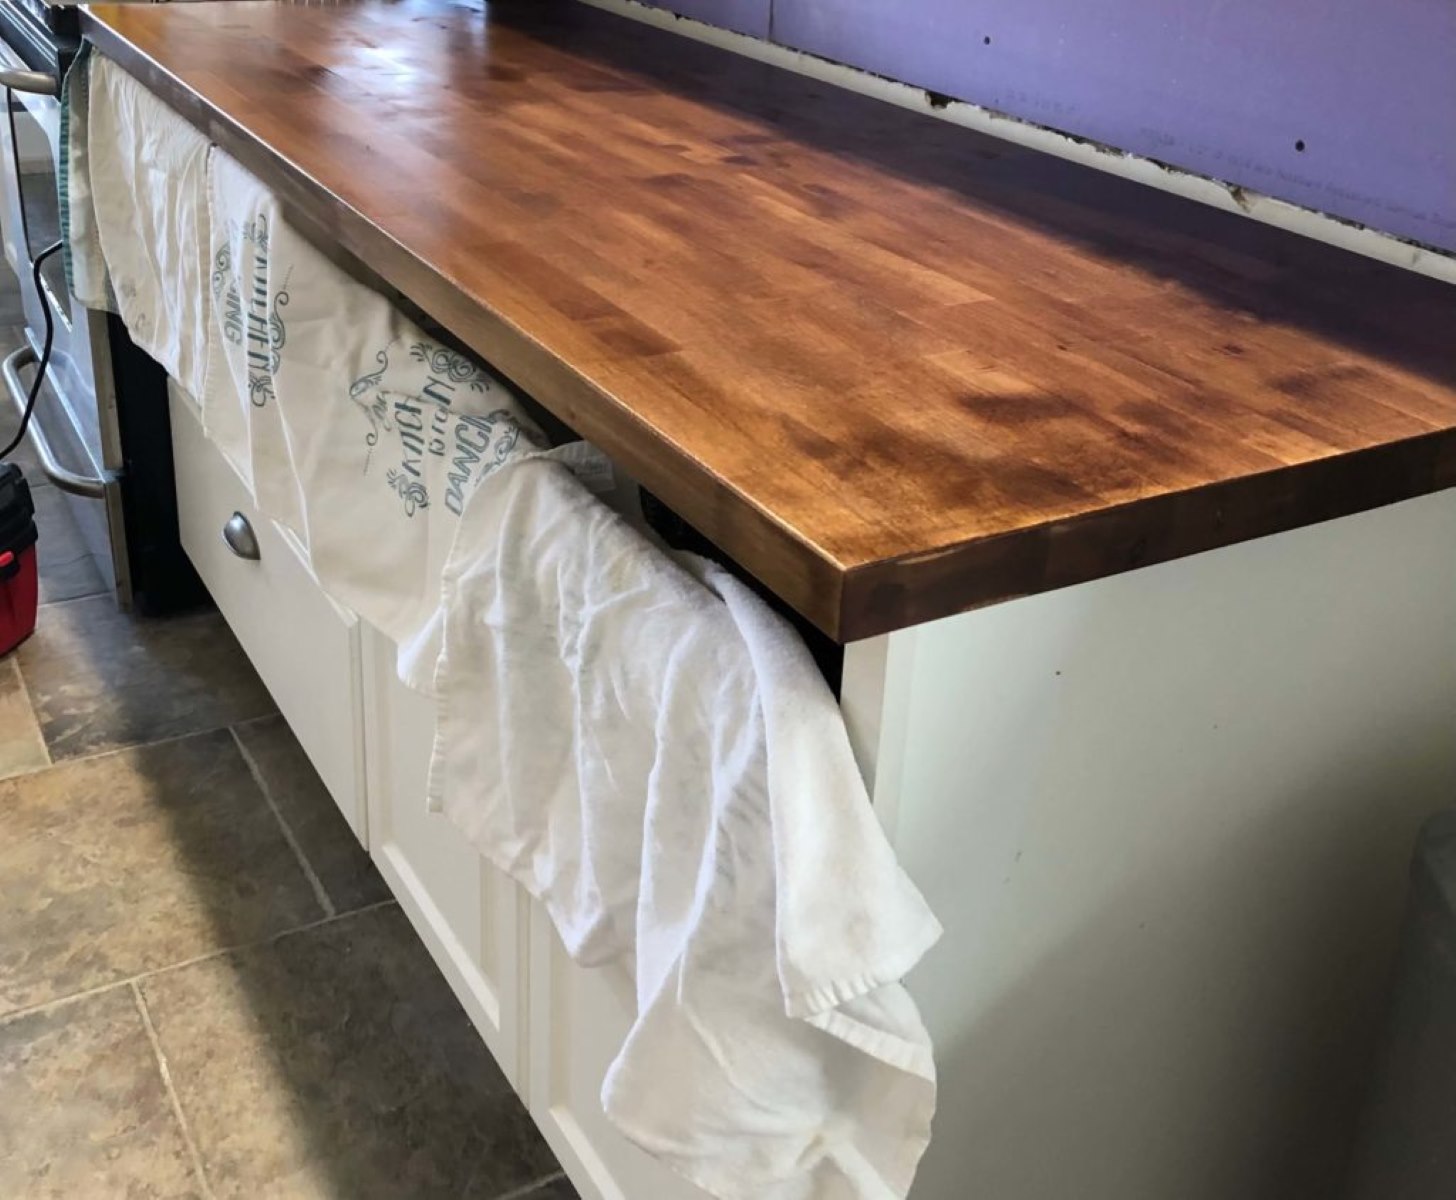
- Assess the Coverage: After the initial coat has dried, assess the coverage and color intensity. If desired, apply additional coats of wood stain to achieve the desired hue and level of protection, allowing for sufficient drying time between each application.
By following these steps and exercising patience and precision throughout the application process, you’ll be well on your way to transforming your wood shed with a rich and enduring wood stain finish. Whether you’re aiming for a subtle enhancement of the wood’s natural beauty or a bold statement with a vibrant hue, the application phase is where your vision for the shed’s aesthetic and protective qualities comes to life.
Finishing Touches
As the wood stain dries and the transformation of your wood shed nears completion, it’s time to add those final finishing touches that will elevate the overall appearance and durability of the structure. These subtle yet impactful steps will contribute to a polished and long-lasting wood stain finish, ensuring that your shed remains an eye-catching and resilient outdoor asset for years to come.
Here are the essential finishing touches to consider after applying the wood stain:
- Apply a Clear Sealer (Optional): For enhanced protection and longevity, consider applying a clear wood sealer over the dried wood stain. This additional layer acts as a shield against moisture, UV rays, and general wear, further fortifying the shed’s exterior and preserving the beauty of the wood.
- Inspect for Touch-Ups: Carefully inspect the stained surface for any areas that may require touch-ups or additional coats. Address any inconsistencies or missed spots to ensure a uniform and professional-quality finish.
- Reattach Hardware and Trim: If any hardware or trim was removed or masked during the staining process, reattach or unmask these elements to complete the shed’s visual appeal and functionality.
- Clean Up the Surroundings: Remove any protective coverings, such as tarps or drop cloths, and tidy up the surrounding area to reveal the newly transformed wood shed in its refreshed and revitalized state.
- Admire and Maintain: Take a moment to admire the stunning results of your wood staining endeavor. Embrace the enhanced beauty and protection that the wood stain has bestowed upon your shed, and commit to a regular maintenance routine to preserve its allure and resilience over time.
By attending to these finishing touches, you’ll ensure that your wood shed stands as a testament to your dedication to its upkeep and aesthetic appeal. Whether you opt for additional protective measures, address any imperfections, or simply take a moment to appreciate the transformation, these final steps will solidify the success of your wood staining project and leave you with a beautifully revitalized outdoor structure.
Read more: How To Stain Wood Furniture
Conclusion
Embarking on the journey of staining a wood shed is a rewarding endeavor that combines aesthetic enhancement with crucial protection, resulting in a visually striking and resilient outdoor structure. By following the comprehensive steps outlined in this guide, you’ve equipped yourself with the knowledge and confidence to transform your wood shed into a captivating and enduring asset within your outdoor space.
From gathering the essential materials to meticulously preparing the wood surface, applying the wood stain with care and precision, and adding those final finishing touches, you’ve embarked on a transformative process that will elevate the shed’s appearance and safeguard it against the elements. The dedication and attention to detail invested in the wood staining project have culminated in a visually stunning and durable outdoor structure that will stand the test of time.
As you admire the newly revitalized wood shed, take pride in the craftsmanship and dedication that have gone into this project. The rich and enduring wood stain finish serves as a testament to your commitment to maintaining and enhancing your outdoor space, creating a welcoming and visually impactful environment for years to come.
Moving forward, embrace a regular maintenance routine to preserve the beauty and protection of the wood stain finish, ensuring that your wood shed remains a standout feature within your outdoor landscape. By nurturing and caring for this revitalized structure, you’ll continue to reap the rewards of your efforts, enjoying a striking and resilient wood shed that adds character and charm to your outdoor setting.
So, as you stand back and admire the stunning results of your wood staining endeavor, take a moment to appreciate the transformation that has taken place. Your wood shed now stands as a testament to your craftsmanship, creativity, and dedication to enhancing your outdoor space with enduring beauty and protection.
Frequently Asked Questions about How To Stain A Wood Shed
Was this page helpful?
At Storables.com, we guarantee accurate and reliable information. Our content, validated by Expert Board Contributors, is crafted following stringent Editorial Policies. We're committed to providing you with well-researched, expert-backed insights for all your informational needs.


0 thoughts on “How To Stain A Wood Shed”