Home>Gardening & Outdoor>Outdoor Structures>How To Build A 10X10 Wood Shed
Outdoor Structures
How To Build A 10X10 Wood Shed
Modified: October 20, 2024
Learn how to build a sturdy 10x10 wood shed for your outdoor space with our comprehensive guide. Get expert tips and step-by-step instructions for creating durable outdoor structures.
(Many of the links in this article redirect to a specific reviewed product. Your purchase of these products through affiliate links helps to generate commission for Storables.com, at no extra cost. Learn more)
Introduction
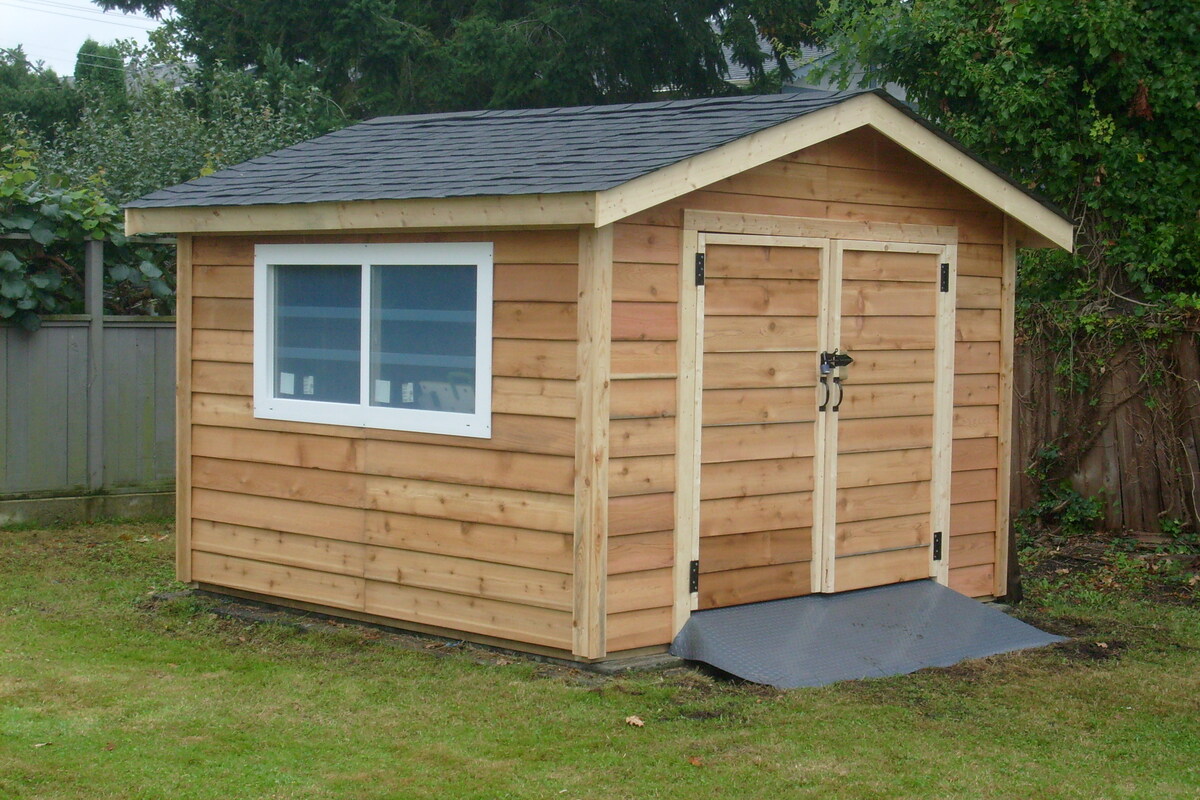
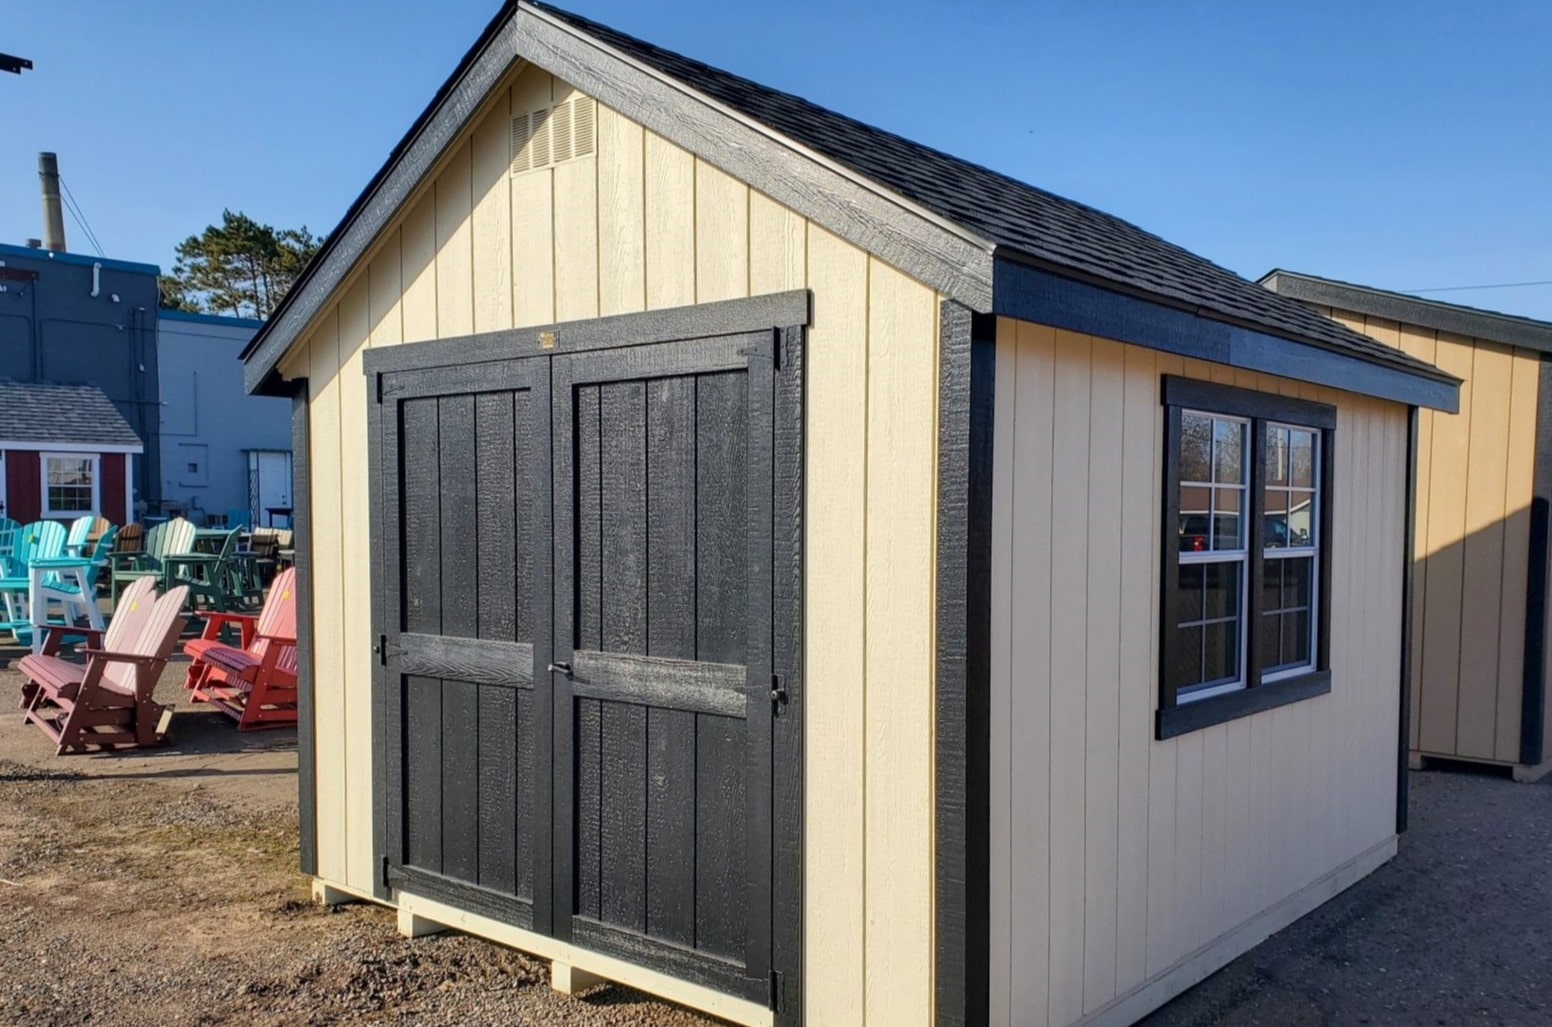
Are you in need of extra storage space for your outdoor equipment, tools, or gardening supplies? A 10×10 wood shed could be the perfect solution. Building your own shed can be a rewarding and cost-effective project that not only provides practical storage but also adds value to your property.
In this comprehensive guide, we will walk you through the step-by-step process of constructing a 10×10 wood shed. Whether you are a seasoned DIY enthusiast or a beginner looking to embark on your first major construction project, this article will equip you with the knowledge and confidence to tackle the job.
From planning and gathering materials to site preparation, foundation construction, wall assembly, roof installation, and adding the finishing touches, we will cover every aspect of the shed-building process. By the end of this guide, you will have a clear understanding of what it takes to build a sturdy and functional wood shed that meets your specific storage needs.
So, roll up your sleeves, gather your tools, and let's dive into the exciting world of shed construction. Whether you envision a cozy retreat for your gardening endeavors or a secure shelter for your outdoor gear, this guide will empower you to bring your vision to life. Let's embark on this fulfilling journey of creating a 10×10 wood shed that will stand as a testament to your craftsmanship and creativity.
Key Takeaways:
- Building a 10×10 wood shed involves meticulous planning, gathering materials, and step-by-step construction. It’s a rewarding DIY project that adds value to your property and meets your storage needs.
- Attention to detail is crucial when constructing the shed’s foundation, walls, roof, and finishing touches. Each step contributes to the shed’s stability, durability, and visual appeal.
Read more: How To Build A 10×10 Shed
Planning and Preparation
Before diving into the construction process, meticulous planning is essential to ensure a smooth and successful shed-building project. Start by determining the purpose of your shed. Will it primarily serve as a storage space, a workshop, or a combination of both? Understanding your specific needs will guide the design and layout of the shed.
Next, familiarize yourself with local building codes and regulations. Contact your municipal building department to obtain the necessary permits and to ensure compliance with zoning requirements. This step is crucial to avoid any potential legal issues down the road.
Once you have a clear understanding of your shed’s intended use and have secured the required permits, it’s time to create a detailed plan. Consider the shed’s orientation, door and window placement, interior shelving, and any additional features you may want to incorporate. Sketching out a rough blueprint will provide a visual reference as you progress through the construction stages.
With the plan in place, take stock of the tools and equipment you’ll need for the project. Essential items may include a circular saw, hammer, level, tape measure, drill, and safety gear. Additionally, compile a list of materials required for the shed’s foundation, walls, roof, and finishing elements.
Lastly, consider the logistics of the construction process. Determine a realistic timeline for the project, factoring in any assistance you may need and accounting for potential weather-related delays. Clearing your schedule and enlisting the help of family or friends can make the building process more efficient and enjoyable.
Thorough planning and preparation lay the groundwork for a successful shed construction endeavor. By investing time in these initial stages, you’ll set the stage for a seamless and rewarding building experience, ultimately leading to the creation of a functional and aesthetically pleasing 10×10 wood shed.
Gathering Materials
With a solid plan in place, the next step in building your 10×10 wood shed is to gather the necessary materials. The type and quantity of materials will depend on the shed design, local building codes, and personal preferences. Here’s a general overview of the materials you’re likely to need:
- Lumber: The backbone of your shed, lumber will be used for framing, sheathing, and trim. Consider pressure-treated lumber for the foundation and any components that will be in direct contact with the ground.
- Plywood or OSB (Oriented Strand Board): These materials are commonly used for sheathing the walls, roof, and possibly the floor of the shed.
- Roofing Materials: Options include asphalt shingles, metal roofing panels, or corrugated roofing sheets. Choose a material that complements the overall aesthetic of your property and provides long-term weather protection.
- Fasteners: Nails, screws, and other fasteners will be essential for securing the shed’s structural components and finishing details.
- Doors and Windows: If your shed design includes windows and a door, select high-quality, weather-resistant options that enhance both functionality and visual appeal.
- Hardware and Accessories: Hinges, latches, door handles, and other hardware will add functionality and security to your shed. Additionally, consider accessories such as shelving brackets and utility hooks to maximize storage space.
- Foundation Materials: Depending on your site and local building codes, you may need concrete blocks, gravel, or sonotubes to create a stable foundation for your shed.
- Finishing Touches: Paint, stain, and sealant will not only enhance the appearance of your shed but also protect the wood from the elements, extending its lifespan.
Before purchasing materials, revisit your shed plan to ensure accuracy in your measurements and quantities. Consider consulting with a local building supply store or lumberyard to get expert advice on material selection and quantities. By obtaining high-quality materials and taking the time to gather everything you need upfront, you’ll set the stage for a smooth and efficient construction process.
With the materials gathered, you’re one step closer to bringing your 10×10 wood shed to life. The next phase of the project will involve preparing the site for construction, laying the foundation, and commencing the assembly of the shed’s walls and roof.
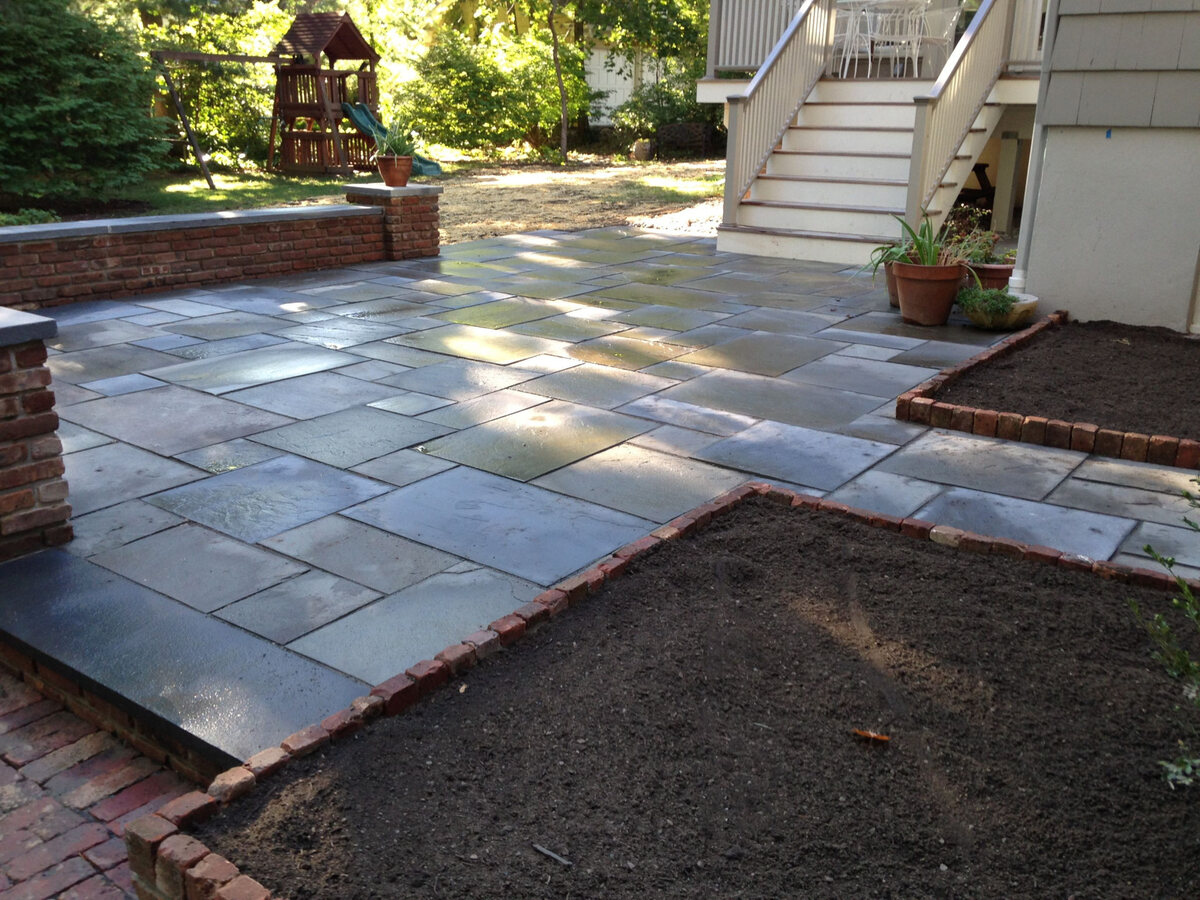
Site Preparation
Before the construction of your 10×10 wood shed can commence, it’s crucial to prepare the site to ensure a stable and level foundation. Here’s a step-by-step guide to site preparation:
- Clear the Area: Remove any debris, vegetation, or obstacles from the site where the shed will be located. This includes rocks, tree roots, and any other obstructions that could affect the shed’s stability.
- Mark the Perimeter: Use stakes and string to outline the perimeter of the shed. This will provide a clear visual guide for excavating and leveling the site.
- Excavation: If the site is not already level, you may need to excavate the area to create a flat and even surface for the shed’s foundation. Use a shovel, rake, and a level to ensure the ground is uniformly graded.
- Consider Drainage: Evaluate the site’s drainage to prevent water accumulation around the shed. If necessary, incorporate measures such as grading the land away from the shed or installing a French drain to redirect water flow.
- Verify Squareness: Double-check that the site’s dimensions are square and accurately align with your shed plan. This will prevent potential issues during foundation construction and the assembly of the shed’s structural components.
- Compact the Soil: Once the site is leveled and squared, use a tamper or compactor to firmly compact the soil. This will create a stable base for the shed’s foundation and minimize the risk of settling over time.
By meticulously preparing the site, you’ll establish a solid foundation for the construction of your 10×10 wood shed. This crucial step sets the stage for the next phase of the project: building the shed’s foundation.
With the site meticulously prepared, you’re ready to move on to constructing the foundation, a pivotal element in ensuring the stability and longevity of your wood shed. The foundation serves as the anchor for the entire structure, providing a level and secure base for the walls, roof, and interior space.
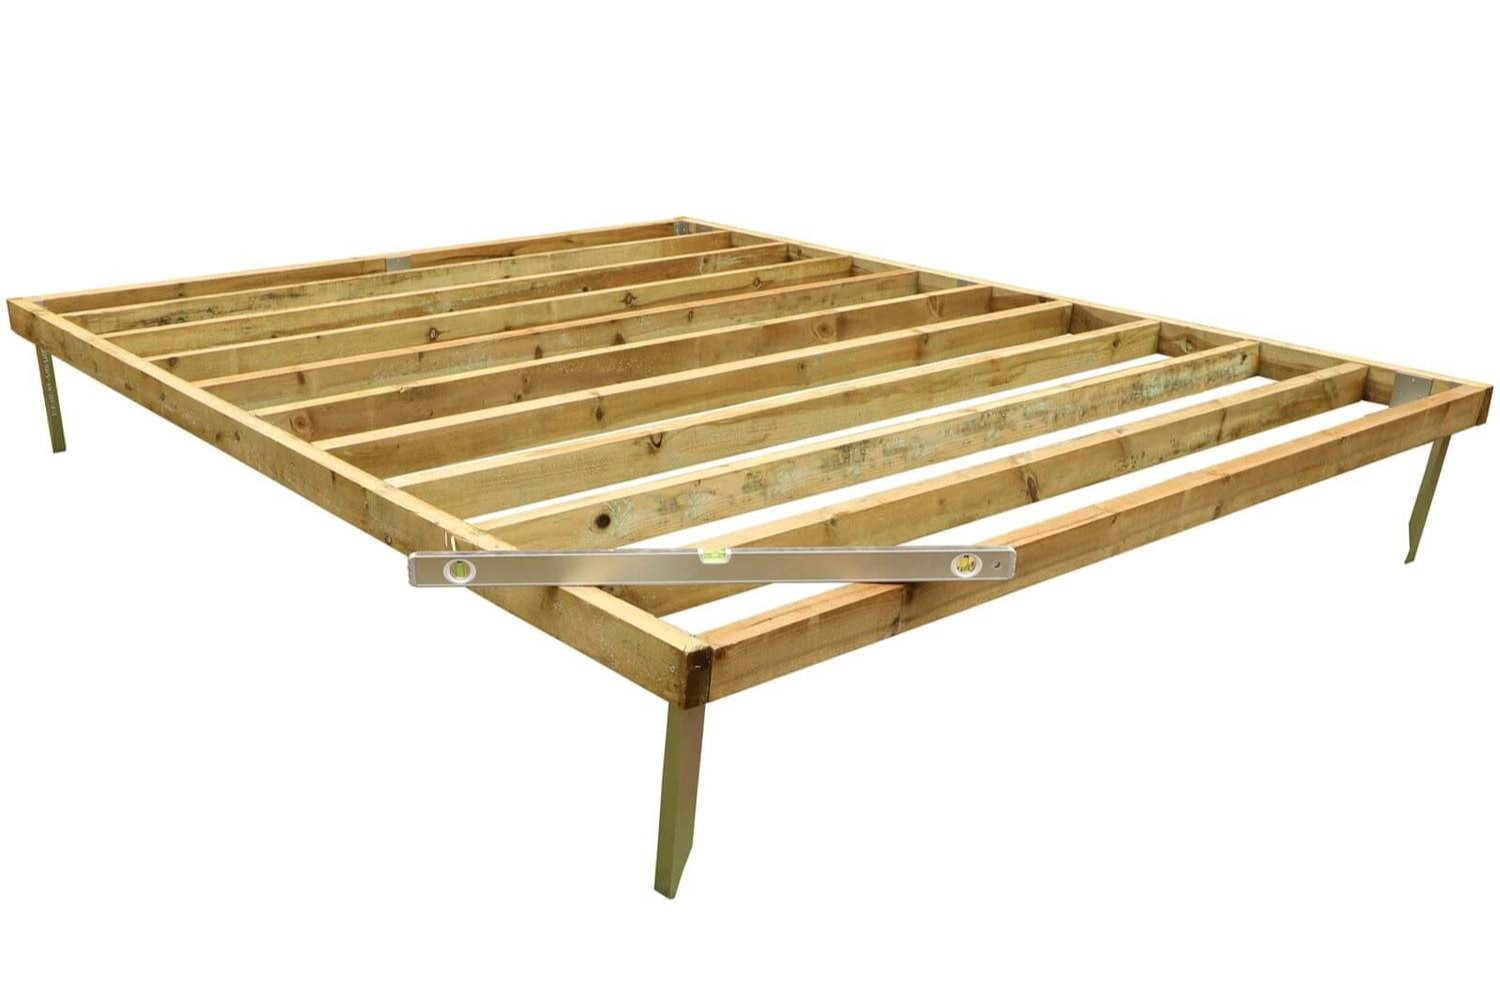
Building the Foundation
The foundation of your 10×10 wood shed is a critical element that provides stability and longevity to the structure. There are several common foundation options, each with its advantages and suitability based on the site and local building codes. Let’s explore a few popular foundation types:
- Concrete Slab: A concrete slab foundation offers a durable and low-maintenance base for your shed. It involves pouring a level layer of concrete directly onto the prepared site, providing a solid platform for the shed’s structure.
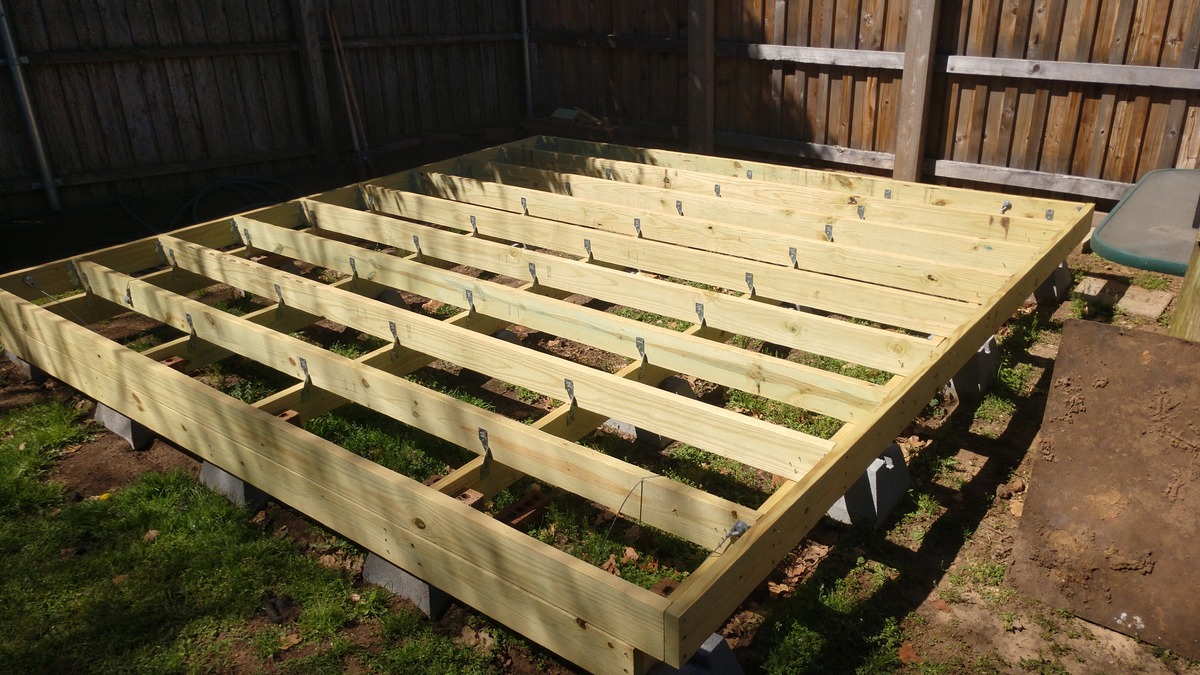
- Concrete Blocks: This foundation type utilizes concrete blocks arranged in a grid pattern to support the shed. It’s a versatile and cost-effective option, allowing for easy adjustment to accommodate uneven terrain.
- Wood Skid Foundation: Constructed using pressure-treated lumber, a wood skid foundation involves laying horizontal beams (skids) across the site and securing them to provide a stable base for the shed.
Regardless of the foundation type you choose, the construction process typically involves the following general steps:
- Layout and Marking: Using the shed plan as a guide, mark the precise location and dimensions of the foundation on the prepared site.
- Excavation (if applicable): If you’re installing a concrete slab or digging footings for a wood skid foundation, excavate the designated area to the required depth, ensuring a level and uniform surface.
- Formwork (for concrete foundations): If pouring a concrete slab or footings, construct formwork using lumber to contain the concrete and create clean edges for the foundation.
- Pouring Concrete (if applicable): Following the specifications outlined in your shed plan, pour and level the concrete to create a smooth and even foundation surface.
- Assembling Foundation Components: For wood-based foundations, assemble the pressure-treated lumber components according to the shed plan, ensuring precise alignment and secure fastening.
- Securing the Foundation: Anchor the foundation to the ground using appropriate hardware to prevent shifting or movement over time.
By carefully constructing a solid foundation, you’ll establish a secure base for your 10×10 wood shed, laying the groundwork for the subsequent phases of construction. With the foundation in place, the focus will shift to assembling the shed’s walls, adding the roof structure, and bringing your vision of a functional and aesthetically pleasing outdoor storage space one step closer to reality.
When building a 10×10 wood shed, make sure to properly level the ground before starting construction. This will ensure a stable and long-lasting structure.
Read more: How Many Square Feet Is A 10X10 Shed
Constructing the Walls
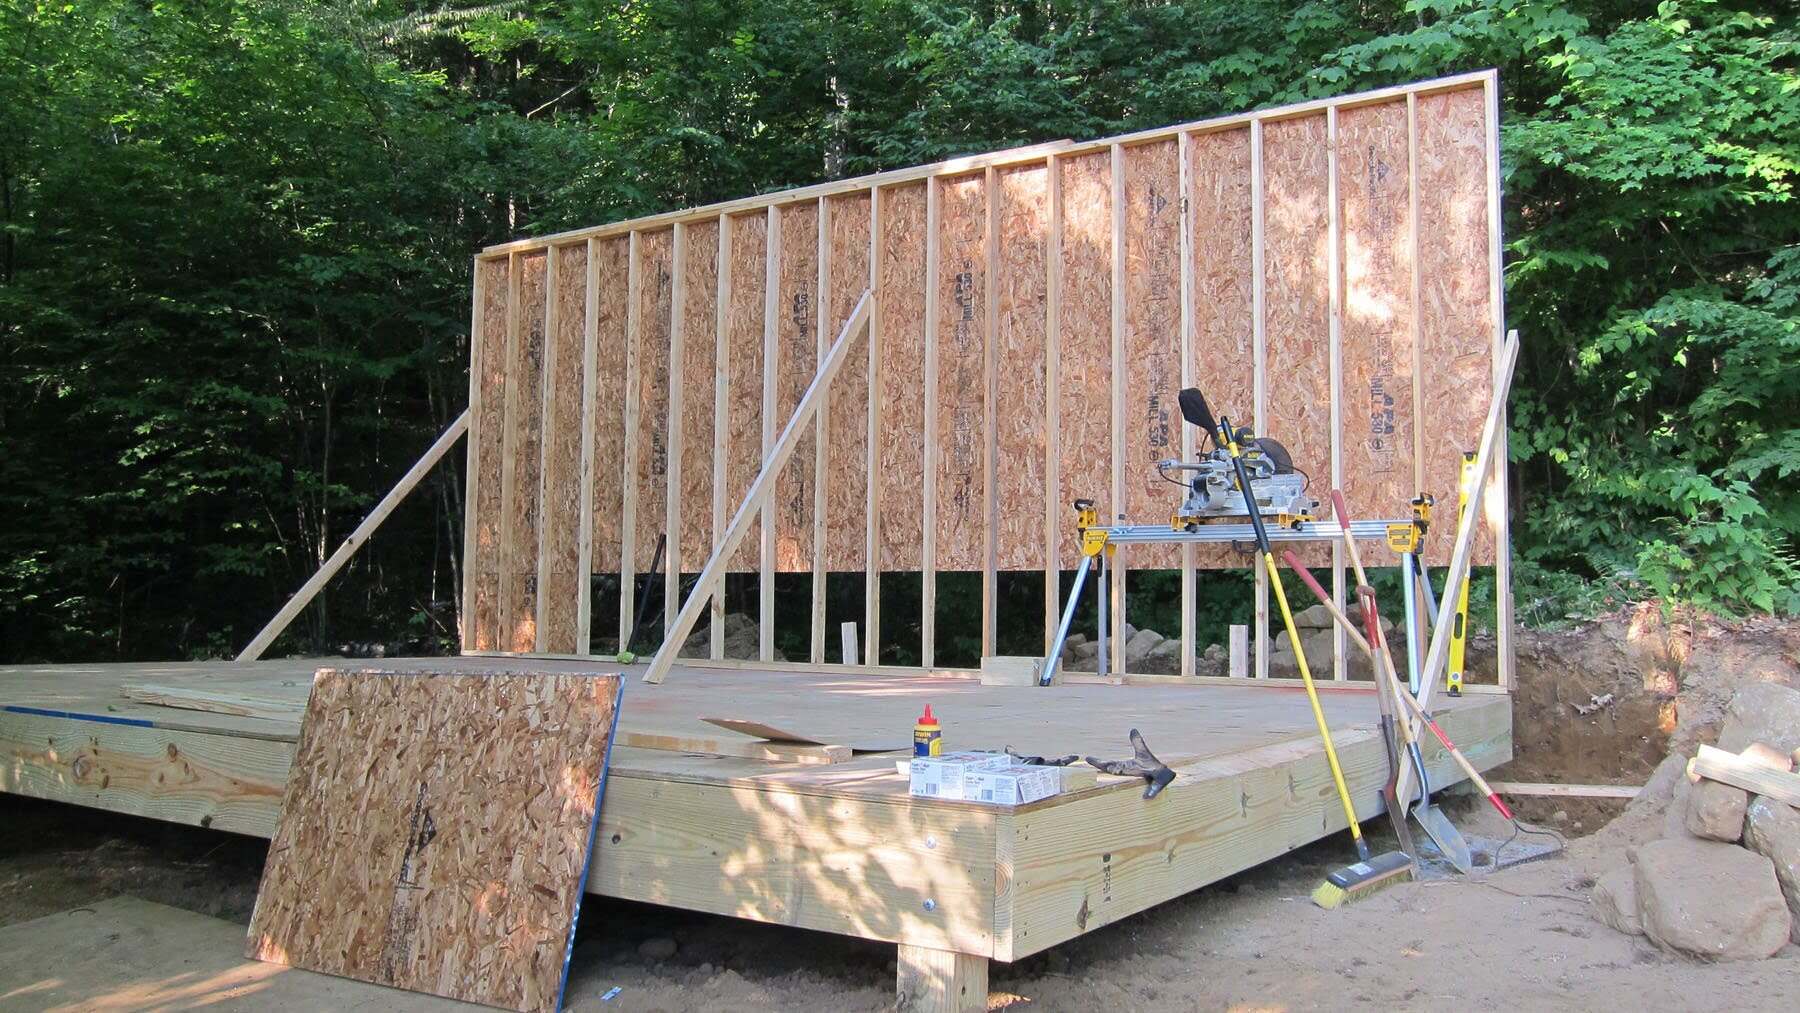
With the foundation set, it’s time to shift focus to the construction of the walls for your 10×10 wood shed. The walls not only provide structural support but also define the overall appearance and functionality of the shed. Here’s a step-by-step guide to constructing the walls:
- Prepare the Lumber: Cut the framing lumber to the dimensions specified in your shed plan, including studs, plates, and headers. Take care to ensure precise measurements to facilitate seamless assembly.
- Assemble the Wall Frames: Using the prepared lumber, construct the wall frames on a level surface. This involves securing the studs, plates, and headers together according to the shed plan’s specifications.
- Install Sheathing: Once the wall frames are assembled, attach plywood or oriented strand board (OSB) sheathing to the exterior side of the frames. This sheathing provides structural rigidity and serves as a base for exterior siding.
- Position Windows and Doors: If your shed design includes windows and a door, carefully mark and cut openings for these elements in the wall frames. Install appropriate framing and headers to support the openings.
- Secure the Walls: With the wall frames and sheathing in place, carefully lift and position each wall section onto the shed’s foundation. Use temporary bracing to hold the walls upright and ensure they are plumb and aligned according to the shed plan.
- Connect Wall Sections: If your shed design includes multiple wall sections, securely fasten them together at the corners and any joining points. Use framing hardware and fasteners to create a unified and stable wall structure.
As you progress through the wall construction process, attention to detail and precision is paramount to ensure the structural integrity and visual appeal of your shed. By methodically following the shed plan and taking care with each step, you’ll soon witness the transformation of individual lumber pieces into the framework of a solid and reliable outdoor structure.
With the walls assembled and securely positioned, the next phase of the project will involve adding the roof structure, a pivotal component that provides protection from the elements and completes the shed’s functional and aesthetic attributes.
Adding the Roof
As you progress in the construction of your 10×10 wood shed, the addition of the roof structure marks a significant milestone in the project. The roof not only provides essential protection from the elements but also contributes to the shed’s overall aesthetic appeal. Here’s a guide to adding the roof to your shed:
- Choose the Roofing Material: Select a roofing material that aligns with your design preferences and provides long-term durability. Common options include asphalt shingles, metal roofing panels, or corrugated roofing sheets.
- Prepare the Roof Structure: If your shed design includes roof trusses, rafters, or joists, assemble these components according to the shed plan’s specifications. Ensure precise measurements and secure connections to create a stable and reliable roof framework.
- Install Roof Sheathing: Once the roof structure is in place, attach plywood or OSB sheathing to the framework, providing a solid base for the roofing material and enhancing the structural integrity of the roof.
- Apply Roofing Material: Depending on the selected roofing material, follow the manufacturer’s guidelines to install shingles, metal panels, or roofing sheets. Take care to achieve proper overlap, secure fastening, and effective weatherproofing.
- Address Roof Ventilation (if applicable): Consider incorporating roof vents or a ridge vent to promote air circulation and prevent moisture buildup within the shed, contributing to a healthier and more durable interior environment.
- Complete Roof Flashing: Install flashing around roof penetrations, such as vents and chimneys, to create a watertight seal and prevent water intrusion at vulnerable points on the roof.
As you add the roof to your 10×10 wood shed, attention to detail and precision are crucial to ensure long-term weather resistance and structural integrity. By methodically following the shed plan and manufacturer’s guidelines for the roofing material, you’ll soon witness the transformation of the shed’s framework into a fully enclosed and weather-protected space.
With the roof securely in place, the next phase of the project will involve installing the door and windows, adding the finishing touches, and bringing your vision of a functional and aesthetically pleasing outdoor storage space one step closer to reality.
Installing the Door and Windows
As you near the completion of your 10×10 wood shed, the installation of the door and windows represents a pivotal stage in transforming the structure into a functional and inviting space. Here’s a guide to installing these essential components:
- Prepare Openings: If not already in place, carefully measure and mark the locations for the door and windows based on your shed plan. Ensure precise dimensions and alignment to facilitate seamless installation.
- Install the Door: If using a pre-hung door, carefully position the unit within the door opening, ensuring it is plumb, level, and operates smoothly. Secure the door frame to the surrounding structure using shims and appropriate fasteners.
- Mount the Windows: Following the manufacturer’s guidelines, install the windows within the designated openings. Use shims to ensure proper alignment and operation, and securely fasten the window frames to the surrounding structure.
- Weatherproofing: Apply weather-resistant flashing and sealant around the perimeter of the door and windows to create a watertight seal and prevent moisture intrusion. This step is crucial for maintaining a dry and comfortable interior space.
- Add Hardware and Accessories: Install door handles, locks, hinges, and any desired window hardware to enhance functionality and security. Consider adding window screens to promote ventilation while keeping insects at bay.
- Interior Finishing (optional): If desired, consider adding interior trim around the door and windows to create a polished and cohesive appearance. This step adds a finishing touch to the interior space while concealing any gaps between the openings and the surrounding structure.
As you install the door and windows, attention to detail and precision are essential to ensure proper operation, weather resistance, and visual appeal. By methodically following the shed plan and manufacturer’s guidelines for the door and window installations, you’ll soon witness the transformation of the shed into a fully enclosed and functional space.
With the door and windows securely in place, the final phase of the project will involve adding the finishing touches, such as exterior siding, paint or stain, and interior organization elements, bringing your vision of a complete and aesthetically pleasing outdoor storage space to fruition.
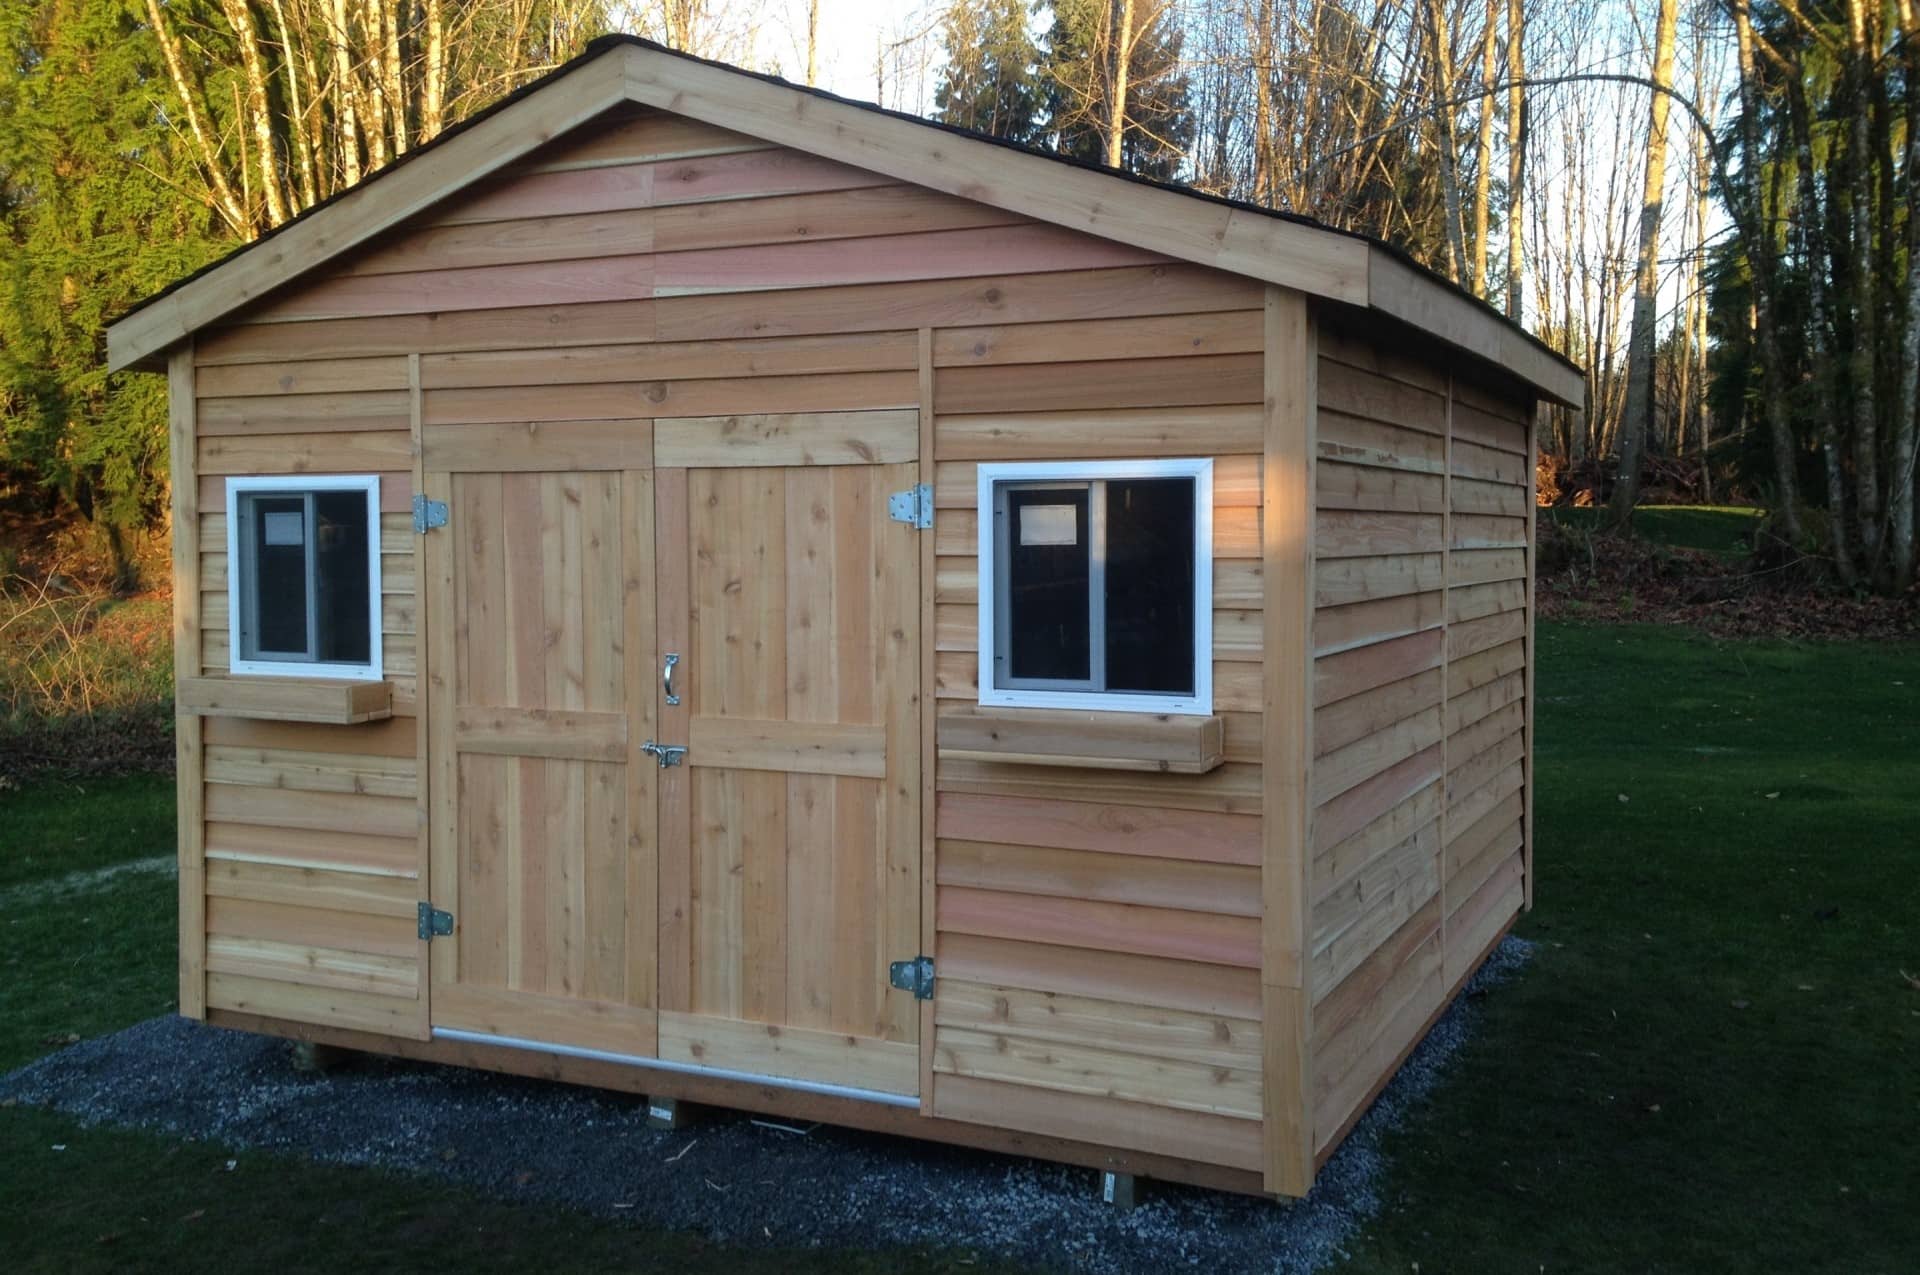
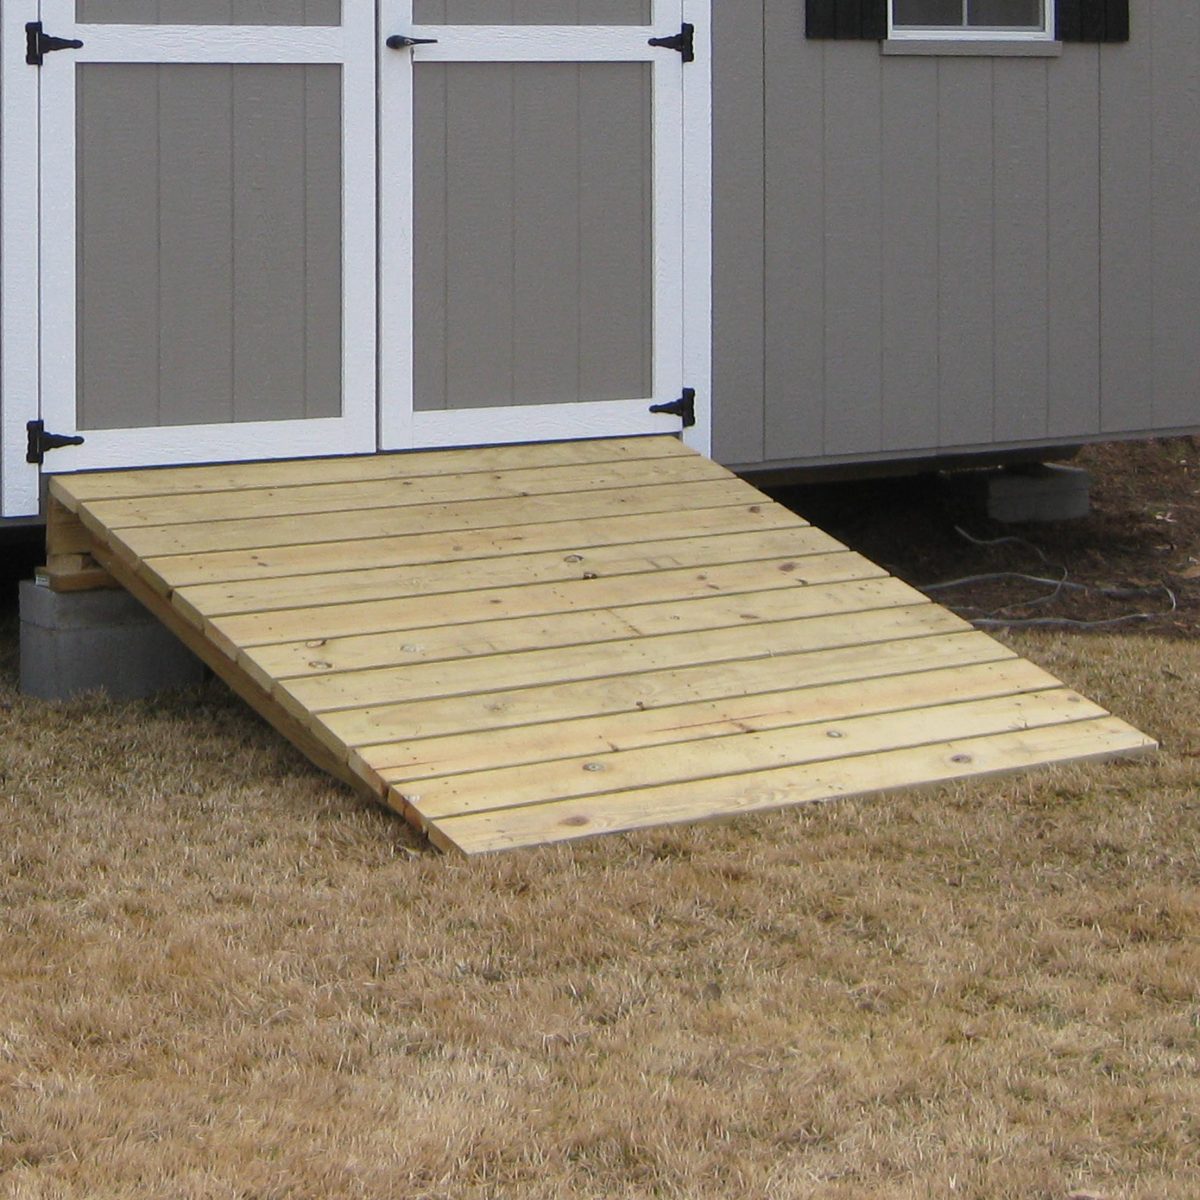
Finishing Touches
As you approach the final stages of constructing your 10×10 wood shed, adding the finishing touches will elevate the functionality, durability, and visual appeal of the structure. Here’s a guide to the essential finishing touches that will complete your shed:
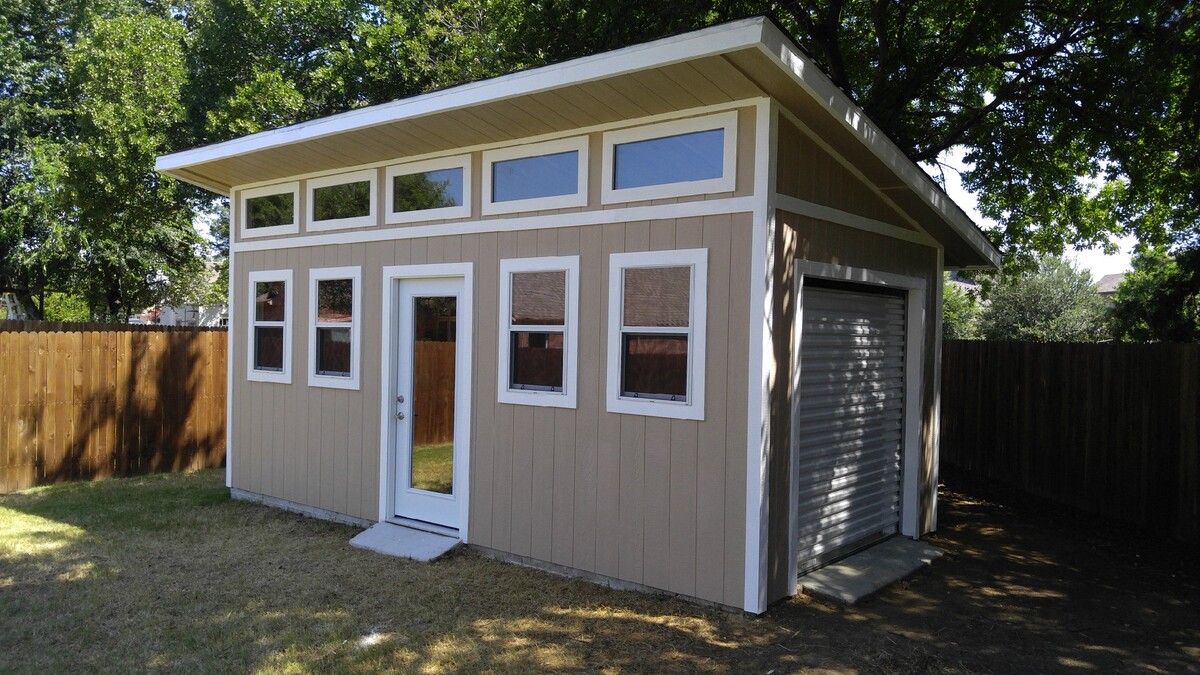
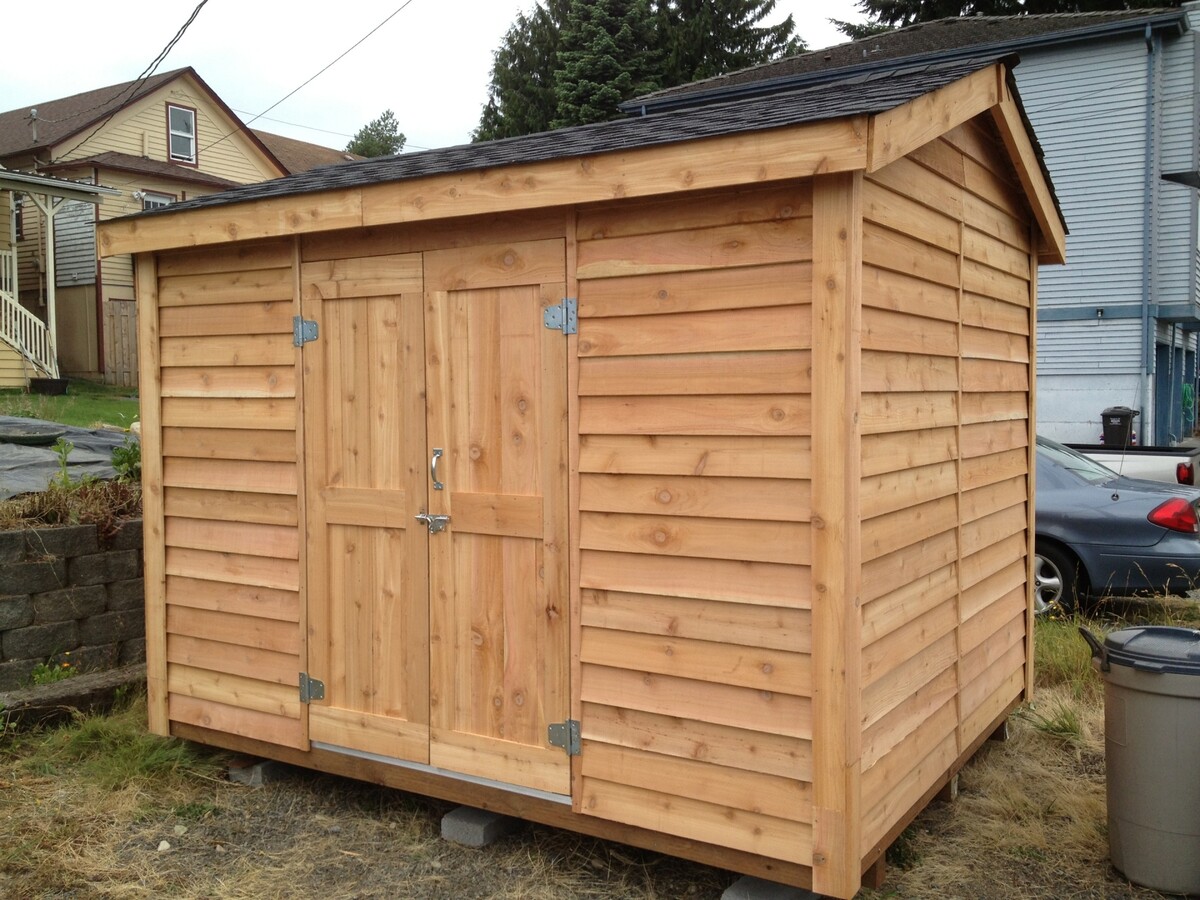
- Exterior Siding: Apply the chosen exterior siding material, such as wood clapboard, vinyl, or composite panels, to encase the shed’s walls. This step not only enhances the shed’s aesthetics but also provides additional protection from the elements.
- Paint or Stain: If desired, apply a coat of high-quality exterior paint or wood stain to protect the shed’s exterior surfaces and enhance its visual appeal. Choose a finish that complements your property’s aesthetic and provides long-term weather resistance.
- Interior Organization: Consider adding shelving, hooks, and storage solutions to maximize the shed’s interior space and keep tools, equipment, and supplies neatly organized. Customizing the interior layout to suit your specific storage needs adds functionality to the space.
- Sealant and Caulking: Inspect the shed for any gaps, joints, or seams that may allow water infiltration. Apply exterior-grade sealant and caulking to create a watertight seal and prevent moisture from penetrating the shed’s interior.
- Security Features: Install a secure locking mechanism on the door to safeguard your belongings. Additionally, consider motion-activated lighting or a security system to enhance the shed’s security.
- Landscaping and Pathways: Enhance the shed’s surroundings by creating pathways, adding landscaping features, or incorporating plantings around the structure. This step integrates the shed into the outdoor environment and contributes to an inviting and cohesive landscape.
By attending to these finishing touches, you will transform your 10×10 wood shed into a fully functional, visually appealing, and durable outdoor structure. Each detail contributes to the overall quality and usability of the shed, ensuring that it not only meets your storage needs but also enhances the aesthetic and practical aspects of your property.
With the completion of these finishing touches, your 10×10 wood shed stands as a testament to your craftsmanship and dedication, providing a valuable and versatile space for storage, organization, and leisure activities. It’s a testament to your vision and hard work, and it will serve you well for years to come.
Read more: How To Build A 10X12 Shed
Conclusion
Congratulations on completing the construction of your 10×10 wood shed! The journey from planning and preparation to the finishing touches has been a testament to your dedication, craftsmanship, and vision. As you stand back and admire the structure you’ve brought to life, it’s clear that your shed is more than just a storage space—it’s a reflection of your creativity and practicality.
Throughout this project, you’ve embraced the challenges and triumphs of shed construction, from meticulously preparing the site to adding the finishing touches that elevate both the function and aesthetics of the structure. The knowledge and skills you’ve gained along the way have not only resulted in a tangible outdoor asset but have also enriched your DIY repertoire.
As you look at your completed 10×10 wood shed, envision the countless ways it will enhance your outdoor living experience. Whether it’s providing a secure home for your gardening tools, a workshop for your hobbies, or a cozy retreat for relaxation, your shed stands ready to fulfill its purpose with steadfast reliability and enduring charm.
Furthermore, the process of building this shed has likely instilled a deep sense of satisfaction and accomplishment, underscoring the value of hands-on creation and the fulfillment that comes from seeing a project through from inception to fruition. Your shed is a tangible testament to your ability to transform a vision into a functional and aesthetically pleasing reality.
As you move forward, may your 10×10 wood shed continue to serve as a source of pride and utility, enriching your outdoor space and simplifying your storage needs. Whether you’re admiring its clean lines from a distance or stepping inside to retrieve your tools, may it always remind you of the rewarding journey of creation and the fulfillment of bringing an idea to life.
With your 10×10 wood shed standing as a testament to your dedication and ingenuity, you’ve not only constructed a practical outdoor structure but have also woven a story of determination, craftsmanship, and the enduring value of hands-on creation. As you embark on future projects, may the lessons and experiences from this endeavor continue to inspire and guide your DIY endeavors.
Frequently Asked Questions about How To Build A 10X10 Wood Shed
Was this page helpful?
At Storables.com, we guarantee accurate and reliable information. Our content, validated by Expert Board Contributors, is crafted following stringent Editorial Policies. We're committed to providing you with well-researched, expert-backed insights for all your informational needs.


0 thoughts on “How To Build A 10X10 Wood Shed”