Home>Gardening & Outdoor>Outdoor Structures>How To Close A Camper Awning
Outdoor Structures
How To Close A Camper Awning
Published: January 30, 2024
Learn how to properly close a camper awning for outdoor structures. Follow our step-by-step guide to safely and efficiently close your camper awning.
(Many of the links in this article redirect to a specific reviewed product. Your purchase of these products through affiliate links helps to generate commission for Storables.com, at no extra cost. Learn more)
Introduction
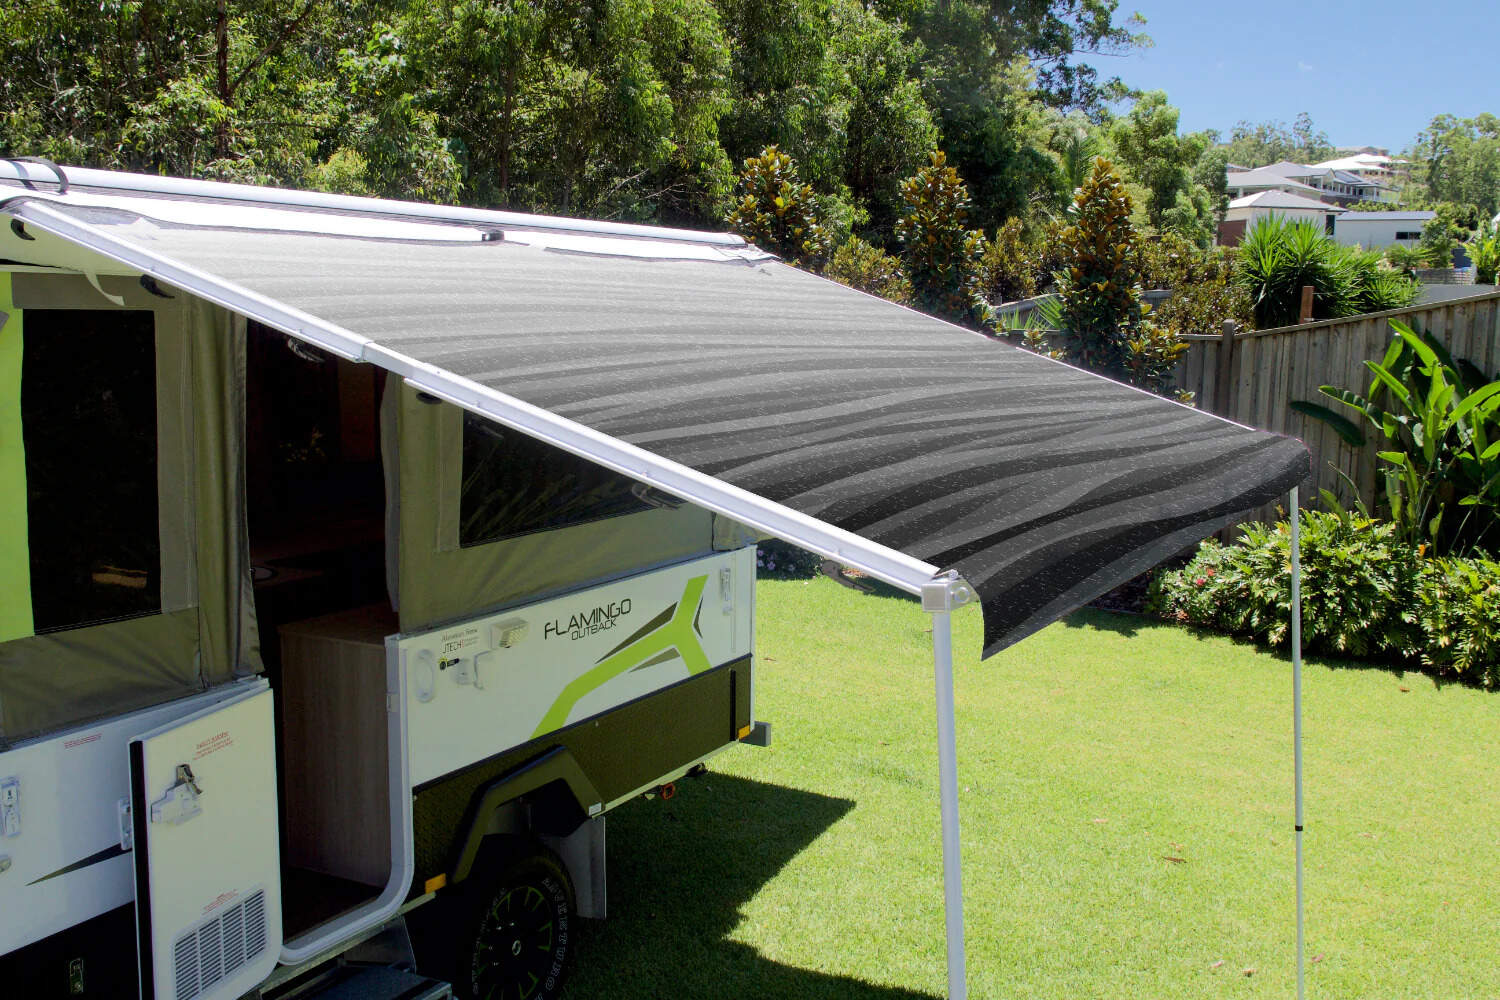
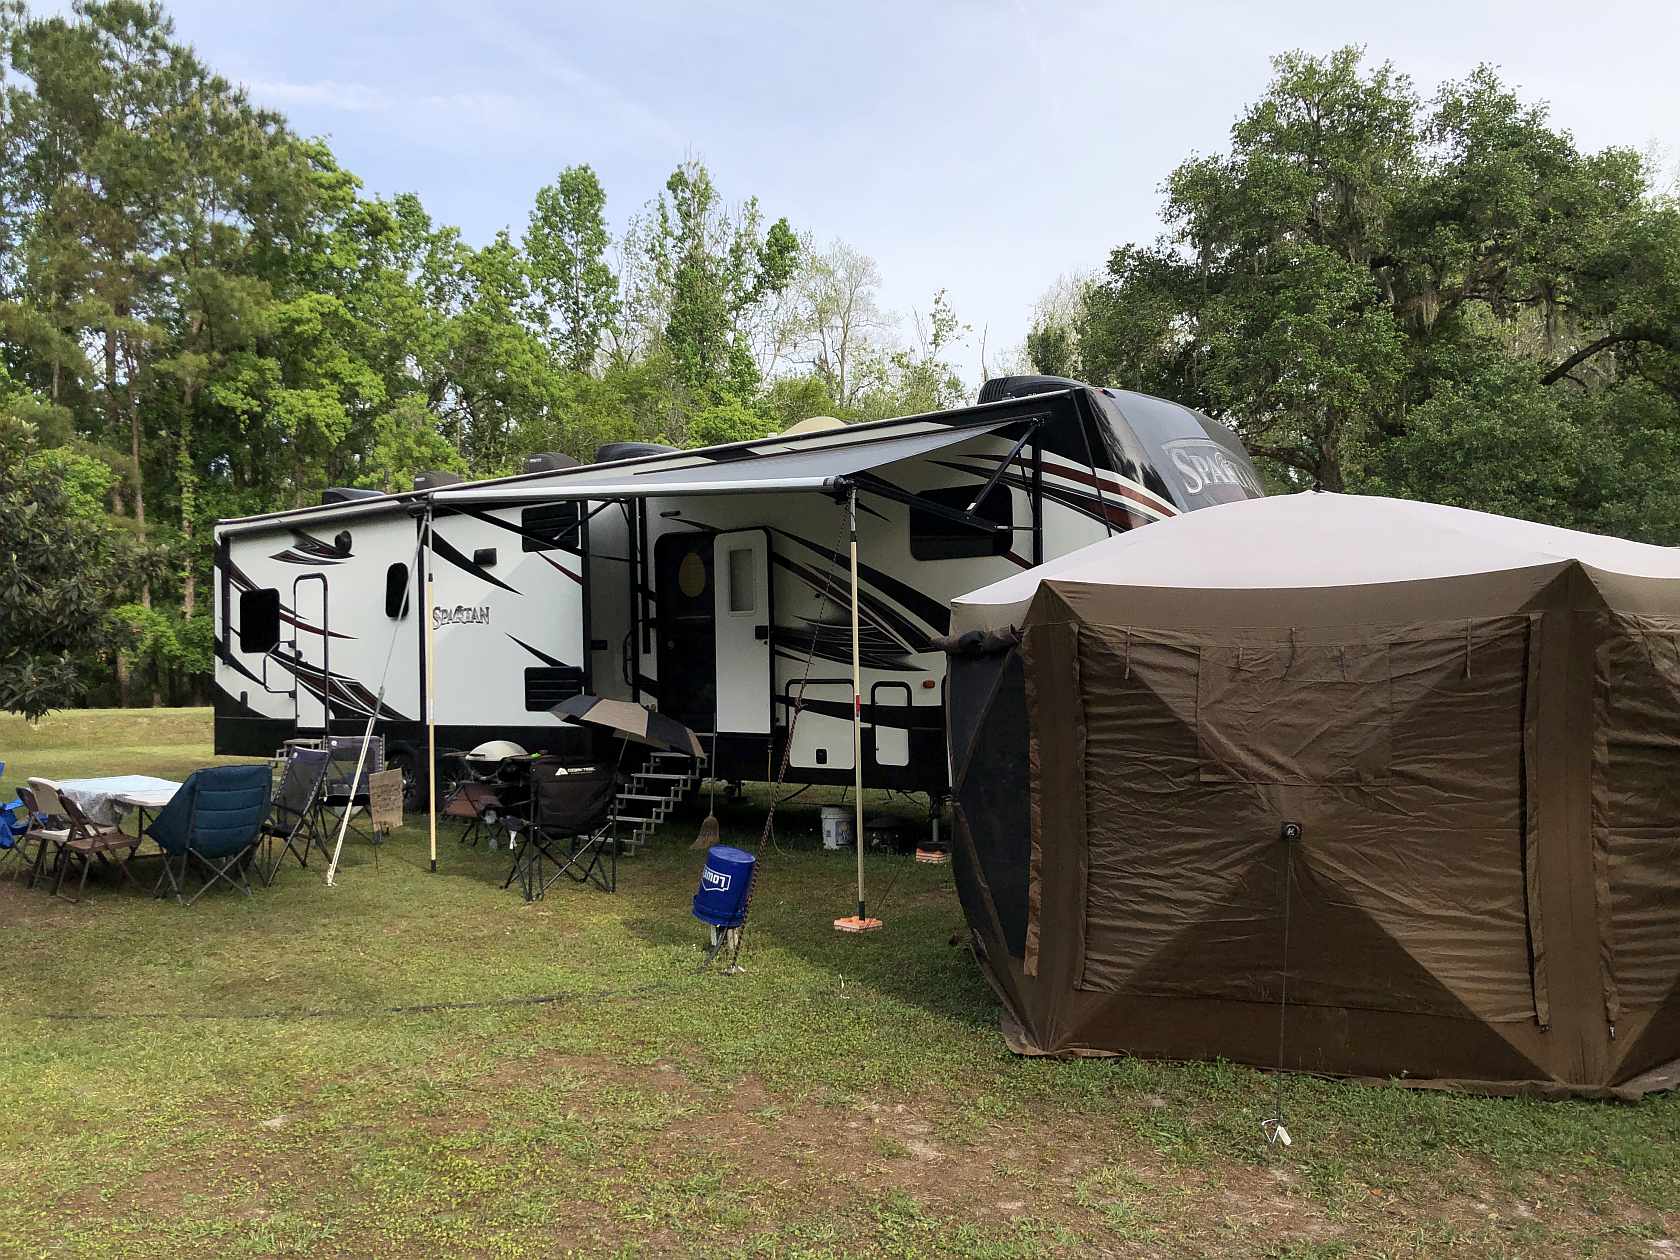
Welcome to the world of outdoor adventures and the joy of camping in your trusty camper! One of the essential components of any camper is the awning, which provides shade and protection from the elements, allowing you to relax and unwind in the great outdoors. However, as the day draws to a close or when you're ready to hit the road again, knowing how to properly close and secure your camper awning is crucial.
In this comprehensive guide, we will walk you through the step-by-step process of safely and effectively closing a camper awning. Whether you're a seasoned camper or a novice explorer, mastering this skill will ensure that your outdoor excursions are stress-free and enjoyable from start to finish.
So, grab your sense of adventure and let's delve into the essential knowledge and techniques required to close your camper awning like a pro. Let's get started!
Key Takeaways:
- Mastering the art of closing a camper awning ensures a stress-free outdoor experience, from releasing tension to securing it for travel. Proper maintenance prolongs its lifespan and adds comfort to camping adventures.
- Gathering necessary tools, releasing tension, rolling up carefully, and securing the awning are essential steps in closing a camper awning. Routine maintenance preserves its functionality and appearance for future outdoor excursions.
Read more: How Much Is An Awning For A Camper
Step 1: Gather Necessary Tools
Before embarking on the process of closing your camper awning, it’s essential to ensure that you have the necessary tools at your disposal. Having the right tools on hand will streamline the process and help you avoid any potential complications. Here’s a list of tools you’ll need:
- Awning Rod: This specialized tool is designed to release the tension in the awning and facilitate the rolling-up process. It’s crucial for safely manipulating the awning without risking damage or injury.
- Ladder: Depending on the size and height of your camper, a sturdy ladder may be required to reach and access the awning mechanism. Safety should always be a priority, so ensure that the ladder is in good condition and positioned on stable ground.
- Assistants: If available, enlisting the help of a fellow camper or companion can significantly ease the task of closing the awning. An extra pair of hands can assist with holding the awning in place and providing support during the process.
- Protective Gloves: Handling the awning and its components may expose your hands to dirt, grime, or sharp edges. Wearing protective gloves will safeguard your hands and provide a better grip when maneuvering the awning.
- Cleaning Supplies (Optional): While not essential for the closing process, having cleaning supplies on hand can be beneficial if you wish to tidy up the awning fabric or framework before securing it for travel.
By ensuring that you have these tools readily available, you’ll be well-prepared to commence the awning-closing procedure with confidence and efficiency. With the tools in hand, you’re one step closer to safely and effectively managing your camper awning.
Step 2: Release the Awning
With the necessary tools at your disposal, it’s time to proceed to the first crucial step in closing your camper awning: releasing the tension and preparing the awning for retraction. This step requires careful attention to detail and a methodical approach to ensure a smooth and safe process.
Begin by locating the awning rod, which is typically provided with your camper for the specific purpose of manipulating the awning mechanism. Using the awning rod, carefully release the tension in the awning by disengaging the locking mechanism. Exercise caution and ensure that the awning is securely supported as the tension is released to prevent sudden movements or uncontrolled retraction.
As you release the tension, pay close attention to any signs of resistance or unusual sounds, which may indicate potential issues with the awning mechanism. If you encounter any unexpected difficulties, it’s advisable to pause and assess the situation before proceeding further. Safety is paramount, and taking the time to address any concerns will help prevent accidents or damage to the awning.
Once the tension has been released, the awning fabric should be free from any tautness, allowing for the next phase of the closing process. At this point, it’s essential to ensure that the awning is clear of any debris or obstructions that may impede its retraction. Clearing the awning of any accumulated leaves, twigs, or dirt will help maintain its condition and prevent potential damage during the rolling-up process.
By following these steps and exercising care during the tension-release process, you’ll be well-prepared to move on to the next stage of closing your camper awning. With the awning safely released and cleared of obstructions, you’re ready to proceed with the subsequent steps to secure it for travel or storage.
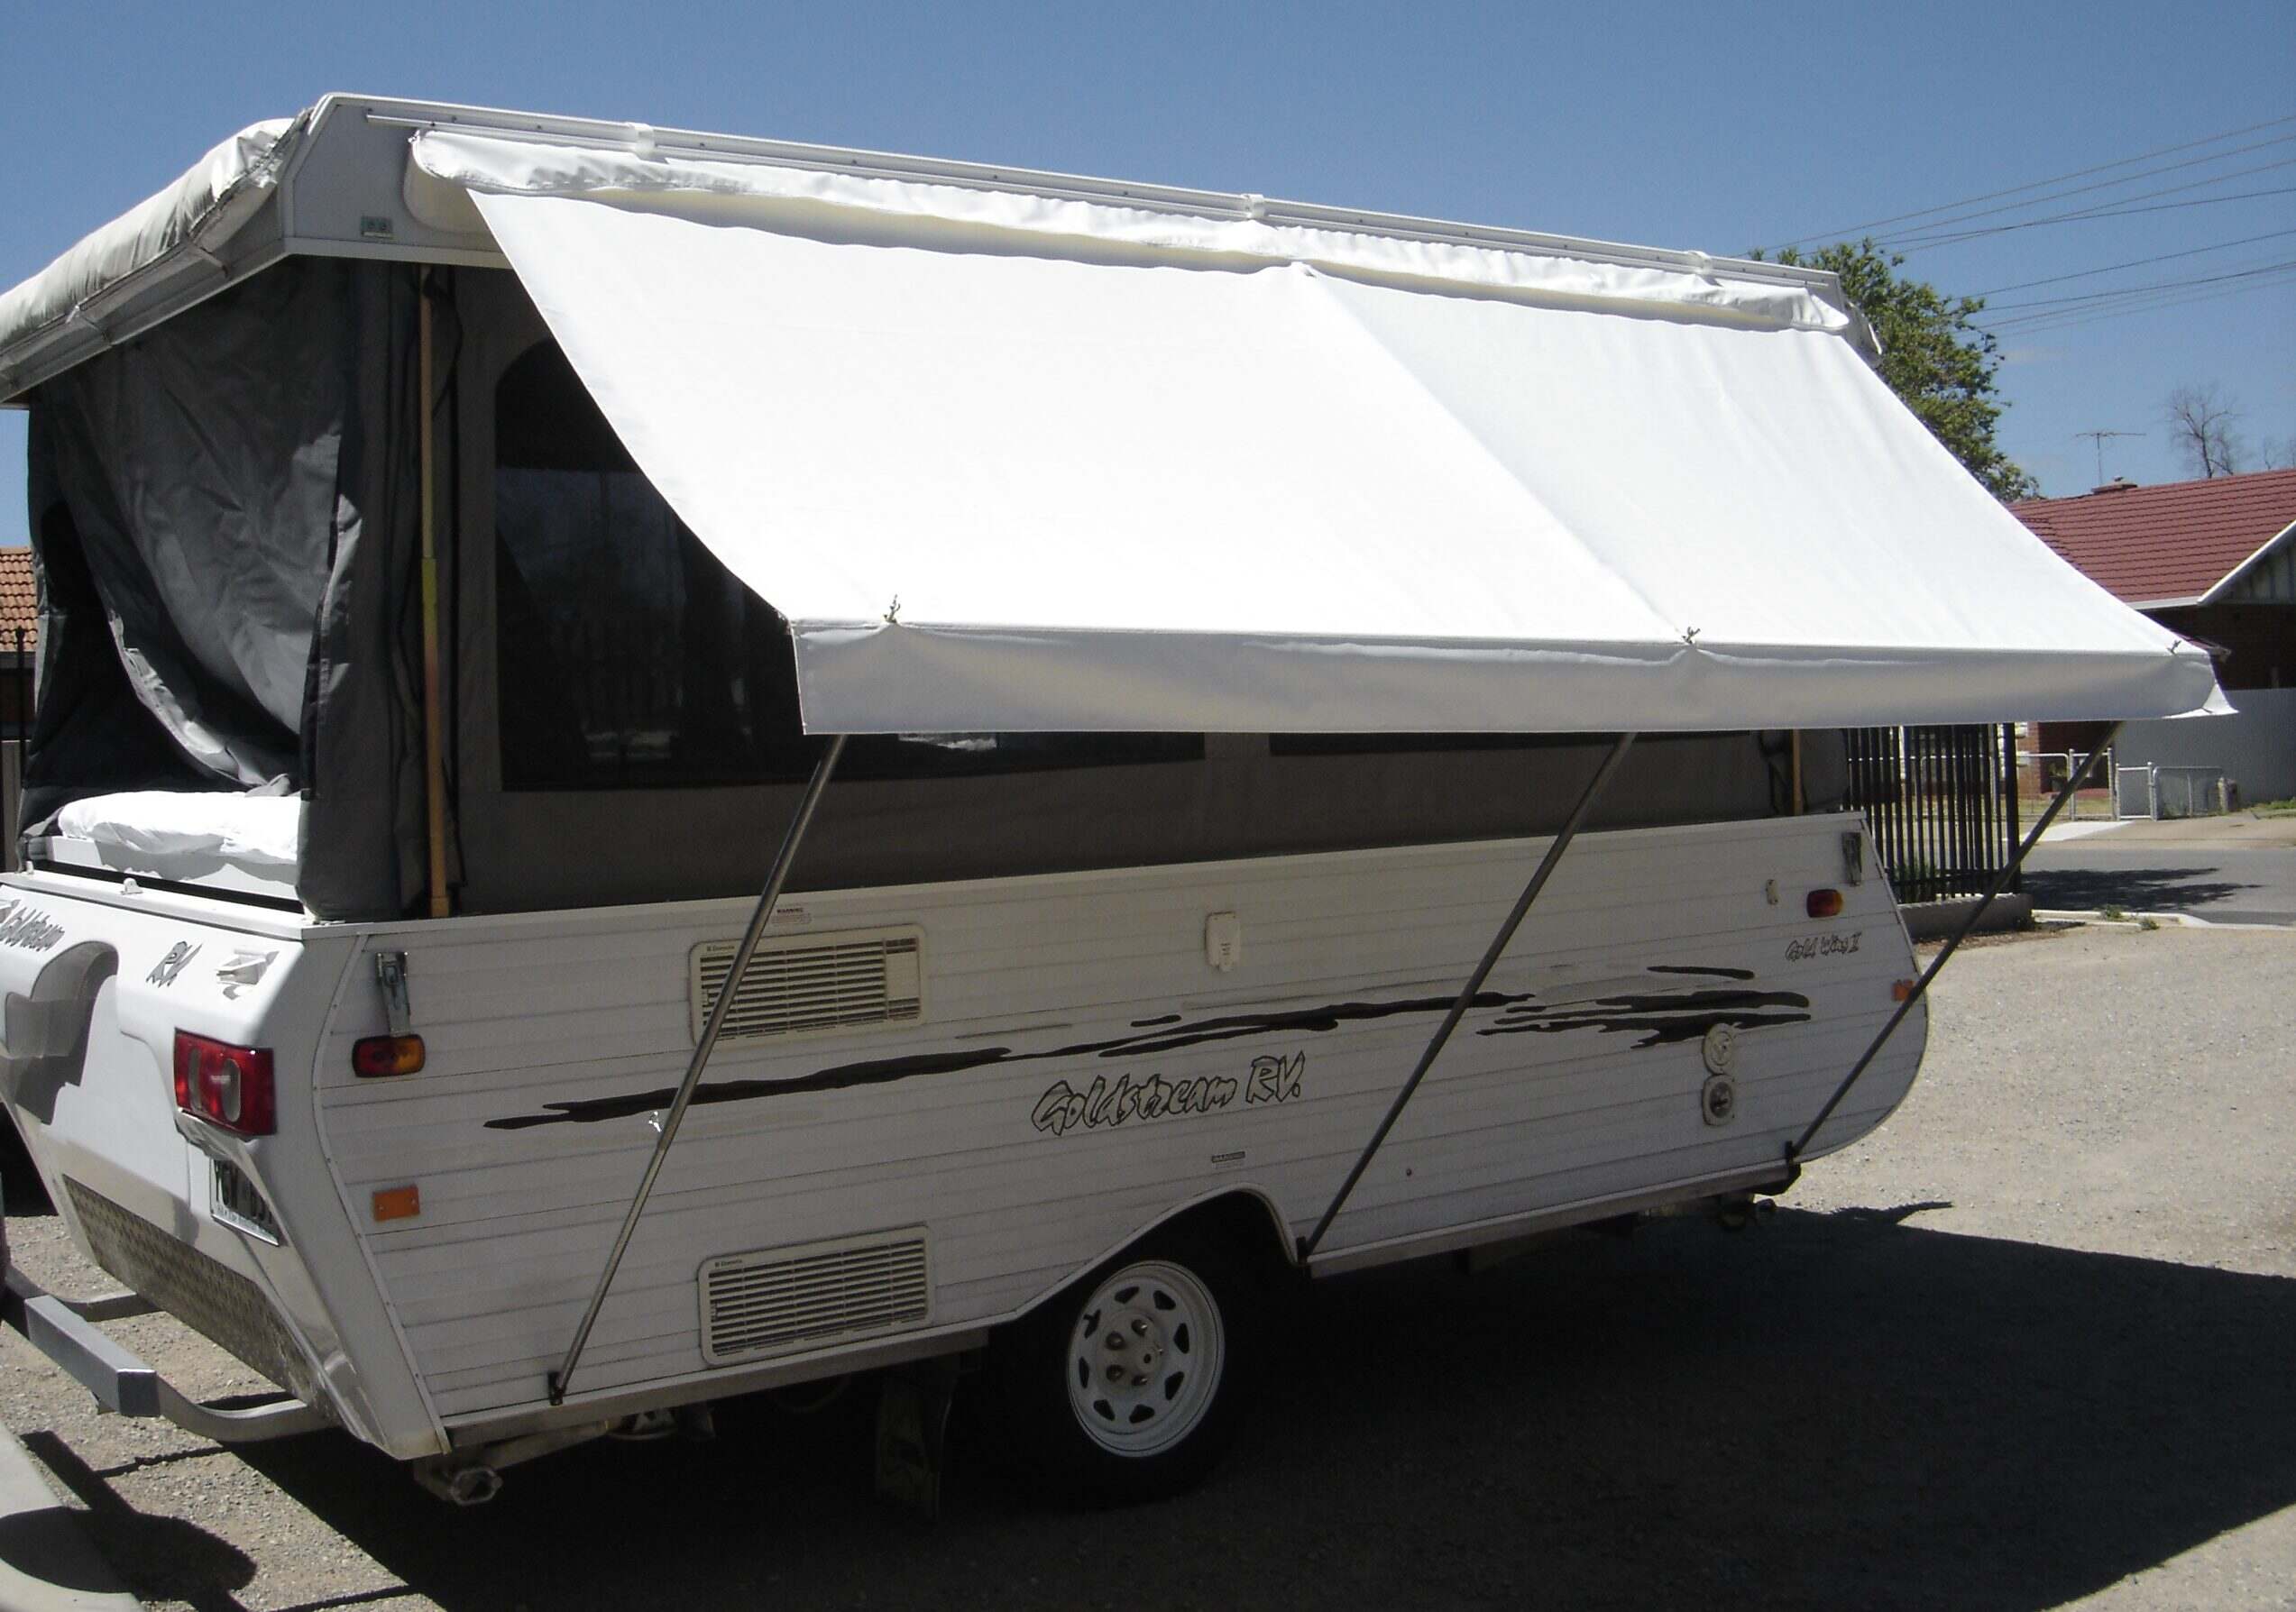
Step 3: Roll up the Awning
Having successfully released the tension and ensured that the awning is free from obstructions, the next pivotal step in closing your camper awning is the careful and methodical process of rolling it up. This step requires precision and attention to detail to avoid any potential mishaps or damage to the awning.
Using the awning rod, gently guide the awning as it begins to roll up. It’s crucial to maintain a steady and even motion, ensuring that the fabric is properly aligned and doesn’t become skewed or wrinkled during the process. As the awning rolls up, be mindful of any resistance or irregular movements, as these may signal underlying issues that require further examination.
Throughout the rolling-up process, it’s important to maintain a firm grip on the awning rod and exercise control over the speed and alignment of the rolling fabric. Enlisting the assistance of a companion can be particularly helpful during this stage, as it allows for coordinated guidance and support, reducing the likelihood of any misalignment or strain on the awning.
As the awning nears its fully retracted position, ensure that it is aligned and centered within its housing to prevent uneven tension or potential damage to the framework. A carefully rolled and aligned awning not only facilitates smooth retraction but also contributes to its longevity and overall condition.
Once the awning is fully rolled up and secured in its housing, take a moment to inspect the fabric for any signs of wear, tears, or damage. Addressing any issues promptly will help maintain the awning’s functionality and appearance, ensuring that it’s ready for your next outdoor excursion.
By following these steps and exercising care and precision during the rolling-up process, you’ll successfully complete this crucial stage of closing your camper awning. With the awning safely retracted and inspected, you’re now prepared to proceed to the next phase of securing it for travel or storage.
When closing a camper awning, start by retracting the arms and then roll up the fabric evenly. Make sure to secure it tightly to prevent damage while traveling.
Step 4: Secure the Awning
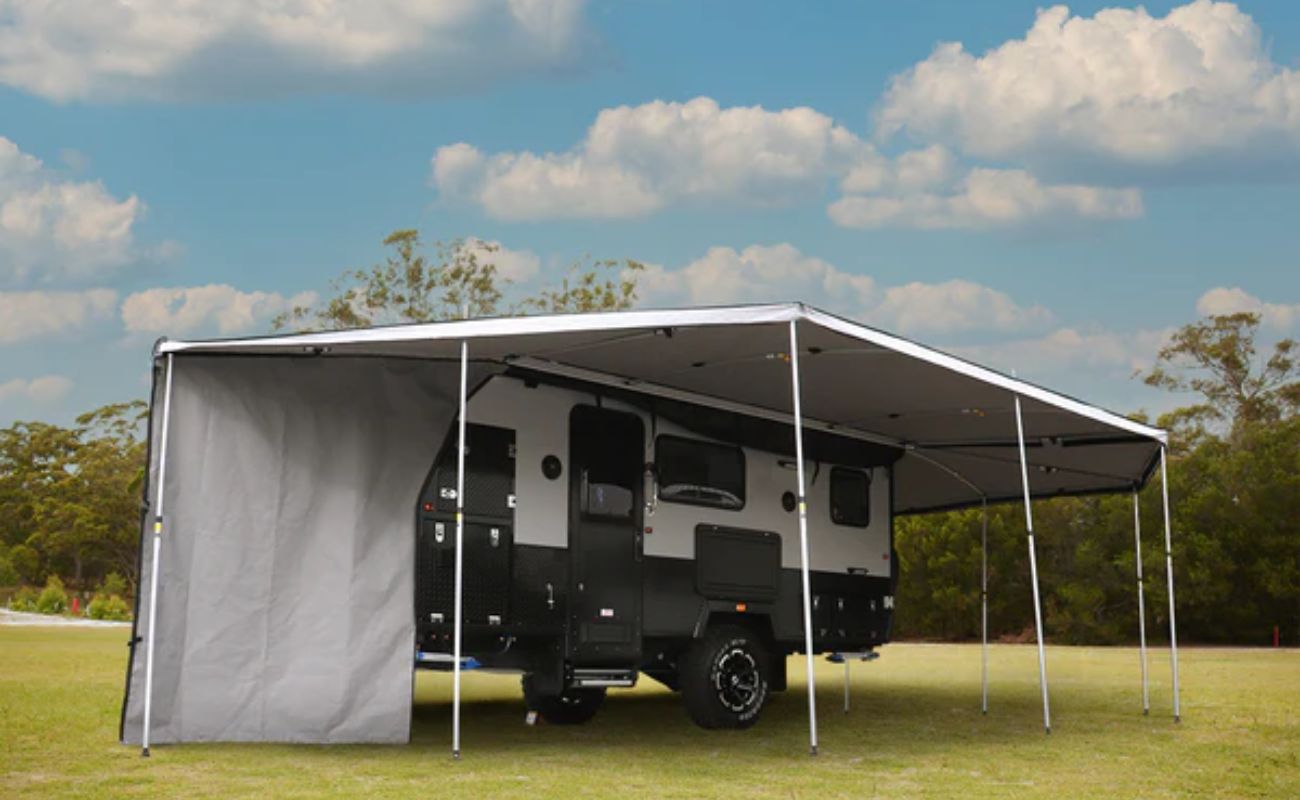
After rolling up the awning, the next essential step in the process of closing your camper awning is to secure it effectively for travel or storage. Properly securing the awning is crucial to prevent it from unfurling during transit and to safeguard it from potential damage caused by wind or other external factors.
Begin by ensuring that the awning is securely latched or fastened within its housing. Many camper awnings are equipped with locking mechanisms or straps designed to keep the awning in place during travel. Verify that these securing features are engaged and functioning correctly to prevent any unexpected unfurling while on the road.
Additionally, inspect the supporting arms and framework of the awning to confirm that they are properly positioned and secured. Loose or misaligned components can pose a risk during transit and may lead to damage to the awning or the camper itself. Taking the time to double-check the integrity of the awning’s structure is a proactive measure to ensure safe and trouble-free travels.
If your camper is equipped with awning support legs or braces, ensure that they are retracted and securely fastened. These components play a crucial role in stabilizing the awning and preventing excessive movement or strain on its framework. By confirming that the support legs are properly secured, you contribute to the overall stability and safety of the awning during transit.
As an additional precaution, consider utilizing awning tie-downs or straps to provide extra security and stability. These accessories offer an extra layer of protection against unexpected gusts of wind or inclement weather, minimizing the risk of damage to the awning and enhancing its resilience on the road.
By diligently securing your camper awning using the aforementioned measures, you can embark on your travels with confidence, knowing that your awning is well-protected and prepared for the journey ahead. Ensuring that the awning is securely fastened and supported is an integral part of responsible camper maintenance and contributes to a worry-free outdoor experience.
Read more: How To Open A Camper Awning
Step 5: Final Checks and Maintenance
As you approach the completion of the camper awning-closing process, it’s essential to conduct final checks and perform routine maintenance to ensure that the awning is in optimal condition and ready for future use. This step serves as a proactive measure to address any potential issues and maintain the longevity of your camper’s awning.
Begin by inspecting the fabric of the awning for any signs of dirt, stains, or mildew. Depending on the material of the awning, cleaning it with a mild solution and a soft brush can help preserve its appearance and extend its lifespan. Regular cleaning and maintenance contribute to the overall upkeep of the awning, ensuring that it remains a functional and appealing component of your camper.
Next, examine the awning framework and components for any signs of wear, corrosion, or damage. Pay particular attention to the integrity of the support arms, hinges, and locking mechanisms, as these elements are critical to the functionality and safety of the awning. Addressing any issues promptly can prevent further damage and prolong the lifespan of the awning.
Inspect the awning’s housing or casing to ensure that it is free from debris and properly sealed. Keeping the housing clean and well-maintained contributes to the smooth operation of the awning and minimizes the risk of damage to its components. Additionally, lubricating any moving parts as per the manufacturer’s recommendations can enhance the functionality and longevity of the awning mechanism.
Finally, take a moment to review the camper’s user manual for any specific maintenance guidelines or recommendations provided by the manufacturer. Adhering to the prescribed maintenance procedures ensures that you are caring for your camper awning in accordance with the manufacturer’s specifications, promoting its longevity and performance.
By conducting these final checks and performing routine maintenance, you demonstrate a proactive approach to caring for your camper’s awning, ensuring that it remains in top condition for your future outdoor adventures. Regular maintenance not only safeguards the awning’s functionality but also contributes to the overall enjoyment and comfort of your camping experiences.
Conclusion
Congratulations! You’ve successfully navigated the essential steps to close your camper awning with confidence and precision. Mastering this fundamental skill equips you with the knowledge and capability to ensure a seamless and enjoyable camping experience from start to finish.
By gathering the necessary tools, releasing the awning with care, rolling it up methodically, and securing it effectively, you’ve demonstrated a proactive approach to camper maintenance and responsible outdoor adventuring. These steps not only contribute to the safety and longevity of your camper awning but also enhance the overall comfort and convenience of your camping trips.
Remember, proper maintenance and care for your camper awning are integral to preserving its functionality and appearance. By incorporating routine checks and maintenance into your camper care regimen, you can prolong the lifespan of your awning and continue to enjoy its benefits on numerous outdoor excursions.
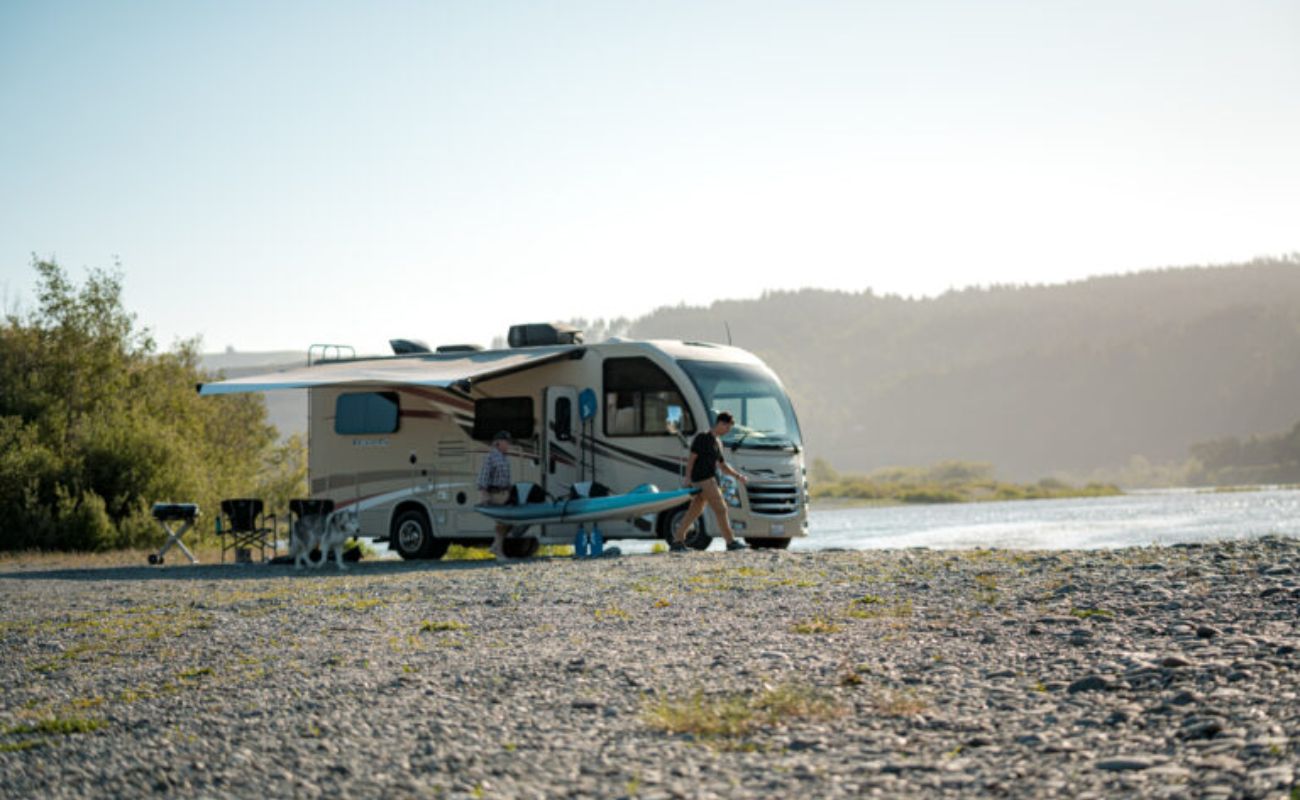
Whether you’re embarking on a cross-country road trip or simply enjoying a weekend getaway in the great outdoors, the ability to confidently manage your camper awning adds a valuable layer of convenience and comfort to your adventures. Embrace the knowledge and skills you’ve acquired, and let them enhance your outdoor experiences for years to come.
As you prepare for your next camping escapade, rest assured that your camper awning is in optimal condition, ready to provide shade, shelter, and a touch of outdoor luxury wherever your travels may lead. With a well-maintained and securely closed awning, you’re poised for unforgettable outdoor experiences and cherished memories in the beauty of nature.
So, pack your sense of adventure, set your sights on new horizons, and let your expertly managed camper awning be the gateway to countless moments of relaxation and enjoyment amidst the splendor of the great outdoors.
Frequently Asked Questions about How To Close A Camper Awning
Was this page helpful?
At Storables.com, we guarantee accurate and reliable information. Our content, validated by Expert Board Contributors, is crafted following stringent Editorial Policies. We're committed to providing you with well-researched, expert-backed insights for all your informational needs.


0 thoughts on “How To Close A Camper Awning”