Home>Gardening & Outdoor>Outdoor Structures>How To Attach An Awning To A Camper

Outdoor Structures
How To Attach An Awning To A Camper
Modified: February 18, 2024
Learn how to properly attach an awning to your camper for added outdoor comfort and protection. Explore the best methods and tips for securing outdoor structures.
(Many of the links in this article redirect to a specific reviewed product. Your purchase of these products through affiliate links helps to generate commission for Storables.com, at no extra cost. Learn more)
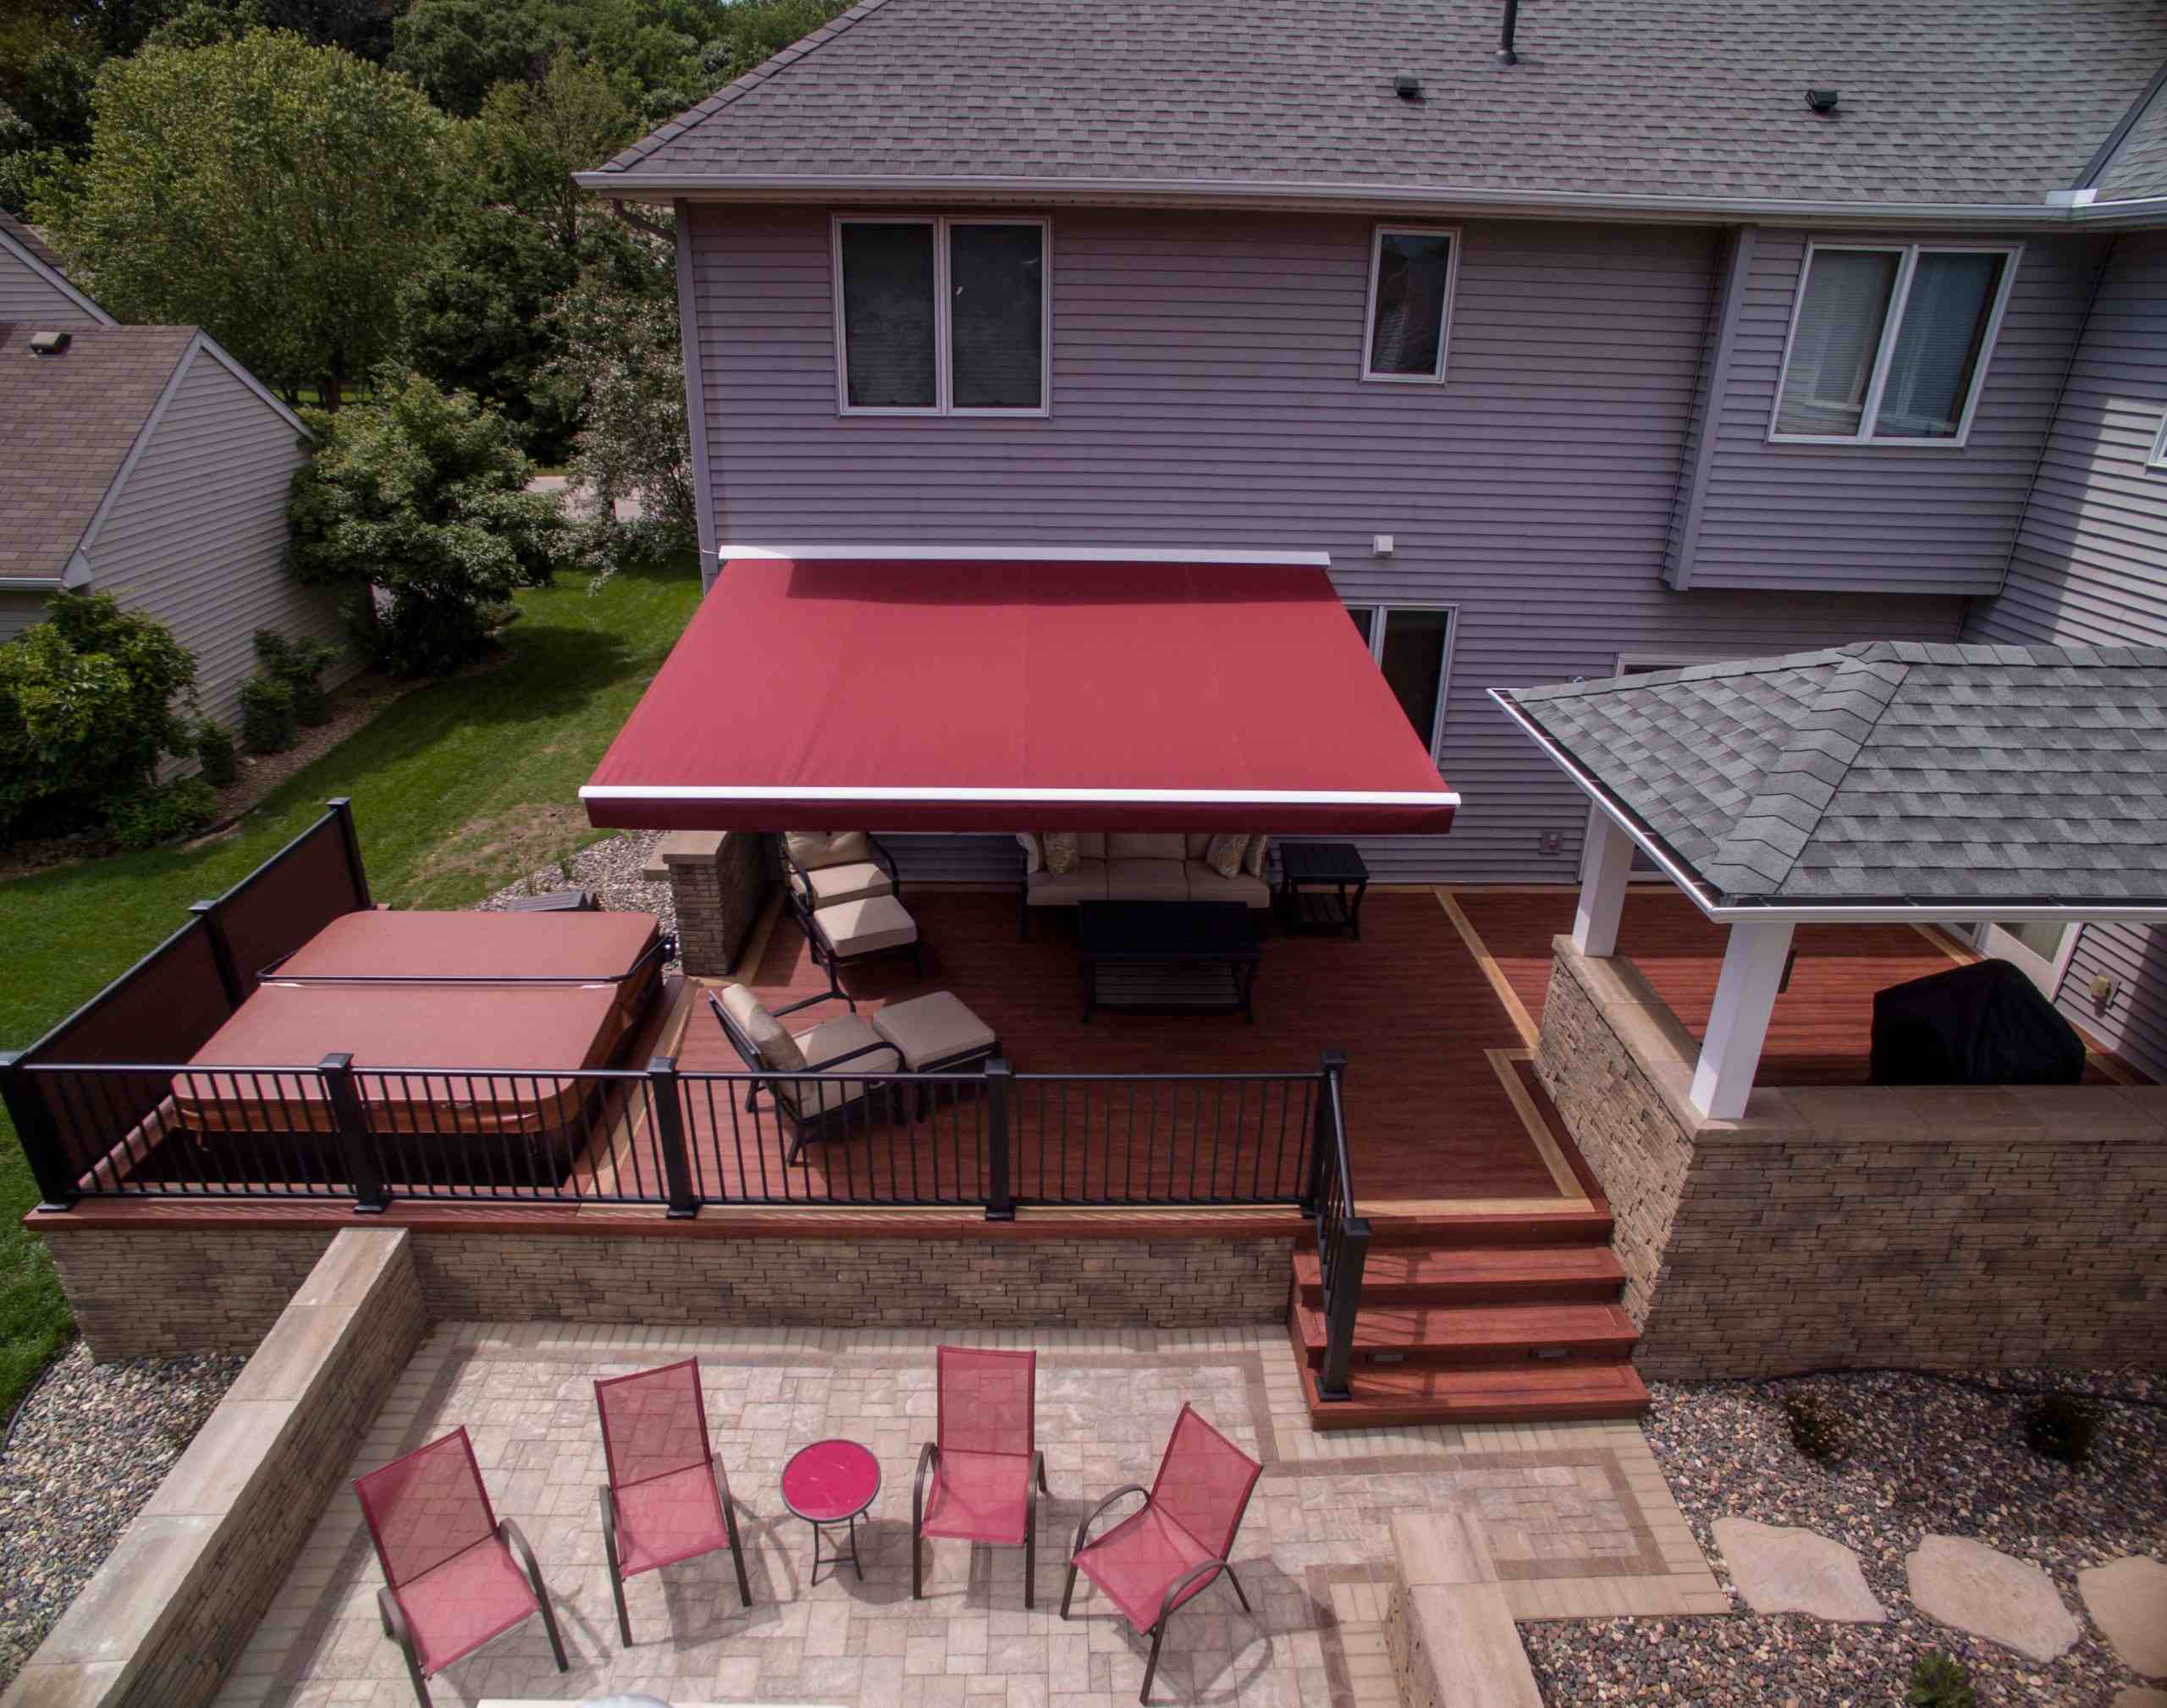
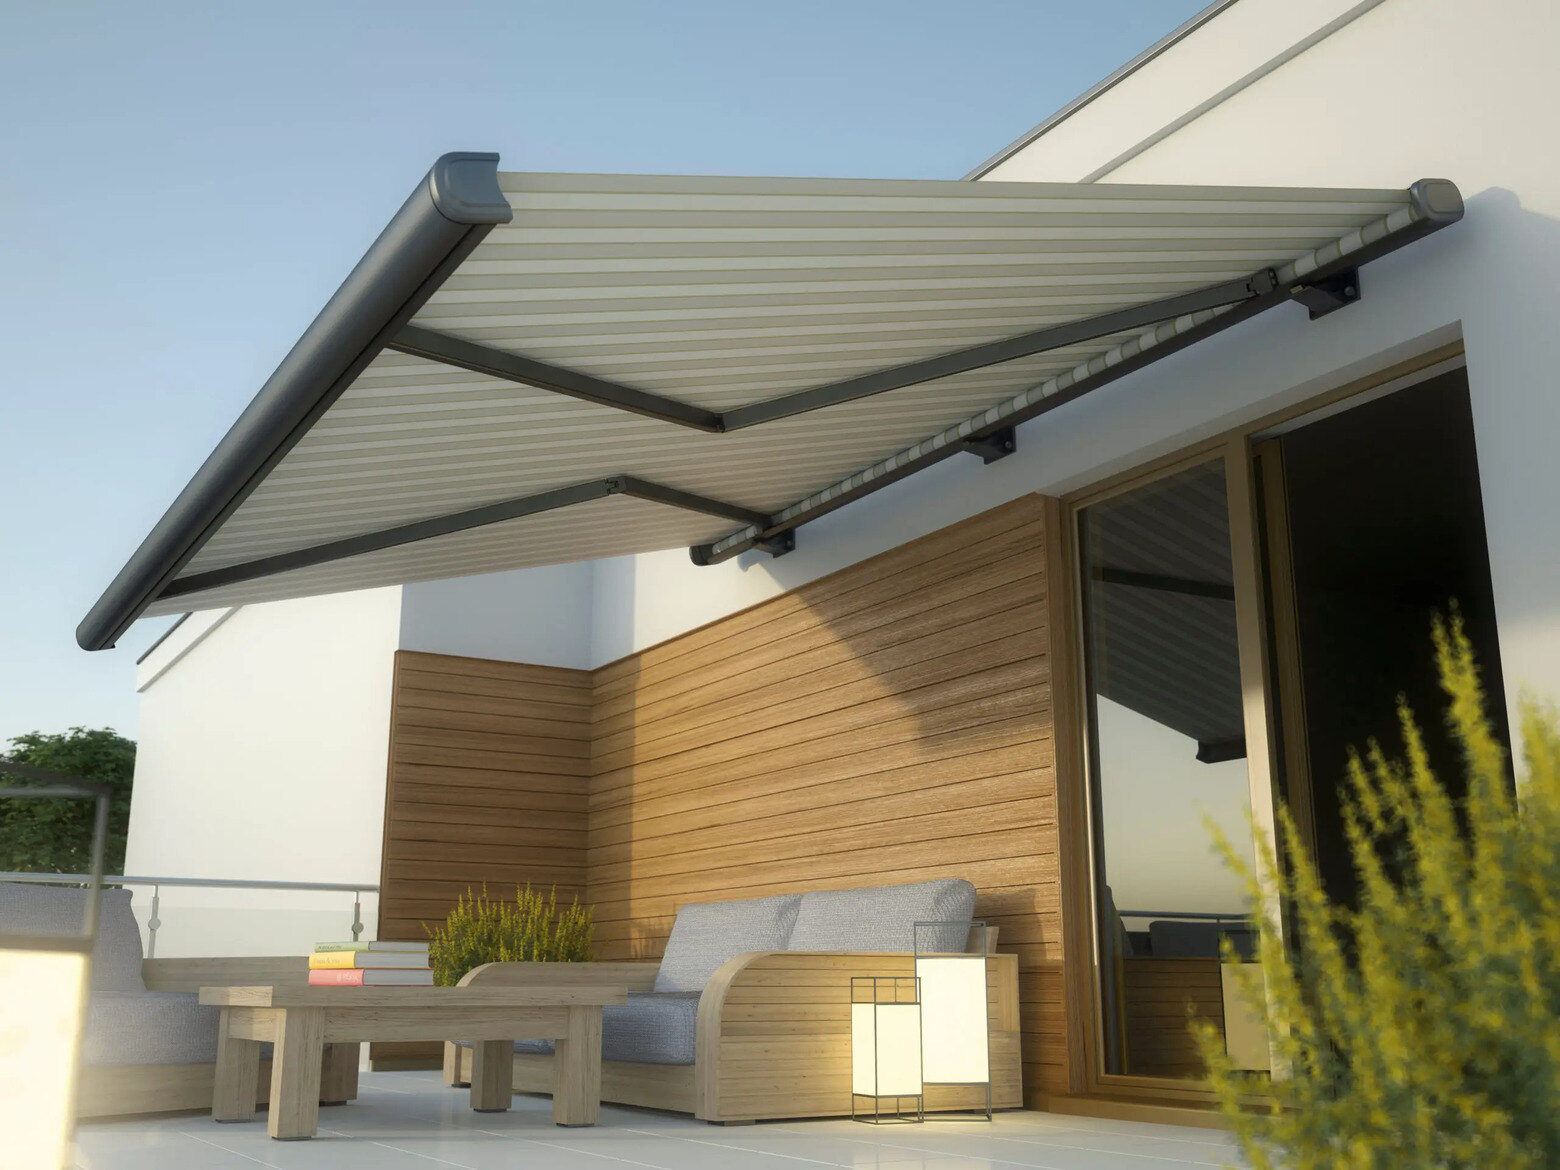
Choosing the Right Awning for Your Camper
Selecting the perfect awning for your camper is a crucial decision that can significantly enhance your outdoor experience. With a wide array of options available, it's important to consider various factors to ensure that the chosen awning meets your specific needs and preferences.
Read more: How Much Is An Awning For A Camper
Consider the Size and Type
Begin by determining the size of the awning that best suits your camper. Measure the available space and consider the dimensions that would provide ample coverage for your outdoor activities. Additionally, assess the type of awning that aligns with your requirements. Options include traditional manual awnings, easy-to-operate retractable awnings, and lightweight, compact pop-up awnings.
Material and Durability
Evaluate the material composition of the awning fabric. Opt for durable, weather-resistant materials such as polyester or acrylic, which can withstand varying climatic conditions and provide long-term functionality. Additionally, consider the frame material, ensuring it is robust and corrosion-resistant to maintain structural integrity over time.
Functionality and Features
Explore the diverse features offered by different awning models. Some awnings are equipped with adjustable legs for versatile positioning, while others may include integrated LED lighting for enhanced ambiance during evening gatherings. Consider additional features such as wind sensors, which automatically retract the awning in strong gusts, providing added convenience and protection.
Aesthetic Appeal
While functionality is paramount, the aesthetic appeal of the awning should not be overlooked. Choose a color and design that complements the exterior of your camper, creating a visually appealing and cohesive outdoor setup. Additionally, consider optional accessories such as detachable sidewalls or privacy screens to further customize the awning's appearance and functionality.
Read more: How To Open A Camper Awning
Budget and Brand Reputation
Establish a budget for the awning investment and explore reputable brands known for producing high-quality camper awnings. While cost-effective options are available, prioritize durability and reliability to ensure that the chosen awning offers long-term value and performance.
By carefully considering these factors, you can confidently select an awning that seamlessly integrates with your camper, elevating your outdoor adventures with comfort, style, and practicality.
Key Takeaways:
- Choose the right awning for your camper by considering size, material, features, and budget. Aesthetics matter too, so pick a design that complements your camper’s exterior for a visually appealing outdoor setup.
- Before attaching the awning to your camper, gather all necessary tools and materials. Thoroughly clean and prepare the installation area to ensure a smooth and enduring attachment. Then, carefully follow the installation steps to secure a stable and functional awning.
Gathering the Necessary Tools and Materials
Before embarking on the installation of an awning for your camper, it's essential to gather all the requisite tools and materials to ensure a smooth and efficient process. Having the right equipment at hand not only streamlines the installation but also minimizes the likelihood of interruptions or delays. Here's a comprehensive list of the essential tools and materials needed for attaching an awning to your camper:
Tools:
- Measuring Tape: Accurately measure the dimensions of the installation area to ensure the awning fits perfectly.
- Drill and Drill Bits: A reliable drill is essential for creating holes for the mounting brackets and fasteners.
- Screwdriver Set: Both flathead and Phillips screwdrivers will be necessary for securing various components during the installation.
- Adjustable Wrench: This tool is vital for tightening nuts and bolts, ensuring a secure and stable attachment.
- Level: To guarantee that the awning is installed evenly and horizontally, a level is indispensable for precise alignment.
- Step Ladder: Depending on the height of your camper, a sturdy step ladder will facilitate safe and convenient access during the installation process.
- Sealant: High-quality sealant is crucial for weatherproofing the installation, preventing water infiltration and ensuring long-term durability.
- Safety Gear: Prioritize safety by wearing protective gloves and safety goggles to shield yourself from potential hazards during the installation.
Materials:
- Awning Kit: Ensure that you have the complete awning kit, including the fabric, frame, mounting brackets, and all necessary hardware.
- Mounting Hardware: Depending on the awning model, gather the specific screws, bolts, and washers required for secure attachment to the camper.
- Sealant Tape: This tape serves as an additional layer of protection against water intrusion, complementing the application of sealant.
- Cleaning Supplies: Prepare a mild detergent solution and a soft brush to clean the installation area before mounting the awning, ensuring optimal adhesion and longevity.
- Assorted Fasteners: Have a selection of nuts, bolts, and washers on hand to accommodate any unforeseen requirements during the installation process.
- Awning Rail (if applicable): If your camper necessitates an awning rail for installation, ensure that it is included in your materials and is compatible with the awning model.
By ensuring that you have all the necessary tools and materials readily available, you can proceed with confidence, knowing that you are fully equipped to undertake the awning installation process efficiently and effectively.
Read more: How To Use A Camper Awning
Preparing the Camper for Awning Installation
Before commencing the installation of an awning on your camper, thorough preparation of the installation area is essential to ensure a seamless and secure attachment. This preparatory phase not only sets the stage for a successful installation but also contributes to the long-term durability and functionality of the awning. Here's a detailed guide on preparing your camper for awning installation:
Cleaning the Installation Area
Begin by meticulously cleaning the designated installation area on your camper. Use a mild detergent solution and a soft brush to remove any dirt, debris, or residual adhesive from previous installations. Ensure that the surface is completely dry before proceeding to the next step. A clean and smooth surface not only facilitates optimal adhesion but also prevents potential damage to the awning fabric caused by abrasive particles.
Assessing the Mounting Location
Carefully assess the chosen mounting location on your camper. Ensure that the area is structurally sound and capable of supporting the weight and tension of the awning. Additionally, verify that there are no obstructions or protruding elements that could impede the installation process or interfere with the functionality of the awning. It's imperative to select a location that provides sufficient clearance and complements the intended use of the awning.
Marking the Mounting Points
Using a measuring tape and a pencil, mark the precise locations for the mounting brackets or rails. Accurate measurements and markings are crucial for ensuring that the awning is aligned and positioned correctly. Double-check the markings to guarantee symmetry and uniformity, as this will directly impact the stability and aesthetic appeal of the installed awning.
Read more: How To Close A Camper Awning
Applying Sealant and Sealant Tape
Once the mounting points are identified, apply a high-quality sealant to the marked areas on the camper. The sealant serves as a protective barrier against moisture and helps prevent water infiltration, safeguarding the integrity of the installation. Additionally, consider applying sealant tape along the edges of the mounting area to create an extra layer of defense against potential leaks and environmental elements.
Verifying Compatibility and Alignment
If your awning installation requires an awning rail, ensure that it is compatible with the chosen awning model and aligns seamlessly with the marked mounting points. Verify that the rail is level and securely positioned, as this will directly influence the stability and functionality of the installed awning.
By meticulously preparing your camper for awning installation, you lay a solid foundation for a successful and enduring attachment. This preparatory phase not only streamlines the installation process but also contributes to the overall performance and longevity of the awning, ensuring that you can fully enjoy the benefits of your outdoor space.
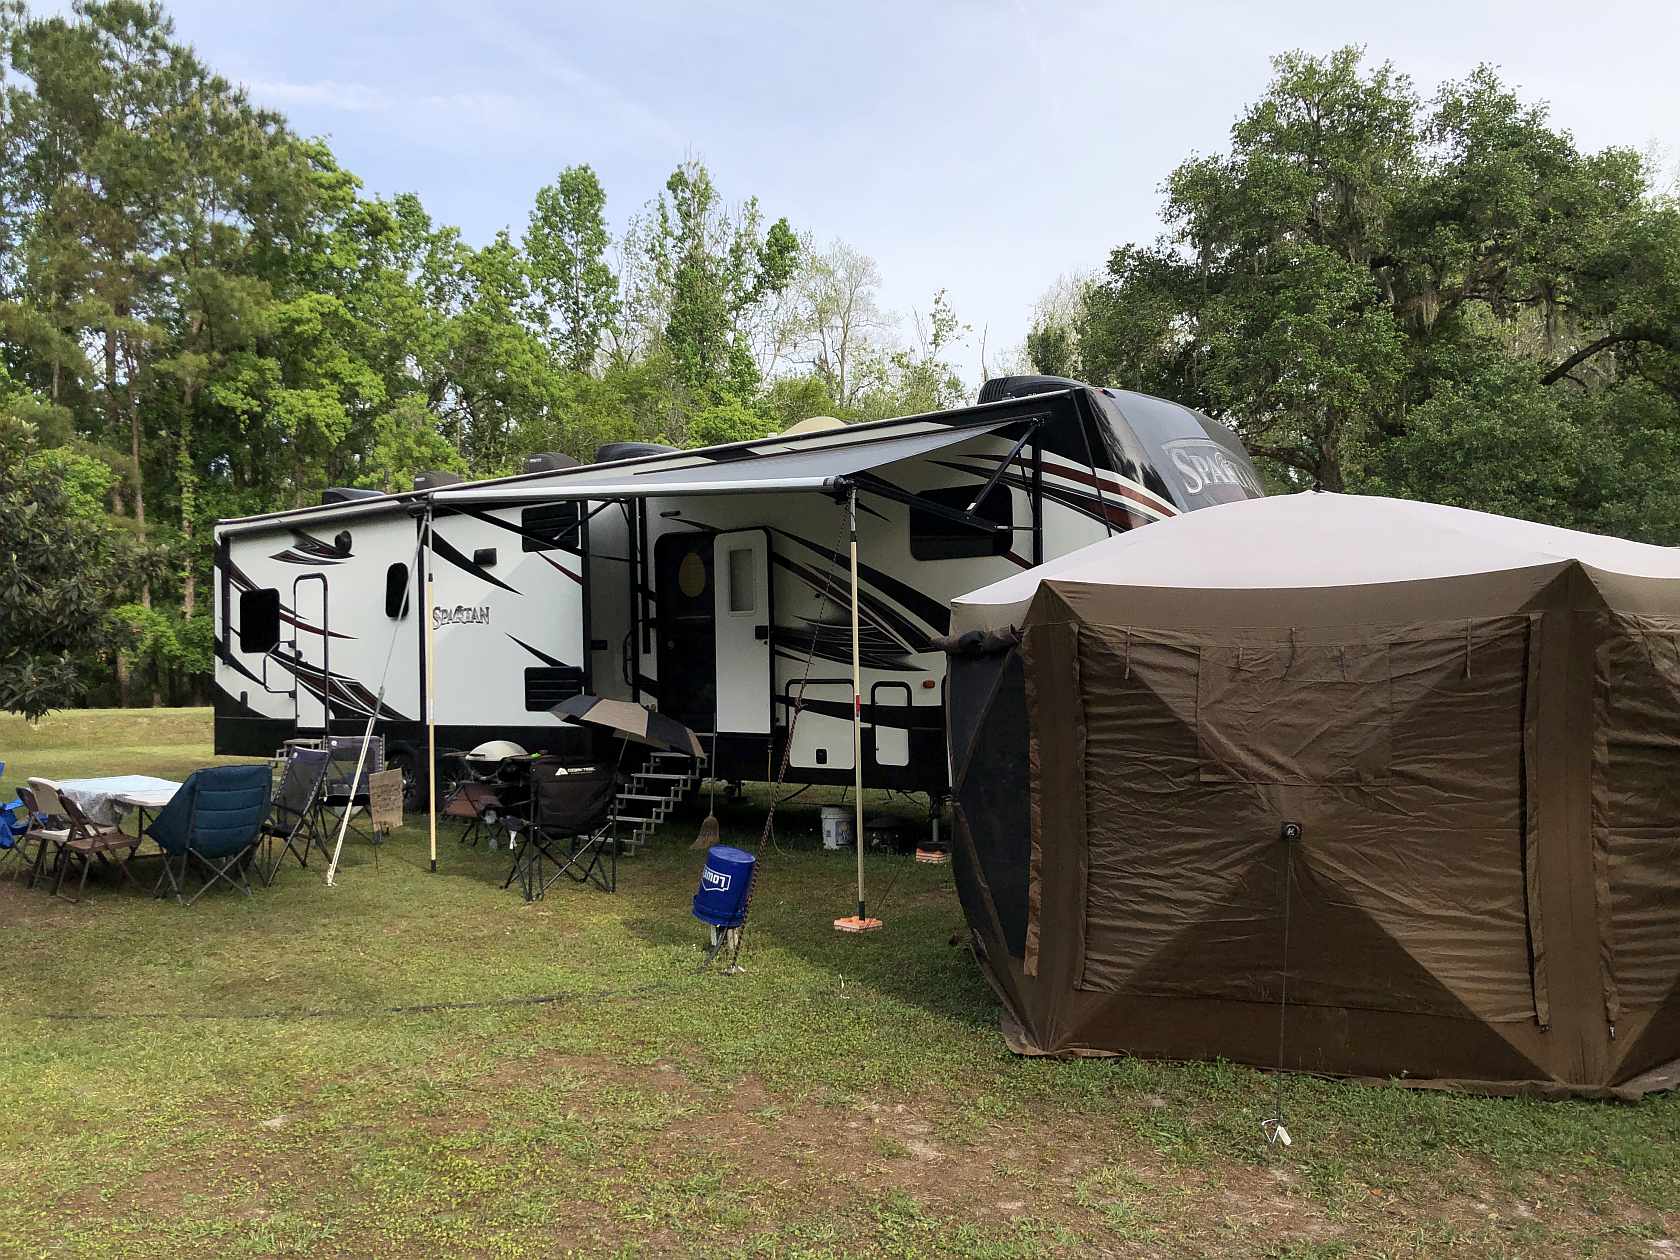
Attaching the Awning to the Camper
With the camper meticulously prepared, the next pivotal phase involves the precise attachment of the awning to the camper. This critical step demands careful attention to detail and a methodical approach to ensure a secure, stable, and aesthetically pleasing installation.
Mounting the Brackets or Rail
If your awning utilizes mounting brackets, align them with the pre-marked points on the camper. Utilize the appropriate fasteners and a reliable drill to securely affix the brackets, ensuring that they are level and firmly anchored to the camper's exterior. Alternatively, if the installation necessitates an awning rail, carefully position and fasten it to the designated mounting area, verifying its alignment and stability.
Read more: How To Hang Lights On A Camper Awning
Installing the Awning Fabric and Frame
With the mounting components in place, carefully position the awning fabric and frame according to the manufacturer's instructions. Ensure that the fabric is taut and evenly aligned, minimizing the potential for sagging or uneven tension. Secure the fabric to the frame, paying close attention to the attachment points to guarantee a snug and uniform fit.
Securing the Fasteners and Adjusting the Tension
Once the awning fabric and frame are in position, meticulously tighten all fasteners and hardware to ensure a robust and steadfast attachment. Utilize an adjustable wrench or screwdriver to securely fasten the components, verifying that the tension is evenly distributed across the fabric. This meticulous approach is instrumental in preventing unnecessary movement or strain on the awning, contributing to its long-term stability and functionality.
Verifying Alignment and Functionality
Upon completing the attachment process, meticulously assess the alignment and functionality of the installed awning. Confirm that the awning operates smoothly, extending and retracting without impediments. Additionally, scrutinize the alignment of the fabric and frame, ensuring that they are parallel to the camper's exterior and free from any distortions or misalignments.
Read more: How To Close A Camper Awning
Applying Sealant and Sealant Tape
To fortify the installation and safeguard against potential water infiltration, apply a bead of high-quality sealant along the edges of the mounting brackets or rail. Additionally, consider applying sealant tape to the seams and joints, providing an extra layer of protection against moisture and environmental elements. This proactive measure enhances the longevity and resilience of the awning installation, mitigating the risk of water-related damage.
By meticulously adhering to these steps, you can confidently attach the awning to your camper, culminating in a secure, visually appealing, and functional addition to your outdoor space. This meticulous approach not only ensures the immediate success of the installation but also contributes to the enduring performance and enjoyment of your camper's awning.
Read more: How To Roll Up A Camper Awning
Testing the Awning for Stability and Functionality
After the meticulous attachment of the awning to your camper, the final crucial step involves comprehensive testing to ensure its stability and functionality. This pivotal phase not only validates the effectiveness of the installation but also provides assurance of a reliable and enduring outdoor structure.
Stability Assessment
Commence the testing process by evaluating the stability of the installed awning. Gently extend the awning to its full span, meticulously observing its response to ensure that it unfolds smoothly and uniformly. Assess the tension of the fabric, verifying that it is evenly distributed without any noticeable sagging or excessive slack. This meticulous scrutiny is instrumental in confirming the structural integrity of the awning, ensuring that it can withstand varying environmental conditions without compromising its stability.
Wind Resistance
Simulate potential wind conditions by gently applying pressure to the extended awning. Assess its resilience and ability to withstand mild to moderate gusts, ensuring that it remains steadfast and secure. This assessment provides valuable insight into the awning's capacity to withstand typical outdoor elements, safeguarding against unexpected damage or displacement during inclement weather.
Retraction and Extension
Test the retractable functionality of the awning, ensuring that it smoothly retracts into its designated housing without encountering any obstructions or irregularities. Verify that the retraction process is seamless and consistent, indicative of a well-installed and properly tensioned awning. Subsequently, extend the awning once more, confirming that the extension process is effortless and unhindered, underscoring the functionality and reliability of the installation.
Alignment Verification
Carefully scrutinize the alignment of the awning fabric and frame, ensuring that they remain parallel to the camper's exterior without any noticeable deviations or misalignments. This meticulous assessment guarantees that the awning maintains a visually appealing and harmonious integration with the camper, enhancing the overall aesthetic appeal of the outdoor space.
Water Drainage Evaluation
Incorporate a water drainage evaluation by gently spraying the extended awning with a controlled stream of water. Observe the flow and dispersion of the water, ensuring that it effectively drains away from the fabric without pooling or accumulating. This assessment validates the effectiveness of the awning's water-resistant properties, mitigating the risk of water-related damage and ensuring its long-term durability.
By meticulously conducting these comprehensive tests, you can confidently affirm the stability and functionality of the installed awning, providing assurance of its reliability and resilience in enhancing your outdoor experiences. This meticulous validation not only underscores the success of the installation process but also ensures the enduring performance and satisfaction derived from your camper's awning.
Frequently Asked Questions about How To Attach An Awning To A Camper
Was this page helpful?
At Storables.com, we guarantee accurate and reliable information. Our content, validated by Expert Board Contributors, is crafted following stringent Editorial Policies. We're committed to providing you with well-researched, expert-backed insights for all your informational needs.

0 thoughts on “How To Attach An Awning To A Camper”