Home>Gardening & Outdoor>Outdoor Structures>How To Open A Camper Awning
Outdoor Structures
How To Open A Camper Awning
Modified: February 18, 2024
Learn how to open a camper awning with ease and ensure your outdoor structures are set up quickly and securely. Discover the best tips for managing outdoor-structures.
(Many of the links in this article redirect to a specific reviewed product. Your purchase of these products through affiliate links helps to generate commission for Storables.com, at no extra cost. Learn more)
Introduction
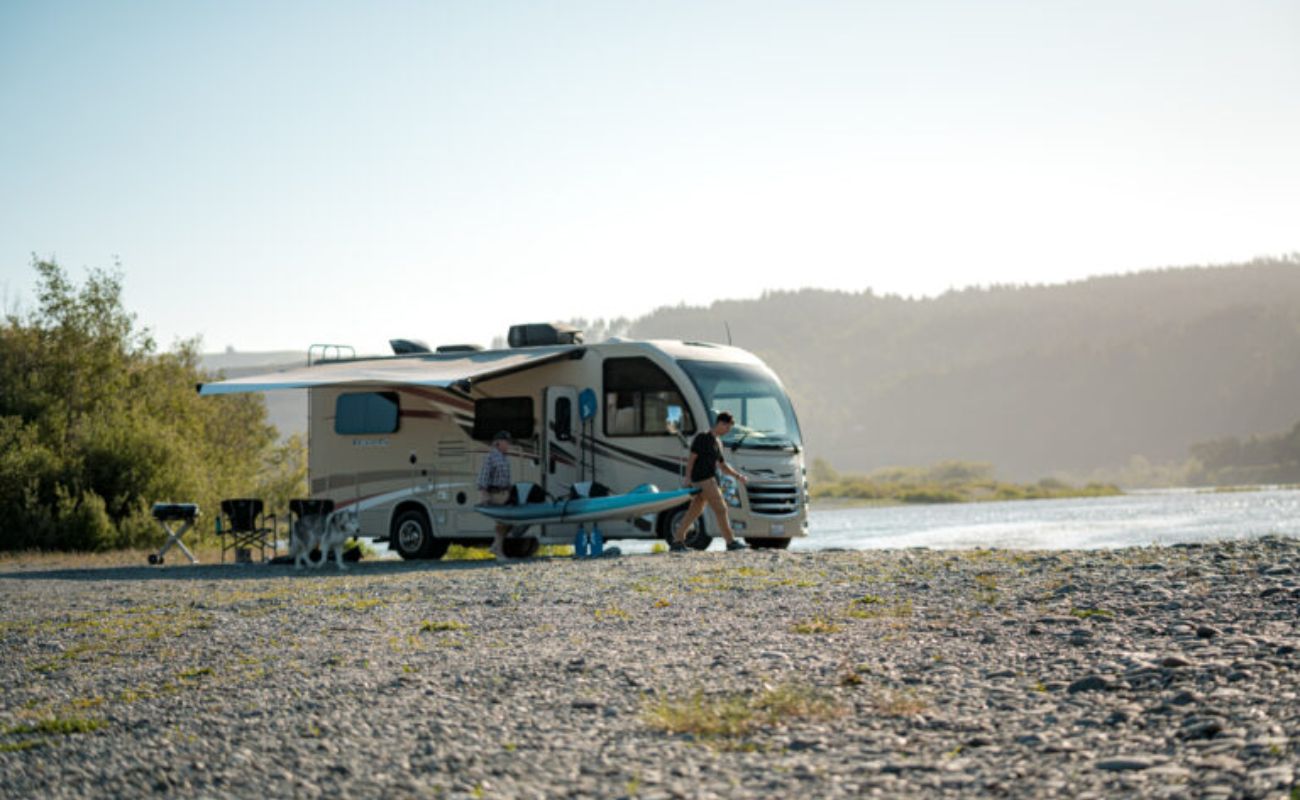
Welcome to the world of outdoor adventures and the convenience of camper awnings! Whether you're a seasoned camper or new to the RV lifestyle, knowing how to open a camper awning is a valuable skill that can enhance your outdoor experience. Awnings provide shade, protection from the elements, and a cozy outdoor space for relaxing, dining, or socializing.
In this guide, we'll walk you through the step-by-step process of opening a camper awning, ensuring that you can enjoy the benefits of this essential outdoor structure with confidence and ease. From gathering the necessary tools to securing the awning in place, we'll cover everything you need to know to make the most of your camper's awning. So, let's dive in and learn how to open a camper awning like a pro!
Key Takeaways:
- Master the art of opening, securing, and storing your camper awning to create a cozy outdoor space for relaxation and protection from the elements during your camping adventures.
- Gather the necessary tools, locate the awning, unlock and extend it, secure it properly, and close and store it to ensure a seamless and enjoyable camping experience.
Read more: How Much Is An Awning For A Camper
Step 1: Gather Necessary Tools and Equipment
Before you embark on the process of opening your camper awning, it’s essential to gather the necessary tools and equipment. Having the right items at your disposal will streamline the task and ensure a smooth and efficient operation.
Here’s a list of the tools and equipment you’ll need:
- Awning Rod or Crank: Depending on the type of awning on your camper, you’ll need an awning rod or crank to extend the awning. This tool allows you to safely and easily operate the awning mechanism.
- Assistance: While not a tool in the traditional sense, having an extra set of hands can be incredibly helpful, especially when extending larger awnings. Enlist the help of a friend or family member to make the process more manageable.
- Step Stool or Ladder: If your awning is positioned high on the camper, a step stool or ladder will aid in reaching the awning mechanism comfortably and safely.
- Owner’s Manual: It’s always a good idea to have the owner’s manual for your camper on hand. The manual provides valuable information specific to your awning type and can offer guidance on its operation.
- Protective Gloves: To protect your hands and provide a better grip, consider wearing protective gloves, especially if the awning mechanism requires manual manipulation.
By ensuring that you have these tools and equipment readily available, you’ll be well-prepared to proceed with opening your camper awning smoothly and safely.
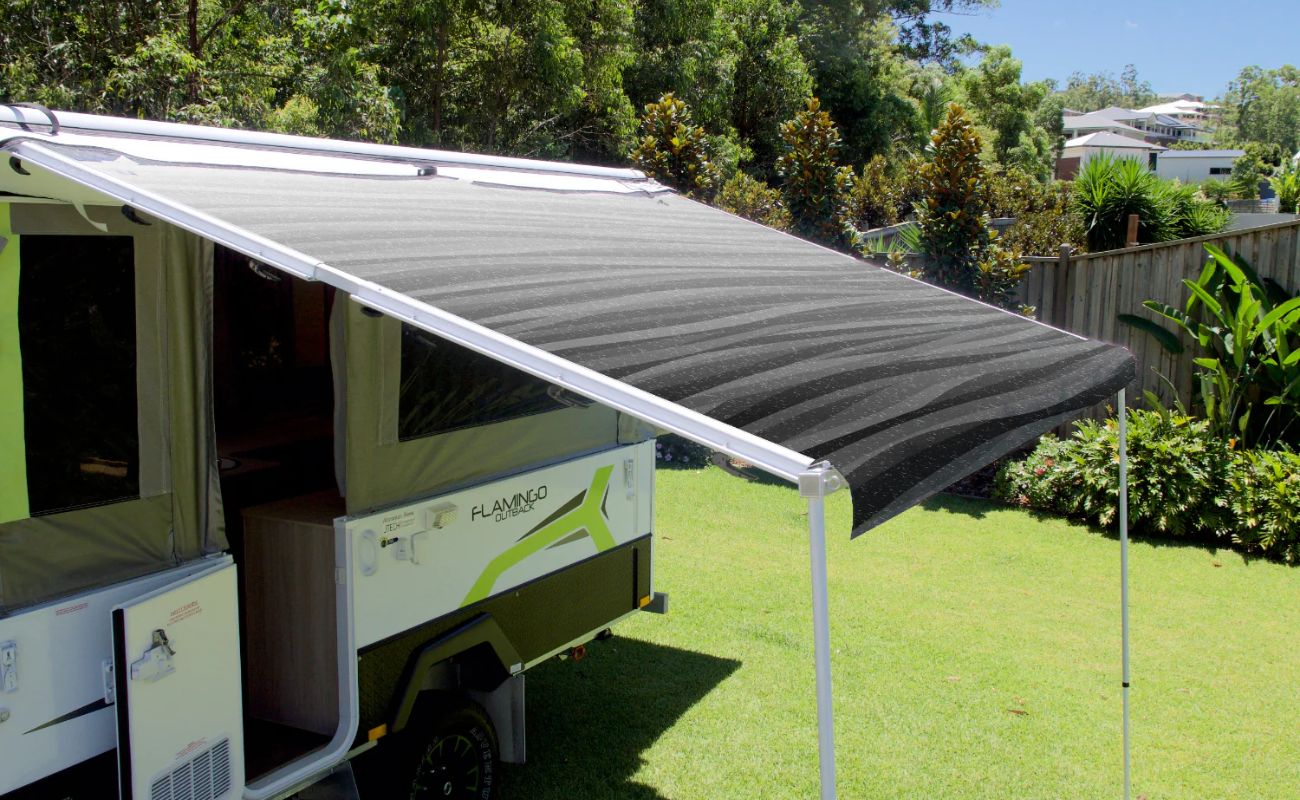
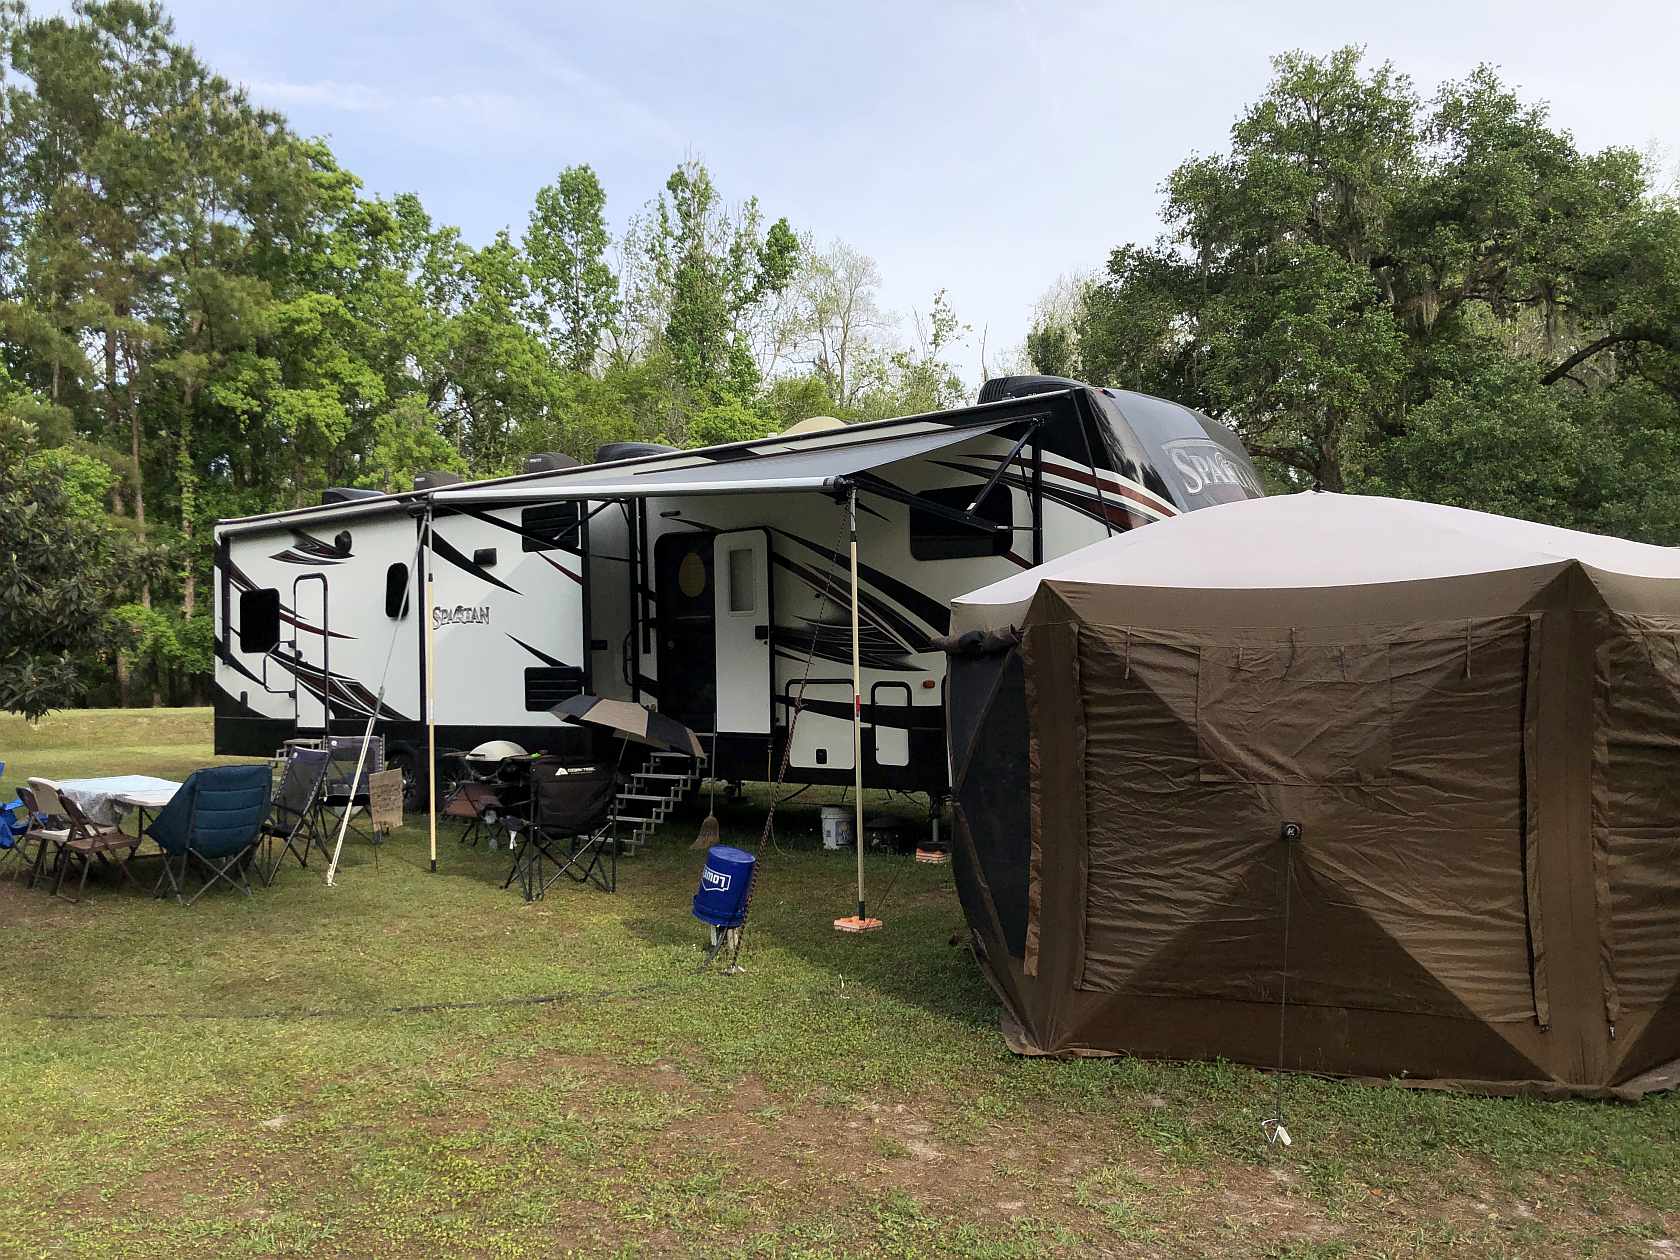
Step 2: Locate the Awning
Before you can begin the process of opening your camper awning, it’s crucial to locate its position on your recreational vehicle. The awning’s placement may vary depending on the specific design of your camper, so familiarizing yourself with its location is the first step in the process.
Here are some key tips for locating your camper’s awning:
- Exterior Examination: Start by conducting an exterior inspection of your camper. Look for a long, narrow compartment attached to the side of the vehicle. This compartment houses the awning when it’s retracted. The awning is typically secured within a protective casing to shield it from the elements during travel.
- Check the Sides: Walk around the perimeter of your camper and inspect each side carefully. Some campers may have multiple awnings, so be sure to check each side to identify the location of the awning you intend to open.
- Refer to the Owner’s Manual: If you’re having difficulty locating the awning, consult your camper’s owner’s manual for specific guidance. The manual often includes detailed diagrams and instructions for identifying and accessing the awning.
Once you’ve successfully located the awning, you’re ready to proceed to the next step in the process of opening it.
By taking the time to pinpoint the exact placement of your camper’s awning, you’ll set the stage for a smooth and efficient opening process, ensuring that you can enjoy its benefits without any unnecessary delays or complications.
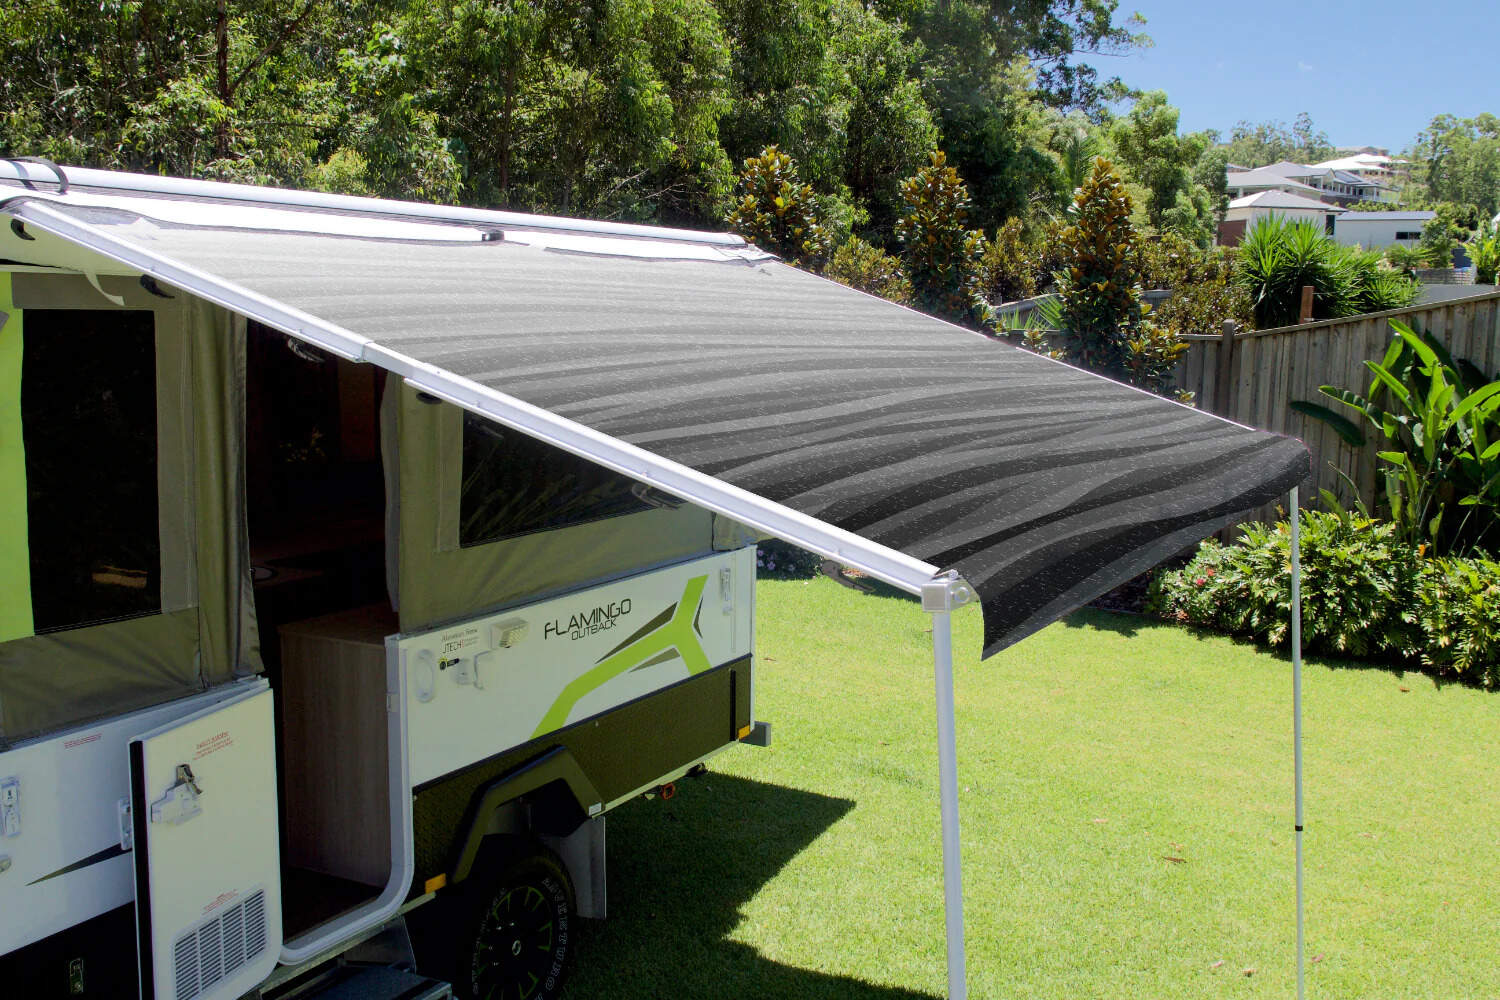
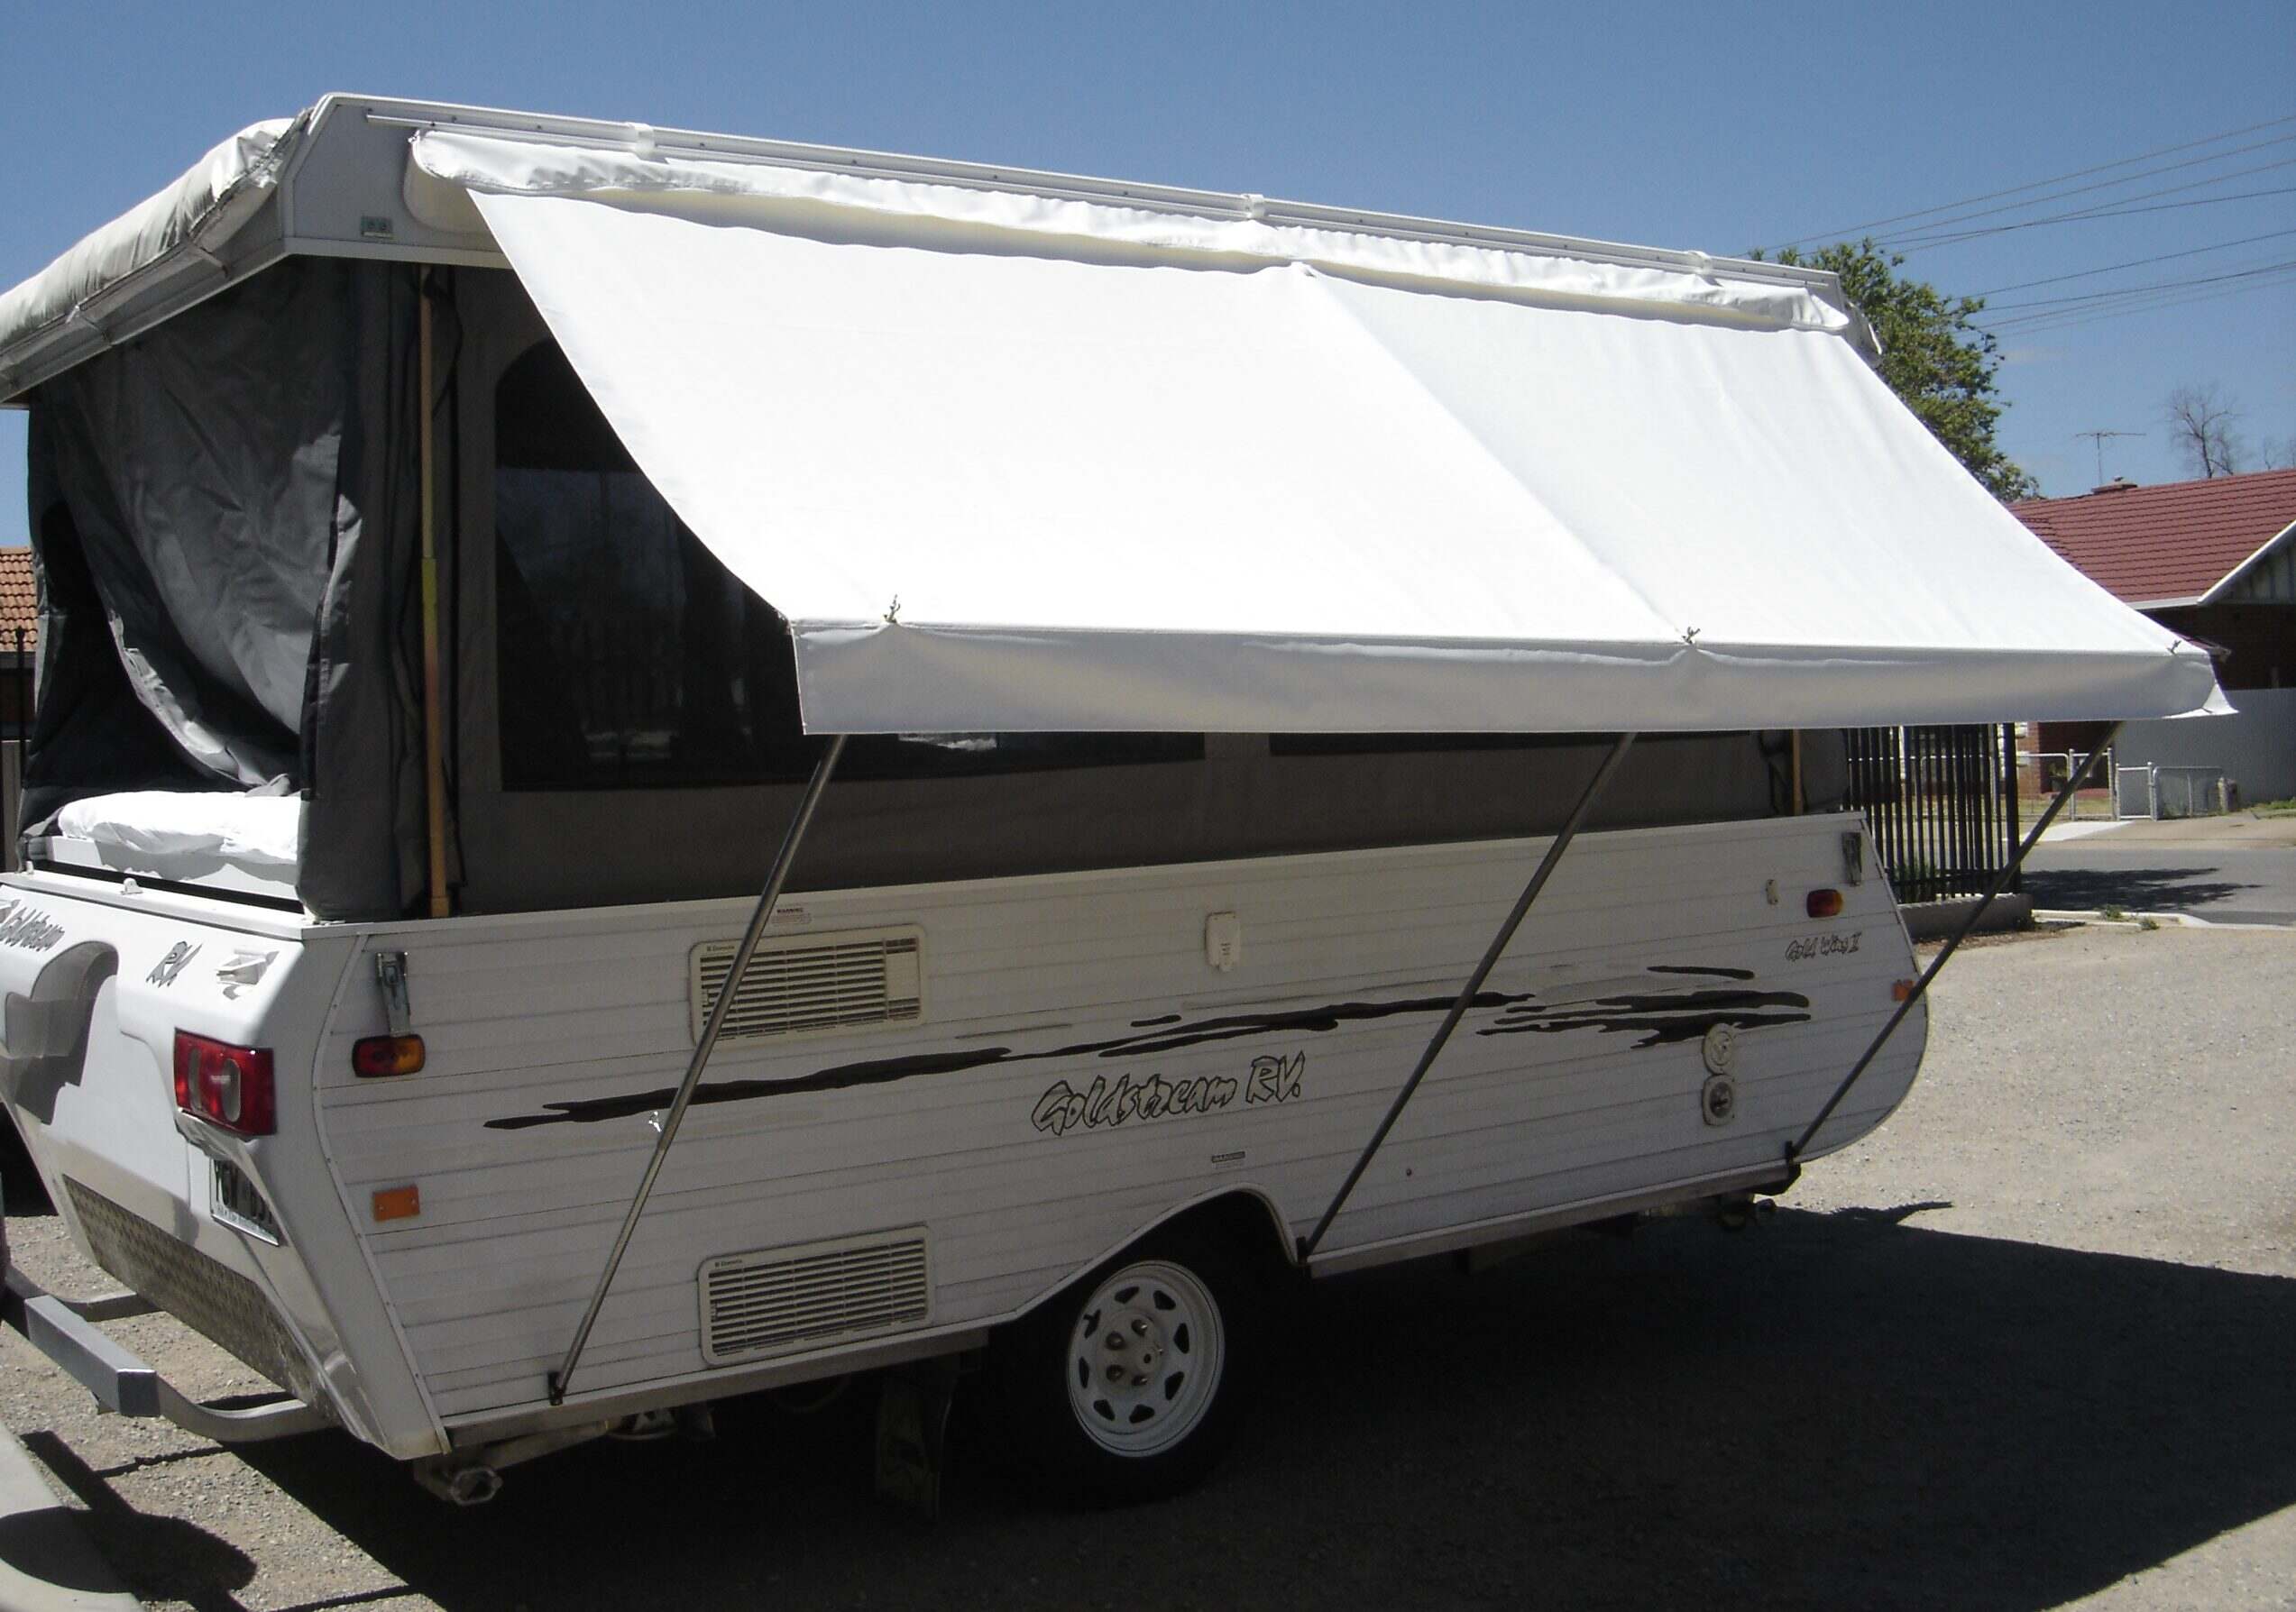
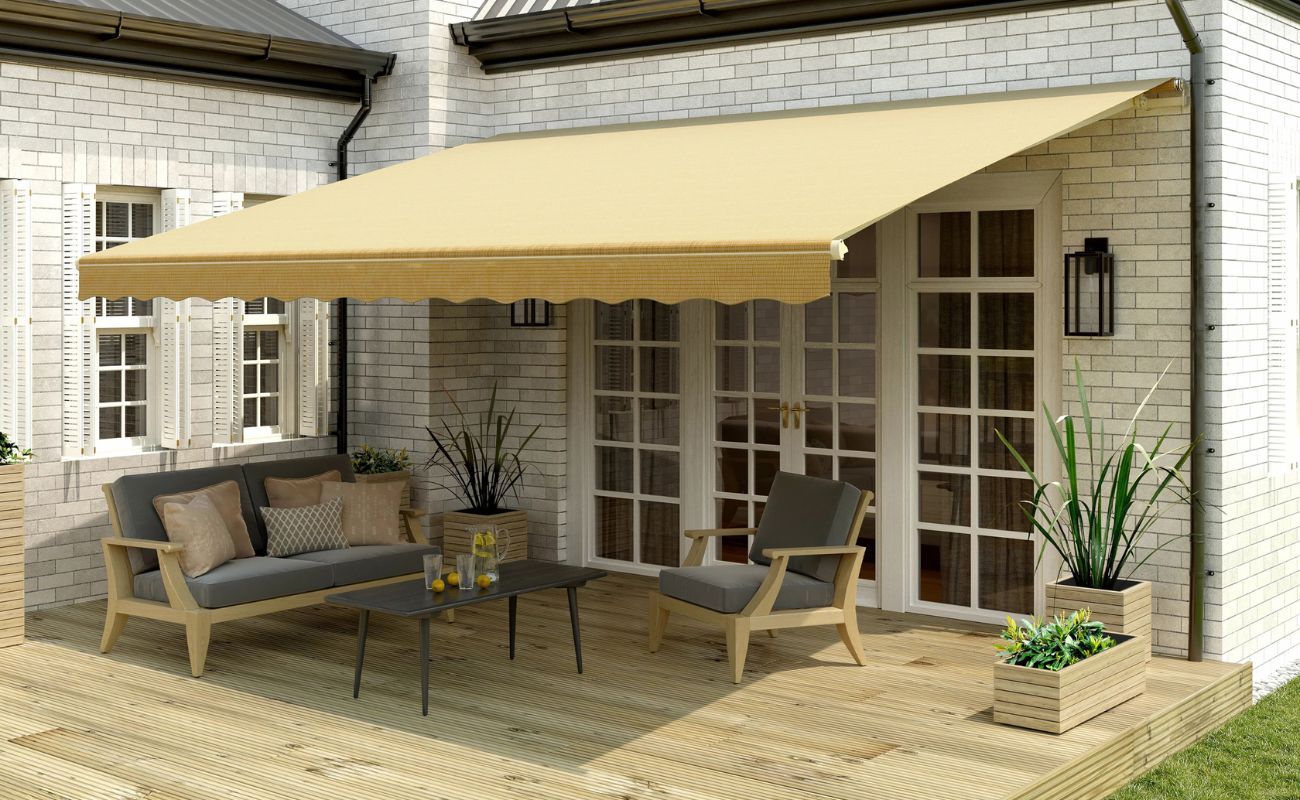
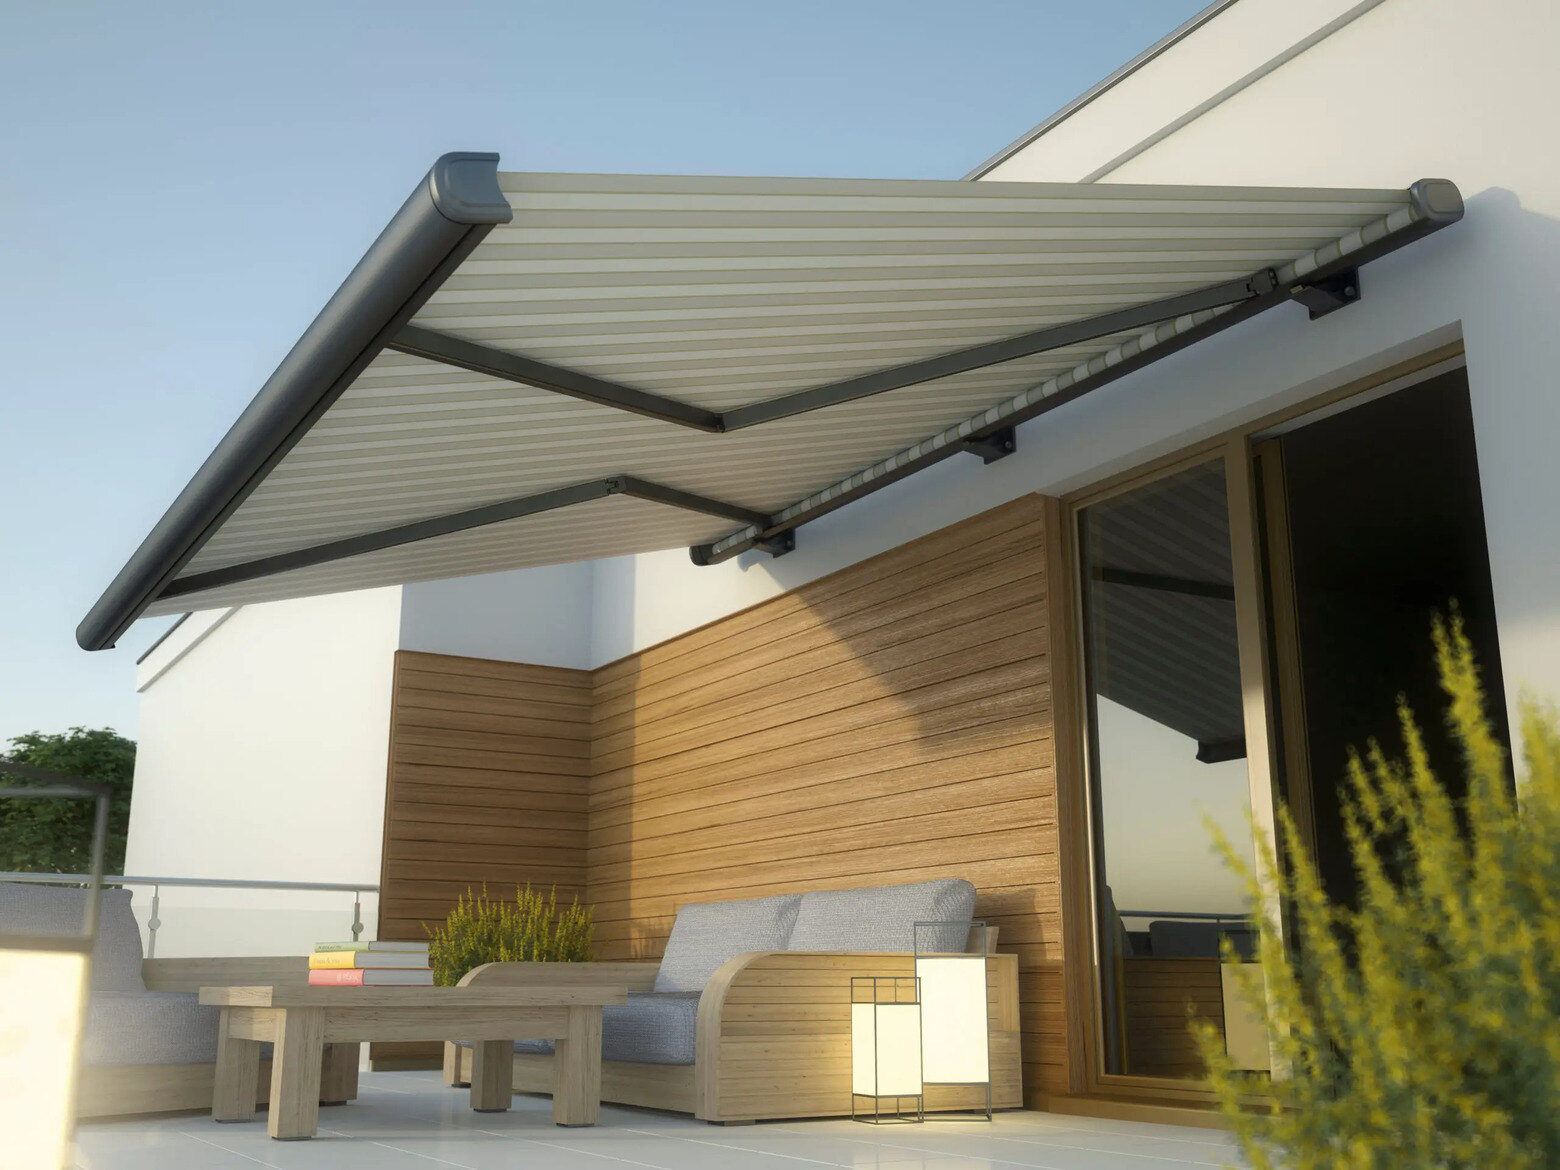
Step 3: Unlock and Extend the Awning
With the awning located, it’s time to unlock and extend it, allowing you to create a comfortable outdoor space for relaxation and shelter from the elements. The process may vary slightly depending on the type of awning mechanism your camper is equipped with, so it’s essential to refer to your specific owner’s manual for detailed instructions. Here’s a general outline of the steps involved in unlocking and extending the awning:
- Unlocking the Mechanism: If your camper’s awning is equipped with a locking mechanism, carefully release the locks to prepare the awning for extension. This may involve releasing latches or unlocking the awning arms from their travel position.
- Using the Awning Rod or Crank: If your awning is manually operated, insert the awning rod or crank into the designated mechanism. Follow the instructions in your owner’s manual to extend the awning smoothly and evenly. For motorized awnings, consult the manual for the specific steps to activate the extension mechanism.
- Applying Even Pressure: As you extend the awning, apply even pressure to ensure that it unfurls uniformly. This helps prevent strain on the awning fabric and ensures a balanced extension.
- Securing the Support Arms: Once the awning is fully extended, secure the support arms in place to provide stability and prevent the awning from retracting unexpectedly. Follow the manufacturer’s instructions for locking the support arms into position securely.
It’s important to approach the unlocking and extension process with care and attention to detail, ensuring that the awning extends smoothly and securely to provide the desired shelter and shade.
By following these steps and consulting your owner’s manual for specific guidance, you’ll be well-equipped to unlock and extend your camper’s awning effectively, setting the stage for a delightful outdoor experience.
When opening a camper awning, make sure to check for any obstructions or debris on the awning fabric or arms. Slowly extend the awning to prevent any damage and always secure it properly to avoid any accidents.
Step 4: Secure the Awning
Once the awning is fully extended, it’s essential to secure it properly to ensure stability and safety. Properly securing the awning also helps prevent damage caused by unexpected wind gusts or inclement weather. Here are the key steps to secure your camper awning:
- Stabilize the Support Legs: If your awning is equipped with adjustable support legs, deploy them to the appropriate height and secure them in place. This provides added stability and helps prevent the awning from swaying or shifting in the wind.
- Use Awning Straps or Tie-Downs: Depending on your camping environment, consider using awning straps or tie-downs to anchor the awning securely. These accessories help minimize movement and provide additional support in windy conditions.
- Check Tension and Alignment: Ensure that the awning fabric is taut and properly aligned. Adjust the tension as needed to prevent sagging or flapping, which can cause unnecessary strain on the awning and reduce its effectiveness in providing shade and protection.
- Monitor Weather Conditions: Stay informed about the weather forecast for your camping location. If strong winds or severe weather are anticipated, consider retracting the awning to prevent potential damage. Always prioritize safety and take proactive measures to safeguard your camper and its accessories.
By taking the time to secure your camper awning with care and attention to detail, you’ll create a comfortable and safe outdoor space for relaxation and enjoyment. Properly securing the awning also contributes to its longevity and ensures that it continues to enhance your camping experiences for years to come.
Read more: How To Use A Camper Awning
Step 5: Closing and Storing the Awning
As your outdoor adventure comes to an end, it’s important to close and store the camper awning properly. This ensures that it remains in optimal condition and is ready for your next excursion. Here’s a comprehensive guide to closing and storing the awning:
- Retract the Awning: If your awning is equipped with a manual crank or a motorized retraction mechanism, carefully retract the awning following the manufacturer’s instructions. Ensure that the fabric is folding evenly and smoothly to avoid any potential damage.
- Secure the Support Arms: As the awning retracts, ensure that the support arms are securely locked into their travel position. This prevents them from shifting during travel and minimizes the risk of damage to the awning and surrounding areas.
- Clean and Inspect: Before storing the awning, take the opportunity to clean the fabric and inspect it for any signs of wear, damage, or debris. Gently remove any dirt or debris using a soft brush or cloth, and address any issues that may require maintenance or repair.
- Store in Protective Casing: If your camper’s awning is designed to retract into a protective casing, ensure that it is securely stored within the designated compartment. This casing shields the awning from environmental elements during travel and periods of inactivity.
- Refer to the Owner’s Manual: Consult your camper’s owner’s manual for specific guidelines on closing and storing the awning. The manual provides valuable insights into the unique features and maintenance requirements of your camper’s awning.
By following these steps and adhering to the manufacturer’s recommendations, you’ll ensure that your camper awning is safely and securely stored, ready to be deployed for your next outdoor adventure.
Properly closing and storing the awning not only preserves its longevity but also sets the stage for a seamless and enjoyable camping experience the next time you venture into the great outdoors.
Conclusion
Congratulations! You’ve now mastered the art of opening, securing, and storing your camper awning, adding a touch of comfort and convenience to your outdoor escapades. By following the steps outlined in this guide, you’ve gained the knowledge and confidence to make the most of this essential outdoor structure.
Opening a camper awning is not only a practical skill but also a gateway to creating a welcoming outdoor space where you can relax, dine, and connect with nature while enjoying shelter from the elements. Whether you’re seeking shade on a sunny day or a sheltered spot during a light rain shower, your awning is a versatile and valuable asset for enhancing your camping experience.
Remember to refer to your camper’s owner’s manual for specific instructions tailored to your awning’s design and features. Regular maintenance and care, including proper cleaning and inspection, will contribute to the longevity and performance of your awning, ensuring that it remains a reliable companion on your outdoor adventures.
As you continue to explore the great outdoors and embark on new camping journeys, your proficiency in managing your camper awning will serve you well, providing a comfortable and inviting space where cherished memories are made.
So, with your newfound expertise, go forth and embrace the beauty of outdoor living, knowing that your camper awning is ready to enhance every moment of your adventure.
Frequently Asked Questions about How To Open A Camper Awning
Was this page helpful?
At Storables.com, we guarantee accurate and reliable information. Our content, validated by Expert Board Contributors, is crafted following stringent Editorial Policies. We're committed to providing you with well-researched, expert-backed insights for all your informational needs.


0 thoughts on “How To Open A Camper Awning”