Home>Gardening & Outdoor>Outdoor Structures>How To Make An Awning For A Pop-Up Camper
Outdoor Structures
How To Make An Awning For A Pop-Up Camper
Modified: August 17, 2024
Learn how to create a custom awning for your pop-up camper with our step-by-step guide. Enhance your outdoor experience with our outdoor structures tips.
(Many of the links in this article redirect to a specific reviewed product. Your purchase of these products through affiliate links helps to generate commission for Storables.com, at no extra cost. Learn more)
Introduction
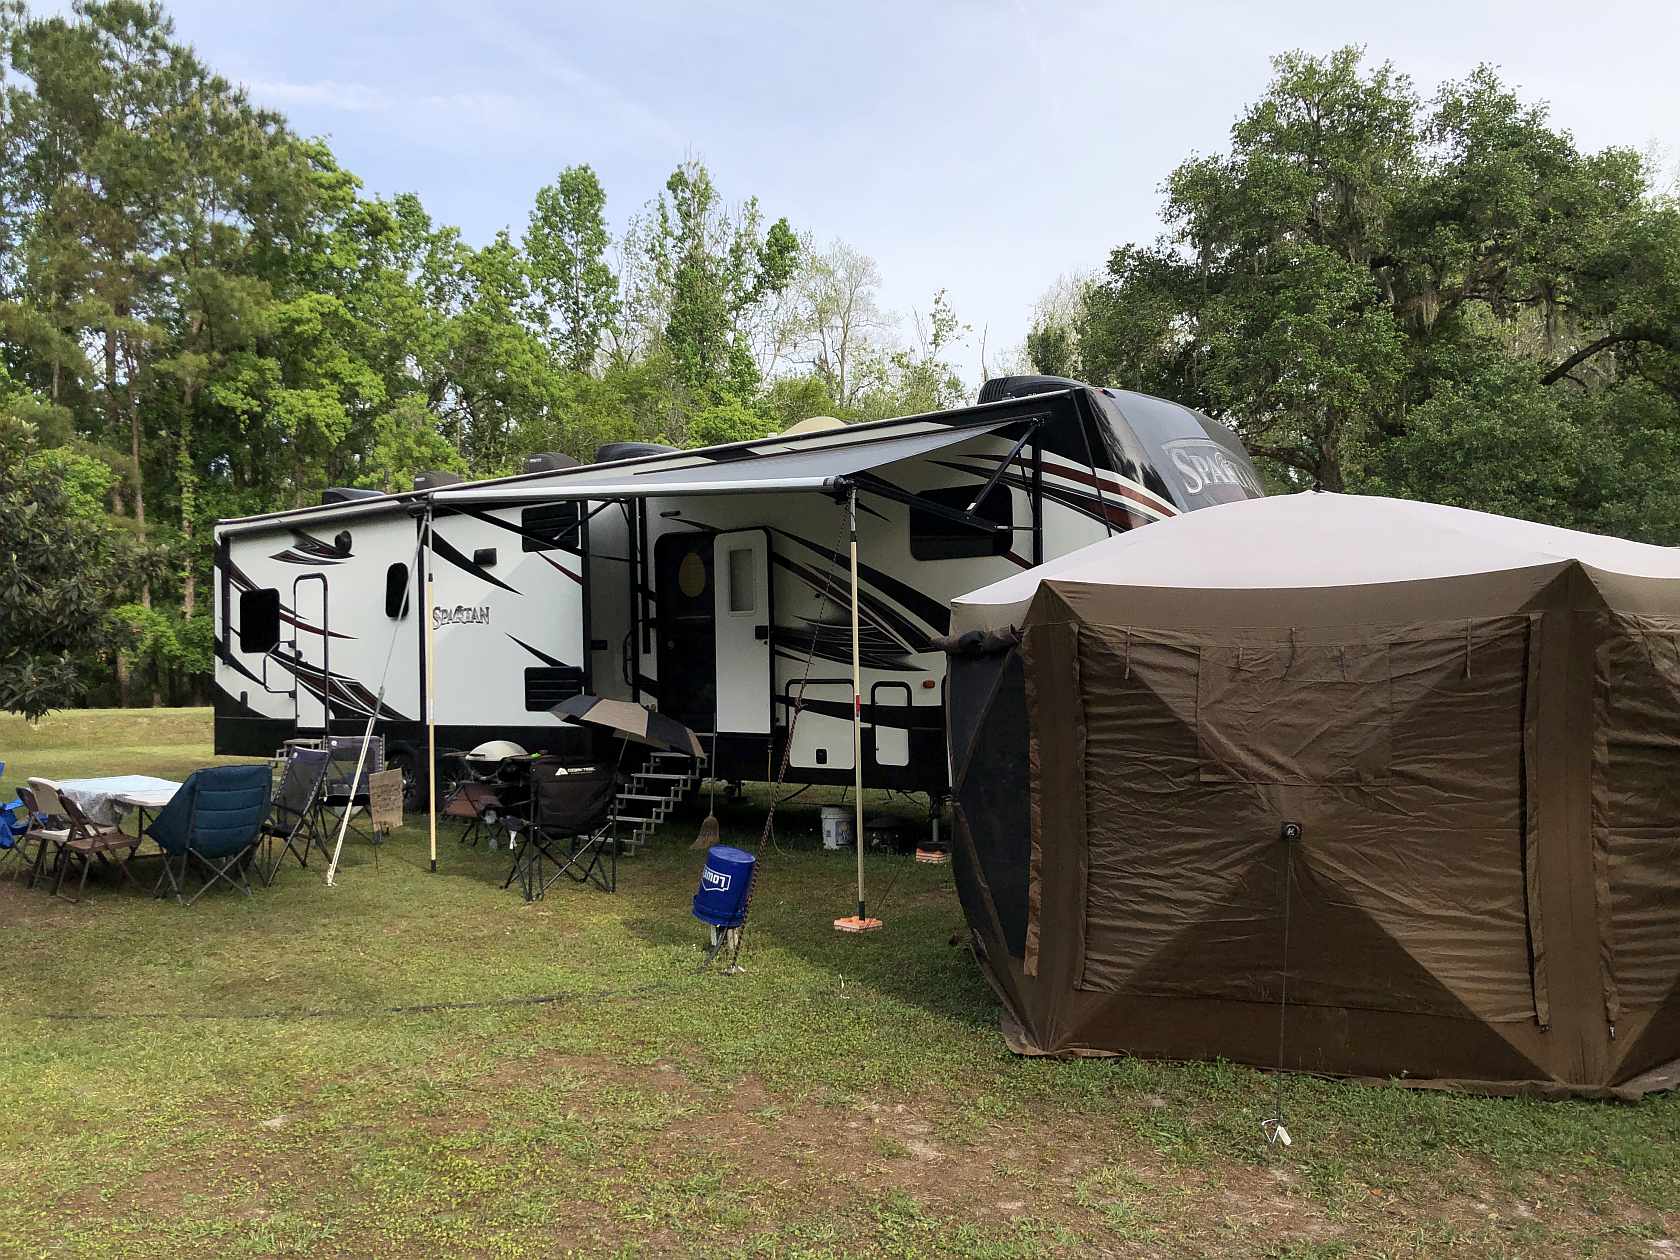
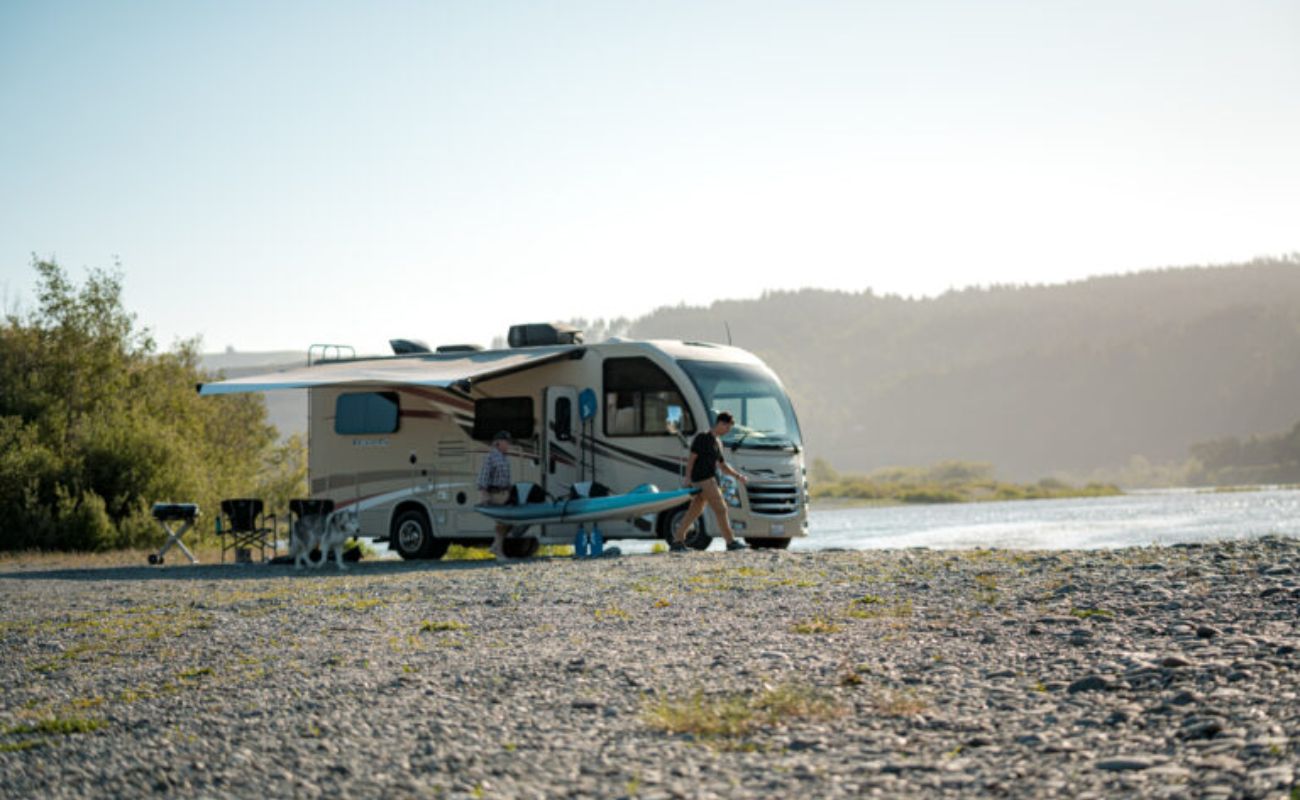
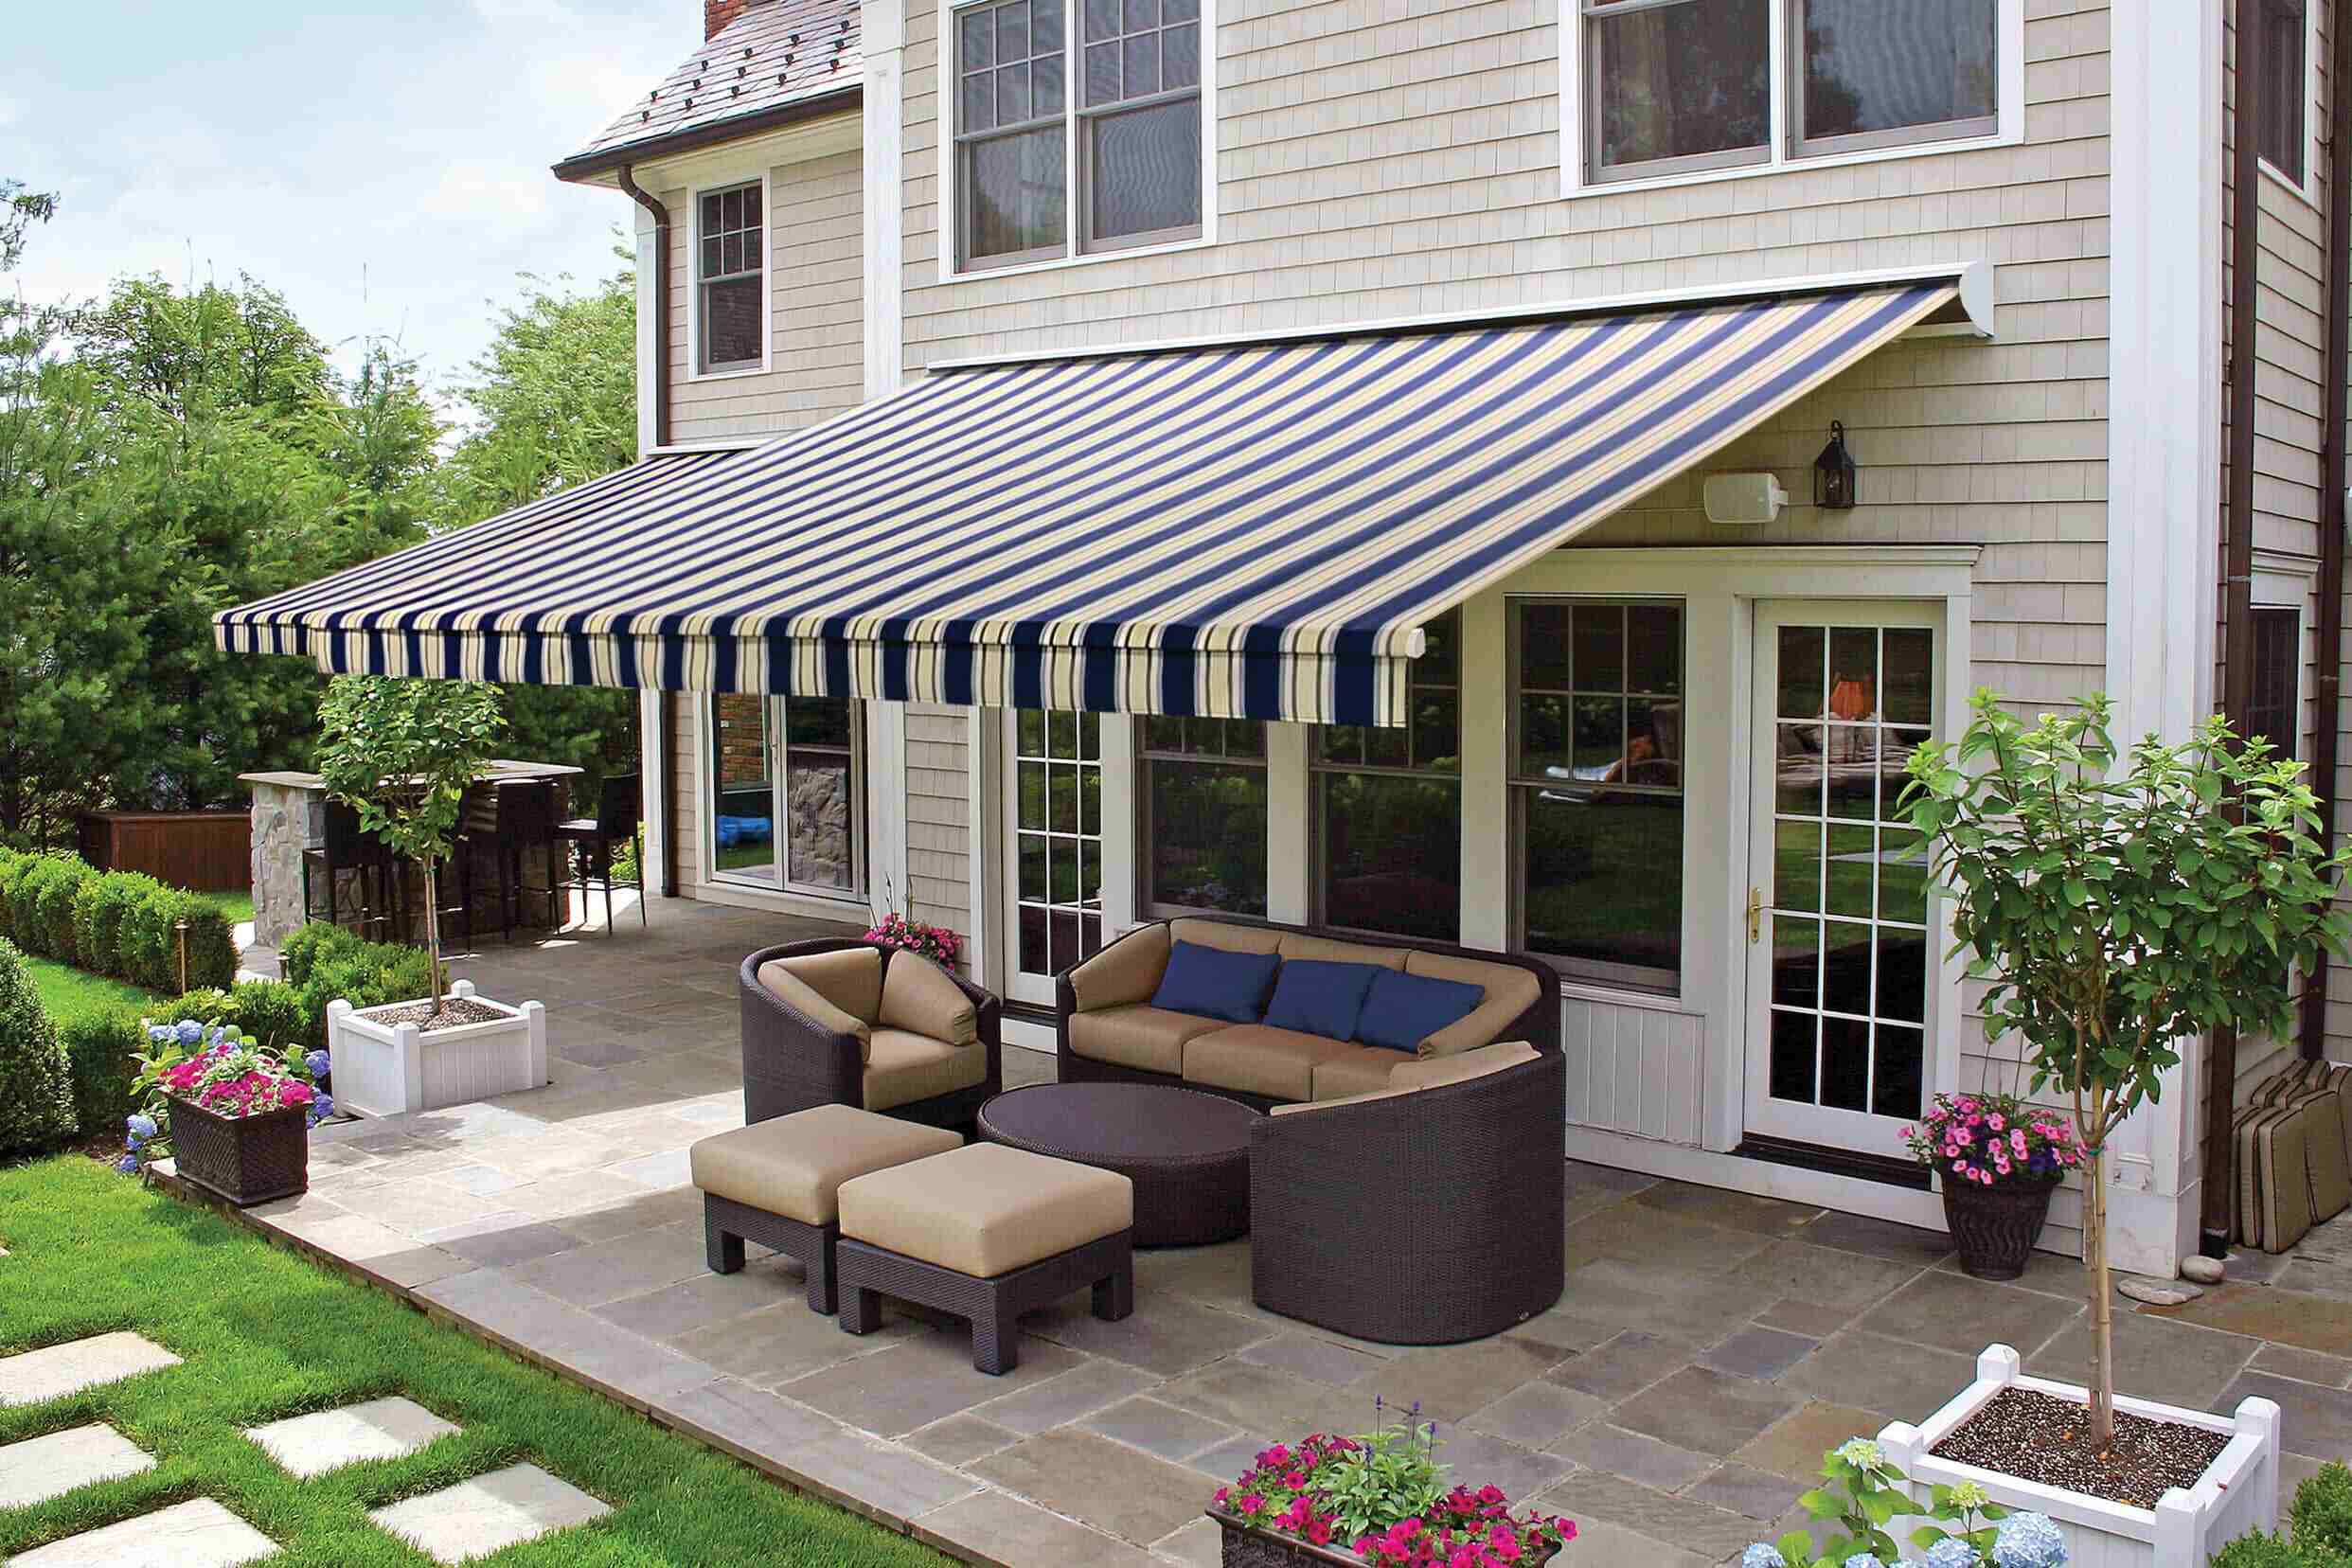
If you're an avid camper, you know that a pop-up camper is a fantastic way to enjoy the great outdoors while still having some of the comforts of home. One essential addition to your pop-up camper is an awning. An awning provides shade, protection from the elements, and an extra outdoor living space, enhancing your overall camping experience. While ready-made awnings are available on the market, making your own allows for customization and a sense of accomplishment. In this guide, I'll walk you through the process of creating a custom awning for your pop-up camper. With some basic materials, a bit of measuring and cutting, and a touch of sewing, you can have a unique and functional awning to complement your camping adventures. Let's dive in and learn how to make an awning for a pop-up camper!
Key Takeaways:
- Create a custom awning for your pop-up camper using durable fabric, precise measurements, and sturdy sewing. Enjoy a unique and functional outdoor living space on your camping adventures!
- Securely attach your custom awning to your pop-up camper using an awning rail or track, ropes or bungee cords, and support poles for stability. Enhance your camping experience with shade and shelter!
Read more: How To Store A Pop Up Camper
Materials Needed
Before embarking on the project, it’s important to gather all the necessary materials. Here’s a list of what you’ll need to make an awning for your pop-up camper:
- Canvas or outdoor fabric: Choose a durable, weather-resistant fabric that will provide adequate protection from the sun and rain. The fabric should be large enough to cover the desired area when extended.
- Measuring tape: A reliable measuring tape is essential for accurately determining the dimensions of the awning.
- Sharp scissors or fabric cutting tools: Quality cutting tools will ensure clean and precise cuts in the fabric.
- Thread and sewing machine: Opt for heavy-duty thread designed for outdoor use and a sewing machine capable of handling thick fabric.
- Grommets: These small, metal rings will be used to reinforce the attachment points and create a clean finish for the awning.
- Rope or bungee cords: These will be used to secure the awning to the camper and provide tension when it’s extended.
- Awning rail or track: If your pop-up camper doesn’t already have an awning rail or track installed, you may need to purchase and install one to facilitate the attachment of the awning.
- Seam sealant: This will help waterproof the seams of the awning, preventing water from seeping through the stitches.
- Optional: Poles or support rods: Depending on the design of your awning, you may need additional support in the form of poles or rods to keep the awning stable and taut when extended.
Once you have gathered these materials, you’ll be well-equipped to proceed with the construction of your custom pop-up camper awning.
Measuring and Cutting
Accurate measurements are crucial for ensuring that your awning fits the intended space and provides effective coverage. Begin by determining the area where you want the awning to extend from your pop-up camper. Use a measuring tape to measure the length and width of this space, accounting for any additional coverage you desire on the sides.
Once you have the precise measurements, transfer them to your chosen fabric, adding extra material for hems and seam allowances. Carefully mark the fabric using chalk or fabric markers to indicate where you’ll need to cut. Use sharp scissors or fabric cutting tools to cut the fabric along the marked lines, ensuring clean and straight edges.
If your awning design includes any specific shapes or angles, such as a rounded edge or a sloping canopy, take the time to measure and mark these details accurately on the fabric before cutting. Precision at this stage will contribute to a polished and professional-looking final product.
It’s also important to consider any additional features you plan to incorporate, such as pockets for support poles or reinforcement patches at stress points. Factor these elements into your measurements and cutting process to ensure that all components are accounted for in the initial fabric cutting phase.
By taking the time to measure meticulously and cut the fabric with care, you’ll set the stage for a successful construction process and a well-fitting awning for your pop-up camper.
When making an awning for a pop-up camper, be sure to use durable and weather-resistant materials. Consider using waterproof fabric and sturdy poles to ensure the awning can withstand various outdoor conditions.
Sewing the Awning
With the fabric cut to the appropriate size and shape, it’s time to move on to the sewing phase of the awning construction. This step will involve creating hems, reinforcing seams, and adding any additional features that enhance the functionality and durability of the awning.
Begin by folding over the edges of the fabric to create hems. Depending on your design, you may need to sew hems along the sides, bottom, and any other exposed edges to prevent fraying and provide a clean finish. Use a heavy-duty thread and a sewing machine equipped to handle the thickness of the fabric to sew the hems securely in place.
Next, reinforce the attachment points and stress areas of the awning by sewing on grommets or adding additional layers of fabric for reinforcement. These reinforcement measures will contribute to the overall strength and longevity of the awning, ensuring that it can withstand outdoor conditions and regular use.
If your awning design includes pockets for support poles or other accessories, sew these pockets into place at the designated locations. Reinforce the seams around the pockets to accommodate the weight and tension they will bear when the awning is in use.
As you progress through the sewing process, periodically test the fit and functionality of the awning to ensure that it aligns with your vision and meets your practical requirements. Making adjustments during the sewing phase, while more time-consuming, can prevent the need for extensive rework later on.
Finally, consider applying a seam sealant to the sewn seams to waterproof the awning and prevent water from penetrating the stitches. This additional step will enhance the weather resistance of the awning, prolonging its lifespan and preserving its appearance over time.
By approaching the sewing phase with attention to detail and a focus on durability, you’ll create a sturdy and well-constructed awning that enhances your pop-up camper’s outdoor living space.
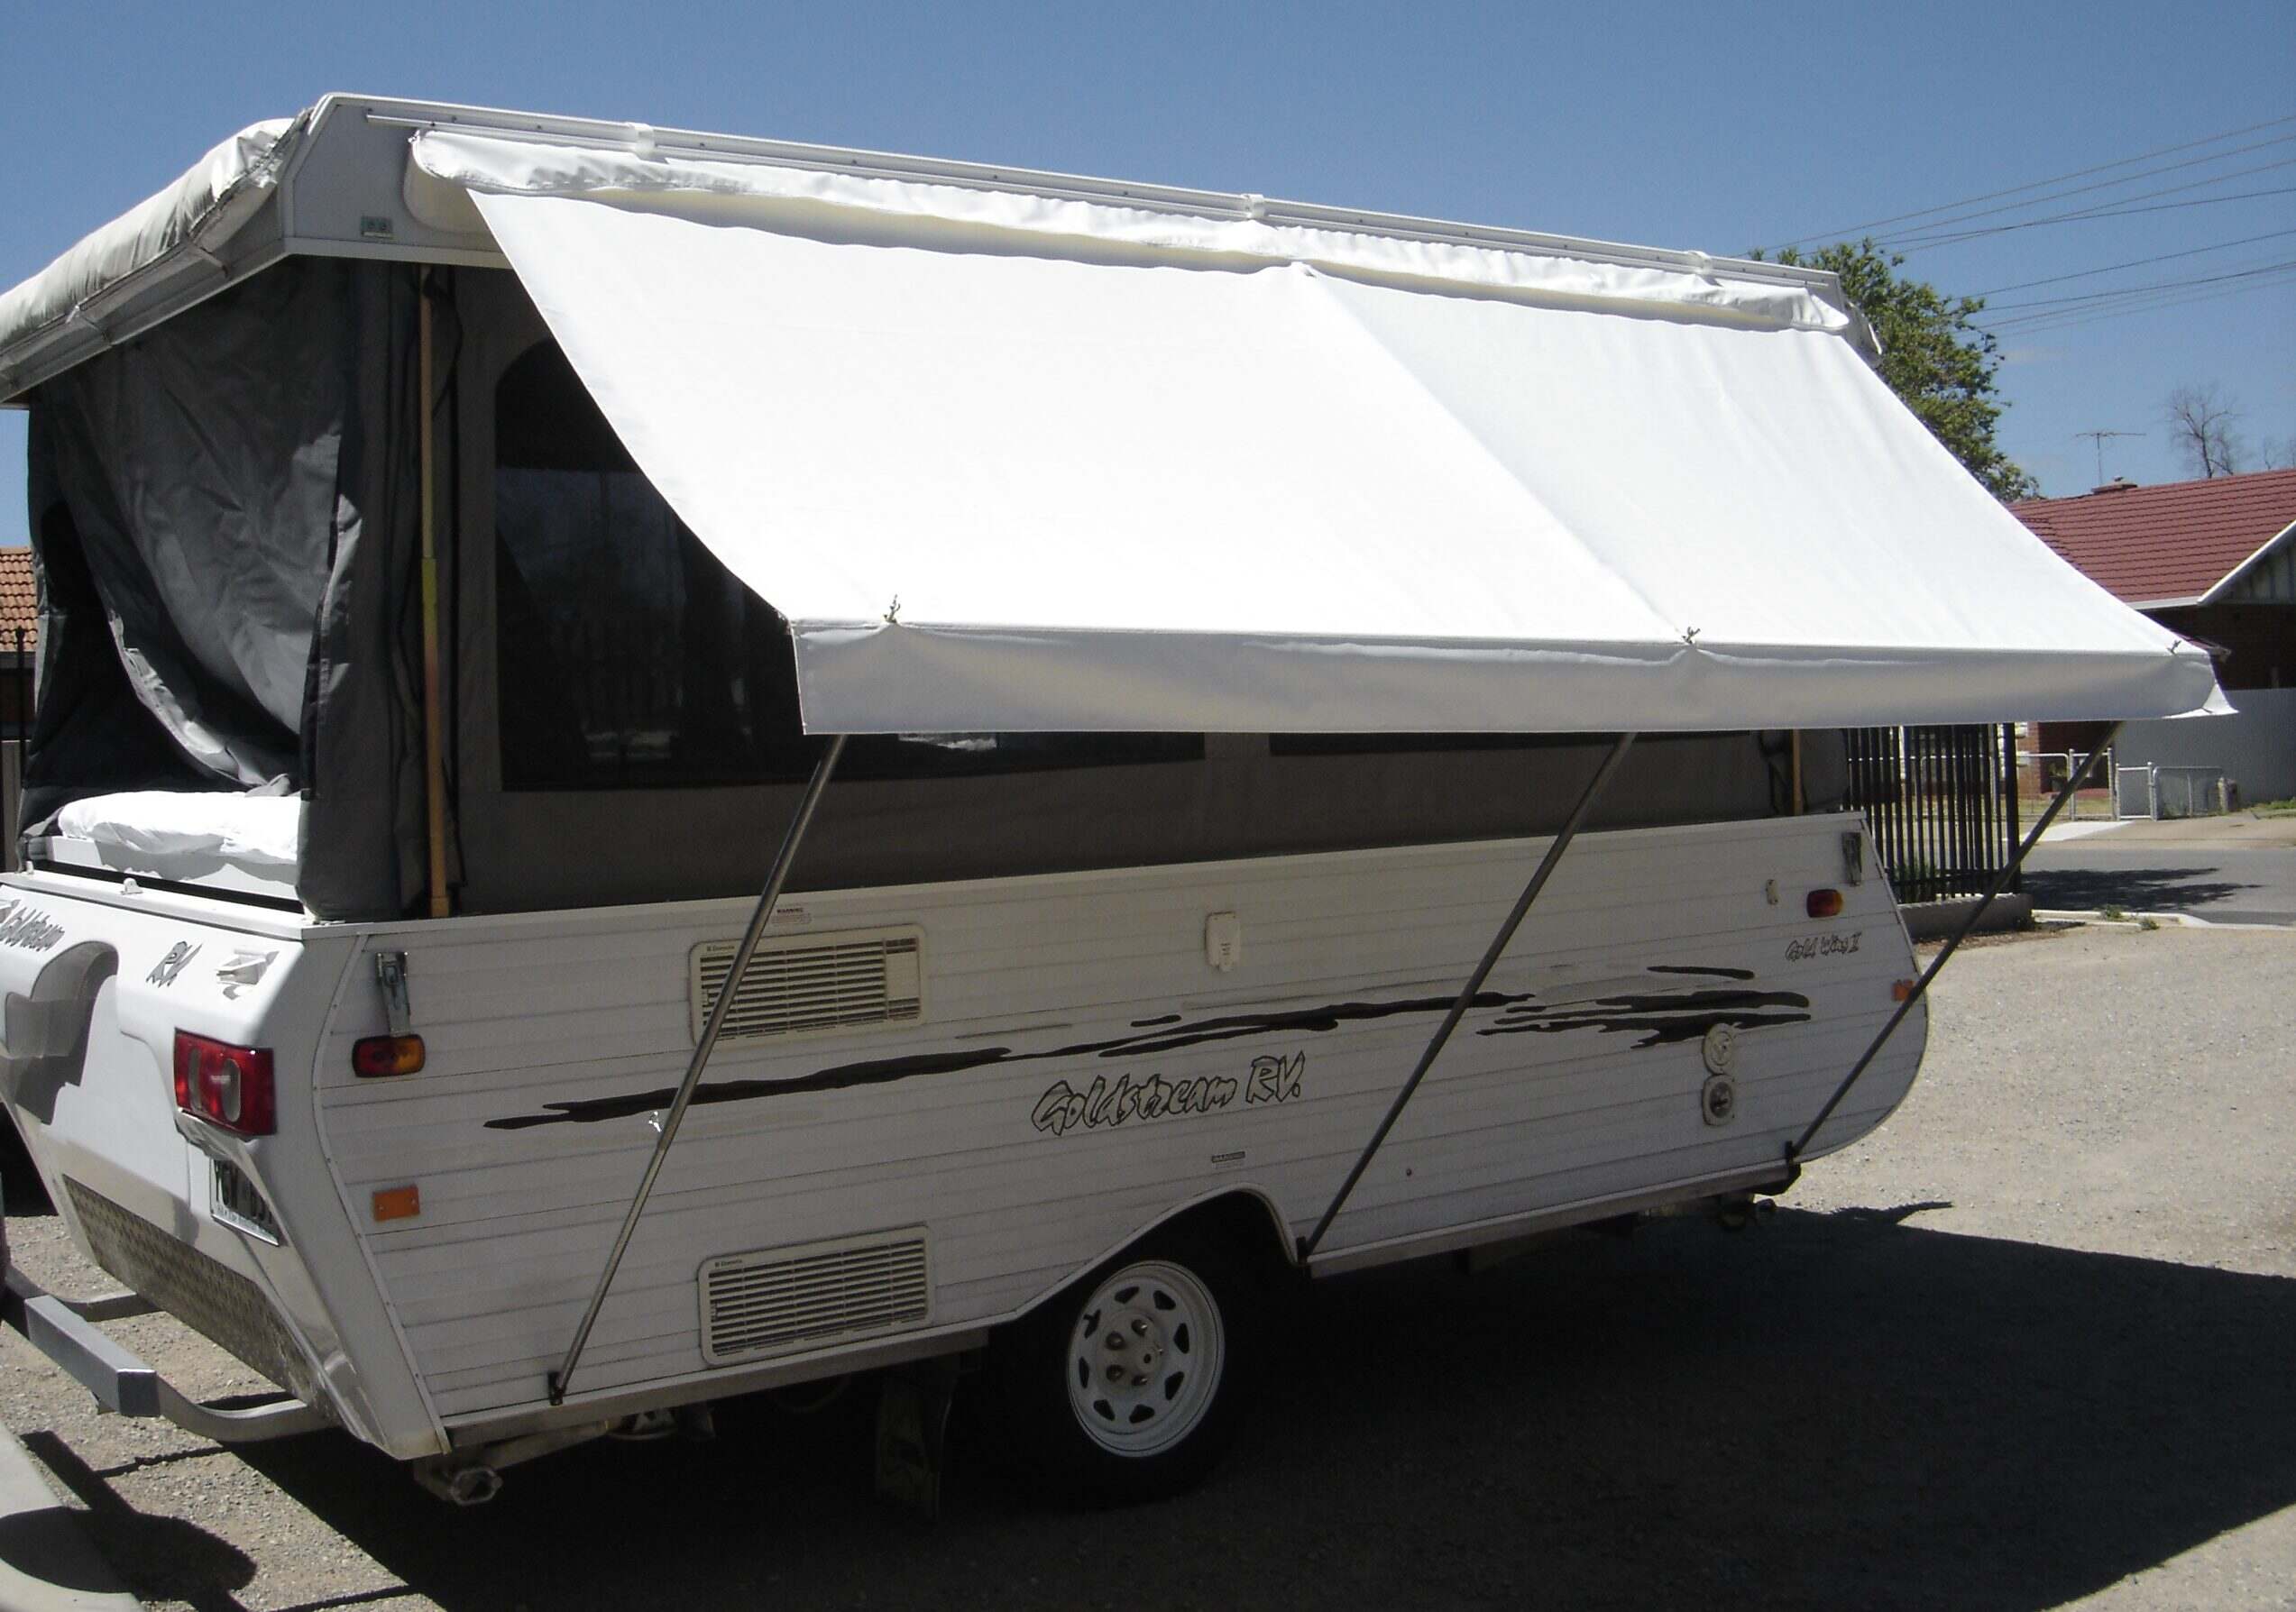
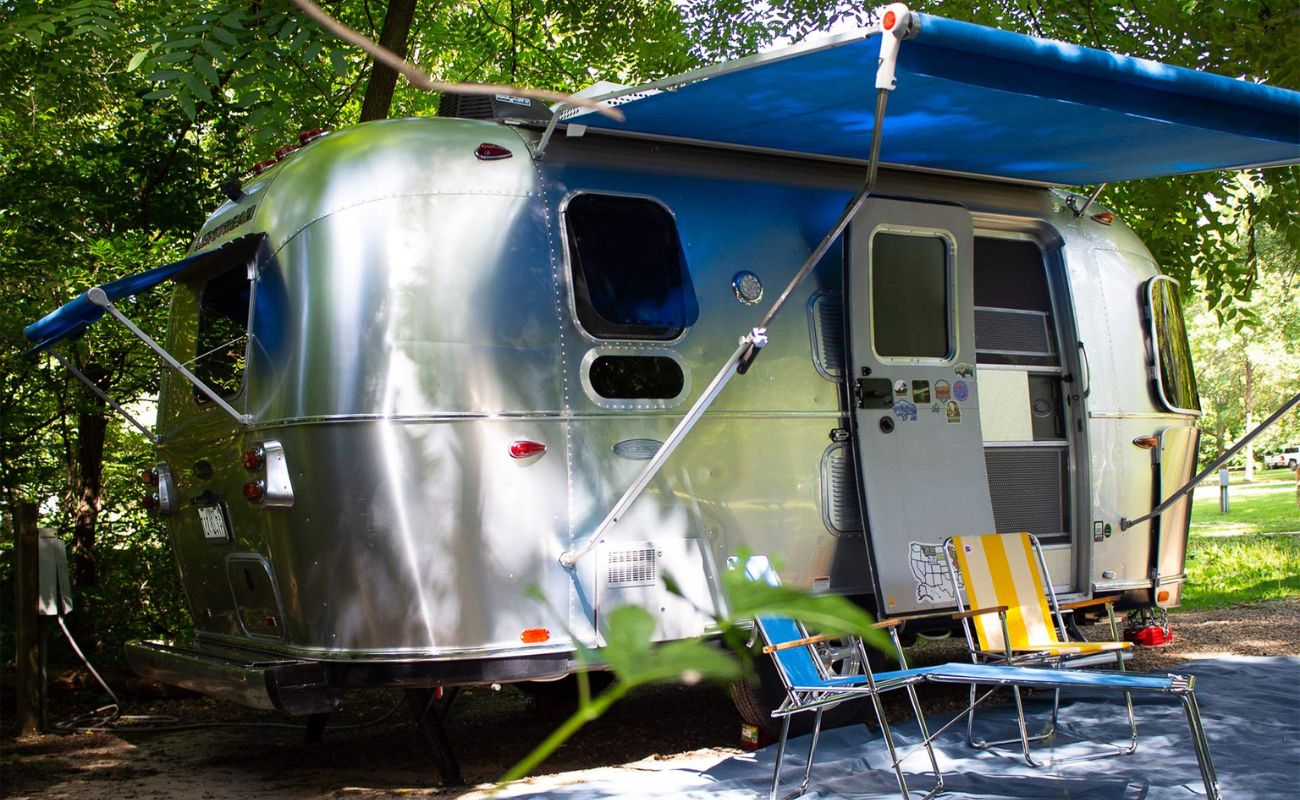
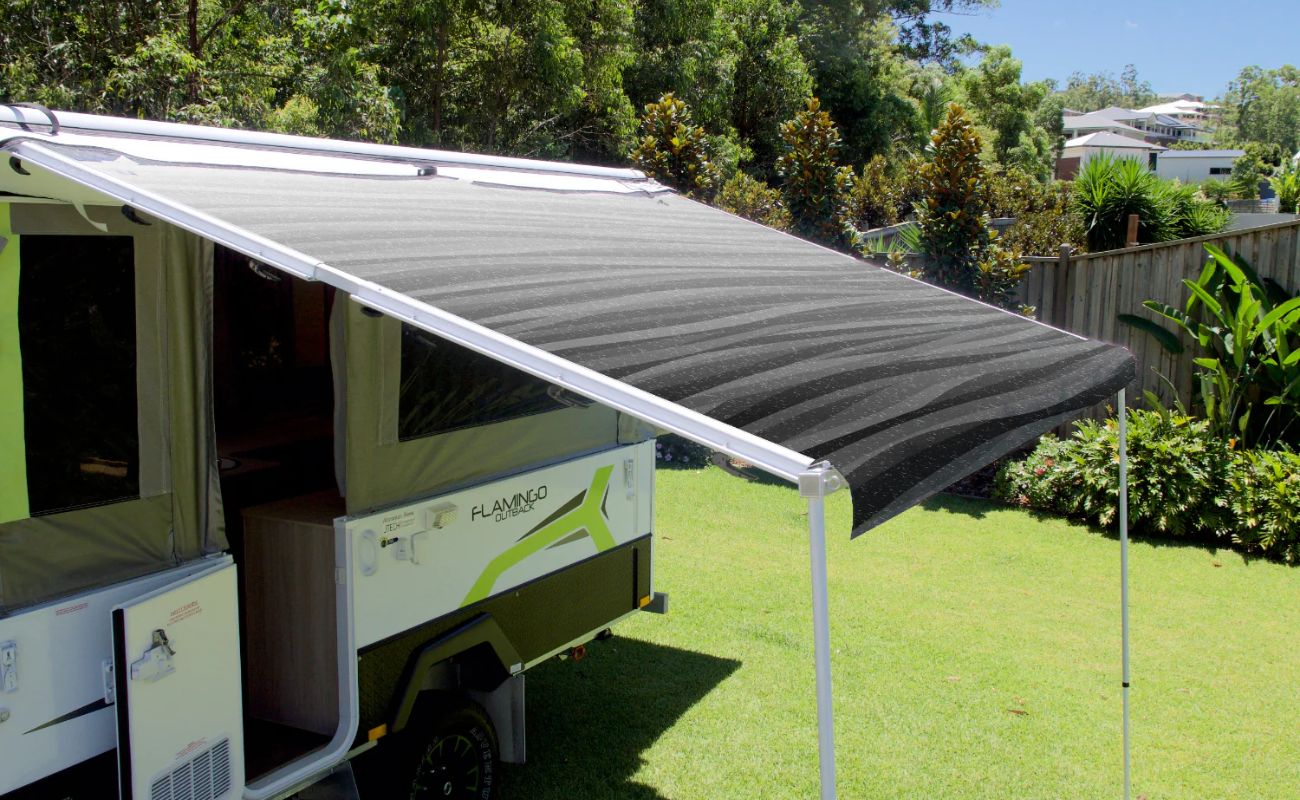
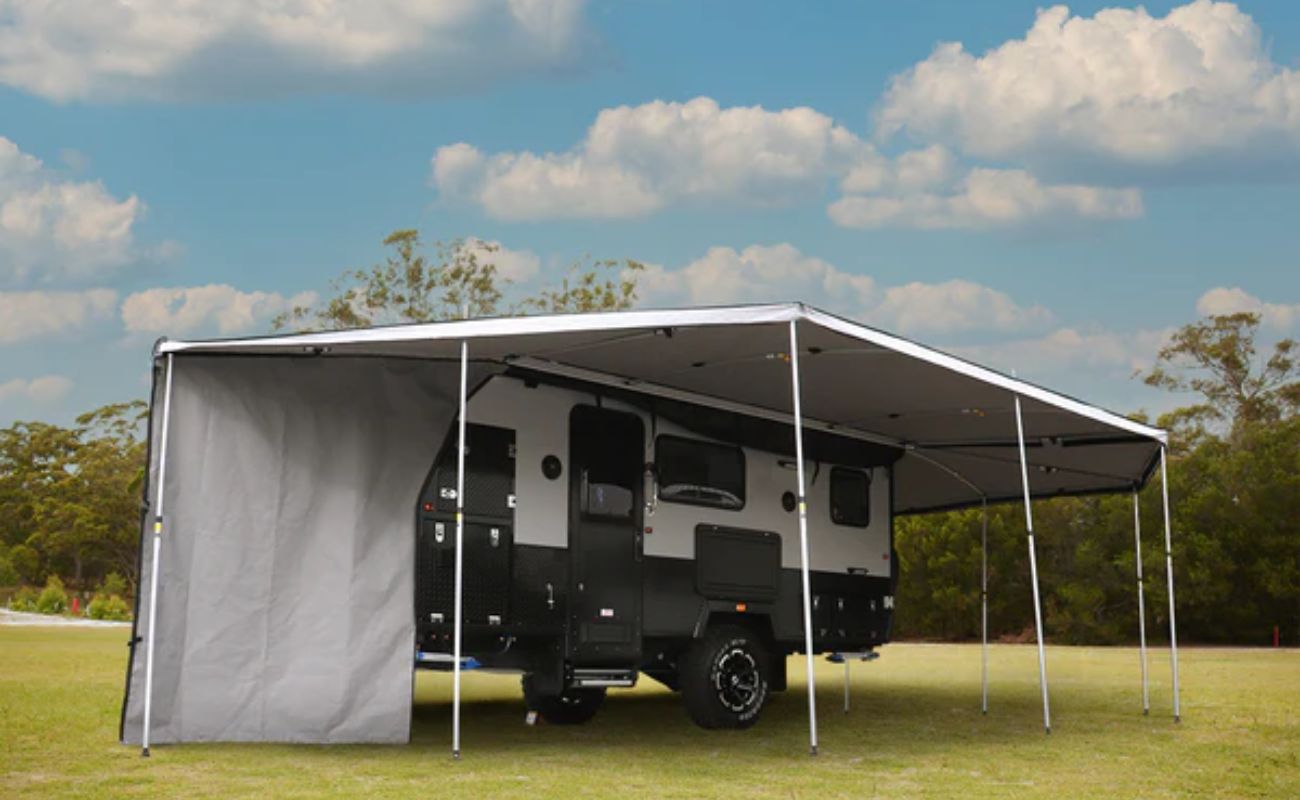
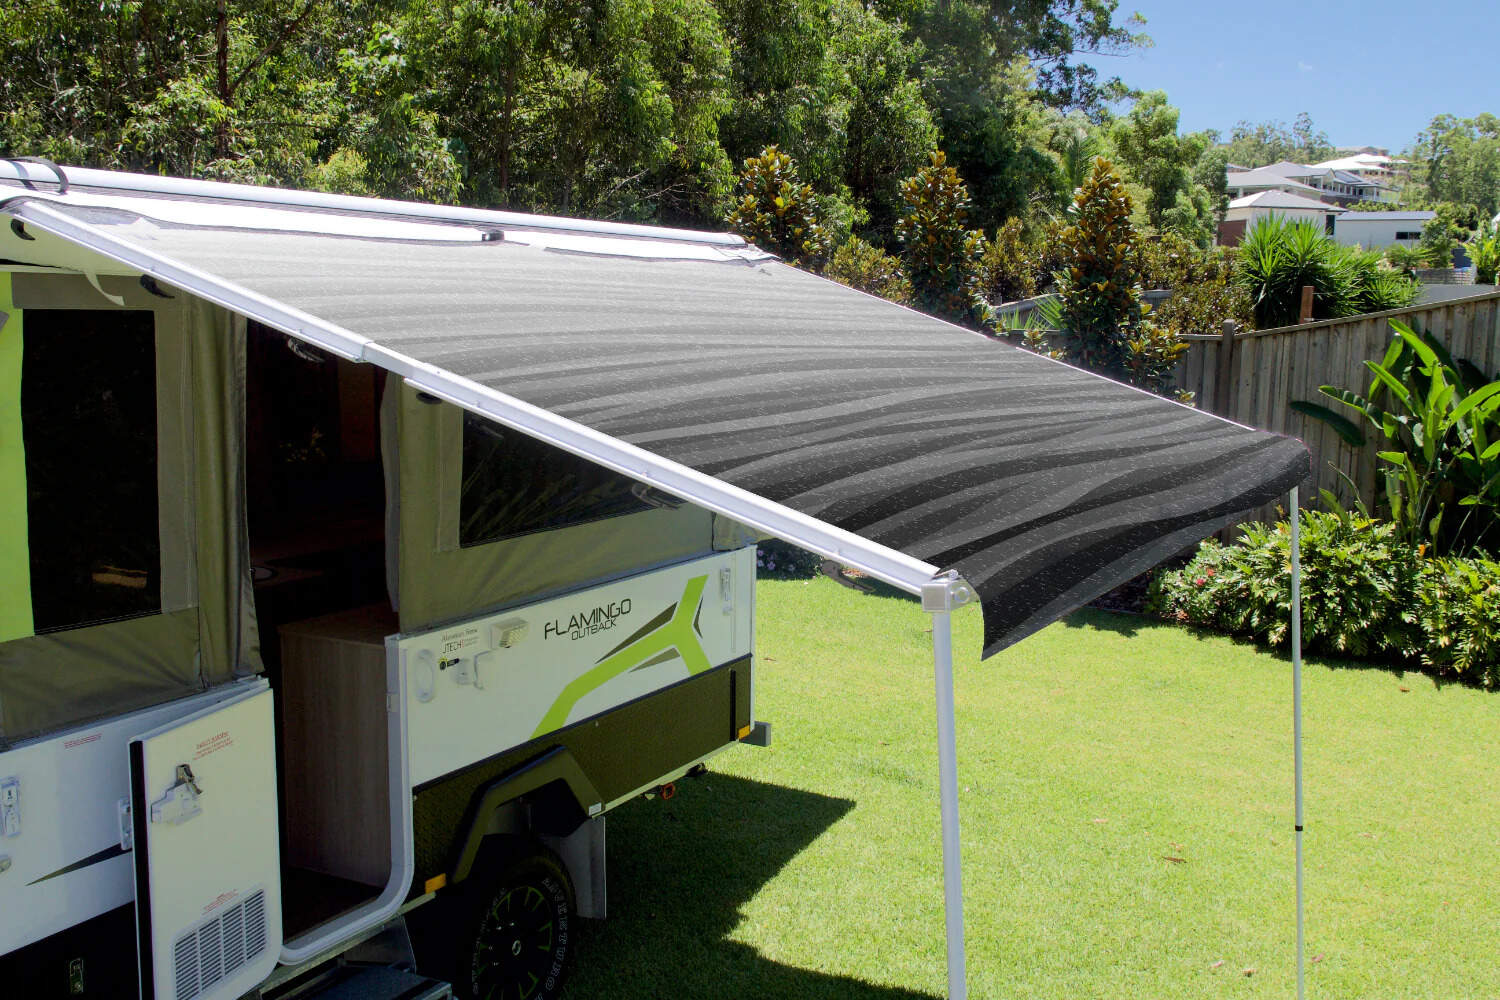
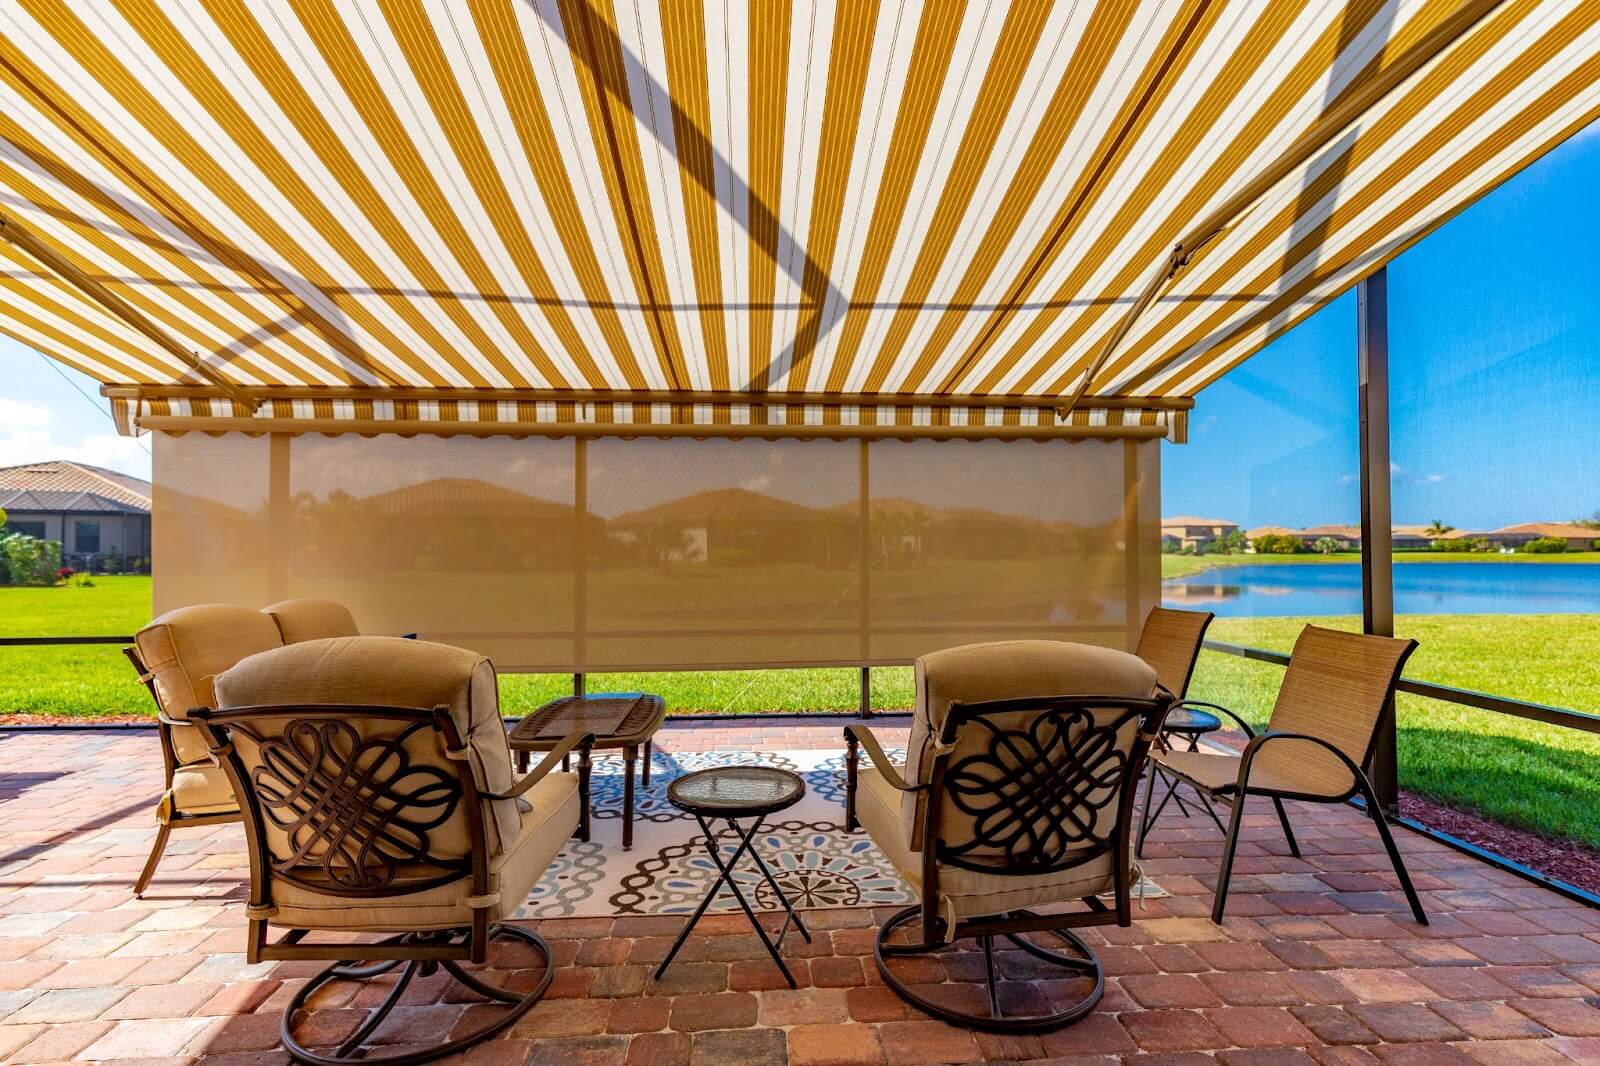
Attaching the Awning to the Camper
Once your custom awning is sewn and ready, the next step is to securely attach it to your pop-up camper. Proper attachment ensures that the awning functions as intended and withstands outdoor conditions. The method of attachment may vary depending on the design of your pop-up camper and the presence of existing fixtures for awning installation.
If your pop-up camper is equipped with an awning rail or track, the process of attaching the awning becomes relatively straightforward. Begin by sliding the beaded edge of the awning into the rail or track, ensuring a snug fit. Once the awning is in place, secure it further by fastening the end caps or stops to prevent the awning from sliding out of the rail during use.
In the absence of a pre-installed rail or track, you may need to install one to facilitate the attachment of the awning. Carefully follow the manufacturer’s instructions for installing the awning rail, ensuring that it is positioned securely and aligned with the desired area for the awning to extend from the camper.
After the awning is properly secured in the rail or track, use rope or bungee cords to fasten the free end of the awning to the camper’s exterior. Create tension by pulling the ropes or cords taut, ensuring that the awning is stable and resistant to wind and other external forces. It’s important to adjust the tension to achieve the desired tautness without placing excessive strain on the fabric or attachments.
Depending on your awning design, you may also need to install support poles or rods to provide additional stability and prevent sagging when the awning is extended. These poles can be positioned strategically to support the structure and maintain its shape, contributing to a comfortable and functional outdoor living space.
Throughout the attachment process, pay close attention to the alignment and tension of the awning, making any necessary adjustments to achieve a secure and visually appealing installation. Taking the time to ensure proper attachment will result in an awning that enhances your camping experience and stands up to the demands of outdoor use.
Read more: How To Hang Curtains In A Pop Up Camper
Conclusion
Congratulations on completing the construction and installation of your custom awning for a pop-up camper! By following the steps outlined in this guide, you’ve not only created a practical and stylish addition to your camper but also gained valuable experience in crafting outdoor equipment to suit your specific needs.
As you prepare to embark on your next camping adventure, envision the ways in which your new awning will enhance the outdoor experience. Whether it’s providing shade for relaxing in the midday sun, sheltering you from a passing rain shower, or extending your living space into the natural surroundings, your awning is poised to become an indispensable asset during your outdoor excursions.
Take pride in the craftsmanship and personalization that went into creating your awning. The ability to tailor the design, size, and features to align with your preferences sets your awning apart as a unique and functional component of your camping setup. The sense of accomplishment that comes with using a custom-made awning adds an extra layer of enjoyment to your outdoor activities.
As you enjoy the benefits of your new awning, remember to maintain and care for it to ensure its longevity. Regularly inspect the attachment points, fabric, and seams for any signs of wear or damage, addressing any issues promptly to preserve the awning’s performance and appearance. Proper care will extend the lifespan of your awning, allowing you to continue reaping the benefits for many camping seasons to come.
With your custom awning in place, you’re well-equipped to savor the outdoor lifestyle and create lasting memories in the comfort of your pop-up camper. Embrace the versatility and convenience that your awning offers, and make the most of your time spent in the great outdoors.
Here’s to many enjoyable adventures enhanced by the shade and shelter of your handmade pop-up camper awning!
Frequently Asked Questions about How To Make An Awning For A Pop-Up Camper
Was this page helpful?
At Storables.com, we guarantee accurate and reliable information. Our content, validated by Expert Board Contributors, is crafted following stringent Editorial Policies. We're committed to providing you with well-researched, expert-backed insights for all your informational needs.


0 thoughts on “How To Make An Awning For A Pop-Up Camper”