Home>Gardening & Outdoor>Outdoor Structures>How To Hang Lights On A Camper Awning
Outdoor Structures
How To Hang Lights On A Camper Awning
Modified: August 17, 2024
Learn how to safely and securely hang lights on your camper awning with our step-by-step guide. Elevate your outdoor structures with ease.
(Many of the links in this article redirect to a specific reviewed product. Your purchase of these products through affiliate links helps to generate commission for Storables.com, at no extra cost. Learn more)
Introduction
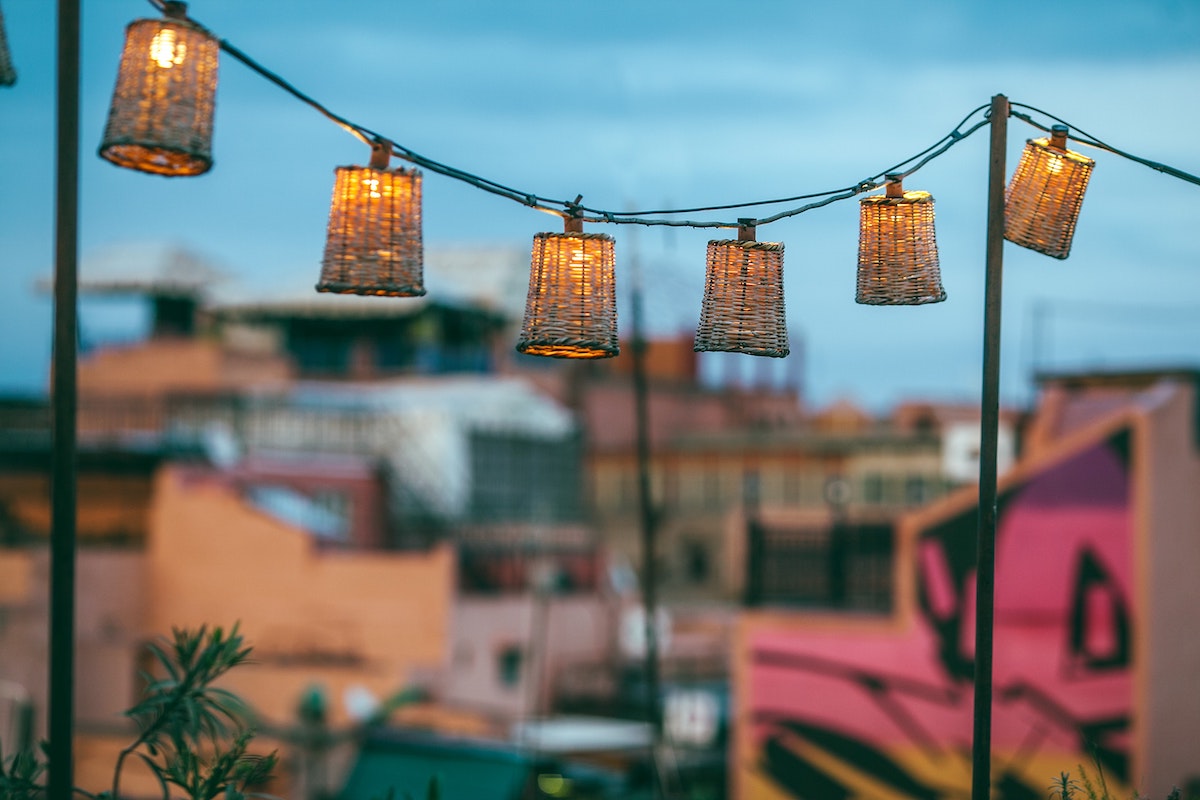
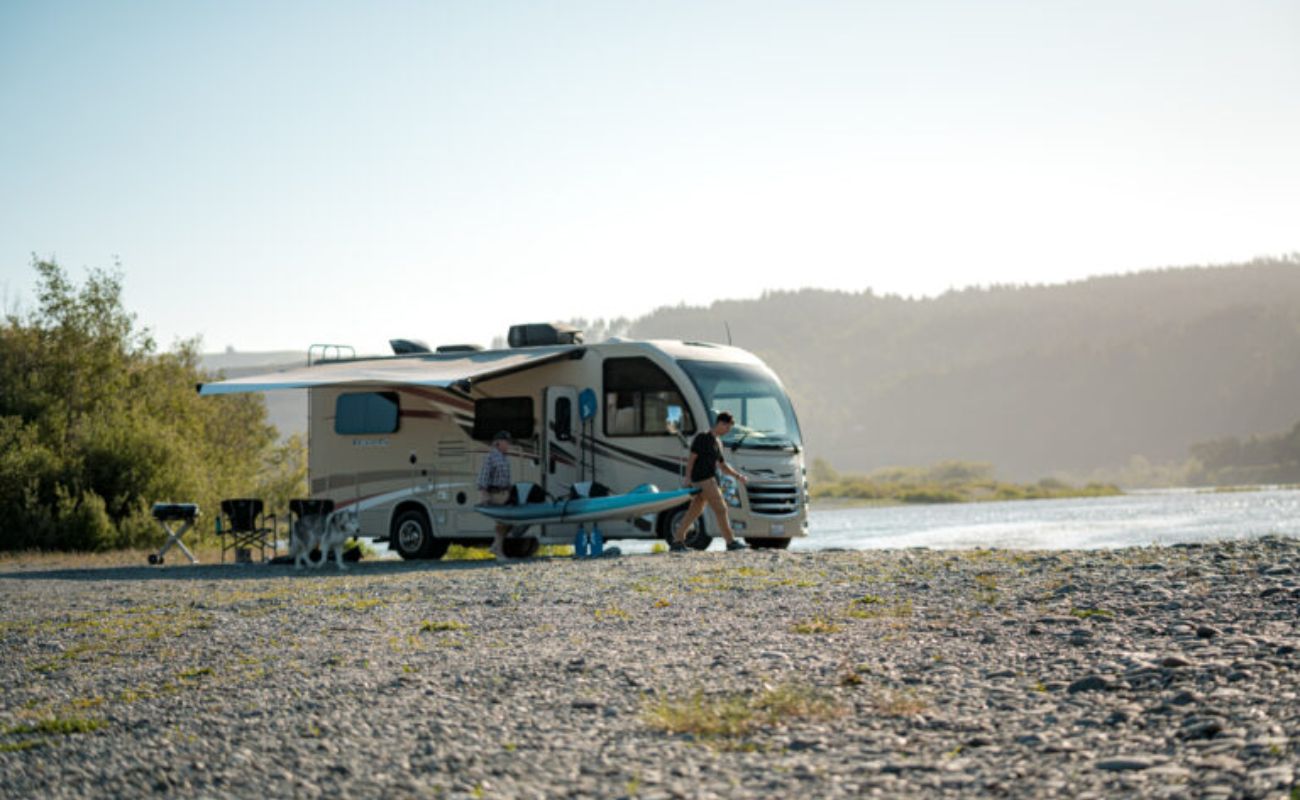
Hanging lights on a camper awning can transform your outdoor space into a cozy and inviting retreat, perfect for relaxing evenings or lively gatherings with friends and family. Whether you're camping in a picturesque forest, parked by the beach, or enjoying a tailgate party, the warm glow of lights can add a touch of magic to your outdoor adventures. In this guide, we'll walk you through the steps to hang lights on your camper awning, creating a delightful ambiance that enhances your outdoor experience.
As the sun sets and dusk descends, there's something enchanting about the soft illumination of twinkling lights against the backdrop of nature. These lights not only provide practical visibility but also infuse the surroundings with a captivating charm, making your outdoor space feel more welcoming and comfortable. Whether you're unwinding with a good book, sharing stories with loved ones, or simply savoring the tranquility of the outdoors, the addition of lights can elevate the ambiance and create unforgettable moments.
By following the steps outlined in this guide, you'll be able to adorn your camper awning with lights in a safe and secure manner, ensuring that they withstand the elements and remain a delightful fixture during your outdoor escapades. So, let's gather our materials and embark on this illuminating journey to enhance your camper awning with the warm radiance of lights.
Key Takeaways:
- Transform your outdoor space into a cozy retreat by hanging lights on your camper awning. Create a warm and inviting ambiance for relaxation and gatherings with friends and family.
- Carefully measure, plan, and install the lights to ensure a visually appealing and enduring display. Test and adjust the lights to achieve the desired effect, enhancing the outdoor ambiance for unforgettable experiences.
Read more: How Much Is An Awning For A Camper
Step 1: Gather Materials
Before embarking on the process of hanging lights on your camper awning, it’s essential to gather the necessary materials and tools. Here’s a list of items you’ll need to complete this project:
- String Lights: Choose weather-resistant string lights that are suitable for outdoor use. LED lights are an excellent option due to their energy efficiency and durability.
- Mounting Clips: Opt for sturdy mounting clips designed specifically for outdoor applications. These clips should be able to securely hold the string lights in place without causing damage to the awning fabric.
- Measuring Tape: A measuring tape will be indispensable for accurately determining the length of string lights needed and for ensuring symmetrical placement along the awning.
- Cleaning Supplies: Before installation, it’s advisable to clean the surface of the awning where the mounting clips will be attached. This may involve using a mild cleaning solution, a soft brush, and a cloth to remove any dirt or debris.
- Step Ladder: Depending on the height of your camper awning, a step ladder may be necessary to reach and affix the mounting clips securely.
- Scissors or Wire Cutters: These tools will come in handy for trimming the string lights to the desired length and for making any adjustments during the installation process.
- Outdoor Extension Cord (Optional): If the power source is located at a distance from the awning, an outdoor extension cord may be required to connect the string lights to the power supply.
- Power Source: Ensure that you have access to a suitable power source to plug in the string lights. This may involve using an outdoor-rated extension cord connected to a power outlet or an alternative power supply such as a portable generator.
By gathering these materials and tools, you’ll be well-equipped to proceed with the installation of lights on your camper awning, creating an enchanting outdoor space that beckons with its warm and inviting glow.
Step 2: Measure and Plan
Before diving into the installation process, it’s crucial to take the time to measure and plan the placement of the lights on your camper awning. Careful consideration and precision at this stage will contribute to a visually appealing and well-executed lighting display. Here’s how to approach this preparatory phase:
Begin by measuring the length of your camper awning to determine the amount of string lights needed. It’s advisable to add a little extra length to accommodate any curves or decorative patterns along the awning. Once you have the measurements, consider the placement of the power source and ensure that it’s within reach of the string lights. This may involve using an outdoor-rated extension cord to connect the lights to the power supply.
Next, envision the desired layout for the string lights. Will they be arranged in a straight line along the edge of the awning, or do you prefer a draped or zigzag pattern for a more whimsical effect? Visualizing the end result will guide the placement of the mounting clips and the trajectory of the string lights.
Consider the spacing between the mounting clips to ensure that the string lights will be adequately supported along the length of the awning. If using multiple strands of lights, plan the transition points where one strand will connect to the next, ensuring a seamless and cohesive appearance.
As you plan the installation, take into account any potential obstacles or obstructions on the awning, such as support arms or decorative elements. Adjust the placement of the lights accordingly to work around these features and maintain a harmonious display.
By meticulously measuring and planning the layout of the string lights, you’ll set the stage for a successful and visually pleasing installation. This thoughtful approach will contribute to a well-balanced and enchanting illumination of your camper awning, enhancing the outdoor ambiance for relaxation and entertainment.
Step 3: Install Mounting Clips
Installing sturdy and reliable mounting clips is a crucial step in ensuring the secure and stable placement of string lights on your camper awning. These clips will provide the support necessary to hold the lights in place, withstanding outdoor conditions and gentle breezes. Here’s a detailed guide on how to install the mounting clips:
1. Clean the Mounting Surface: Before affixing the mounting clips, thoroughly clean the areas of the awning where the clips will be attached. Use a mild cleaning solution, a soft brush, and a cloth to remove any dirt, dust, or debris, ensuring a clean and smooth surface for the clips to adhere to.
2. Positioning the Mounting Clips: Begin by determining the spacing and placement of the mounting clips along the edge of the awning. The spacing will depend on the length of the string lights and the desired configuration. Ensure that the clips are evenly spaced to provide adequate support for the lights.
3. Affixing the Mounting Clips: Using the appropriate fasteners or adhesive backing, carefully attach the mounting clips to the awning. Ensure that the clips are firmly secured and aligned according to your planned layout. If the awning material allows, consider using clips that can be easily removed without causing damage, providing flexibility for future adjustments.
4. Test the Stability: Once the mounting clips are in place, gently tug on them to ensure that they are securely attached to the awning. Verify that they can support the weight of the string lights without shifting or loosening. This step is essential for preventing any unexpected detachment or displacement of the lights.
5. Consider Weather Resistance: If your camper is exposed to the elements, ensure that the mounting clips are designed to withstand outdoor conditions, including moisture and UV exposure. Choosing weather-resistant clips will contribute to the longevity and durability of the installation.
By diligently installing the mounting clips, you’ll establish a reliable foundation for the string lights, ensuring that they are securely and safely supported along the length of the camper awning. This meticulous approach will contribute to a visually appealing and enduring lighting display that enhances your outdoor experiences.
When hanging lights on a camper awning, use lightweight, LED string lights to avoid putting too much weight on the awning. Secure the lights with clips or hooks designed for outdoor use to prevent damage to the awning fabric.
Step 4: Attach Lights
With the mounting clips securely in place, it’s time to attach the string lights to your camper awning, infusing the outdoor space with a captivating and inviting glow. Properly affixing the lights will not only enhance the ambiance but also ensure their stability and longevity. Here’s a comprehensive guide on how to attach the lights:
1. Begin at the Power Source: Start at the location of the power source, whether it’s an outdoor power outlet or a connected outdoor-rated extension cord. This initial point will dictate the starting end of the string lights.
2. Secure the Lights to the Mounting Clips: Carefully position the end of the string lights at the first mounting clip and secure them in place according to your planned layout. Ensure that the lights are taut and evenly positioned along the edge of the awning, utilizing the mounting clips to maintain their alignment.
3. Evenly Distribute the Lights: As you progress along the length of the awning, distribute the string lights evenly, ensuring that they maintain a consistent and appealing appearance. Take care to avoid tangling or twisting the lights, maintaining a neat and uniform display.
4. Adjust for Decorative Patterns: If your awning features decorative elements or curves, adjust the placement of the lights to accommodate these features, ensuring a seamless and visually pleasing arrangement. This attention to detail will contribute to a polished and harmonious lighting display.
5. Connect Multiple Strands (If Applicable): If you are using multiple strands of lights, carefully connect and secure the transition points between each strand, ensuring a seamless continuation of illumination. Conceal the connection points within the awning structure for a polished and cohesive appearance.
6. Trim Excess Length (If Necessary): If the string lights are longer than required, use scissors or wire cutters to carefully trim any excess length, ensuring a neat and tailored presentation along the awning.
By methodically attaching the string lights to the mounting clips, you’ll create a captivating and well-organized lighting display on your camper awning. This meticulous approach will contribute to an enchanting outdoor ambiance, perfect for relaxation, entertainment, and creating lasting memories under the radiant glow of the lights.
Read more: How To Open A Camper Awning
Step 5: Test and Adjust
After attaching the string lights to your camper awning, it’s essential to thoroughly test and make any necessary adjustments to ensure that the lighting display meets your expectations and enhances the outdoor ambiance. This final step involves careful evaluation and fine-tuning to achieve the desired effect. Here’s a detailed guide on how to test and adjust the lights:
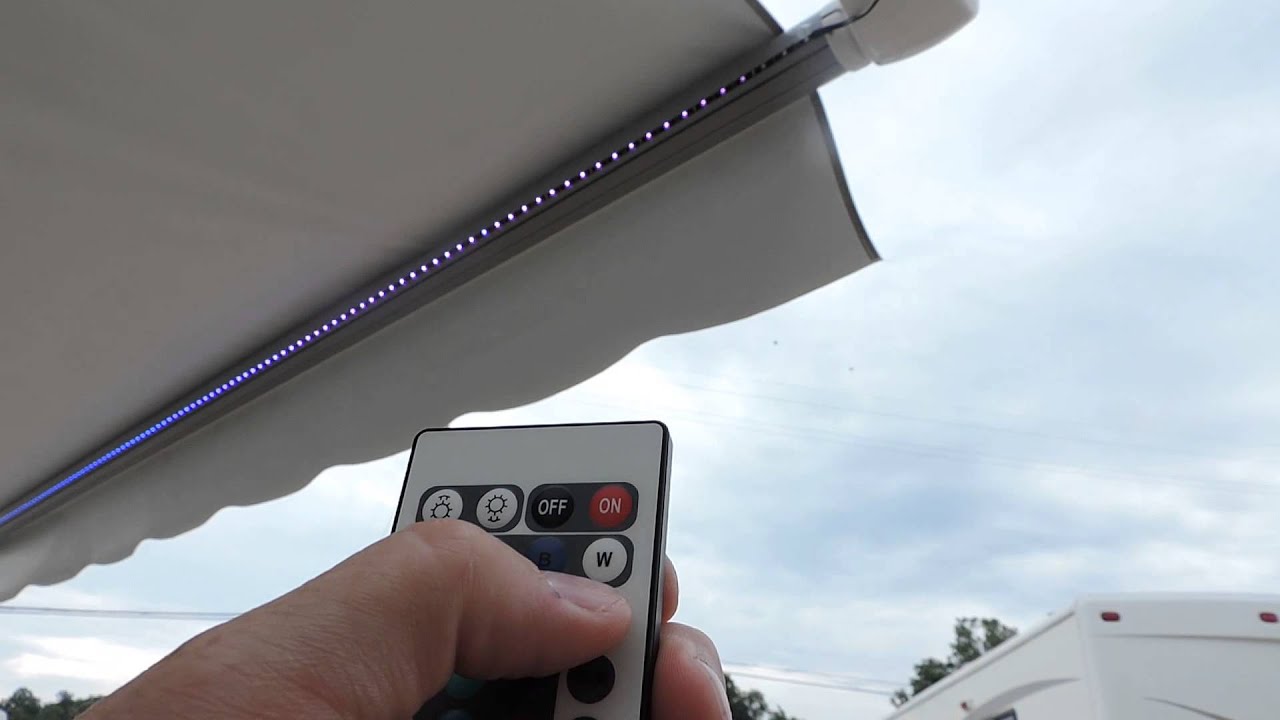
1. Power On the Lights: Connect the string lights to the power source and switch them on to assess their illumination. Take a moment to appreciate the warm and inviting glow that now adorns your outdoor space.
2. Verify Symmetry and Alignment: Step back and assess the symmetry and alignment of the lights along the awning. Ensure that they are evenly distributed and follow the planned layout. Make any necessary adjustments to achieve a visually pleasing and balanced display.
3. Evaluate the Intensity and Coverage: Assess the intensity and coverage of the light emitted by the string lights. Determine if the illumination adequately reaches the desired areas of the outdoor space, providing both functional visibility and an enchanting ambiance.
4. Check for Secure Attachment: Gently inspect the mounting clips and the attachment of the string lights to ensure that they are securely in place. Verify that the lights are not sagging or at risk of detachment, especially in the face of gentle breezes or outdoor conditions.
5. Make Necessary Adjustments: Based on your evaluation, make any necessary adjustments to the placement of the lights and the tension of the string. This may involve repositioning the lights, tightening the string, or addressing any areas that require additional support from the mounting clips.
6. Consider Additional Enhancements: If desired, explore the possibility of incorporating additional decorative elements or accessories to complement the lighting display. This may include outdoor lanterns, potted plants, or other embellishments that further enhance the ambiance of the outdoor space.
By meticulously testing and adjusting the string lights on your camper awning, you’ll ensure that the lighting display achieves its full potential, creating an enchanting and inviting atmosphere for your outdoor activities and gatherings. This attention to detail will elevate your outdoor experience, providing a captivating and memorable setting under the radiant glow of the lights.
Conclusion
Congratulations on successfully hanging lights on your camper awning! By following the steps outlined in this guide, you’ve embarked on a journey to transform your outdoor space into a captivating and inviting retreat, perfect for relaxation, socializing, and creating cherished memories. The addition of string lights has infused your camper awning with a warm and enchanting glow, elevating its ambiance and extending its functionality well into the evening hours.
As the sun sets and dusk descends, the soft radiance of the lights will beckon you and your companions to enjoy the outdoor space, whether it’s for a cozy evening under the stars, a delightful gathering with loved ones, or simply a tranquil moment of solitude amidst nature’s beauty. The captivating illumination provided by the lights creates an inviting atmosphere, enhancing the allure of your outdoor escapades.
By meticulously measuring, planning, and installing the string lights, you’ve not only enhanced the aesthetic appeal of your camper awning but also elevated its functionality, providing practical visibility and an enchanting ambiance. The carefully positioned lights, securely attached with mounting clips, contribute to a visually pleasing and enduring lighting display that will accompany you on countless outdoor adventures.
As you bask in the enchanting glow of the lights, take a moment to appreciate the inviting atmosphere you’ve created. The warm radiance of the lights, combined with the natural beauty of the outdoors, sets the stage for unforgettable experiences and cherished moments with friends and family.
Whether you’re camping in a serene forest, parked by the shimmering waters of a lake, or enjoying a lively gathering at a tailgate party, the allure of your illuminated camper awning will undoubtedly become a focal point, drawing everyone to revel in its captivating ambiance.
As you savor the enchanting atmosphere created by the lights on your camper awning, may your outdoor adventures be filled with warmth, joy, and the timeless magic of illuminated evenings under the open sky.
Frequently Asked Questions about How To Hang Lights On A Camper Awning
Was this page helpful?
At Storables.com, we guarantee accurate and reliable information. Our content, validated by Expert Board Contributors, is crafted following stringent Editorial Policies. We're committed to providing you with well-researched, expert-backed insights for all your informational needs.

0 thoughts on “How To Hang Lights On A Camper Awning”