Home>Gardening & Outdoor>Outdoor Structures>How To Install A Sunsetter Awning

Outdoor Structures
How To Install A Sunsetter Awning
Modified: February 18, 2024
Learn how to install a Sunsetter awning and enhance your outdoor space with our step-by-step guide. Create a comfortable and stylish outdoor living area with ease.
(Many of the links in this article redirect to a specific reviewed product. Your purchase of these products through affiliate links helps to generate commission for Storables.com, at no extra cost. Learn more)
Introduction
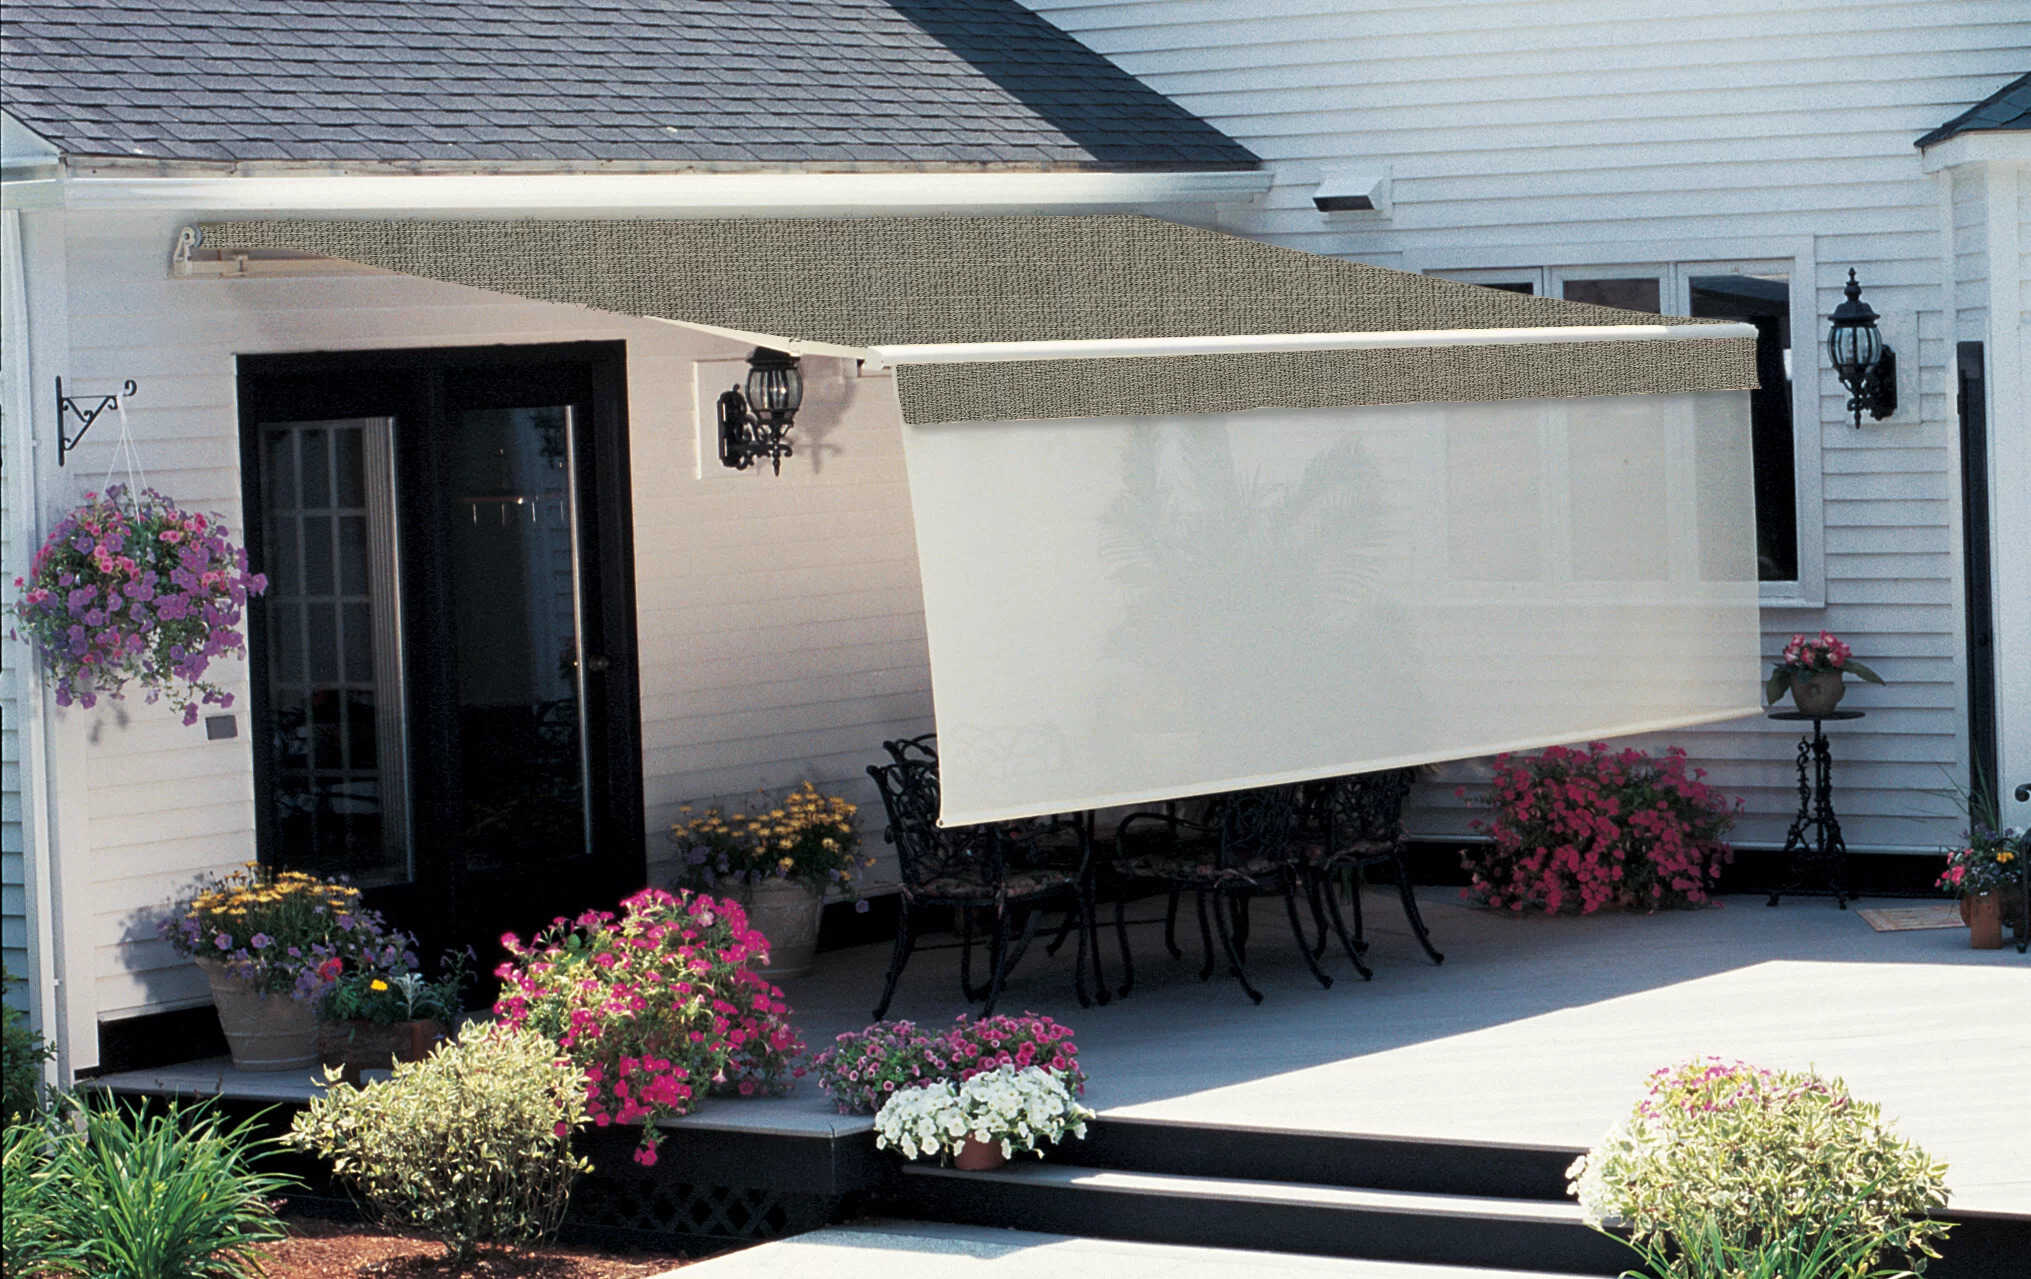
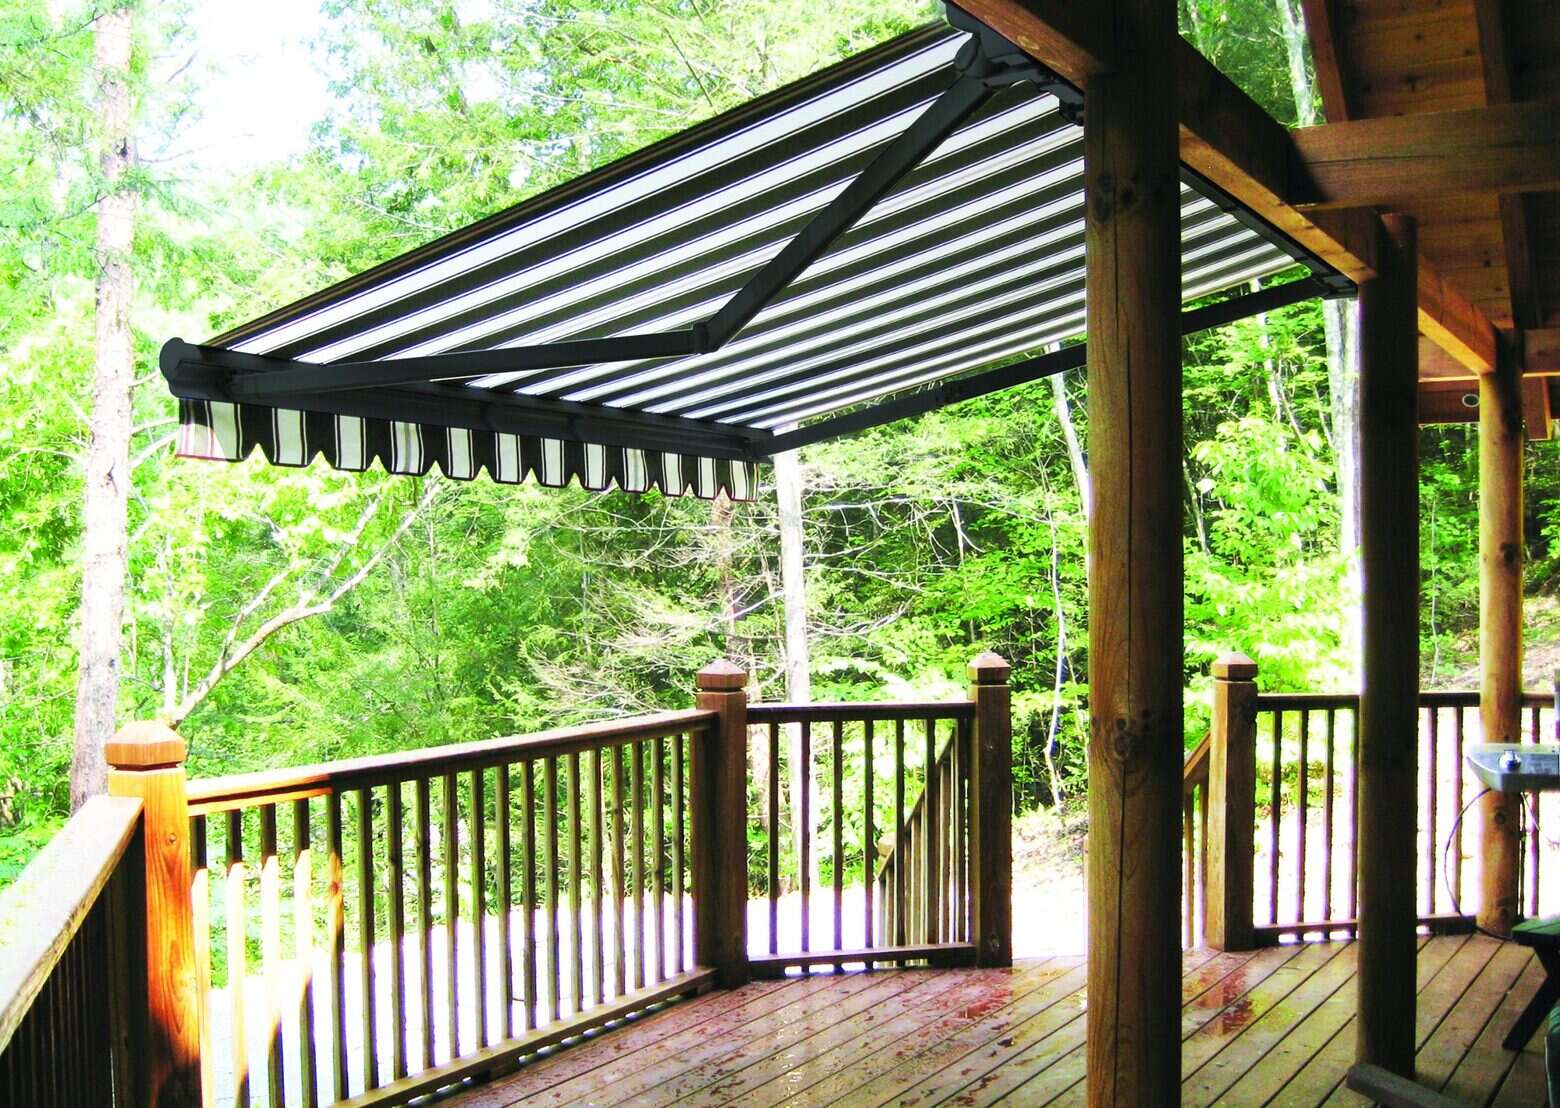
Welcome to the world of outdoor comfort and style! Installing a Sunsetter awning can transform your outdoor space, providing shade and protection from the elements while adding a touch of elegance to your home. Whether you're envisioning leisurely afternoons on the patio or delightful gatherings with friends and family, a Sunsetter awning is a valuable addition to your outdoor living area.
In this comprehensive guide, we will walk you through the step-by-step process of installing a Sunsetter awning with ease and confidence. From gathering the necessary tools and materials to determining the perfect location and securely mounting the awning, you'll gain valuable insights to make this project a success.
By following these instructions, you'll be able to enjoy the benefits of your Sunsetter awning in no time, creating a welcoming outdoor oasis for relaxation and entertainment. So, let's roll up our sleeves and embark on this fulfilling journey to enhance your outdoor living space!
Key Takeaways:
- Transform your outdoor space with a Sunsetter awning for shade and style. Follow the steps to create a welcoming oasis for relaxation and entertainment.
- Enjoy the benefits of a Sunsetter awning, from enhanced outdoor living to energy efficiency. Prioritize maintenance and share your shaded sanctuary with loved ones.
Read more: How Much Is A Sunsetter Awning
Step 1: Gather the Necessary Tools and Materials
Before diving into the installation process, it’s essential to gather all the tools and materials required for a smooth and efficient experience. Here’s a comprehensive list of what you’ll need:
- Power drill and drill bits: A reliable power drill will be instrumental in creating the necessary holes for mounting brackets and fasteners.
- Tape measure: Accurate measurements are crucial for determining the ideal location and ensuring a precise installation.
- Ladder: Depending on the height of your installation area, a sturdy ladder will aid in reaching and securing the awning properly.
- Sunsetter awning kit: This includes the awning fabric, mounting brackets, and all essential hardware for installation.
- Level: Ensuring that the awning is perfectly level is vital for both its functionality and visual appeal.
- Safety goggles and gloves: Prioritize safety by wearing protective eyewear and gloves throughout the installation process.
- Pencil or marker: Marking the positions for drilling and mounting will help maintain accuracy.
- Screwdriver set: A variety of screwdrivers will be necessary for different fasteners and components.
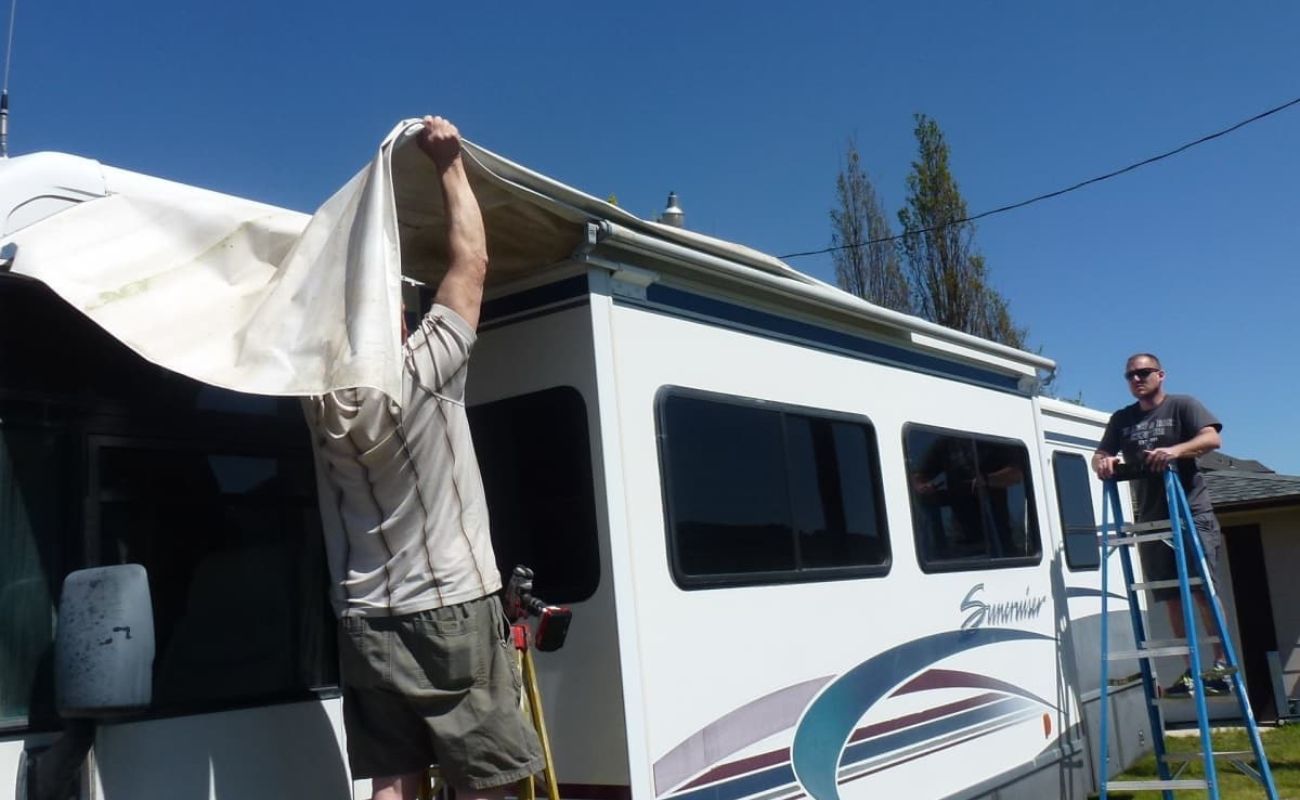
- Assistant: Having a helping hand can significantly simplify the installation process, especially when handling larger components.
With these tools and materials at your disposal, you’ll be well-prepared to proceed with the subsequent steps, ensuring a seamless and successful installation of your Sunsetter awning.
Step 2: Determine the Proper Location for Your Sunsetter Awning
Choosing the ideal location for your Sunsetter awning is a crucial decision that significantly impacts its functionality and visual appeal. Here are essential considerations to guide you in determining the perfect spot:
1. Sun Exposure: Assess the sun’s trajectory throughout the day to identify the areas of your outdoor space that receive the most sunlight. Ideally, you’ll want to install the awning in a spot that provides ample shade during the hottest hours, enhancing comfort and usability.
2. Clearance: Ensure that there is sufficient clearance above and around the chosen installation area. This includes verifying that the awning’s extended position will not obstruct doors, windows, or other architectural features.
3. Structural Integrity: Evaluate the structural integrity of the mounting surface. Whether you’re attaching the awning to a wall, soffit, or roof overhang, it’s essential to confirm that it can support the weight and stress of the awning, especially during inclement weather.
4. Aesthetic Appeal: Consider the visual impact of the awning in the chosen location. It should complement the architectural style of your home and harmonize with the overall design of your outdoor living space.
5. Functionality: Envision how you intend to use the shaded area. Whether it’s for outdoor dining, relaxation, or entertaining guests, the location should cater to your specific functional needs and lifestyle.
By carefully evaluating these factors, you’ll be equipped to select an optimal location for your Sunsetter awning, ensuring that it not only enhances the comfort and aesthetics of your outdoor space but also integrates seamlessly with your lifestyle and practical requirements.
Step 3: Install the Mounting Brackets
Installing the mounting brackets is a pivotal phase of the awning installation process, as they provide the foundation for securely attaching the awning to your home’s exterior. Follow these steps to ensure a precise and durable installation:
1. Positioning: Using a tape measure and level, mark the precise locations for the mounting brackets. Ensure that they are evenly spaced and aligned to support the entire span of the awning.
2. Pre-Drilling: With the aid of a power drill and the appropriate drill bit, carefully create pilot holes at the marked positions. This step is essential for facilitating the insertion of mounting screws and ensuring a secure attachment.
3. Attachment: Securely fasten the mounting brackets to the exterior surface using the provided screws. It’s crucial to verify that the brackets are firmly anchored and level to guarantee the stability of the awning.
4. Verification: Once the mounting brackets are installed, double-check their alignment and sturdiness. This is an opportune moment to make any necessary adjustments before proceeding to the next phase of the installation.
5. Load Distribution: Consider the distribution of weight and stress across the mounting brackets. They should be positioned to evenly support the awning, minimizing strain on any single point or fastener.
By methodically installing the mounting brackets with precision and attention to detail, you’ll establish a reliable and secure foundation for your Sunsetter awning, ensuring its long-term stability and performance.
Before installing a Sunsetter Awning, make sure to carefully read the manufacturer’s instructions and gather all necessary tools and materials. It’s important to follow the step-by-step guide provided to ensure a safe and successful installation.
Step 4: Attach the Awning to the Mounting Brackets
With the mounting brackets securely in place, it’s time to proceed with attaching the Sunsetter awning to its designated position. This phase requires careful handling and coordination to ensure a seamless and secure attachment. Follow these steps for a successful installation:
1. Positioning the Awning: Enlist the assistance of another person to help support the awning as you position it onto the installed mounting brackets. Carefully align the awning to ensure that it seamlessly fits onto the brackets.
2. Fastening the Awning: Utilize the provided hardware to fasten the awning to the mounting brackets. Ensure that the fasteners are tightened securely to prevent any movement or instability once the awning is in place.
3. Verifying Alignment: Confirm that the awning is evenly positioned and aligned with the mounting brackets. This step is essential for both the functionality and visual appeal of the awning.
4. Operational Test: Extend and retract the awning to verify that it operates smoothly and without any obstructions. This test ensures that the awning functions as intended, providing reliable shade and protection.
5. Aesthetic Assessment: Step back and assess the visual impact of the installed awning. Ensure that it complements the surrounding architecture and enhances the overall appeal of your outdoor living space.
By meticulously following these steps, you’ll successfully attach the Sunsetter awning to the mounting brackets, culminating in a secure and visually pleasing installation that enhances the functionality and aesthetics of your outdoor area.
Read more: How To Adjust A Sunsetter Awning
Step 5: Test and Adjust the Awning
After attaching the Sunsetter awning to the mounting brackets, it’s essential to perform thorough testing and make any necessary adjustments to ensure optimal functionality and performance. Follow these steps to test and fine-tune your newly installed awning:
1. Extension and Retraction: Test the awning’s extension and retraction mechanism to ensure smooth and effortless operation. Verify that the movement is uniform and that the awning extends to the desired length without any issues.
2. Tilt Adjustment: If your awning features adjustable pitch settings, test the tilt mechanism to determine the optimal angle for shading and rain runoff. Make adjustments as needed to achieve the desired level of shade and protection.
3. Wind Sensor (if applicable): If your Sunsetter awning is equipped with a wind sensor, assess its functionality by simulating varying wind conditions. Ensure that the sensor triggers the retraction of the awning in response to strong gusts, providing an added layer of protection.
4. Fabric Tautness: Inspect the fabric of the awning to ensure that it is taut and free from sagging or wrinkles when extended. Adjust the tension as necessary to maintain a smooth and visually appealing appearance.
5. Secure Fastenings: Double-check all fastenings and connections to confirm that they are secure and free from any signs of loosening. This step is crucial for the long-term reliability and safety of your awning.
6. Operational Demonstration: Demonstrate the awning’s functionality to other household members, ensuring that everyone is familiar with its operation and safety features. This step promotes awareness and responsible usage of the awning.
By meticulously testing and adjusting your Sunsetter awning, you can fine-tune its operation and address any potential issues, resulting in a fully optimized and reliable outdoor shading solution that enhances your comfort and enjoyment.
Conclusion
Congratulations on successfully installing your Sunsetter awning! By following the comprehensive steps outlined in this guide, you’ve transformed your outdoor space into a haven of comfort, style, and functionality. As you bask in the shaded bliss of your new awning, it’s essential to reflect on the transformative impact it brings to your home and lifestyle.
With the installation complete, you can look forward to a myriad of benefits, including:
- Enhanced Outdoor Living: Your outdoor space is now a versatile and inviting area for relaxation, entertainment, and al fresco dining, offering shelter from the sun’s rays and unexpected rain showers.
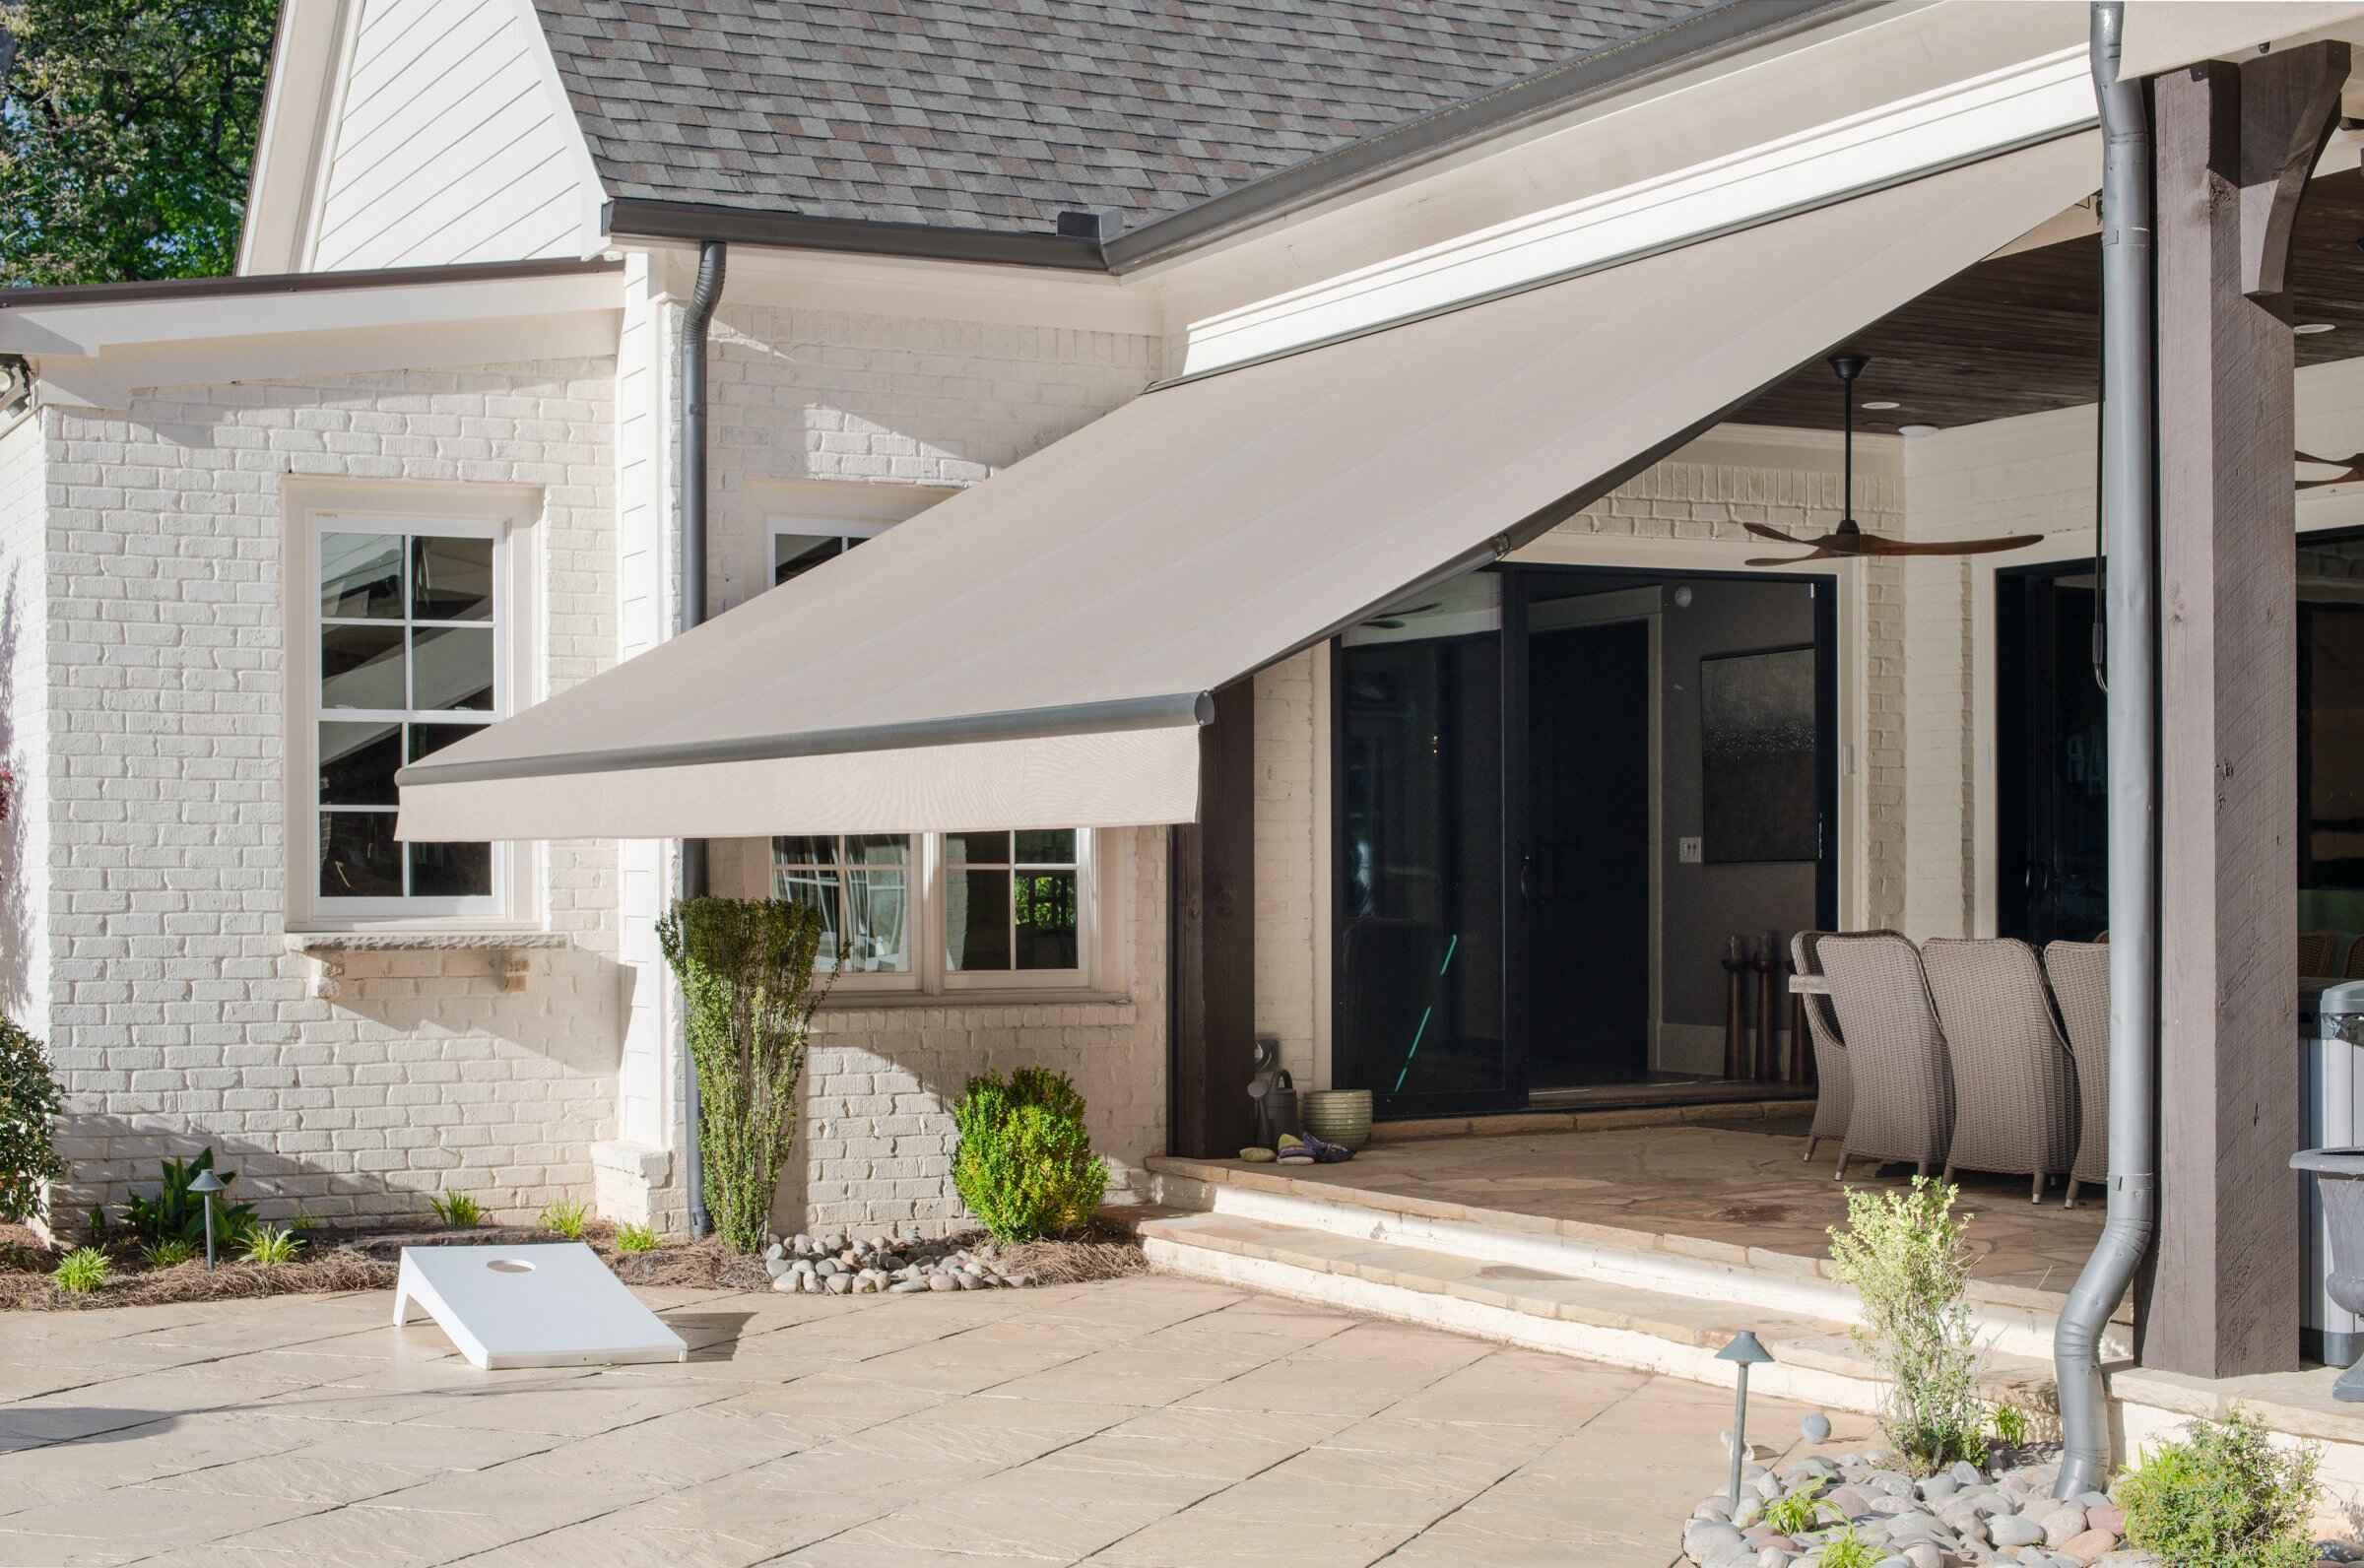
- Aesthetic Appeal: The addition of a Sunsetter awning elevates the visual charm of your home’s exterior, contributing to its curb appeal and creating a captivating outdoor ambiance.
- Energy Efficiency: By providing shade to your outdoor living space, the awning contributes to reducing indoor heat gain, potentially lowering your home’s cooling costs during warmer months.
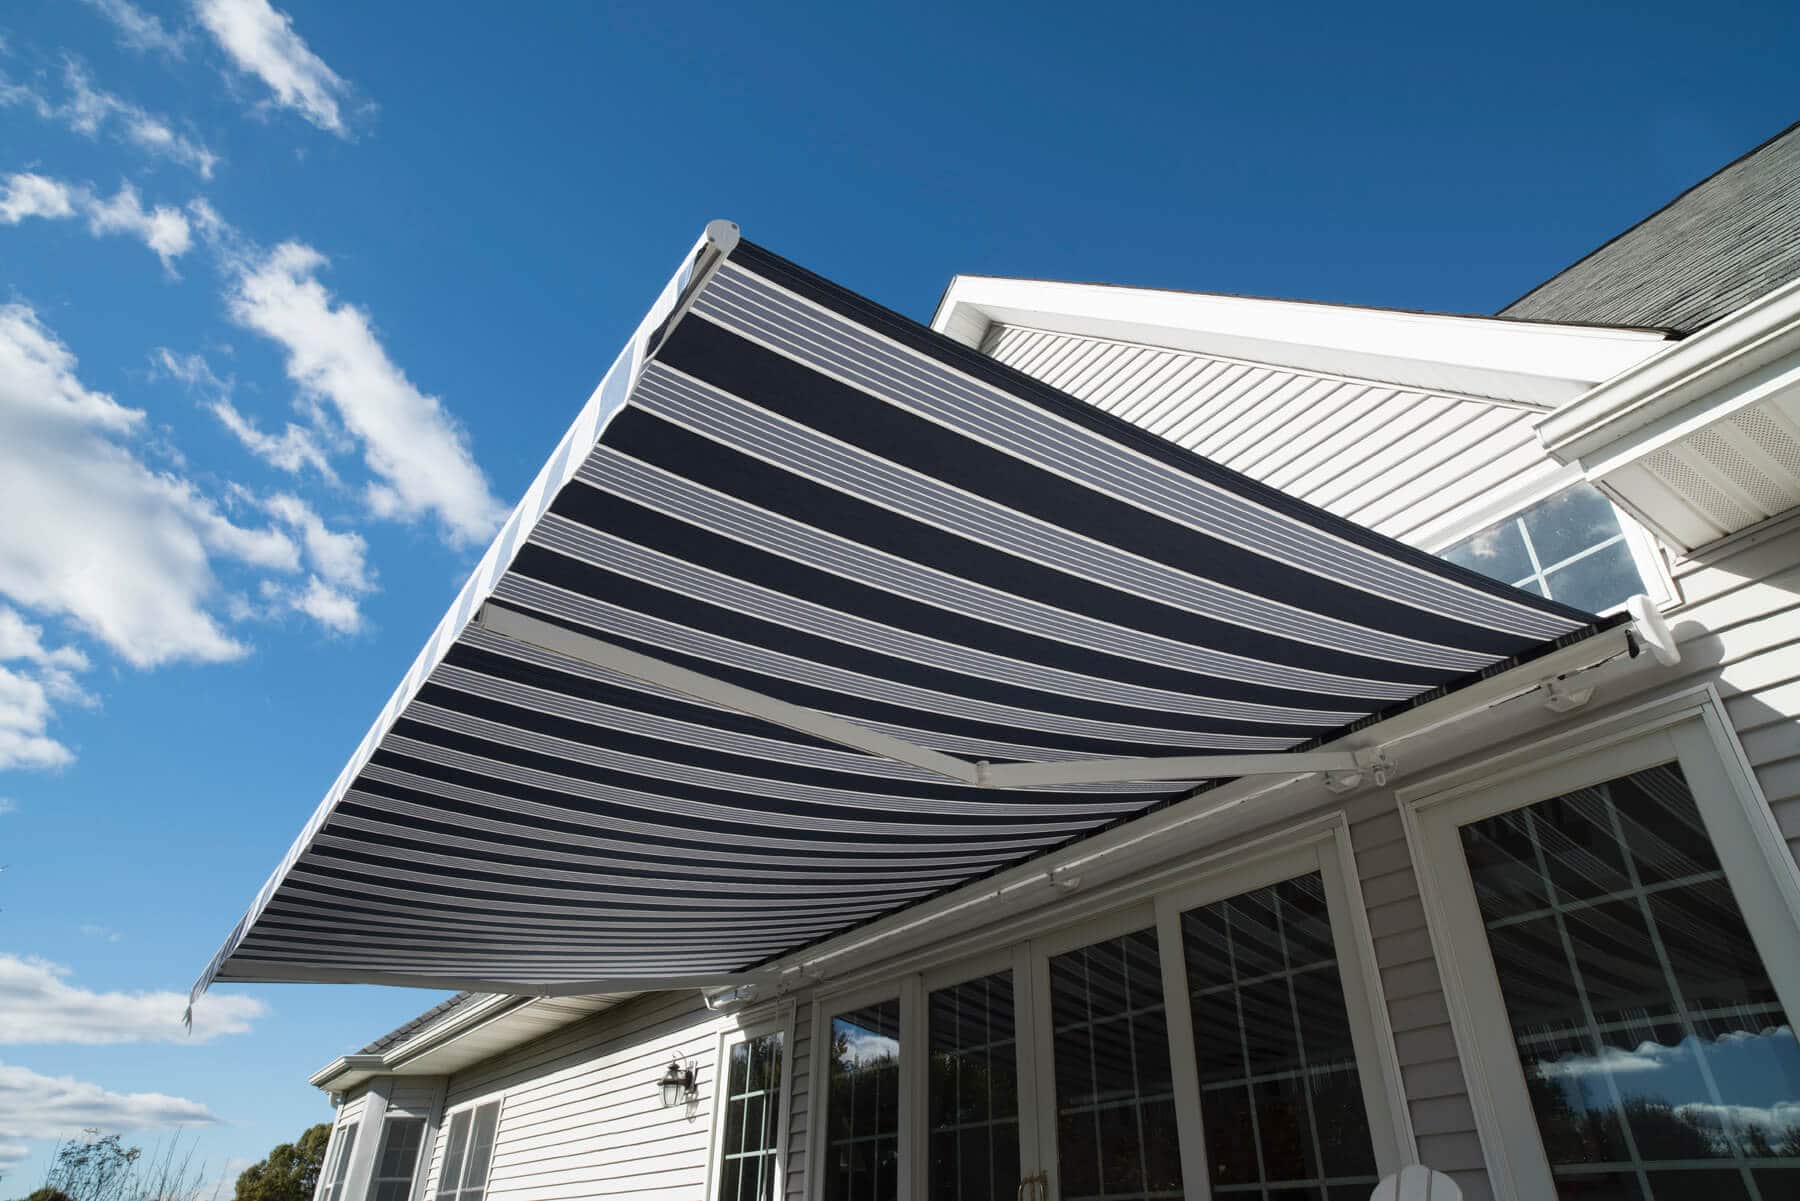
- Protection and Comfort: Your awning offers a shield from harmful UV rays, allowing you to enjoy the outdoors with peace of mind while staying cool and comfortable.
As you revel in these advantages, it’s important to prioritize the ongoing maintenance and care of your Sunsetter awning. Regular cleaning, inspection of mechanical components, and seasonal adjustments will help preserve its functionality and aesthetic appeal for years to come.
Furthermore, share your newfound outdoor sanctuary with friends and family, creating cherished moments and unforgettable gatherings in the comfort of your shaded oasis.
Thank you for embarking on this journey to enhance your outdoor living space. Your Sunsetter awning stands as a testament to your dedication to creating a welcoming and enjoyable environment, enriching your home and enriching your life.
Here’s to many delightful moments under the shelter of your Sunsetter awning, embracing the beauty of the outdoors with comfort and style!
Frequently Asked Questions about How To Install A Sunsetter Awning
Was this page helpful?
At Storables.com, we guarantee accurate and reliable information. Our content, validated by Expert Board Contributors, is crafted following stringent Editorial Policies. We're committed to providing you with well-researched, expert-backed insights for all your informational needs.


0 thoughts on “How To Install A Sunsetter Awning”