Home>Gardening & Outdoor>Outdoor Structures>How To Install An Awning On An RV
Outdoor Structures
How To Install An Awning On An RV
Modified: February 18, 2024
Learn how to install an awning on your RV with our step-by-step guide. Enhance your outdoor experience with our outdoor structures expertise.
(Many of the links in this article redirect to a specific reviewed product. Your purchase of these products through affiliate links helps to generate commission for Storables.com, at no extra cost. Learn more)
Introduction
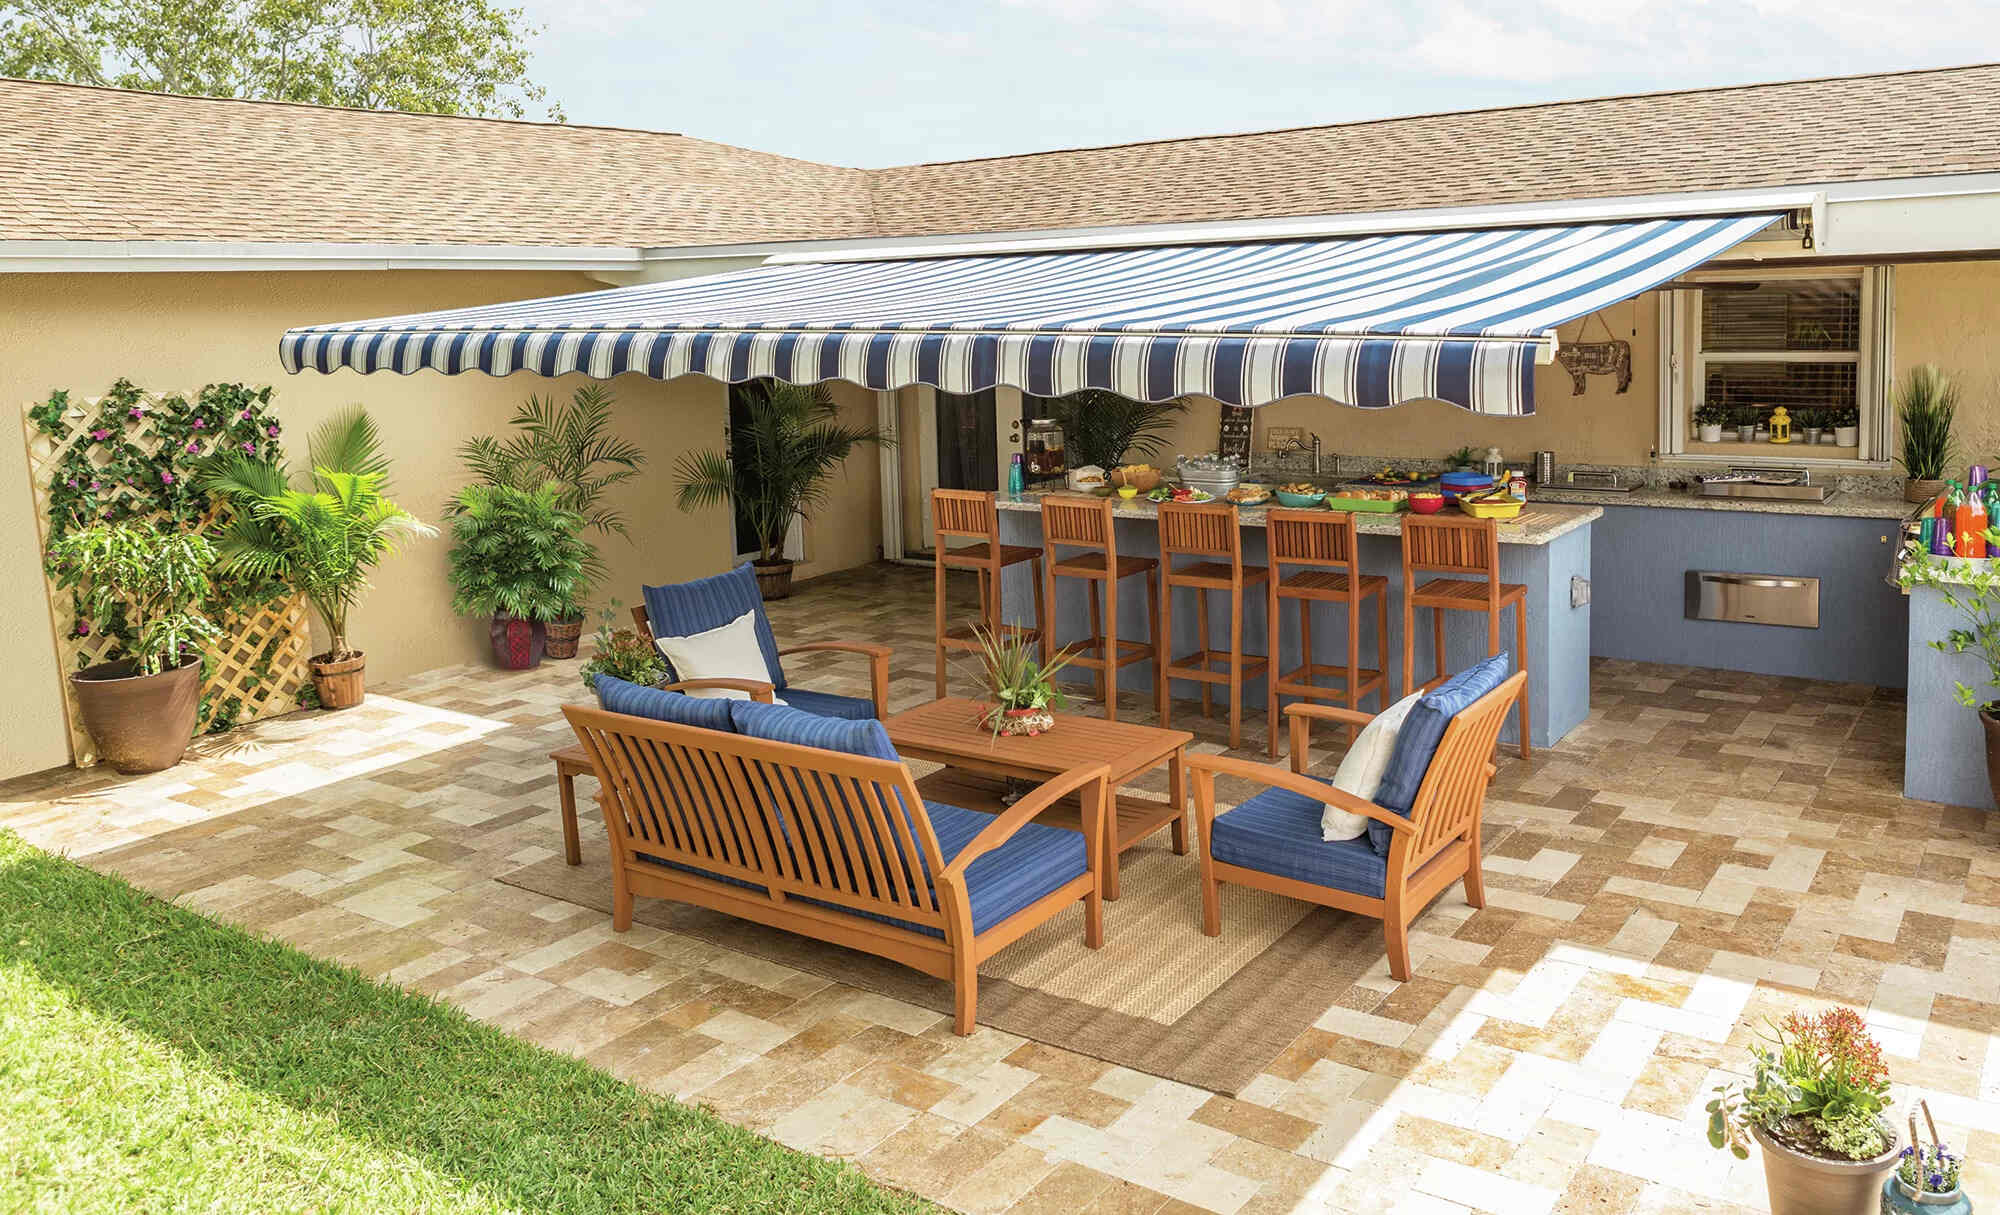
Are you ready to enhance your RV experience with a stylish and functional addition? Installing an awning on your RV can significantly improve your outdoor living space, providing shade and protection from the elements. Whether you're seeking relief from the scorching sun or shelter from a light drizzle, an awning is a valuable asset for any outdoor enthusiast.
In this comprehensive guide, we'll walk you through the step-by-step process of installing an awning on your RV. From gathering the necessary materials and tools to securing the awning fabric, we've got you covered. By following these instructions, you'll be well on your way to enjoying the benefits of a well-installed RV awning.
Let's dive in and explore the exciting world of RV awning installation, where functionality meets style, and outdoor adventures become even more enjoyable.
Key Takeaways:
- Transform your RV outdoor space with an awning for shade and protection. Follow step-by-step instructions for a seamless installation process, enhancing your outdoor adventures with comfort and style.
- Ensure a successful RV awning installation by meticulously measuring, securing, and testing each component. Embrace the convenience and versatility of your new outdoor oasis, ready to elevate your RV lifestyle.
Read more: How To Install Led Strip Lights On RV Awning
Step 1: Gather Materials and Tools
Before embarking on the awning installation journey, it’s crucial to gather all the necessary materials and tools. This ensures a smooth and efficient process, allowing you to focus on the task at hand without interruptions. Here’s a comprehensive list of what you’ll need:
Materials:
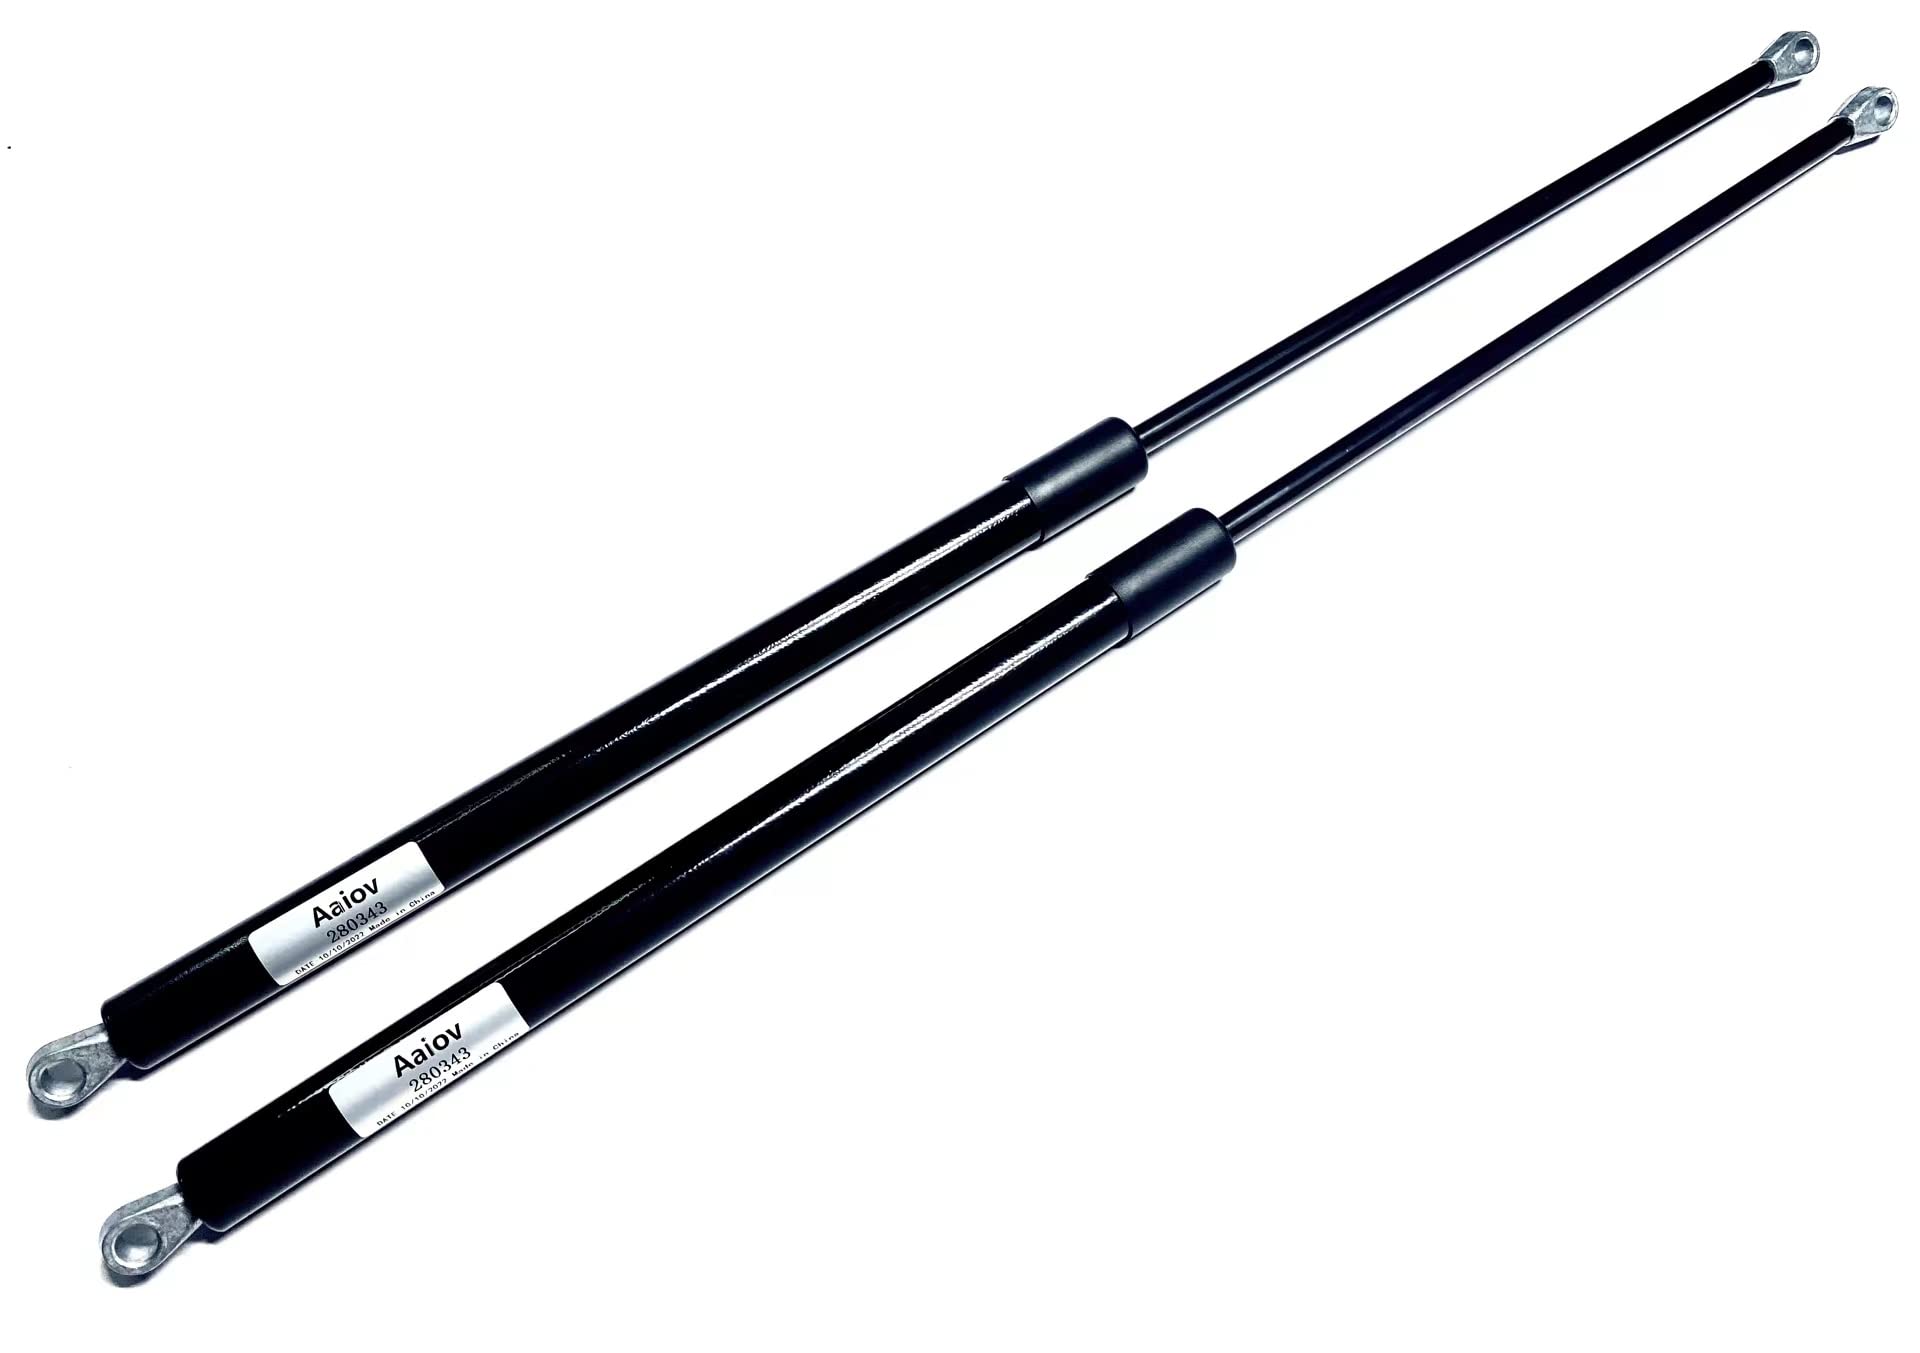
- RV awning kit (including the awning fabric, roller tube, and arms)
- Mounting brackets
- Sealant or caulk
- Stainless steel mounting hardware
- Butyl tape or other recommended sealing tape
- Awning rail (if not included in the kit)
- Optional: Awning lights, wind sensor, or other accessories
Tools:
- Measuring tape
- Marker or pencil
- Drill and drill bits
- Rivet gun and rivets
- Screwdriver set
- Adjustable wrench
- Ladder or step stool
- Caulking gun
- Utility knife
- Level
Once you’ve gathered these materials and tools, you’ll be well-prepared to proceed with the installation process. Having everything at your fingertips minimizes delays and ensures that you can tackle each step with confidence and ease.
Step 2: Measure and Mark the Mounting Location
Accurate measurements and precise markings are essential for the successful installation of an RV awning. Before drilling or attaching any components, take the time to carefully measure and mark the mounting locations. Here’s a detailed guide to help you through this critical step:
1. Choose the Placement: Consider the ideal placement for your awning, taking into account factors such as shade coverage, clearance from obstacles, and overall aesthetic appeal. The chosen location should provide ample coverage and complement the RV’s design.
2. Measure and Mark: Use a measuring tape to determine the exact placement of the mounting brackets. Mark these locations with a pencil or marker, ensuring that the markings are level and aligned with the RV’s structure.
3. Consider Awning Length: If your RV awning is extendable, take into account the full length of the awning when marking the mounting locations. This ensures that the awning can fully extend without any obstructions.
4. Verify Clearances: Double-check for clearances above and to the sides of the marked locations. Ensure that there are no obstacles, such as lights or vents, that could interfere with the awning’s operation.
5. Account for Slope: If you prefer a slight slope for water runoff, consider this when marking the mounting locations. A subtle slope can help prevent water from pooling on the awning fabric during rainfall.
By meticulously measuring and marking the mounting locations, you’ll set the stage for a precise and secure installation. This attention to detail ensures that your RV awning will not only look great but also function flawlessly, providing the desired shade and protection during your outdoor adventures.
Read more: How To Fix An RV Awning
Step 3: Install the Mounting Brackets
Mounting brackets play a pivotal role in supporting and securing your RV awning, making their proper installation a crucial step in the process. Follow these detailed instructions to ensure the successful installation of the mounting brackets:
1. Pre-Drill Pilot Holes: Using a drill and the appropriate drill bit, pre-drill pilot holes at the marked locations. Pilot holes help guide the screws and prevent the metal from warping during installation.
2. Attach the Brackets: Securely fasten the mounting brackets to the RV using stainless steel mounting hardware. Ensure that the brackets are level and firmly anchored to the RV’s structure, providing a stable foundation for the awning.
3. Apply Sealant: Prior to attaching the brackets, apply a layer of sealant or caulk to the back of each bracket. This creates a watertight seal and helps prevent water intrusion, safeguarding the integrity of your RV’s exterior.
4. Use Butyl Tape: For added protection against moisture, consider using butyl tape between the brackets and the RV’s surface. This serves as an additional barrier against water infiltration, enhancing the longevity of the installation.
5. Verify Alignment: Double-check the alignment and positioning of the brackets before finalizing their attachment. Ensuring that the brackets are level and evenly spaced is crucial for the smooth operation and longevity of your RV awning.
By meticulously following these steps, you’ll establish a solid and reliable foundation for your RV awning. The secure installation of the mounting brackets sets the stage for the subsequent steps, bringing you one step closer to enjoying the comfort and convenience of your newly installed awning.
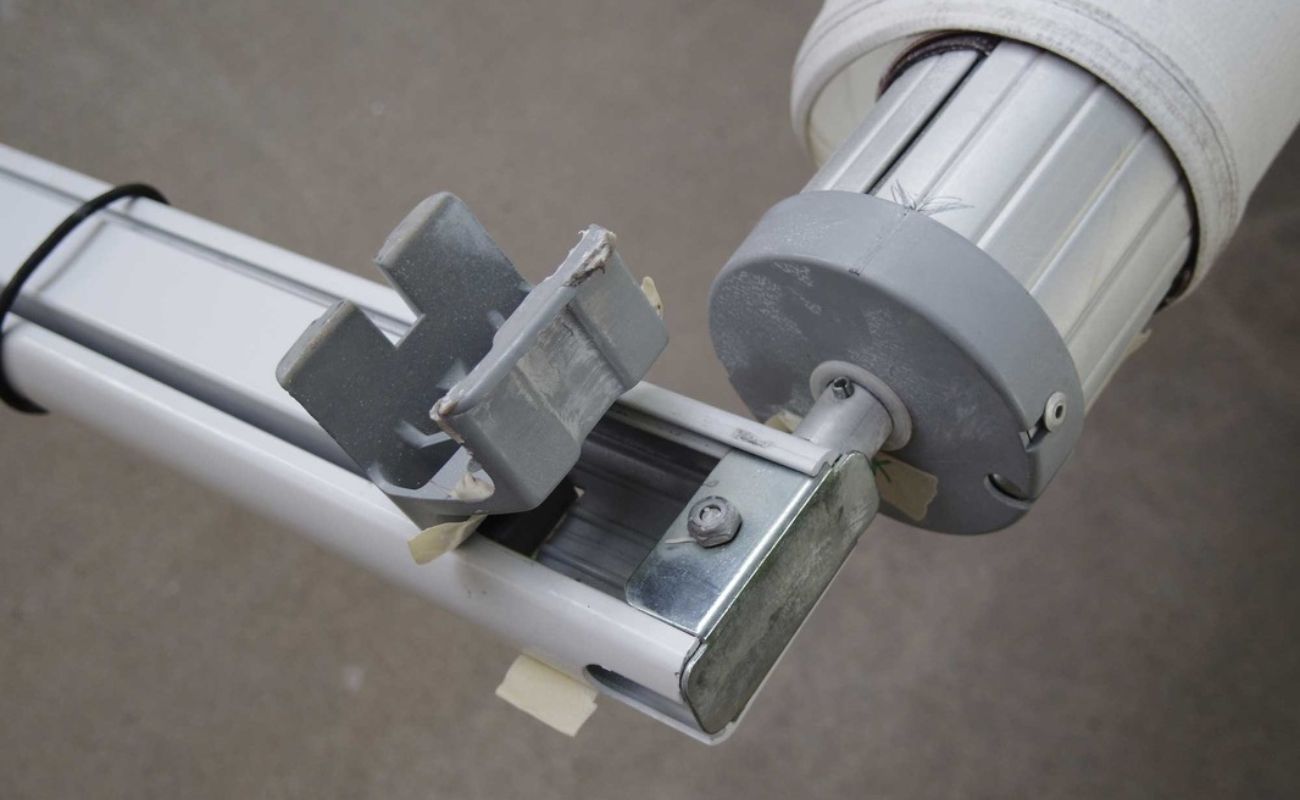
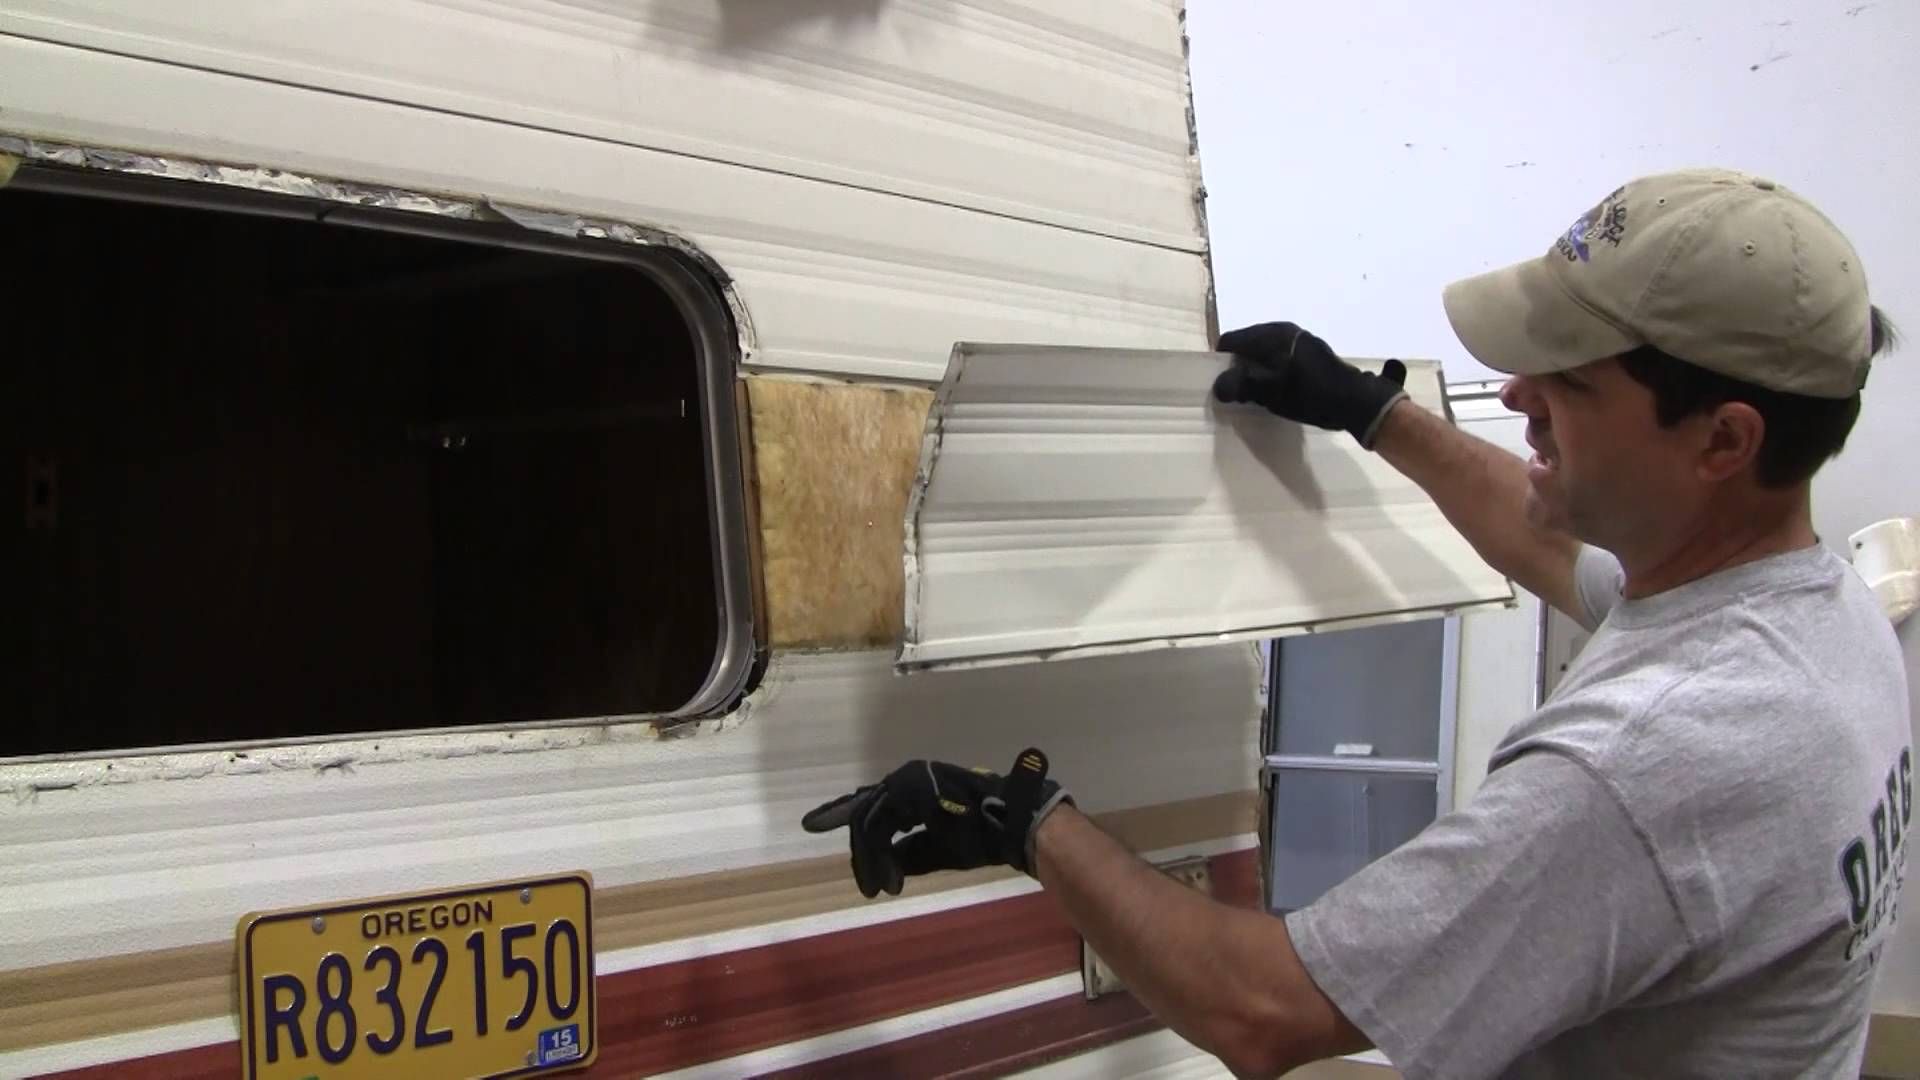
Step 4: Attach the Awning Roller
Attaching the awning roller is a pivotal step that brings your RV awning one step closer to completion. Follow these detailed instructions to ensure a seamless and secure attachment of the awning roller:
1. Position the Roller Tube: Place the awning roller in the designated location, ensuring that it aligns with the mounting brackets. The roller should be positioned and centered for smooth operation and proper fabric alignment.
2. Secure the Roller: Using the provided hardware, secure the awning roller to the mounting brackets. Ensure that the roller is level and securely fastened, providing a stable anchor for the awning fabric.
3. Check for Smooth Rotation: Test the rotation of the roller to ensure that it moves freely and without obstruction. This step verifies that the roller is properly aligned and securely attached, setting the stage for the next phase of the installation.
4. Engage the Locking Mechanism: If your awning features a locking mechanism, engage it according to the manufacturer’s instructions. This secures the roller in place, preventing unintended movement during and after installation.
5. Verify Tension Adjustment: If applicable, verify the tension adjustment of the awning roller. Follow the manufacturer’s guidelines to ensure that the tension is appropriately set for optimal fabric extension and retraction.
By meticulously following these steps, you’ll successfully attach the awning roller, a crucial component of your RV awning. This brings you one step closer to enjoying the comfort and convenience of your outdoor living space, where relaxation and shade await.
When installing an awning on an RV, make sure to carefully follow the manufacturer’s instructions and use the appropriate tools. It’s also important to double-check all connections and make sure the awning is securely attached to the RV.
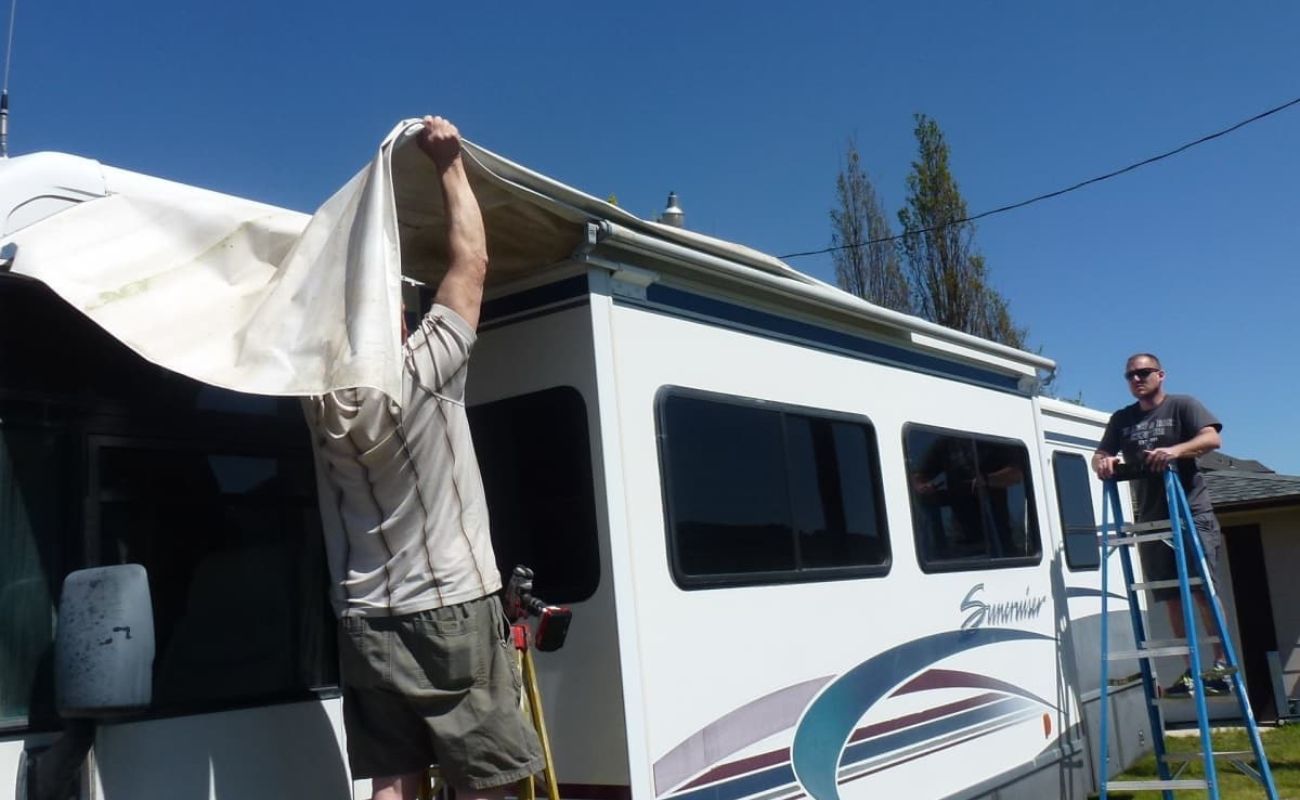
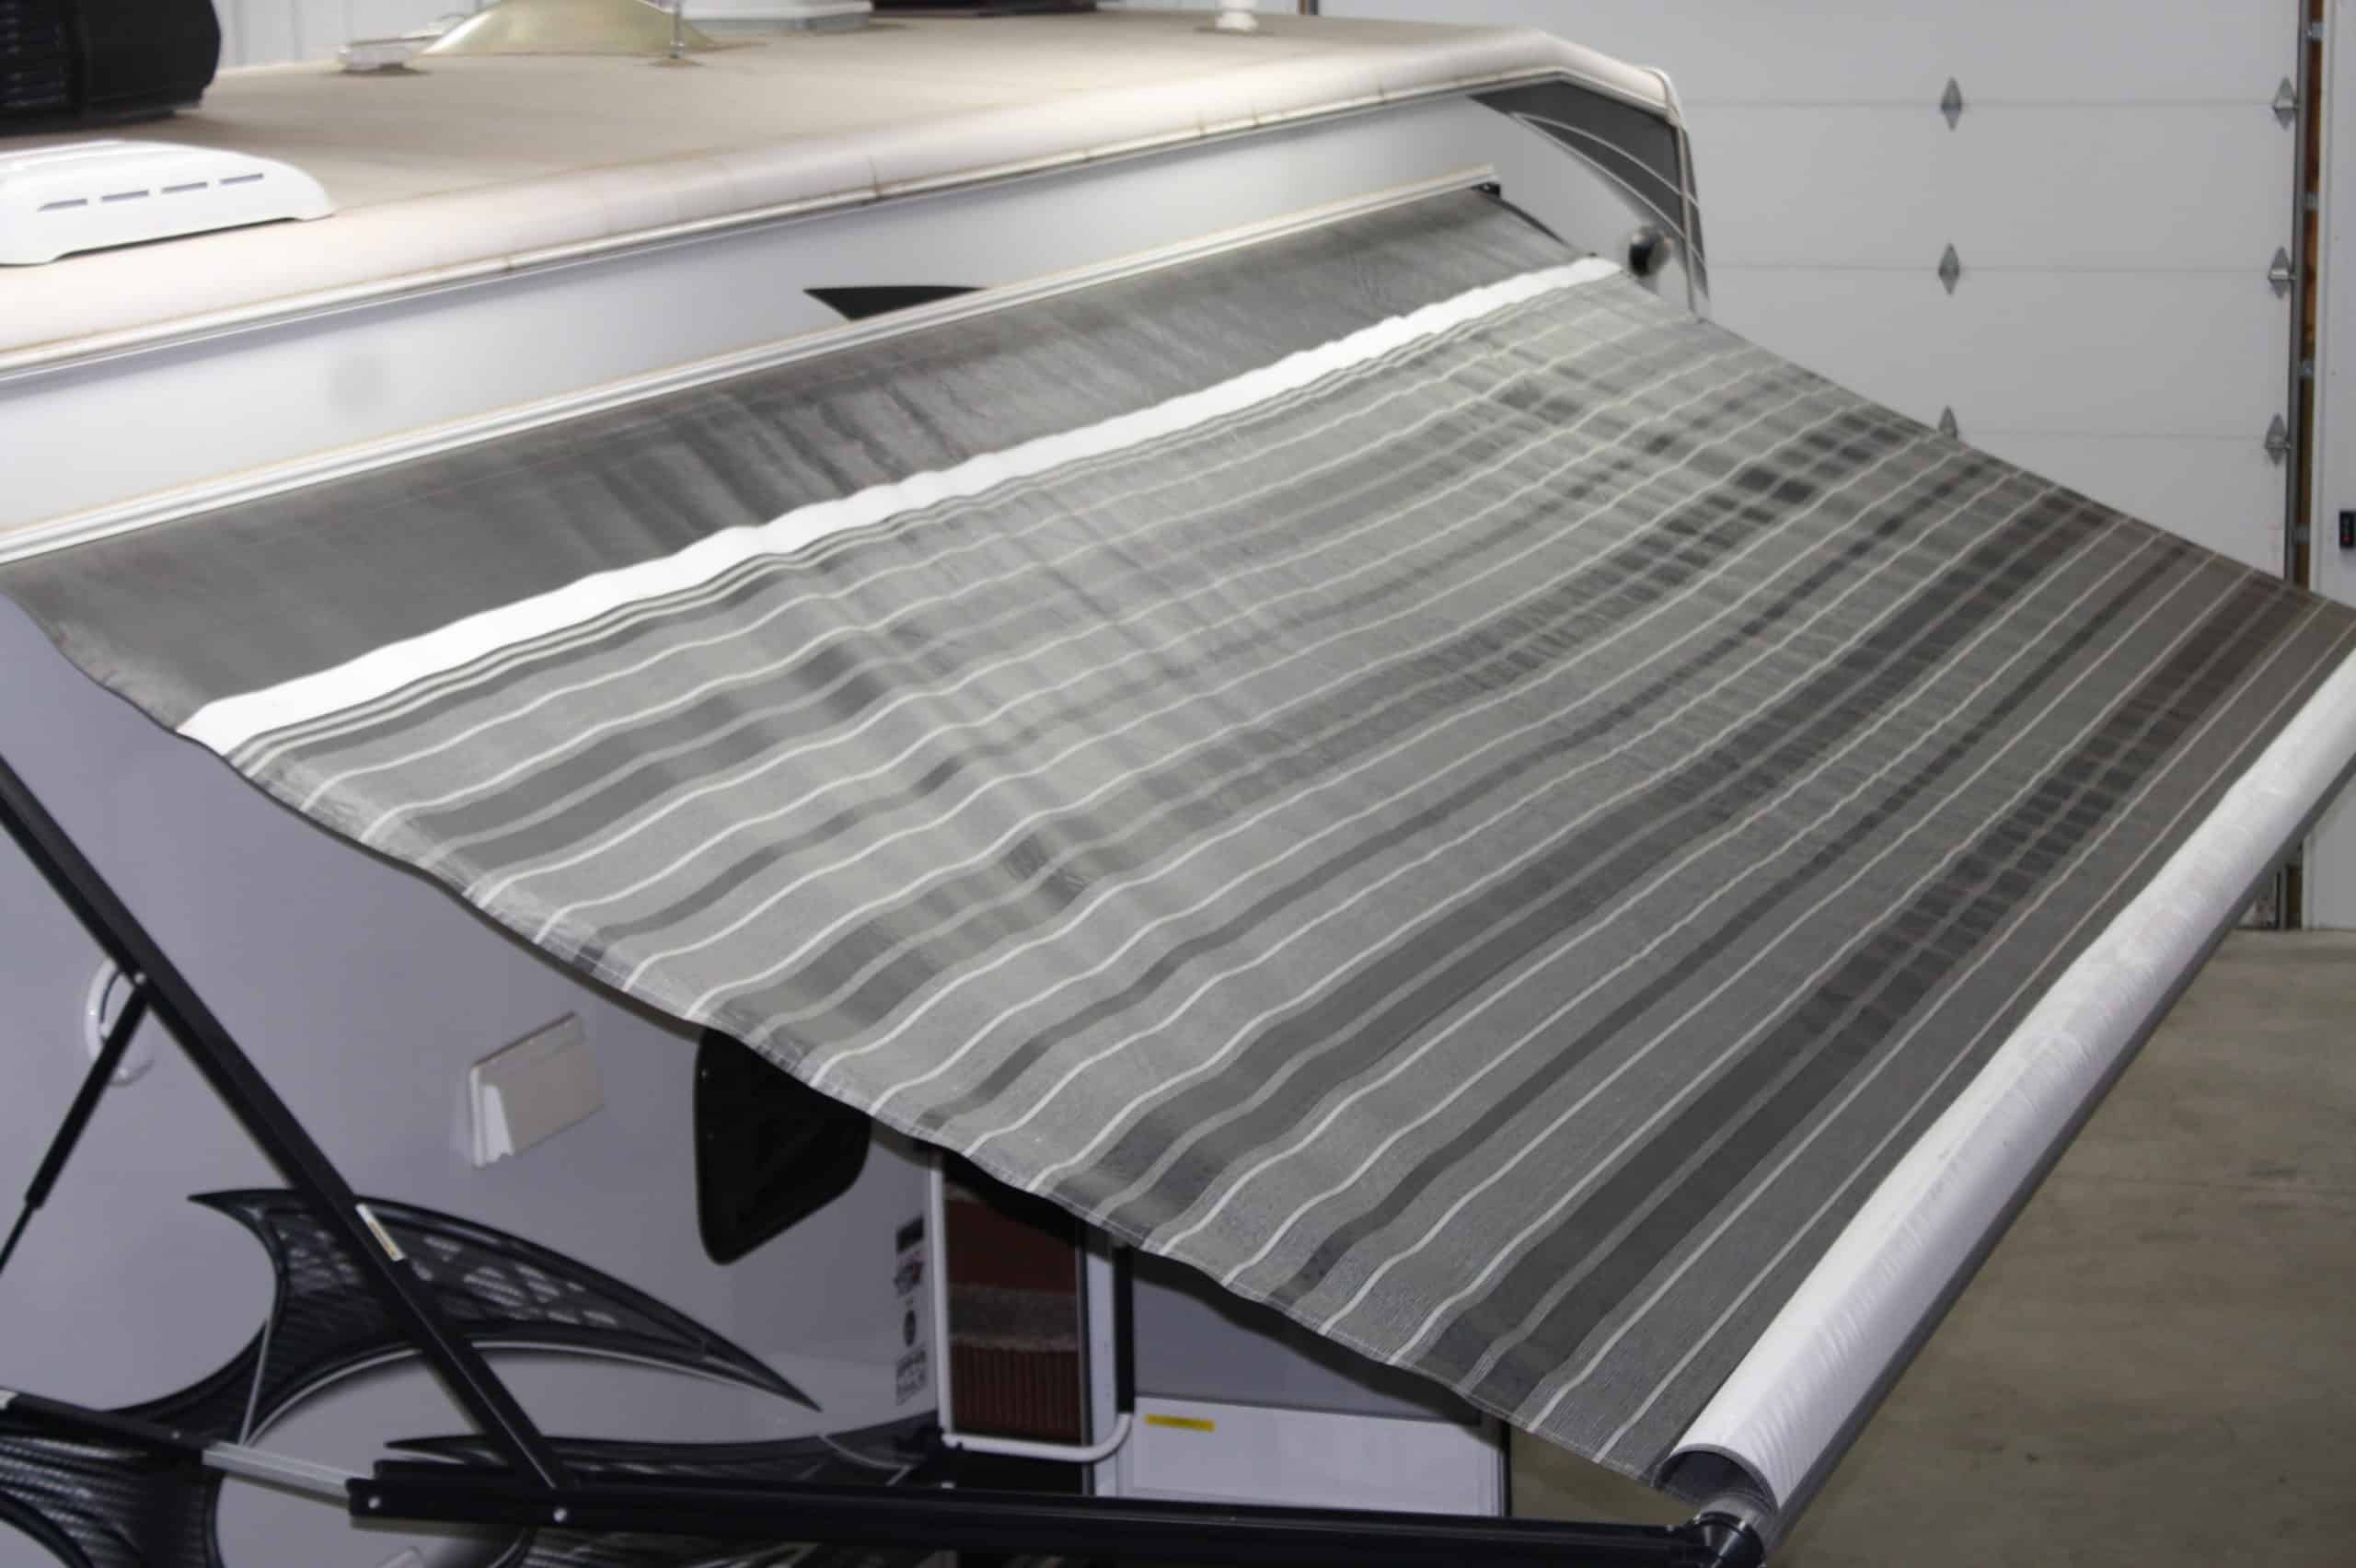
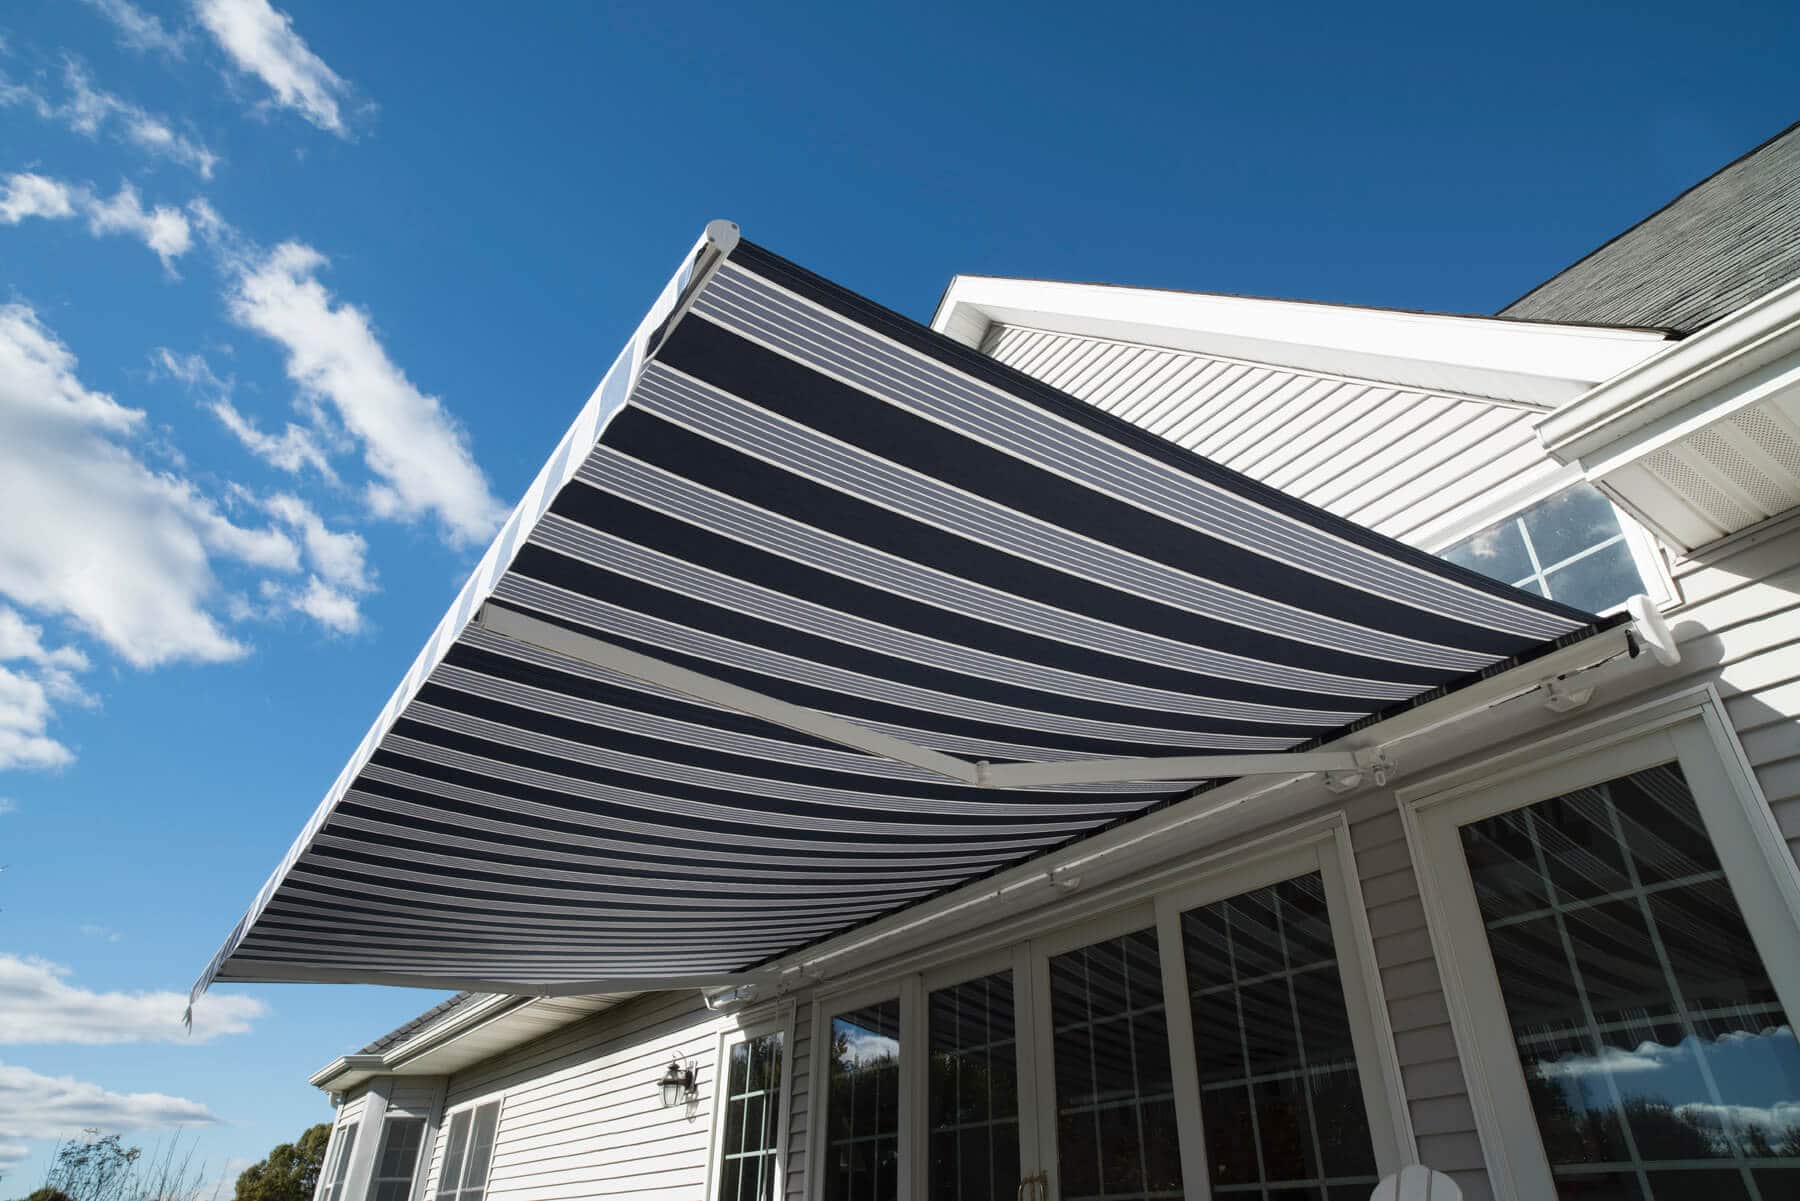
Step 5: Secure the Awning Fabric
Securing the awning fabric is a vital step in the installation process, ensuring that the fabric is taut, properly aligned, and ready to provide shelter from the elements. Follow these detailed instructions to securely fasten the awning fabric to the roller and ensure a professional finish:
1. Align the Fabric: Unroll the awning fabric onto the roller, ensuring that it is evenly aligned and free from any twists or bunching. Proper alignment sets the stage for a smooth extension and retraction of the awning.
2. Attach the Fabric to the Roller: Secure the awning fabric to the roller using the provided fastening mechanism, following the manufacturer’s instructions. This ensures that the fabric remains securely attached during operation.
3. Tension the Fabric: If your awning allows for tension adjustments, carefully tension the fabric according to the manufacturer’s guidelines. Achieving the optimal tension ensures a taut and wrinkle-free appearance when the awning is fully extended.
4. Secure the Edges: Utilize the awning’s integrated fastening system or accessories to secure the fabric’s edges. This prevents flapping and ensures that the fabric remains stable and resistant to light winds and inclement weather.
5. Inspect for Proper Alignment: Step back and visually inspect the awning fabric to ensure that it is uniformly aligned and free from any irregularities. This visual check ensures a professional and aesthetically pleasing finish.
By meticulously following these steps, you’ll secure the awning fabric with precision and care, setting the stage for a visually appealing and functional addition to your RV. With the fabric securely in place, your outdoor living space is ready to provide shade, comfort, and protection from the elements.
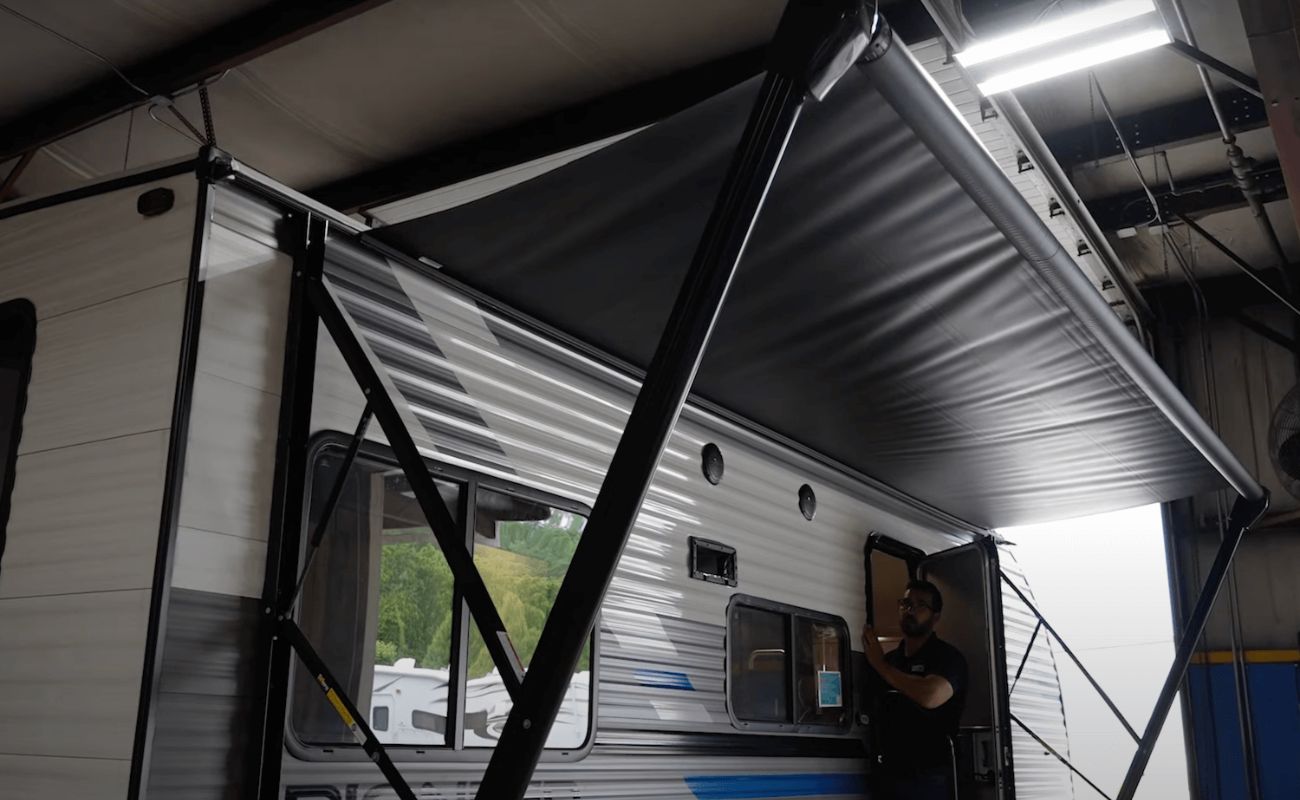
Step 6: Test the Awning Operation
Testing the operation of your newly installed RV awning is the final step in the installation process, ensuring that it functions smoothly and provides the desired shade and shelter. Follow these comprehensive instructions to test the awning’s operation and make any necessary adjustments:
1. Extend the Awning: Using the designated controls or mechanisms, gently extend the awning to its full length. Observe the extension process, ensuring that the fabric unfurls evenly and without resistance.
2. Verify Stability: Once fully extended, assess the stability of the awning. Ensure that the fabric is taut, the roller is securely anchored, and the awning arms are fully engaged and locked into position.
3. Retract the Awning: Carefully retract the awning, observing the retraction process for any irregularities or obstructions. The fabric should roll up smoothly and evenly onto the roller without any signs of binding or misalignment.
4. Assess Clearance and Alignment: Throughout the extension and retraction process, assess the clearance and alignment of the awning. Verify that it clears any obstacles and remains uniformly aligned with the RV’s structure.
5. Check for Secure Attachment: Inspect the mounting brackets, awning roller, and fabric attachment points to ensure that they remain securely fastened during the operation tests. Any signs of looseness or instability should be addressed promptly.
6. Make Necessary Adjustments: If any issues or irregularities are observed during the testing phase, make the necessary adjustments as per the manufacturer’s guidelines. This may involve tension adjustments, realignment, or addressing any mechanical issues.
By meticulously testing the awning’s operation and making any required adjustments, you ensure that it functions flawlessly and provides the desired shade and protection. With the successful completion of this step, your RV awning is ready to enrich your outdoor experiences with comfort, convenience, and style.
Read more: How To Retract An RV Awning
Conclusion
Congratulations! You’ve successfully navigated the process of installing an awning on your RV, transforming your outdoor living space into a shaded oasis of comfort and relaxation. By following the comprehensive steps outlined in this guide, you’ve not only enhanced the functionality of your RV but also elevated its aesthetic appeal.
As you bask in the shade provided by your newly installed awning, take a moment to appreciate the meticulous measurements, precise installations, and careful adjustments that have culminated in this transformative addition to your RV. The investment of time and effort has yielded a valuable asset that will accompany you on countless outdoor adventures.
With your awning in place, you’re poised to create cherished memories, whether it’s enjoying a leisurely outdoor meal, seeking respite from the sun’s rays, or simply savoring the beauty of nature from the comfort of your shaded retreat. Your RV awning stands as a testament to your dedication to creating an inviting and functional outdoor space.
As you embark on future journeys, your awning will serve as a reliable companion, providing shelter and comfort wherever your travels take you. Whether it’s a spontaneous roadside stop, a serene lakeside campground, or a bustling RV park, your awning will be there to enhance your outdoor experiences.
Embrace the versatility and convenience that your RV awning offers, and revel in the freedom to make the most of your outdoor adventures. From providing shelter during unexpected rain showers to creating a welcoming outdoor lounge area, your awning is a versatile asset that enriches your RV lifestyle.
As you reflect on the installation process and the rewarding outcome, take pride in the newfound allure and functionality of your RV. Your awning stands as a symbol of your commitment to creating a comfortable and inviting outdoor haven, where the joys of nature and the comforts of home converge.
With your RV awning installed and ready to enrich your travels, you’re poised to embark on a journey filled with relaxation, adventure, and the boundless beauty of the great outdoors.
Frequently Asked Questions about How To Install An Awning On An RV
Was this page helpful?
At Storables.com, we guarantee accurate and reliable information. Our content, validated by Expert Board Contributors, is crafted following stringent Editorial Policies. We're committed to providing you with well-researched, expert-backed insights for all your informational needs.


0 thoughts on “How To Install An Awning On An RV”