Home>Furniture>Outdoor Furniture>How To Build A Tin Roof Patio Cover
Outdoor Furniture
How To Build A Tin Roof Patio Cover
Modified: October 20, 2024
Learn how to build a stunning tin roof patio cover to protect your outdoor furniture and create a stylish outdoor living space.
(Many of the links in this article redirect to a specific reviewed product. Your purchase of these products through affiliate links helps to generate commission for Storables.com, at no extra cost. Learn more)
Introduction
Welcome to our comprehensive guide on how to build a tin roof patio cover! If you enjoy spending time outdoors and want to create a comfortable and functional space for relaxation and entertainment, a tin roof patio cover can be a fantastic addition to your home. Not only does it provide protection from the elements, but it also adds a touch of style and character to your outdoor area.
Whether you want to shield yourself from the scorching sun, enjoy a gentle rain shower, or extend your outdoor living space, building a tin roof patio cover is a rewarding project that can be accomplished with the right planning, preparation, and tools.
In this guide, we will walk you through each step of the process, from the initial planning and design stage to the final installation and finishing touches. We will also provide helpful tips and insights to ensure that your tin roof patio cover is structurally sound, visually appealing, and meets any local permitting requirements.
Before we dive into the practical steps, it’s important to note that safety should always be a top priority when working on any construction project. If you are unsure about any aspect of the process, it is recommended to consult with a professional contractor or seek guidance from your local building authority.
Are you ready to transform your outdoor space and create a functional and stylish area that you can enjoy year-round? Let’s get started with the planning and design phase!
Key Takeaways:
- Planning and design are crucial for building a sturdy and stylish tin roof patio cover. Consider factors like size, shape, and materials to create a functional outdoor space that meets your needs.
- Obtaining permits, gathering materials, and following safety guidelines are essential for a successful patio cover construction. Completing each step with care and attention will result in a beautiful and long-lasting outdoor sanctuary.
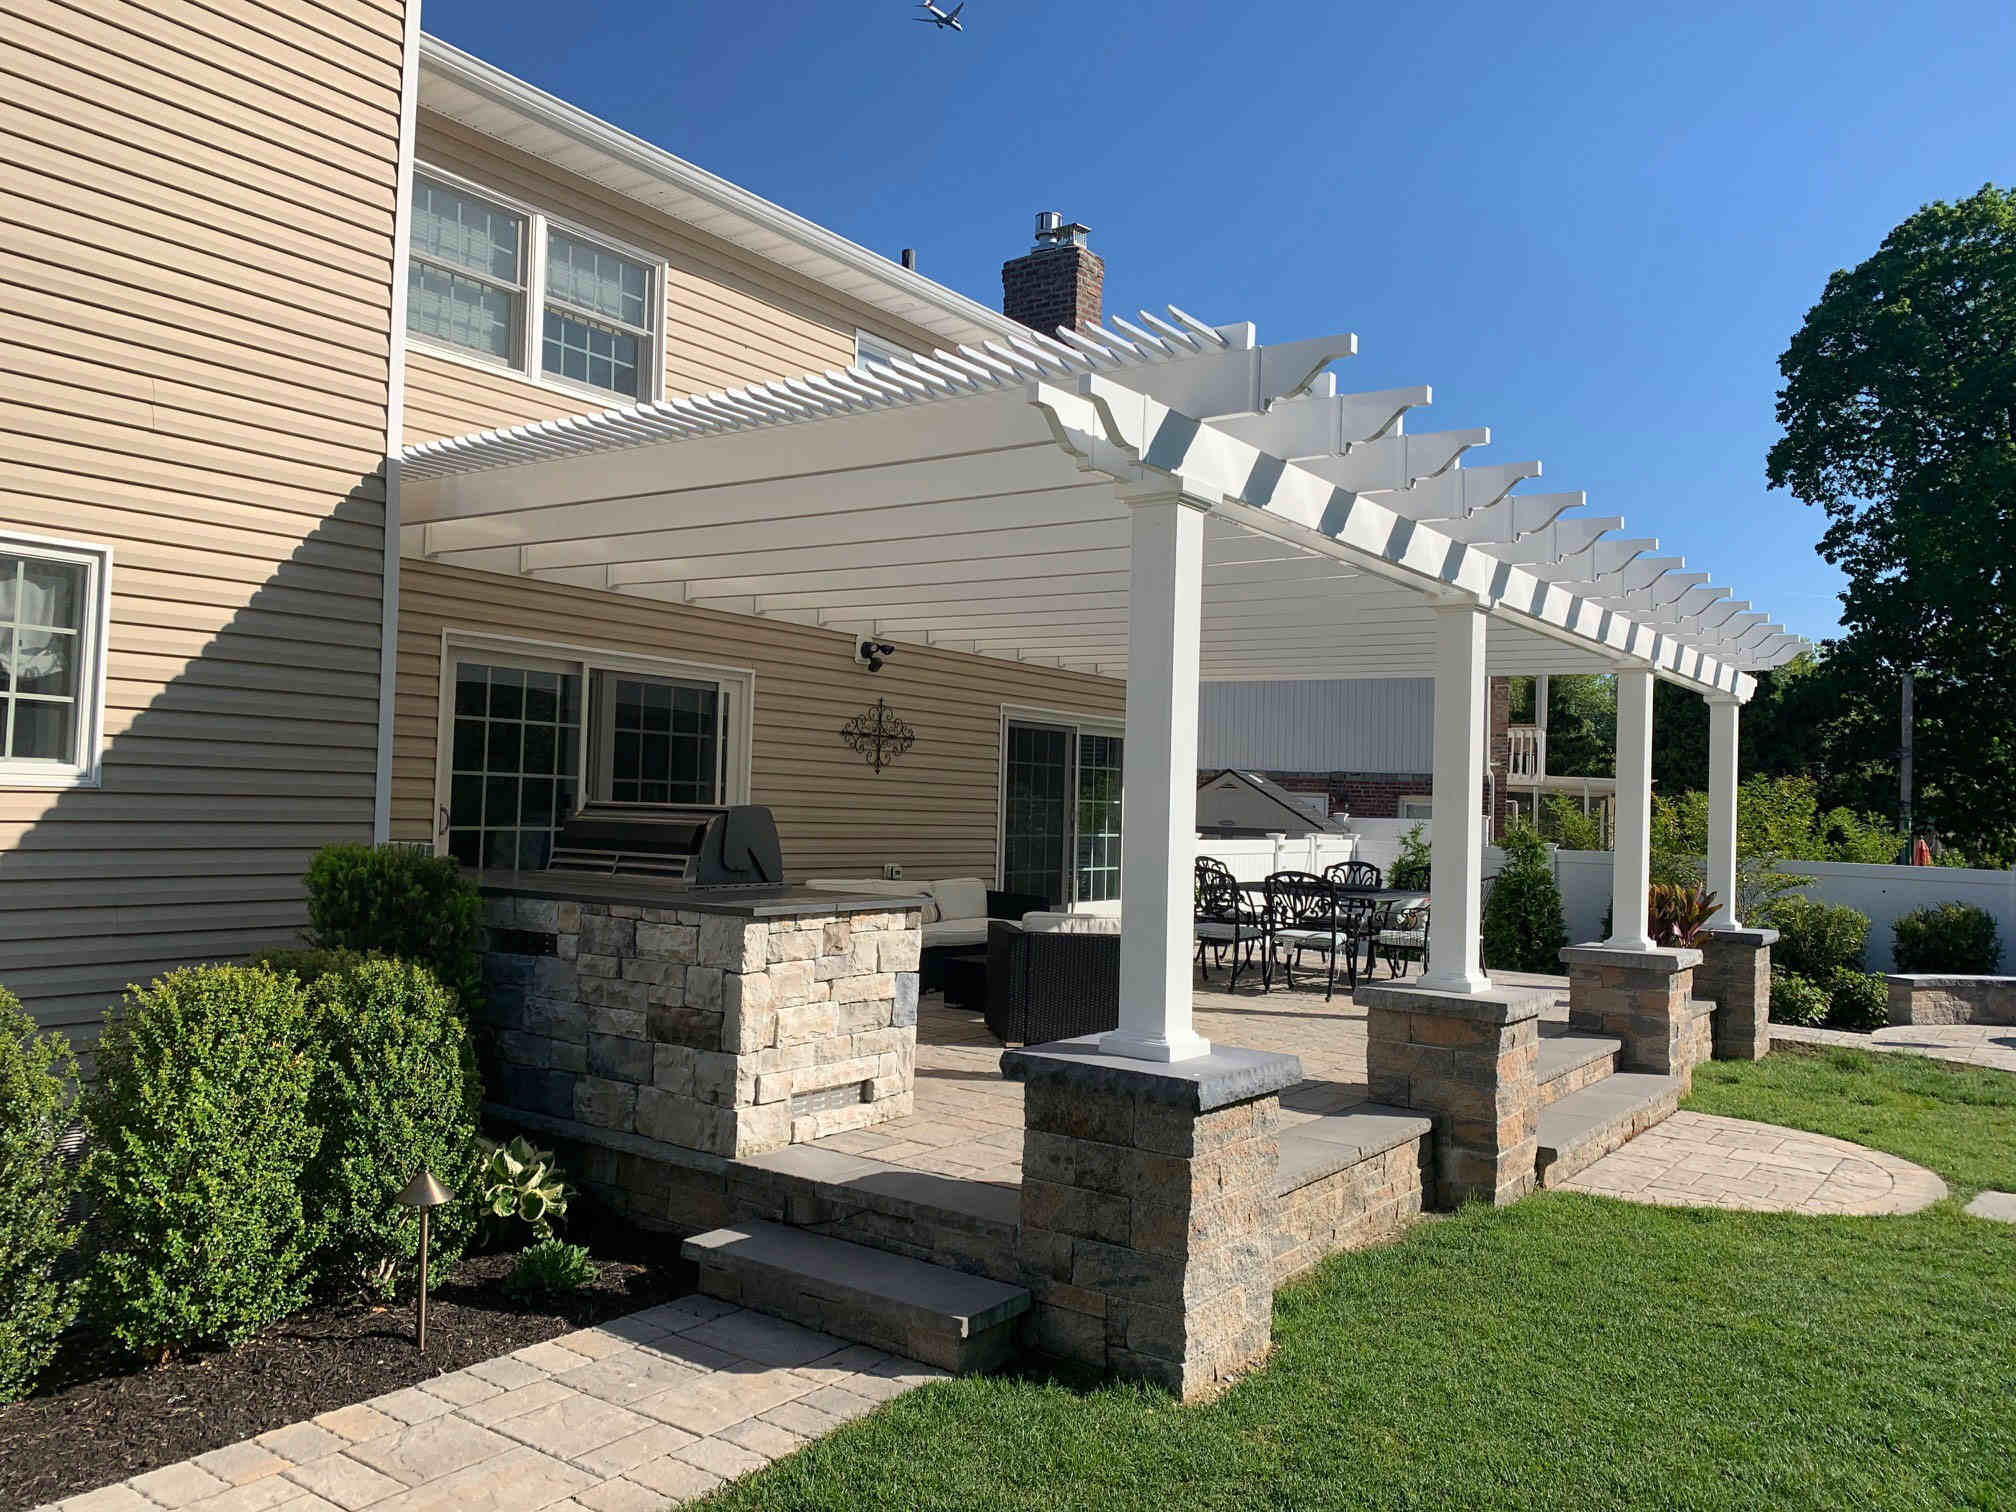
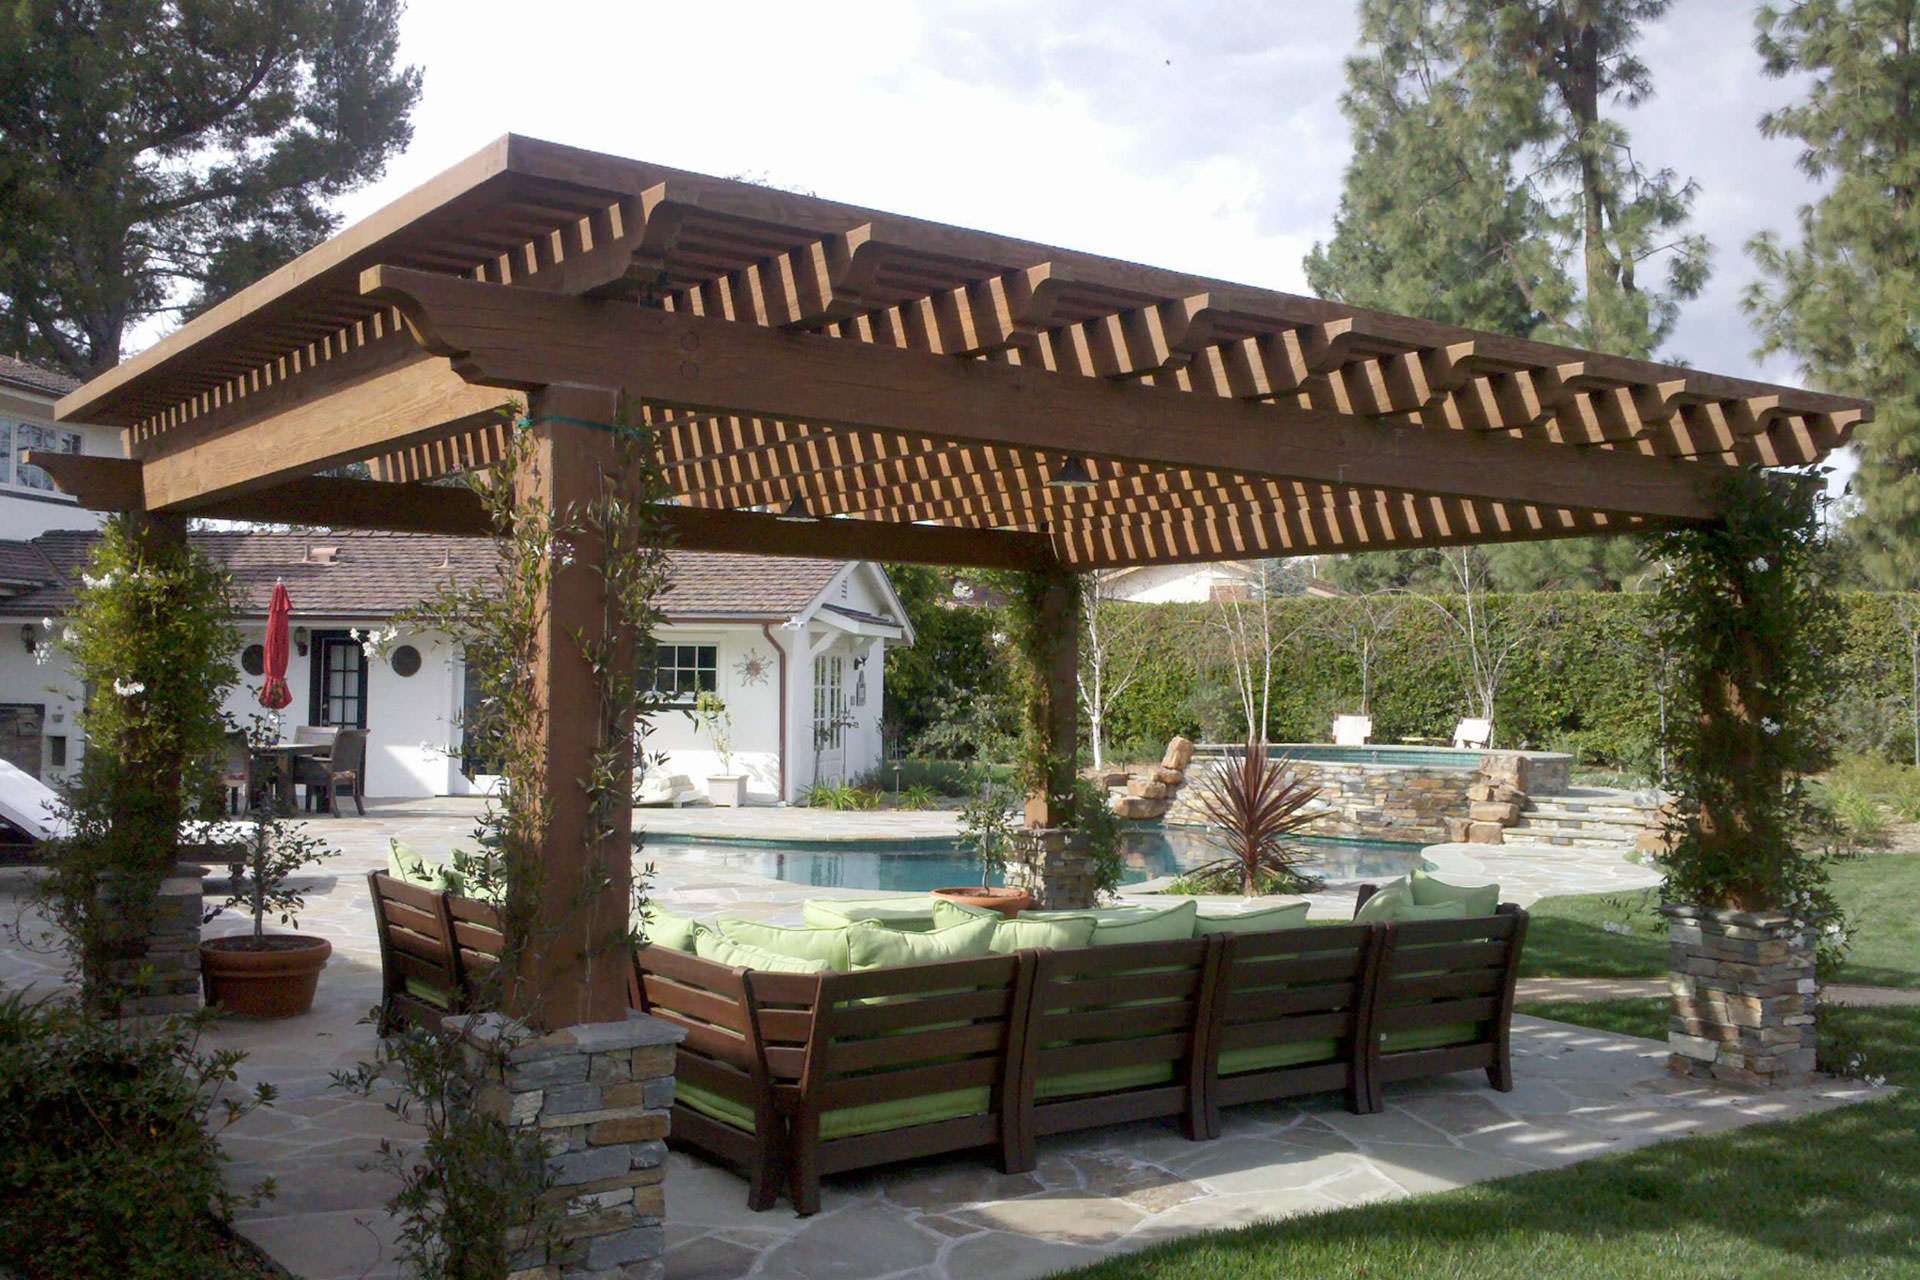
Planning and Design
The planning and design phase is crucial when building a tin roof patio cover. It’s important to carefully consider factors such as the size, shape, and placement of your patio cover to ensure that it not only integrates seamlessly with your existing outdoor space but also meets your specific needs and preferences.
Start by assessing your outdoor area and determining the best location for your patio cover. Consider factors such as sunlight exposure, wind direction, and views. Think about how you will use the space, whether it’s for dining, lounging, or hosting gatherings. This will help you determine the ideal size and shape of your patio cover.
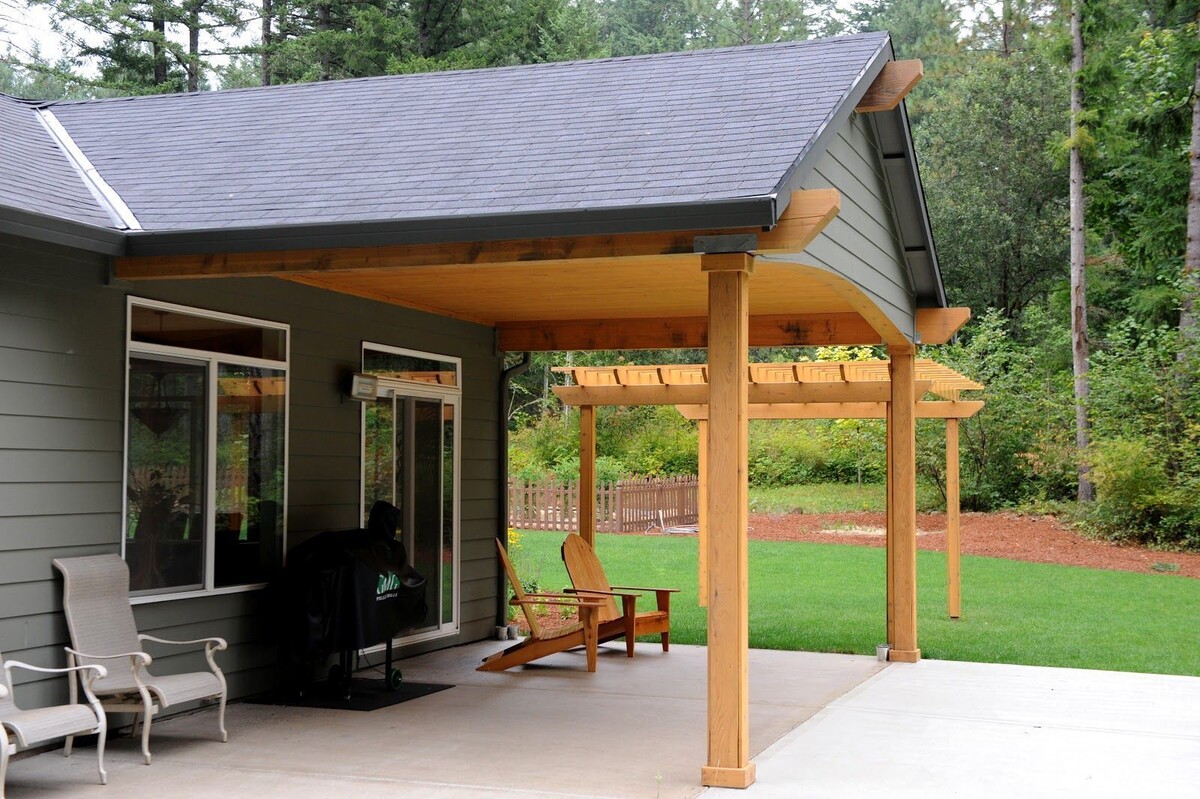
Next, decide on the design and style of your patio cover. Tin roof covers offer a rustic and timeless aesthetic, but there are various design options to consider. You can opt for a gable roof design with a peaked center and sloping sides, a hip roof design with all sides sloping down to the eaves, or a shed roof design with a single slope. Choose a design that complements the architecture of your home and matches your personal taste.
Additionally, think about the materials you will use for the support structure. Pressure-treated lumber is a popular choice for its durability and resistance to decay, while metal or aluminum can provide a sleek and modern look. Consider the maintenance requirements, cost, and longevity of each material before making a decision.
During the planning phase, it’s also important to check with your local building department to determine if you need any permits or approvals for your project. Building codes and regulations vary by location, and it’s crucial to ensure that your patio cover meets the necessary standards.
Once you have a clear vision of your patio cover design and have obtained any required permits, it’s time to move on to gathering the necessary materials and tools for the construction process. Stay tuned for our next section on how to gather materials and tools for building a tin roof patio cover!
Obtaining the Necessary Permits
Before you begin construction on your tin roof patio cover, it’s important to obtain the necessary permits and approvals from your local building department. This step ensures that your project complies with local building codes, zoning regulations, and safety standards.
The permit process may vary depending on your location, so it’s essential to contact your local building department to inquire about the specific requirements for building a patio cover. They will provide you with the necessary applications, forms, and information.
When applying for a permit, you will typically need to submit detailed plans and specifications of your patio cover project. This includes drawings that indicate the dimensions, materials, and structural elements of the cover. It may also require information on the roof pitch, foundation support, and any electrical or plumbing work involved.
Working with a professional architect or contractor can be beneficial during this process, as they can help you create accurate and detailed plans that meet the building department’s requirements.
Once you have submitted your permit application, it will undergo a review process. The building department will assess your plans to ensure they comply with regulations and safety codes. They may request revisions or additional information before granting approval.
Keep in mind that permit fees will typically be required, and the cost can vary depending on the scope and complexity of your project. These fees help cover the cost of review and inspection by the building department.
Once you have obtained the necessary permits, it’s important to display them prominently at the construction site. This demonstrates that you are in compliance with local regulations and can help avoid potential fines or penalties.
Remember that building without the required permits can result in significant consequences, including having to dismantle or modify your patio cover, fines, or legal issues. It’s always best to follow the proper permit process to ensure your project meets all safety and quality standards.
Now that you have your permits in hand, it’s time to gather the materials and tools needed to bring your tin roof patio cover to life. Stay tuned for our next section on how to gather materials and tools for building a tin roof patio cover!
Gathering Materials and Tools
Now that you have obtained the necessary permits, it’s time to gather the materials and tools needed to build your tin roof patio cover. Proper preparation and organization are key to ensuring a smooth and efficient construction process.
First, let’s discuss the materials you’ll need for the construction of your patio cover. Here is a list of common materials:
- Pressure-treated lumber for the support posts and beams
- Tin roof panels
- Nails or screws
- Brackets and hangers for attaching the beams and rafters
- Concrete for the foundation (if required)
- Hardware such as bolts, washers, and nuts
- Waterproofing membrane or flashing
- Paint or stain (if desired)
- Sealant or caulking
Consider getting extra materials to account for any mistakes or unforeseen circumstances that may arise during construction.
In addition to the materials, you will also need the following tools:
- Measuring tape
- Circular saw or miter saw
- Drill and/or screwdriver
- Level
- Hammer or nail gun
- Wrenches or pliers
- Ladder or scaffolding
- Safety equipment, such as goggles and gloves
It is essential to have the necessary tools on hand before you start building. This will save you time and prevent unnecessary delays during the construction process.
When selecting materials, it is important to consider their quality and durability. Opting for high-quality materials will ensure that your patio cover can withstand various weather conditions and last for years to come.
If you are unsure about the specific materials and tools needed for your project, consult with a professional or visit your local home improvement store. They can provide expert advice and guidance based on your specific requirements.
Now that you have gathered all the materials and tools, it’s time to prepare the area and lay the foundation for your tin roof patio cover. In the next section, we will discuss how to prepare the area for construction.
Preparing the Area
Before you begin the construction of your tin roof patio cover, it’s important to properly prepare the area to ensure a sturdy and stable foundation. Taking the time to prepare the area will help prevent future issues and ensure the longevity of your patio cover.
Here are the steps to follow when preparing the area:
- Clear the area: Start by removing any existing structures, debris, or vegetation from the area where you plan to build your patio cover. This includes clearing away plants, rocks, or any other obstacles that may hinder the construction process.
- Level the ground: Use a shovel or a rake to level the ground where the patio cover will be installed. If the ground is uneven, consider using a tamper or a compactor to further compact the soil and create a stable surface.
- Mark the boundaries: Using stakes and string, mark the boundaries of your patio cover. This will help you visualize the area and ensure that the dimensions are accurate.
- Dig post holes (if required): If your patio cover design involves support posts, dig the necessary post holes according to your design plans. The depth and width of the holes will depend on your local building codes and the size of your patio cover. Consult with your permit or building department for specific requirements.
- Pour the concrete footings (if required): If your patio cover design requires concrete footings for the support posts, follow the instructions provided by your building department or engineer. Ensure that the footings are properly aligned and level.
It’s important to note that the specific steps for preparing the area may vary depending on your location and the design of your patio cover. Always refer to your permit and design plans for guidance.
Additionally, if your patio cover will be attached to your house, it’s crucial to ensure that the connection point is structurally sound. Consult with a professional if you are unsure about the attachment method or if you have any concerns about the integrity of your house’s structure.
Once you have prepared the area and laid the foundation, you are ready to move on to the next phase of construction: installing the support posts. Stay tuned for our next section on how to install the support posts for your tin roof patio cover!
When building a tin roof patio cover, make sure to use the proper materials and techniques to ensure the structure is strong and durable. Consider consulting with a professional to ensure the cover is built to code and can withstand the elements.
Read more: How To Build A Patio Roof
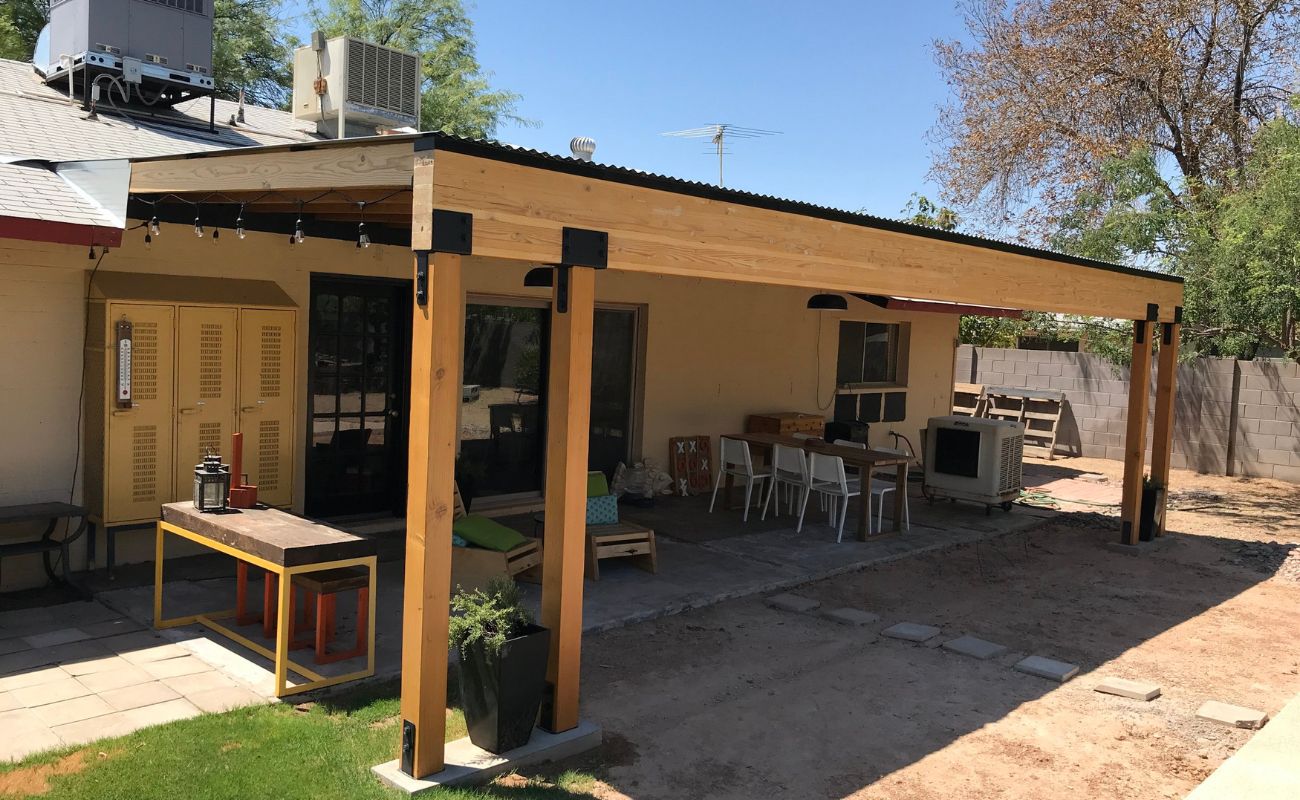
Installing the Support Posts
With the area properly prepared, it’s time to start building the framework for your tin roof patio cover. One of the crucial steps in this process is installing the support posts, which will provide the stability and structural integrity for your patio cover.
Follow these steps to install the support posts:
- Measure and mark the locations: Using your design plans and measurements, mark the exact locations where the support posts will be installed. Ensure that they are spaced evenly and align with your desired patio cover dimensions.
- Dig the post holes: If you haven’t already done so during the area preparation phase, dig the post holes according to the required depth specified in your design plans or local building codes. Make sure the holes are wide enough to accommodate the size of the support posts.
- Insert the support posts: Place the support posts into the post holes, making sure they are plumb and level. Use a level or a plumb line to ensure that the posts are perfectly vertical. Fill the holes with concrete, following the instructions provided by your local building department.
- Secure the support posts: Allow the concrete to fully cure before proceeding. Once the posts are firmly in place, use braces or temporary supports to hold them steady until the concrete completely sets and hardens.
- Attach brackets and connectors: Install brackets or connectors at the top of each support post to secure the beams and rafters. Make sure they are properly aligned and securely fastened according to the manufacturer’s instructions.
Keep in mind that the specific steps for installing support posts may vary based on your patio cover design and the materials you are using. Always consult your design plans and follow the manufacturer’s instructions for best results.
While installing the support posts, it’s important to prioritize safety. Always wear appropriate protective gear, such as gloves and safety goggles, and use caution when working with tools and materials.
With the support posts in place, you’re one step closer to completing your tin roof patio cover. In the next section, we will discuss how to attach the beams and rafters to create the framework of your patio cover.
Attaching the Beams and Rafters
With the support posts securely in place, it’s time to move on to the next step in building your tin roof patio cover: attaching the beams and rafters. This process will create the framework that will support the tin roof panels and complete the structural elements of your patio cover.
Follow these steps to attach the beams and rafters:
- Measure and cut the beams: Measure and cut the beams to the desired length according to your design plans. Ensure that they are level and align with the top of the support posts.
- Position the beams: Place the beams onto the support posts, making sure they are properly aligned and evenly spaced. Use a level to ensure that they are perfectly horizontal. Secure the beams to the support posts using brackets or connectors. Double-check their alignment and stability.
- Measure and cut the rafters: Measure and cut the rafters to the desired length, ensuring that they fit between the beams and align with your design plans. Cut angles at the ends of the rafters if necessary, depending on the roof style.
- Attach the rafters: Position the rafters on top of the beams, spacing them equally and securing them in place using brackets or connectors. Ensure that they are level and securely fastened to provide proper support for the tin roof panels.
During this process, it’s important to consider the spacing and placement of the rafters. The spacing will depend on the size of your tin roof panels and the structural requirements of your patio cover design. Consult your design plans or building codes for specific guidelines.
As you attach the beams and rafters, double-check their alignment and stability at each step. It is essential to ensure that the framework is level and securely fastened, as this will provide a solid foundation for your tin roof panels.
Remember to take precautionary measures and follow safety guidelines when working at elevated heights or using power tools. Always wear appropriate safety equipment, such as goggles and gloves, and exercise caution throughout the construction process.
With the beams and rafters securely attached, your tin roof patio cover is starting to take shape. In the next section, we will discuss how to install the tin roof panels to complete your patio cover’s roof.
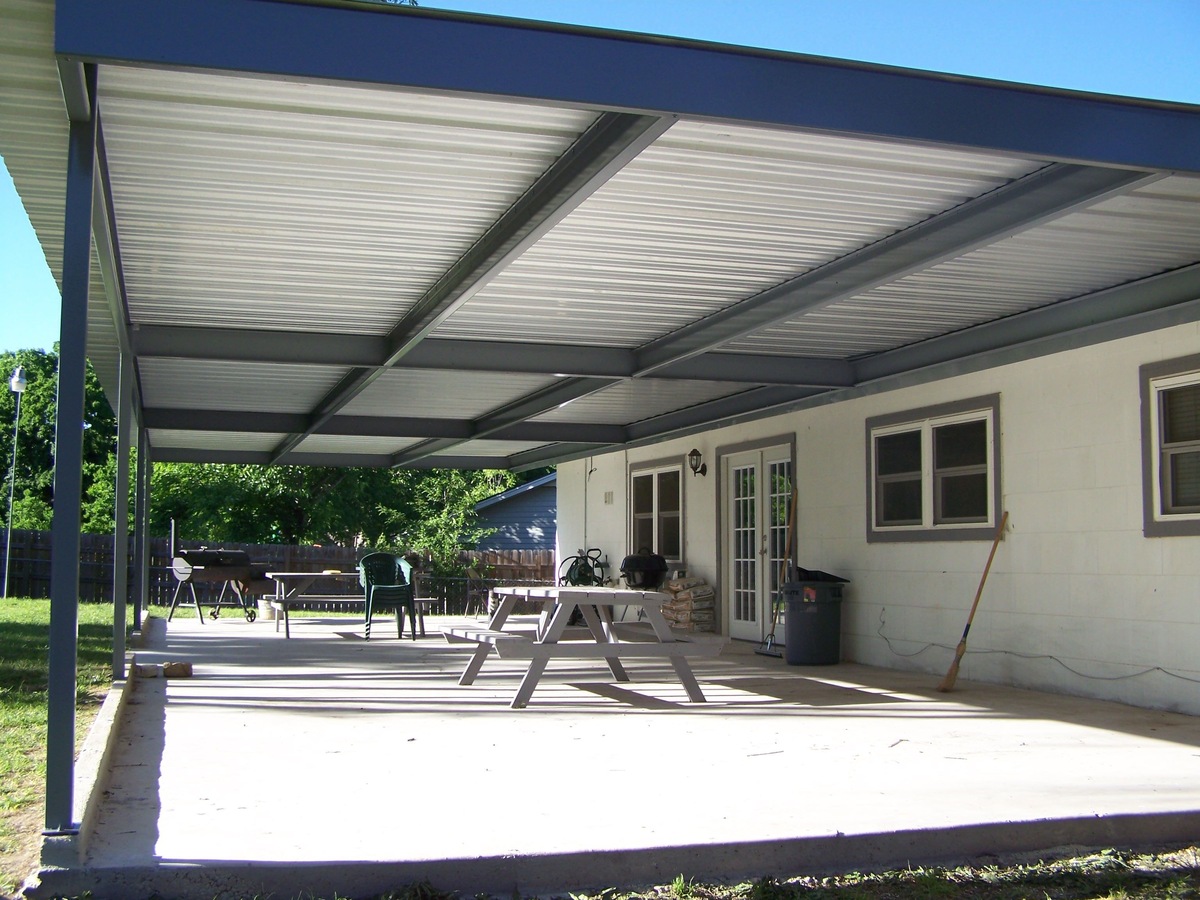
Installing the Tin Roof Panels
With the framework of your tin roof patio cover in place, it’s time to move on to the final step: installing the tin roof panels. The installation process will not only provide protection from the elements but also give your patio cover a visually appealing and finished look.
Here are the steps to install the tin roof panels:
- Measure and cut the panels: Measure the dimensions of your patio cover’s roof and cut the tin roof panels to the appropriate size. Use a saw or tin snips to make precise cuts, ensuring that the panels fit neatly into place.
- Position the first panel: Start at one end of the roof and position the first tin roof panel, making sure it is aligned with the edge of the roof framework. Leave a small overhang to allow for water drainage. Secure the panel in place using screws or nails, ensuring they penetrate the support beams beneath.
- Continue with the remaining panels: Position and attach the remaining tin roof panels, overlapping each panel slightly to prevent water from seeping through the seams. Secure each panel tightly to the support beams, ensuring they are level and aligned with the previous panels.
- Seal the seams: Apply a waterproof sealant or silicone caulk along the seams between the tin roof panels to create a watertight seal. This will help prevent water infiltration and maintain the overall integrity of your patio cover.
During the installation process, it’s important to work carefully and precisely. Take your time to ensure that each tin roof panel is securely fastened and properly aligned with the previous panels. Double-check the levelness of the panels to ensure a neat and professional-looking finish.
It’s also important to consider the type of fasteners you use. Choose screws or nails designed for outdoor use and corrosion resistance to ensure long-term durability. Consult with a hardware professional if you are unsure about the appropriate fasteners for your specific tin roof panels.
Remember to practice safety precautions while installing the tin roof panels. Use caution when working at heights, and always wear appropriate safety gear, such as gloves and goggles.
With the tin roof panels installed, your tin roof patio cover is now complete, providing shade, protection, and an attractive addition to your outdoor space. In the next section, we will discuss adding finishing touches to further enhance the functionality and aesthetic appeal of your patio cover.
Adding Finishing Touches
Now that your tin roof patio cover is constructed, it’s time to add those final touches to enhance its functionality and aesthetic appeal. These finishing touches will help transform your outdoor space into a comfortable and inviting area for relaxation and entertainment.
Consider the following ideas to complete your patio cover:
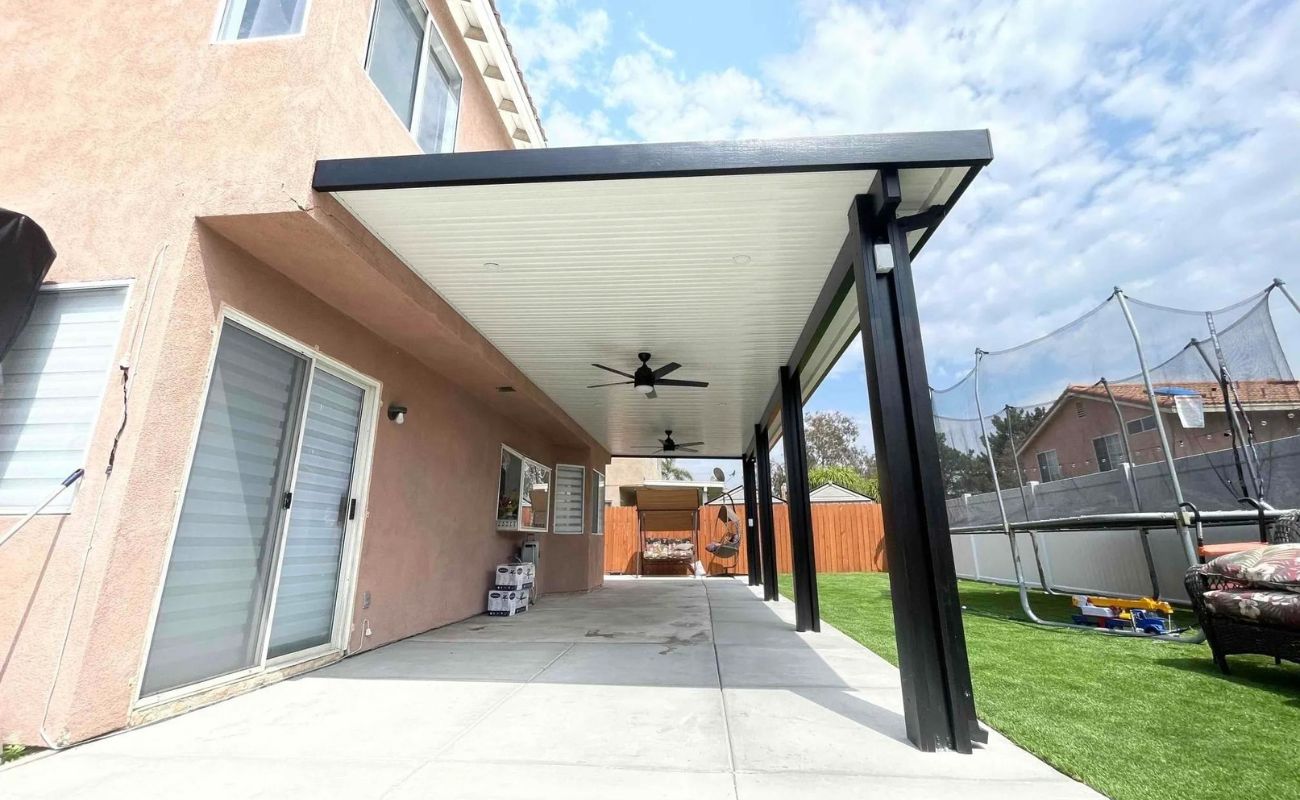
- Outdoor Lighting: Install outdoor lighting fixtures to illuminate your patio cover in the evenings. LED string lights, lanterns, or wall-mounted fixtures can create a cozy and inviting ambiance for nighttime gatherings.
- Ceiling Fans: Beat the summer heat by installing ceiling fans beneath your patio cover. Ceiling fans not only provide a refreshing breeze but also help to keep insects at bay. Choose weather-resistant fans designed for outdoor use.
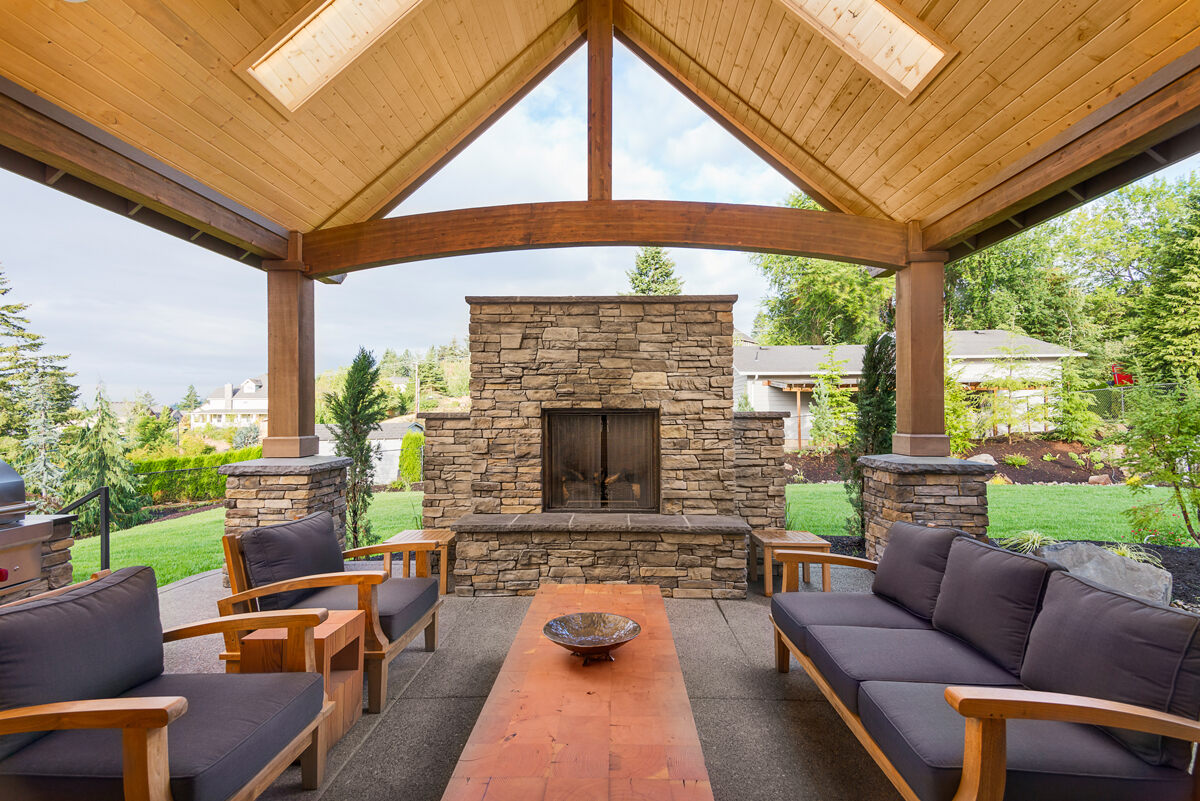
- Outdoor Furniture: Select outdoor furniture that complements your patio cover’s style and provides comfortable seating and lounging options. Look for durable materials designed to withstand the elements, such as teak or aluminum, and add cushions or pillows for extra comfort.
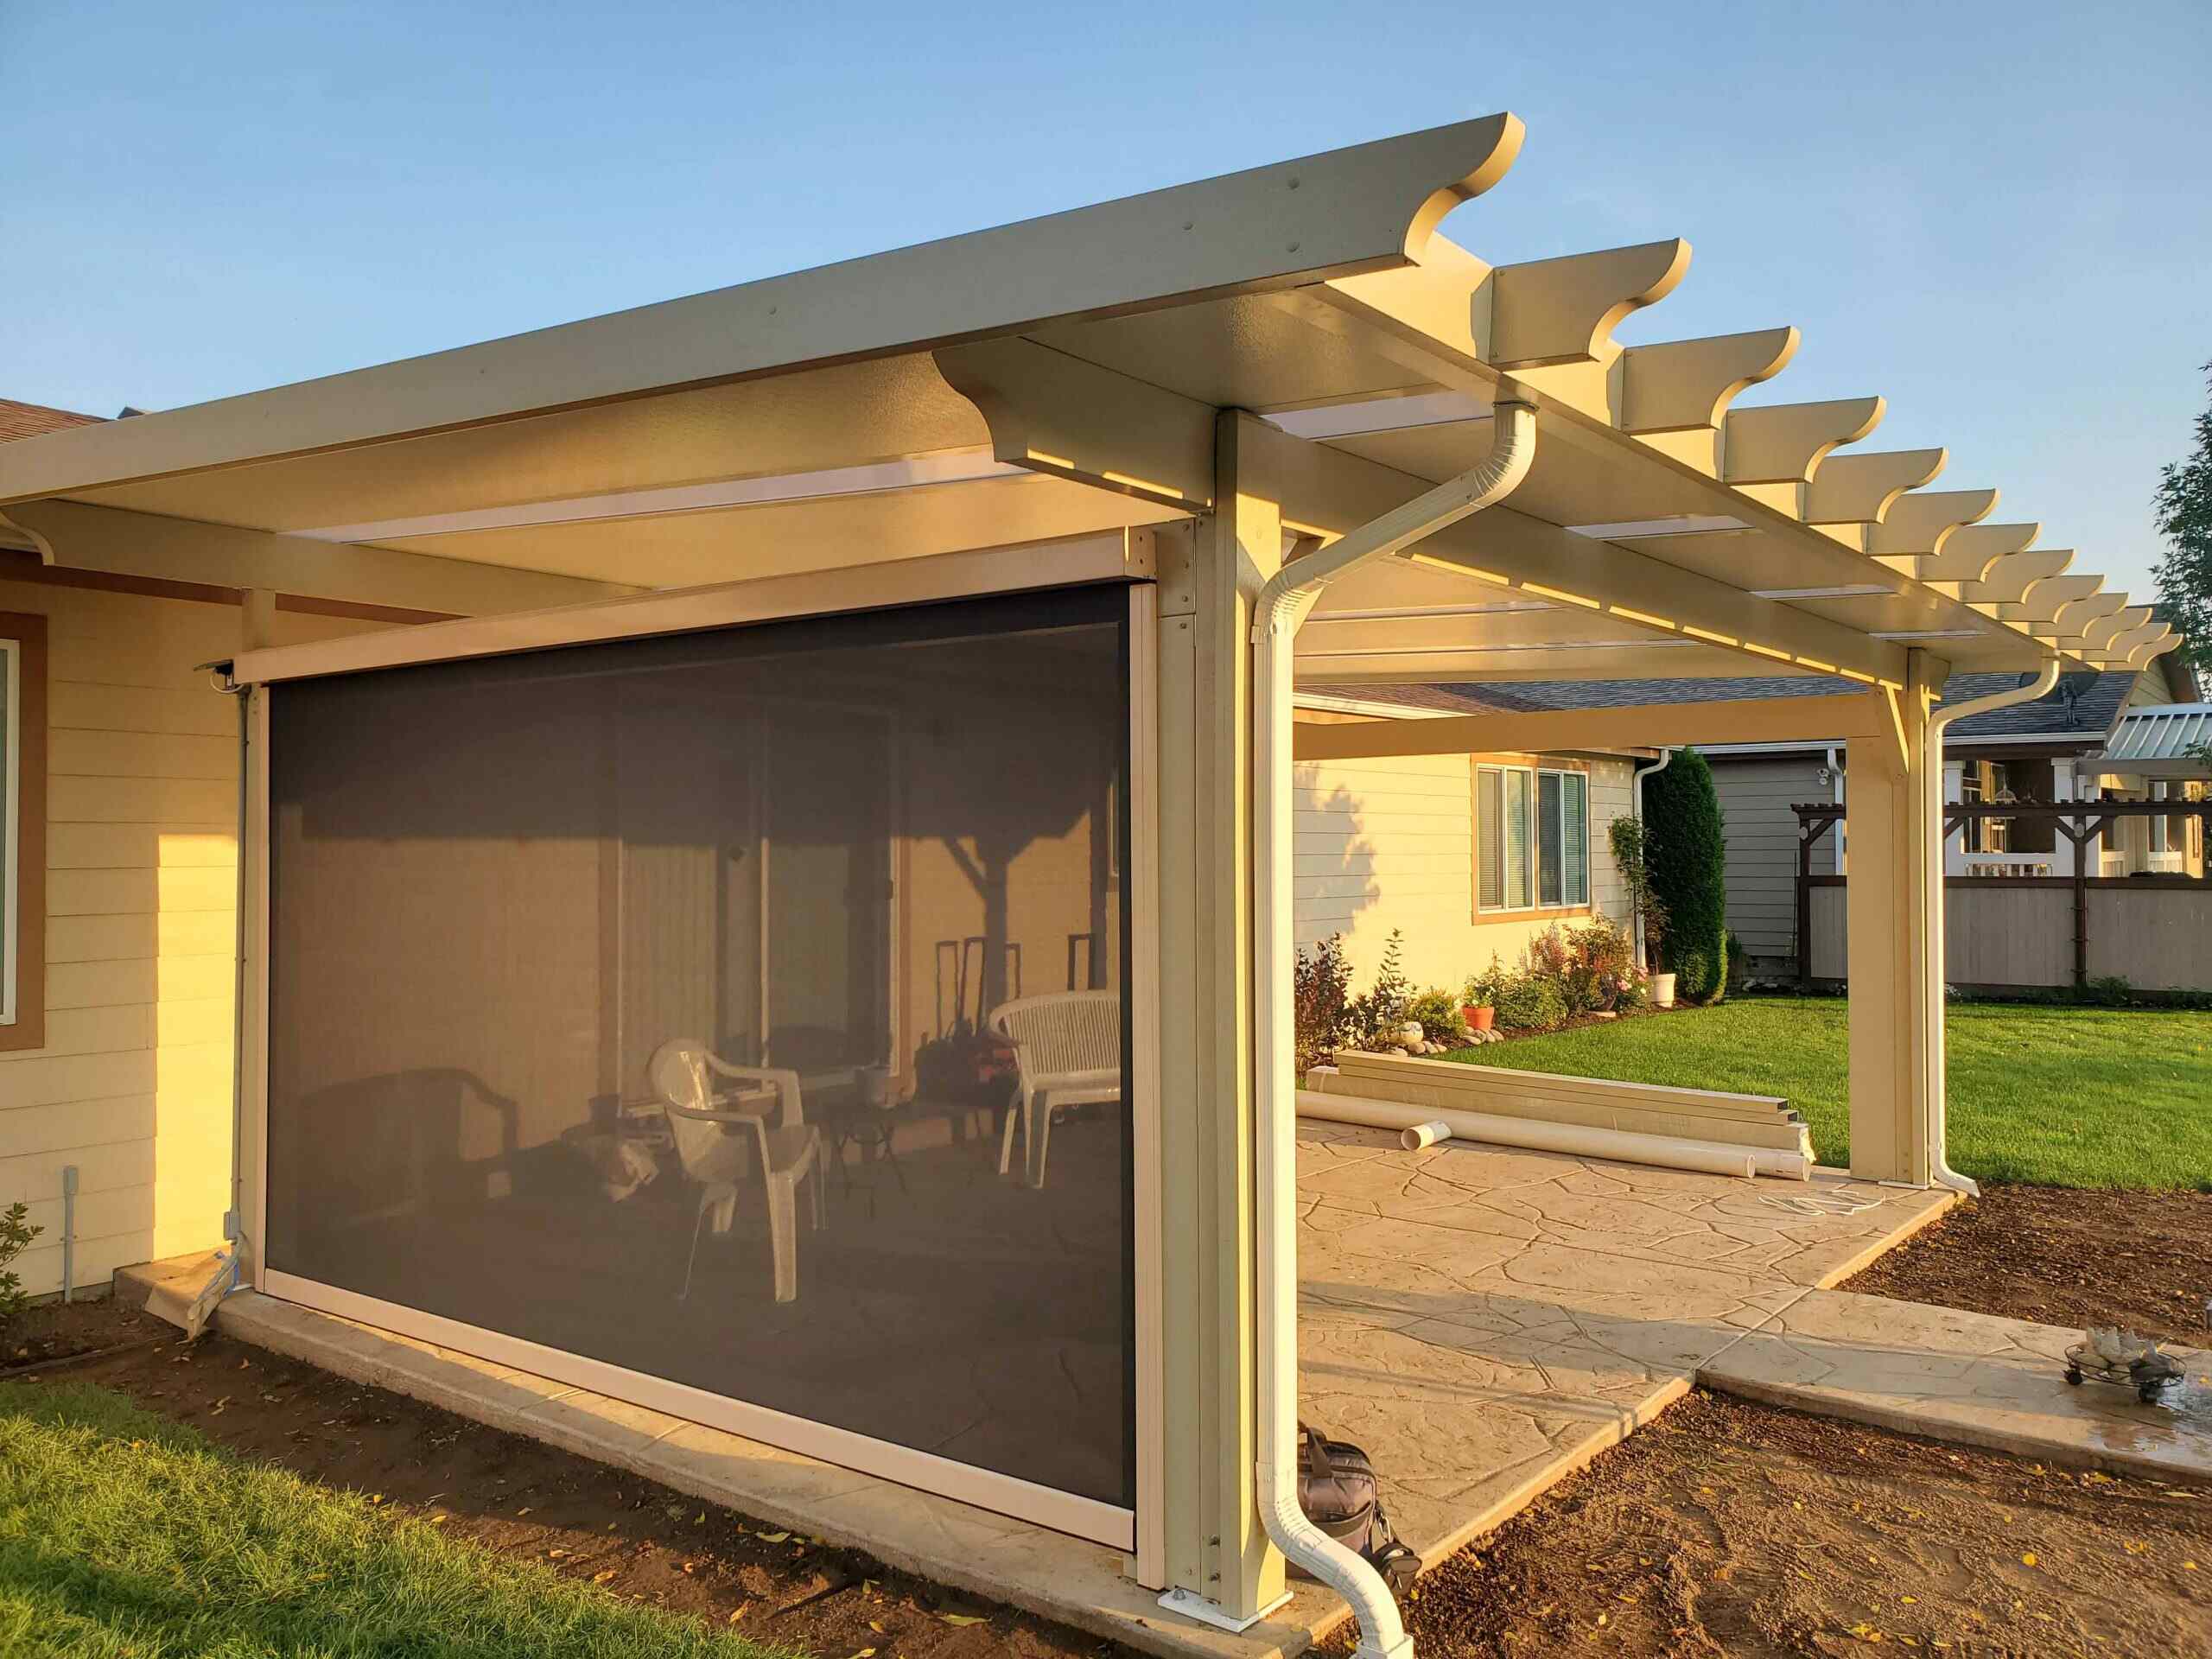
- Shade Solutions: Consider adding additional shade solutions, such as retractable awnings or shade sails, to provide extra protection from the sun. These can be especially useful during hotter seasons or when the sun’s position changes throughout the day.
- Plants and Greenery: Incorporate plants and greenery around your patio cover to create a natural and inviting atmosphere. Use potted plants, hanging baskets, or climbing vines to add a touch of greenery and bring a sense of serenity to your outdoor space.
- Outdoor Entertainment: Enhance your patio cover with outdoor entertainment options. Install an outdoor television, speakers, or a mini bar area to create an outdoor oasis where you can enjoy movies, music, and drinks with friends and family.
The key is to personalize your patio cover and make it a reflection of your lifestyle and preferences. Consider the activities you enjoy and the atmosphere you want to create when choosing the finishing touches for your patio cover.
Remember to prioritize maintenance for your patio cover and its surrounding components. Regularly clean and inspect the tin roof panels, furniture, lighting fixtures, and other accessories to ensure their longevity and proper functioning. Follow the manufacturer’s instructions for cleaning and maintenance, and address any repairs or replacements promptly to keep your patio cover looking and functioning its best.
Congratulations! You have successfully built a tin roof patio cover and added the finishing touches to create a beautiful and functional outdoor space. Now it’s time to sit back, relax, and enjoy your new outdoor sanctuary.
Thank you for following our comprehensive guide on how to build a tin roof patio cover. We hope this information has been helpful and that you have a wonderful experience in your newfound outdoor paradise.
Happy patio cover building!
Read more: How To Put On A Tin Roof
Conclusion
Congratulations on completing the construction of your tin roof patio cover! By following this comprehensive guide, you have transformed your outdoor space into a functional and stylish area that you can enjoy year-round.
Throughout the process, you learned about the importance of planning and design, obtaining the necessary permits, gathering the right materials and tools, preparing the area, installing the support posts, attaching the beams and rafters, installing the tin roof panels, and adding finishing touches. Each step contributed to creating a sturdy, visually appealing, and comfortable patio cover.
Remember that safety should always be a priority when working on any construction project. If you have any doubts or concerns, consult with professionals or seek guidance from your local building authority. Following proper safety protocols will ensure a successful and enjoyable experience throughout the construction process.
Now that your patio cover is complete, take the time to relax and appreciate your newly created outdoor oasis. Whether you’re hosting gatherings, enjoying a quiet evening with loved ones, or simply embracing some alone time with a book and a cup of coffee, your tin roof patio cover will provide the perfect space for all your outdoor activities.
Regular maintenance is key to ensuring the longevity and continued enjoyment of your patio cover. Regularly inspect and clean the tin roof panels, furniture, lighting fixtures, and other components to keep them in optimal condition. Address any repairs or replacements as needed to maintain the beauty and functionality of your patio cover for years to come.
We hope this guide has been informative and helpful to you throughout your patio cover building journey. Remember, the possibilities for your outdoor space are endless, so feel free to get creative and make it your own.
Thank you for choosing us as your guide, and we wish you many wonderful moments in your newly built tin roof patio cover!
Frequently Asked Questions about How To Build A Tin Roof Patio Cover
Was this page helpful?
At Storables.com, we guarantee accurate and reliable information. Our content, validated by Expert Board Contributors, is crafted following stringent Editorial Policies. We're committed to providing you with well-researched, expert-backed insights for all your informational needs.


0 thoughts on “How To Build A Tin Roof Patio Cover”