Articles
How To Install Tin Ceiling Tile
Modified: October 19, 2024
Looking for a step-by-step guide on how to install tin ceiling tile? Check out our informative articles covering everything you need to know to complete the installation with ease.
(Many of the links in this article redirect to a specific reviewed product. Your purchase of these products through affiliate links helps to generate commission for Storables.com, at no extra cost. Learn more)
Introduction
Welcome to the wonderful world of tin ceiling tiles! Installing tin ceiling tiles is a great way to add charm and character to any space. Whether you’re looking to transform your kitchen, living room, or office, tin ceiling tiles are a fantastic option.
In this article, we will guide you through the step-by-step process of installing tin ceiling tiles. From gathering materials to finishing touches, we’ve got you covered. So, let’s roll up our sleeves and get started!
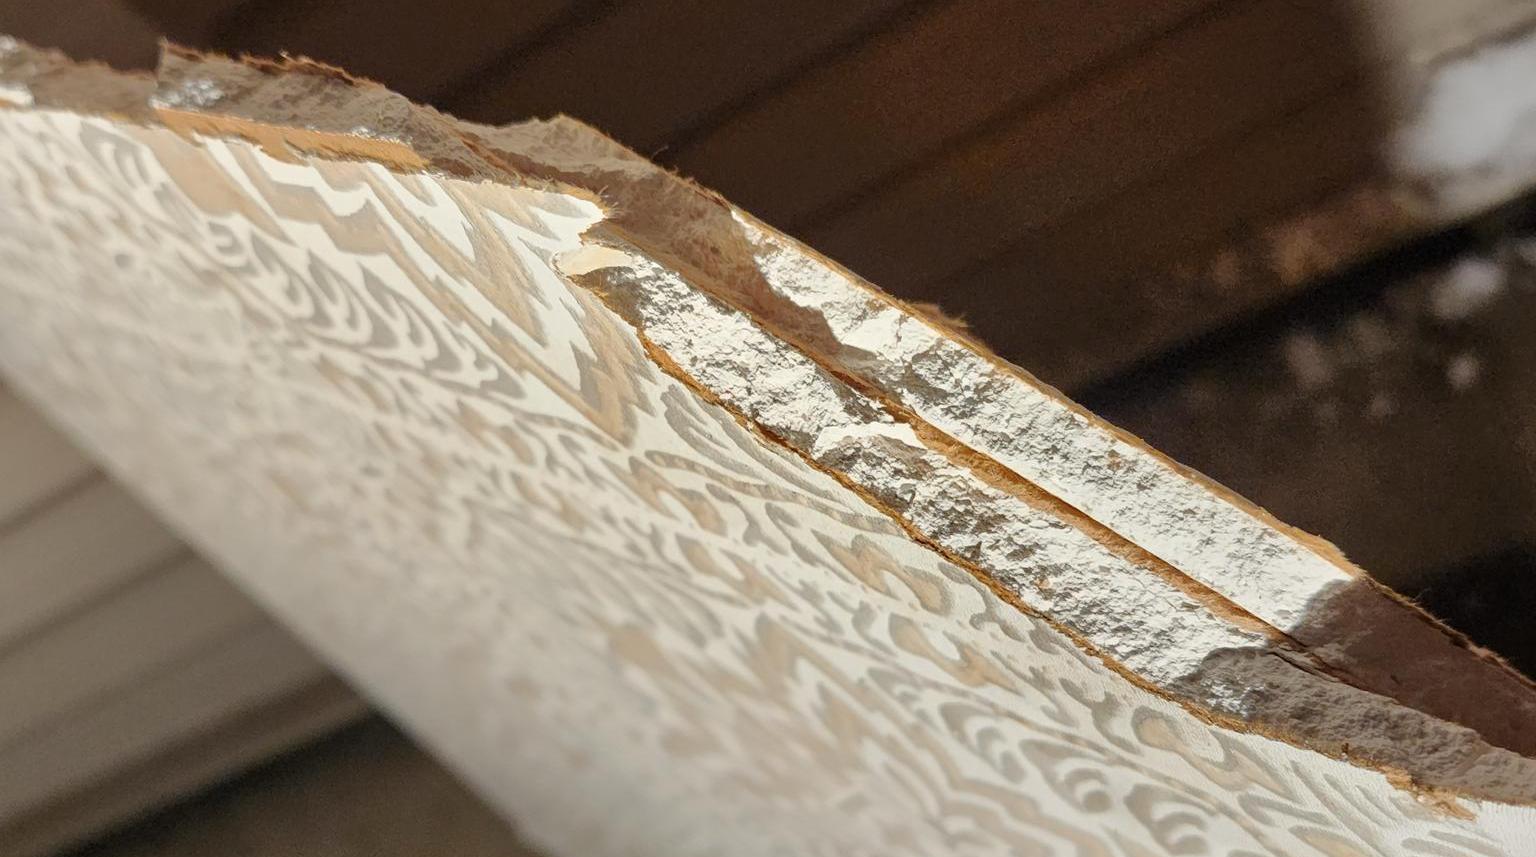
Before we dive into the installation process, let’s take a moment to appreciate the beauty and history of tin ceiling tiles. Originating in the late 19th century, tin ceiling tiles were a popular choice for commercial and residential buildings. They were not only decorative but also served a functional purpose, providing insulation and fire resistance.
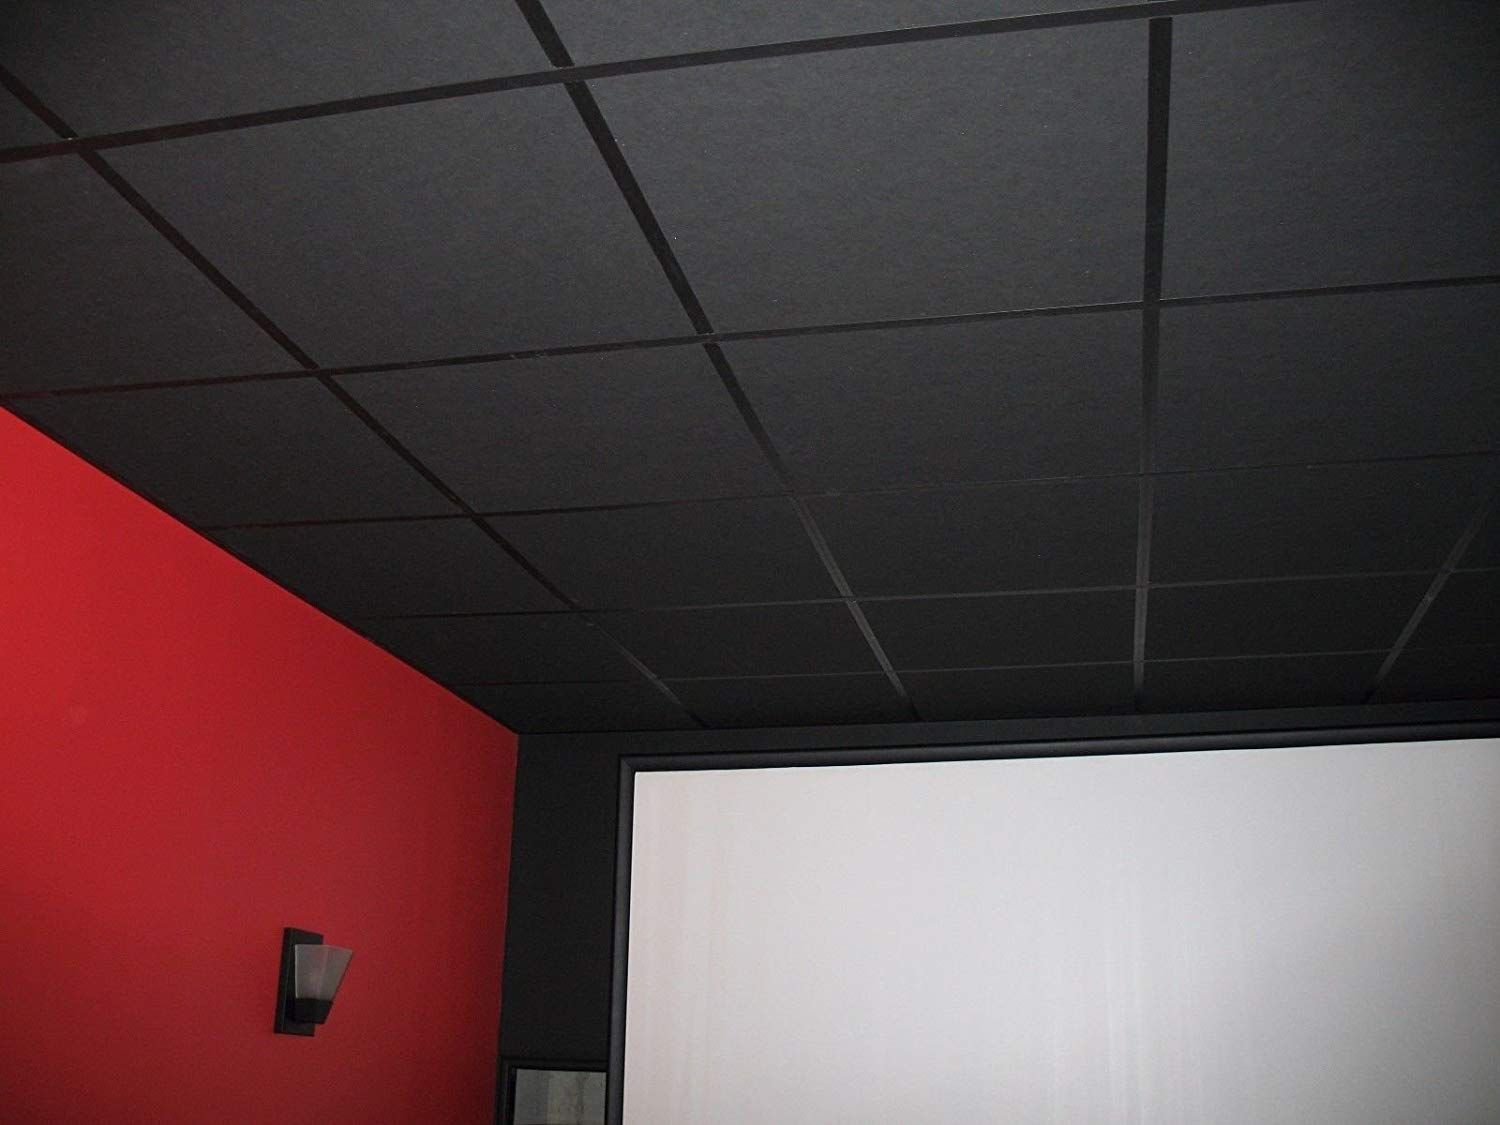
Today, tin ceiling tiles are still sought after for their aesthetic appeal and ability to transform a plain ceiling into a visual masterpiece. With a wide range of designs and finishes available, you can choose a style that suits your personal taste and complements your existing decor.
Installing tin ceiling tiles may seem like a daunting task, but with the right tools and a little patience, it can be a rewarding DIY project. Not only will you save money by doing it yourself, but you’ll also have the satisfaction of knowing that you created a unique and stunning feature in your home or office.
One of the great things about tin ceiling tiles is their versatility. You can install them directly over popcorn ceilings, drywall, or even on top of an existing ceiling. They can also be easily cut and customized to fit around fixtures, vents, and other obstacles. So, don’t let any existing conditions hold you back from enjoying the beauty of tin ceiling tiles!
Now that you’re excited about installing tin ceiling tiles, let’s move on to the first step: gathering the materials.
Key Takeaways:
- Installing tin ceiling tiles is a DIY project that can add charm and character to any space. From gathering materials to adding the final touches, attention to detail and patience are key to achieving a professional-looking result.
- Tin ceiling tiles offer both aesthetic appeal and functionality, providing insulation, fire resistance, and durability. Whether maintaining the natural metallic finish or customizing with paint, the installation process allows for endless creative possibilities.
Step 1: Gather Materials
Before you begin the installation process, it’s essential to gather all the necessary materials. Having everything at hand will make the installation go smoothly and save you from running back and forth to the store. Here’s a list of the materials you’ll need:
- Tin Ceiling Tiles: Measure the area of your ceiling to determine the number of tiles required. Make sure to account for any cutouts or special patterns you want to create.
- Adhesive: Choose an adhesive specifically formulated for tin ceiling tiles. There are different options available, such as adhesive caulk or adhesive mastic. Consult with a professional or the manufacturer to ensure you select the most suitable adhesive for your project.
- Painter’s Tape: Use painter’s tape to create a guide on the ceiling, marking the layout and position of the tiles. This will help you maintain a straight and even installation.
- Measuring Tape: Accurate measurements are crucial for a precise installation. Use a measuring tape to measure the size of your ceiling, as well as the space for any cutouts or special features.
- Safety Equipment: Protect yourself during the installation process by wearing safety goggles and gloves. Tin ceiling tiles can have sharp edges, so it’s important to take precautions.
- Utility Knife or Tin Snips: You’ll need a sharp utility knife or tin snips to cut the tiles to size. Make sure you have a tool that can cut through tin or metal with ease.
- Sanding Block: A sanding block will come in handy to smooth out any rough edges or imperfections on the tiles.
- Paint or Finish: Decide if you want to keep the natural metallic finish of the tin ceiling tiles or if you prefer to paint them. If you choose to paint, make sure you have the appropriate paint for metal surfaces.
- Paintbrushes and Rollers: Depending on your choice of finish, gather paintbrushes and rollers to apply the paint or finish to the tiles.
- Caulking Gun: A caulking gun will be needed if you plan to fill any gaps or seams between the tiles. Choose a caulk that matches the color of your tiles for a seamless look.
- Drop Cloths: Protect your floors and furniture by placing drop cloths or plastic sheets in the area where you’ll be working.
Once you have all the necessary materials ready, you’ll be well-prepared to tackle the installation process. Now, let’s move on to preparing the ceiling before installing the tiles.
Step 2: Prepare the Ceiling
Now that you have gathered all the materials, it’s time to prepare the ceiling before installing the tin ceiling tiles. Preparing the ceiling properly will ensure a smooth and successful installation. Follow these steps to get your ceiling ready:
- Clean the Ceiling: Start by cleaning the ceiling with a mild detergent and water. Remove any dirt, dust, or grease that may be present. Allow the ceiling to dry thoroughly before proceeding.
- Remove Fixtures and Furniture: If there are any light fixtures, ceiling fans, or other objects attached to the ceiling, remove them temporarily. This will give you a clear workspace and prevent any damage to the fixtures during the installation process.
- Repair Any Damage: Inspect the ceiling for any cracks, holes, or imperfections. Use spackle or putty to fill in any small cracks or holes. For larger repairs, consult with a professional to ensure they are properly addressed before installing the tiles.
- Sand the Surface: Once the repairs have dried, use a sanding block to smooth out the patched areas and any rough spots on the ceiling. This will create a flat surface for the adhesive and tiles to adhere to.
- Prime the Ceiling (Optional): If you have a particularly porous or stained ceiling surface, you may choose to apply a primer before installing the tiles. A primer can help improve the adhesion of the tiles and provide a more even finish.
- Mark a Reference Line: Use a level and a pencil to mark a reference line on the ceiling. This line will serve as a guide for aligning the first row of tiles and ensuring a straight installation. Be sure to check that the line is level before proceeding.
By taking the time to properly prepare the ceiling, you’ll create a solid foundation for the tin ceiling tiles. This will result in a professional-looking installation and increase the longevity of your new ceiling.
Now that the ceiling is clean and prepped, it’s time to move on to the next step: measuring and planning the layout of the tin ceiling tiles.
Step 3: Measure and Plan
Before you start installing the tin ceiling tiles, it’s crucial to measure the ceiling accurately and plan the layout. Proper measurements and planning will ensure a symmetrical and visually pleasing installation. Here’s what you need to do:
- Measure the Ceiling: Use a measuring tape to determine the length and width of the ceiling. Multiply these measurements to calculate the total square footage of the area that needs to be covered. This will help you determine the number of tiles required.
- Consider the Tile Orientation: Decide on the orientation of the tiles you want to install. Some options include square, diagonal, or creating a pattern with different tile orientations. Take into account the shape and size of the room to determine the most aesthetically pleasing orientation.
- Plan the Layout: Start by dividing the ceiling into sections. It’s best to work with smaller sections to ensure a manageable and accurate installation. Use painter’s tape to mark the boundaries of each section.
- Account for Cutouts and Fixtures: Measure the location and size of any fixtures, vents, or other obstacles on the ceiling. Transfer these measurements onto the tiles and plan how the tiles will fit around them. Keep in mind that it’s easier to cut tiles to fit around obstacles than to cut irregular shapes out of a whole tile.
- Create a Mock Layout: Before applying adhesive, lay out the tiles on the floor or a large table according to your planned layout. This will give you a visual representation of how the finished ceiling will look. Make any necessary adjustments to achieve the desired pattern and alignment.
- Double-Check the Measurements: Once you have planned the layout, double-check all your measurements to ensure accuracy. This will help prevent any errors or miscalculations during the installation process.
By taking the time to measure and plan your tin ceiling tile installation, you’ll minimize the risk of mistakes and ensure a seamless and visually appealing result. Now that you have your measurement and layout plan in place, it’s time to move on to the next step: applying the adhesive.
Step 4: Apply Adhesive
Now that you have measured and planned your tin ceiling tile installation, it’s time to start applying the adhesive. The adhesive is essential for securing the tiles to the ceiling and ensuring they stay in place for years to come. Here’s how to apply the adhesive:
- Prepare the Adhesive: Follow the manufacturer’s instructions to prepare the adhesive. Some adhesives may require mixing or stirring, while others come ready to use.
- Start with a Small Area: It’s best to work in manageable sections when applying the adhesive. Start with a small area, such as one quadrant of the ceiling, and gradually move on to the next section.
- Apply Adhesive to the Ceiling: Use a putty knife or trowel to apply a thin and even layer of adhesive to the ceiling. Spread the adhesive in the area where you will be installing the tiles.
- Use a Notched Trowel (Optional): For certain adhesives, such as adhesive mastic, you may need to use a notched trowel to create ridges in the adhesive. This will enhance the bond between the tiles and the ceiling.
- Work in Small Sections: With the adhesive applied, work in small sections at a time. This will prevent the adhesive from drying too quickly before you have a chance to install the tiles.
- Apply Adhesive to the Back of the Tile: Before placing the tile on the ceiling, apply a thin layer of adhesive to the back of the tile as well. This will create a stronger bond between the tile and the ceiling.
- Press and Hold the Tile: Press the tile firmly onto the adhesive in the desired location. Hold it in place for a few seconds to allow the adhesive to bond with the tile and the ceiling.
- Check for Level and Alignment: Use a level or straightedge to ensure that the tile is level and aligned with the reference line. Make any adjustments as necessary before moving on to the next tile.
- Repeat the Process: Continue applying adhesive and installing tiles, working section by section, until the entire ceiling is covered.
>
Remember to follow the adhesive manufacturer’s instructions and guidelines for the specific product you are using. Allow the adhesive to dry according to the recommended drying time before proceeding to the next step.
With the tiles securely glued to the ceiling, you’re one step closer to enjoying the beauty of your tin ceiling. The next step is to install the first tile, which we will cover in the following section.
Read more: How To Tile A Shower Ceiling
Step 5: Install the First Tile
Now that the adhesive has been applied, it’s time to begin installing the tin ceiling tiles. Starting with the first tile is an important step that sets the foundation for the rest of the installation. Follow these steps to install the first tile:
- Select the First Tile: Choose a tin ceiling tile to serve as your starting point. This tile will determine the alignment and position of the rest of the tiles, so select one that is in good condition and visually appealing.
- Apply Adhesive to the Back of the Tile: Flip the tile over and apply a thin layer of adhesive to the back. Make sure the adhesive is spread evenly across the surface.
- Position the Tile: With the adhesive applied, carefully position the tile on the ceiling, aligning it with the reference line. Press it firmly onto the adhesive and hold it in place for a few seconds to ensure a secure bond.
- Check for Level and Alignment: Use a level or straightedge to verify that the tile is level and aligned with the reference line. Adjust if necessary. The first tile serves as a guideline for the rest of the installation, so it’s crucial to get it right.
- Secure the Tile: To further secure the tile, you can reinforce it with decorative nails. Using a nail punch, gently tap the nail into the pre-drilled hole on the tile’s edge. This will create an attractive finish and provide additional stability.
- Double-Check Positioning: Take a step back and assess the placement and alignment of the first tile. Ensure that it meets your expectations before moving on to the next tile.
Installing the first tile correctly is essential for a professional-looking result. It establishes the correct pattern, alignment, and levelness for the entire ceiling. With the first tile in place, you can now proceed to install the remaining tiles in the subsequent steps.
Remember to work carefully and methodically, ensuring each tile is securely installed before moving on to the next. Take breaks as needed, and maintain a clean and organized workspace. The next step will cover the process of continuing to install the tiles until the entire ceiling is covered.
When installing tin ceiling tiles, make sure to measure and mark the ceiling accurately before starting. This will ensure that the tiles are aligned properly and the installation process goes smoothly.
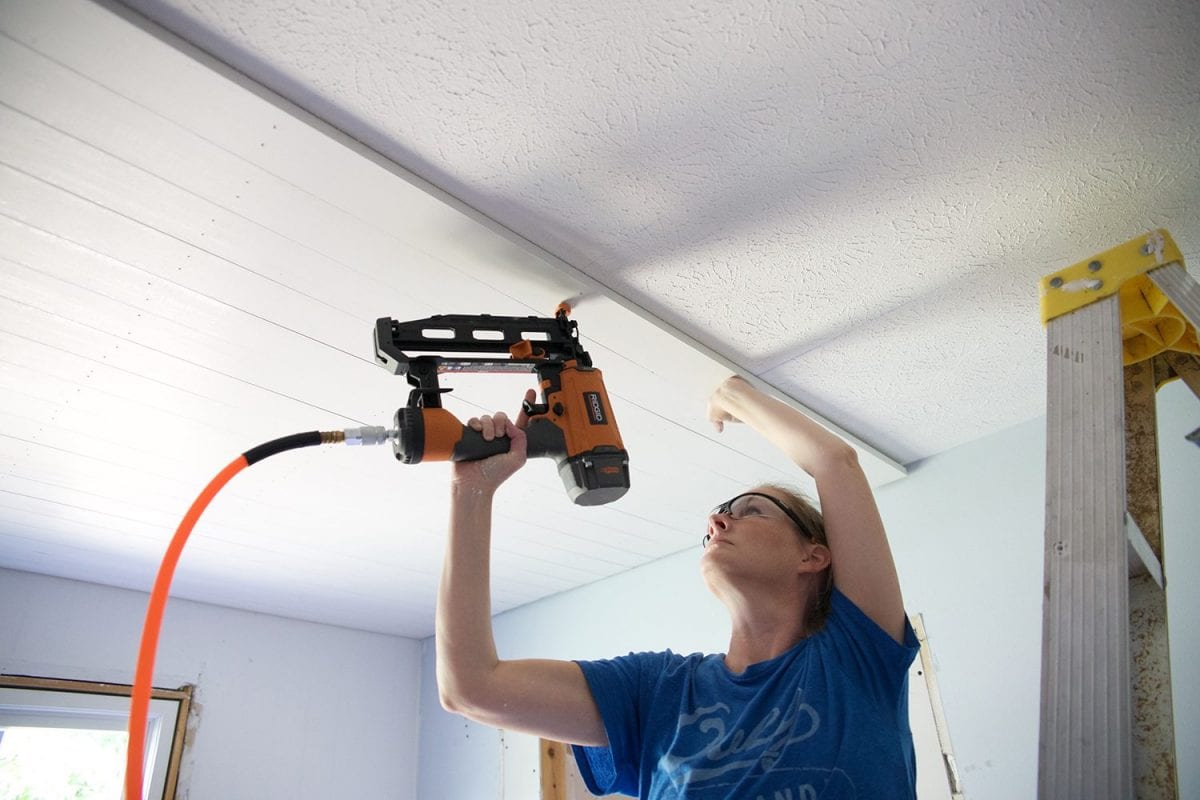
Step 6: Continue Installing Tiles
With the first tile successfully installed, it’s time to continue the installation process and cover the entire ceiling with tin ceiling tiles. This step will guide you through the process of installing the remaining tiles in a sequential and organized manner. Here’s what you need to do:
- Apply Adhesive to the Back of Each Tile: Before installing each new tile, apply a thin and even layer of adhesive to the back. Ensure that the adhesive is evenly spread across the entire tile surface.
- Position the Tile: Carefully place the tile on the ceiling, aligning it with the previously installed tiles and the reference line. Press it firmly onto the adhesive, ensuring a secure bond. Use a level or straightedge to check for alignment and adjust if necessary.
- Maintain Consistent Gaps: As you continue installing the tiles, maintain consistent gaps between them for a uniform and symmetrical appearance. You can use small spacers or strips of cardboard to help achieve consistent spacing.
- Secure the Tiles: If desired, use decorative nails to further secure the tiles in place. Use a nail punch to gently tap the nails into the pre-drilled holes on the tile’s edges. This will add visual interest and provide additional stability.
- Continue the Installation Pattern: Follow your planned layout and pattern as you proceed with the installation. Refer to the mock layout you created earlier to ensure consistency and maintain the desired aesthetic.
- Clean Up Excess Adhesive: As you install each tile, be mindful of any excess adhesive that may squeeze out from the edges. Clean it up promptly with a damp cloth to maintain a neat and professional finish.
- Work in Sections: It can be helpful to work in sections as you install the tiles. This will ensure that the adhesive remains workable and gives you more control over the installation process. Move from one section to another, gradually covering the entire ceiling.
- Take Breaks and Step Back to Assess: Installing tin ceiling tiles can be a time-consuming process. Take regular breaks to rest and step back to assess the progress. This will give you a fresh perspective and help identify any adjustments that may be needed.
Remember to work carefully and attentively throughout the installation process. Taking your time and paying attention to details will result in a stunning and professional-looking tin ceiling. Once all the tiles are installed, you can move on to the next step: cutting tiles for edges and obstacles.
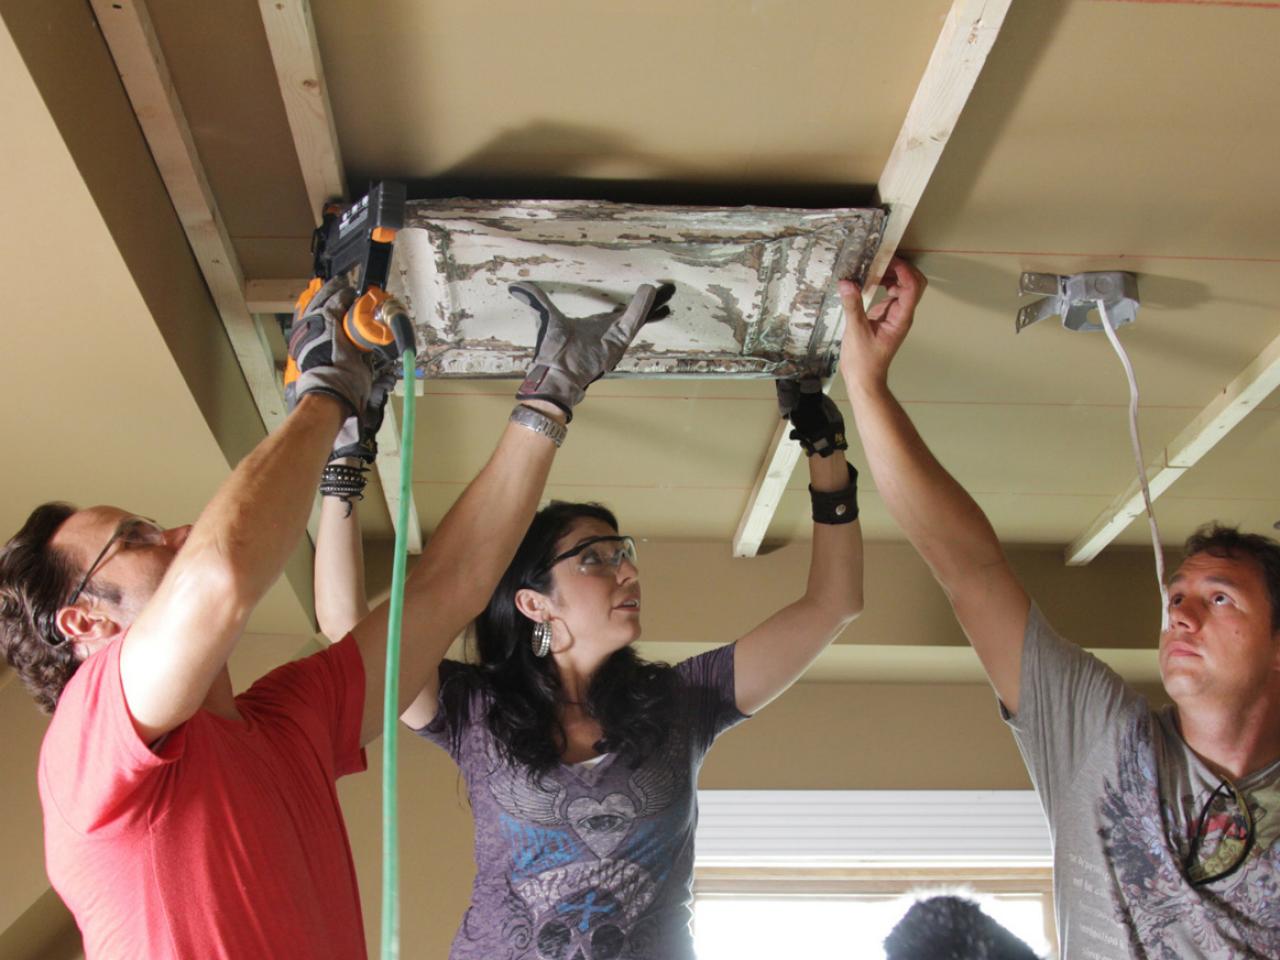
Step 7: Cut Tiles for Edges and Obstacles
As you approach the edges of the ceiling or encounter obstacles such as vents or light fixtures, you will need to cut the tin ceiling tiles to fit. This step will guide you through the process of cutting tiles for edges and obstacles to ensure a seamless and professional-looking installation. Here’s what you need to do:
- Measure the Area: Using a measuring tape, carefully measure the space where you need to cut the tile. Take precise measurements to ensure an accurate fit.
- Transfer Measurements onto the Tile: Transfer the measurements onto the tile using a pencil or marker. Make sure to mark the cutting lines clearly.
- Use Safety Precautions: Tin ceiling tiles can be sharp, so it’s important to take appropriate safety precautions. Wear gloves and safety goggles to protect your hands and eyes while cutting the tiles.
- Choose the Right Cutting Tool: Depending on the complexity of the cut you need to make, choose the appropriate cutting tool. Options include tin snips, a power jigsaw with a metal-cutting blade, or a metal shear. Follow the manufacturer’s instructions for using the tool safely and effectively.
- Cut the Tile: Carefully cut along the marked lines using the chosen cutting tool. Take your time and work slowly to ensure precision. If using tin snips, make small, controlled cuts to avoid bending or damaging the tile.
- Test the Fit: After cutting the tile, test the fit by placing it into position. Make any necessary adjustments to ensure a snug and accurate fit.
- Smooth the Cut Edge: Use a sanding block or sandpaper to smooth any rough edges created by the cutting process. This will give the tile a neat and finished appearance.
- Install the Cut Tile: Once the tile fits properly and the cut edge is smoothed, attach the tile to the ceiling using adhesive. Align it with the adjacent tiles and press it firmly in place.
- Repeat for Other Edges and Obstacles: Repeat this process for all the edges and obstacles you encounter during the installation. Take your time and ensure each cut is accurate for a professional-looking result.
Remember to work with caution and precision when cutting and fitting the tiles. Take breaks as needed to rest and assess your progress. Once all the necessary tiles have been cut and installed, the next step is to fill and sand the seams.
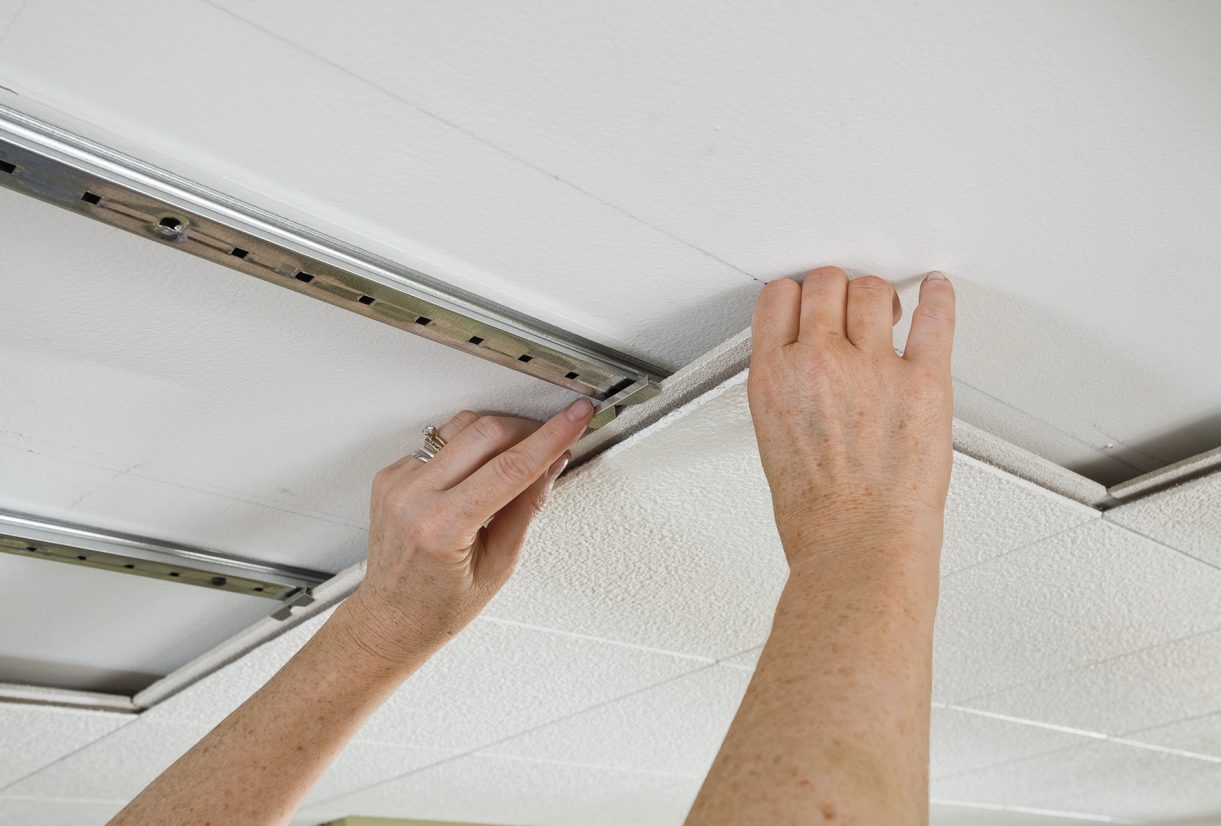
Step 8: Fill and Sand the Seams
After installing the tin ceiling tiles, it’s important to fill and sand the seams to create a seamless and polished appearance. This step will guide you through the process of filling and sanding the seams to ensure a smooth and professional finish. Here’s what you need to do:
- Inspect the Seams: Take a close look at the seams between the tin ceiling tiles to identify any gaps or imperfections. This step is crucial to ensure that the finished ceiling looks flawless.
- Choose the Right Filler: Select a filler that is suitable for use on metal surfaces. It should be easy to spread, quick-drying, and paintable. Consult with a professional or refer to the manufacturer’s guidelines to choose the appropriate filler.
- Apply Filler to the Seams: Using a putty knife or a spatula, apply the filler to the seams between the tiles. Ensure that the filler is spread evenly to fill any gaps or indentations.
- Smooth the Filler: After applying the filler, use the edge of the putty knife or spatula to smooth the surface of the filler. This will create a flush and even finish.
- Allow the Filler to Dry: Follow the manufacturer’s instructions regarding the drying time of the filler. It’s important to allow the filler to dry completely before proceeding to the next step.
- Sand the Seams: Once the filler is dry, use fine-grit sandpaper or a sanding block to smooth the seams. Gently sand the filled areas, blending them with the rest of the tiles for a seamless look. Be careful not to sand too aggressively, as tin ceiling tiles can be delicate.
- Clean Up the Dust: After sanding, use a damp cloth or a vacuum cleaner to clean up any dust or debris. A clean surface will ensure a better finish when you paint or finish the tiles.
- Inspect and Touch Up: Take a final look at the filled and sanded seams to ensure they are smooth and well-blended. If needed, apply additional filler and repeat the sanding process until the seams are seamless.
By filling and sanding the seams, you will achieve a cohesive and professional appearance for your tin ceiling. The next step is to paint or finish the tiles to enhance their aesthetic appeal and protect them from damage.
Read more: How To Cut Ceiling Tile
Step 9: Paint or Finish the Tiles
Once the seams are filled and sanded, it’s time to give your tin ceiling tiles the final touch by painting or finishing them. This step allows you to enhance their appearance and protect them from wear and tear. Follow these steps to paint or finish your tiles:
- Choose Your Finish: Decide whether you want to preserve the natural metallic look of the tin or apply a paint finish. Tin ceiling tiles offer a unique and charming appearance, but painting them can provide endless creative possibilities to match your decor.
- Clean the Tiles: Before painting or finishing, ensure that the tiles are clean and free from any dust or debris. Use a mild detergent and water to gently clean the tiles, and allow them to dry completely.
- Prime the Tiles (Optional): If you have chosen to paint the tiles, it’s advisable to apply a primer designed for metal surfaces. Primer enhances the adhesion of paint and creates a smooth and even surface for the final paint coat.
- Apply the Paint or Finish: Using a brush or roller, apply the desired paint or finish evenly to the tiles. Work in small sections, ensuring each tile receives a consistent coat. Allow the paint or finish to dry according to the manufacturer’s instructions between coats if multiple coats are required.
- Consider a Second Coat: Depending on the type of paint or finish you choose, you may need to apply a second coat for optimal color and coverage. Ensure that each coat is thoroughly dry before proceeding with the next one.
- Inspect the Tiles: Once the paint or finish has dried, inspect the tiles for any imperfections or areas that may need touch-ups. Use a fine brush or roller to correct any issues and achieve a flawless finish.
Painting or finishing your tin ceiling tiles not only enhances their appearance but also provides an extra layer of protection against scratches and environmental factors. It allows you to customize the look of your ceiling and create a unique ambiance in your space.
Once the tiles are painted or finished to your satisfaction, it’s time to focus on the final touches and clean-up in the last step of the installation process.
Step 10: Final Touches and Clean-up
Congratulations! You’re nearing the end of your tin ceiling tile installation journey. Step 10 involves adding the final touches to ensure a polished look and taking care of the clean-up process. Paying attention to these details will leave you with a beautifully finished ceiling. Here’s what you need to do:
- Inspect the Ceiling: Take a step back and inspect the entire ceiling to identify any areas that may require touch-ups or adjustments. Look for any uneven tiles, visible seams, or imperfections. Make the necessary corrections before proceeding.
- Remove Painter’s Tape: If you used painter’s tape to mark the layout or protect the walls during the installation process, carefully remove it. Take your time to avoid damaging the ceiling or adjacent surfaces.
- Clean the Tiles and Surrounding Areas: Use a damp cloth or sponge to clean the tiles and remove any dust, debris, or adhesive residue. Pay attention to the edges and corners of the tiles to ensure they are spotless.
- Touch Up Paint or Finish: If you notice any areas where the paint or finish needs touch-ups, address them now. Use a fine brush or roller to carefully apply paint or finish to achieve a seamless and consistent appearance.
- Reinstall Fixtures and Furniture: Once the ceiling is clean and any touch-ups are done, you can reinstall any fixtures, light fixtures, or furniture that you temporarily removed. Take care not to damage the tiles or the freshly painted or finished surfaces.
- Clean Up the Workspace: Gather all the tools, materials, and equipment used during the installation process and properly clean and store them. Dispose of any packaging, leftover adhesive, or other waste responsibly.
- Admire Your Finished Tin Ceiling: Step back and admire your hard work and the stunning transformation you’ve achieved. Enjoy the beauty and charm that your new tin ceiling brings to the space.
Celebrate the completion of your tin ceiling tile installation with a sense of accomplishment. Your attention to detail and commitment to the installation process have resulted in a visually appealing and visually stunning ceiling.
Remember, proper maintenance and regular cleaning will help preserve the beauty of your tin ceiling for years to come. Follow the manufacturer’s guidelines for cleaning and maintenance, and enjoy the timeless elegance of your tin ceiling tiles!
Thank you for following along with this step-by-step guide. We hope you found it helpful and that your tin ceiling tile installation was a success!
Conclusion
Installing tin ceiling tiles is a rewarding endeavor that can transform any space into a stunning visual masterpiece. Throughout this comprehensive guide, we’ve taken you through each step of the installation process, from gathering materials to adding the final touches. By following these steps and paying attention to the details, you can achieve a professional-looking tin ceiling that adds charm and character to your home or office.
Tin ceiling tiles offer not only aesthetic appeal but also functionality. They provide insulation, fire resistance, and durability, making them a practical choice for both residential and commercial settings. Whether you choose to keep the natural metallic finish of the tiles or paint them to match your decor, tin ceiling tiles offer endless possibilities for customization and creativity.
Remember to measure and plan carefully, apply adhesive correctly, and install the tiles with precision. Take your time to ensure each tile is aligned and level, and don’t forget to fill and sand the seams for a seamless look. The final step of painting or finishing the tiles adds the finishing touch to your installation, allowing you to create a unique and personalized space.
As with any project, safety and attention to detail are key. Wear protective gear, such as gloves and safety goggles, when handling and cutting the tiles. Take breaks as needed and step back regularly to assess your progress. With patience and care, you can achieve a beautiful tin ceiling that will be the envy of all who see it.
We hope that this guide has provided you with the knowledge and confidence to embark on your own tin ceiling tile installation. Enjoy the process, express your creativity, and revel in the beauty of your newly transformed space. Remember to take pride in your accomplishment, as your hard work has resulted in a remarkable addition to your home or office.
Thank you for joining us on this journey. We wish you success and satisfaction in your tin ceiling tile installation!
Frequently Asked Questions about How To Install Tin Ceiling Tile
Was this page helpful?
At Storables.com, we guarantee accurate and reliable information. Our content, validated by Expert Board Contributors, is crafted following stringent Editorial Policies. We're committed to providing you with well-researched, expert-backed insights for all your informational needs.

0 thoughts on “How To Install Tin Ceiling Tile”