Home>Gardening & Outdoor>Outdoor Structures>How To Make A Storage Shed
Outdoor Structures
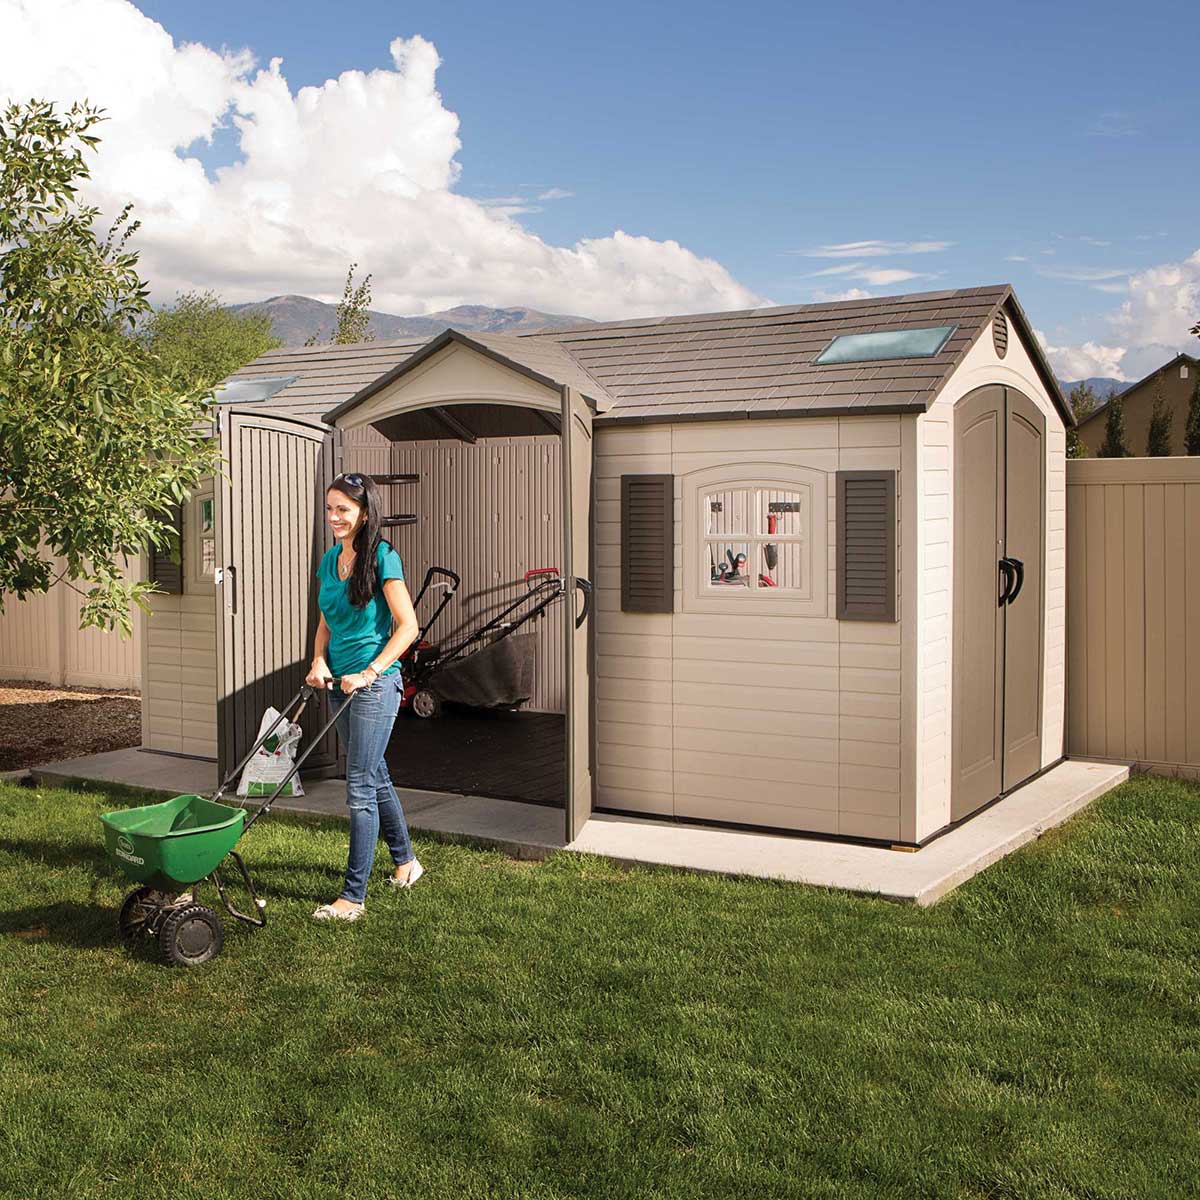
How To Make A Storage Shed
Modified: February 18, 2024
Learn how to build a durable outdoor storage shed with our comprehensive guide. Discover expert tips and techniques for constructing functional outdoor structures.
(Many of the links in this article redirect to a specific reviewed product. Your purchase of these products through affiliate links helps to generate commission for Storables.com, at no extra cost. Learn more)
Introduction
So, you’ve decided to add a storage shed to your property. Congratulations! A storage shed is a versatile and valuable addition to any home, providing a dedicated space for storing tools, equipment, seasonal items, and more. Whether you’re a seasoned DIY enthusiast or a novice looking to take on a new project, building a storage shed can be a rewarding endeavor that adds both functionality and aesthetic appeal to your outdoor space.
In this comprehensive guide, we’ll walk you through the step-by-step process of building a storage shed from the ground up. From initial planning and site preparation to the final finishing touches, you’ll gain a thorough understanding of what it takes to create a sturdy and well-designed storage solution. Along the way, we’ll cover essential considerations such as choosing the right location, selecting materials and tools, constructing a solid foundation, framing the structure, installing the roof, adding siding and doors, and putting the final touches that truly make the shed your own.
Whether you’re envisioning a small, utilitarian storage space or a larger, more customized structure, this guide will equip you with the knowledge and confidence to bring your vision to life. By the end of this journey, you’ll be ready to roll up your sleeves, grab your tools, and embark on the fulfilling adventure of building your very own storage shed. Let’s dive in and explore the exciting world of shed construction!
Key Takeaways:
- Planning and preparation are crucial for building a storage shed. Consider the shed’s purpose, location, and gather materials and tools before starting the construction process.
- Building a storage shed involves constructing a sturdy foundation, framing the structure, installing the roof, adding siding and doors, and finishing touches. Each step contributes to creating a functional and visually appealing outdoor storage space.
Read more: How To Make A Tool Shed
Planning and Preparation
Before you pick up a hammer or saw, it’s crucial to lay a solid foundation of plans and preparations for your storage shed project. This phase sets the stage for a successful build and helps you avoid costly mistakes along the way.
Start by determining the purpose of your shed. Will it primarily store gardening tools, outdoor furniture, or serve as a multi-functional space? Understanding its intended use will guide the shed’s design and size requirements.
Next, check with your local zoning laws and homeowners’ association regulations to ensure compliance with any building codes or permit requirements. This step is essential to prevent potential legal issues down the road.
Consider the shed’s placement in your yard. Factor in sunlight exposure, proximity to your home, and any landscaping features. You’ll want to choose a location that’s both convenient and visually harmonious with your outdoor space.
As you plan, sketch out the shed’s dimensions and layout. Take into account the floor space needed for your storage items and any additional features, such as windows or built-in shelving. This blueprint will serve as your guide throughout the construction process.
Lastly, create a detailed materials list and gather the necessary tools for the job. Common items include lumber, roofing materials, fasteners, and a variety of hand and power tools. Having everything on hand before you begin will streamline the building process and prevent unnecessary delays.
By investing time in careful planning and thorough preparation, you’ll set the stage for a smooth and successful construction journey. With a clear vision, compliance with regulations, and all the essential materials and tools at your disposal, you’re ready to move on to the next phase: choosing the right location for your shed.
Choosing the Right Location
When it comes to building a storage shed, location is more than just a matter of convenience—it’s a key factor in the shed’s functionality and overall aesthetic impact on your property. Selecting the right spot for your shed involves careful consideration of several important factors.
First and foremost, assess the amount of sunlight and shade in different areas of your yard. While some items benefit from direct sunlight, others may require a cooler, shadier environment. Additionally, consider how the shed’s placement will affect the surrounding landscape and the visual flow of your outdoor space.
Proximity to your home is another crucial aspect to ponder. A location that’s easily accessible from your house can make it more convenient to retrieve items stored in the shed. However, ensure that the shed’s placement doesn’t obstruct pathways or disrupt the overall harmony of your outdoor environment.
Furthermore, evaluate the ground where the shed will be situated. Look for a level area that drains well and isn’t prone to water pooling. A solid, well-drained foundation is essential for the longevity of your shed and the protection of its contents.
Consider any local building codes or regulations that may dictate the minimum distance required between the shed and property lines, fences, or other structures. Adhering to these guidelines will help you avoid potential conflicts and ensure a compliant and harmonious addition to your property.
Finally, think about the shed’s visual impact. How will its placement complement the overall aesthetic of your outdoor space? Will it enhance the existing landscaping or create a focal point in the yard? By carefully considering these questions, you can ensure that your shed becomes an attractive and functional asset to your property.
By taking the time to assess these factors and select the optimal location for your storage shed, you’ll lay the groundwork for a structure that not only serves its practical purpose but also enhances the beauty and functionality of your outdoor living space.
Gathering Materials and Tools
With your shed’s location chosen and plans in hand, it’s time to gather the materials and tools needed to bring your project to life. A well-prepared and organized approach to acquiring these essentials will streamline the construction process and ensure that you have everything you need at your fingertips.
Begin by compiling a comprehensive list of materials required for your shed. This typically includes lumber for framing, sheathing for the walls and roof, roofing materials, fasteners, and any additional components such as windows, doors, and trim. Consider the specific requirements outlined in your shed plans to ensure that you procure the right quantities and types of materials.
When selecting lumber, prioritize quality and durability. Pressure-treated or rot-resistant wood is ideal for structural components, offering enhanced protection against moisture and decay. Additionally, opt for high-quality sheathing and roofing materials to safeguard your shed from the elements and ensure long-term durability.
As for tools, ensure that you have a well-rounded collection of both hand and power tools to facilitate the construction process. Commonly used tools include a circular saw, hammer, level, tape measure, drill/driver, and a variety of hand tools for tasks such as fastening, cutting, and assembly. If you plan to tackle more advanced tasks, such as roofing or siding installation, consider specialized tools that can simplify these processes.
While gathering materials and tools, it’s also a good idea to consider safety equipment. Protective gear such as gloves, safety glasses, and hearing protection can help safeguard you during the construction process. Additionally, having a first-aid kit on hand is essential for addressing any minor injuries that may occur during the build.
By proactively gathering all necessary materials and tools, you’ll set the stage for a smooth and efficient construction process. With everything at your disposal, you can confidently move on to the next phase: building the foundation of your storage shed.
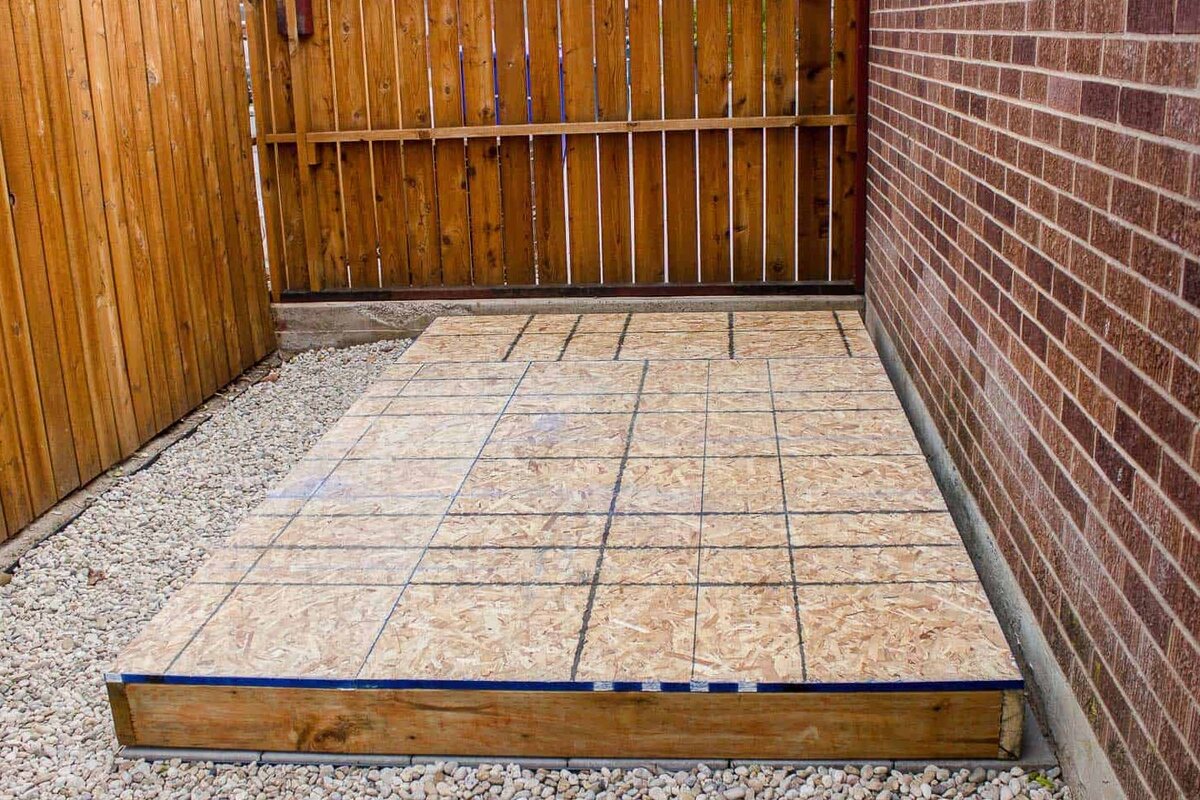
Building the Foundation
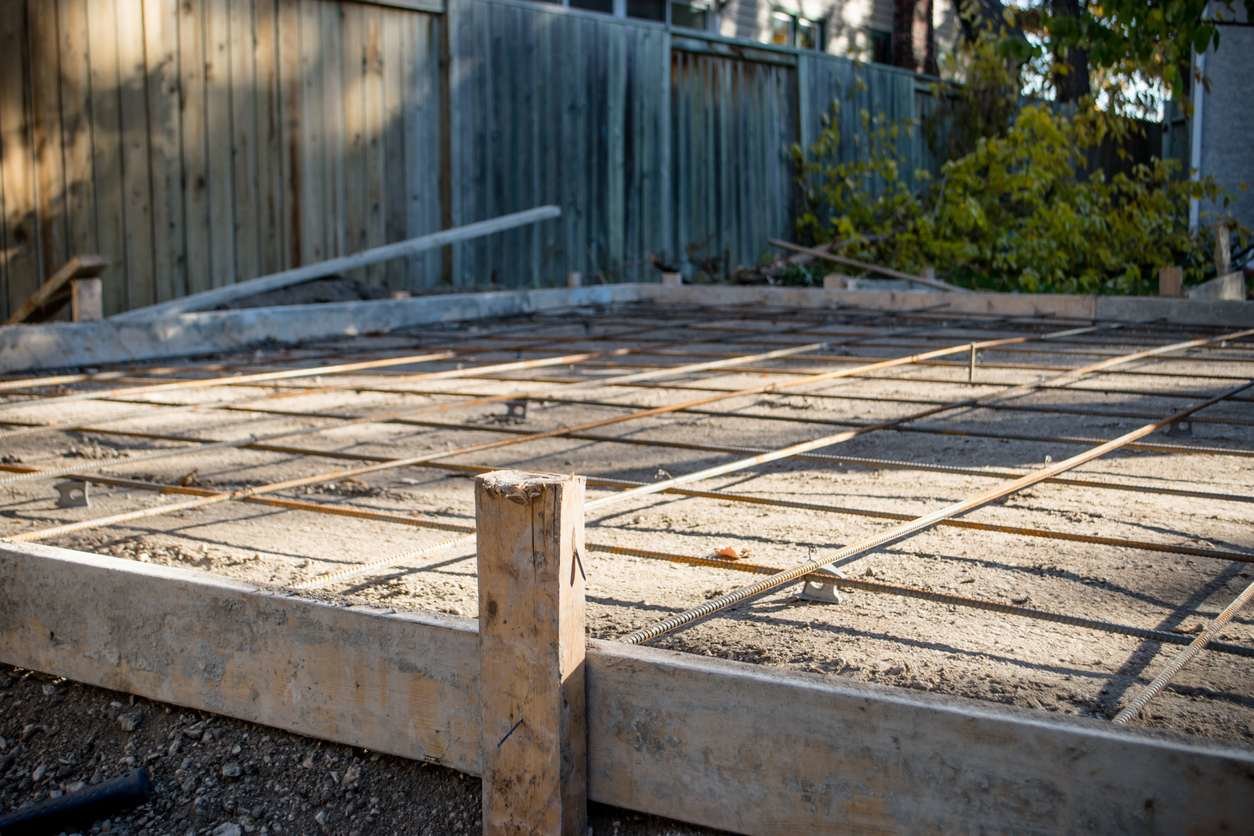
The foundation serves as the anchor of your storage shed, providing stability and protection against ground moisture. A well-constructed foundation is essential for ensuring the longevity and structural integrity of the entire building. As you embark on this phase of the construction process, careful planning and attention to detail are paramount.
Start by marking the perimeter of the shed’s foundation according to your plans. Use string lines and stakes to outline the area, ensuring that it’s square and level. Excavate the marked area to the required depth, typically accounting for the thickness of the concrete slab or the depth of the piers or footings.
Next, based on your chosen foundation type, proceed with the necessary preparations. For a concrete slab foundation, install formwork to contain the concrete and reinforce it with steel mesh or rebar for added strength. If opting for piers or footings, carefully follow the specifications outlined in your shed plans to ensure proper spacing and depth.
Once the preparations are complete, it’s time to pour the concrete or set the footings. This step demands precision to achieve a level and structurally sound foundation. Ensure that the concrete is thoroughly mixed and poured evenly, taking care to eliminate air pockets and achieve a smooth, level surface.
As the foundation material cures, monitor its progress and take measures to protect it from adverse weather conditions. Proper curing is crucial for the strength and durability of the foundation, so follow recommended curing times and practices to achieve optimal results.
With the foundation in place, you’ve established a solid base for the rest of the shed’s construction. A well-built foundation not only supports the structure but also guards against moisture infiltration, preserving the integrity of your shed and its contents for years to come. Now, you’re ready to move on to the next exciting phase: constructing the frame of your storage shed.
Consider using pressure-treated lumber for the foundation and floor of your storage shed to prevent rot and decay. This will help ensure the longevity of your shed.
Read more: How To Make A Shed With Pallets
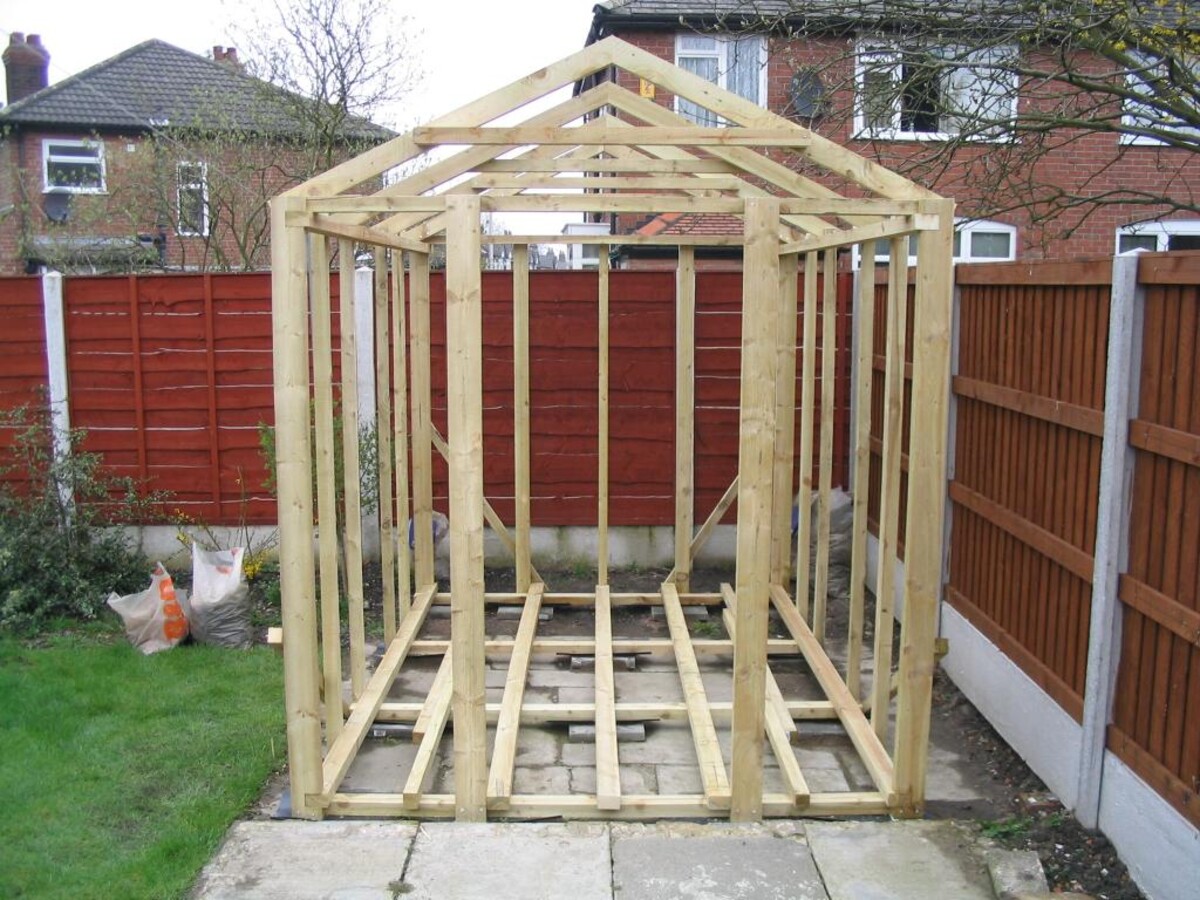
Constructing the Frame
As you transition from laying the foundation to constructing the frame, the outline of your storage shed begins to take shape. The frame serves as the skeletal structure, providing support for the walls, roof, and overall integrity of the shed. With careful attention to detail and precision, you can ensure that your shed’s frame is sturdy, level, and ready to withstand the elements.
Begin by assembling the lumber for the frame according to the dimensions outlined in your shed plans. Take care to make precise cuts and ensure that all components align correctly. The frame typically consists of vertical wall studs, horizontal top and bottom plates, and additional framing members for door and window openings.
Using a level and framing square, carefully position and secure the frame components, ensuring that they are plumb, square, and properly aligned. This step is critical for the structural integrity and stability of the entire shed. Pay close attention to the corners and connections, as they form the framework’s essential anchor points.
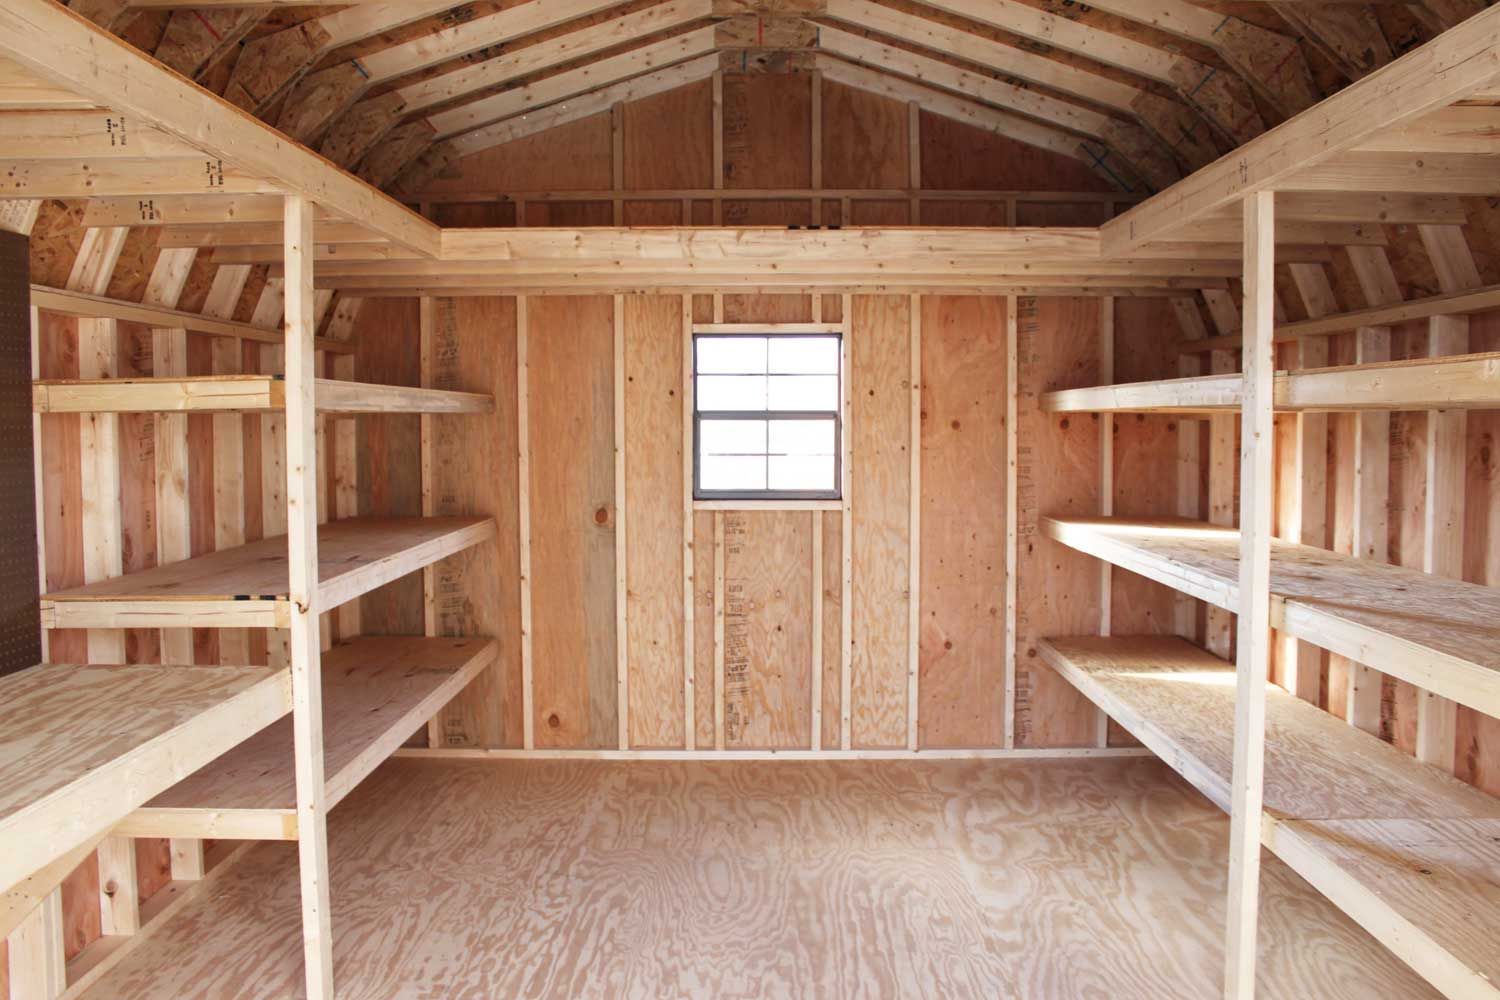
As the wall frame takes shape, consider incorporating additional features such as built-in shelving or storage compartments. These custom elements can enhance the shed’s functionality and organization, providing dedicated spaces for specific items and tools.
Once the wall frame is in place, shift your focus to constructing the roof trusses or rafters. These components form the framework for the shed’s roof, providing support and shape to the overhead structure. Follow your shed plans carefully to ensure that the trusses or rafters are built to the correct specifications and angles, as they play a crucial role in the shed’s overall stability.
By the time the frame construction is complete, you’ll have a solid, well-constructed skeleton for your storage shed. The frame not only defines the shed’s structure but also sets the stage for the next phase: installing the roof. With the frame in place, you’re one step closer to bringing your shed project to fruition.
Installing the Roof
With the frame of your storage shed standing strong, it’s time to turn your attention to the critical task of installing the roof. The roof serves as the shield that protects your shed and its contents from the elements, making it essential to approach this phase with precision and care.
Before you begin, carefully review your shed plans to determine the specific requirements for the roof structure. Depending on your design, this may involve installing pre-built trusses or constructing rafters on-site. Ensure that all components are aligned and securely fastened, as the roof’s stability and durability depend on the integrity of these elements.
Start by affixing the roof sheathing to the trusses or rafters. This layer of material provides the foundation for the roof covering and contributes to the overall strength and stability of the roof. Use appropriate fasteners and follow recommended spacing guidelines to secure the sheathing evenly across the roof’s surface.
Once the sheathing is in place, it’s time to install the roofing material. Whether you opt for shingles, metal panels, or another roofing type, ensure that it’s installed according to manufacturer specifications and local building codes. Proper installation is crucial for ensuring the roof’s ability to withstand wind, rain, and other environmental factors.
As you work on the roof, prioritize safety measures to prevent accidents and ensure a smooth installation process. Use appropriate fall protection equipment if working at heights, and take precautions to secure materials and tools to prevent them from falling off the roof.
In addition to the primary roofing material, consider incorporating elements such as drip edges, flashing, and vents to enhance the roof’s functionality and weather resistance. These components help prevent water infiltration, promote proper ventilation, and ensure long-term durability for your shed’s roof.
By the time the roof installation is complete, your storage shed will have gained a critical layer of protection against the elements. With the roof securely in place, you’re ready to move on to the next phase: adding siding and doors to enclose your shed and further enhance its functionality and visual appeal.
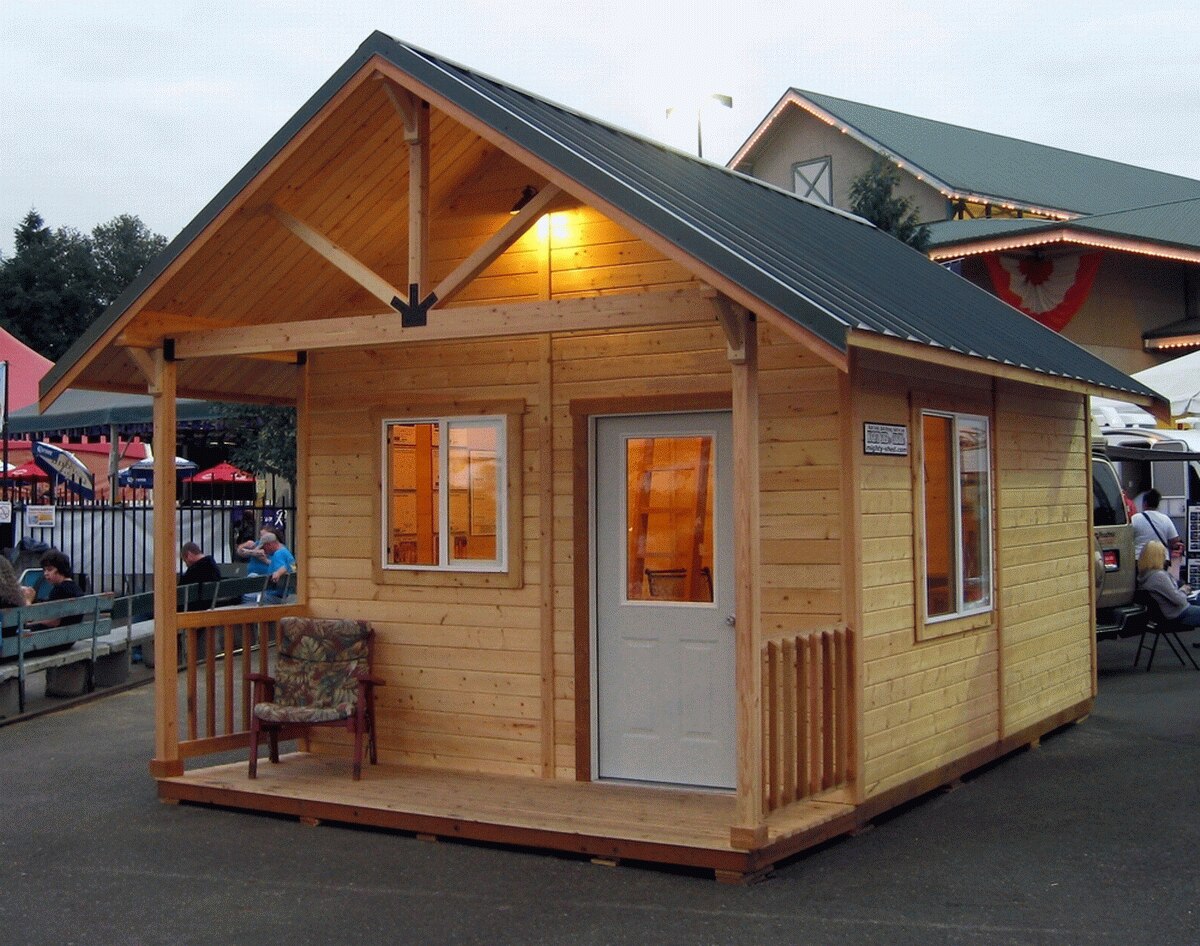
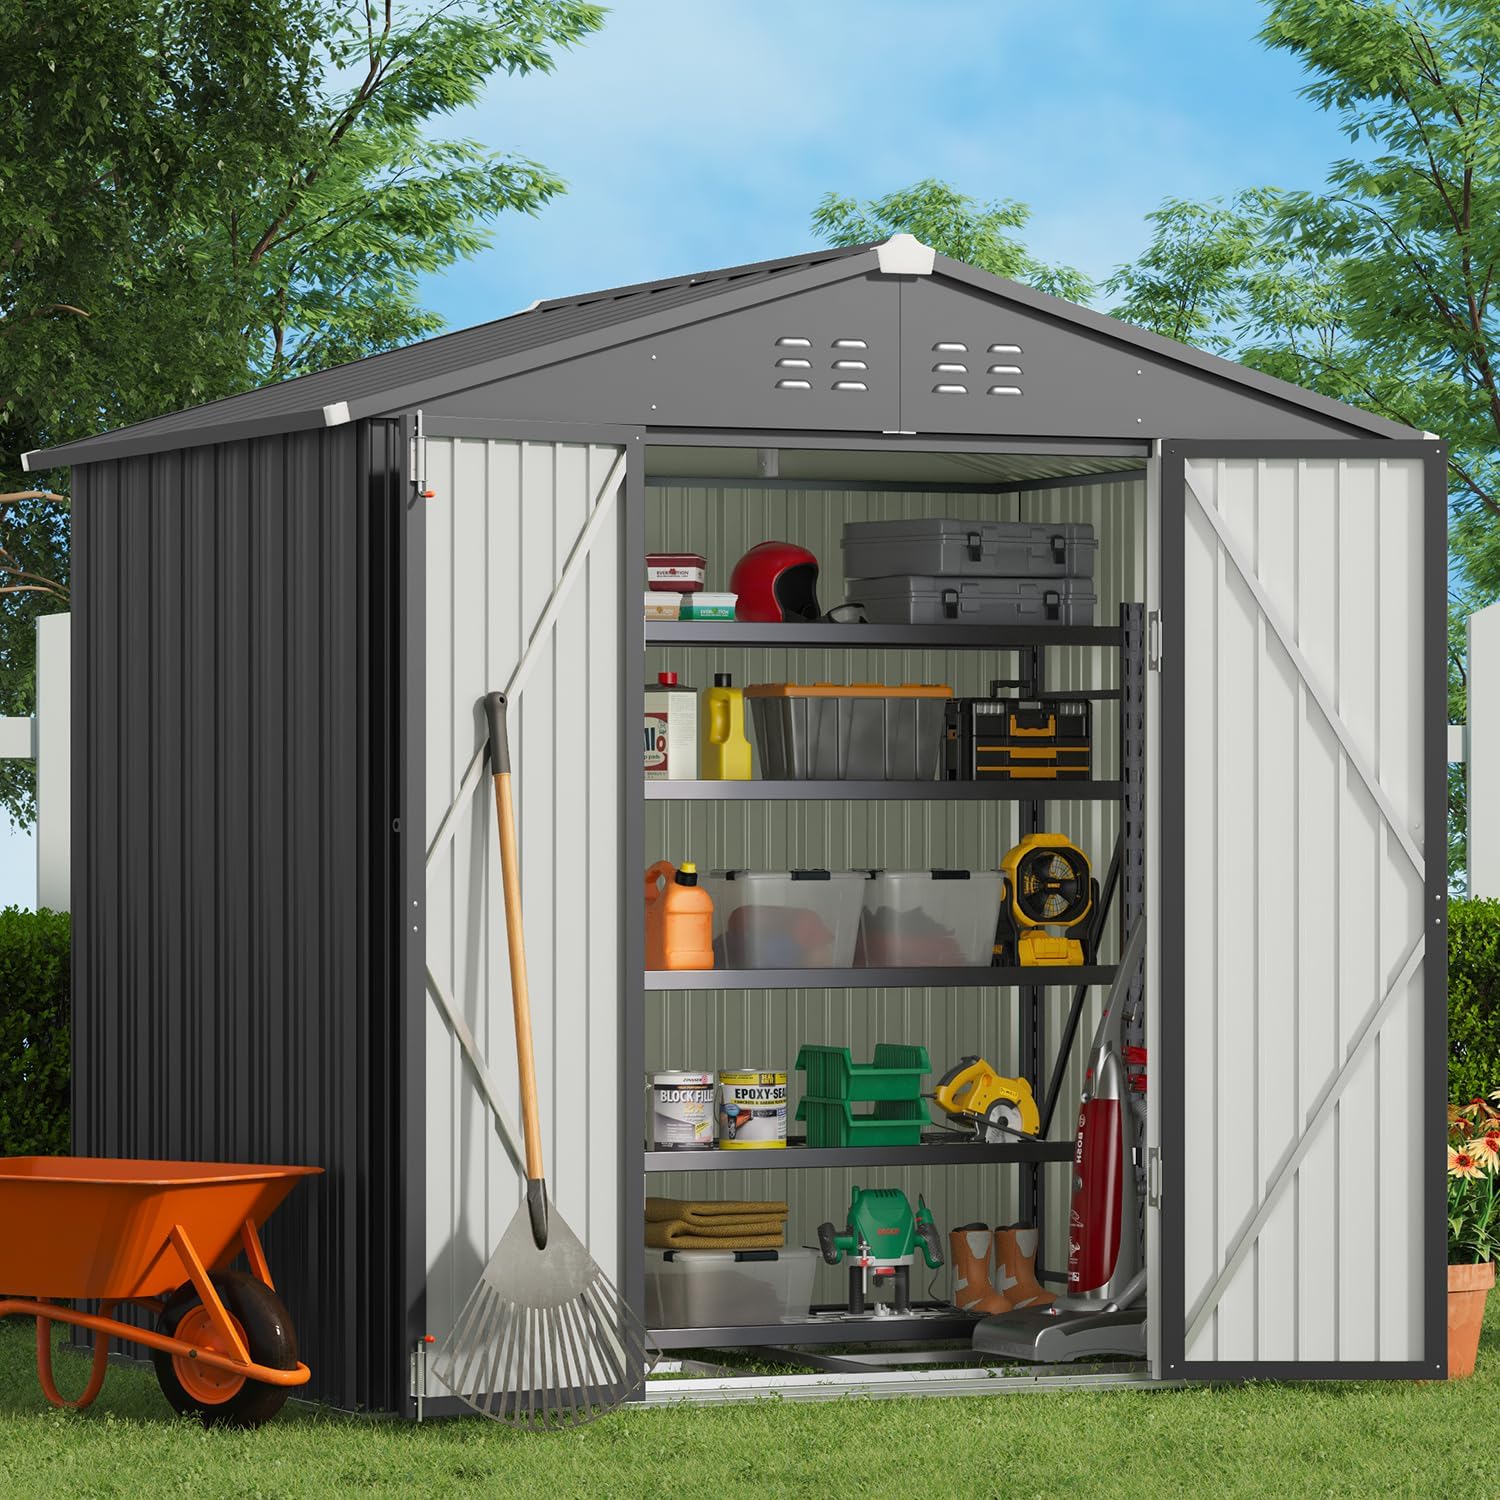
Adding Siding and Doors
As your storage shed nears completion, the addition of siding and doors marks a significant step toward transforming the frame into a fully enclosed and functional structure. These elements not only contribute to the shed’s visual appeal but also play a crucial role in protecting its interior and contents from the elements.
When selecting siding materials, consider both aesthetic and functional factors. Common options include wood, vinyl, metal, and composite siding, each offering unique benefits in terms of durability, maintenance, and visual appeal. Ensure that the chosen siding aligns with your shed’s design and complements the overall aesthetic of your property.
Begin by carefully measuring and cutting the siding to fit the shed’s exterior walls. Secure the siding in place using appropriate fasteners, ensuring that it aligns evenly and forms a weather-resistant barrier around the structure. Pay attention to corner and edge details to achieve a clean and professional finish.
As you install the siding, consider incorporating elements such as trim and molding to add visual interest and enhance the shed’s overall appearance. These finishing touches can elevate the shed’s exterior, creating a polished and cohesive look that integrates seamlessly with your outdoor space.
With the siding in place, turn your attention to installing the shed’s doors. Whether you opt for single or double doors, prioritize functionality, security, and ease of use. Ensure that the doors are properly aligned, level, and equipped with secure locking mechanisms to safeguard the shed’s contents.
Consider adding weather-stripping and seals around the door frames to enhance insulation and prevent drafts or moisture infiltration. These small yet crucial details contribute to the overall weather resistance and comfort of the shed’s interior space.
By the time the siding and doors are installed, your storage shed will have transitioned from a bare frame to a fully enclosed and functional structure. With these elements in place, you’re ready to move on to the final phase: adding the finishing touches that will truly make the shed your own.
Finishing Touches
As you approach the final stages of constructing your storage shed, it’s time to add the finishing touches that will elevate its functionality, aesthetics, and overall appeal. These details not only personalize the shed but also contribute to its usability and longevity, ensuring that it meets your specific needs and enhances your outdoor space.
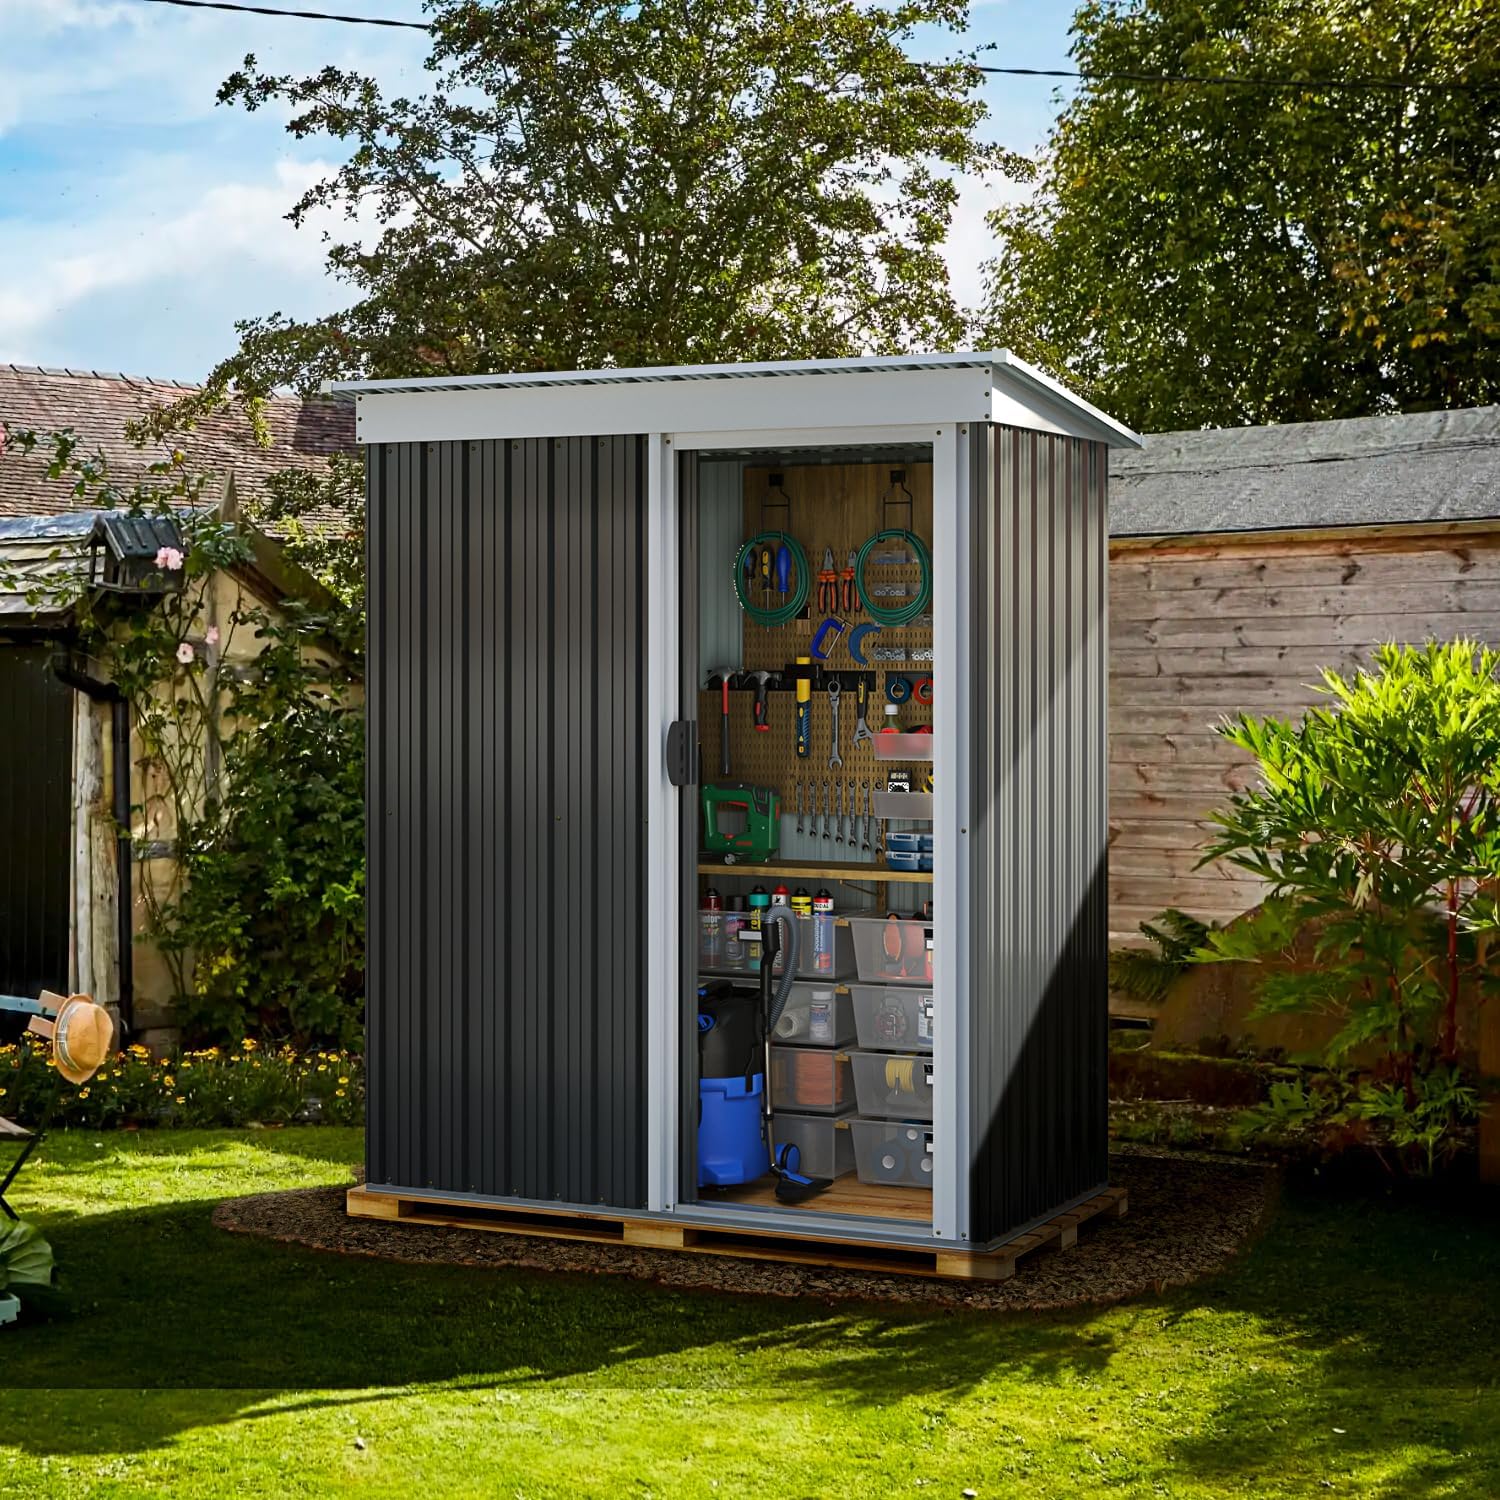
Consider incorporating interior features such as shelving, storage racks, and workbenches to optimize the shed’s organizational potential. Customizing the interior layout to accommodate your storage needs and hobbies can transform the shed into a versatile and efficient space for various activities.
Additionally, prioritize adequate lighting to enhance the shed’s usability, especially during evening hours. Install lighting fixtures or consider options such as solar-powered lights to illuminate the interior and exterior of the shed, making it more accessible and functional at any time of day.
Exterior details such as gutters and downspouts can help manage rainwater runoff and protect the shed’s foundation from water damage. By directing water away from the structure, these elements contribute to the shed’s long-term durability and structural integrity.
For a personalized touch, consider adding decorative elements such as window boxes, shutters, or a fresh coat of paint to enhance the shed’s visual appeal. These simple yet impactful additions can infuse the shed with character and charm, making it a standout feature in your outdoor space.
Finally, take the time to review the shed’s exterior and interior for any remaining tasks or adjustments. Ensure that all components are securely fastened, and address any minor finishing details to achieve a polished and professional result.
With the finishing touches in place, your storage shed will have evolved into a fully functional, personalized, and visually appealing addition to your property. By attending to these details, you’ve not only created a practical storage solution but also a versatile and inviting space that complements your outdoor lifestyle.
Read more: How To Make A Floor For A Shed
Conclusion
Congratulations on completing the journey of building your very own storage shed! From the initial planning and site preparation to the final finishing touches, you’ve embarked on a rewarding and fulfilling project that has added both practical functionality and aesthetic appeal to your outdoor space. As you reflect on this accomplishment, it’s important to recognize the valuable skills and knowledge you’ve gained throughout the construction process.
By carefully planning and preparing for the project, you set the stage for a successful build and navigated potential challenges with confidence. Choosing the right location for your shed ensured that it harmonizes with your property and serves its intended purpose effectively. Gathering materials and tools in advance allowed for a smooth and efficient construction process, while building a sturdy foundation provided a solid base for the shed’s structure.
Constructing the frame and installing the roof required precision and attention to detail, culminating in a strong and weather-resistant shelter for your belongings. Adding siding and doors further enhanced the shed’s functionality and visual appeal, transforming it into a fully enclosed and secure space. The finishing touches, such as interior organization and exterior embellishments, personalized the shed and made it a seamless extension of your outdoor lifestyle.
As you look upon the completed storage shed, take pride in the dedication and effort you’ve invested in this project. Not only have you created a practical storage solution, but you’ve also crafted a space that reflects your creativity, resourcefulness, and commitment to enhancing your home environment.
Whether you embarked on this journey as a seasoned DIY enthusiast or as someone venturing into the world of construction for the first time, the skills and experiences gained from building a storage shed will undoubtedly serve you well in future projects. From mastering the art of precise measurements and cuts to understanding the importance of structural integrity and weather resistance, the knowledge you’ve acquired is a valuable asset for future endeavors.
As you enjoy the fruits of your labor and witness the positive impact your new storage shed has on your property, remember the sense of accomplishment and empowerment that comes from bringing a vision to life through dedicated effort and creativity. Your storage shed stands as a testament to your ability to turn ideas into reality and to enhance your living space through hands-on ingenuity.
With the completion of your storage shed, you’ve not only expanded your home’s storage capacity but also enriched your connection to your outdoor environment. As you continue to enjoy the benefits of your new space, may it serve as a constant reminder of the satisfaction and fulfillment that come from taking on a meaningful and rewarding construction project.
Frequently Asked Questions about How To Make A Storage Shed
Was this page helpful?
At Storables.com, we guarantee accurate and reliable information. Our content, validated by Expert Board Contributors, is crafted following stringent Editorial Policies. We're committed to providing you with well-researched, expert-backed insights for all your informational needs.

0 thoughts on “How To Make A Storage Shed”