Home>diy>Building & Construction>How To Make A Foundation For A Shed
Building & Construction
How To Make A Foundation For A Shed
Modified: August 27, 2024
Learn how to make a sturdy foundation for your shed with this step-by-step guide. Follow expert tips and techniques for building construction.
(Many of the links in this article redirect to a specific reviewed product. Your purchase of these products through affiliate links helps to generate commission for Storables.com, at no extra cost. Learn more)
Introduction
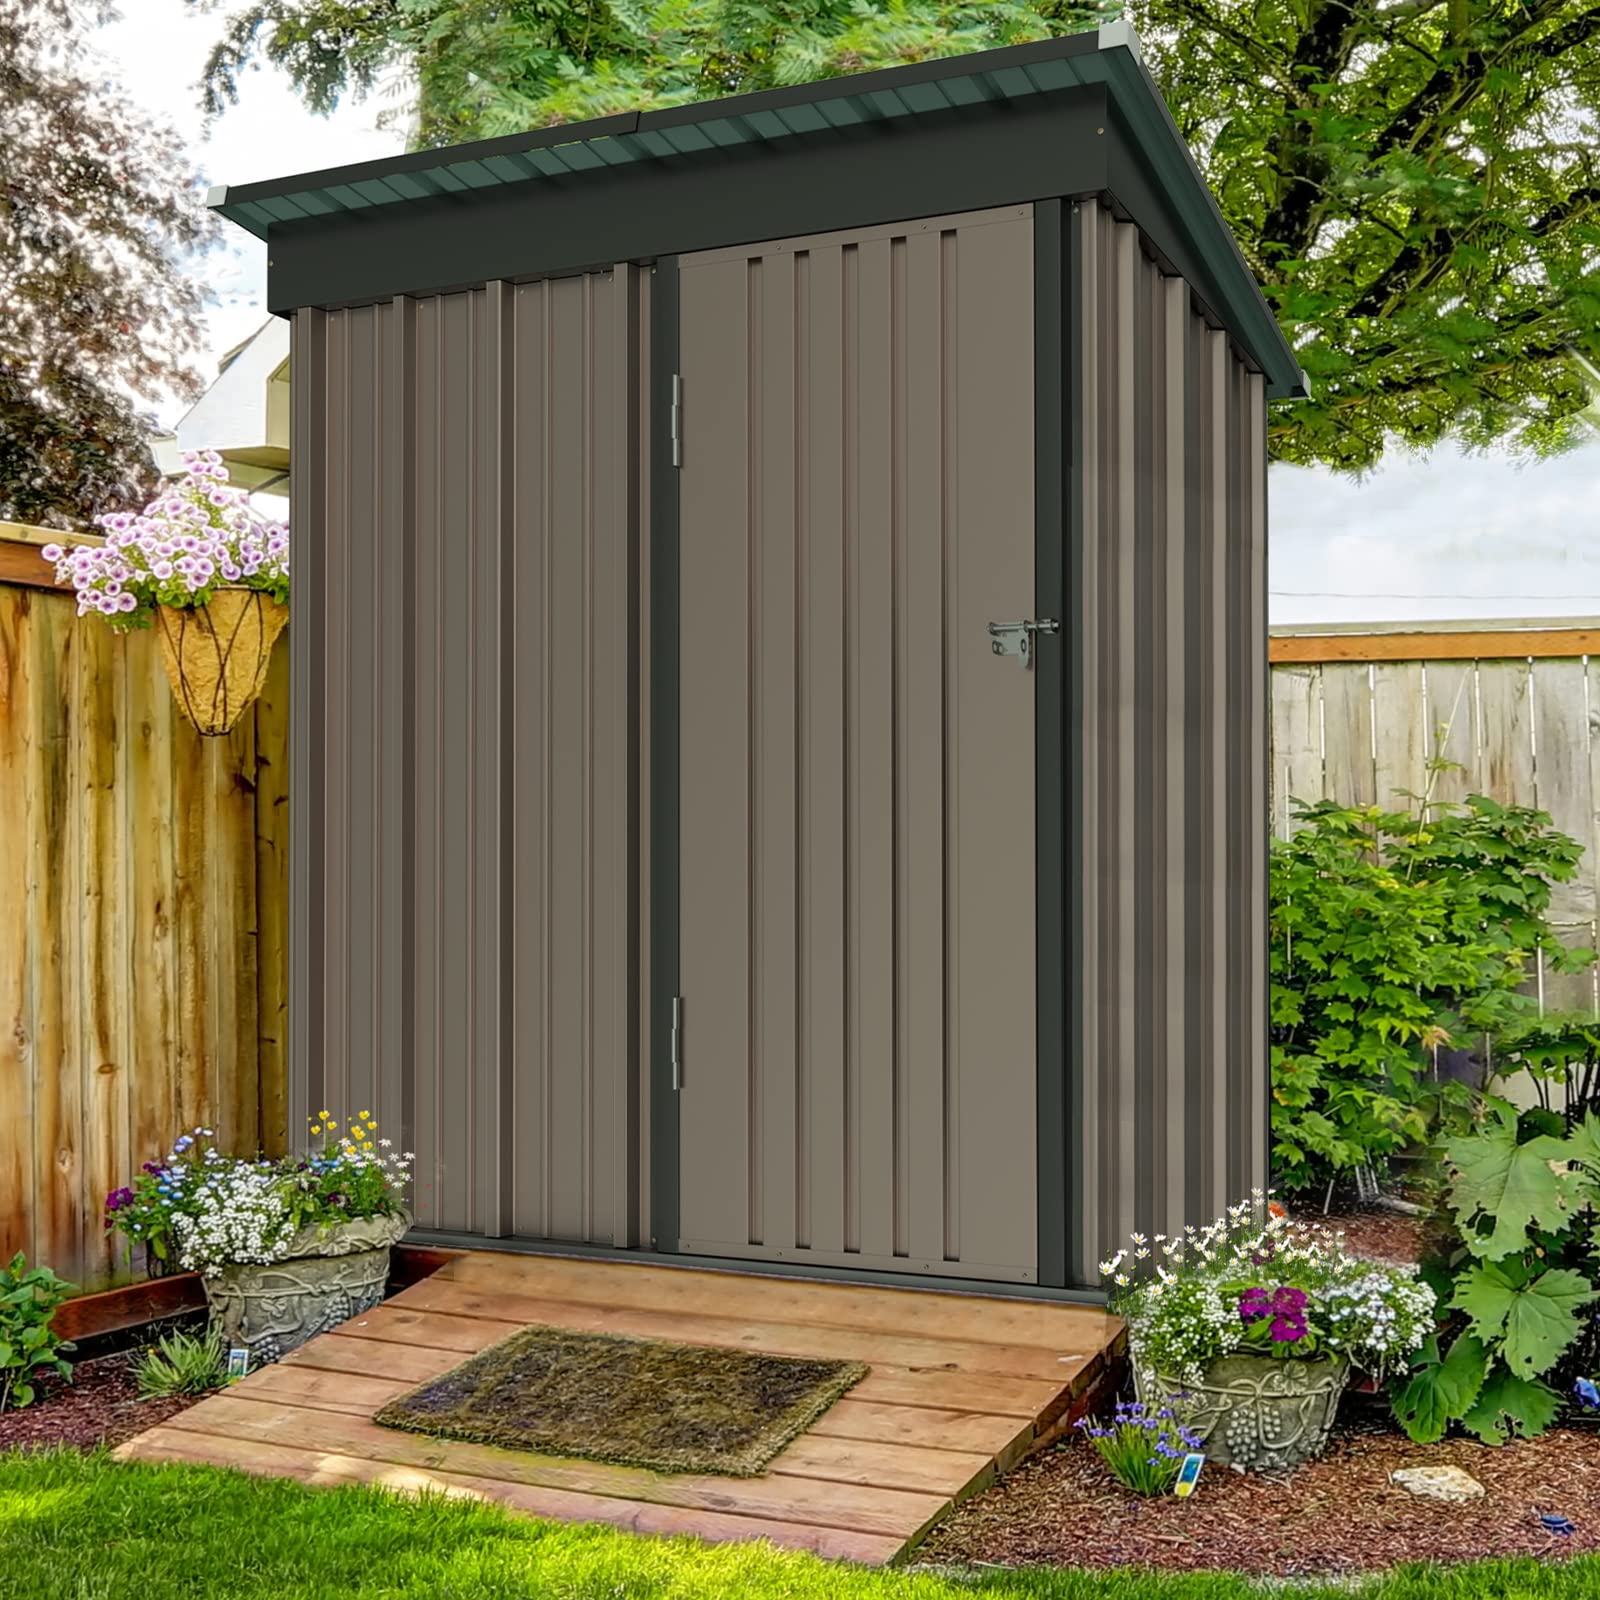
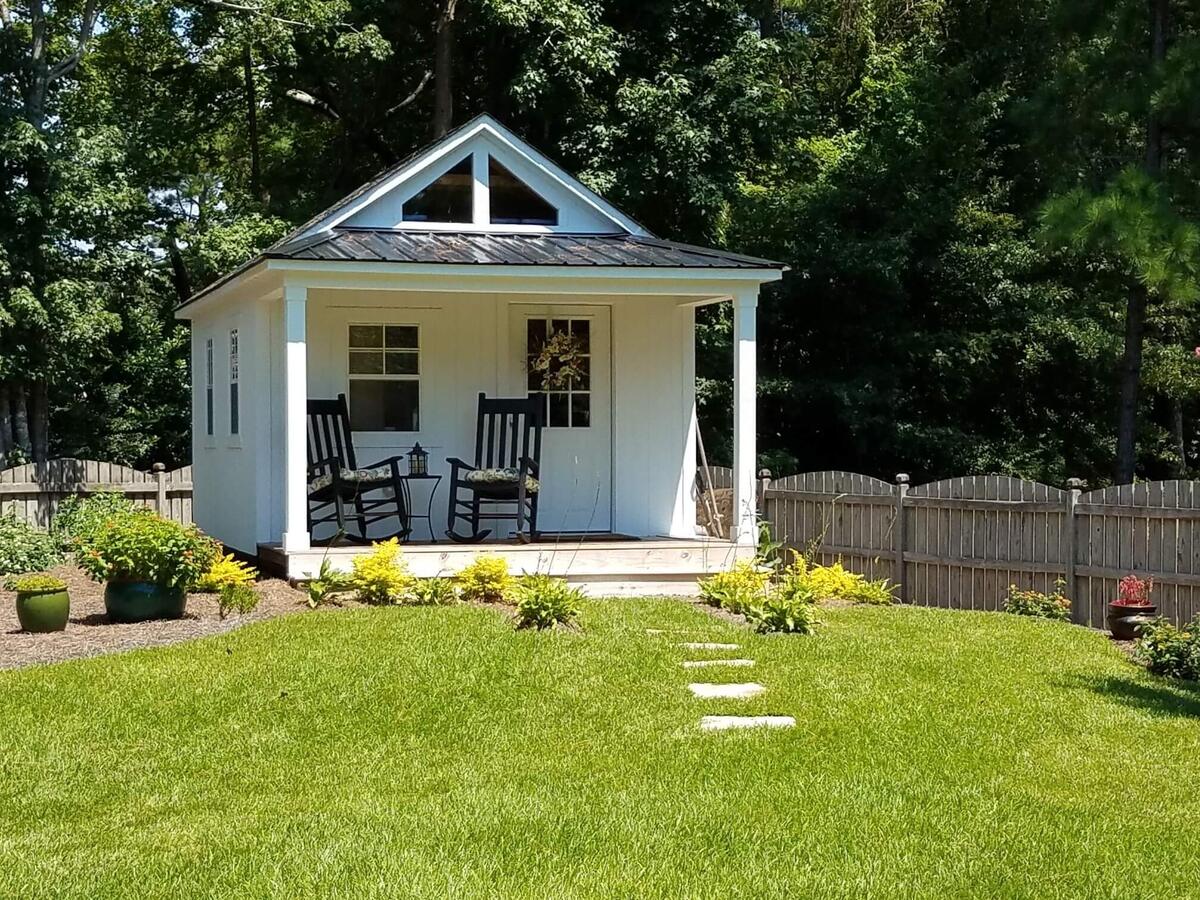
Building a shed is an exciting project that can add valuable storage space to your property. However, before you start assembling the shed, it is crucial to construct a solid and stable foundation. A well-built foundation not only ensures the structural integrity of the shed but also protects it from moisture and shifting ground.
In this guide, we will take you through the step-by-step process of creating a foundation for your shed. Whether you are a seasoned DIY enthusiast or a beginner, following these instructions will help you lay a strong groundwork for your shed construction project.
Before you dive into the details, it’s important to note that the foundation type you choose will depend on several factors, including the size and weight of your shed, the climate in your region, and the stability of the soil. We will provide general guidelines that can be adapted to suit your specific needs.
Without further ado, let’s get started on creating a solid foundation for your shed!
Key Takeaways:
- Building a shed foundation requires careful planning and attention to detail. From clearing the ground to anchoring the foundation, each step plays a vital role in creating a solid base that will support your shed for years to come.
- Properly compacting the foundation and framing it provide additional stability, while anchoring the foundation secures it against external forces. By following the step-by-step process outlined in this guide, you can create a sturdy and reliable base that will support your shed and meet your storage needs for the foreseeable future.
Read more: How To Level A Shed Foundation
Step 1: Clearing the Ground
Before you begin building your shed foundation, it’s essential to clear the ground area where the shed will be placed. Clearing the ground involves removing any vegetation, rocks, or debris that may interfere with the construction process or affect the stability of the foundation.
Here are the steps to clear the ground:
- Start by marking the area where your shed will be located. Use stakes and string to define the perimeter and ensure that it’s in the desired location.
- Remove any plants or grass within the marked area. You can use a shovel, mattock, or a sod cutter to effectively remove the vegetation.
- Inspect the ground for rocks, roots, or other obstructions. Clear any obstacles that could hinder the construction process or cause unevenness in the foundation.
- If the ground is uneven, you might need to level it. You can use a rake or a shovel to distribute soil and create a more even surface. It’s important to ensure that the ground is level before proceeding to the next step.
By clearing the ground properly, you can ensure that the foundation will be built on a clean and level surface, allowing for a more stable and secure structure. Taking the time to clear the ground properly at the beginning of the project will save you future headaches and ensure a successful shed construction.
Step 2: Measuring and Marking
Once you have cleared the ground, the next step in building a shed foundation is to measure and mark the dimensions of the foundation area. Accurate measurements and markings are crucial to ensure that the foundation is properly aligned and fits the shed dimensions.
Follow these steps to measure and mark the foundation area:
- Refer to the shed’s instructions or plans to determine the exact size and dimensions of the foundation needed.
- Using a measuring tape, measure out the length and width of the foundation area on the cleared ground. Mark the corners with stakes or paint to visually define the foundation perimeter.
- Check the squareness of the foundation by measuring the diagonals. The measurements should be equal if the foundation is perfectly square.
- Once you are satisfied with the dimensions and squareness, recheck the markings to ensure they are clear and accurate.
Taking the time to precisely measure and mark the foundation area will prevent any misalignments or errors during the construction process. It will also ensure that your shed fits perfectly on the foundation without any issues.
Step 3: Excavating the Foundation Area
With the foundation area marked, it’s time to start excavating the ground to create a space for the foundation. Excavation involves digging out the soil to a certain depth, depending on the type of foundation you are constructing.
Follow these steps to excavate the foundation area:
- Before digging, make sure you are aware of any underground utilities, such as water pipes or electrical cables. Contact your local utility company to mark the location of these utilities to avoid any accidents.
- Using a shovel or an excavator, start digging within the marked area. The depth of the excavation will depend on the type of foundation you are building. For example, a concrete slab foundation may require a deeper excavation than a gravel or paver foundation.
- As you excavate, check the depth regularly using a measuring tool to ensure that you are reaching the desired depth.
- Remove any loose soil, rocks, or debris from the excavation area. You can use a wheelbarrow or buckets to transport the excavated material away from the site.
Excavating the foundation area is a crucial step in creating a strong and stable foundation for your shed. Take your time to ensure that the excavation is done correctly, with the proper depth and a level base. This will ensure that your foundation is solid and capable of supporting the weight of the shed.
Step 4: Leveling the Ground
After excavating the foundation area, the next step is to level the ground. Leveling the ground is essential to ensure that the foundation sits on a flat, even surface. This helps prevent any potential shifting or settling of the shed over time.
Follow these steps to level the ground:
- Start by removing any large rocks, roots, or uneven soil that may be present in the excavation area. Use a shovel or a rake to smooth out the surface.
- Using a long, straight board (such as a level or a screed), check the levelness of the ground. Place the board across the excavation area and see if it sits level or if there are any low or high spots.
- If you notice any low areas, fill them in with additional soil and compact it using a tamper or a compacting tool. Repeat this process until the ground is level.
- Check the levelness again using the straight board, adjusting as needed until the ground is completely level.
Leveling the ground is important to ensure the stability and integrity of the shed foundation. By creating a level surface, you minimize the risk of the shed settling or leaning over time. This step is especially crucial if you are using a concrete or paver foundation, where an uneven base can lead to structural issues.
Read more: What Is The Best Foundation For A Shed
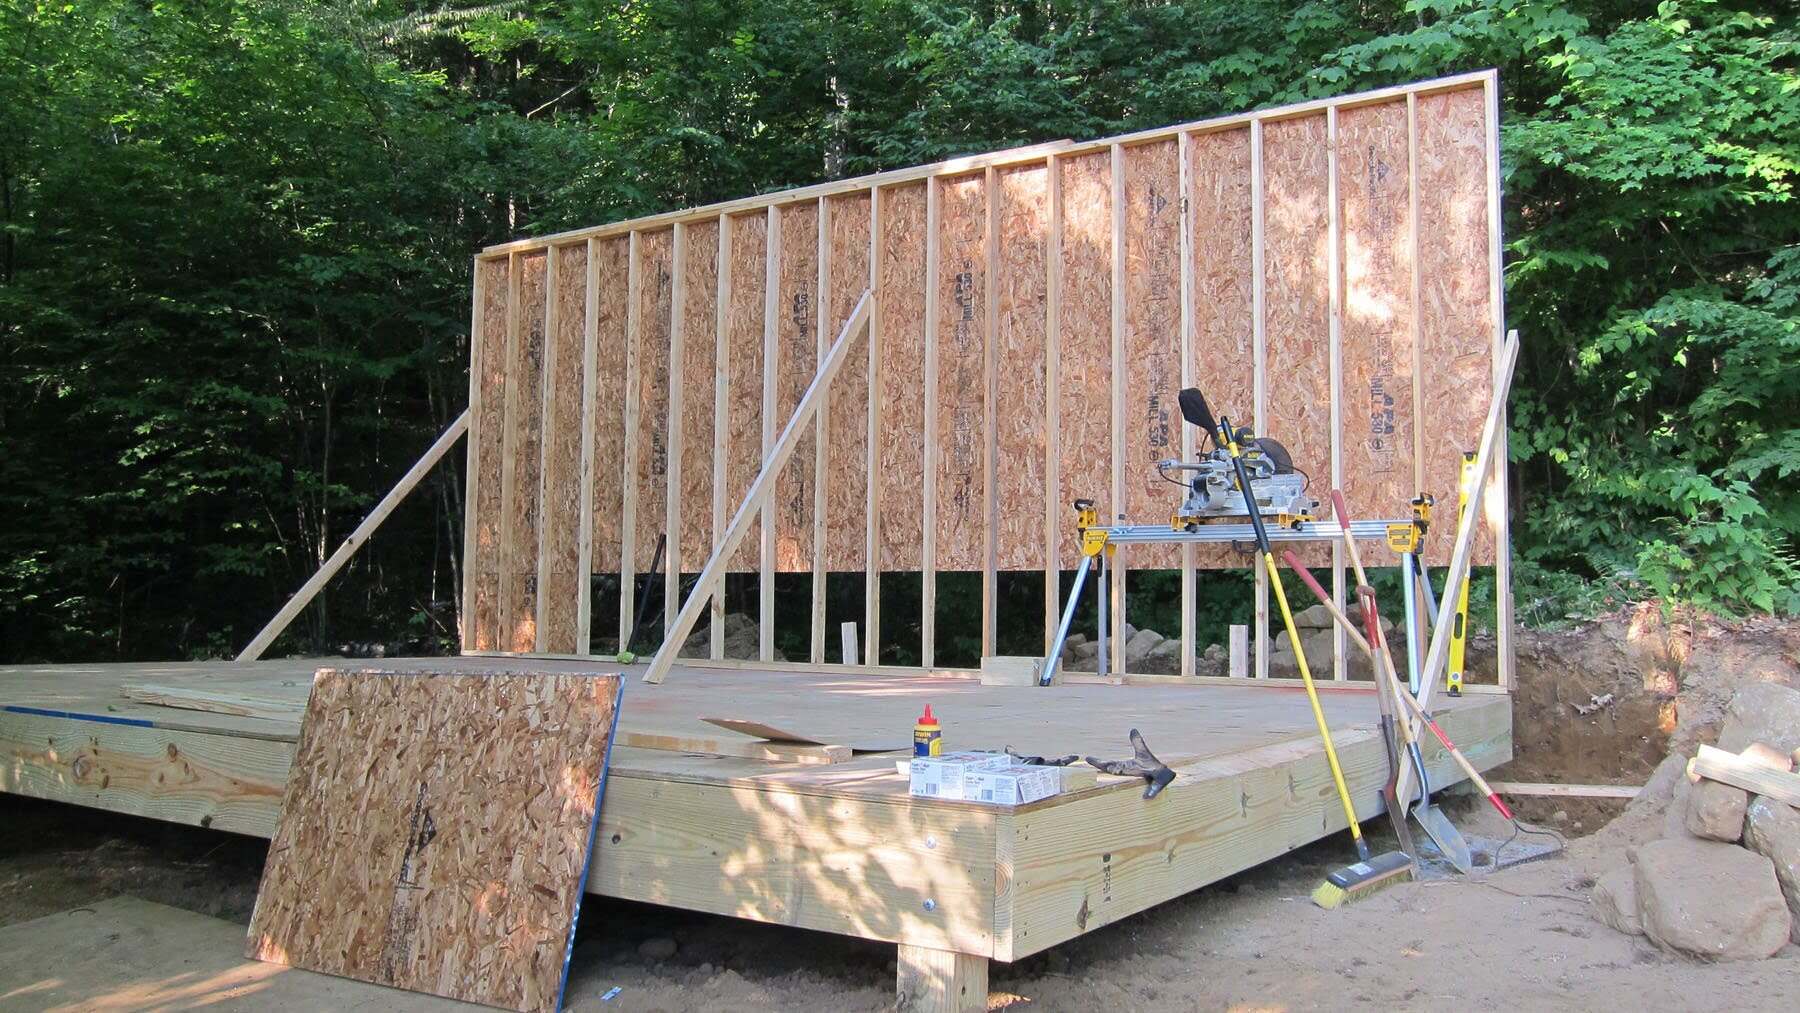
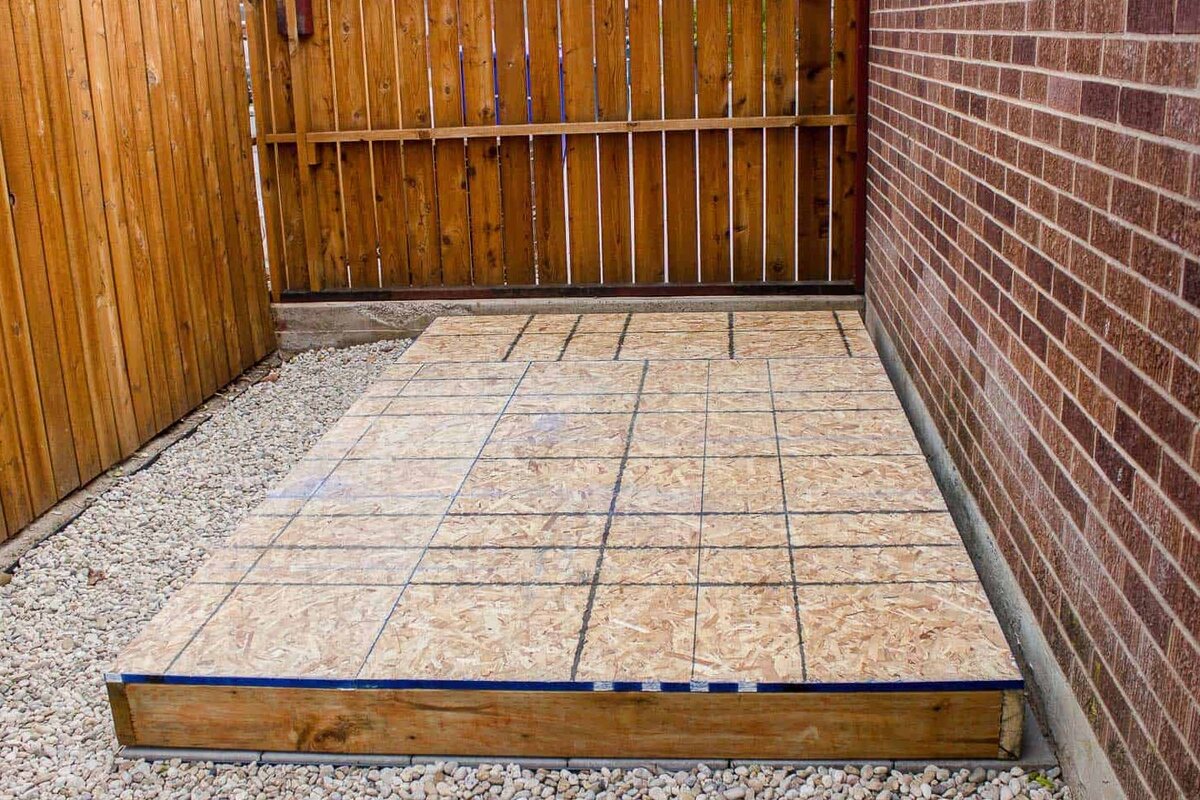
Step 5: Laying the Base Layer
After leveling the ground, it’s time to lay the base layer for your shed foundation. The base layer provides additional support and helps to prevent shifting or sinking of the shed over time. The type of base layer you choose will depend on the specific requirements of your shed and the soil conditions in your area.
Follow these steps to lay the base layer:
- If you are using a concrete foundation, you will need to create a formwork to hold the concrete in place. Measure and cut wooden boards or use pre-made formwork to create a barrier around the foundation area.
- For gravel or paver foundations, skip the formwork step and proceed to the next step.
- Spread a layer of crushed gravel or compacted crushed rock over the leveled ground within the formwork or foundation area. The thickness of the base layer will depend on the type of foundation you are constructing and the recommendations provided by the shed manufacturer.
- Using a rake or a shovel, spread and level the gravel evenly to create a smooth and uniform surface.
- If you are using precast concrete pavers for the base layer, lay them in a staggered pattern over the gravel. Make sure they are tightly spaced and level with each other.
- For a concrete foundation, follow the manufacturer’s instructions for mixing and pouring the concrete into the formwork. Smooth the surface using a trowel or a float.
The base layer provides a stable and solid foundation for your shed. Ensure that the thickness and composition of the base layer are suitable for the type of foundation you are constructing. This will help to distribute the weight of the shed evenly and prevent any potential sinking or shifting in the future.
When making a foundation for a shed, ensure the ground is level and use pressure-treated lumber for the frame to prevent rot and decay.
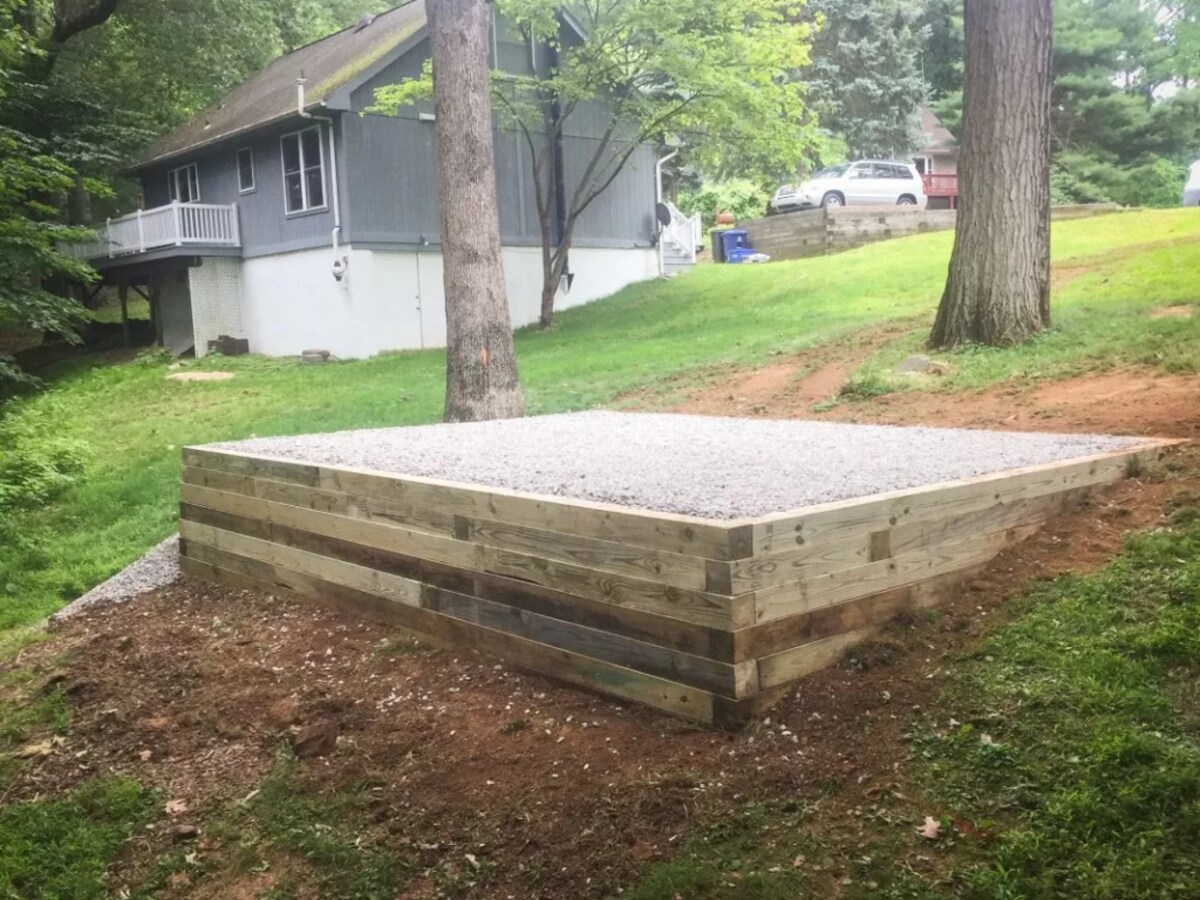
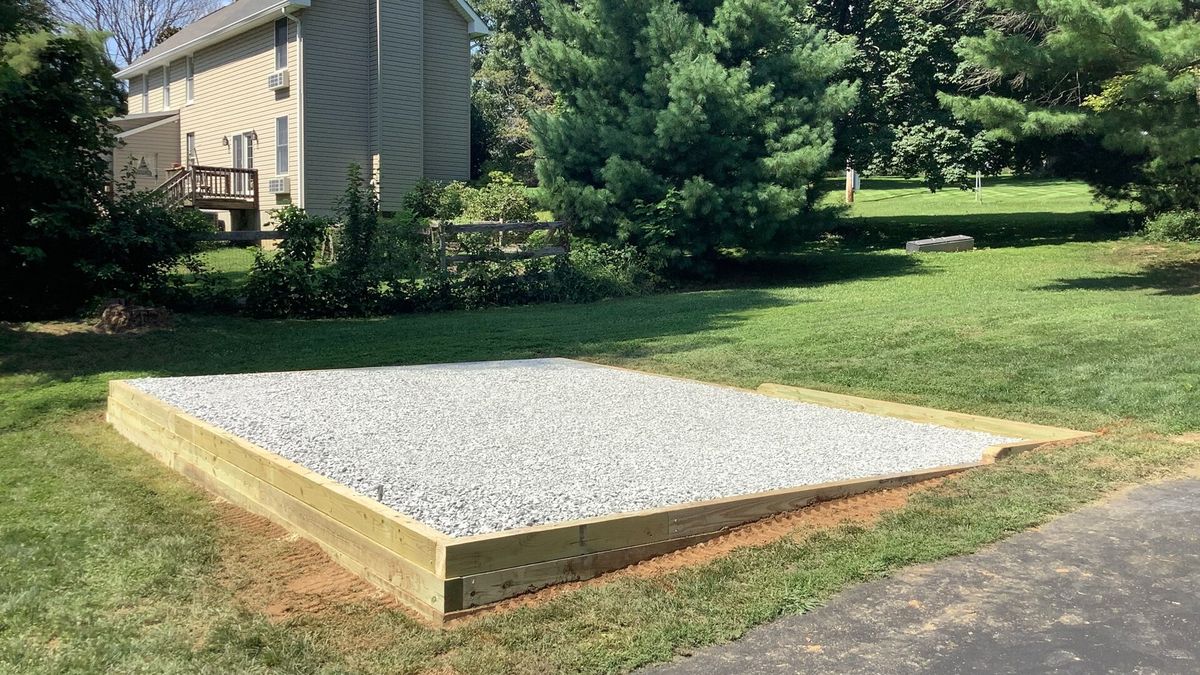
Step 6: Adding Gravel
Once the base layer is in place, the next step is to add a layer of gravel to further enhance the stability and drainage of your shed foundation. Adding gravel helps to improve the load-bearing capacity and prevents water from pooling around the foundation.
Follow these steps to add gravel to your shed foundation:
- Ensure that the base layer is level and free from any debris or uneven areas.
- Measure and calculate the amount of gravel needed based on the dimensions of your foundation. Consider a thickness of at least 2-4 inches for proper drainage and support.
- Spread the gravel evenly over the entire foundation area, starting from one corner and working your way across. Use a rake or shovel to distribute the gravel and create a smooth, level surface.
- Use a tamper or a compacting tool to compact the gravel layer. This will help to increase its stability and prevent settling.
- Check the levelness of the gravel layer using a level or straight board. Make any necessary adjustments to ensure an even surface.
Adding gravel to your shed foundation provides additional support and drainage capabilities. It helps to distribute the weight of the shed evenly while allowing water to flow away from the foundation, reducing the risk of soil erosion and moisture-related issues.
Note that the specific type and size of gravel may vary based on local availability and the recommendations of shed manufacturers. Consider using crushed stone or pea gravel for optimal results.
Step 7: Compacting the Foundation
After adding the gravel layer, it is crucial to compact the foundation to ensure stability and prevent future settling of your shed. Compacting the foundation helps to increase its density, reduce air pockets, and create a solid base for your shed.
Follow these steps to compact the foundation:
- Start by moistening the gravel layer slightly. This will help the particles bind together more effectively during the compaction process.
- Using a plate compactor or a hand tamper, apply downward pressure and compress the gravel layer. Start from the edges and work your way towards the center, making multiple passes over the entire foundation area.
- Ensure that each pass overlaps the previous one to achieve uniform compaction. Pay extra attention to corners and edges, as these areas are prone to weak spots.
- Continue compacting until the gravel layer feels firm and doesn’t shift under pressure. This indicates that the foundation is adequately compacted.
- Check the levelness of the foundation using a straight board or level. Make any necessary adjustments to ensure a flat and even surface.
Compacting the foundation is a crucial step that ensures the long-term stability of your shed. It reduces the risk of settling and unevenness, providing a solid and durable base for your shed construction. Take your time during this step, as proper compaction will significantly contribute to the overall integrity and longevity of your shed foundation.
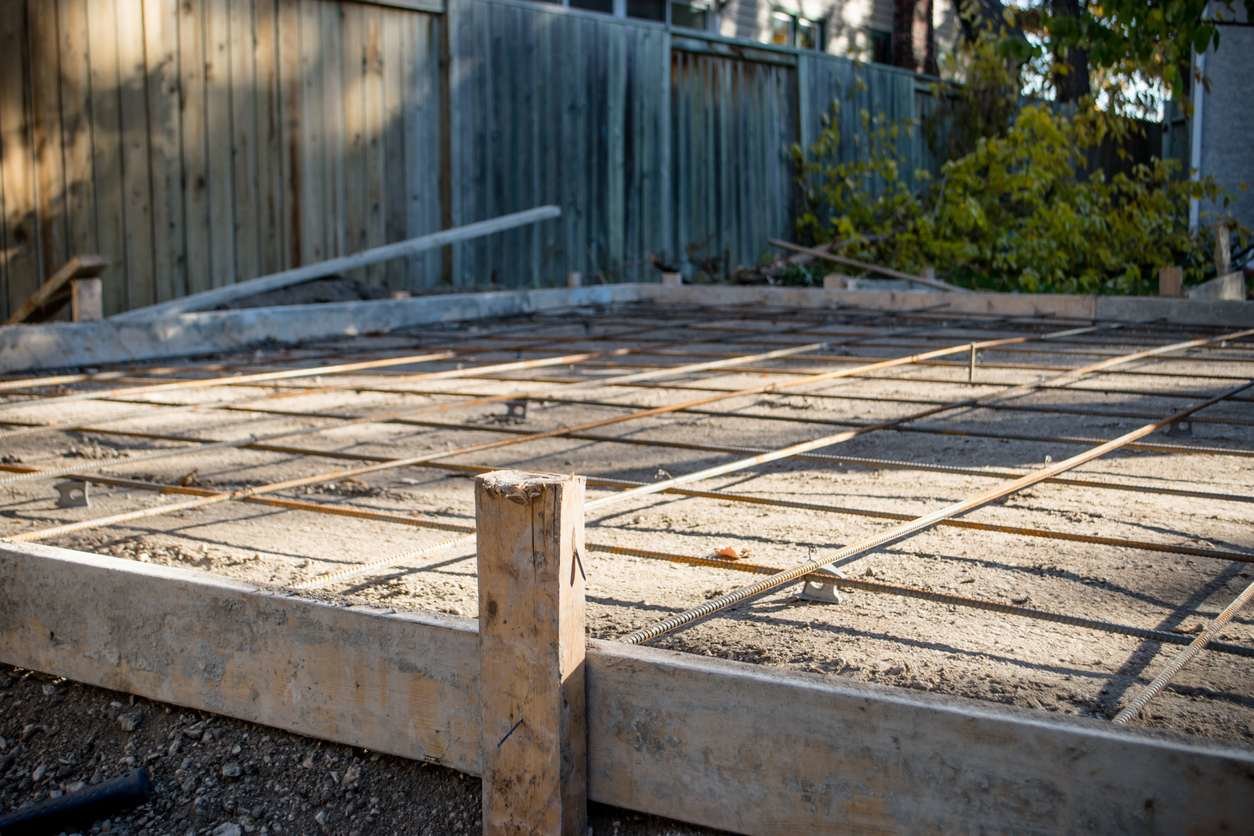
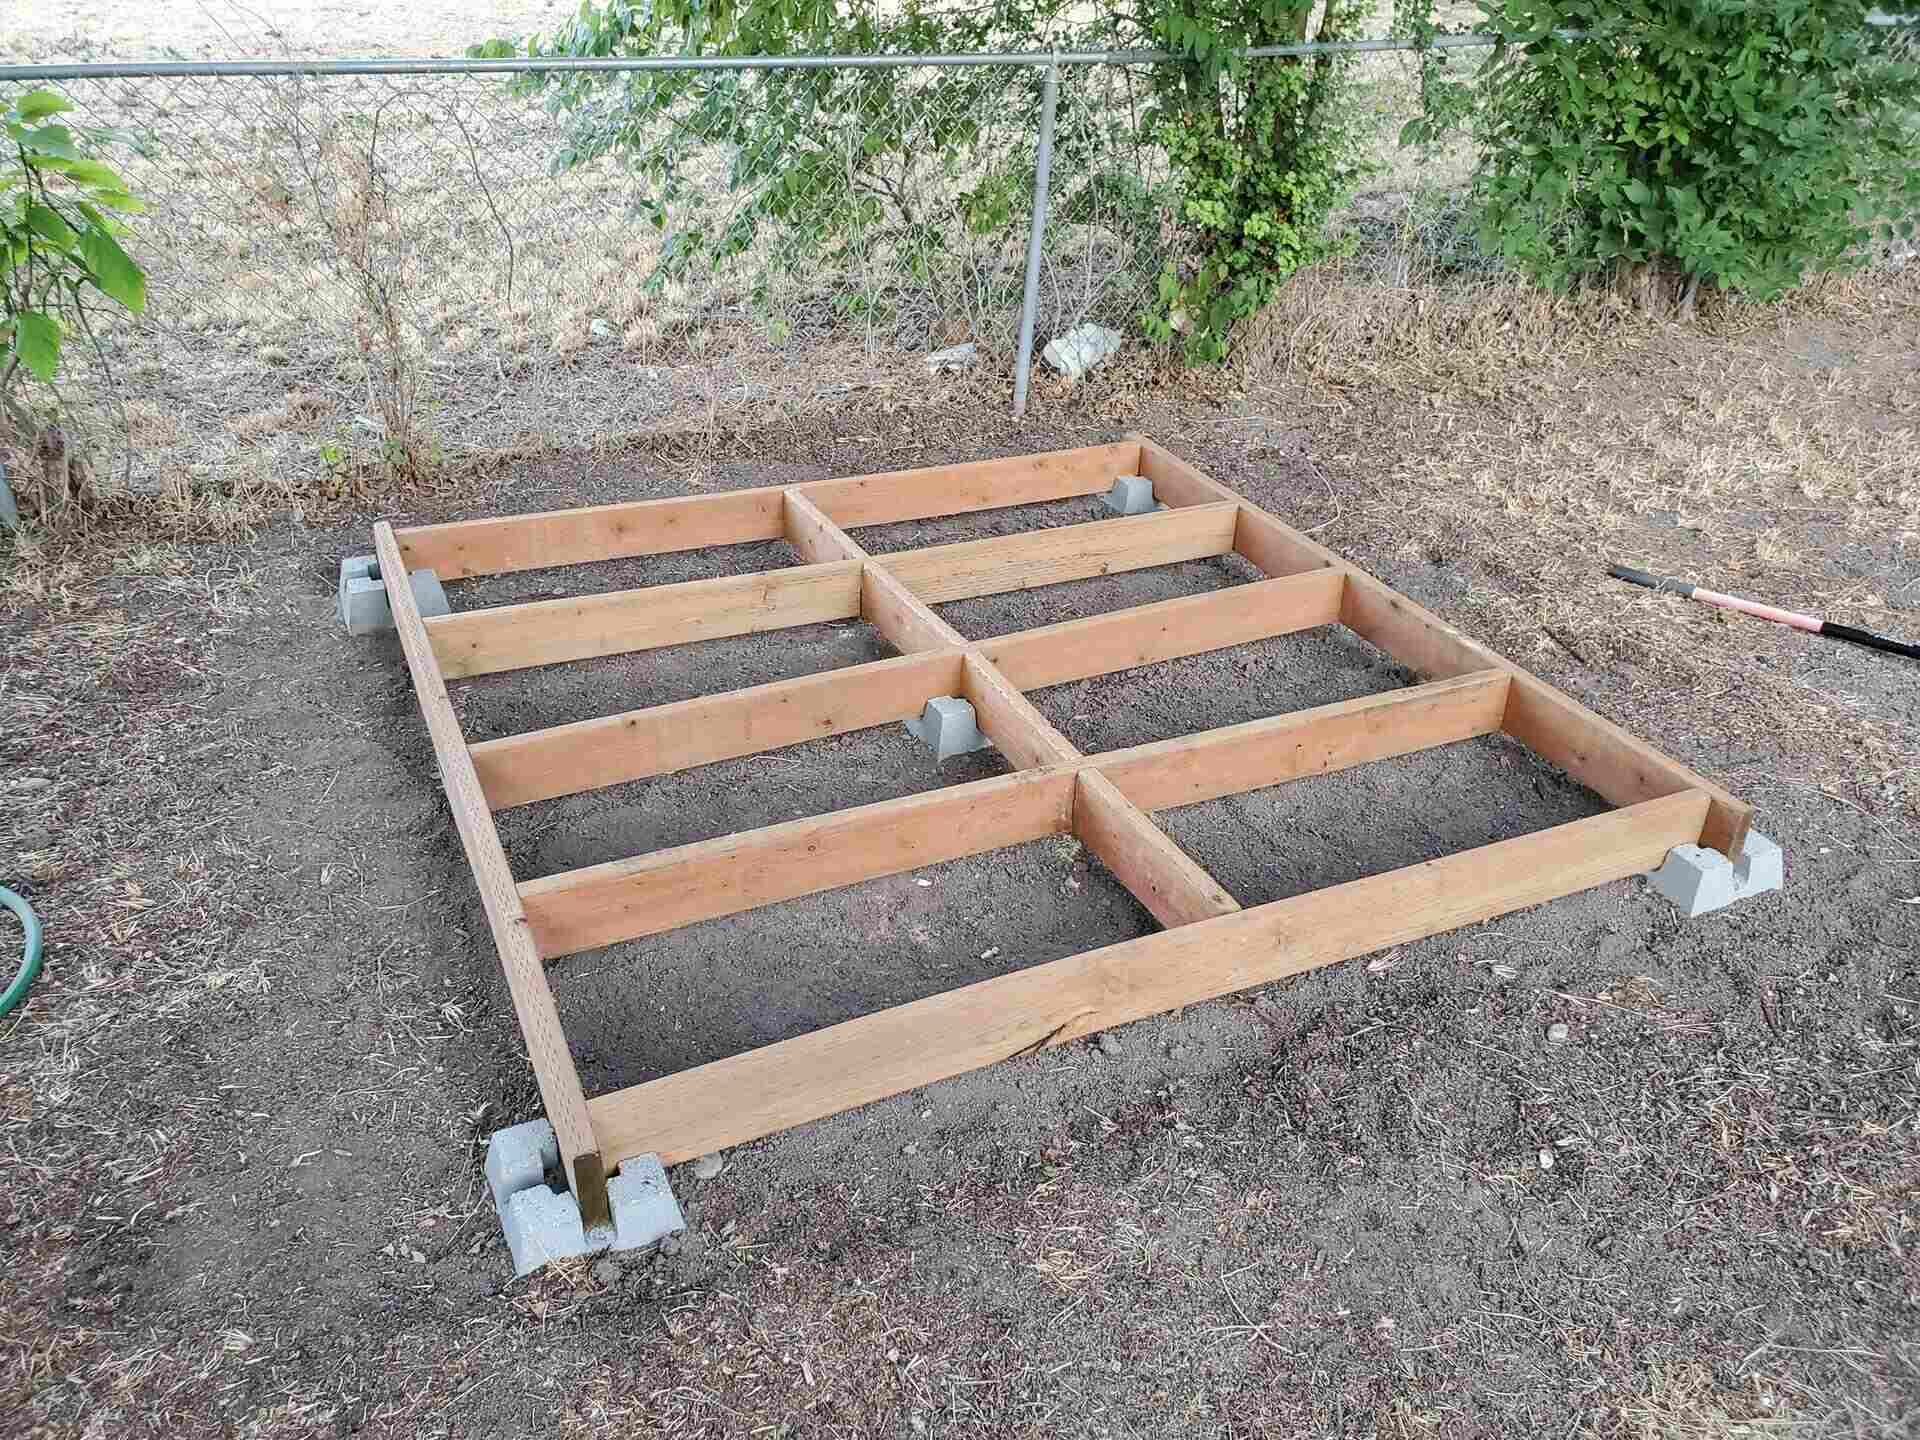
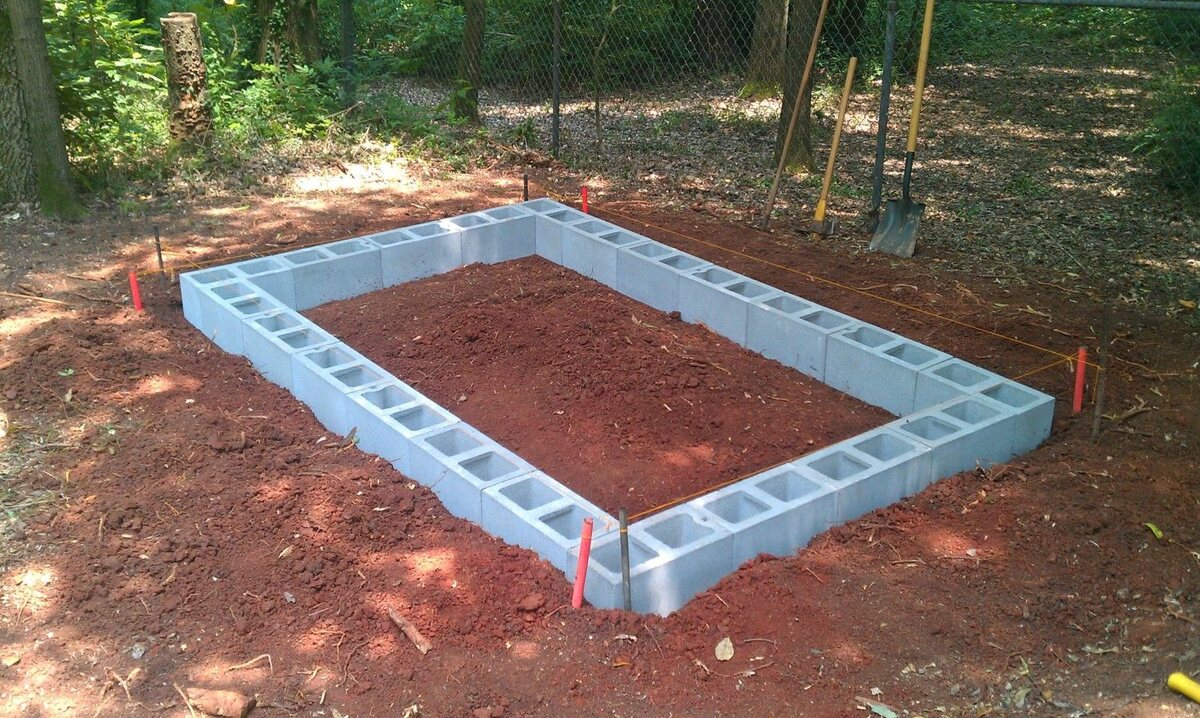
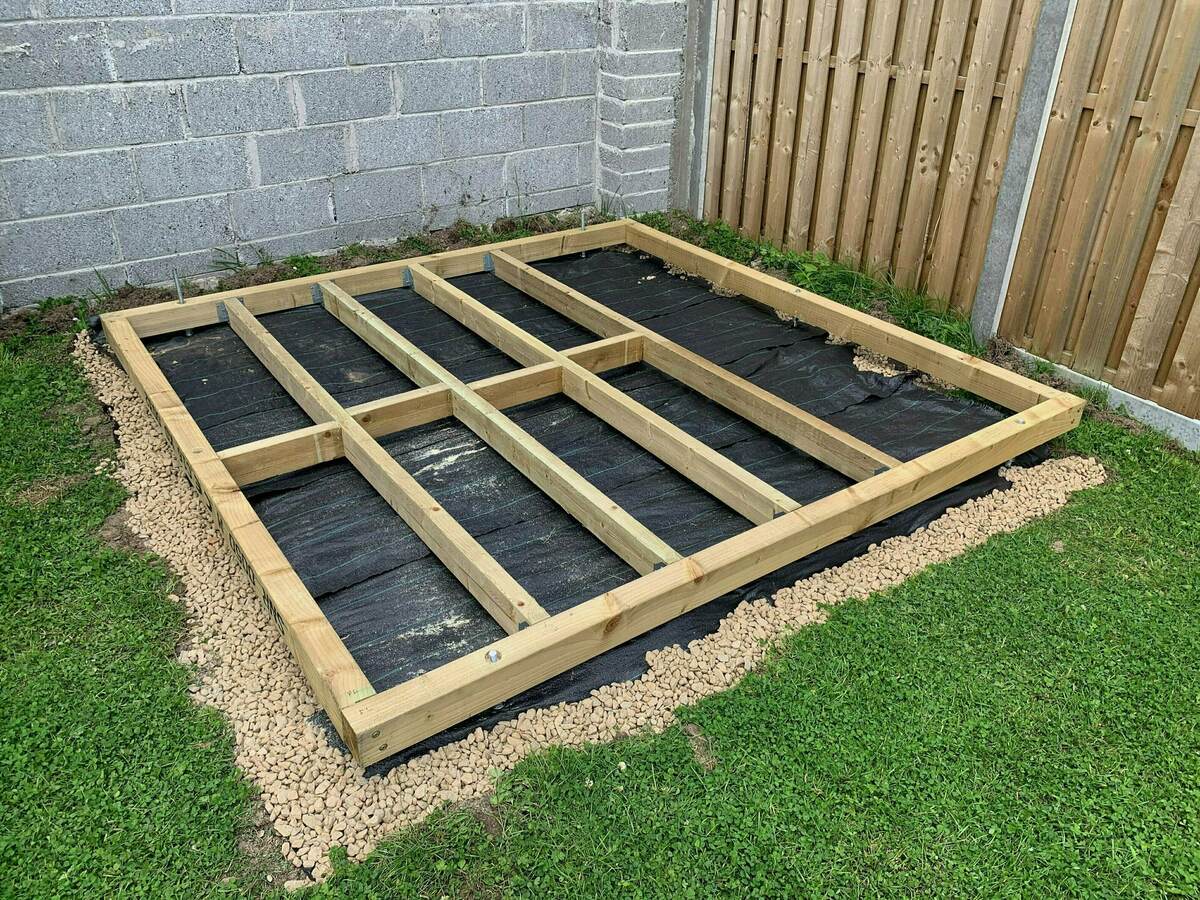
Step 8: Framing the Foundation
Once the foundation is compacted and level, the next step is to frame the foundation. Framing involves creating a boundary or perimeter for the foundation to provide additional support and stability for your shed.
Follow these steps to frame the foundation:
- Decide on the type of framing material that suits your needs and preferences. Common options include pressure-treated wood, steel, or concrete blocks.
- Measure and cut the framing material to the appropriate length and height. The length should match the dimensions of your shed, while the height should be slightly above the ground level to provide clearance.
- Position the framing material around the perimeter of the foundation, ensuring it aligns with the markings and sits firmly on the compacted base layer.
- Secure the framing material in place using nails, screws, or appropriate fasteners. Make sure the corners are properly aligned and the framing is level.
- Check the stability and alignment of the framing by applying gentle pressure or using a level or straight board. Make any necessary adjustments to ensure a solid and even frame.
Framing the foundation adds structural support to your shed and helps define the boundaries of the construction. It provides a secure framework for attaching the shed components and prevents any potential shifting or movement of the structure.
Ensure that the framing material is durable and treated to resist moisture, rot, and pests. This will ensure the longevity of your shed foundation and ultimately your entire shed structure.
Read more: How Many Piers For Shed Foundation
Step 9: Anchoring the Foundation
The final step in building a shed foundation is to anchor it securely to the ground. Anchoring the foundation helps to stabilize the shed and prevent it from being lifted or shifted by strong winds or ground movement.
Follow these steps to anchor the foundation:
- Choose the appropriate anchoring method based on the type of foundation and the recommendations of shed manufacturers. Common anchoring options include ground anchors, concrete anchors, or anchor straps.
- Mark the locations for the anchors around the perimeter of the foundation. Typically, anchors should be placed near each corner and evenly spaced along the sides.
- Follow the manufacturer’s instructions to install the anchors securely into the ground or attach them to the foundation material.
- Once the anchors are in place, attach them to the framing of the shed foundation using appropriate hardware, such as bolts or straps.
- Tighten the anchor connections to ensure a secure and snug fit. Check the stability of the foundation by applying gentle pressure or pulling on the shed frame.
Anchoring the foundation is essential for ensuring the safety and stability of your shed, especially in areas prone to high winds or seismic activity. It provides additional resistance against external forces and helps to maintain the integrity of the structure over time.
Always follow the manufacturer’s recommendations for anchoring methods specific to your shed model. This will ensure that your shed foundation is properly secured and ready to withstand various environmental conditions.
Conclusion
Building a strong and stable foundation for your shed is a crucial step in ensuring its longevity and functionality. By following the step-by-step process outlined in this guide, you can create a solid base that will support your shed for years to come.
From clearing the ground and measuring the dimensions to excavating, leveling, and adding gravel, each step plays a vital role in creating a foundation that can withstand the test of time. Compacting the foundation and framing it provide additional stability, while anchoring the foundation secures it against external forces.
Remember that the specific requirements for your shed foundation may vary based on the shed size, local climate, and soil conditions in your area. Always refer to the manufacturer’s instructions and recommendations to ensure the foundation meets the necessary standards.
While constructing a shed foundation may require time and effort, it is an investment that will pay off in the long run. A properly built foundation provides a solid and secure base for your shed, protecting it from moisture, ground movement, and other potential issues. It also ensures that your shed remains structurally sound, allowing you to utilize it for storage, hobbies, or other purposes for many years to come.
So, gather your tools, follow the steps outlined in this guide, and start building a strong foundation for your shed. With careful planning and attention to detail, you can create a sturdy and reliable base that will support your shed and meet your storage needs for the foreseeable future.
Frequently Asked Questions about How To Make A Foundation For A Shed
Was this page helpful?
At Storables.com, we guarantee accurate and reliable information. Our content, validated by Expert Board Contributors, is crafted following stringent Editorial Policies. We're committed to providing you with well-researched, expert-backed insights for all your informational needs.

0 thoughts on “How To Make A Foundation For A Shed”