Home>Gardening & Outdoor>Outdoor Structures>How To Make An Indoor Awning Window Treatment

Outdoor Structures
How To Make An Indoor Awning Window Treatment
Modified: April 1, 2024
Learn how to create a stylish indoor awning window treatment to enhance your outdoor structures. Discover creative ideas and step-by-step guides for a charming and functional addition to your home.
(Many of the links in this article redirect to a specific reviewed product. Your purchase of these products through affiliate links helps to generate commission for Storables.com, at no extra cost. Learn more)
Introduction
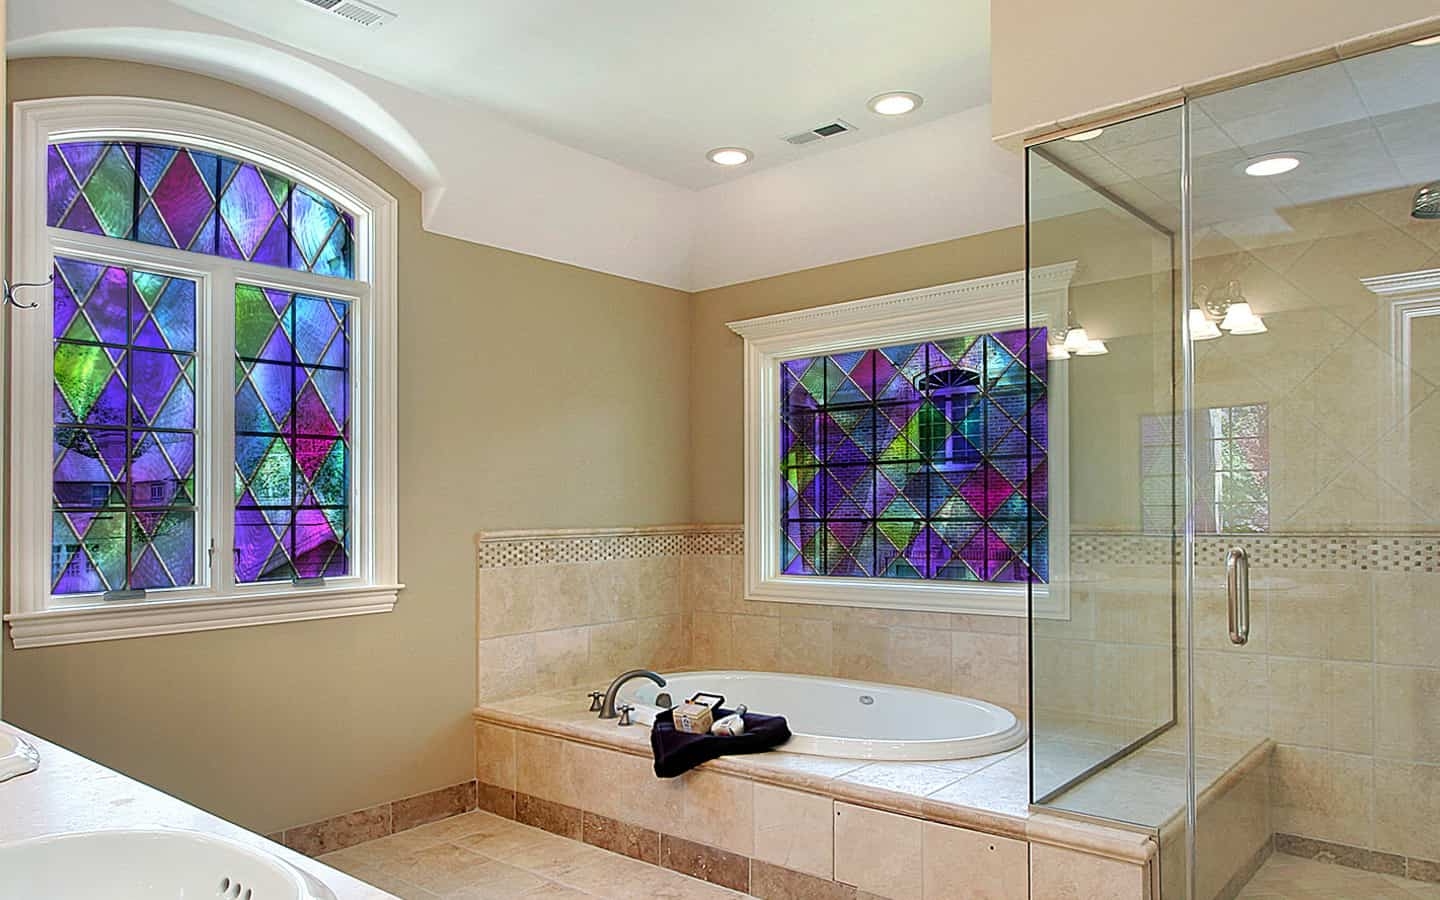
An indoor awning window treatment can add a touch of charm and elegance to any room. Whether you're aiming for a cozy cottage feel or a vintage-inspired aesthetic, an indoor awning can transform the ambiance of your space. This DIY project allows you to showcase your creativity and craft a unique window treatment that perfectly complements your interior decor.
By crafting your own indoor awning, you have the freedom to select the fabric, colors, and patterns that align with your personal style. Additionally, this project provides an opportunity to infuse your living space with a custom-made accent that reflects your individuality.
Creating an indoor awning window treatment is not only a fun and rewarding endeavor but also a cost-effective way to enhance the visual appeal of your home. With the right materials and a bit of creativity, you can achieve a professional-looking result without breaking the bank.
In the following sections, we will delve into the step-by-step process of making an indoor awning window treatment. From selecting the perfect fabric to installing the finished product, this guide will equip you with the knowledge and skills needed to embark on this exciting DIY project. So, roll up your sleeves and get ready to embark on a creative journey as we explore the art of crafting an indoor awning window treatment.
Key Takeaways:
- Create a charming indoor awning with your favorite fabric to add a personalized touch to your space. Consider style, light needs, and durability when choosing the perfect fabric for your DIY project.
- Sew and install your custom-crafted indoor awning with precision and care to transform your living space. Add final touches like decorative accents and lighting to elevate the visual appeal and create a captivating window treatment.
Read more: What Is An Awning Window
Choosing the Right Fabric
The first step in creating an indoor awning window treatment is selecting the perfect fabric. The fabric you choose will set the tone for the entire project, influencing the overall look and feel of the finished awning. When it comes to choosing the right fabric, several factors should be taken into consideration to ensure a successful outcome.
Consider the Style and Ambiance
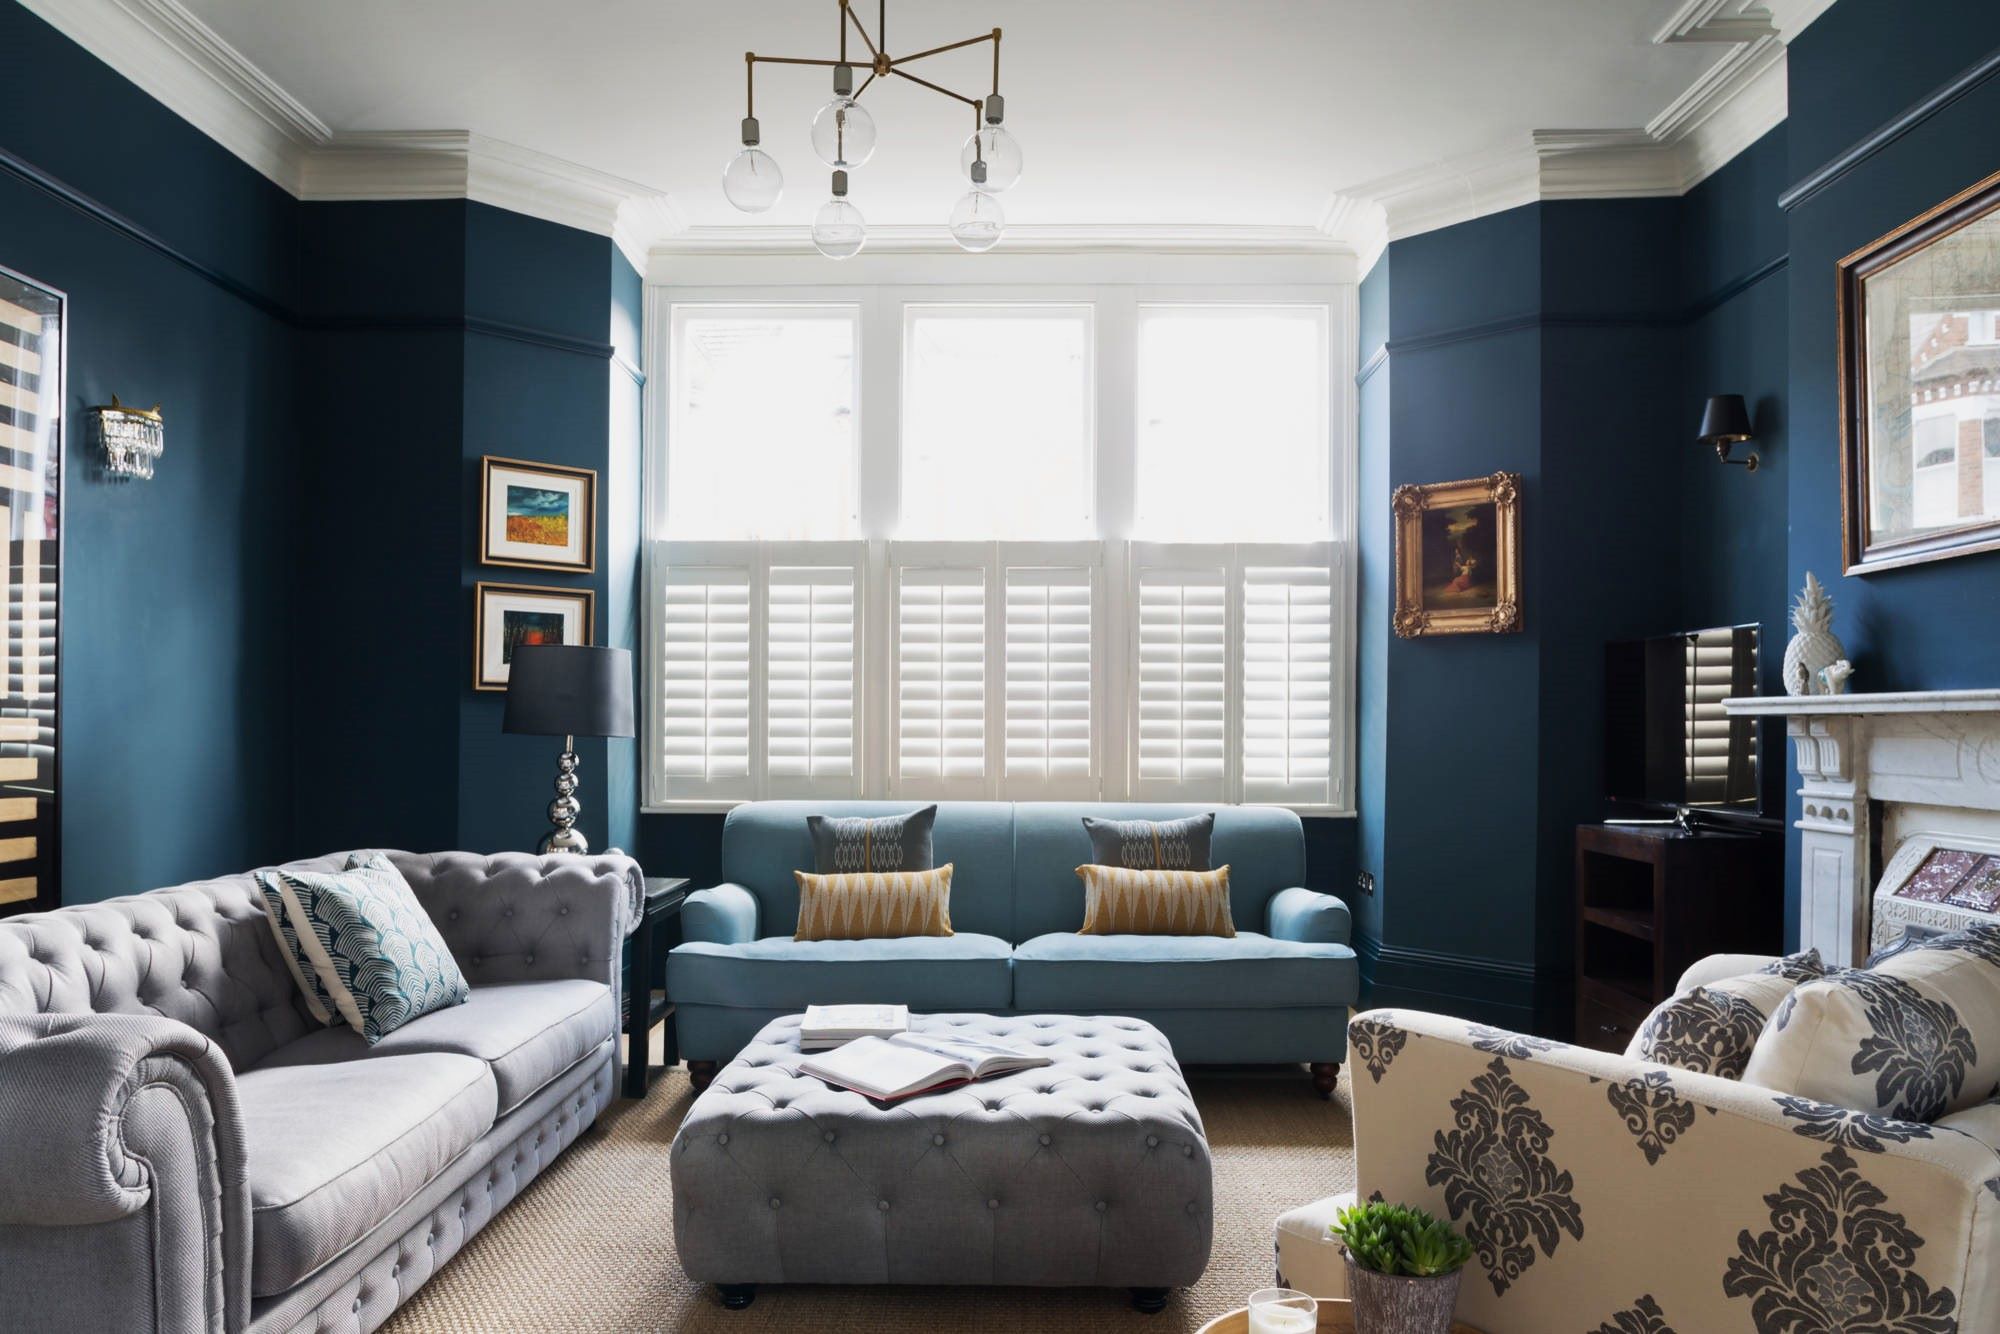
The fabric you select should harmonize with the existing decor and contribute to the desired ambiance of the room. For a cozy and rustic feel, consider opting for natural fabrics such as cotton or linen. These materials exude a warm and inviting vibe, making them ideal for creating a quaint and charming atmosphere. On the other hand, if you're aiming for a more refined and elegant look, luxurious fabrics like silk or velvet can add a touch of sophistication to the space.
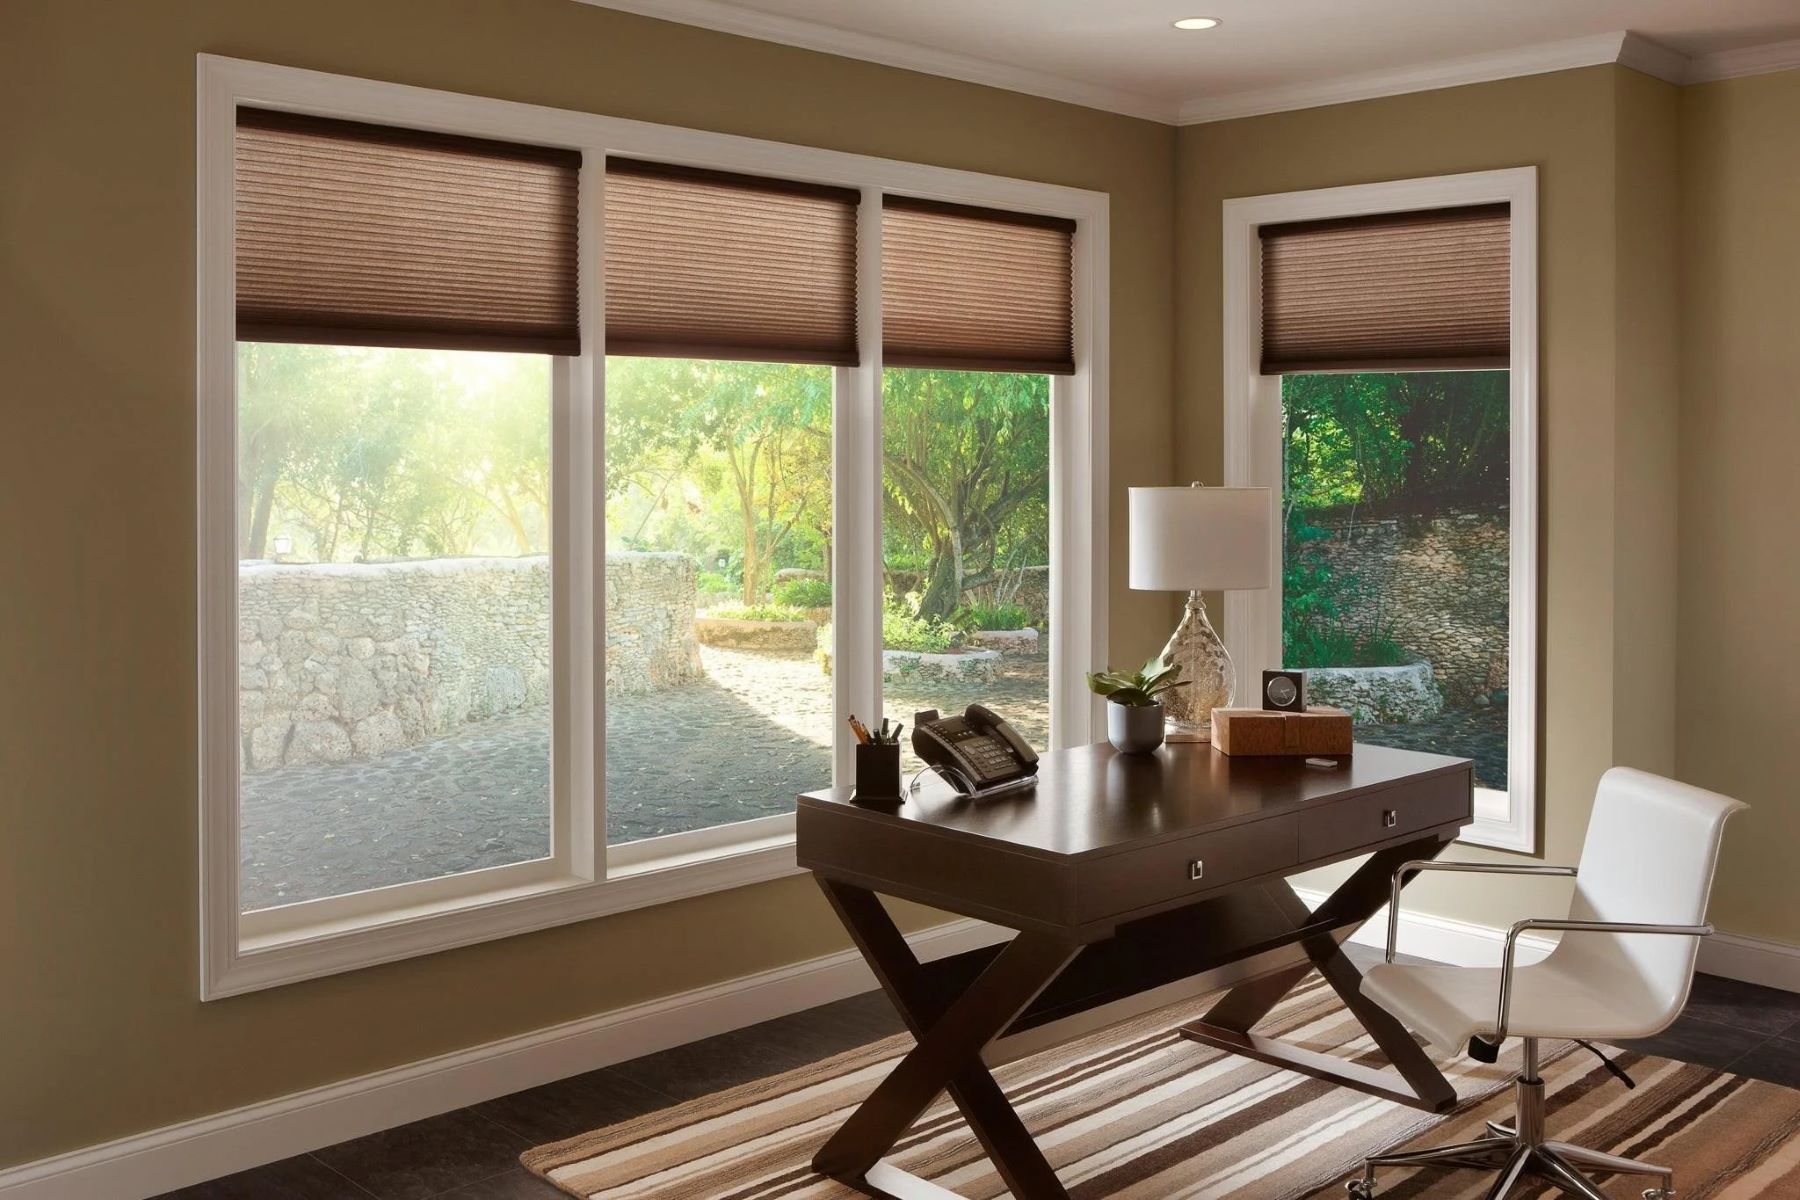
Evaluate Light and Privacy Needs
Another crucial aspect to consider is the level of light and privacy you wish to achieve with the awning. If you want to filter natural light while maintaining privacy, consider selecting a semi-sheer fabric that allows sunlight to gently illuminate the room. Alternatively, if privacy is not a concern and you want to maximize natural light, a lightweight and translucent fabric may be the perfect choice.
Assess Color and Pattern
The color and pattern of the fabric play a pivotal role in determining the visual impact of the awning. When choosing a color, take into account the existing color scheme of the room. Opt for a fabric that complements or contrasts with the surrounding decor to create a cohesive and visually appealing look. Additionally, consider the scale and style of the pattern. A bold, large-scale pattern can make a striking statement, while a subtle, understated pattern can add a touch of elegance without overwhelming the space.
Durability and Maintenance
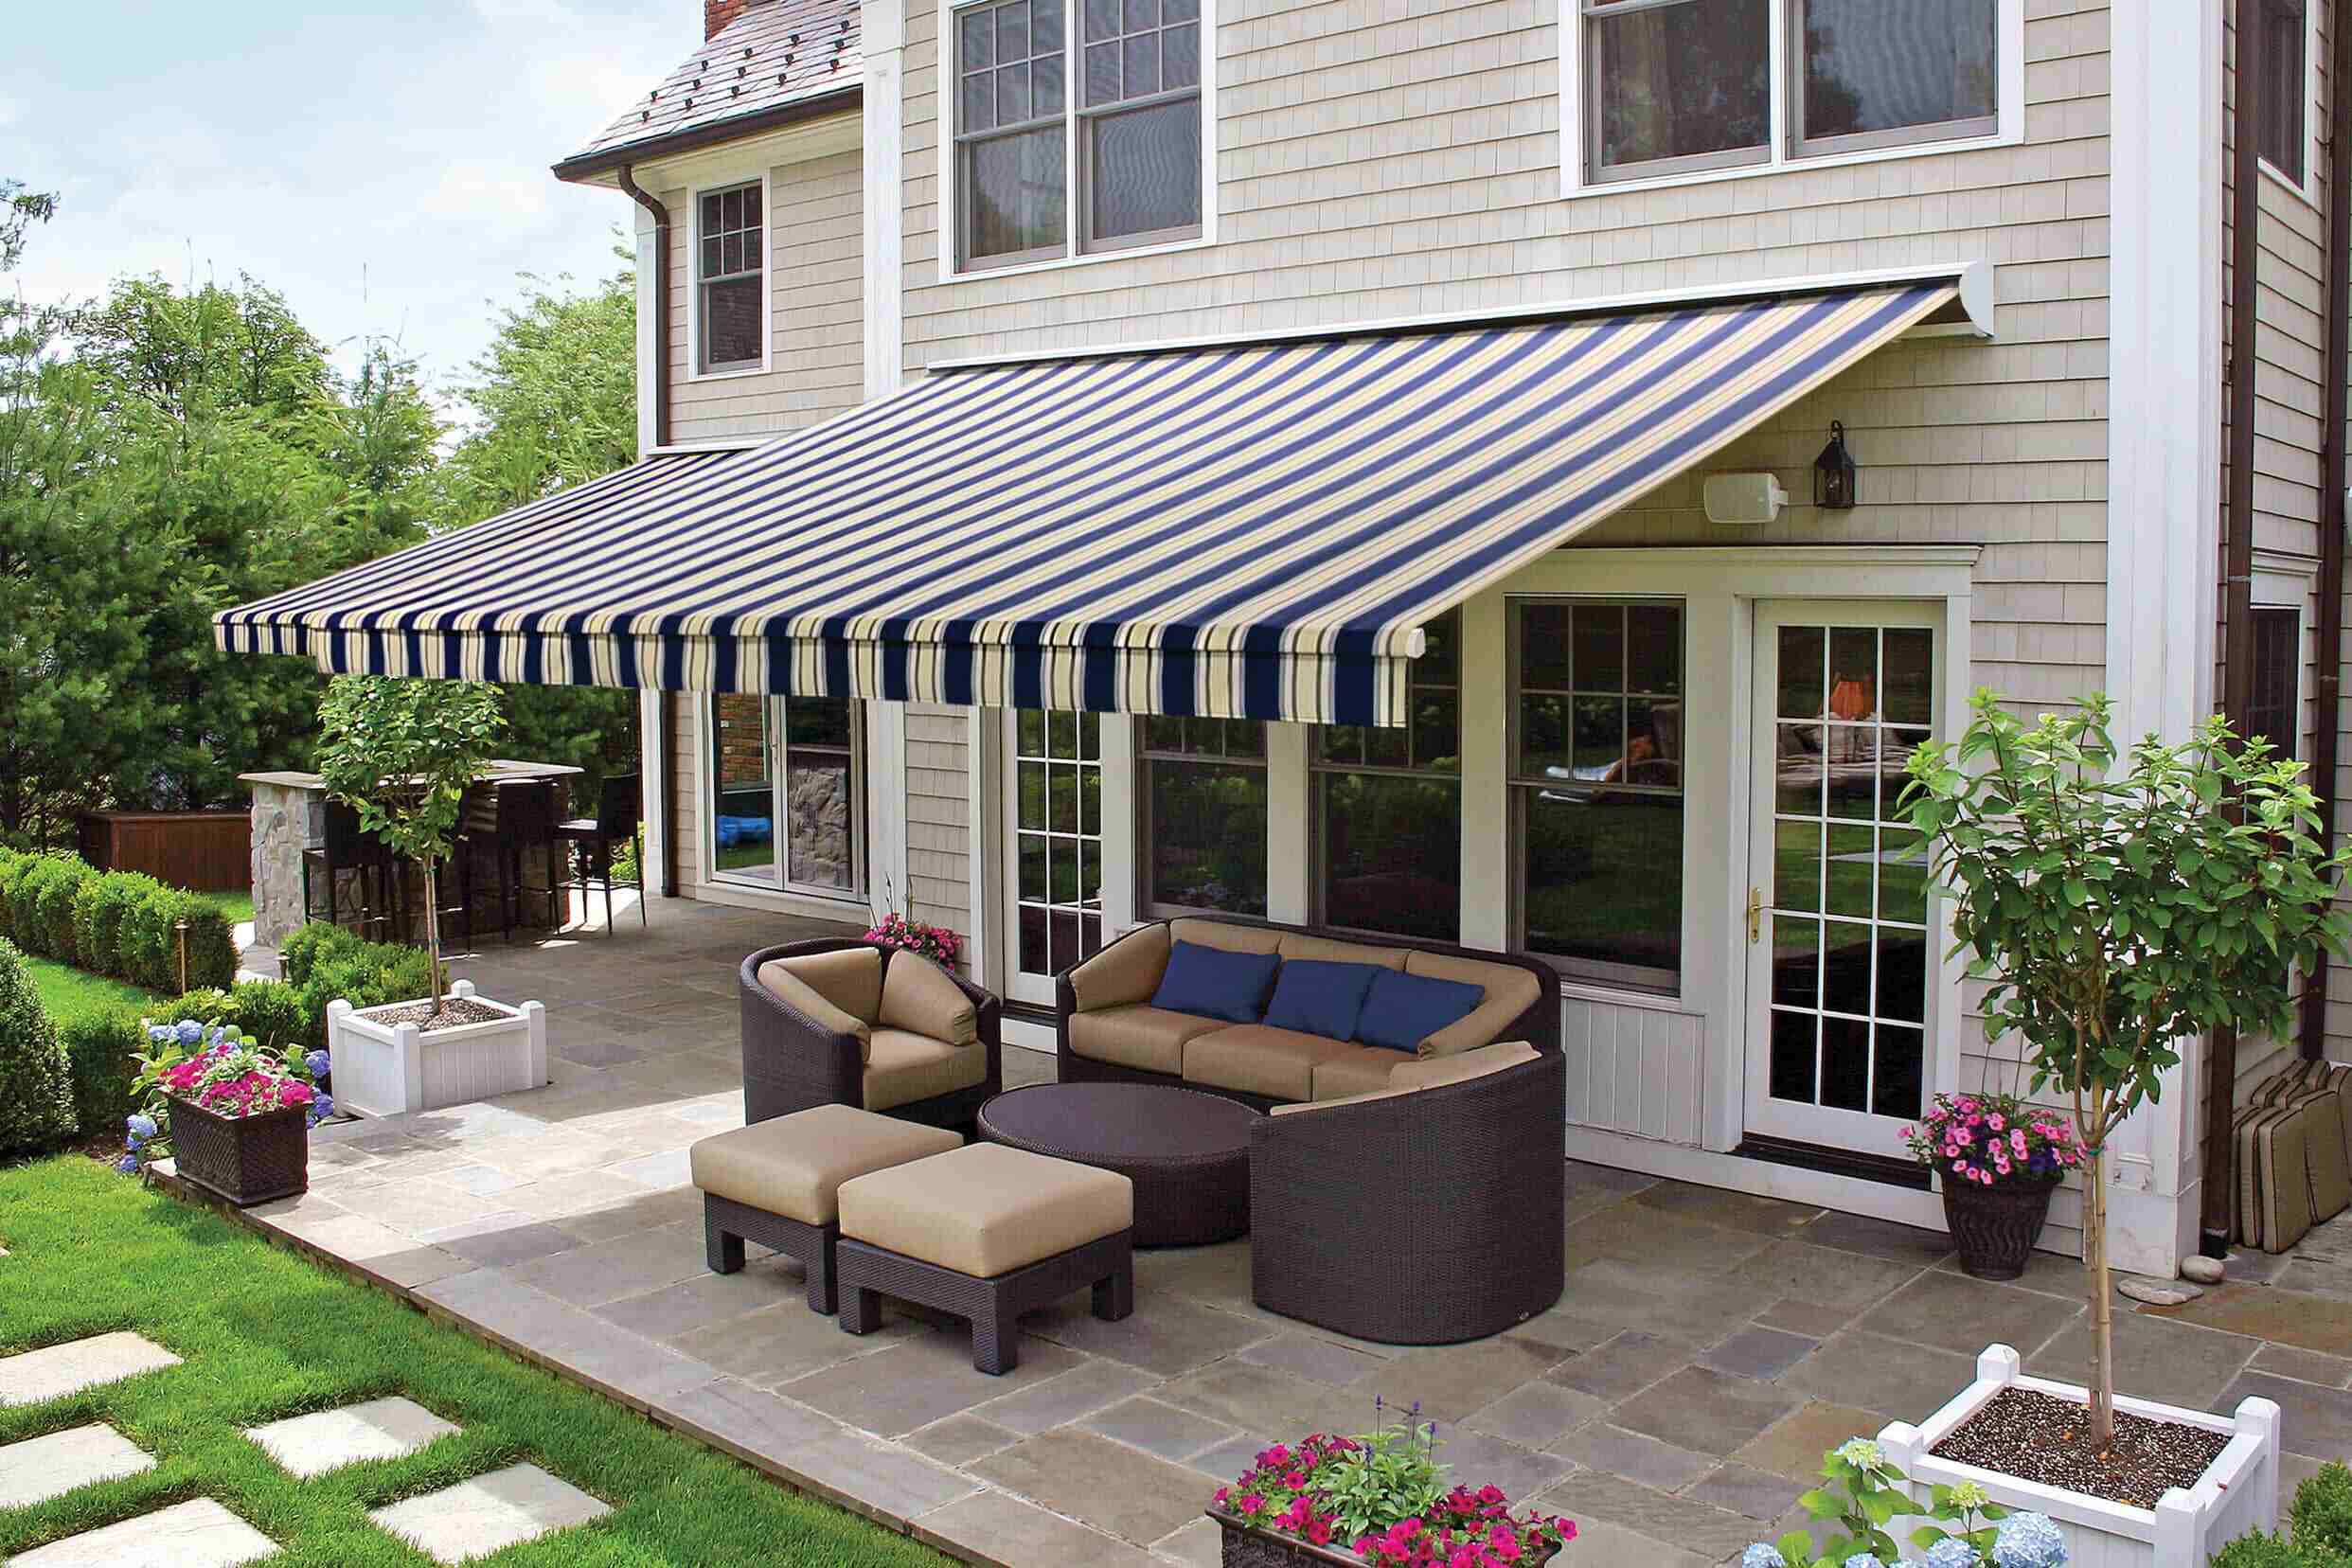
It's essential to consider the practical aspects of the fabric, such as durability and maintenance. If the awning will be exposed to sunlight, opt for a fade-resistant fabric to ensure long-lasting vibrancy. Additionally, consider the ease of maintenance, especially if the awning will be installed in a high-traffic area. Machine-washable or easy-to-clean fabrics can simplify upkeep and prolong the awning's lifespan.
By carefully considering these factors, you can confidently select the ideal fabric for your indoor awning window treatment, setting the stage for a successful and visually captivating DIY project.
Measuring and Cutting the Fabric
Accurate measurements and precise cutting are essential steps in creating a well-crafted indoor awning window treatment. Before diving into the fabric-cutting process, it's crucial to measure the window accurately to ensure a perfect fit for the awning. Start by measuring the width and height of the window frame, adding a few inches to each dimension to account for the seam allowance and the desired drape of the awning.
Once the window measurements are obtained, lay the selected fabric on a flat, spacious surface, ensuring that it is smooth and free of wrinkles. Using a fabric marker or chalk, carefully mark the dimensions of the awning onto the fabric, following the measurements taken earlier. It's important to double-check the markings to avoid errors before proceeding to cut the fabric.
When cutting the fabric, utilize sharp fabric scissors to achieve clean and precise edges. Follow the marked lines with steady and deliberate cuts, maintaining the fabric's alignment to prevent uneven edges. Pay close attention to the accuracy of the cuts, as they will directly impact the final appearance and fit of the awning.
In addition to the main awning panel, consider any additional fabric pieces needed for decorative elements or trimmings. These may include valances, contrasting borders, or embellishments to enhance the visual appeal of the awning. Carefully measure and cut these additional fabric pieces according to the specific design requirements, ensuring that they seamlessly integrate with the main awning panel.
As you proceed with the cutting process, take your time to ensure precision and attention to detail. Remember that the quality of the cutting directly influences the overall craftsmanship of the indoor awning window treatment. Once all the fabric pieces are accurately cut, you are ready to progress to the next phase of the project, bringing you one step closer to completing your custom-crafted indoor awning.
By meticulously measuring and cutting the fabric with precision and care, you set the stage for a successful and visually appealing indoor awning window treatment. These foundational steps lay the groundwork for the subsequent stages of sewing, installation, and adding final touches, allowing you to embark on the remainder of the project with confidence and enthusiasm.
Sewing the Awning
With the fabric meticulously measured and cut, the next pivotal phase in creating an indoor awning window treatment is sewing the fabric pieces together to construct the awning. This step requires attention to detail and precision to ensure a seamless and professional-looking result.
Begin by aligning the fabric pieces according to the design layout, ensuring that the edges and seams are positioned accurately. Utilize straight pins to secure the fabric layers in place, preventing any shifting or misalignment during the sewing process. This preparatory step is crucial for maintaining the integrity of the design and achieving a polished finish.
Once the fabric pieces are securely pinned, it's time to thread the sewing machine with a suitable thread color that complements the fabric. Select a thread that seamlessly blends with the chosen fabric to create a cohesive and visually appealing seam. With the sewing machine ready, carefully stitch along the marked seam lines, maintaining a consistent seam allowance to ensure uniformity and structural integrity.
As you guide the fabric through the sewing machine, maintain a steady and even pace to achieve smooth and straight stitches. Pay close attention to the corners and edges, ensuring that the fabric layers are securely joined without puckering or bunching. Precision and attention to detail during the sewing process are essential for creating a professional-looking awning that exudes craftsmanship and refinement.
In addition to sewing the main awning panel, consider incorporating any decorative elements or embellishments to enhance the visual appeal of the design. This may involve adding trims, piping, or other decorative accents to elevate the aesthetic impact of the awning. Carefully attach these embellishments using the appropriate sewing techniques, ensuring that they seamlessly integrate with the overall design and contribute to the desired look and feel of the awning.
Upon completing the sewing process, carefully inspect the seams and overall construction of the awning to ensure quality and durability. Trim any excess threads and gently press the sewn fabric to create a smooth and polished finish. This final touch elevates the overall appearance of the awning, showcasing the meticulous craftsmanship and attention to detail invested in the project.
By meticulously sewing the fabric pieces together with precision and care, you bring the indoor awning window treatment to life, culminating in a custom-crafted accent that enhances the ambiance of your living space. The sewing phase marks a significant milestone in the project, setting the stage for the subsequent installation and final touches, as you progress towards the completion of your personalized indoor awning.
Installing the Awning
The installation phase of the indoor awning window treatment marks the culmination of the meticulous crafting process, bringing the custom-crafted accent to its rightful place within your living space. This pivotal step requires careful consideration and precision to ensure a seamless and secure attachment of the awning to the designated window area.
Before commencing the installation, thoroughly clean the window frame and surrounding area to ensure a clean and dust-free surface. This preparatory step sets the stage for a smooth and hassle-free installation process, allowing the awning to be affixed to a pristine and well-prepared surface.
Next, position the awning over the window, ensuring that it aligns perfectly with the dimensions and contours of the window frame. Utilize a level to confirm that the awning is straight and evenly positioned, maintaining a visually pleasing and balanced appearance. This attention to detail is crucial for achieving a professional and polished result, enhancing the overall aesthetic impact of the indoor awning.
Once the positioning is confirmed, carefully affix the awning to the window frame using suitable mounting hardware. Depending on the design and weight of the awning, consider utilizing sturdy brackets, screws, or hooks to securely attach the awning in place. Ensure that the mounting hardware is appropriate for the specific characteristics of the window frame and capable of supporting the weight of the awning without compromising stability.
As you secure the awning in place, double-check the alignment and stability to guarantee a secure and durable installation. Test the awning for any signs of movement or instability, making any necessary adjustments to ensure a snug and reliable attachment to the window frame.
Upon completing the installation, step back and admire the transformative impact of the indoor awning window treatment on the surrounding space. Take a moment to appreciate the personalized touch and visual allure that the custom-crafted awning brings to the room, elevating the ambiance and adding a distinctive charm to the interior decor.
With the awning securely installed, revel in the satisfaction of completing a DIY project that not only showcases your creativity and craftsmanship but also enhances the visual appeal of your home. The installation phase represents the culmination of your efforts, culminating in the successful integration of the indoor awning as a captivating and functional addition to your living space.
Consider using a lightweight fabric like cotton or linen for your indoor awning window treatment. This will allow natural light to filter through while still providing privacy. Be sure to measure your window accurately before purchasing fabric to ensure a proper fit.
Read more: How Big Can You Make An Awning Window
Adding Final Touches
With the indoor awning securely installed, the stage is set for the transformative impact of the final touches, elevating the visual appeal and cohesiveness of the entire window treatment. This pivotal phase encompasses a range of subtle yet impactful details that contribute to the overall charm and refinement of the indoor awning, culminating in a polished and visually captivating result.
One of the key elements in adding final touches to the indoor awning window treatment is the consideration of decorative accents and embellishments. This may involve incorporating coordinating trims, tassels, or fringe to the awning, enhancing its aesthetic appeal and infusing a touch of sophistication. Carefully selected embellishments can elevate the overall design, adding a layer of intricacy and visual interest to the awning.
In addition to decorative accents, the consideration of functional elements is essential in refining the awning's appearance and functionality. This may involve attaching coordinating tiebacks or holdbacks to the sides of the awning, allowing for the option to secure the awning in an open position. These functional additions not only contribute to the versatility of the awning but also add a tailored and polished look to the overall window treatment.
Furthermore, the application of meticulous detailing, such as hand-stitched hems or tailored finishes, can further enhance the craftsmanship and refinement of the indoor awning. Taking the time to ensure precise and polished edges, as well as neatly finished seams, adds a touch of finesse to the awning, showcasing the dedication to quality and attention to detail invested in the crafting process.
As a final step, consider the impact of lighting on the awning's appearance and ambiance. Strategically placed lighting, such as soft sconces or discreet LED fixtures, can accentuate the texture and color of the fabric, creating a captivating visual effect. Thoughtfully integrating lighting elements into the awning's design adds a layer of depth and allure, further enhancing its visual impact within the space.
By meticulously attending to these final touches, the indoor awning window treatment is elevated from a well-crafted accent to a captivating and personalized feature within the room. The thoughtful integration of decorative accents, functional elements, meticulous detailing, and strategic lighting culminates in a visually striking and harmonious window treatment that adds a touch of elegance and individuality to the interior decor.
Incorporating these final touches not only refines the indoor awning but also reflects the dedication to craftsmanship and the desire to create a visually captivating and cohesive living space. As the finishing details are meticulously attended to, the indoor awning window treatment emerges as a personalized and enchanting addition, infusing the room with charm, sophistication, and a touch of bespoke allure.
Frequently Asked Questions about How To Make An Indoor Awning Window Treatment
Was this page helpful?
At Storables.com, we guarantee accurate and reliable information. Our content, validated by Expert Board Contributors, is crafted following stringent Editorial Policies. We're committed to providing you with well-researched, expert-backed insights for all your informational needs.


0 thoughts on “How To Make An Indoor Awning Window Treatment”