Home>Gardening & Outdoor>Outdoor Structures>How To Make An Awning For A Camper
Outdoor Structures
How To Make An Awning For A Camper
Modified: April 1, 2024
Learn how to create a durable and functional awning for your camper with our outdoor structures guide. Find easy step-by-step instructions and expert tips.
(Many of the links in this article redirect to a specific reviewed product. Your purchase of these products through affiliate links helps to generate commission for Storables.com, at no extra cost. Learn more)
Introduction
Read more: How Much Is An Awning For A Camper
Introduction
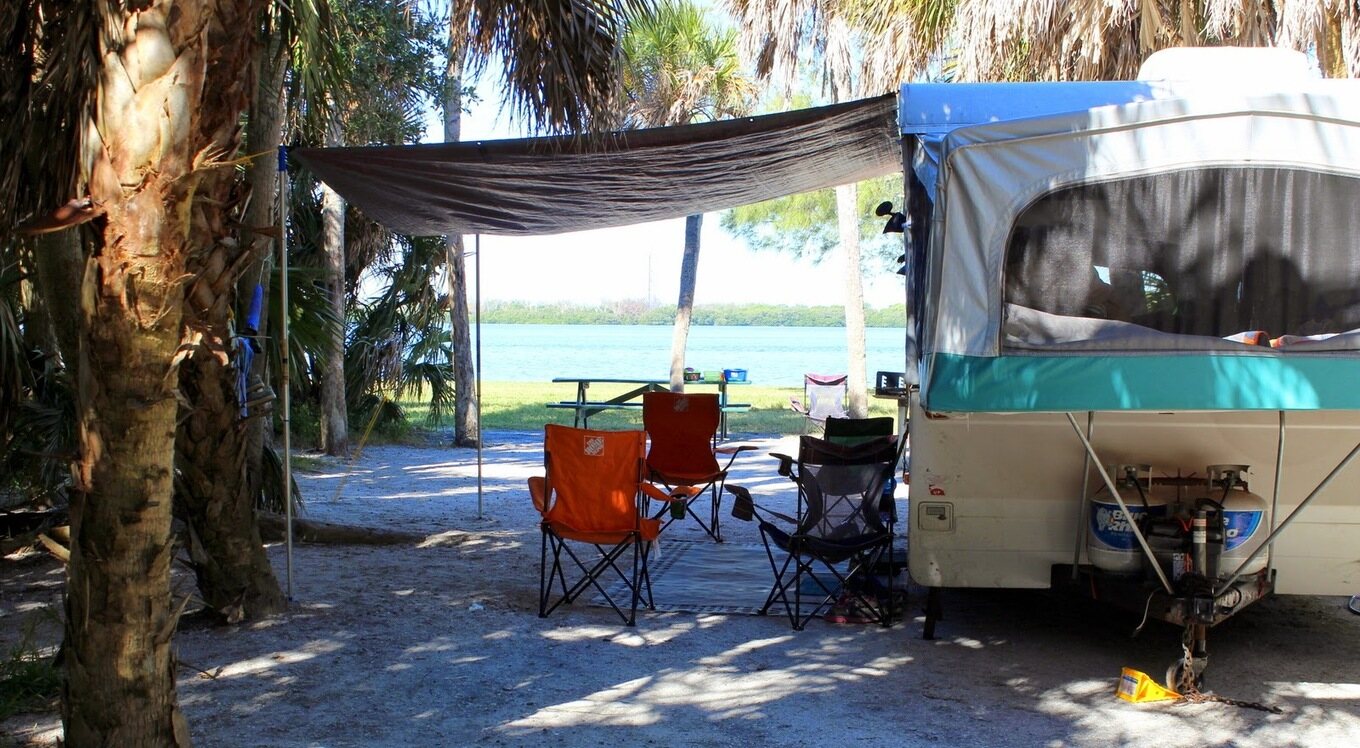
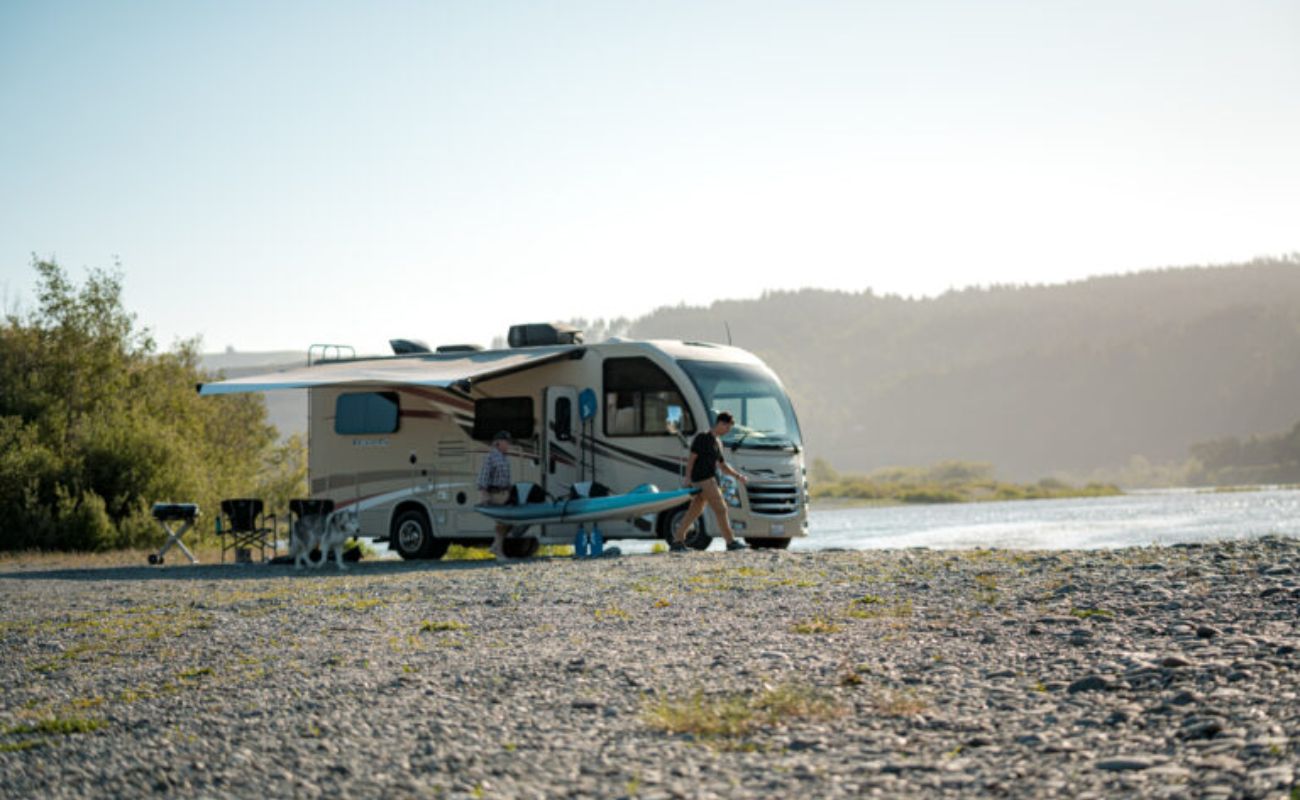
Are you looking to enhance the comfort and functionality of your camper? Adding an awning can significantly expand your outdoor living space, providing shade and protection from the elements. Whether you're a seasoned DIY enthusiast or a novice looking to embark on a new project, creating a custom awning for your camper can be a rewarding endeavor. Not only will it add a personal touch to your vehicle, but it will also offer a cozy retreat during your outdoor adventures.
In this comprehensive guide, we'll walk you through the process of constructing and installing an awning for your camper. From gathering the necessary materials to carefully measuring and assembling the frame, we'll cover each step in detail to ensure that you have all the information you need to successfully complete this project. With a bit of creativity and a can-do attitude, you'll soon be relaxing in the shade of your custom-made camper awning, enjoying the great outdoors in comfort and style. So, roll up your sleeves and let's get started on this exciting DIY journey!
Materials Needed
Key Takeaways:
- Create a custom camper awning to expand outdoor living space and add a personal touch to your vehicle. With careful planning and assembly, enjoy the rewards of shade and shelter during your outdoor adventures.
- By meticulously measuring, cutting, and assembling the frame, and attaching the fabric, you can craft a sturdy and stylish camper awning. The installation process ensures a seamless and functional addition to your outdoor setup.
Materials Needed
Before diving into the construction of your camper awning, it’s essential to gather all the necessary materials. Here’s a list of items you’ll need to bring your project to life:
-
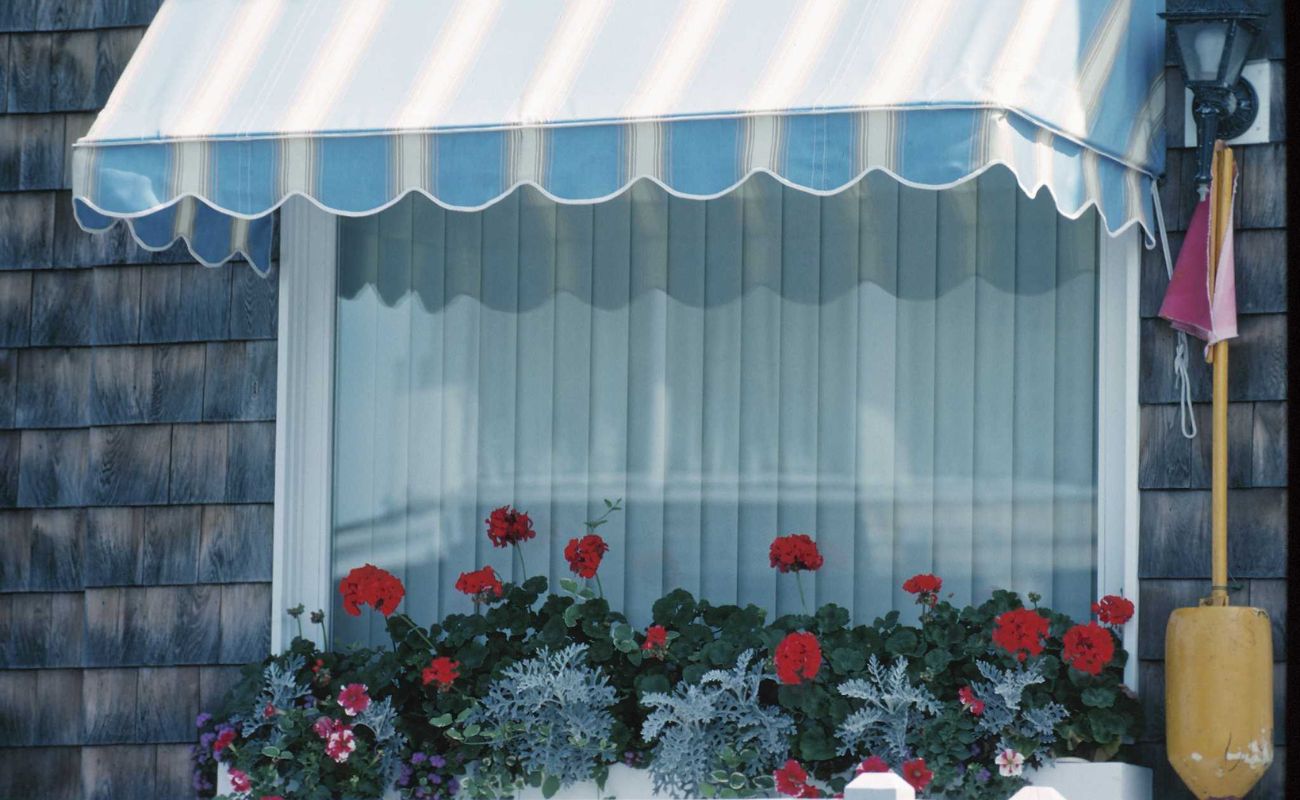
Awning Fabric: Select a durable, weather-resistant fabric that suits your style and provides ample protection from the sun and rain. Common options include acrylic, vinyl, or polyester fabrics designed for outdoor use.
-
Frame Material: Aluminum or steel tubing is commonly used for the frame due to its lightweight nature and resistance to corrosion. The specific size and quantity will depend on the dimensions of your awning.
-
Fasteners and Hardware: Bolts, nuts, washers, and screws will be essential for securing the frame and attaching the fabric. Additionally, you may need brackets, hinges, and other hardware for installation.
-
Tensioning Mechanism: Consider including a mechanism for adjusting the tension of the awning, such as a ratchet or pulley system, to ensure proper deployment and stability.
-
Mounting Brackets: These brackets will be used to attach the awning to your camper. Choose sturdy, rust-resistant brackets designed to support the weight of the awning.
-
Tools: Gather a comprehensive set of tools, including a drill, saw, measuring tape, level, wrenches, and a rivet gun, to facilitate the construction and installation process.
-
Protective Gear: Safety should always be a priority. Ensure you have gloves, safety glasses, and any other protective gear necessary for the specific tasks involved.
By acquiring these materials, you’ll be well-prepared to move forward with the construction of your camper awning. With everything in hand, you’re one step closer to creating a functional and stylish outdoor retreat for your travels.
Measurements and Planning
Read more: How To Clean A Camper Awning
Measurements and Planning
Before you begin constructing your camper awning, meticulous planning and precise measurements are crucial for a successful outcome. Here’s how to approach this essential phase:
Start by determining the desired size and shape of your awning. Consider the available space on your camper, the typical weather conditions you’ll encounter, and your specific outdoor needs. Once you have a clear vision of the awning’s dimensions, take precise measurements to guide the construction process.
When measuring for the frame, consider the length and projection of the awning, ensuring that it provides adequate coverage for your outdoor activities. Take into account any obstructions on the camper, such as windows, doors, or vents, to avoid interference with the awning’s deployment and functionality.
Next, create a detailed plan or sketch that outlines the frame’s design, including the placement of support bars, the angle of inclination, and any additional features, such as a tensioning mechanism. This plan will serve as a roadmap during the construction phase, ensuring that each component is fabricated to the correct specifications.
Additionally, consider the orientation of the awning concerning the sun’s path and prevailing winds to optimize shade and protection. This thoughtful planning will contribute to the overall effectiveness and comfort provided by your custom awning.
By meticulously measuring and planning the construction of your camper awning, you’ll lay a solid foundation for a well-crafted and functional addition to your outdoor setup. With careful consideration of these crucial details, you’ll be well-prepared to move on to the next phase of the project: cutting and assembling the frame.
Cutting and Assembling the Frame
Cutting and Assembling the Frame
With precise measurements and a well-thought-out plan in hand, it’s time to bring your camper awning to life by cutting and assembling the frame. This phase of the project requires attention to detail and a methodical approach to ensure a sturdy and functional structure. Here’s a step-by-step guide to help you through this process:
Begin by cutting the aluminum or steel tubing to the specified lengths, following the dimensions outlined in your plan. Use a saw appropriate for cutting metal and take necessary safety precautions during this step.
Once the individual components of the frame are cut, it’s time to assemble them according to your design. Utilize fasteners and hardware to securely join the frame pieces, ensuring that the structure is stable and capable of withstanding outdoor conditions. Consider using brackets to reinforce connections and add stability to the frame.
During the assembly process, periodically check the frame’s alignment and squareness to guarantee that it will deploy smoothly and evenly support the awning fabric. A level can be a valuable tool for ensuring that the frame is assembled on a flat plane, promoting proper functionality once installed.
If your design incorporates a tensioning mechanism, such as a ratchet or pulley system, carefully integrate this feature into the frame assembly. This mechanism will enable you to adjust the tension of the awning fabric, providing versatility and ensuring a taut and secure fit.
As you progress through the assembly phase, take the time to assess the structural integrity of the frame, making any necessary adjustments to enhance its stability and durability. Attention to detail during this stage will contribute to the overall performance and longevity of your custom camper awning.
By meticulously cutting and assembling the frame according to your plan, you’re one step closer to completing your camper awning project. With the frame taking shape, the next phase will involve attaching the carefully selected awning fabric, bringing your creation one step closer to providing shade and shelter during your outdoor adventures.
Attaching the Awning Fabric
Read more: How To Make An Awning For A Pop-Up Camper
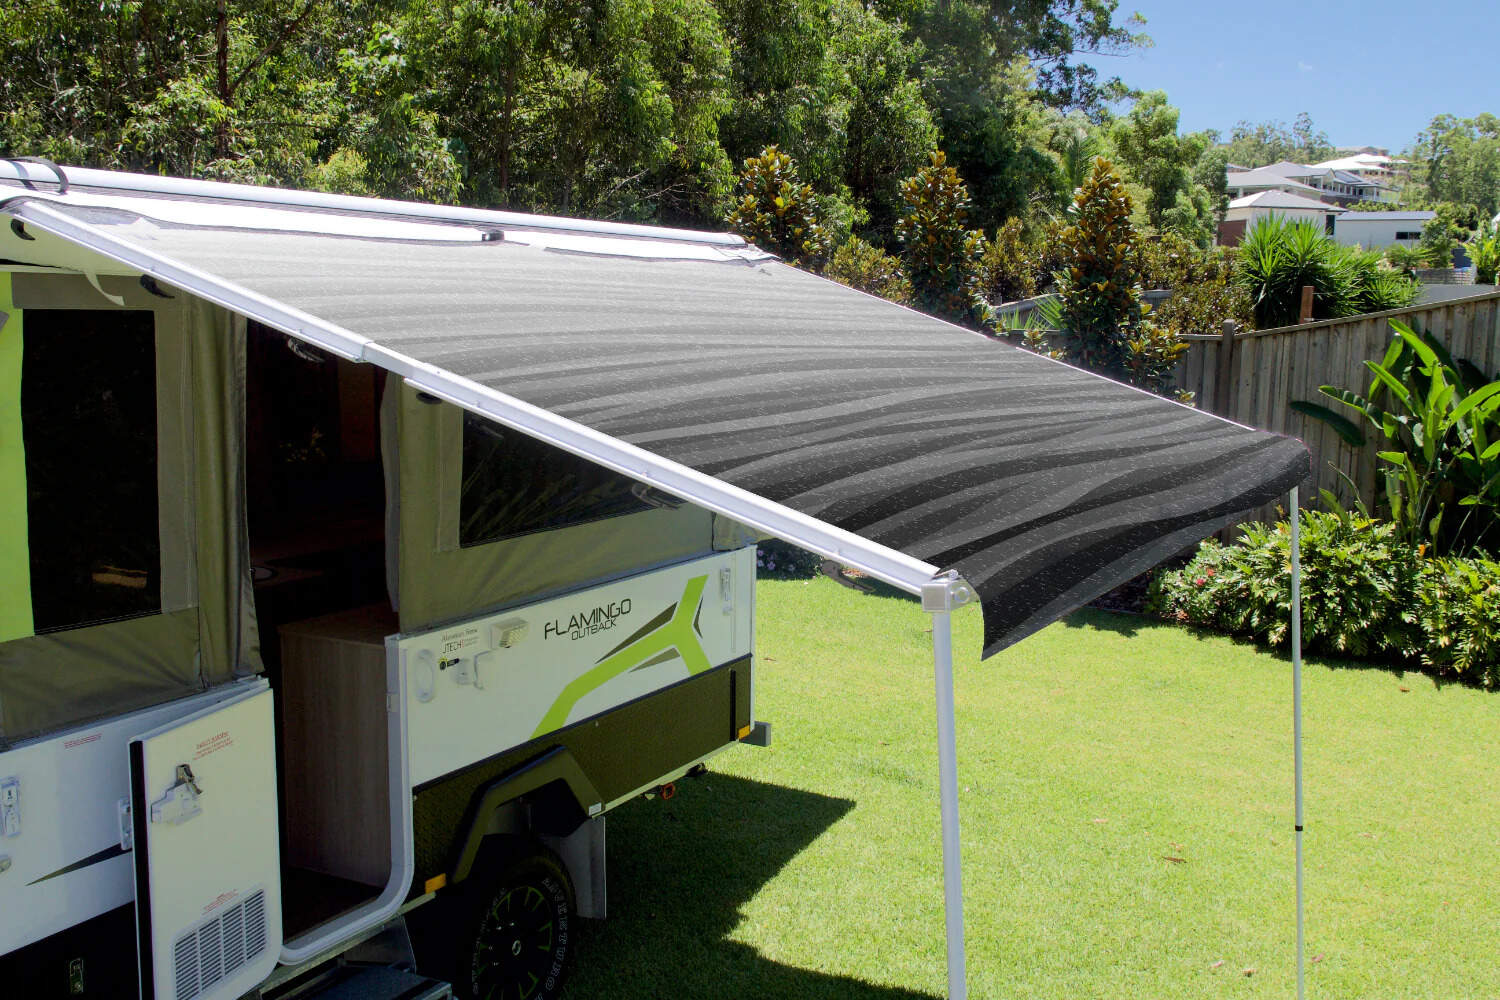
Attaching the Awning Fabric
As you approach the final stages of constructing your camper awning, it’s time to focus on attaching the selected awning fabric to the frame. This step adds both functionality and aesthetic appeal to your creation, providing shade and protection from the elements. Here’s a detailed guide to help you through this essential phase of the project:
Start by laying out the awning fabric in a clean, spacious area, ensuring that it is free from wrinkles or folds. Carefully position the frame over the fabric, allowing for sufficient overhang on all sides to ensure adequate coverage when the awning is deployed.
Securely fasten the fabric to the frame using appropriate fasteners, such as screws or bolts, ensuring that it is taut and evenly distributed across the frame. Pay close attention to the corners and edges, as these areas require careful attachment to maintain a neat and professional appearance.
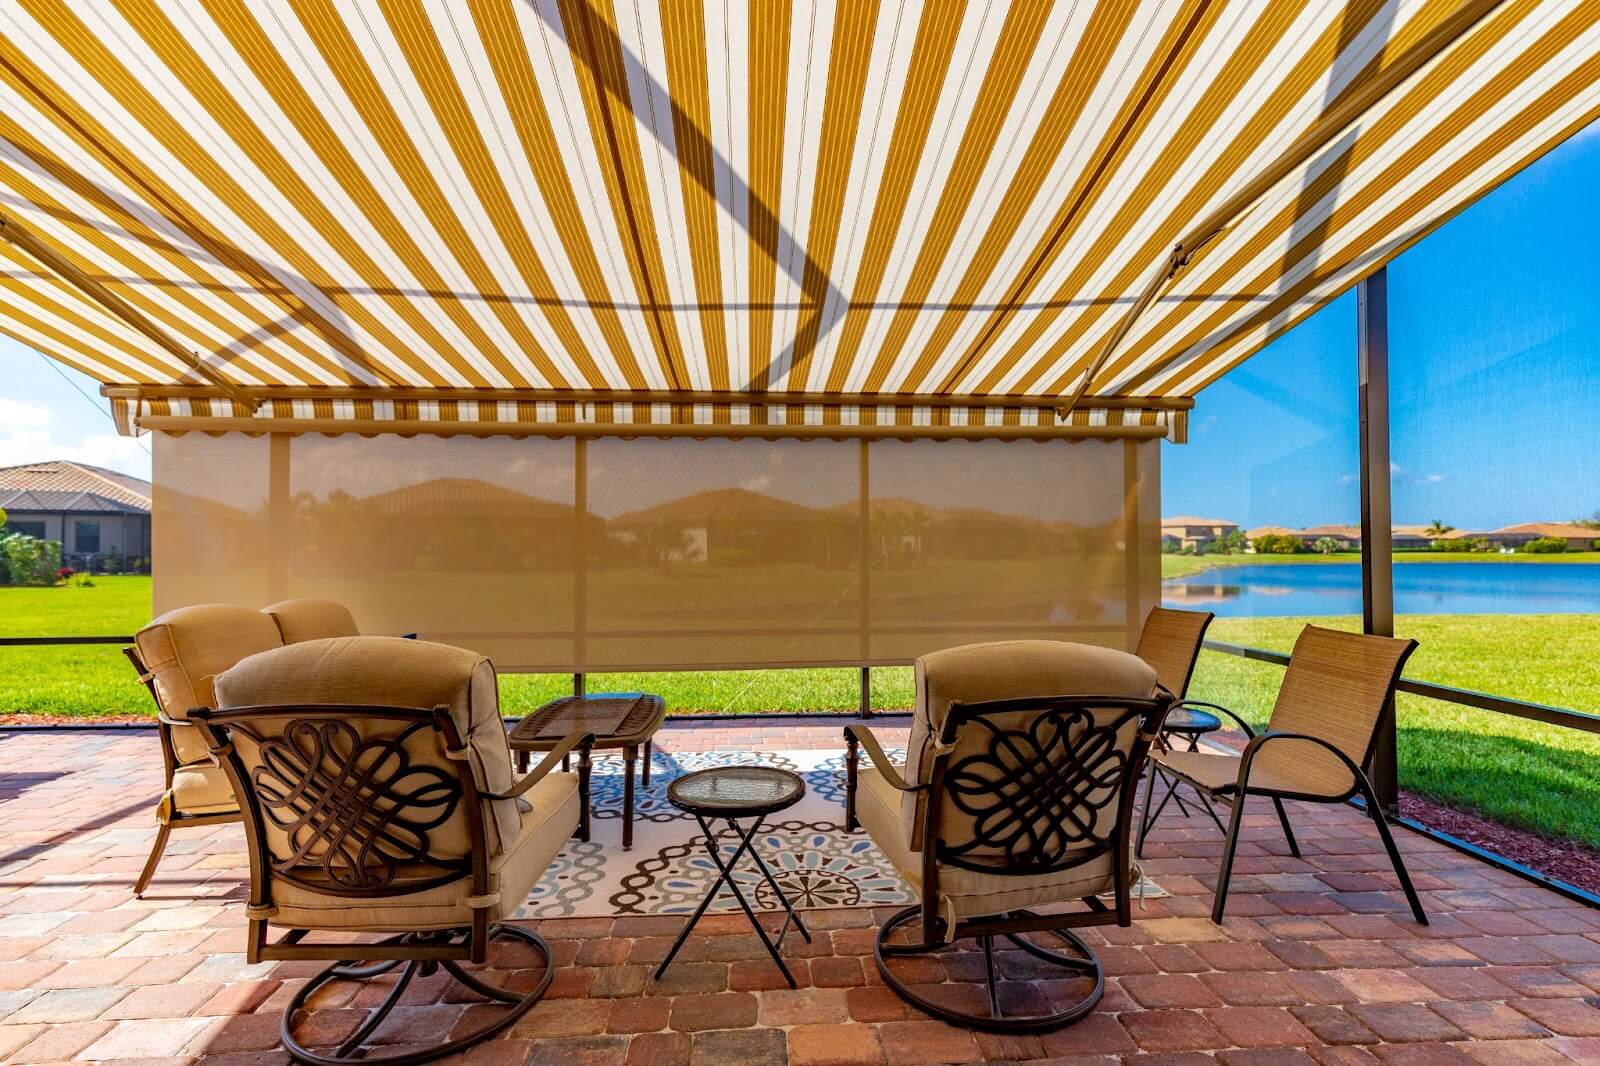
If your awning design includes a valance, a decorative and functional extension of the fabric that hangs down from the front bar, ensure that it is properly aligned and securely attached. The valance adds a stylish touch to the awning while providing additional protection from sun and rain.
Consider reinforcing the fabric-to-frame connection with additional support, such as grommets or reinforcement patches, to enhance the awning’s durability and resistance to wind and other environmental factors.
After attaching the fabric, thoroughly inspect the entire assembly to confirm that the fabric is securely fastened and free from any sagging or bunching. This meticulous approach will ensure that your camper awning not only looks appealing but also functions optimally when deployed.
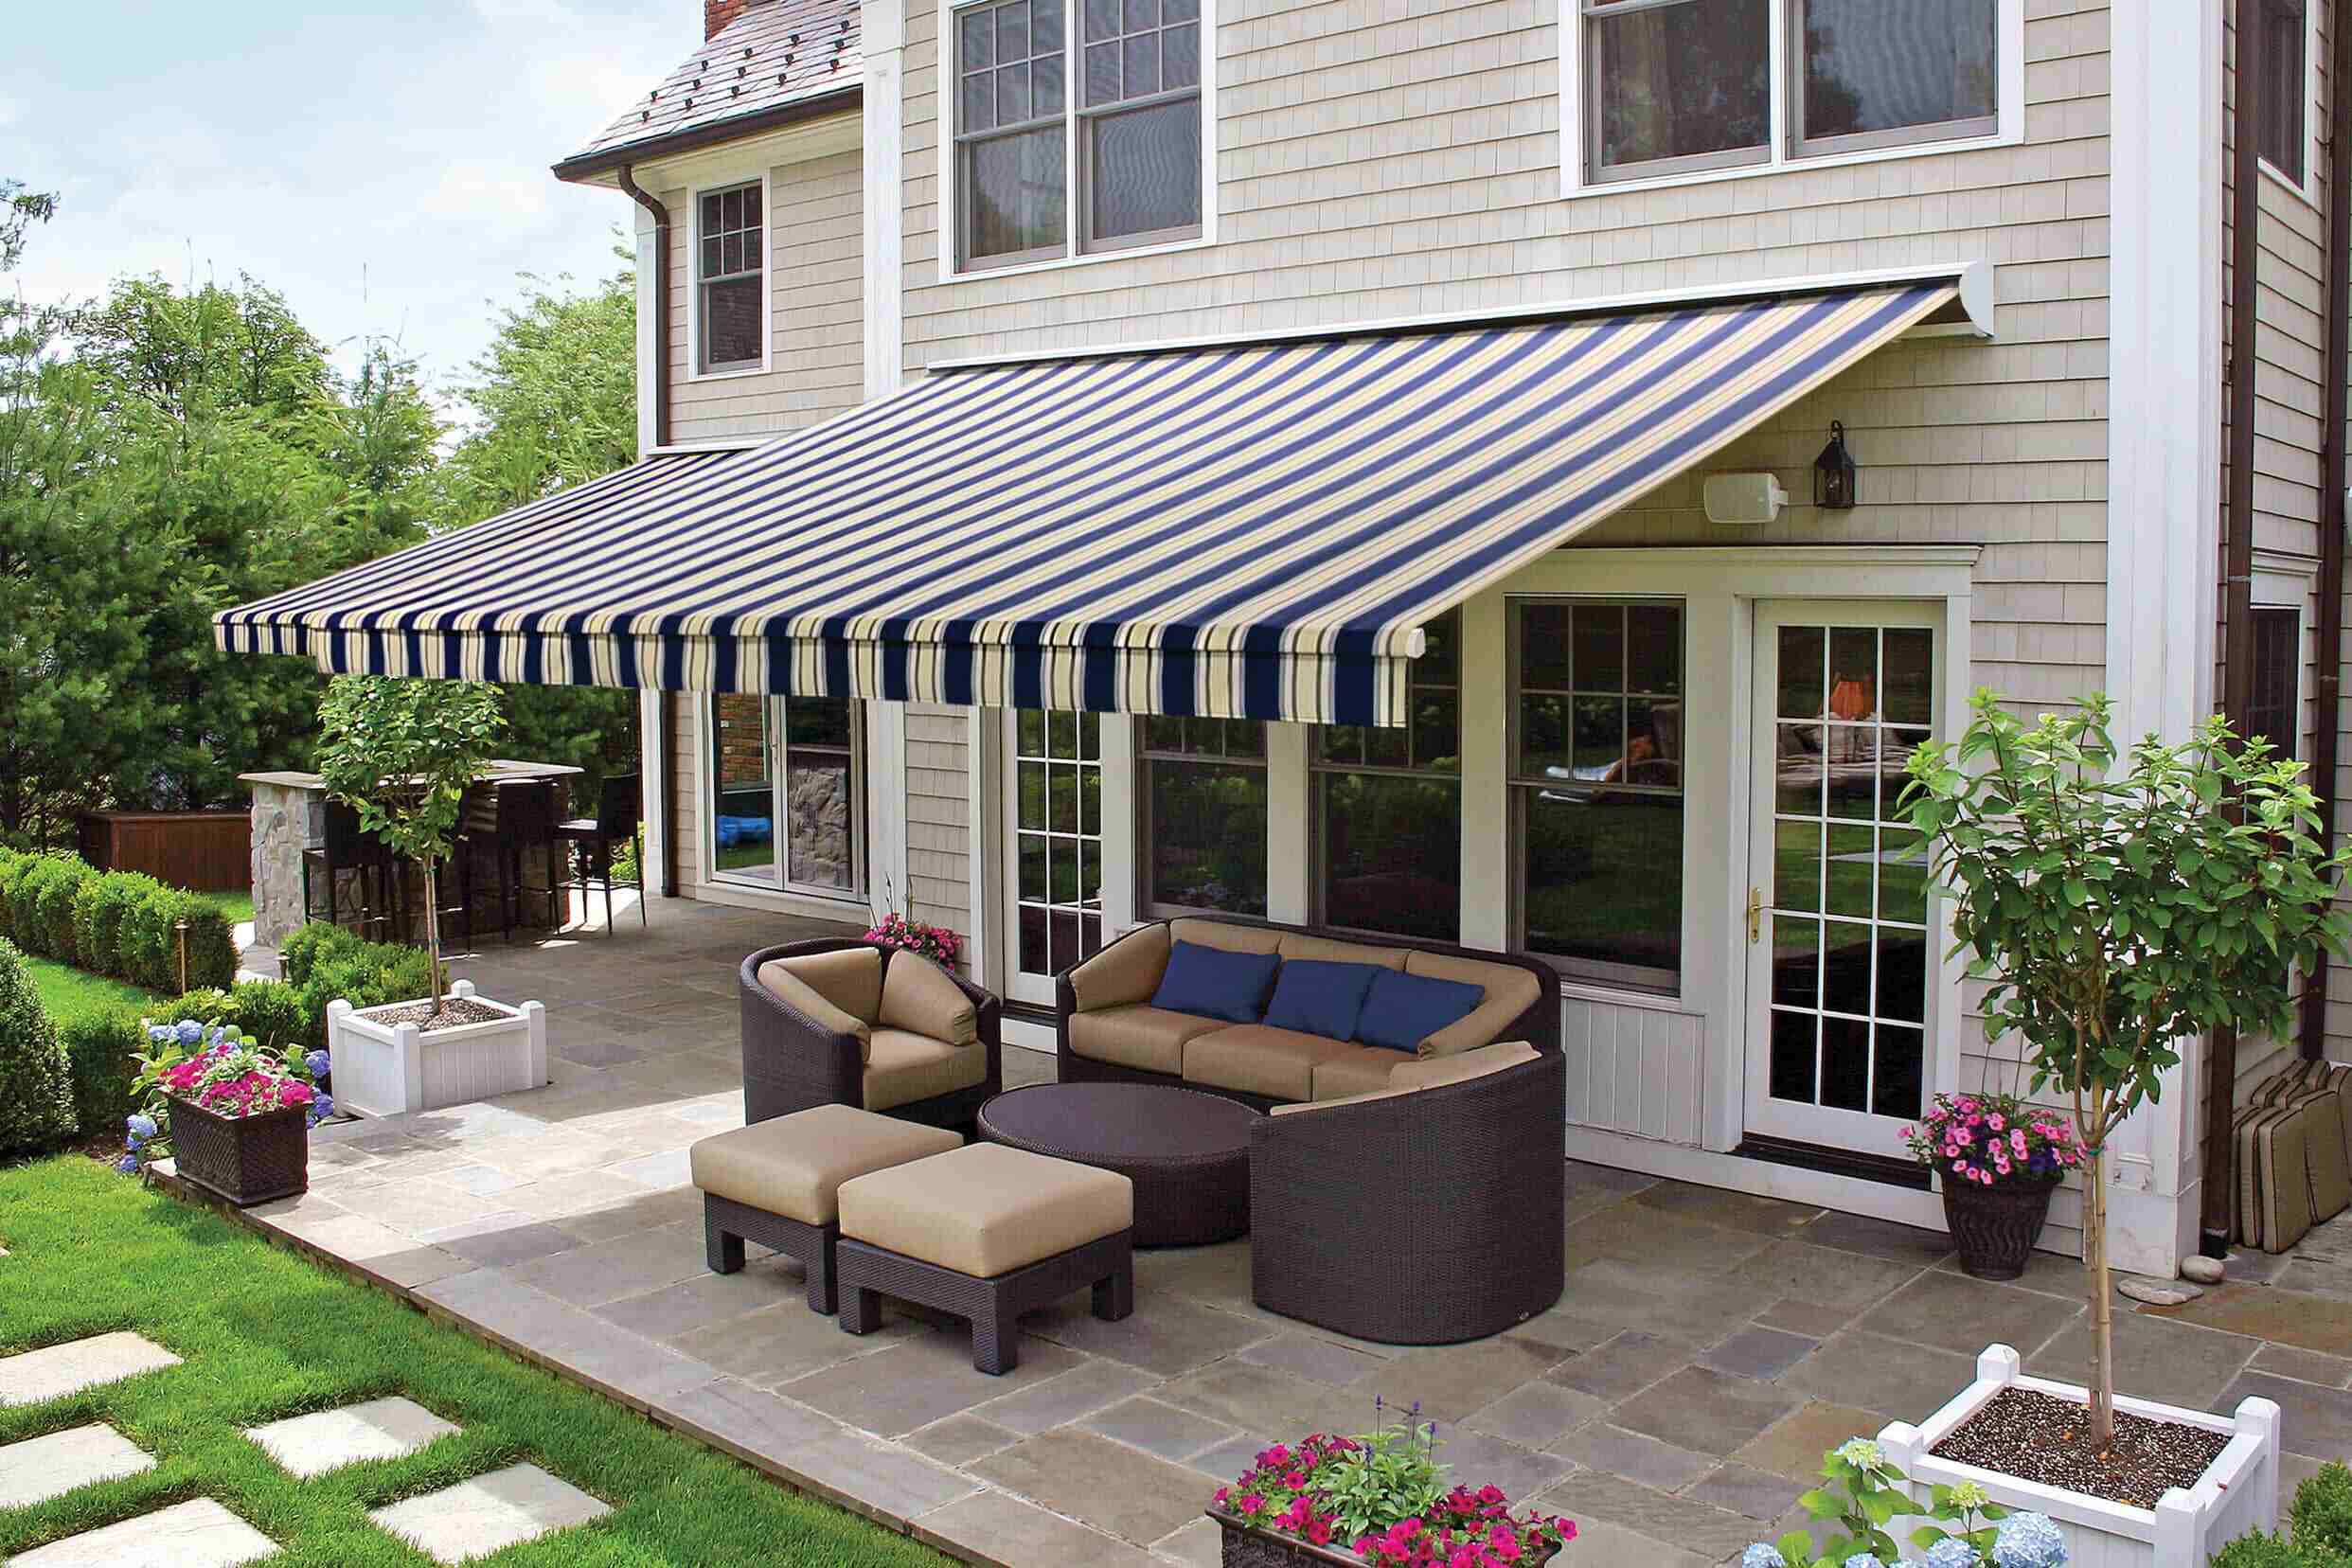
With the awning fabric securely attached to the frame, your custom camper awning is nearing completion. The final phase of the project involves installing the awning on your camper, bringing you one step closer to enjoying the benefits of your skillfully crafted outdoor retreat.
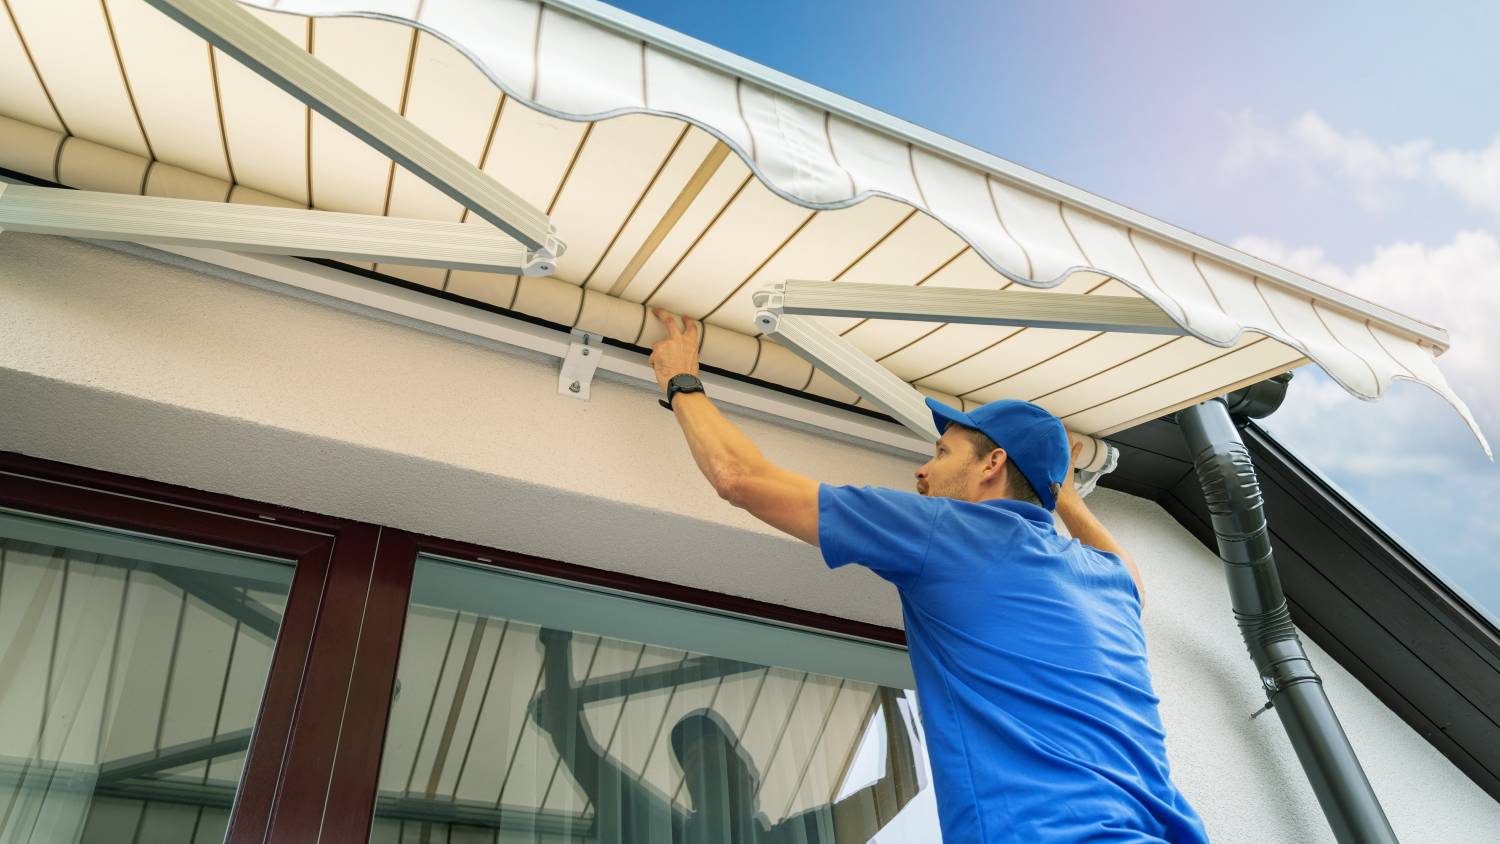
Installation on the Camper
Installation on the Camper
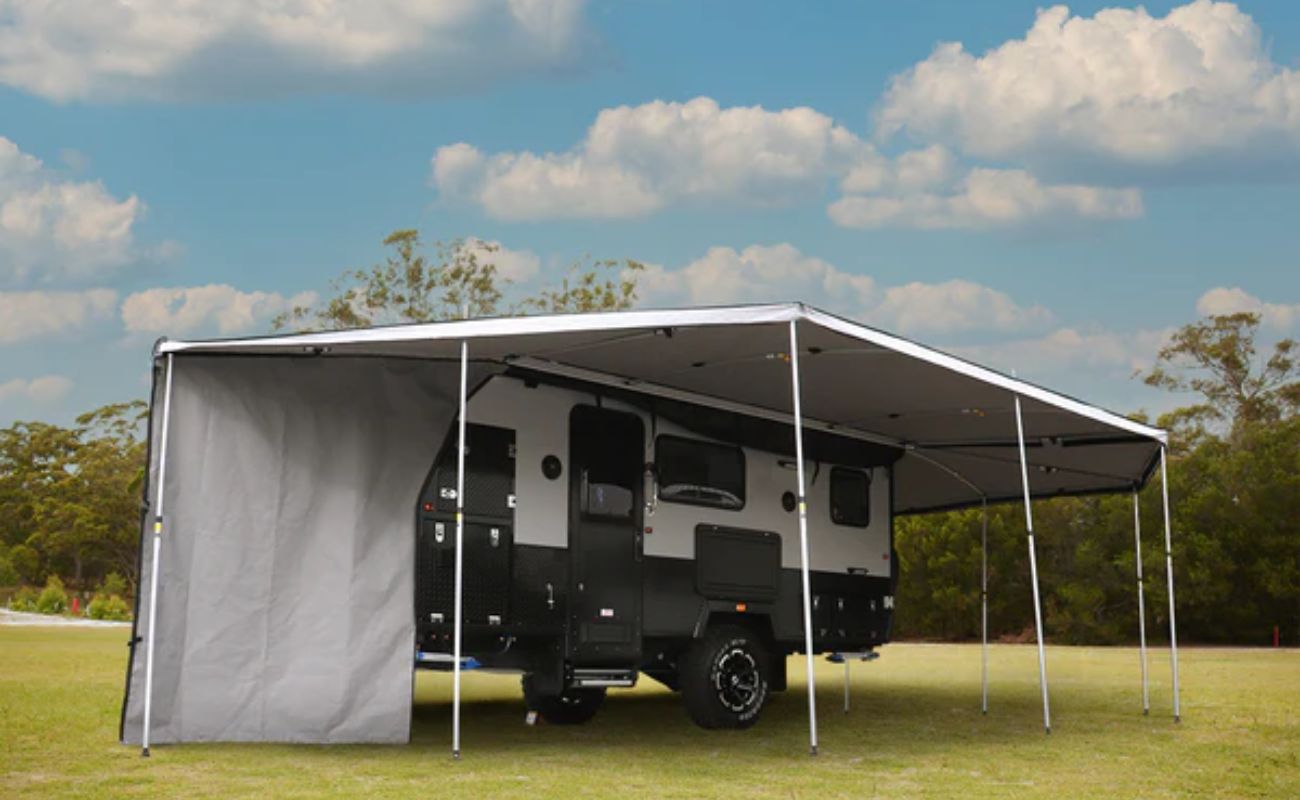
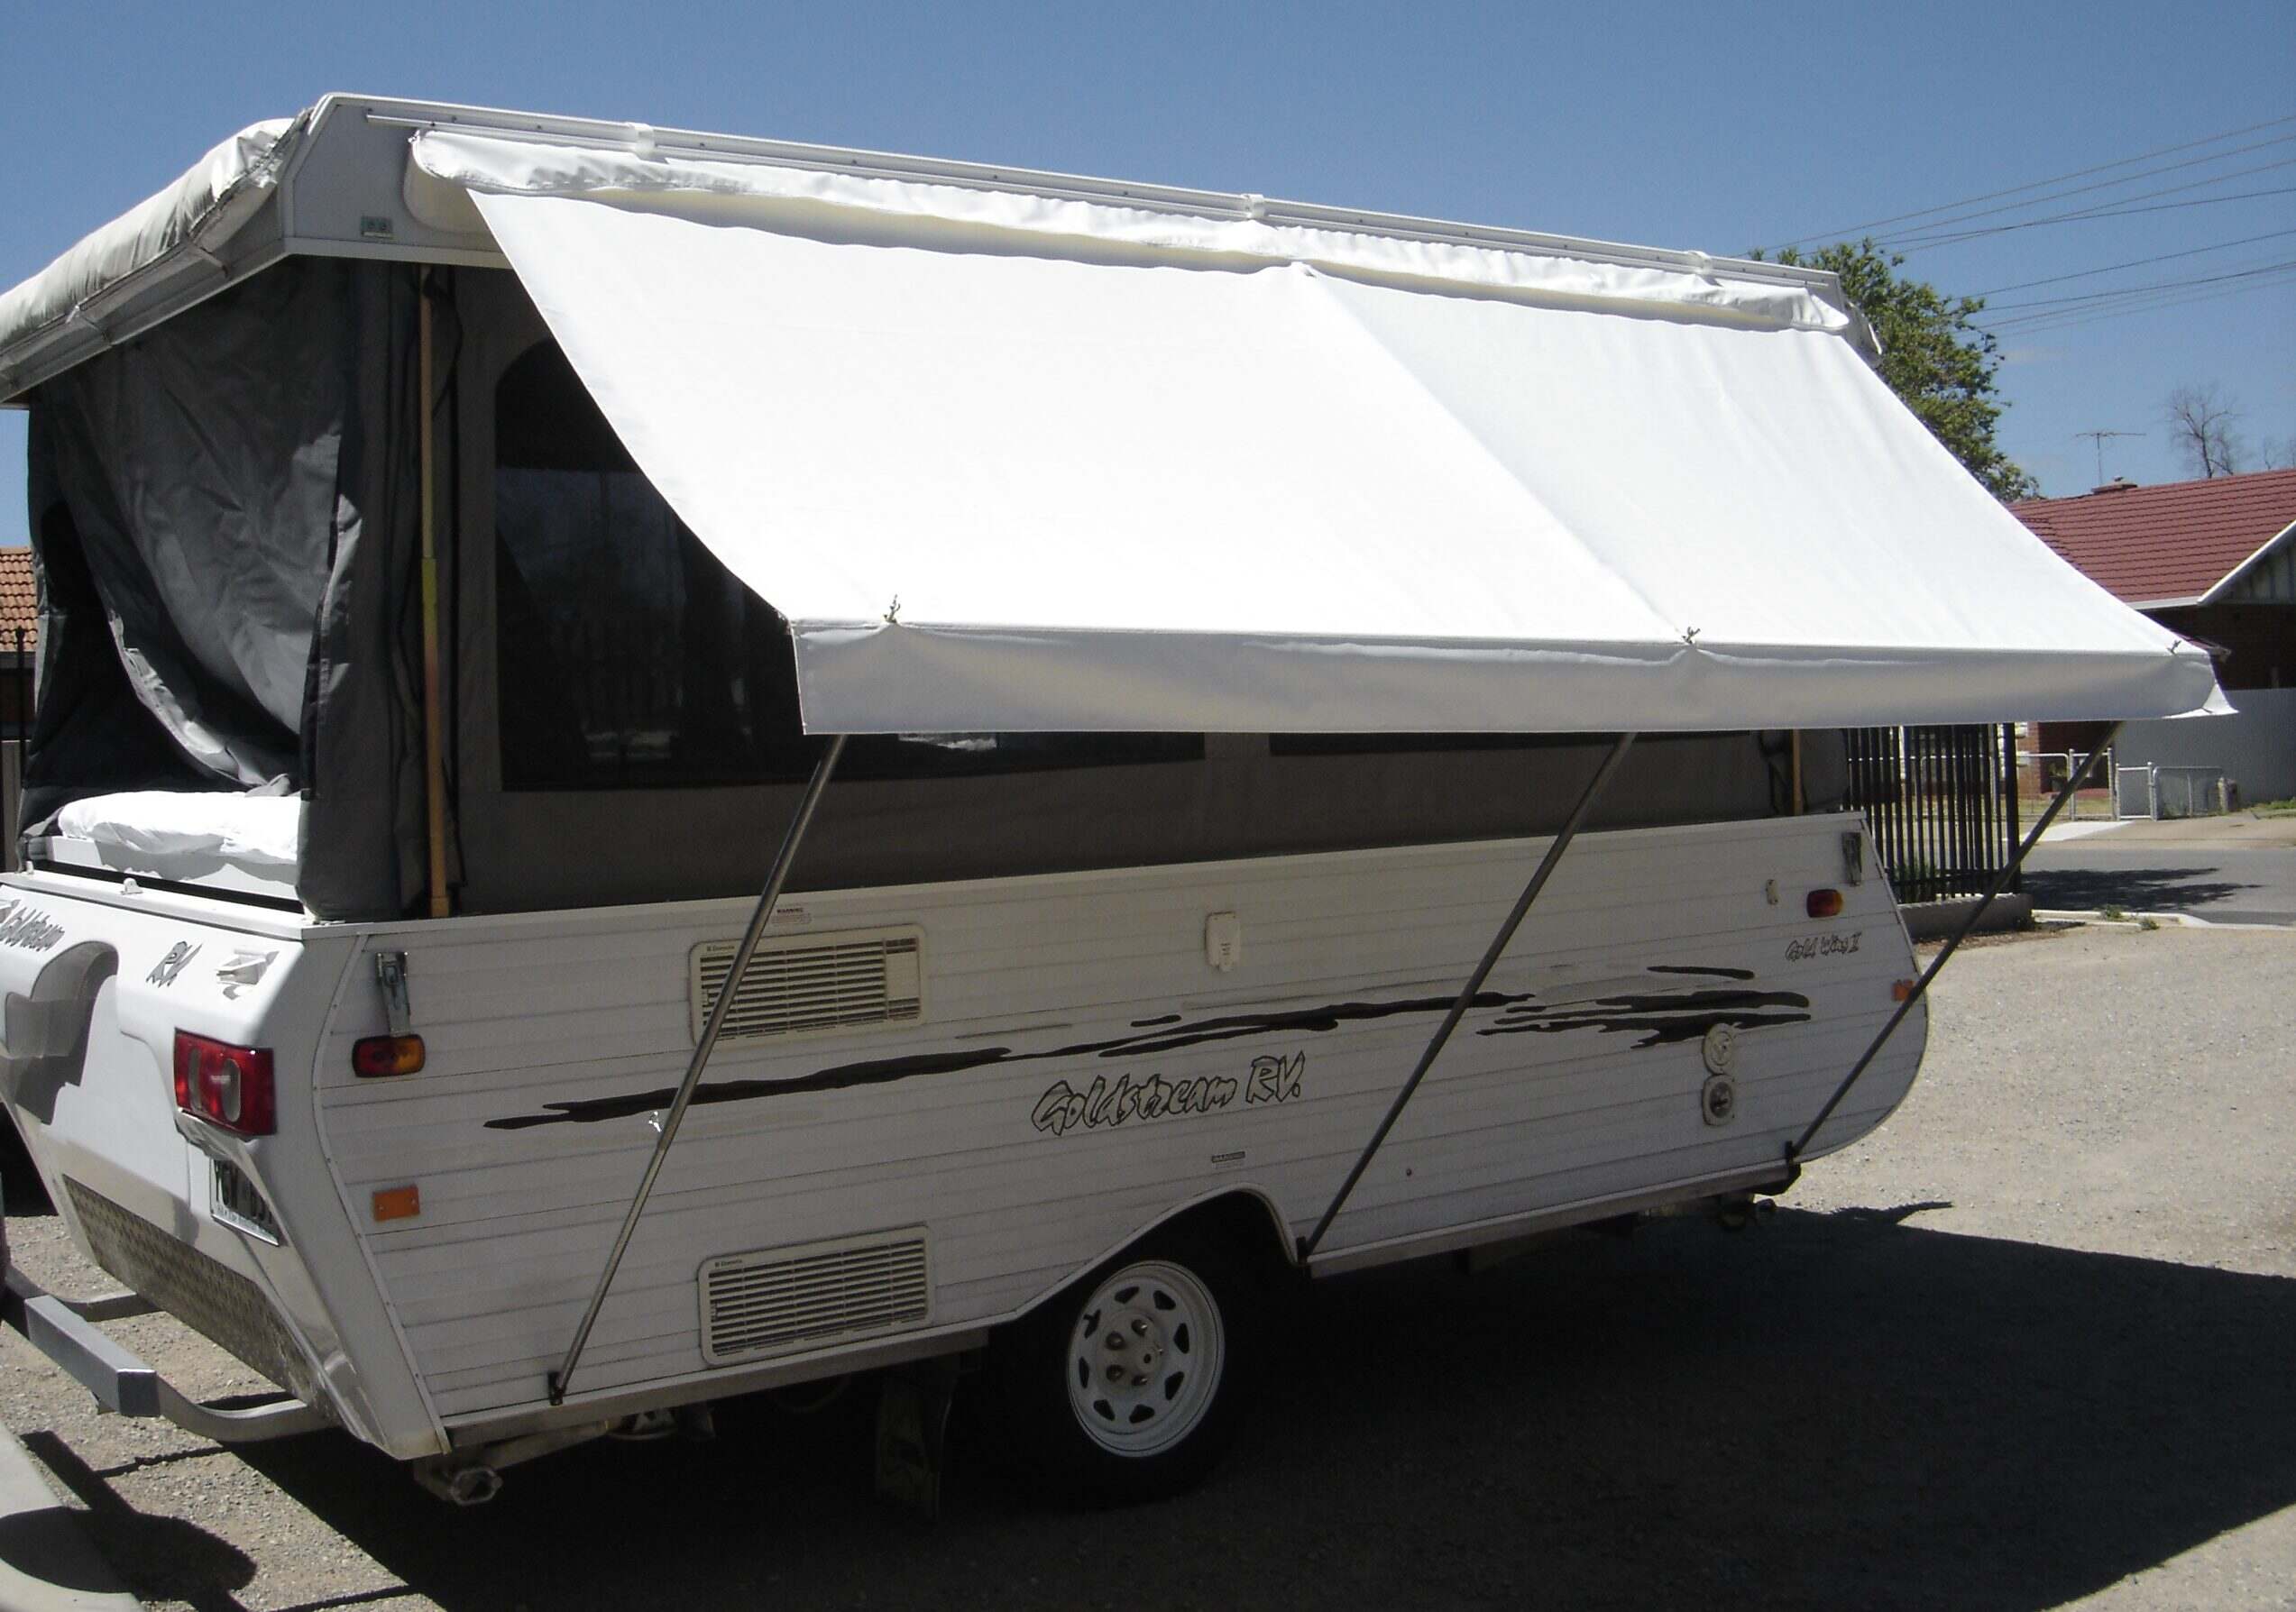
As you embark on the final phase of your camper awning project, the installation process plays a crucial role in bringing your creation to life. Proper installation ensures that your awning functions seamlessly and enhances your outdoor experiences. Here’s a comprehensive guide to help you through this pivotal stage:
Begin by carefully positioning the assembled awning near the designated mounting area on your camper. Take into account the optimal height and angle for installation, ensuring that the awning provides adequate coverage and clearance when deployed.
Attach the mounting brackets to the camper using sturdy fasteners, ensuring that they are securely anchored to provide reliable support for the awning. Follow the manufacturer’s guidelines and any specific recommendations for your camper model during this process.
With the assistance of a reliable partner, lift the assembled awning and align it with the mounted brackets. Exercise caution and utilize proper lifting techniques to avoid strain and ensure a safe and successful installation.
Securely fasten the awning to the mounting brackets, verifying that it is level and properly aligned with the camper. Double-check the stability of the installation and make any necessary adjustments to guarantee a secure and functional fit.
If your awning features a retractable or adjustable design, carefully test its deployment and retraction to ensure smooth and effortless operation. Pay attention to any signs of resistance or misalignment, addressing these issues promptly to optimize the awning’s functionality.
Finally, conduct a thorough inspection of the installed awning, verifying that all connections are secure, and the fabric is free from any imperfections. This meticulous approach will provide peace of mind and set the stage for countless enjoyable outings with your custom camper awning.
With the successful installation of your camper awning, you’ve accomplished a remarkable feat, adding both practicality and charm to your outdoor adventures. Now, as you bask in the shade of your newly installed awning, you can fully appreciate the rewards of your dedication and craftsmanship.
Conclusion
Read more: How To Open A Camper Awning
Conclusion
Congratulations on completing the construction and installation of your custom camper awning! This transformative project has not only expanded the functional space of your camper but has also added a personalized touch to your outdoor adventures. As you reflect on the journey from planning and measuring to assembling and mounting, it’s evident that your dedication and creativity have resulted in a valuable addition to your outdoor setup.
By meticulously selecting durable materials, taking precise measurements, and carefully assembling the frame, you’ve crafted a sturdy and reliable awning that will provide shade and shelter for years to come. The thoughtful attachment of the awning fabric and the meticulous installation process have ensured that your creation not only functions optimally but also exudes a sense of craftsmanship and attention to detail.
As you envision the countless moments you’ll spend under the shade of your custom awning—relaxing with loved ones, savoring meals, or simply enjoying the beauty of the outdoors—you can take pride in the fact that your DIY spirit has enhanced your outdoor experiences. The versatility and comfort provided by your camper awning will undoubtedly elevate your travels and create lasting memories.
Furthermore, the knowledge and skills gained from this project have empowered you to tackle future DIY endeavors with confidence and enthusiasm. Whether it’s enhancing your camper with additional accessories or taking on entirely new projects, the experience of creating a custom awning has equipped you with valuable insights and capabilities.
As you venture forth on your next outdoor excursion, take a moment to appreciate the shade and protection offered by your custom camper awning—a testament to your ingenuity and determination. Your newfound outdoor retreat stands as a symbol of your ability to turn ideas into reality, enriching your adventures and inspiring others to embark on their DIY journeys.
So, as you revel in the comfort and style of your custom awning, remember that the satisfaction of creating something with your own hands is a reward in itself. Embrace the possibilities that lie ahead, knowing that your camper awning is a testament to your creativity and resourcefulness, enhancing every moment spent in the great outdoors.
Frequently Asked Questions about How To Make An Awning For A Camper
Was this page helpful?
At Storables.com, we guarantee accurate and reliable information. Our content, validated by Expert Board Contributors, is crafted following stringent Editorial Policies. We're committed to providing you with well-researched, expert-backed insights for all your informational needs.


0 thoughts on “How To Make An Awning For A Camper”