Home>Gardening & Outdoor>Outdoor Structures>How To Build An Awning Over A Window
Outdoor Structures
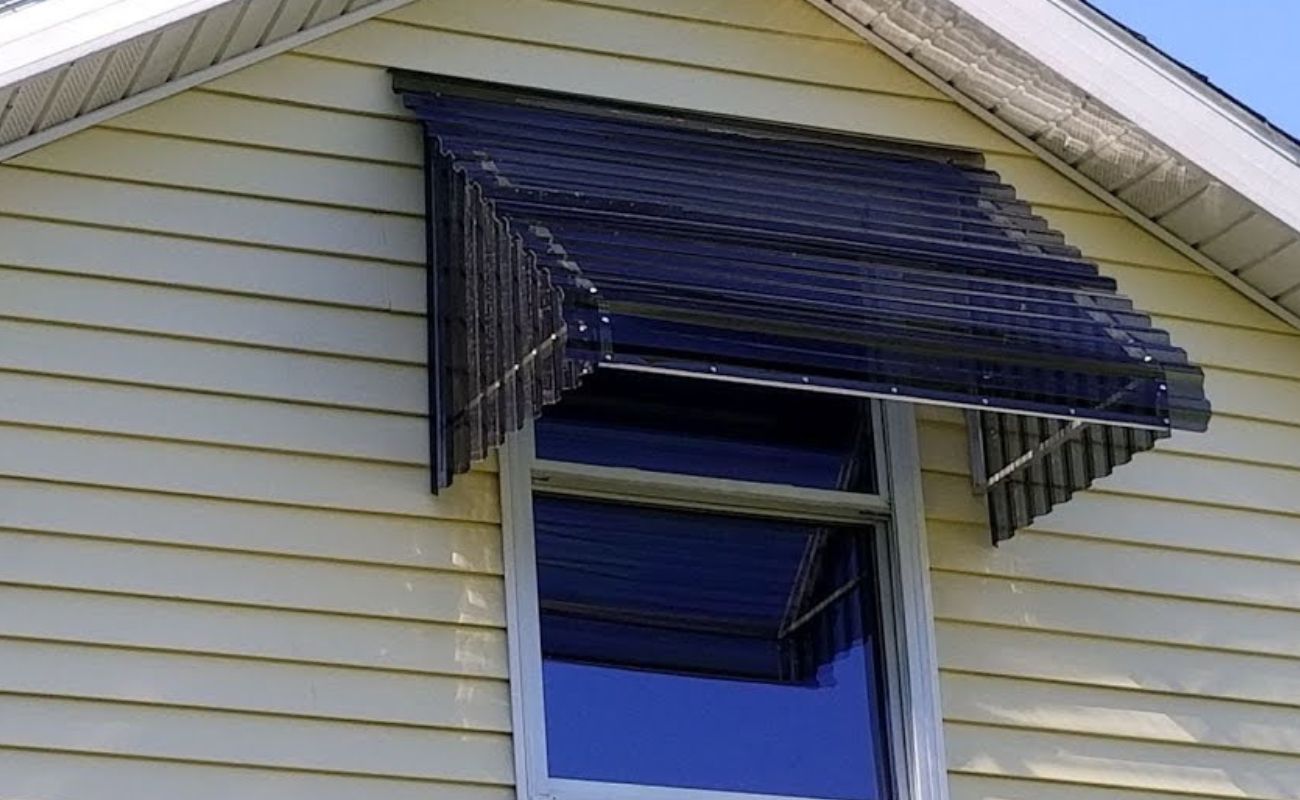
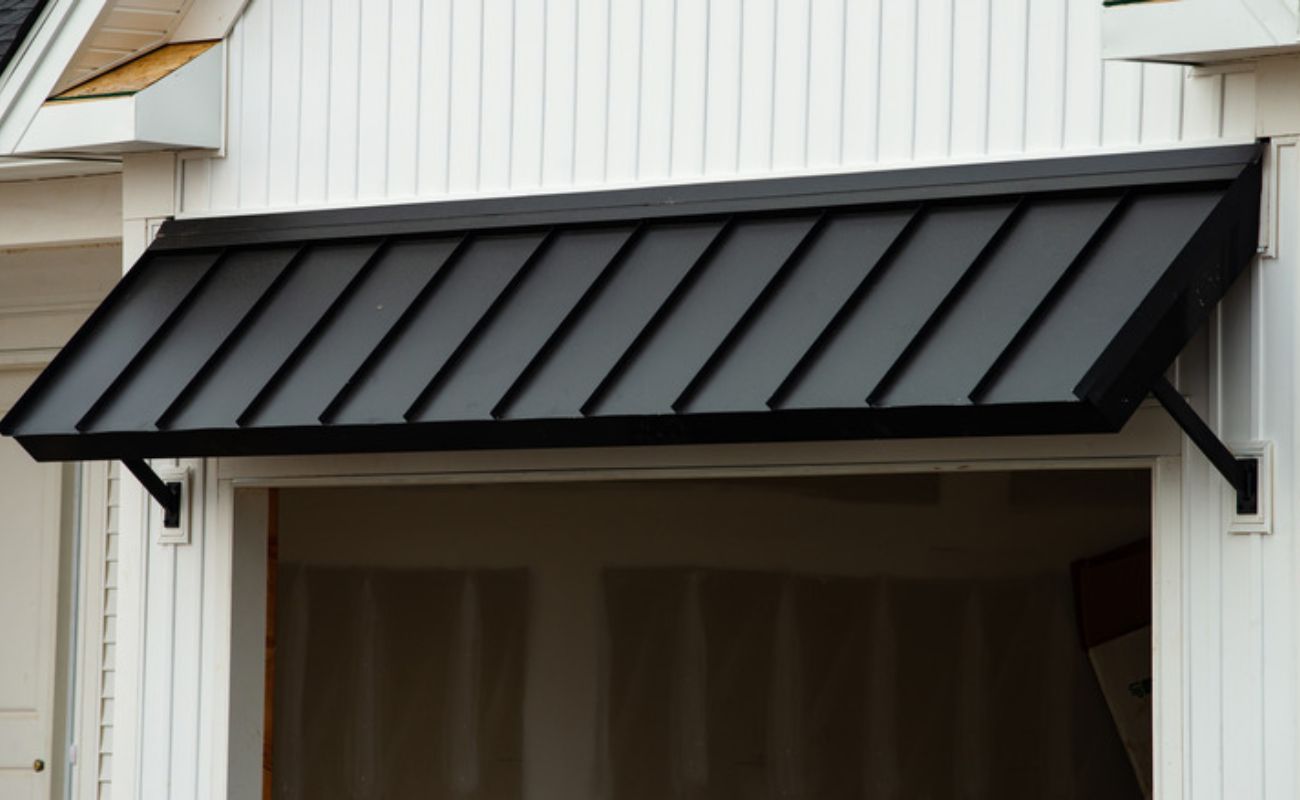
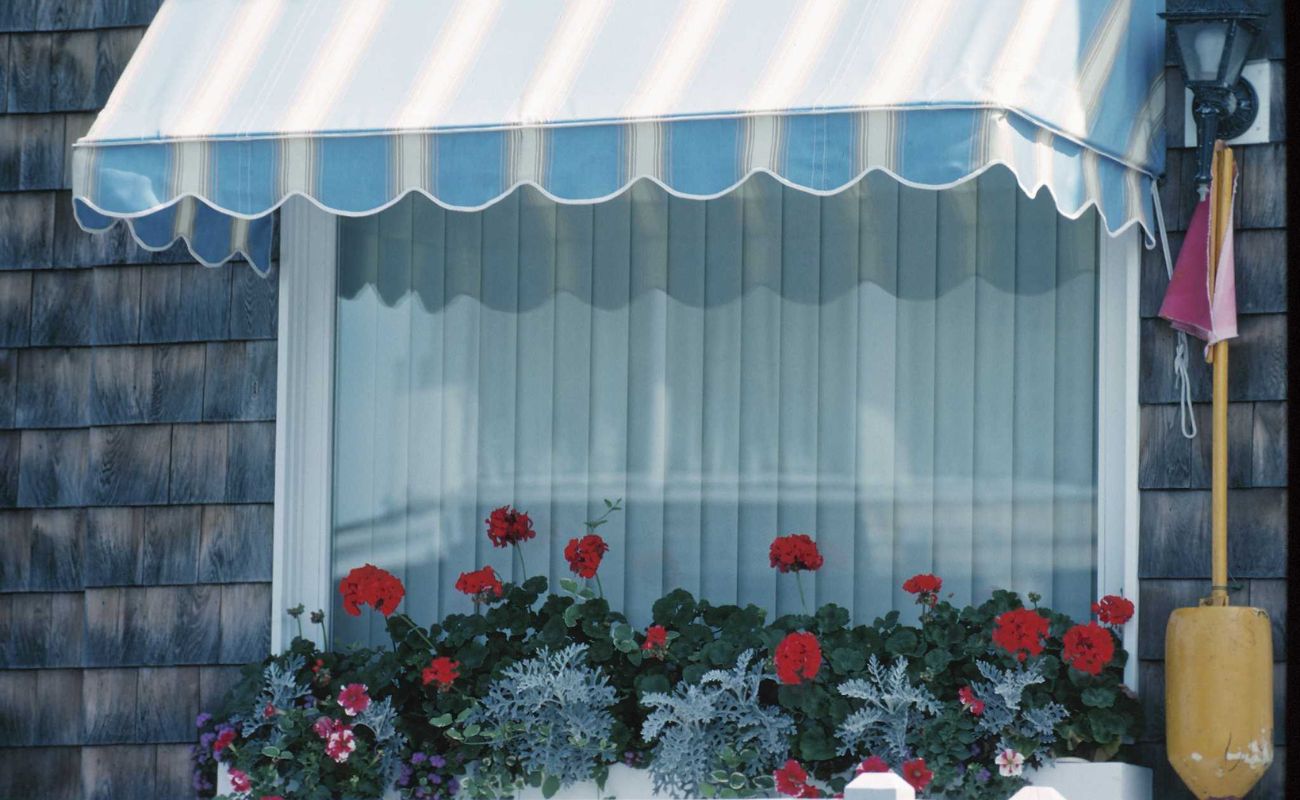
How To Build An Awning Over A Window
Modified: February 18, 2024
Learn how to build an awning over a window and enhance your outdoor space with our comprehensive guide on outdoor structures. Discover tips and ideas for creating the perfect awning.
(Many of the links in this article redirect to a specific reviewed product. Your purchase of these products through affiliate links helps to generate commission for Storables.com, at no extra cost. Learn more)
Introduction
Are you looking to enhance the aesthetic appeal of your home while also providing protection from the elements? Building an awning over a window is a fantastic way to achieve both goals. An awning not only adds a touch of charm to the exterior of your home but also shields the window from harsh sunlight, rain, and snow. Additionally, it can help reduce energy costs by shading the interior from direct sunlight, thereby decreasing the need for excessive air conditioning.
In this comprehensive guide, we will walk you through the step-by-step process of constructing an awning over a window. Whether you are a seasoned DIY enthusiast or a novice looking to embark on your first outdoor project, this guide will equip you with the knowledge and confidence to bring your vision to life.
From gathering the necessary materials and tools to installing the awning frame, attaching the fabric, and adding the finishing touches, we will cover each stage in detail. By the end of this guide, you will have the expertise to build a sturdy and visually appealing awning that complements your home"s architecture and provides valuable functionality.
So, roll up your sleeves, gather your tools, and let"s dive into the exciting world of awning construction. Whether you"re seeking a cozy spot to enjoy a cup of coffee on a rainy day or aiming to elevate your home"s curb appeal, building an awning over a window is a fulfilling project that offers both practical benefits and aesthetic value. Let"s get started!
Key Takeaways:
- Building an awning over a window enhances home aesthetics and provides weather protection. Follow step-by-step instructions to create a functional and visually appealing addition to your outdoor space.
- Regular maintenance is crucial for preserving the integrity and functionality of your window awning. Establish a routine to ensure long-term enjoyment and durability of your newly installed feature.
Read more: How To Build An Awning Over A Patio
Step 1: Gather Materials and Tools
Before embarking on the construction of your window awning, it is essential to gather all the necessary materials and tools. By ensuring that you have everything at your disposal, you can streamline the building process and minimize interruptions. Here is a comprehensive list of the materials and tools you will need:
Materials:
- Pressure-treated lumber or cedar for the frame
- Awning fabric or material of your choice
- Galvanized screws and nails
- Primer and exterior paint (if desired)
- Concrete mix (if installing posts)
- Sealant or waterproofing agent
Tools:
- Tape measure
- Level
- Drill with screwdriver bits
- Saw (circular saw or miter saw)
- Hammer
- Post hole digger (if installing posts)
- Paintbrushes or paint sprayer
- Staple gun
- Protective gear (gloves, safety goggles, etc.)
When selecting materials, opt for high-quality lumber that can withstand outdoor conditions. Pressure-treated lumber and cedar are popular choices due to their durability and resistance to rot and insects. Additionally, consider the aesthetic appeal of the awning fabric, ensuring that it complements the exterior of your home while providing the desired level of sun and weather protection.
Having the right tools at your disposal is equally crucial. A tape measure and level will help ensure accurate measurements and straight, level installations. A drill with screwdriver bits is essential for assembling the frame and attaching the fabric. Depending on your design, a saw may be needed to cut the lumber to the required dimensions.
By gathering these materials and tools, you will set the stage for a smooth and efficient construction process. With everything in hand, you can proceed to the next step with confidence, knowing that you are well-prepared to bring your window awning to fruition.
Step 2: Measure and Mark the Area
Accurate measurements and precise markings are crucial for ensuring that your window awning fits seamlessly and functions effectively. Before diving into the construction process, take the time to measure and mark the area where the awning will be installed. Here are the essential steps to follow:
Read more: How To Build An Awning Over A Door
1. Determine the Size and Placement:
Begin by deciding on the size and placement of your window awning. Consider the dimensions of the window, the desired coverage area, and the architectural style of your home. The awning should not only provide adequate protection but also harmonize with the overall design aesthetic.
2. Measure the Window and Surrounding Space:
Use a tape measure to accurately measure the width of the window and the space where the awning will be installed. Take into account any potential obstructions or architectural features that may impact the placement and size of the awning.
3. Mark the Mounting Points:
Once you have determined the ideal placement, use a pencil or chalk to mark the mounting points for the awning frame. Ensure that the marks are level and aligned with the window to maintain a symmetrical and visually appealing installation.
4. Consider Sun and Rain Angles:
Take into consideration the angle of the sun and the typical direction of rain to optimize the positioning of the awning. This strategic approach will ensure that the awning effectively shades the window and diverts rainfall away from the structure.
By meticulously measuring and marking the area, you lay the foundation for a well-fitted and functional window awning. This preparatory step sets the stage for seamless installation and contributes to the overall visual harmony of your home”s exterior. With the area accurately mapped out, you are ready to proceed to the next phase of the construction process.
Read more: How To Build An Awning Over A Deck
Step 3: Install the Awning Frame
With the area measured and marked, it’s time to move on to the installation of the awning frame. The frame serves as the structural backbone of the awning, providing stability and support for the fabric or material that will shield your window. Follow these steps to ensure a sturdy and well-constructed frame:
1. Cut the Lumber to Size:
Using a saw, carefully cut the pressure-treated lumber or cedar to the required dimensions for the frame. Ensure that the cuts are precise and that the pieces fit together seamlessly.
2. Assemble the Frame Components:
Lay out the cut lumber and begin assembling the frame components according to your design plan. Use galvanized screws and nails to secure the joints, creating a rigid and durable structure.
3. Attach the Frame to the Mounting Points:
Position the assembled frame over the previously marked mounting points. With the help of a level, ensure that the frame is perfectly aligned and then attach it securely to the exterior wall using appropriate fasteners.
Read more: What Is An Awning Window
4. Optional: Install Support Posts:
Depending on the size and design of the awning, you may need to install support posts to bolster the frame's stability. If required, dig holes at designated locations, insert the posts, and secure them with concrete mix for added strength.
By following these steps, you will establish a robust and reliable frame that forms the basis of your window awning. The careful assembly and installation of the frame are pivotal in ensuring the longevity and effectiveness of the awning. With the frame securely in place, you are ready to proceed to the next stage of the construction process, bringing you one step closer to enjoying the benefits of your newly installed window awning.
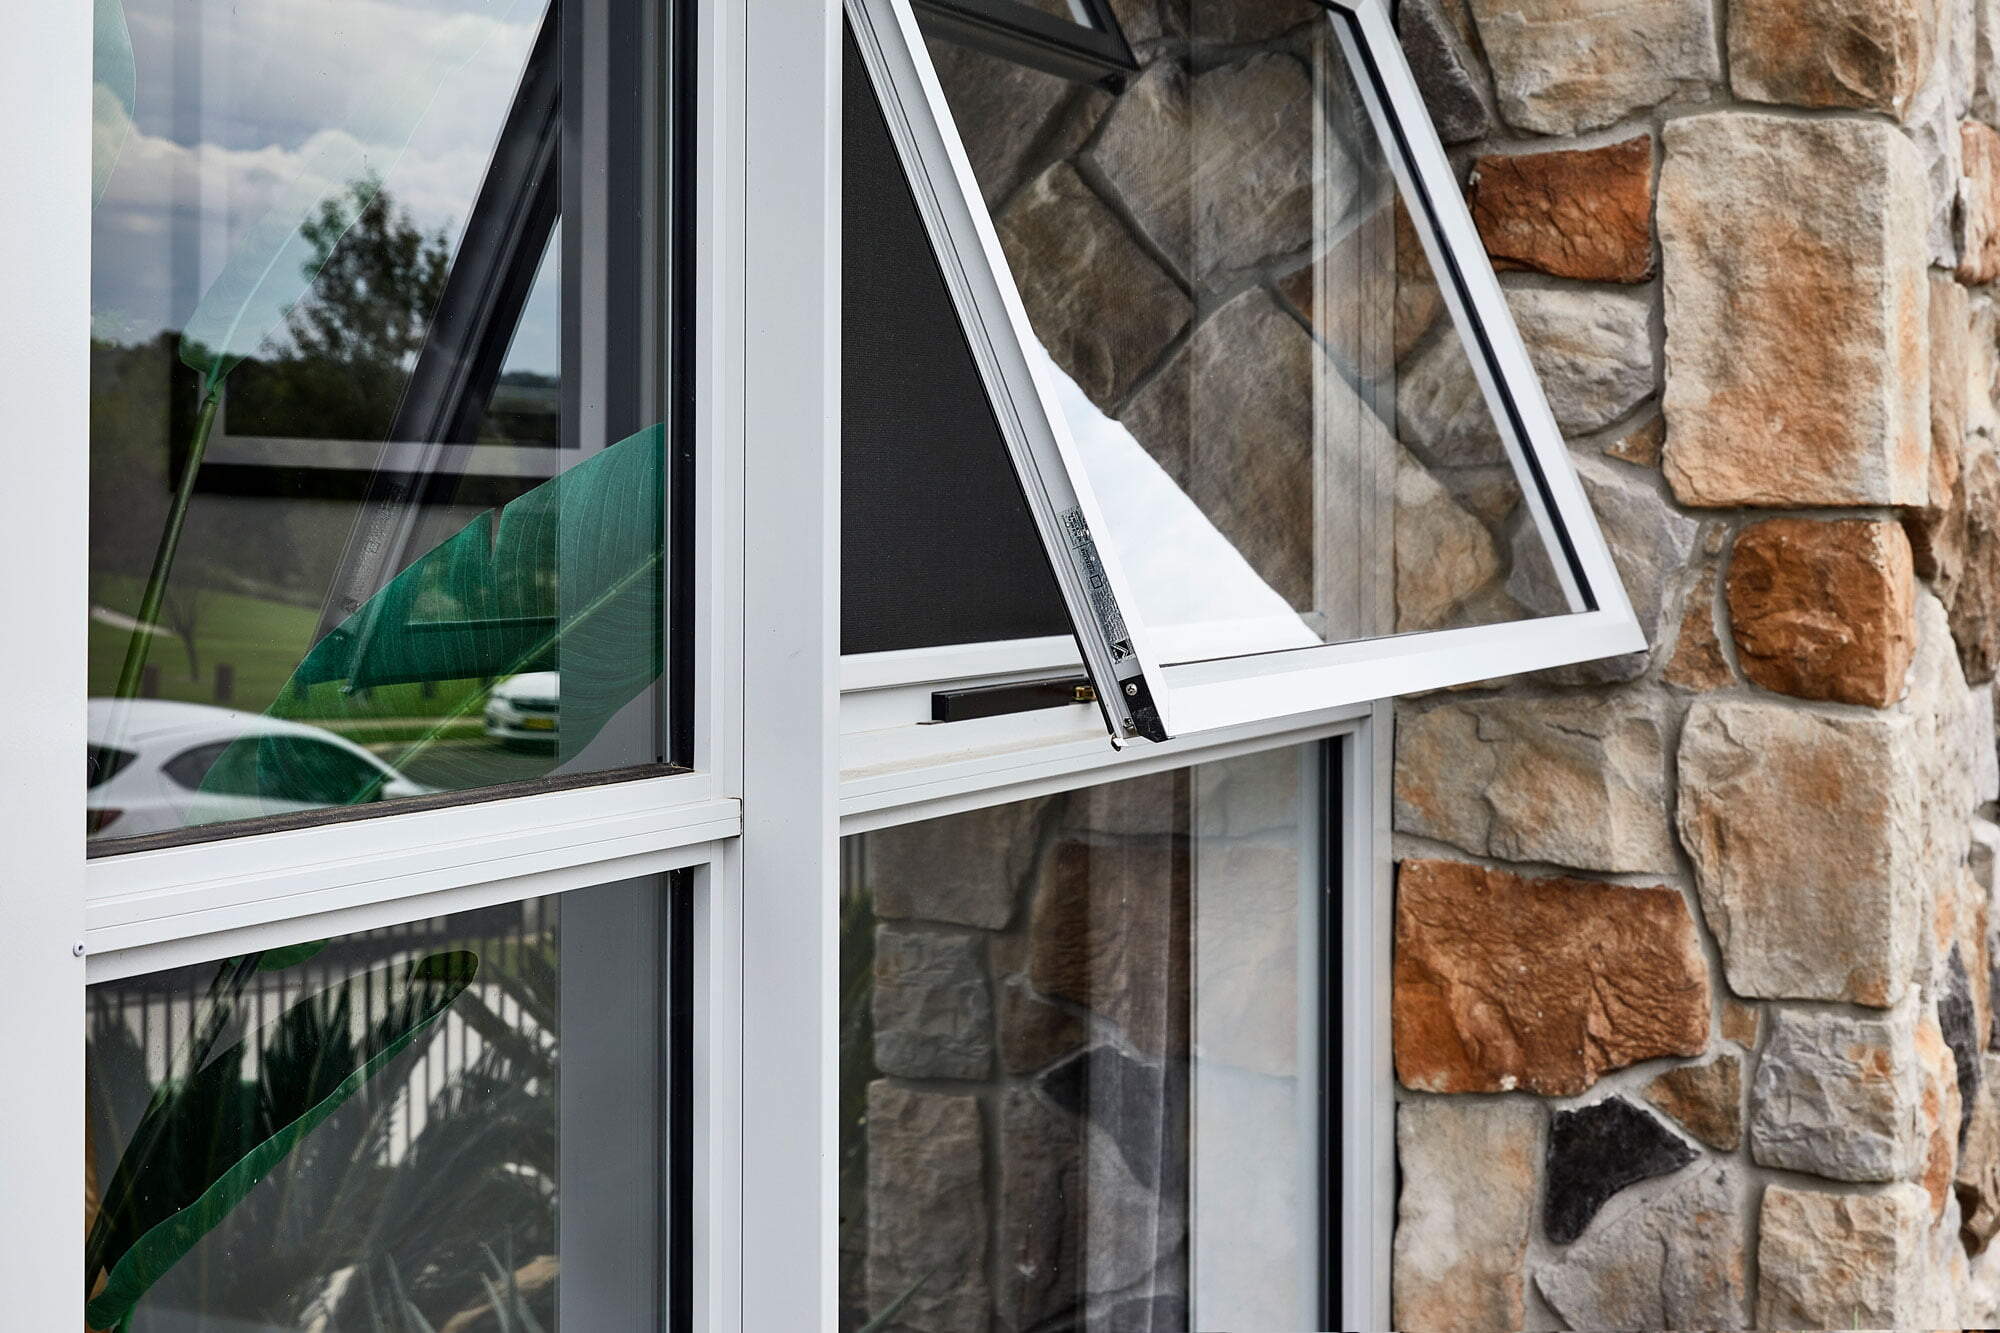
Step 4: Attach the Awning Fabric
Once the frame is securely installed, it’s time to add the fabric that will provide shade and protection to your window. The selection and attachment of the awning fabric are crucial steps that contribute to both the functionality and visual appeal of the awning. Follow these steps to attach the fabric with precision and care:
1. Choose the Right Fabric:
Select a durable, weather-resistant fabric that suits your aesthetic preferences and complements the exterior of your home. Common options include canvas, polyester, and acrylic fabrics, each offering unique benefits such as UV protection and water repellency.
2. Cut the Fabric to Size:
Carefully measure and cut the selected fabric to the dimensions required to cover the frame adequately. Leave a slight overhang on all sides to ensure comprehensive coverage and effective protection.
Read more: How To Build An Awning
3. Secure the Fabric to the Frame:
With the help of a staple gun, begin attaching the fabric to the frame, starting from one end and working your way across. Pull the fabric taut as you staple it in place, ensuring a smooth and wrinkle-free surface.
4. Create a Clean Edge:
If desired, add a decorative trim or binding to the edges of the fabric for a polished and professional finish. This not only enhances the visual appeal but also reinforces the fabric, prolonging its lifespan.
5. Apply Waterproofing Sealant:
To enhance the fabric’s longevity and weather resistance, consider applying a waterproofing sealant or fabric protector. This additional step can safeguard the fabric from moisture and UV damage, ensuring long-term durability.
By following these steps, you will effectively attach the awning fabric, transforming the frame into a functional and visually appealing window awning. The careful selection and precise installation of the fabric are pivotal in ensuring that your awning not only offers protection but also enhances the exterior aesthetics of your home. With the fabric securely in place, you are ready to move on to the next phase of the construction process, bringing you closer to the completion of your window awning project.
Step 5: Secure the Awning in Place
With the awning fabric successfully attached, the next crucial step is to secure the awning in place to ensure its stability and longevity. Properly securing the awning will prevent it from being compromised by strong winds and other external forces. Follow these essential steps to securely fasten your awning:
Read more: How To Remove An Awning Window
1. Inspect and Reinforce the Mounting Points:
Check the fasteners and mounting points to ensure that they are firmly secured to the exterior wall. Reinforce any loose connections and ensure that the frame is solidly anchored in place.
2. Test the Stability:
Apply gentle pressure to the awning frame to test its stability. Ensure that it can withstand light to moderate forces without shifting or wobbling. Address any instability by adjusting the fasteners or reinforcing the frame as needed.
3. Consider Additional Support:
Depending on the size and design of the awning, consider adding additional support features such as braces or tie-downs. These elements can further enhance the stability of the awning, especially in areas prone to high winds or inclement weather.
4. Apply Weatherproofing Sealant:
To fortify the awning’s resilience against the elements, apply a weatherproofing sealant to the frame and mounting points. This protective measure can safeguard the awning from moisture, rust, and other weather-related damage.
Read more: How To Clean Awning Windows
5. Perform a Final Inspection:
Conduct a comprehensive inspection of the entire awning structure, ensuring that all components are securely fastened and that the fabric is taut and wrinkle-free. Address any potential issues and make necessary adjustments to guarantee the awning’s stability and functionality.
By following these steps, you will effectively secure the awning in place, ensuring that it can withstand varying weather conditions and external forces. The meticulous attention to stability and weatherproofing measures will contribute to the long-term durability and effectiveness of your window awning. With the awning securely fastened, you are now ready to move on to the final phase of the construction process, bringing you one step closer to enjoying the benefits of your newly installed window awning.
Step 6: Finishing Touches and Maintenance
As you near the completion of your window awning construction, it’s essential to focus on the finishing touches that enhance both the functionality and visual appeal of the structure. Additionally, understanding the maintenance requirements will ensure that your awning remains in optimal condition for years to come. Let’s explore the final steps and maintenance considerations:
1. Add Decorative Elements:
Consider incorporating decorative elements such as trim, valances, or ornamental brackets to personalize and elevate the aesthetic appeal of your window awning. These embellishments can complement your home’s architectural style and add a touch of charm to the exterior.
2. Apply a Protective Finish:
If you’ve opted for a natural wood frame, applying a protective finish such as exterior paint or wood sealant can enhance its durability and resistance to weather-related damage. Choose a finish that complements your home’s exterior color scheme for a cohesive look.
Read more: How To Open An Awning Window
3. Establish a Maintenance Routine:
Regular maintenance is crucial for preserving the integrity of your window awning. Develop a maintenance routine that includes cleaning the fabric, inspecting the frame for signs of wear or damage, and addressing any issues promptly to prevent deterioration.
4. Clean the Awning Fabric:
Periodically clean the awning fabric to remove dirt, debris, and mildew. Follow the manufacturer’s guidelines for cleaning to avoid damaging the fabric, and consider using a gentle cleanser and soft brush to maintain its appearance and longevity.
5. Inspect for Wear and Damage:
Routinely inspect the awning frame, fabric, and mounting points for any signs of wear, rust, or structural issues. Addressing minor concerns promptly can prevent them from developing into more significant problems and extend the lifespan of your awning.
6. Address Weather-related Impacts:
After severe weather events, inspect the awning for any damage or displacement. Address any issues promptly, and reinforce the awning as needed to ensure its continued stability and functionality.
By focusing on these finishing touches and maintenance considerations, you will ensure that your window awning not only enhances the visual appeal of your home but also remains a reliable and durable feature for years to come. The combination of thoughtful design elements and proactive maintenance will contribute to the long-term enjoyment and functionality of your newly installed window awning, providing valuable protection and aesthetic appeal to your home’s exterior.
Read more: How To Build An Awning Frame
Conclusion
Congratulations on completing the construction of your window awning! By following the comprehensive steps outlined in this guide, you have transformed the exterior of your home while adding a functional and visually appealing feature. Building an awning over a window not only enhances the aesthetic charm of your home but also provides valuable protection from the elements. Whether you embarked on this project to create a cozy outdoor nook or to shield your window from harsh sunlight and inclement weather, your new awning is a testament to your craftsmanship and dedication.
Throughout the construction process, you meticulously gathered materials, measured and marked the area, installed the frame, attached the fabric, and secured the awning in place. Each step was a testament to your attention to detail and commitment to creating a durable and visually striking addition to your home’s exterior.
As you admire the completed window awning, take pride in the personalized touches and finishing details that reflect your unique style and complement your home’s architecture. The decorative elements and protective finishes serve as a testament to your creativity and vision, adding a touch of character to your outdoor space.
Looking ahead, remember that regular maintenance is key to preserving the integrity and functionality of your window awning. By establishing a maintenance routine and promptly addressing any signs of wear or damage, you can ensure that your awning remains a steadfast and enduring feature of your home for years to come.
Whether you’re enjoying a leisurely afternoon on a shaded patio or marveling at the enhanced curb appeal of your home, your window awning stands as a testament to your dedication to creating a welcoming and protective outdoor environment. As you bask in the satisfaction of completing this project, take pride in the craftsmanship and creativity that have transformed your vision into a tangible and enduring addition to your home.
With your newfound expertise in awning construction, you are well-equipped to tackle future outdoor projects and continue enhancing your living space with personalized and functional features. From all of us at [Your Company Name], we commend your dedication and skill in bringing this project to fruition, and we hope that your window awning brings joy, comfort, and lasting value to your home for years to come.
Frequently Asked Questions about How To Build An Awning Over A Window
Was this page helpful?
At Storables.com, we guarantee accurate and reliable information. Our content, validated by Expert Board Contributors, is crafted following stringent Editorial Policies. We're committed to providing you with well-researched, expert-backed insights for all your informational needs.


0 thoughts on “How To Build An Awning Over A Window”