Articles
How To Replace Porch Floorboards
Modified: January 6, 2024
Learn how to replace porch floorboards with step-by-step instructions and helpful tips in this informative articles. Replace your damaged porch floorboards easily and efficiently.
(Many of the links in this article redirect to a specific reviewed product. Your purchase of these products through affiliate links helps to generate commission for Storables.com, at no extra cost. Learn more)
Introduction
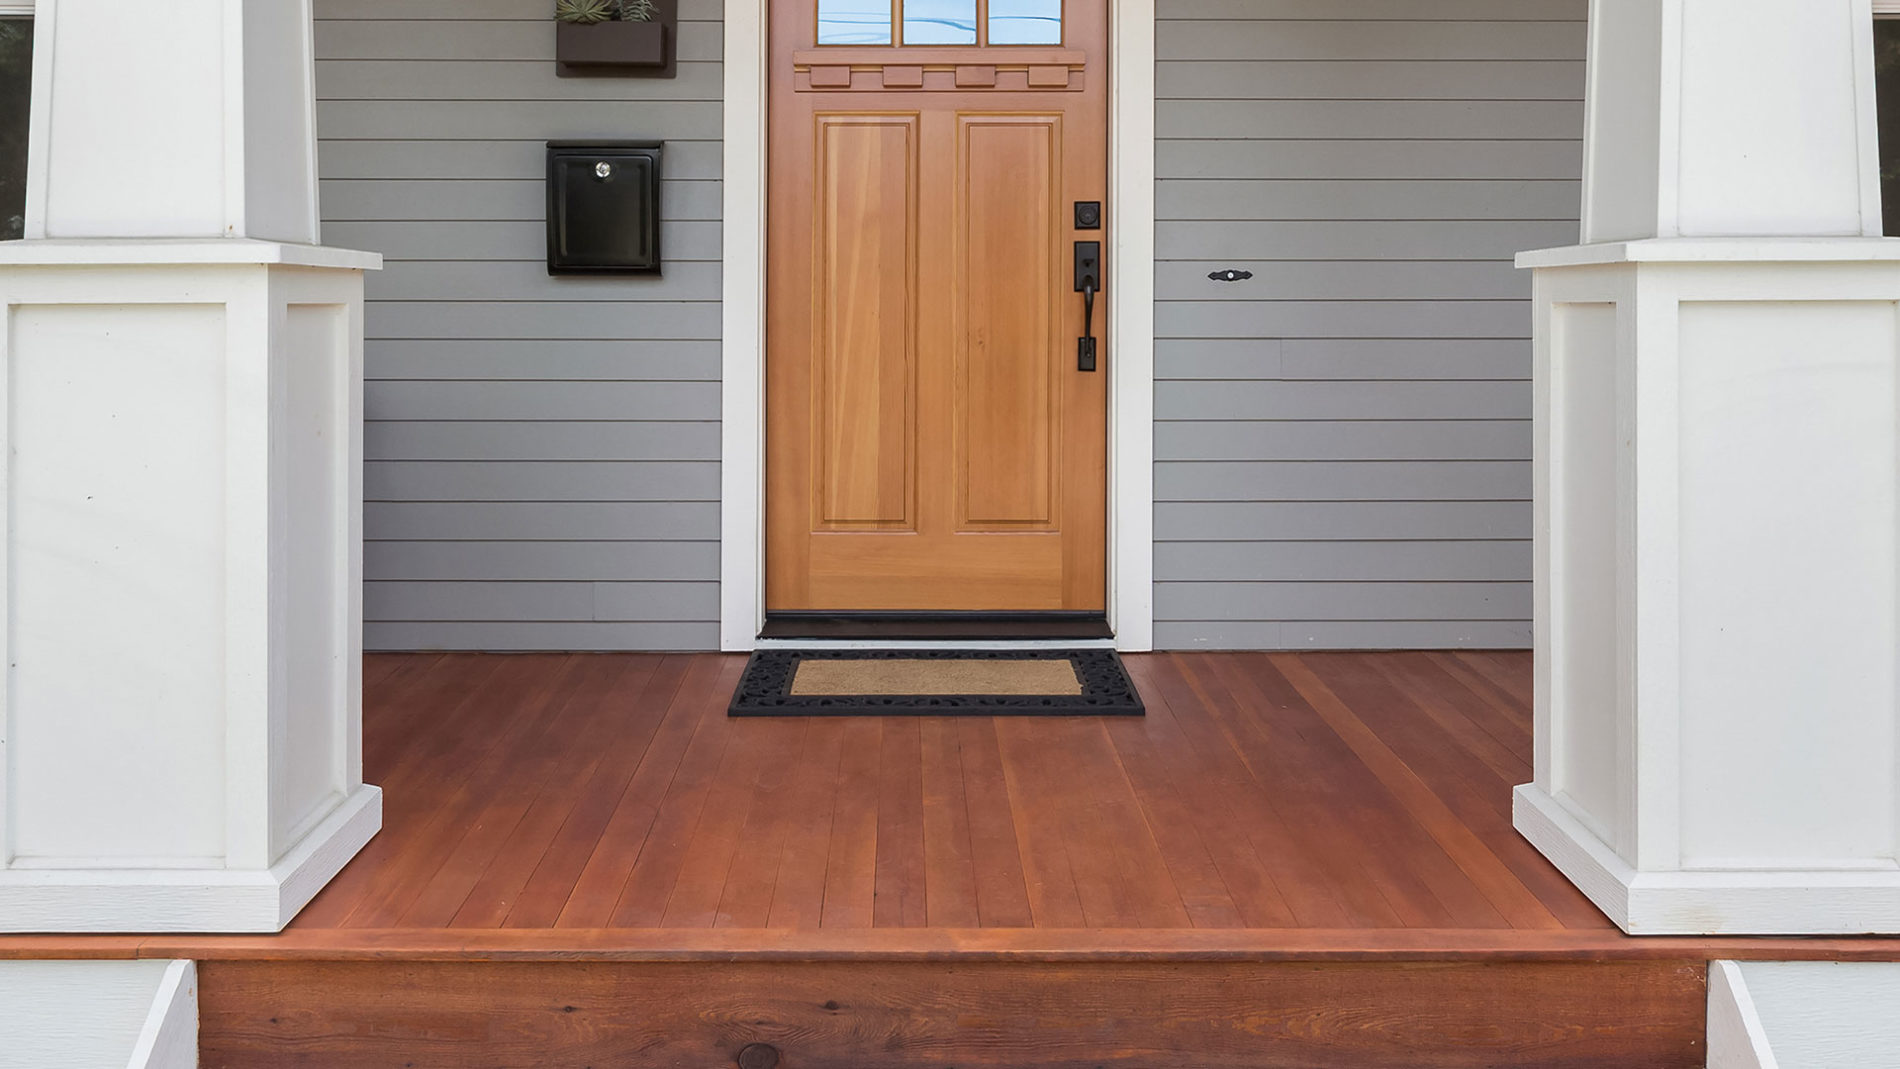
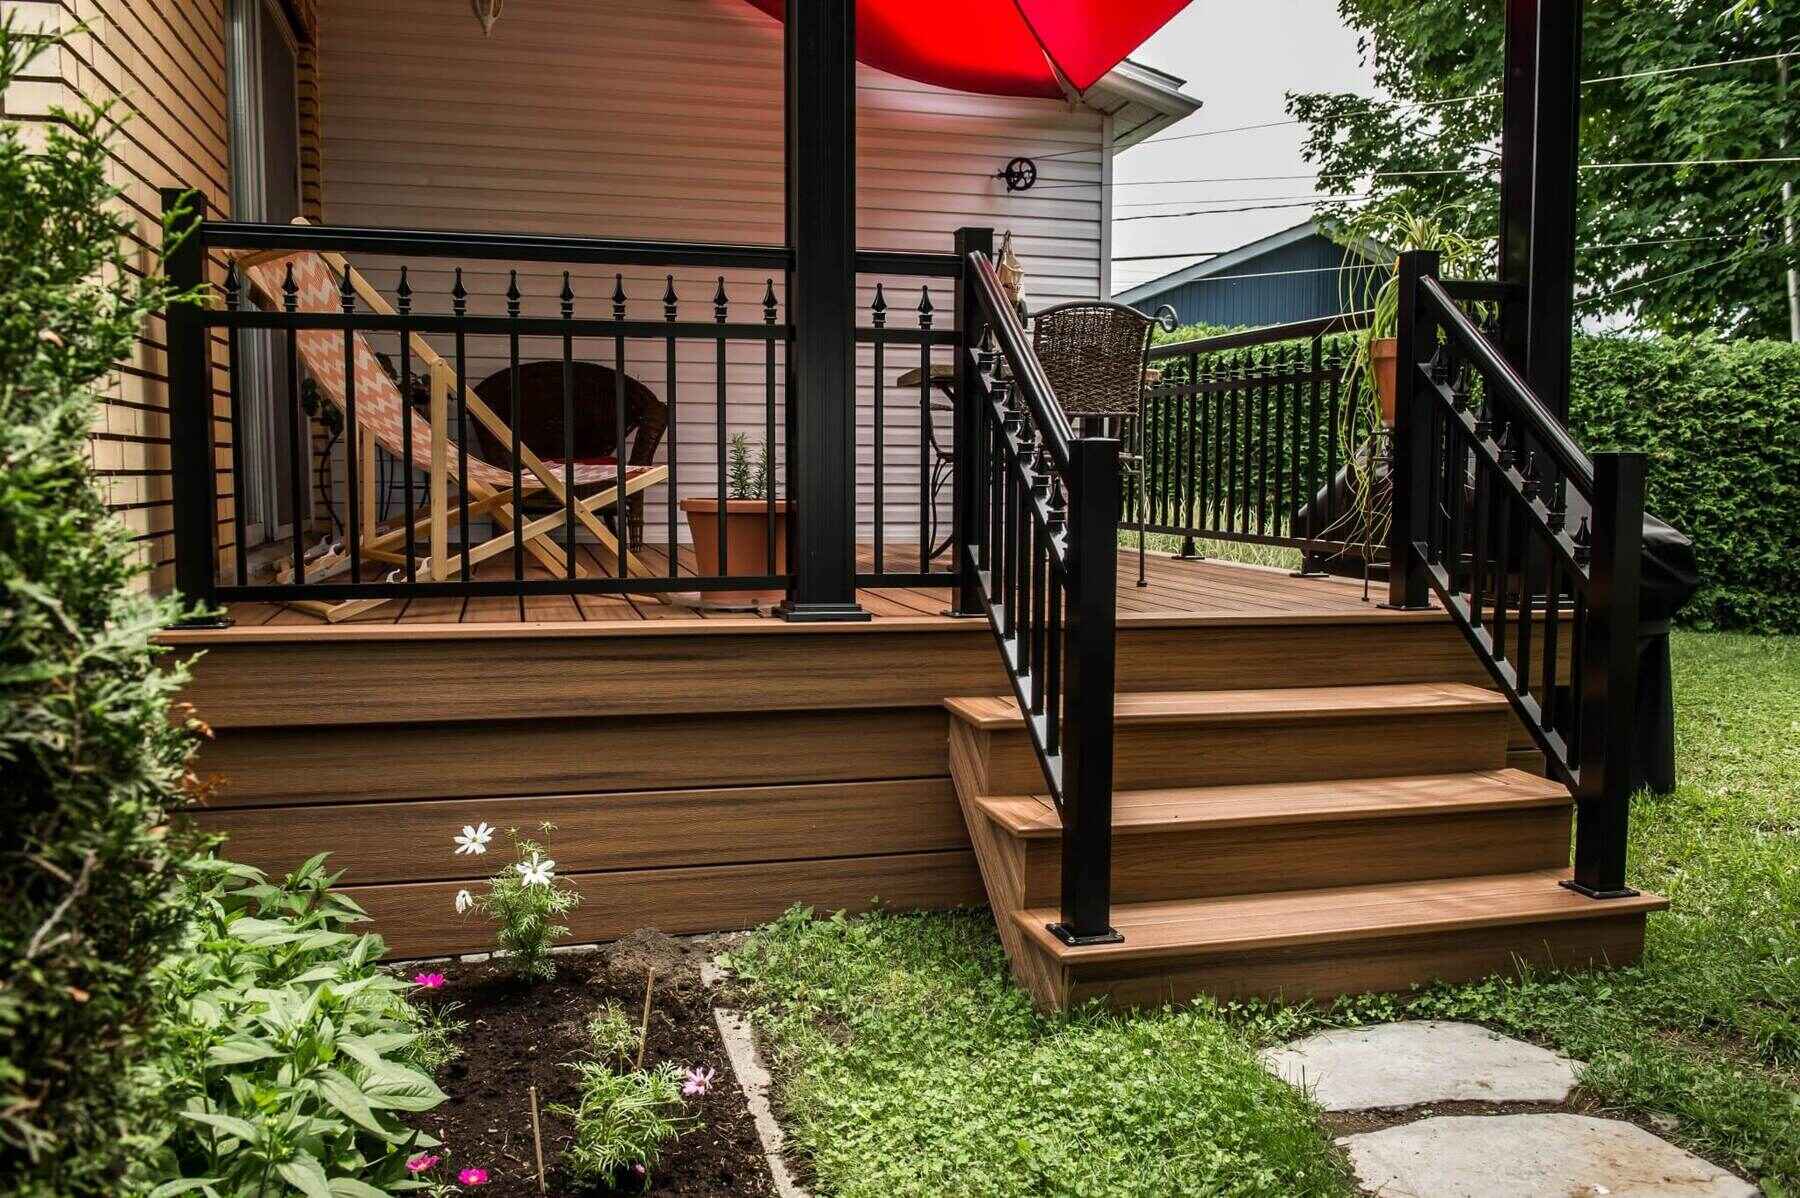
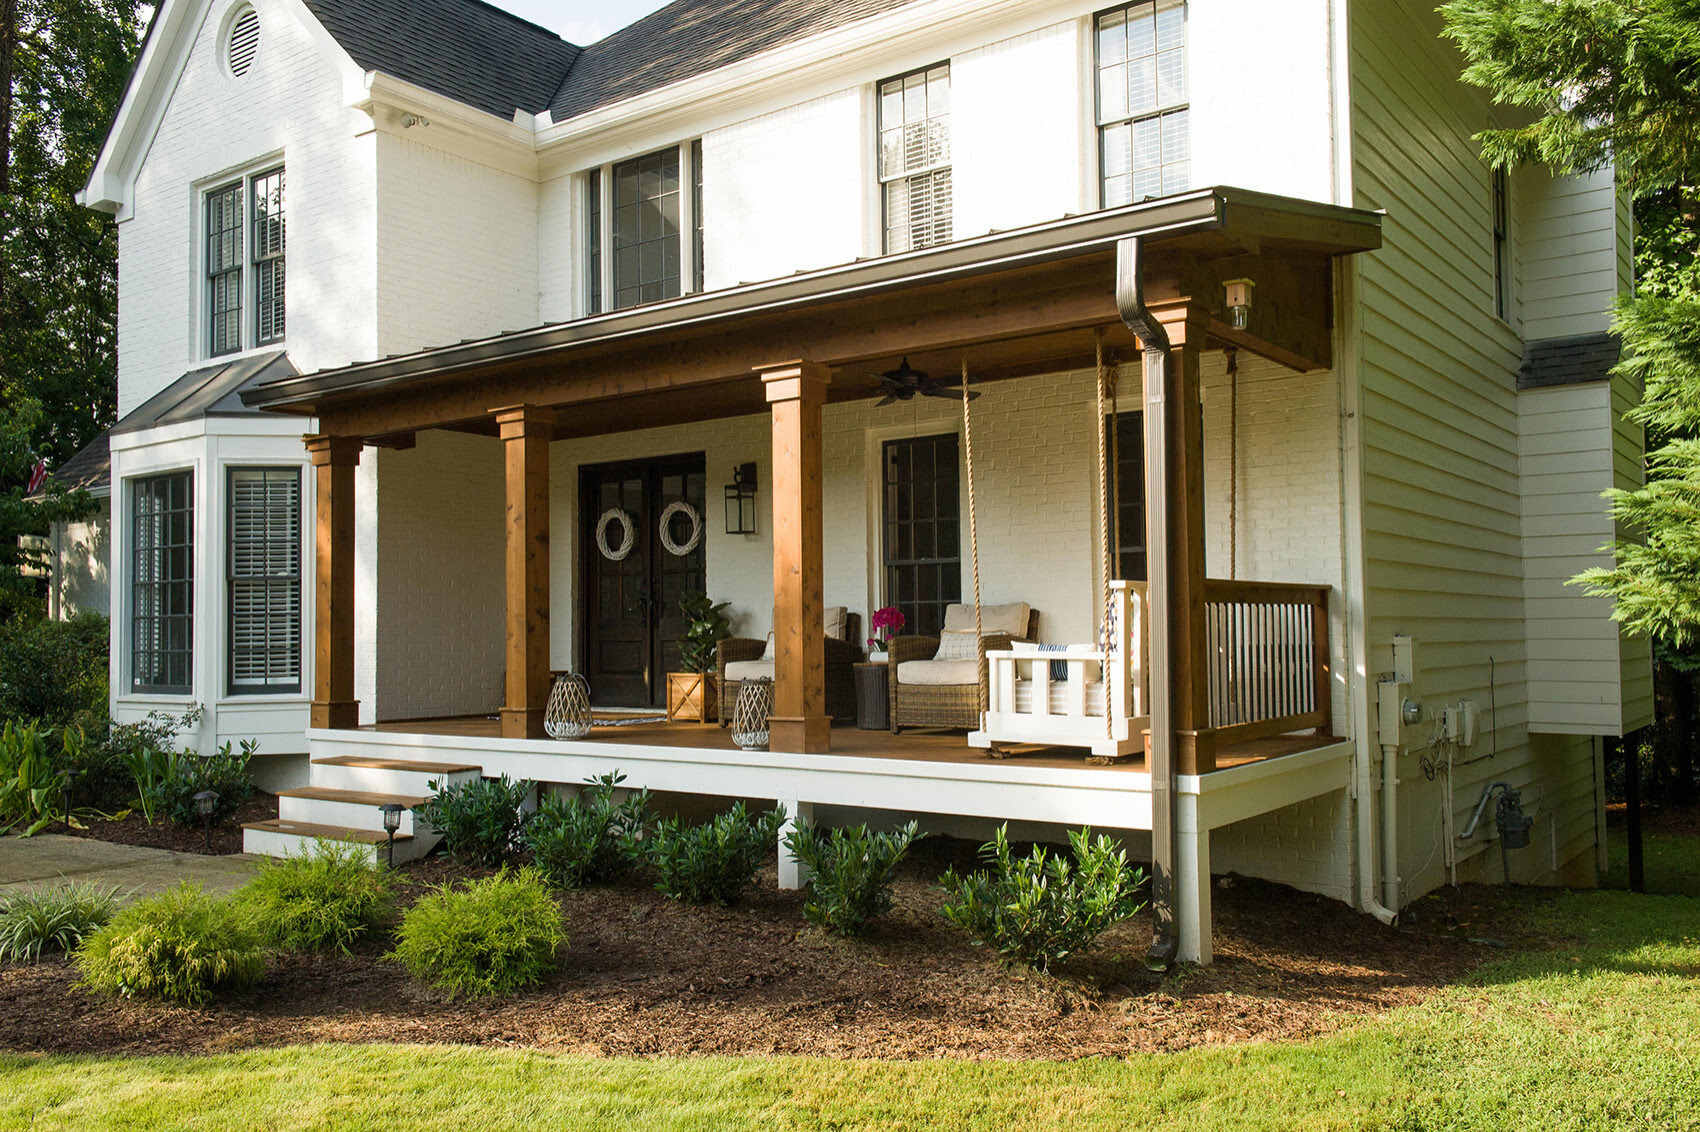
Replacing porch floorboards is a common home improvement project that can breathe new life into your outdoor space. Over time, porch floorboards can become worn, warped, or damaged, detracting from the overall appearance and functionality of your porch. Whether you’re looking to restore the original charm of your porch or simply want to upgrade to a more durable and attractive flooring material, replacing porch floorboards can make a significant difference.
In this article, we will guide you through the step-by-step process of replacing porch floorboards. From removing the old floorboards to sanding and finishing the new ones, we’ll cover all the essential steps to ensure a successful and long-lasting porch upgrade.
Before we dive into the details, it’s important to note that the complexity of the project may vary depending on the specific design and condition of your porch. It’s always a good idea to assess the scope of the project and gather the necessary tools and materials before getting started.
Ready to revamp your porch? Let’s get started with step one: removing the old porch floorboards.
Key Takeaways:
- Revamp your outdoor space by replacing worn porch floorboards with a step-by-step guide, ensuring a durable and attractive upgrade for a beautiful and functional porch.
- Transform your porch with professional results by carefully inspecting, measuring, and securing new floorboards, followed by sanding and finishing for a polished and long-lasting outdoor surface.
Read more: How To Replace Porch Post
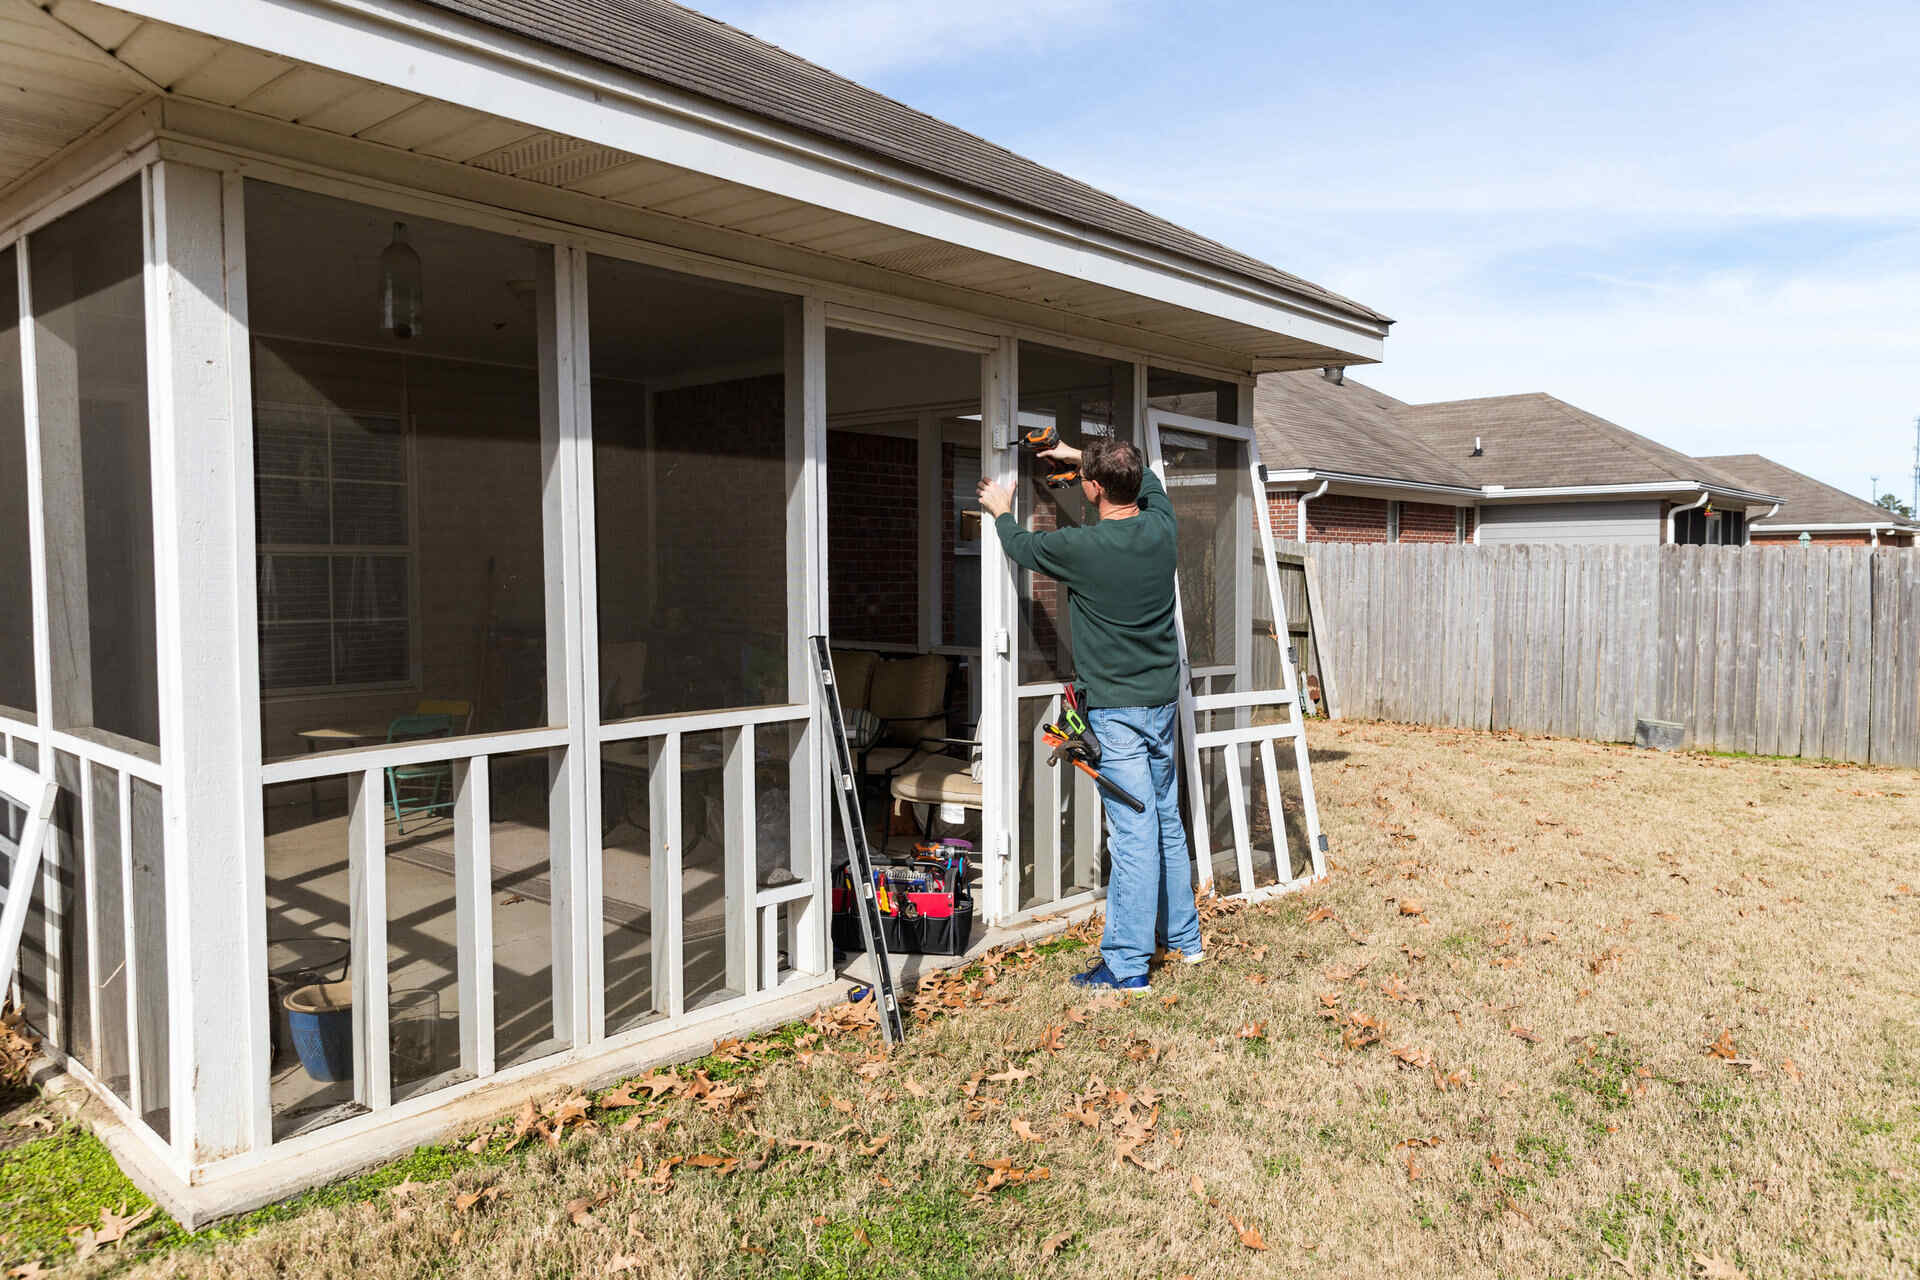
Step 1: Remove Old Porch Floorboards
The first step in replacing porch floorboards is to remove the old ones. This may require some physical effort and careful handling to avoid causing any damage to the surrounding structure.
1. Begin by clearing the porch of any furniture or obstacles to create a safe and accessible working area.
2. Inspect the floorboards for any nails or screws that may be securing them in place. Use a pry bar or claw hammer to carefully remove these fasteners.
3. Starting at one end of the porch, identify the first floorboard you wish to remove. Insert the pry bar underneath the board and gently apply pressure to lift it slightly.
4. Once the first board is raised, insert a sturdy wooden block underneath it to keep it elevated. This will prevent the board from snapping back into place while you continue removing the others.
5. Repeat the process for each floorboard, working your way across the porch until all the old floorboards are removed.
6. As you remove each floorboard, inspect the underlying joists and subfloor for any signs of damage or decay. If you notice any issues, take the time to repair or replace these components before proceeding.
Removing old porch floorboards can be a labor-intensive task, especially if they are nailed or screwed down securely. Take your time, exercise caution, and enlist the help of a partner if needed. Once all the old floorboards are removed and the subfloor is in good condition, you’re ready to move on to step two: inspecting and preparing the subfloor.
Step 2: Inspect and Prepare the Subfloor
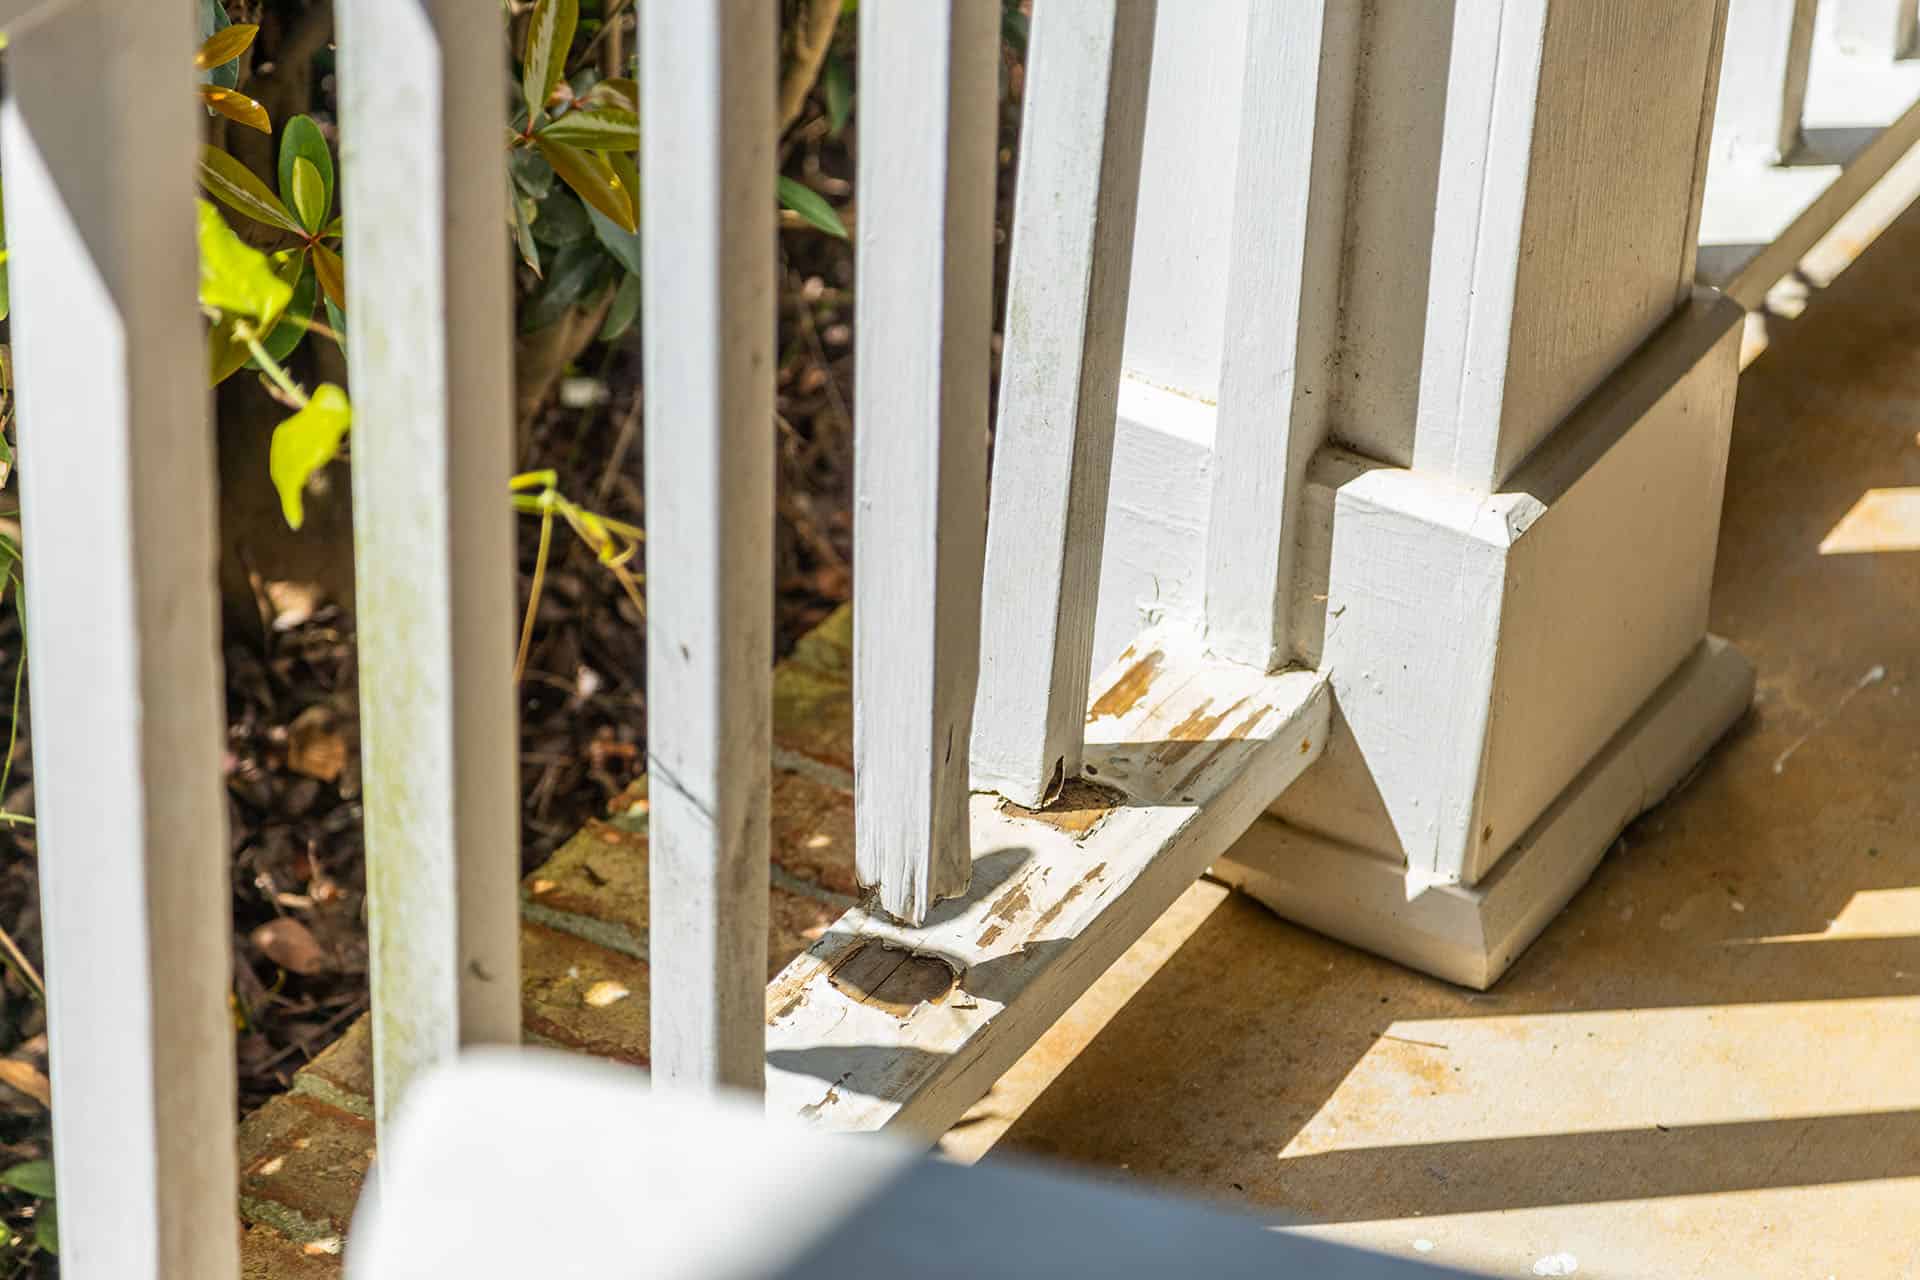
After removing the old porch floorboards, it’s essential to inspect and prepare the subfloor before installing the new floorboards. This step ensures a stable and secure foundation for your porch flooring.
1. Carefully examine the subfloor for any signs of damage, rot, or termite infestation. If any issues are detected, it’s crucial to address them before proceeding. Replace any damaged sections of the subfloor and treat any pest problems accordingly.
2. Clean the subfloor thoroughly by removing any dirt, debris, or remaining nails. Use a broom, vacuum, or scraper to ensure a clean and smooth surface.
3. Check the levelness of the subfloor using a long straightedge or level. Identify any areas that are not level and mark them for further adjustment.
4. If necessary, use a belt sander or hand plane to level out any uneven sections of the subfloor. Take your time and make gradual adjustments to achieve a flat and even surface.
5. Once the subfloor is level, it’s a good idea to apply a layer of primer or sealant to protect it from moisture and provide a better bonding surface for the new floorboards.
6. Allow the primer or sealant to dry according to the manufacturer’s instructions before proceeding with the installation of the new floorboards.
By carefully inspecting and preparing the subfloor, you are ensuring a sturdy and long-lasting foundation for your new porch floor. With the subfloor prepped and ready, it’s time to move on to step three: measuring and cutting the replacement floorboards.
Step 3: Measure and Cut Replacement Floorboards
Once the subfloor is prepared, it’s time to measure and cut the replacement floorboards for your porch. Accurate measurements and precise cuts are crucial for a professional-looking installation.
1. Begin by measuring the length and width of the porch area where the new floorboards will be installed. Take into account any necessary gaps or spacing between the boards for expansion and contraction.
2. Use a measuring tape and mark the measurements on the replacement floorboards. Double-check your measurements to ensure accuracy and make any necessary adjustments.
3. Before cutting the floorboards, be sure to use appropriate safety measures such as wearing safety goggles and gloves. Also, ensure that your cutting tools are sharp and in good condition.
4. Depending on the type of floorboards you are using, you may need to make cuts using a circular saw, jigsaw, or another suitable cutting tool. Follow the manufacturer’s instructions and use a straight edge or guide to ensure clean and straight cuts.
5. Take precautions to minimize any potential splintering or damage to the newly cut floorboards. Use painter’s tape or a similar protective layer on the cut line to help prevent splintering.
6. Once the floorboards are cut to the desired dimensions, dry-fit them in the porch area to ensure they align properly and fit snugly. Make any necessary adjustments to the cuts if needed.
7. Label the underside of each floorboard for easier installation. This will help you keep track of the orientation and placement of each board during the installation process.
By taking the time to accurately measure and cut the replacement floorboards, you are setting the stage for a seamless and professional installation. With the floorboards ready, it’s time to secure them in place which leads us to step four: securing the new floorboards.
When replacing porch floorboards, make sure to measure and cut the new boards accurately to ensure a proper fit. Use a pry bar to remove the old boards and secure the new ones with galvanized screws for durability.
Step 4: Secure New Floorboards in Place
With the replacement floorboards cut to size, it’s time to secure them in place on your porch. Proper installation ensures stability and longevity for your new porch flooring.
1. Begin by starting at one end of the porch and working your way across. Align the first floorboard with the edge of the subfloor, leaving a small gap (about 1/4 inch) for expansion.
2. Use a nail gun or drill to secure the floorboard to the subfloor. Place fasteners approximately 1 inch from the edge of the board, ensuring they penetrate both the board and the subfloor.
3. Continue installing the rest of the floorboards in a similar manner, maintaining a consistent gap between each board. Check for levelness as you go, adjusting if necessary.
4. If you prefer a more traditional look, you may choose to use screws instead of nails. Pre-drill holes through the floorboards and into the subfloor, then secure the boards with screws.
5. To achieve a clean and professional finish, sink the nails or screws slightly below the surface of the floorboards. Use a nail punch or countersink bit to create a small hole for the fastener heads.
6. Repeat the process, securing each floorboard until you reach the opposite end of the porch. Double-check for any loose or uneven boards and make any necessary adjustments.
7. For added strength and stability, consider adding an adhesive or construction adhesive between the floorboards and the subfloor. Consult the manufacturer’s recommendations for the best adhesive to use for your specific flooring material.
By securely fastening the new floorboards in place, you are ensuring a sturdy and durable porch surface. With the floorboards securely installed, it’s time to move on to step five: sanding and finishing the porch floor.
Read more: How To Replace Porch Light
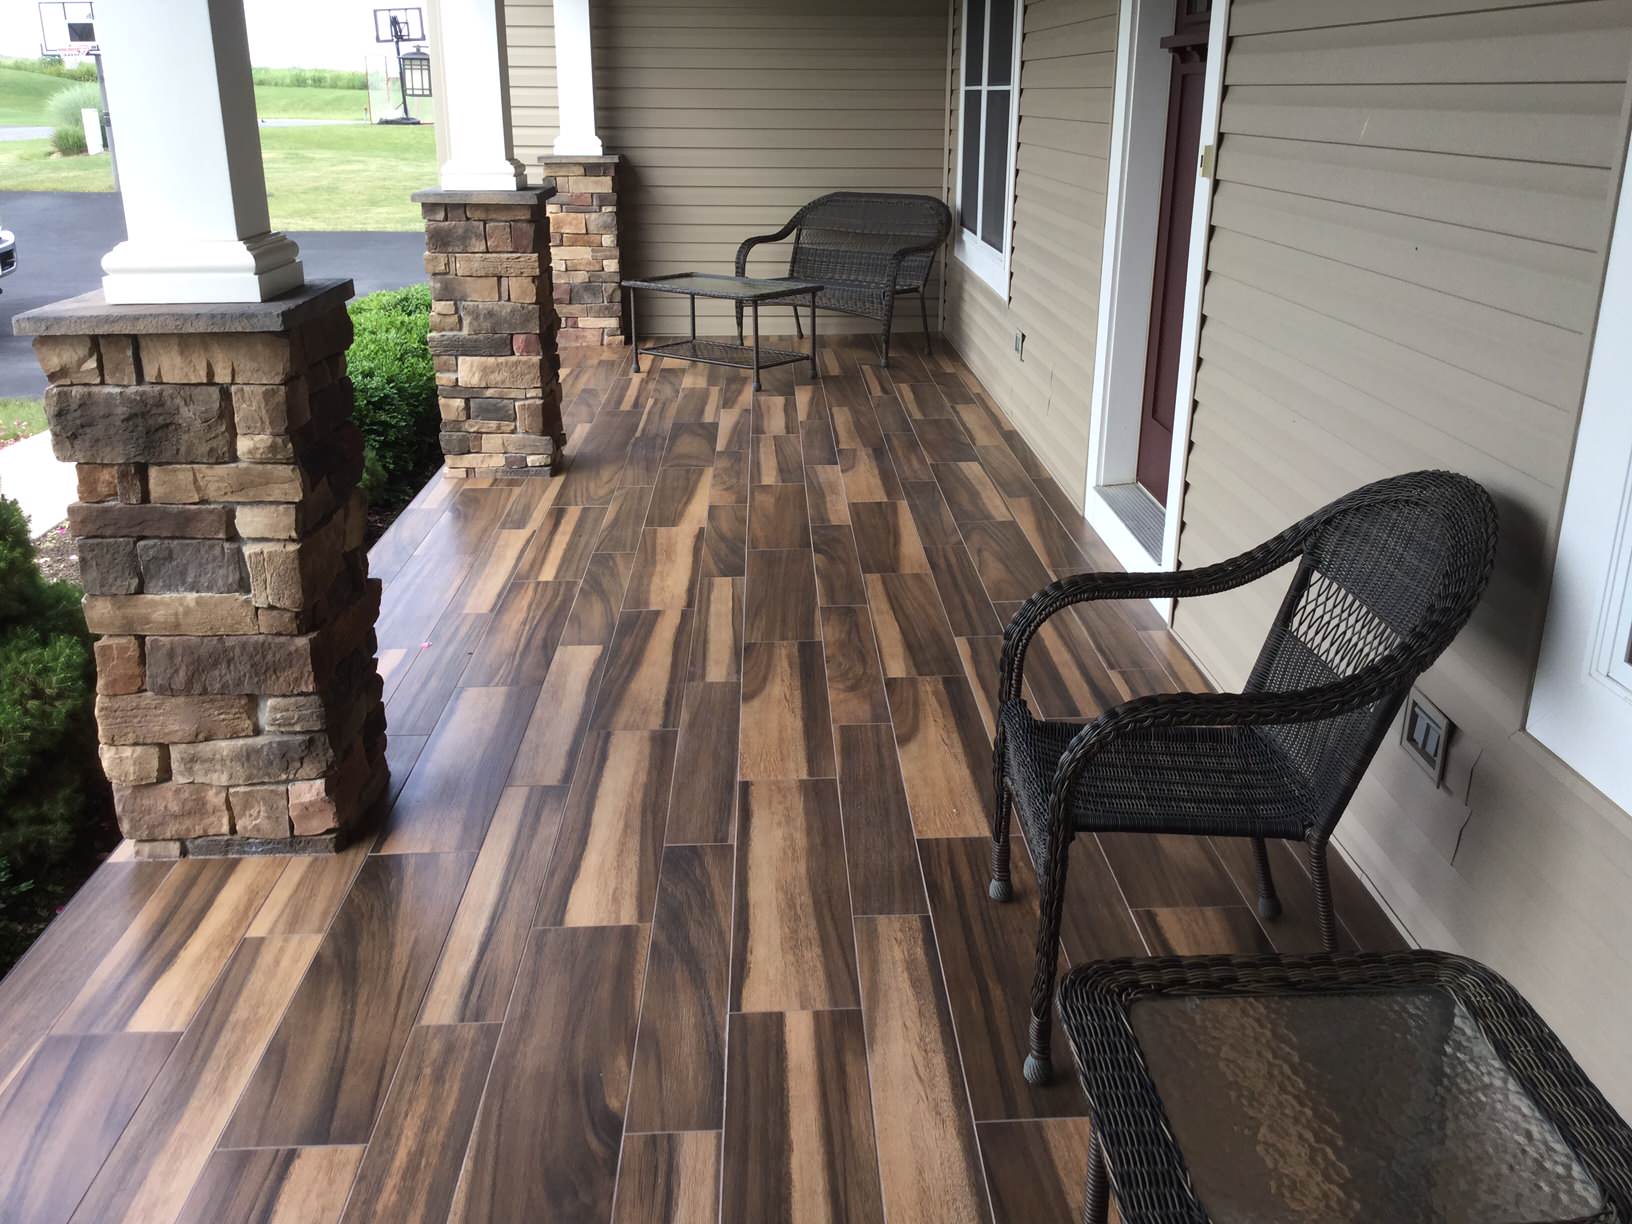
Step 5: Sand and Finish the Porch Floor
After securing the new floorboards in place, it’s time to give your porch floor a finished and polished look. Sanding and finishing will not only enhance the appearance of the floor but also protect it from wear and tear.
1. Begin by thoroughly cleaning the porch floor, removing any dust, debris, or loose particles. You can use a broom or vacuum to ensure a clean surface for sanding.
2. Choose the appropriate sandpaper grit for your porch floor. Start with a coarser grit (around 80 to 100) to remove any rough spots or imperfections. Then move to a finer grit (around 150 to 180) to achieve a smoother finish.
3. Sand the entire porch floor, following the grain of the wood. Use a handheld sanding block or a floor sander for larger areas. Take care to sand evenly and avoid applying too much pressure, which could lead to unevenness.
4. Once the floor is sanded to your desired smoothness, use a vacuum or damp cloth to remove any sanding dust. It’s essential to have a clean surface before applying the finish.
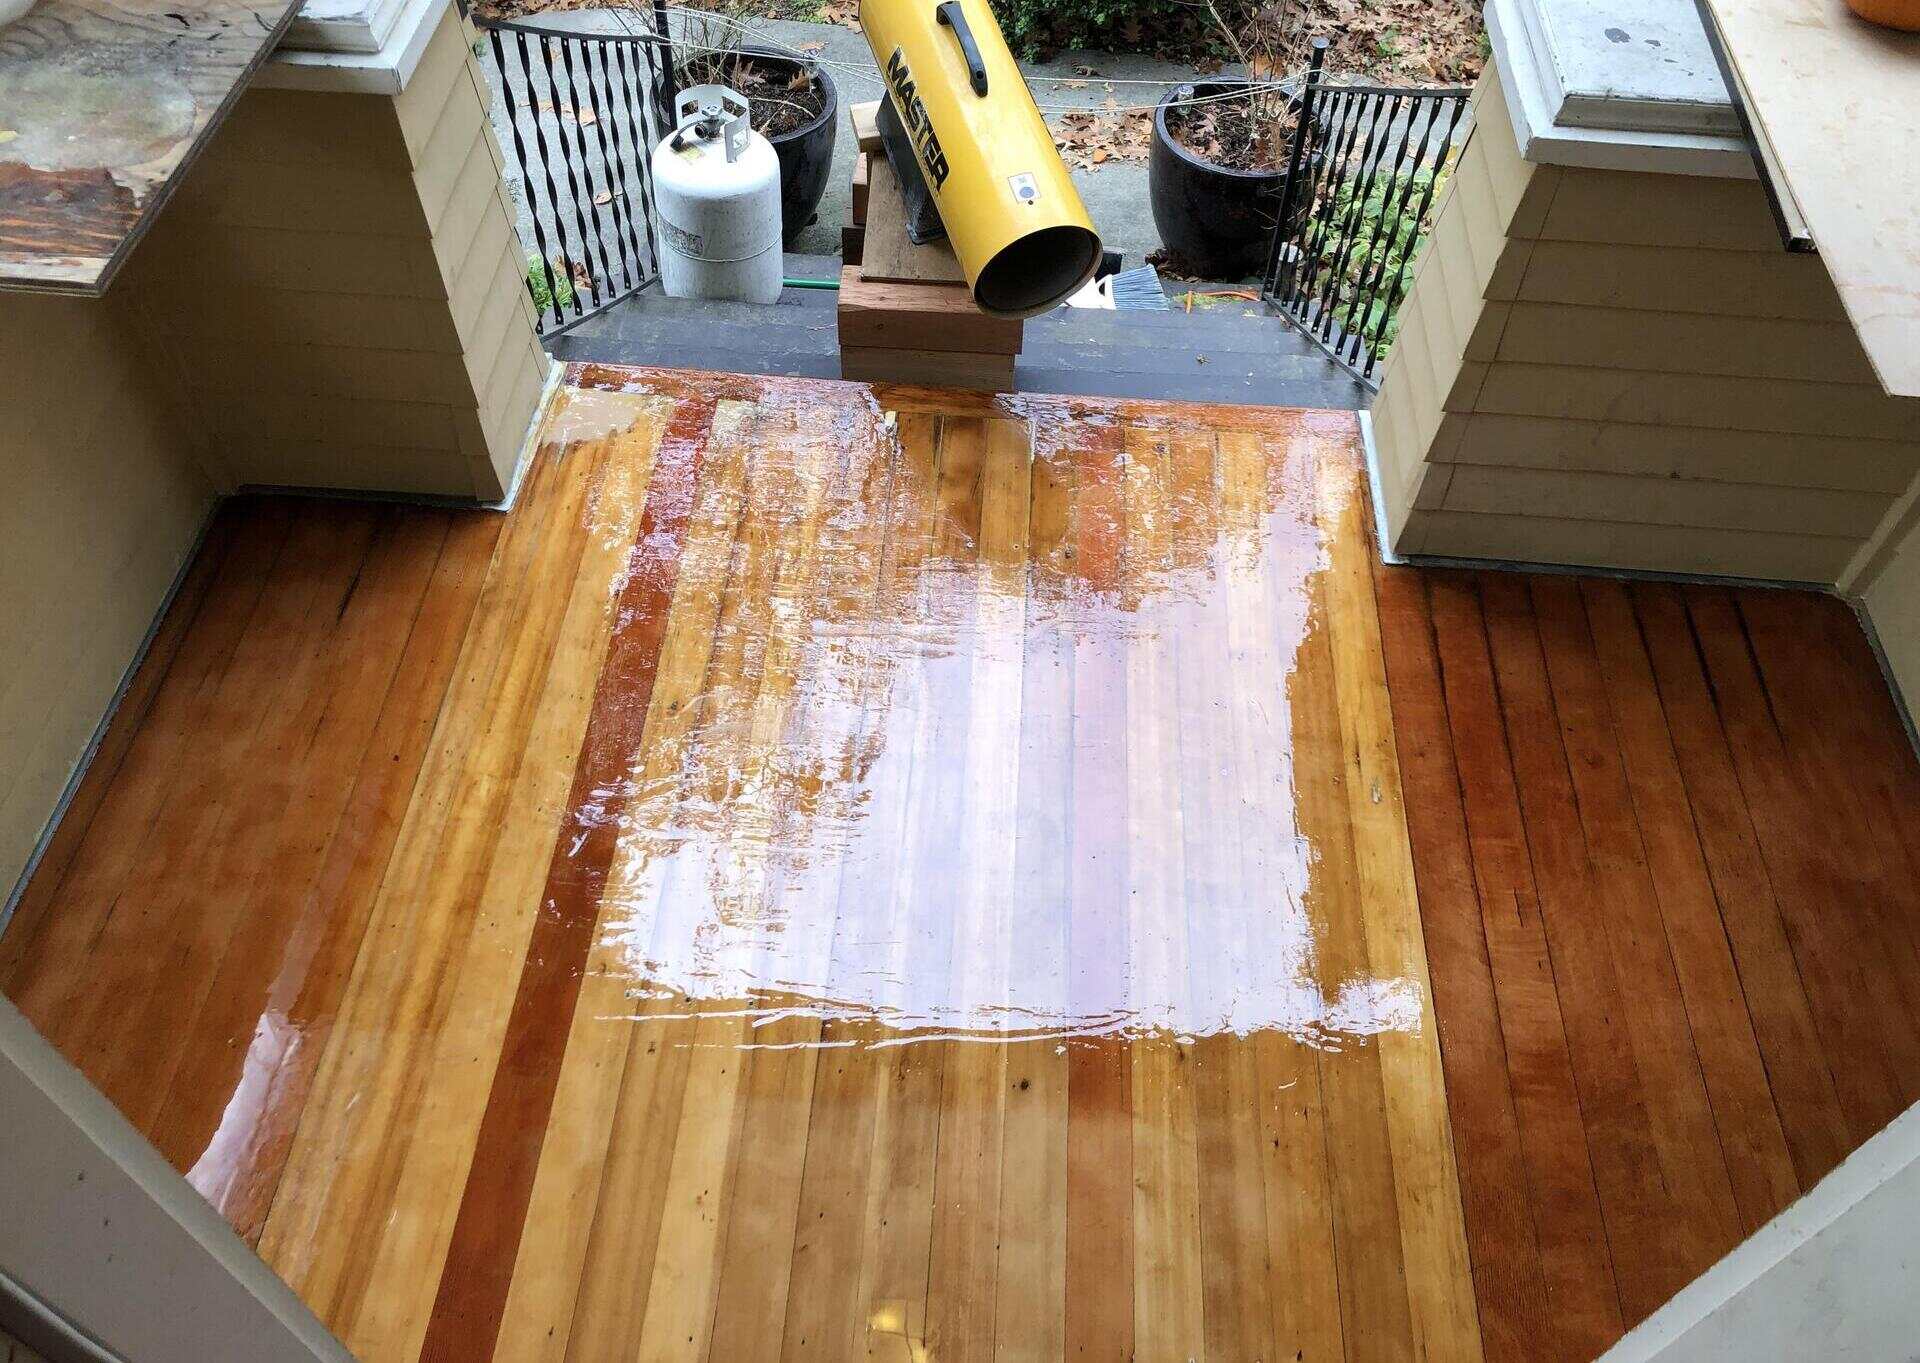
5. Select a porch floor finish that suits your preference and the type of wood used. Options include oil-based or water-based polyurethane, varnish, or paint. Follow the manufacturer’s instructions for application and drying times.
6. Apply the chosen finish to the porch floor, using a brush or roller. Work in small sections, applying an even coat and following the wood grain. Allow the first coat to dry completely before applying subsequent coats for a more durable finish.
7. Consider applying multiple coats of finish to ensure maximum protection and longevity for your porch floor. Sand lightly between coats to remove any imperfections and create a smooth surface.
8. Once the final coat is dry, take a moment to admire your newly sanded and finished porch floor. Enjoy the refreshed look and the added protection against daily wear and tear.
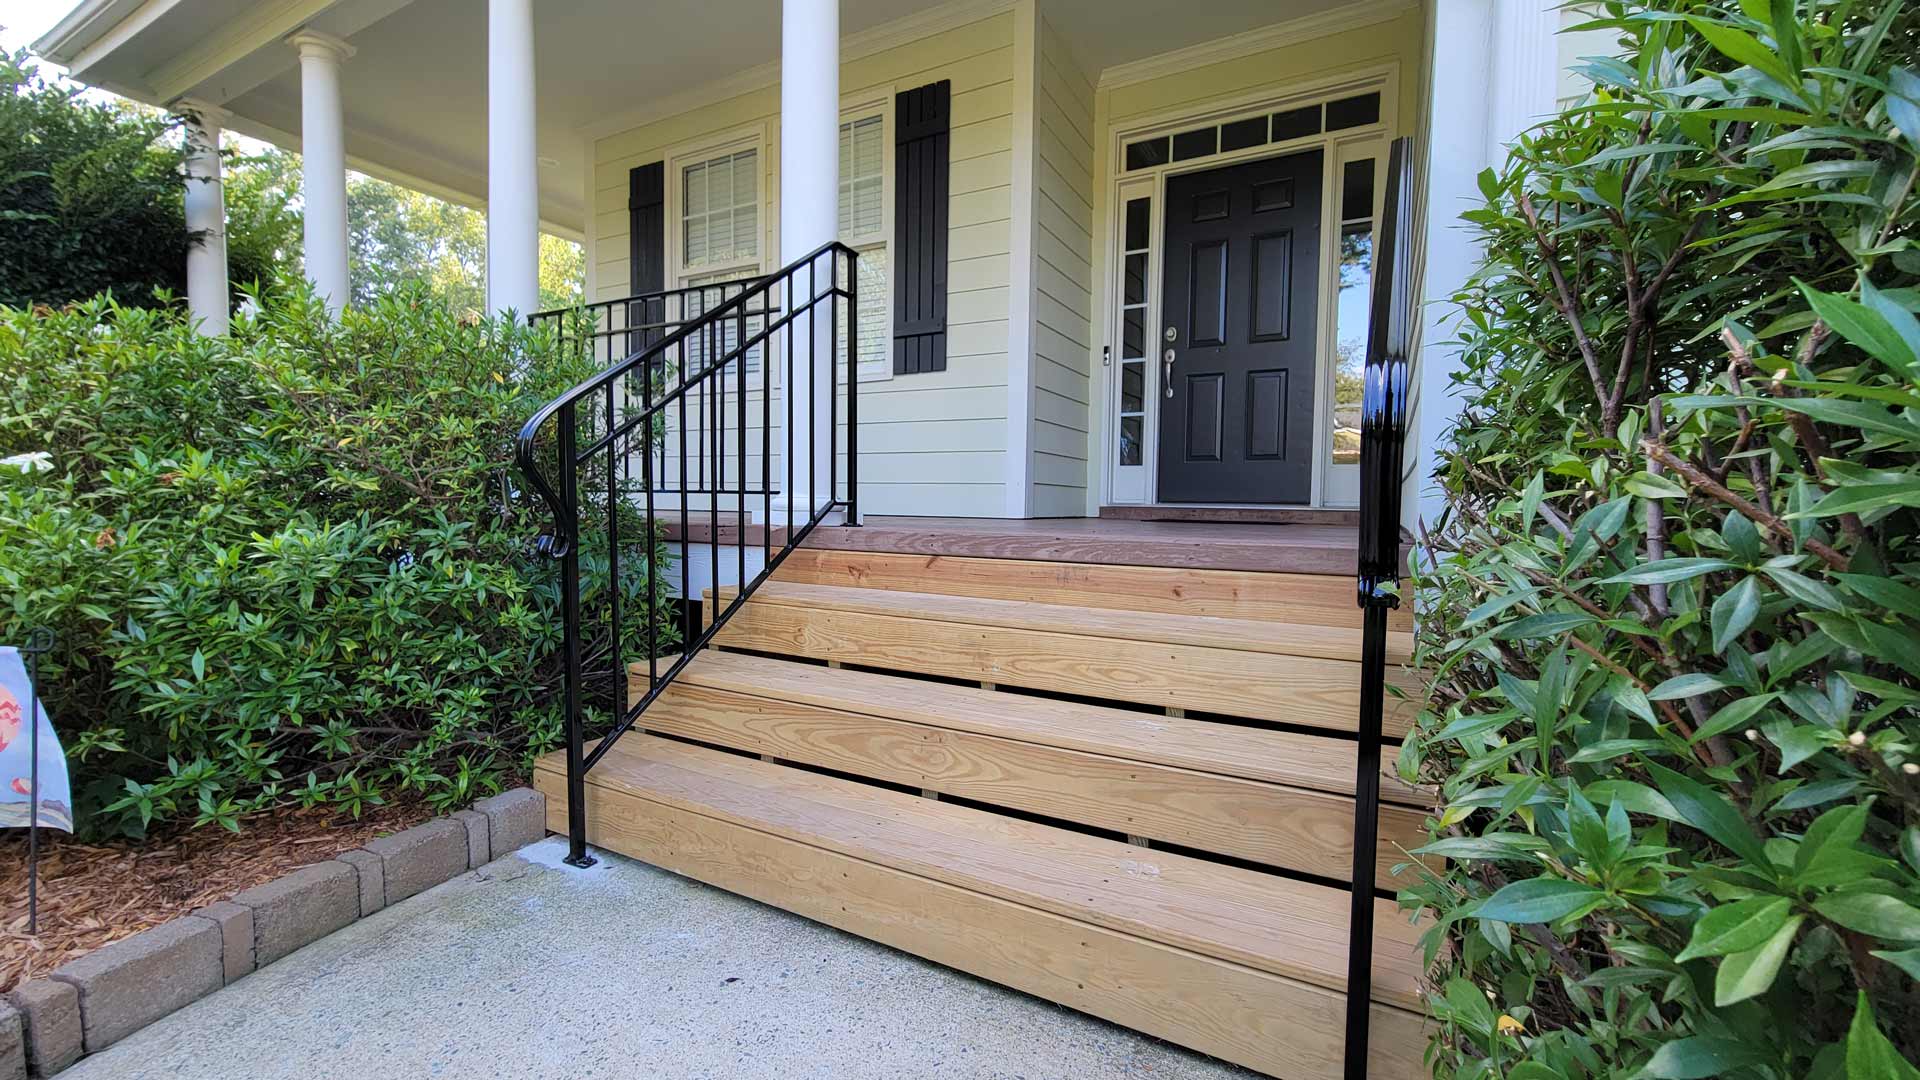
By sanding and finishing your porch floor, you’re not only enhancing its appearance but also prolonging its lifespan. With the final step complete, you can now sit back, relax, and enjoy your beautifully restored porch.
Conclusion
Replacing porch floorboards is a rewarding home improvement project that can transform the look and feel of your outdoor space. By following the step-by-step process outlined in this article, you can successfully replace your porch floorboards and create a beautiful and functional porch area.
From removing the old floorboards to inspecting and preparing the subfloor, measuring and cutting the replacement boards, securing them in place, and finally sanding and finishing the porch floor, each step plays a crucial role in ensuring a successful outcome.
Throughout the process, it’s important to exercise caution, take accurate measurements, and use the appropriate tools and materials. By doing so, you can achieve professional-looking results while maintaining the structural integrity of your porch.
Remember to choose durable and weather-resistant materials for your porch floorboards, taking into account your climate and personal preferences. Proper maintenance and regular inspections can help prolong the lifespan of your porch floor and prevent future issues.
Whether you’re looking to restore the classic charm of a historic porch or modernize your outdoor space with a fresh look, replacing porch floorboards can make a significant difference. It not only enhances the aesthetic appeal but also adds value and functionality to your home.
So, gather your tools, roll up your sleeves, and embark on this exciting home improvement project. With the knowledge and guidance provided in this article, you are well-equipped to confidently replace your porch floorboards and enjoy a beautiful and inviting porch for years to come.
Frequently Asked Questions about How To Replace Porch Floorboards
Was this page helpful?
At Storables.com, we guarantee accurate and reliable information. Our content, validated by Expert Board Contributors, is crafted following stringent Editorial Policies. We're committed to providing you with well-researched, expert-backed insights for all your informational needs.


0 thoughts on “How To Replace Porch Floorboards”