Articles
How To Replace Porch Light
Modified: January 19, 2024
Learn how to replace your porch light with our informative articles. Discover step-by-step instructions and helpful tips for a successful installation.
(Many of the links in this article redirect to a specific reviewed product. Your purchase of these products through affiliate links helps to generate commission for Storables.com, at no extra cost. Learn more)
Introduction
Replacing a porch light is a simple and rewarding DIY task that can enhance the curb appeal of your home and improve visibility and safety around your porch area. Whether you want to update the style of your porch light or replace a faulty fixture, this step-by-step guide will help you navigate the process with ease.
Before you begin, it’s important to gather the necessary tools and materials to ensure a smooth installation process. Additionally, always prioritize safety by turning off the power supply before starting any electrical work.
In this article, we will walk you through the entire process of replacing a porch light, from gathering the necessary tools to testing the new fixture. By following these steps, you’ll be able to successfully replace your porch light and enjoy a well-lit and visually appealing outdoor space.
Key Takeaways:
- Replacing a porch light is a straightforward DIY project that can enhance your home’s curb appeal and safety. Prioritize safety, gather the right tools, and follow the step-by-step guide for a successful installation.
- By following the nine-step process, you can confidently replace your old porch light with a new fixture, transforming your outdoor space with improved visibility and a welcoming ambiance. Remember to turn off the power supply and test the new light for functionality and satisfaction.
Read more: How To Replace Porch Post
Step 1: Gather the necessary tools and materials
Before you begin replacing your porch light, it’s important to gather all the necessary tools and materials to ensure a smooth and efficient installation process. Here’s a list of items you’ll need:
- Screwdriver (flathead or Phillips, depending on the screw type)
- Wire stripper
- Electrical tape
- Voltage tester
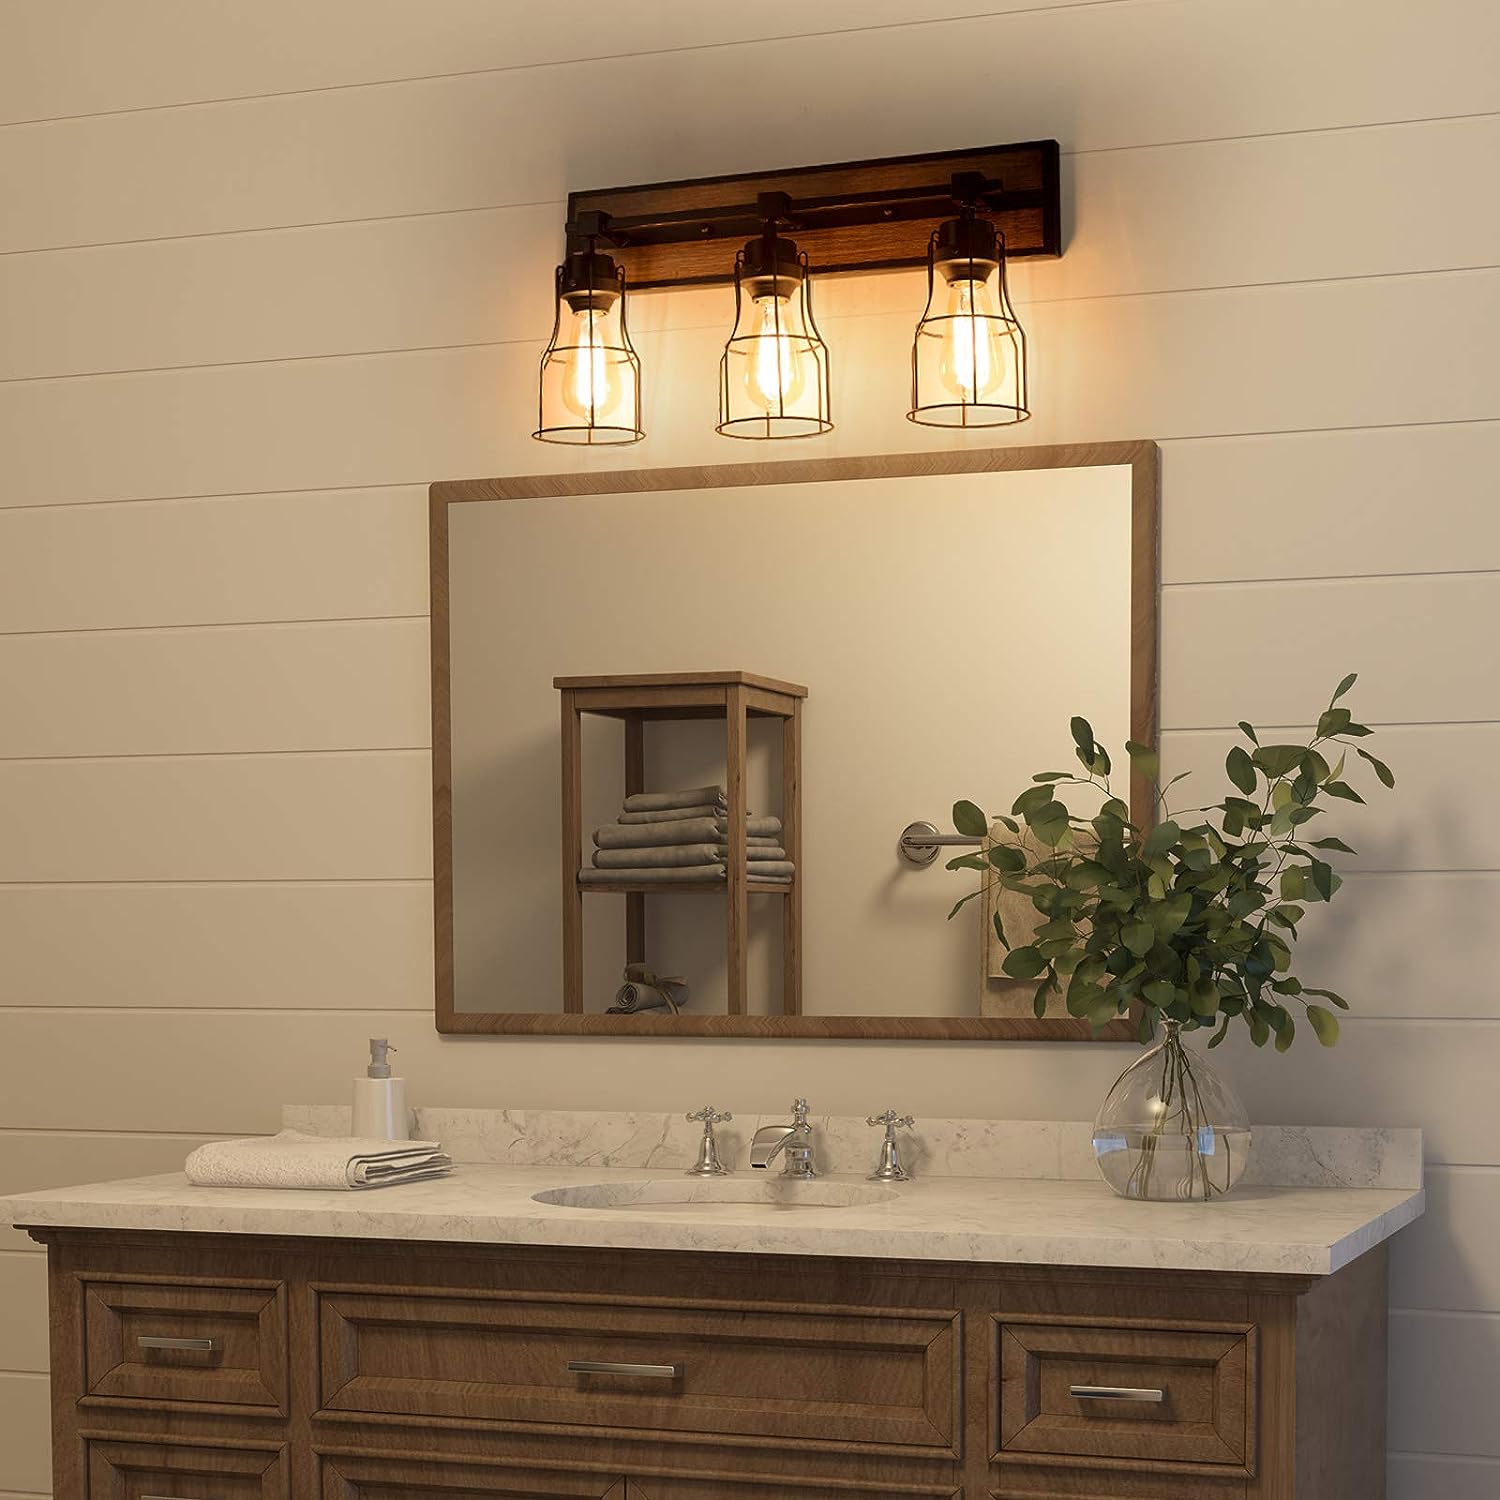
- New porch light fixture
- Mounting bracket (if necessary)
- Bulb for the porch light
- Wire nuts
Having these tools on hand will help you tackle any challenges during the replacement process. It’s always better to be prepared than to have to stop midway and search for a missing tool.
Once you have gathered all the necessary tools and materials, you’re ready to move on to the next step.
Step 2: Turn off the power supply
Before you begin working on any electrical fixture, it is crucial to turn off the power supply to ensure your safety. Here’s how to do it:
- Locate the main electrical panel in your home. This panel typically contains circuit breakers or fuses.
- Identify the breaker or fuse that controls the power supply to your porch light. Look for any labels or markings related to outdoor lighting.
- Switch off the breaker or remove the fuse that corresponds to the porch light. Ensure that the power is truly off by testing the porch light switch and using a voltage tester on the wires.
Turning off the power supply is crucial because it eliminates the risk of electric shock or other electrical accidents while you work on replacing the porch light. Safety should always be your top priority.
Once the power supply is turned off and confirmed to be disconnected, you can move on to the next step of removing the old porch light fixture.
Step 3: Remove the old porch light
After turning off the power supply, you can now safely proceed to remove the old porch light fixture. Follow these steps:
- Use a screwdriver to remove the screws securing the old fixture to the wall or ceiling. Gently pull the fixture away from the wall to expose the wiring.
- Take note of how the old fixture is wired and attached to the mounting bracket. This will be helpful when installing the new fixture.
- If the fixture is attached with a mounting bracket, unscrew any additional screws to detach the fixture completely. Be careful not to damage the wiring or any other components.
- Set aside the old fixture and assess the condition of the wiring and mounting bracket. If there are any issues, such as frayed wires or damaged brackets, make the necessary repairs or replacements.
- Clean the area where the old fixture was mounted. Remove any debris or dust to ensure a clean surface for installing the new fixture.
Removing the old porch light fixture might require a bit of effort, but it’s a necessary step to make way for the new fixture. Take your time, and be cautious not to damage any components or wiring in the process.
Once the old fixture is removed and the area is clean, you’re ready to move on to the next step of disconnecting the wiring.
Step 4: Disconnect the wiring
With the old porch light removed, it’s time to disconnect the wiring. Follow these steps to ensure a safe disconnection:
- Using wire strippers, strip approximately half an inch of insulation from the ends of the exposed wires coming from the wall.
- Take note of the color-coded wires, typically black (hot), white (neutral), and green or bare copper (ground).
- Once the wires are exposed, use wire nuts to disconnect the wires of the old fixture from the corresponding wires coming from the wall. Twist the wire nuts counterclockwise to loosen them and remove the wires.
- After disconnecting the wires, use electrical tape to cover the exposed ends of the wires coming from the wall. This will prevent any accidental contact or short circuits.
- Carefully tuck the disconnected wires back into the electrical box, ensuring that they are secure and not tangled.
Disconnecting the wiring is an essential step to ensure a safe and smooth installation of the new porch light. Take your time and double-check that all connections are properly disconnected and secured.
Once the wiring is disconnected, you’re ready to move on to the next step of installing the new porch light.
Read more: How To Replace Porch Floorboards
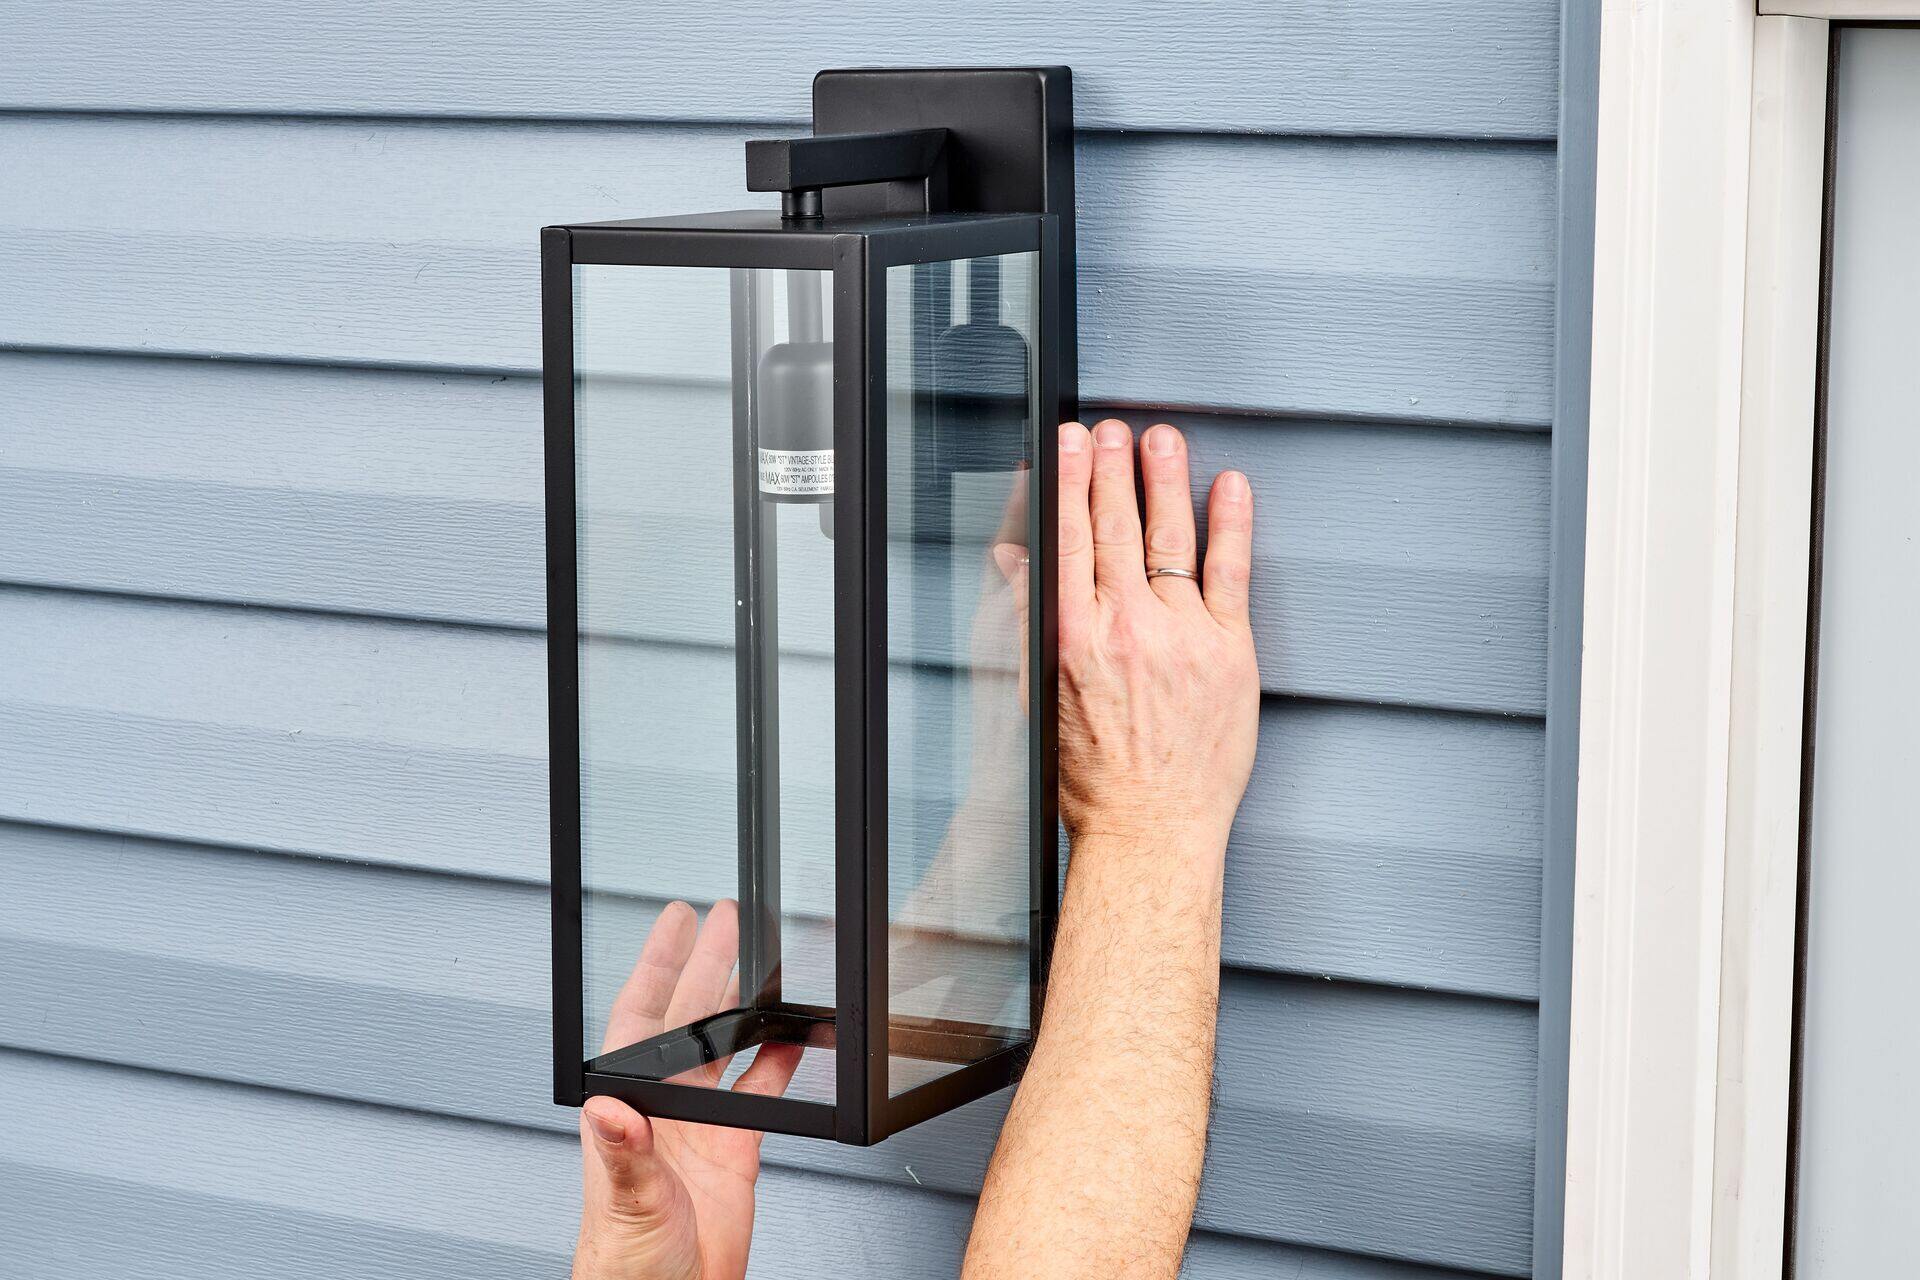
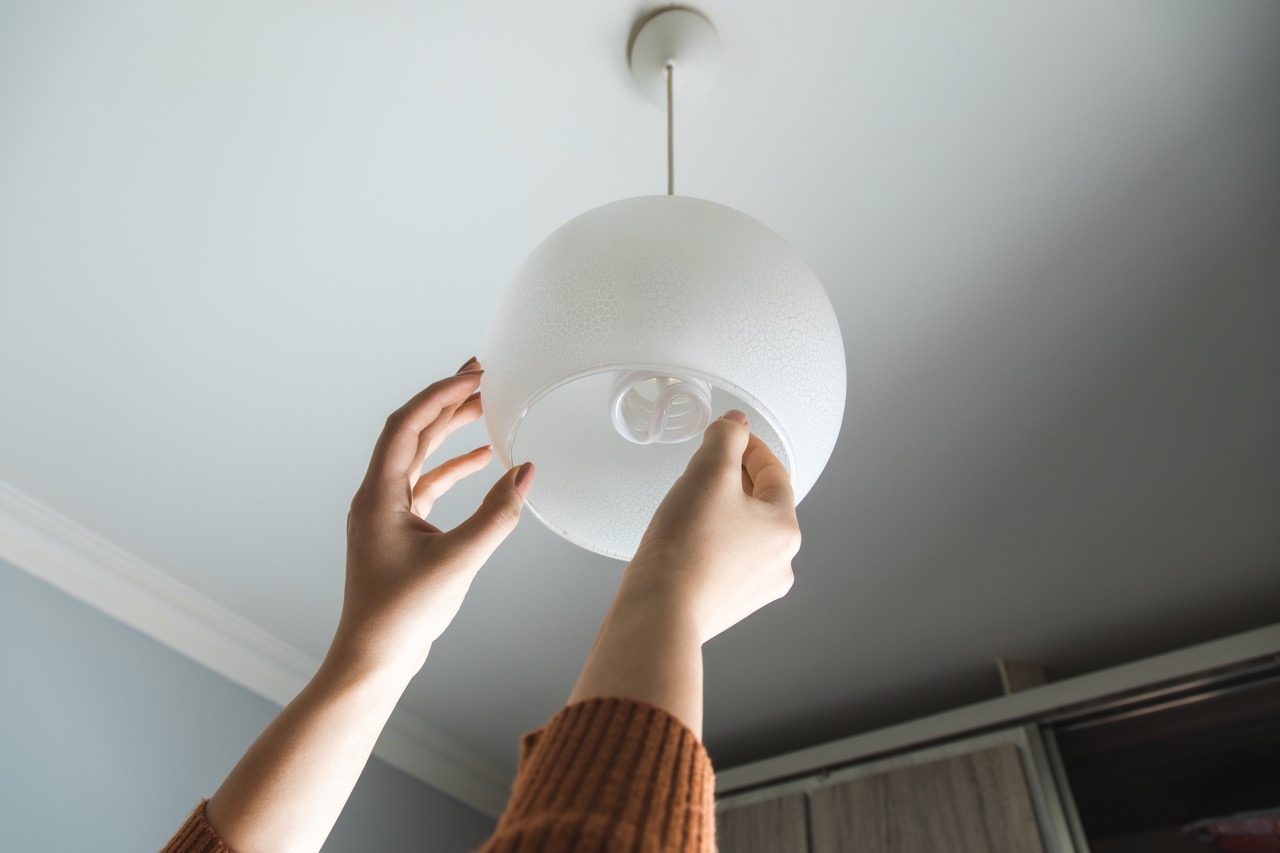
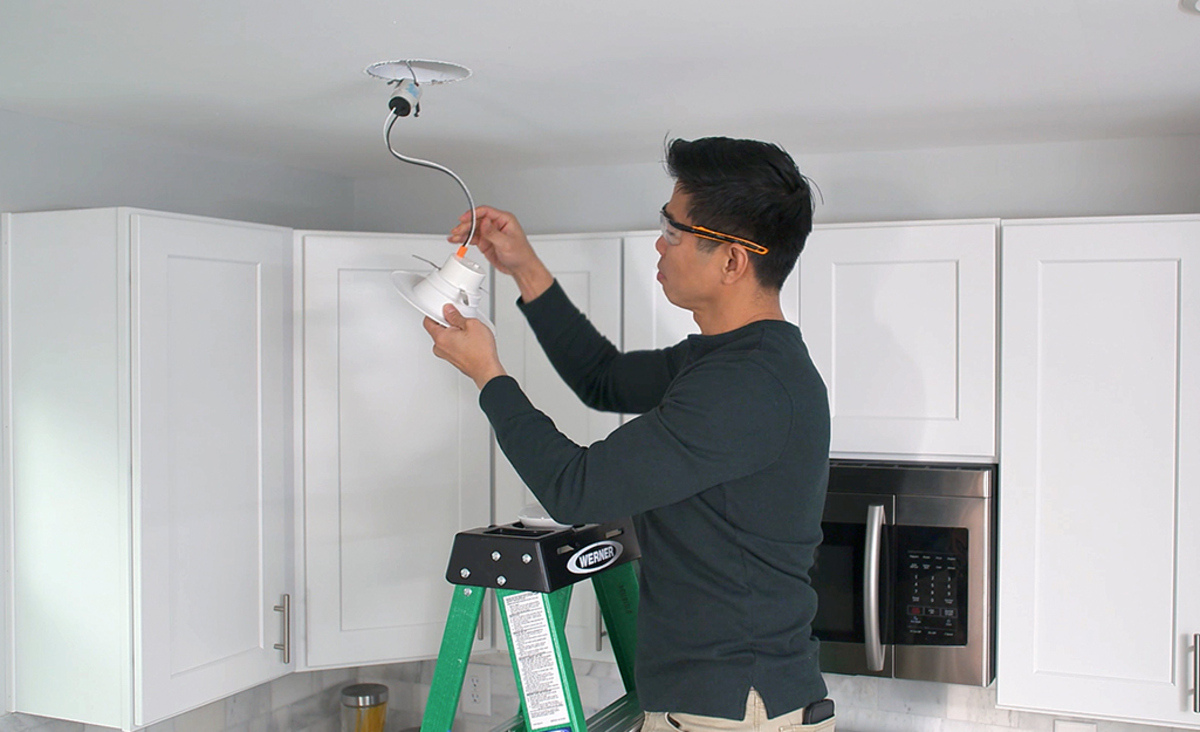
Step 5: Install the new porch light
Now that the old porch light fixture has been removed and the wiring has been disconnected, it’s time to install the new fixture. Follow these steps to successfully install your new porch light:
- Refer to the manufacturer’s instructions that came with your new porch light. Familiarize yourself with the specific installation requirements and recommendations.
- If your new fixture requires a mounting bracket, attach it to the electrical box using the provided screws. Ensure that it is securely fastened.
- Hold the new porch light fixture against the mounting bracket or directly against the wall or ceiling, aligning the screw holes.
- Insert the screws through the screw holes of the fixture and into the mounting bracket or directly into the wall. Use a screwdriver to tighten the screws, but be careful not to overtighten as this may damage the fixture or mounting bracket.
- Make sure the fixture is level and properly aligned before fully tightening the screws.
Installing the new porch light is an exciting step as it brings your vision of a well-lit and aesthetically pleasing outdoor space one step closer to reality. Take your time during this process, ensuring that the fixture is securely fastened and aligned.
Once the new porch light is installed, move on to the next step of reconnecting the wiring.
Before replacing a porch light, make sure to turn off the power at the breaker to avoid any electrical accidents. It’s also a good idea to use a voltage tester to double-check that the power is off before starting the replacement.
Step 6: Reconnect the wiring
With the new porch light fixture properly installed, it’s time to reconnect the wiring. Follow these steps to ensure a secure and safe connection:
- Untwist the wire nuts from the exposed wires in the electrical box.
- Refer to the manufacturer’s instructions for your new porch light to identify the corresponding wires for connection. Typically, the black wire is connected to the hot wire, the white wire to the neutral wire, and the green or bare copper wire to the ground wire.
- Twist together the exposed ends of the wires according to their function. For example, twist the black wire from the fixture to the black wire from the wall, and so on.
- Once the wires are twisted together, place a wire nut over each connection and twist them clockwise until they are snugly secure. This will ensure a safe and reliable connection.
- Tuck the connected wires back into the electrical box, making sure they are not pinched or strained.
Reconnecting the wiring is a critical step in the installation process. Take your time to ensure that the connections are secure and properly insulated with wire nuts. Double-check that all connections are correct and properly aligned with the manufacturer’s instructions.
Once the wiring is reconnected, proceed to the next step of attaching the new porch light to the mounting bracket.
Step 7: Attach the new porch light to the mounting bracket
After reconnecting the wiring, it’s time to attach the new porch light fixture to the mounting bracket. Follow these steps to ensure a secure and stable installation:
- Place the new porch light fixture over the mounting bracket, aligning the screw holes on the fixture with the corresponding holes on the bracket.
- Insert the screws into the screw holes and use a screwdriver to tighten them. Be careful not to overtighten, as this may damage the fixture or bracket.
- Ensure that the fixture is straight and level. Adjust the position as needed before fully tightening the screws.
- Give the fixture a gentle shake to ensure it is securely attached. If there is any movement, tighten the screws further.
Attaching the new porch light fixture to the mounting bracket is the final step to complete the installation process. Take your time to ensure that the fixture is properly aligned, secure, and level.
Once the fixture is securely attached, you’re ready to move on to the next step of turning on the power supply.
Step 8: Turn on the power supply
Now that the new porch light fixture has been installed and securely attached, it’s time to turn on the power supply. Follow these steps to ensure a safe and functional operation:
- Locate the main electrical panel in your home that contains the circuit breakers or fuses.
- Identify the breaker or fuse that corresponds to the porch light. If you previously labelled it, it should be easy to find.
- Flip the breaker switch or insert the fuse to restore power to the porch light. You may need some assistance to observe the light turning on as you restore power.
- Once the power is restored, use the porch light switch to turn it on and off. Ensure that it responds correctly and functions as expected.
Turning on the power supply is an exciting moment as you see the new porch light illuminate your outdoor space. Take a moment to admire your handy work, but also ensure that the light is functioning properly before proceeding to the next step.
If the light does not turn on or if there are any issues, double-check the wiring connections and consult the manufacturer’s instructions or an electrician if necessary.
Once you have confirmed that the porch light is working correctly, you’re ready for the final step of testing the new porch light.
Read more: How To Replace Columns On Porch
Step 9: Test the new porch light
The final step in the porch light replacement process is to test the functionality of the new fixture. Follow these steps to ensure that the light is working as intended:
- Stand at a safe distance from the porch light and observe its illumination.
- Switch the porch light on and off multiple times to test its responsiveness.
- Check for any flickering, dimness, or other irregularities in the light output.
- Ensure that the light is illuminating the desired area and providing the level of brightness that you’re looking for.
- If any issues are identified, double-check the wiring connections and consult the manufacturer’s instructions for troubleshooting tips. If necessary, seek assistance from a qualified electrician.
Testing the new porch light ensures that the installation was successful and that the light is functioning as expected. It’s an important step to ensure the safety and satisfaction of having a properly working porch light.
Once you have tested the new porch light and are satisfied with its performance, you can conclude the porch light replacement process.
With the new porch light installed and working properly, you can now enjoy a well-lit and visually appealing outdoor space that enhances the curb appeal of your home.
Conclusion
Replacing a porch light may seem like a daunting task, but with the right tools and a step-by-step approach, it can be a rewarding and satisfying DIY project. By following the nine steps outlined in this guide, you can successfully replace your old porch light with a new fixture that enhances the aesthetics and functionality of your outdoor space.
We began by emphasizing the importance of gathering the necessary tools and materials to ensure a smooth installation process. Then, we walked through each step, from turning off the power supply and removing the old fixture to reconnecting the wiring and attaching the new porch light. Finally, we tested the functionality of the new light to ensure it meets your expectations.
Throughout the process, remember to prioritize safety by always turning off the power supply before working with electrical fixtures. Take your time, follow the manufacturer’s instructions, and consult experts if needed.
With your new porch light installed, you can enjoy increased visibility and safety around your porch area, while also boosting the curb appeal of your home. Whether you’ve chosen a modern, traditional, or decorative fixture, the new porch light adds a welcoming touch that enhances your outdoor space.
So, grab your tools and get ready to transform your porch with a brand-new light fixture. With this comprehensive guide, you have all the information you need to successfully replace your porch light and brighten up your home exterior.
Happy DIYing!
Frequently Asked Questions about How To Replace Porch Light
Was this page helpful?
At Storables.com, we guarantee accurate and reliable information. Our content, validated by Expert Board Contributors, is crafted following stringent Editorial Policies. We're committed to providing you with well-researched, expert-backed insights for all your informational needs.


0 thoughts on “How To Replace Porch Light”