Home>Home Appliances>Home Automation Appliances>How To Remove A Device From Google Home
Home Automation Appliances
How To Remove A Device From Google Home
Modified: January 4, 2024
Learn how to easily remove a device from Google Home for better home automation control. Simplify your smart appliances management today!
(Many of the links in this article redirect to a specific reviewed product. Your purchase of these products through affiliate links helps to generate commission for Storables.com, at no extra cost. Learn more)
Introduction
Read more: How To Add A Device To Google Home
Introduction
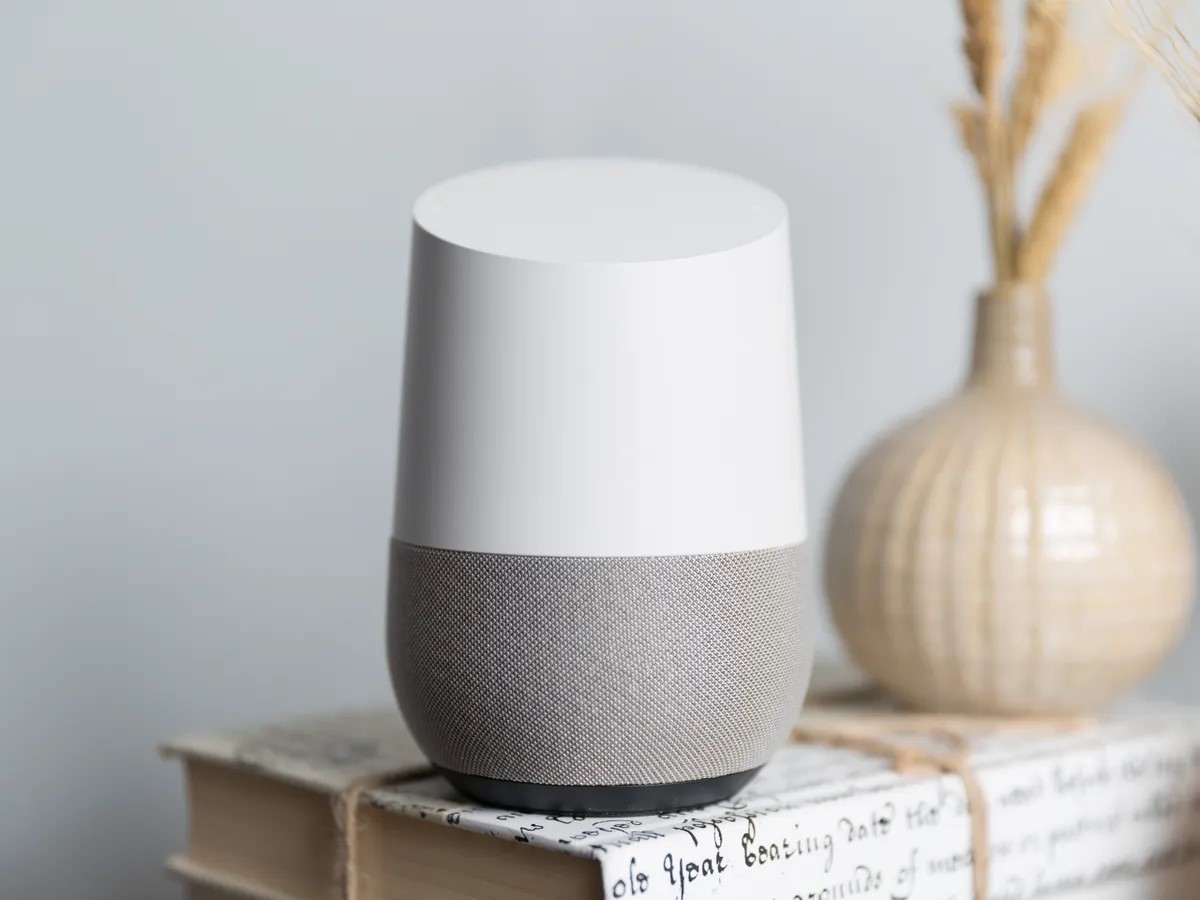
So, you've decided to declutter your Google Home ecosystem by removing a device. Whether you're streamlining your smart home setup, troubleshooting connectivity issues, or simply reorganizing your devices, the Google Home app provides a straightforward process for removing devices. By following a few simple steps, you can seamlessly remove a device from your Google Home and optimize your smart home experience. In this guide, we'll walk you through the process, ensuring that you can effortlessly manage your connected devices with ease and efficiency.
Removing a device from Google Home involves a few simple steps within the Google Home app. Once you've completed the process, the device will no longer be linked to your Google Home network. Whether it's a smart speaker, smart display, or any other compatible device, you can easily remove it from the Google Home app, allowing you to maintain an organized and efficient smart home environment.
Let's dive into the step-by-step process of removing a device from Google Home, empowering you to take full control of your smart home ecosystem.
Step 1: Open the Google Home app
Key Takeaways:
- Easily remove devices from Google Home by following simple steps in the app. Keep your smart home organized and efficient with seamless device management.
- The Google Home app provides a user-friendly interface for removing, customizing, and controlling devices, empowering you to take full control of your smart home ecosystem.
Step 1: Open the Google Home app
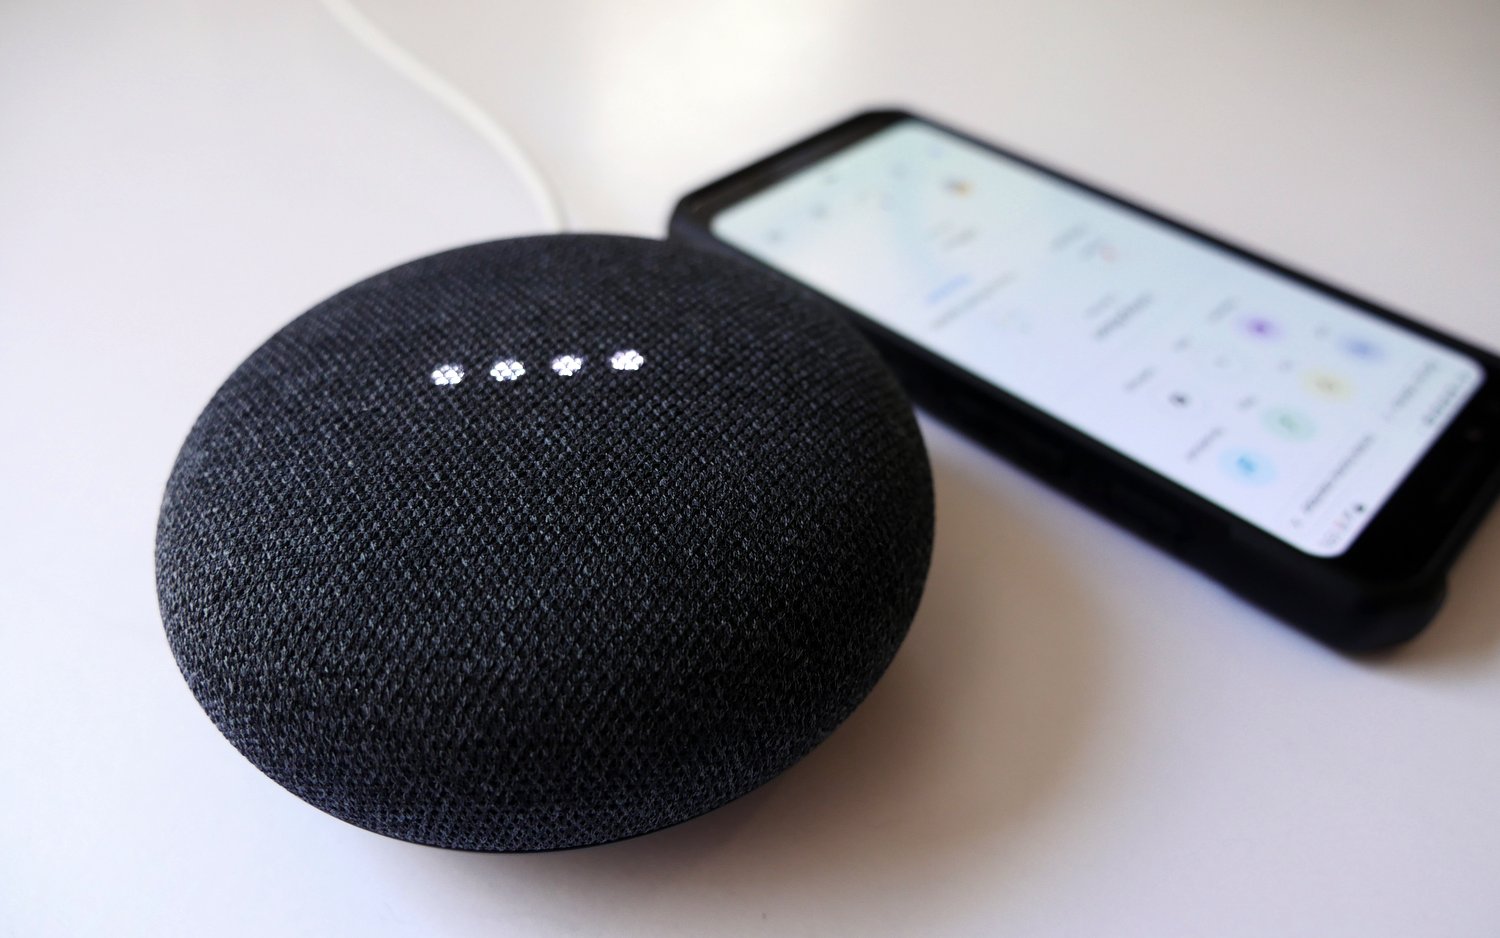
The first step in removing a device from Google Home is to launch the Google Home app on your mobile device. Whether you're using an Android or iOS device, the Google Home app provides a unified platform for managing your smart home devices. If you haven't already installed the app, you can download it from the Google Play Store for Android devices or the App Store for iOS devices.
Once the Google Home app is installed on your device, locate the app icon on your home screen or in your app drawer and tap to open it. Upon launching the app, you will be greeted by the home screen, which displays an overview of your connected devices, recommended actions, and personalized settings. The intuitive interface of the Google Home app ensures that you can easily navigate through the various options and settings, allowing you to manage your smart home with convenience and ease.
After opening the Google Home app, ensure that your mobile device is connected to the same Wi-Fi network as your Google Home devices. This is essential for seamless communication and device management within the Google Home ecosystem. Once you've confirmed the network connectivity, you're ready to proceed to the next step of removing the device from Google Home.
With the Google Home app open and your devices connected to the same Wi-Fi network, you're now prepared to initiate the process of removing a device from your Google Home setup. The app provides a user-friendly interface that streamlines the device management process, empowering you to customize and optimize your smart home environment effortlessly.
Step 2: Select the device
Read more: How To Remove Lights From Google Home
Step 2: Select the device
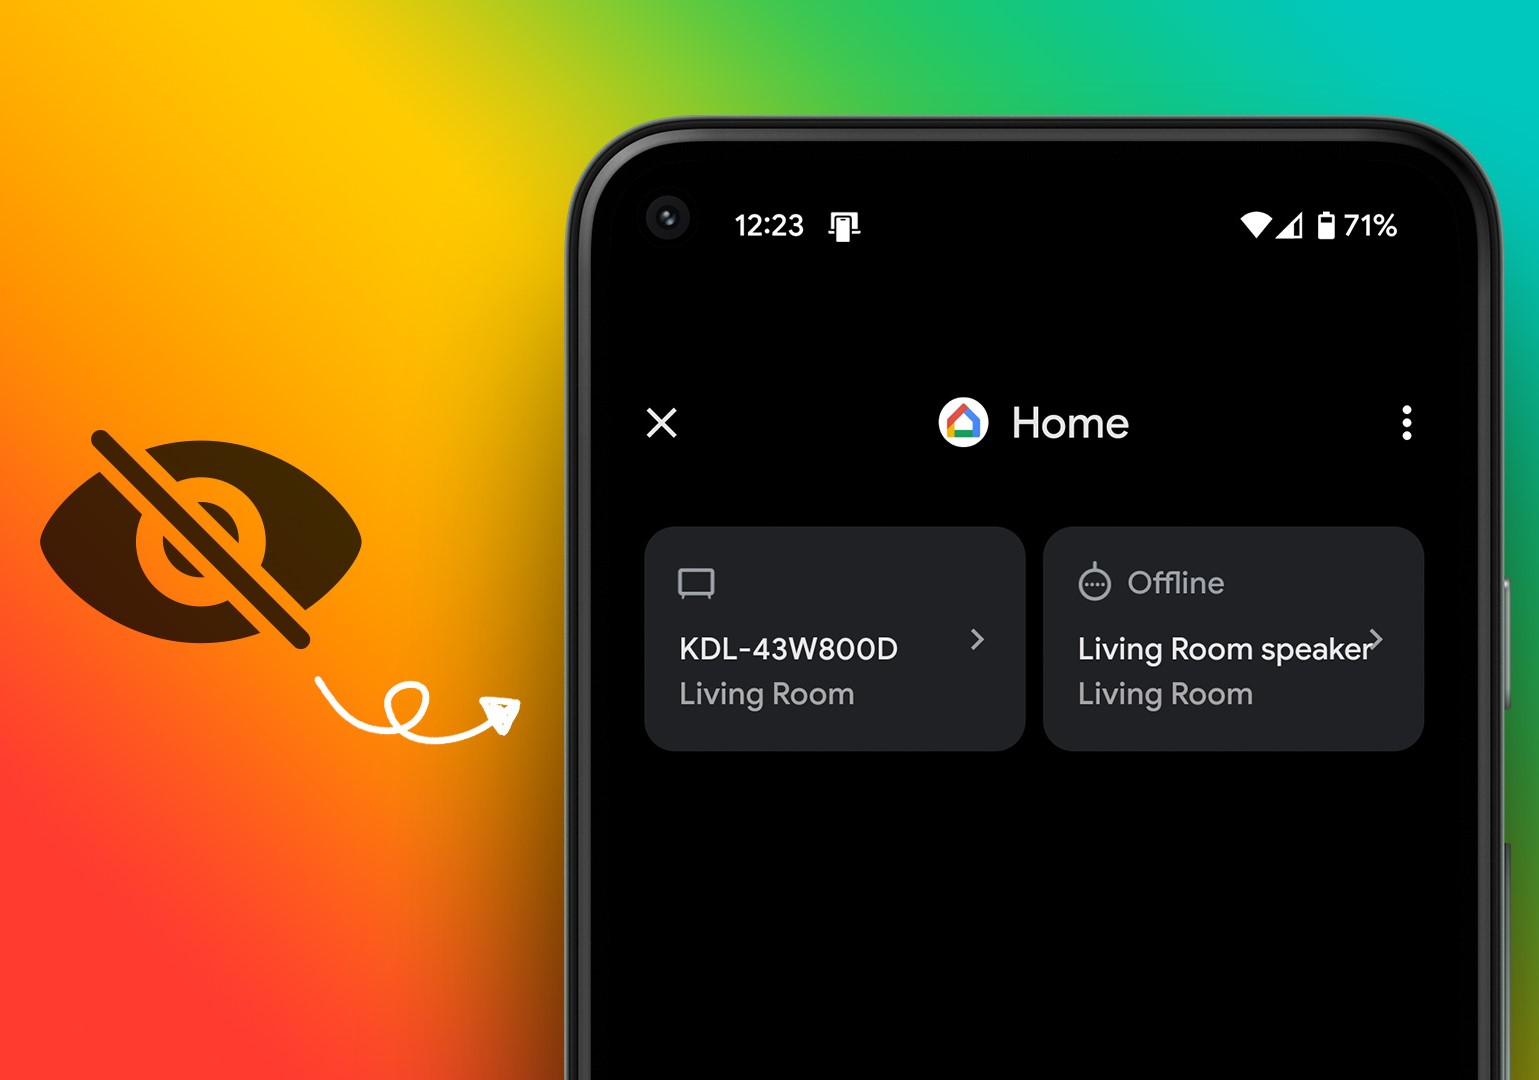
After launching the Google Home app and ensuring that your mobile device is connected to the same Wi-Fi network as your Google Home devices, you can proceed to select the specific device you want to remove from your Google Home setup. The app provides a comprehensive overview of all connected devices, including smart speakers, smart displays, Chromecast devices, and other compatible gadgets.
To select the device you wish to remove, navigate to the home screen of the Google Home app. Here, you will find a list of all your connected devices, each represented by a distinct icon or thumbnail image. Scroll through the list or use the search function to locate the device you want to remove from your Google Home setup.
Once you have identified the device, tap on its icon or thumbnail image to access the device settings and management options. This action will direct you to the device-specific page within the Google Home app, where you can view detailed information, adjust settings, and manage the device's integration with your smart home ecosystem.
On the device-specific page, you will find a range of options for customizing and controlling the selected device. These options may include volume controls, media playback settings, ambient mode preferences, and more, depending on the type of device you are managing. Additionally, you will find the option to remove the device from your Google Home network, allowing you to declutter your smart home setup and optimize device management.
By selecting the specific device within the Google Home app, you gain access to a wealth of customization and management features, empowering you to tailor the device to your preferences and seamlessly integrate it into your smart home ecosystem. Whether you're removing a device due to reorganization, troubleshooting, or any other reason, the app offers a user-friendly interface for efficient device management.
Step 3: Remove the device
Step 3: Remove the device
Once you have selected the specific device within the Google Home app, you can proceed to remove it from your Google Home network. The app streamlines the process of removing devices, ensuring that you can efficiently manage your smart home ecosystem with just a few taps.
To remove the device, navigate to the device-specific page within the Google Home app. Here, you will find the option to manage the device's settings and configurations. Look for the settings icon or the three-dot menu icon, typically located in the upper-right corner of the screen, and tap on it to access the device management menu.
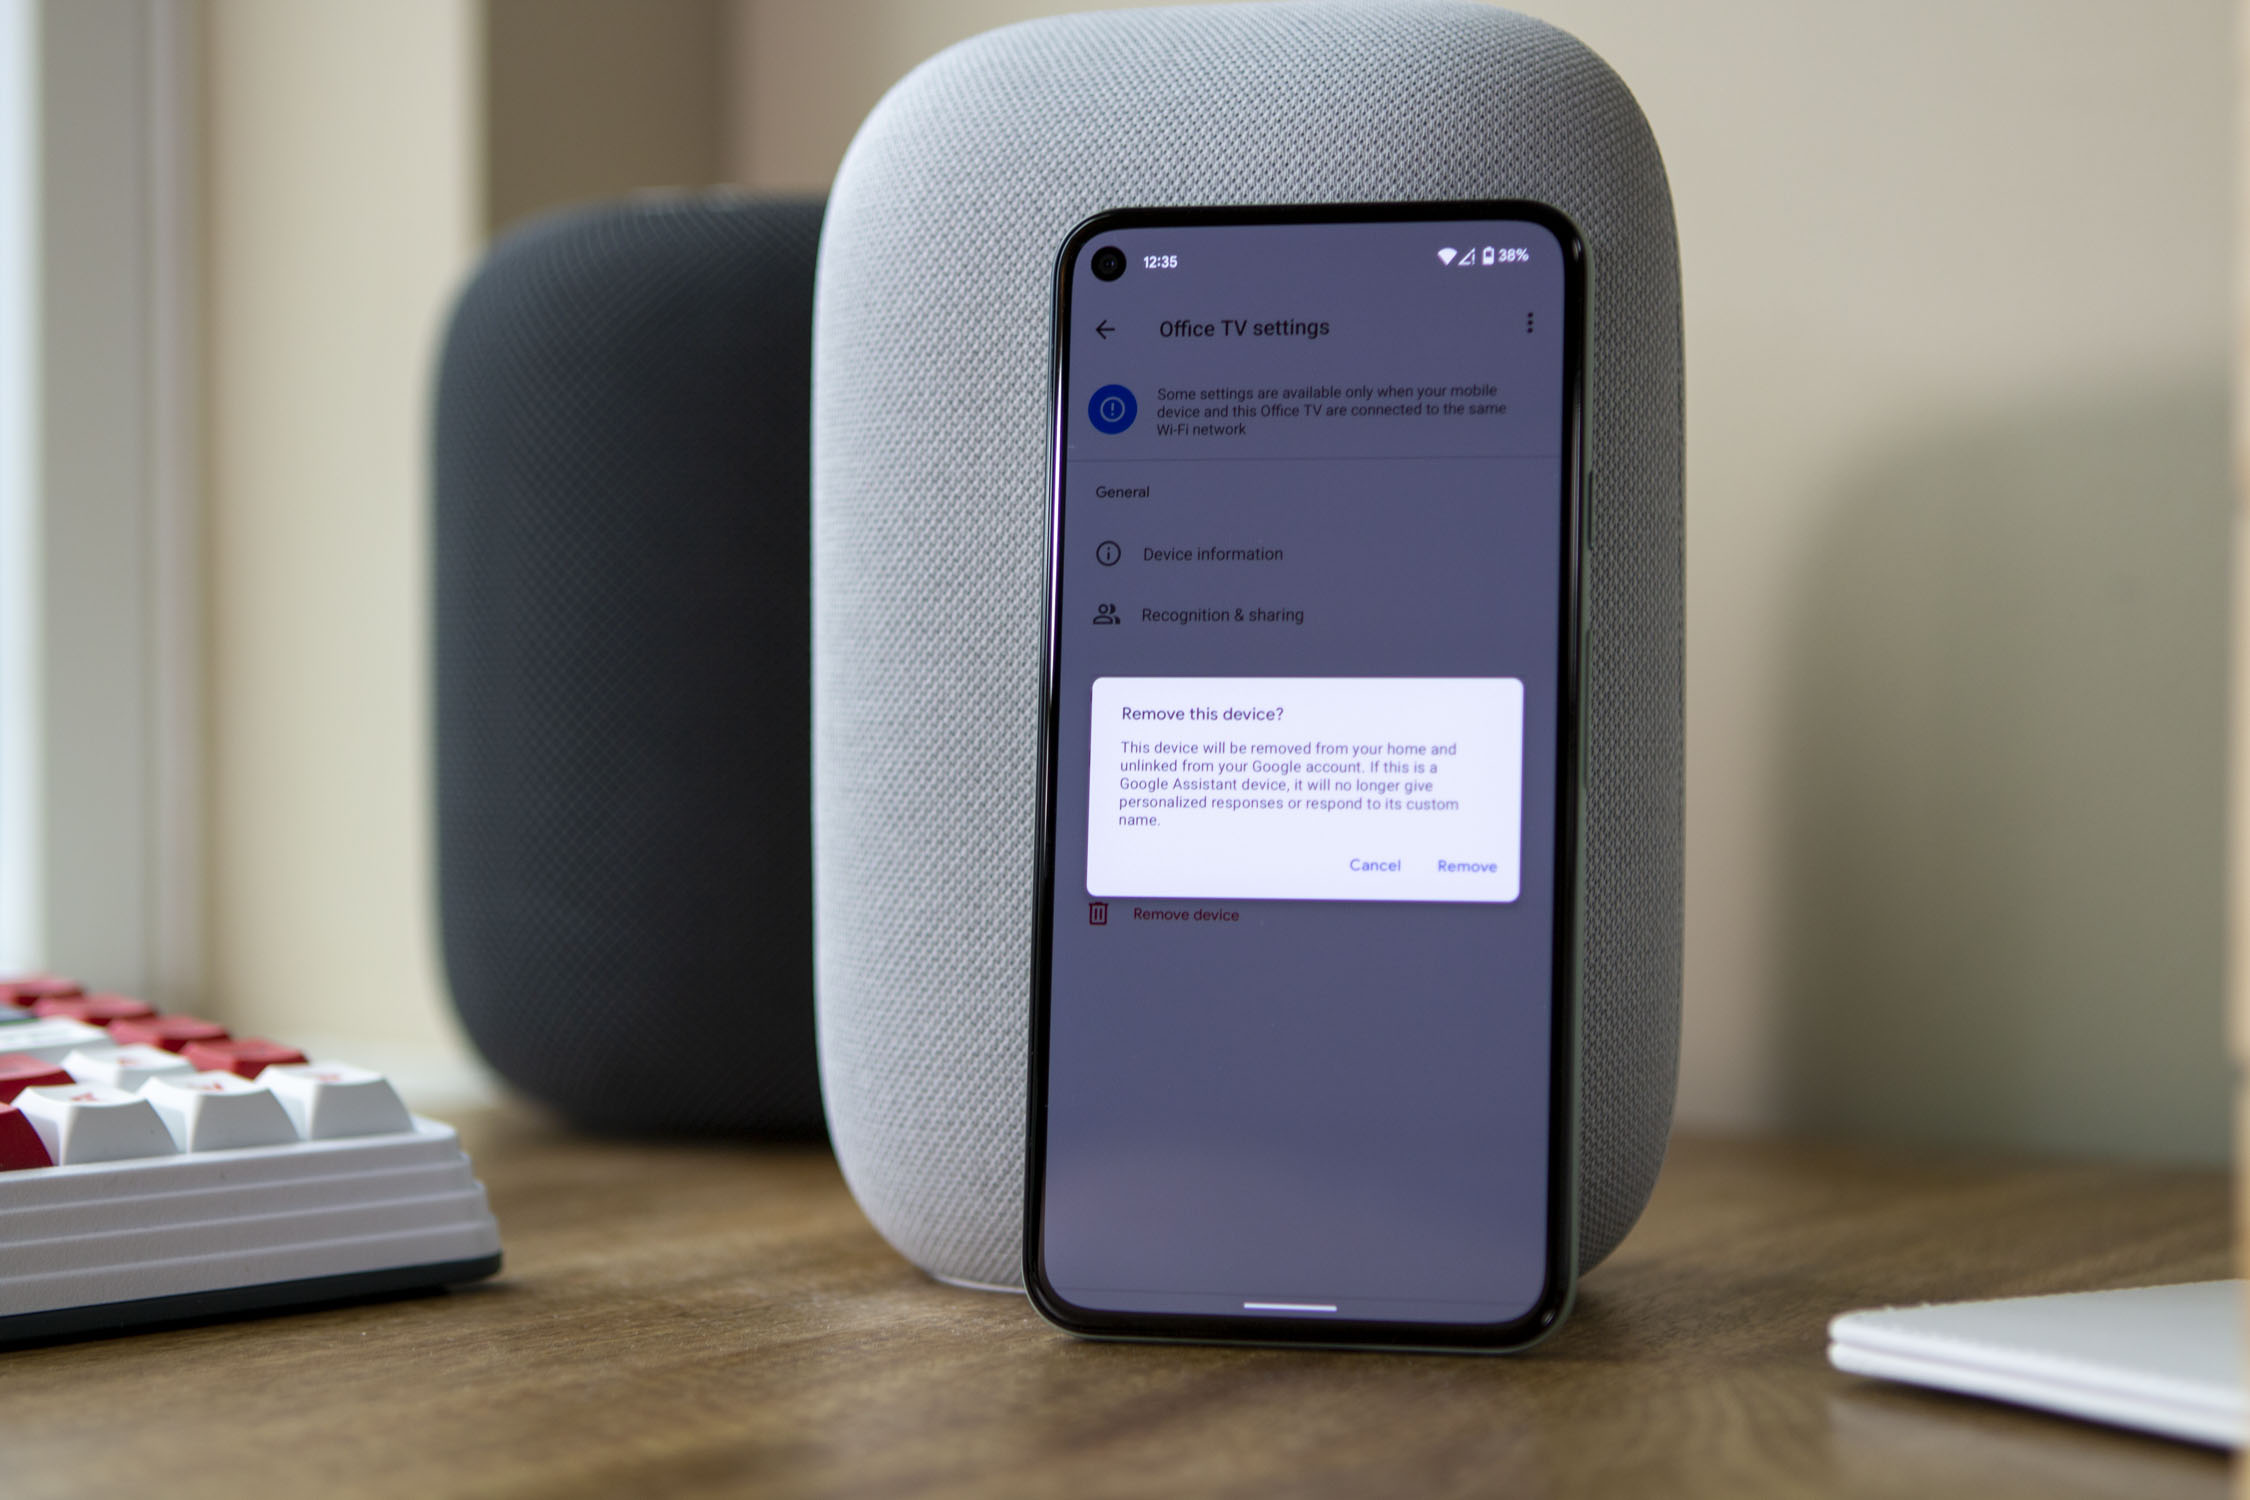
Within the device management menu, you will find a range of options for customizing and controlling the selected device. Look for the "Remove device" or similar option, which is specifically designed to initiate the removal process. Tapping on this option will prompt the app to confirm the removal action and proceed with removing the device from your Google Home network.
Upon selecting the "Remove device" option, the Google Home app will initiate the removal process, ensuring that the selected device is seamlessly disconnected from your smart home setup. This step is crucial for decluttering your device list, optimizing device management, and maintaining a well-organized smart home environment.
It's important to note that the removal process within the Google Home app is designed to be intuitive and user-friendly, allowing you to efficiently remove devices without navigating through complex menus or settings. This streamlined approach to device management empowers you to maintain full control over your smart home ecosystem, ensuring that your devices align with your preferences and lifestyle.
Step 4: Confirm removal
After initiating the removal process within the Google Home app, you will be prompted to confirm the removal of the selected device from your Google Home network. This confirmation step ensures that you have the opportunity to review and verify the removal action before it takes effect, providing an additional layer of control and oversight in managing your smart home devices.
Upon selecting the "Remove device" or similar option within the device management menu, the Google Home app will present a confirmation dialog or prompt to verify your intention to remove the device. This dialog typically includes details about the device being removed, such as its name, type, and any associated settings or preferences.
Review the information presented in the confirmation dialog to ensure that you are removing the intended device from your Google Home setup. This verification step helps prevent accidental removals and allows you to make informed decisions about device management within your smart home ecosystem.
Once you have reviewed the details and confirmed your intention to remove the device, proceed to confirm the removal action within the app. This may involve tapping a "Confirm" or "Remove" button, depending on the specific dialog presented by the Google Home app.
By confirming the removal of the device, you finalize the removal process, signaling to the app that you are ready to disconnect the selected device from your Google Home network. This decisive action ensures that your device list remains up-to-date and reflective of your current smart home setup, allowing you to maintain an organized and efficient environment for managing your connected devices.
Following the confirmation of the removal action, the Google Home app will seamlessly execute the removal process, ensuring that the selected device is promptly and securely disconnected from your Google Home network. With the device successfully removed, you can proceed to manage your remaining devices or explore additional features and integrations within the app, empowering you to optimize your smart home experience.
To remove a device from Google Home, open the Google Home app, tap on the device you want to remove, then tap on the settings icon and select “Remove device.” Confirm the removal to complete the process.
Read more: What Is The Device Tile On Google Home
Conclusion
As you’ve navigated through the process of removing a device from your Google Home network, you’ve gained valuable insights into the seamless and efficient device management capabilities offered by the Google Home app. By following the step-by-step guide outlined in this article, you’ve empowered yourself to take full control of your smart home ecosystem, ensuring that your connected devices align with your preferences and lifestyle.
The Google Home app serves as a central hub for managing and customizing your smart home devices, providing an intuitive interface and streamlined processes for removing, adding, and configuring devices with ease. Whether you’re reorganizing your smart home setup, troubleshooting connectivity issues, or optimizing device management, the app equips you with the tools and features necessary to maintain a well-organized and efficient smart home environment.
By opening the Google Home app and ensuring that your mobile device is connected to the same Wi-Fi network as your Google Home devices, you’ve laid the foundation for seamless device management. Selecting the specific device within the app has allowed you to access detailed settings and management options, empowering you to tailor the device to your preferences and seamlessly integrate it into your smart home ecosystem.
Removing the device from your Google Home network through the app has provided a straightforward and user-friendly process, ensuring that you can efficiently declutter your device list and optimize device management. The confirmation step has added an extra layer of control and oversight, allowing you to review and verify the removal action before finalizing the process.
As you continue to explore the capabilities of the Google Home app, you’ll discover a wealth of features and integrations that enhance your smart home experience. From voice commands and automation routines to personalized settings and device controls, the app empowers you to create a tailored and seamless smart home environment that aligns with your unique preferences and lifestyle.
With the knowledge and insights gained from this guide, you are well-equipped to manage your connected devices with confidence and efficiency, ensuring that your smart home ecosystem remains optimized and organized. Whether you’re removing devices, adding new ones, or exploring advanced features, the Google Home app serves as your trusted companion in creating a personalized and streamlined smart home experience.
Frequently Asked Questions about How To Remove A Device From Google Home
Was this page helpful?
At Storables.com, we guarantee accurate and reliable information. Our content, validated by Expert Board Contributors, is crafted following stringent Editorial Policies. We're committed to providing you with well-researched, expert-backed insights for all your informational needs.


0 thoughts on “How To Remove A Device From Google Home”