Home>Home Security and Surveillance>How To Remove Home Security System From Wall
Home Security and Surveillance
How To Remove Home Security System From Wall
Modified: March 6, 2024
Learn how to safely remove a home security system from your wall. Our step-by-step guide ensures you can uninstall your home security and surveillance equipment with ease.
(Many of the links in this article redirect to a specific reviewed product. Your purchase of these products through affiliate links helps to generate commission for Storables.com, at no extra cost. Learn more)
Introduction
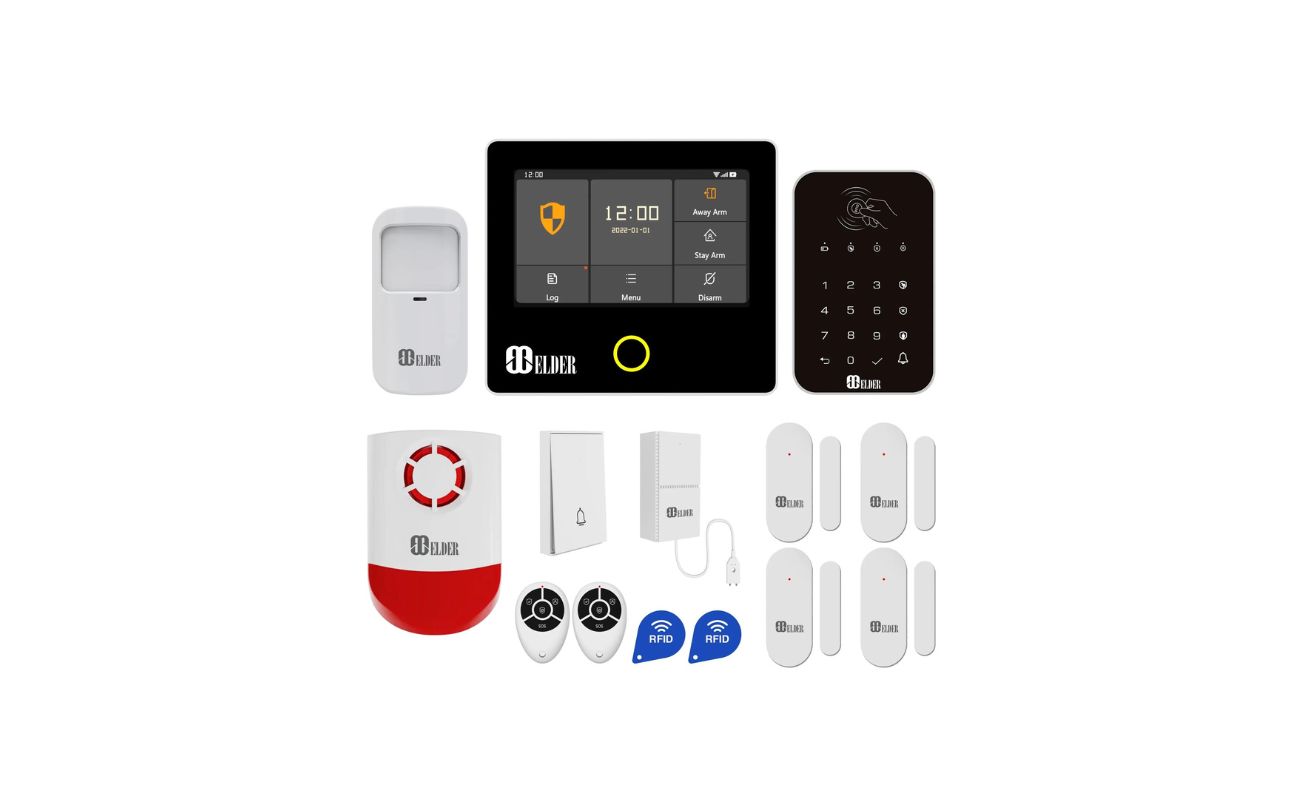
Home security systems are an integral part of protecting your property and loved ones. These systems offer peace of mind by providing round-the-clock monitoring and immediate response to emergencies. However, there may come a time when you need to remove a home security system from the wall, whether it’s due to an upgrade, relocation, or simply because you no longer require its services.
In this article, we will guide you through the step-by-step process of removing a home security system from the wall. From gathering the necessary tools to patching up any holes or damages, we will cover everything you need to know to ensure a successful removal.
Removing a home security system requires careful planning and execution to avoid any damage to your property or the system itself. By following these steps, you can safely and effectively remove your home security system and prepare for any future changes or installations.
Key Takeaways:
- Removing a home security system from the wall requires careful planning and the right tools. By following the step-by-step process, you can safely and effectively remove the system without any complications.
- After removing the system, you can restore power and test its functionality to ensure it’s working as intended. If unsure, seek professional assistance for a smooth removal process and potential upgrades.
Step 1: Gather the necessary tools
Before you begin the process of removing your home security system, it’s important to gather all the necessary tools to ensure a smooth and efficient removal. Here are the tools you’ll need:
- Screwdriver set: You’ll need both flathead and Phillips head screwdrivers to remove screws and fastenings.
- Wire cutters/strippers: These tools will come in handy for disconnecting wires from the control panel.
- Drill: If your security system is attached with screws, a drill will be necessary to remove them.
- Putty knife: This tool is useful for removing the control panel from the wall without causing any damage.
- Wall patching material: After removing the security system, you’ll likely be left with holes or damages in the wall. You’ll need wall patching material such as spackle or putty to fix these issues.
- Paint and paintbrush: If needed, you’ll want to have matching paint on hand to touch up the wall after patching.
- Utility knife: A utility knife will be useful for cutting and removing any adhesive or mounting tape that may be holding the control panel in place.
By gathering these tools ahead of time, you’ll be prepared to tackle each step of the removal process without any delays. It’s always a good idea to double-check that you have all the necessary tools before starting to ensure a smooth and efficient removal process.
Step 2: Power down the system
Before you begin the physical removal of the home security system, it is important to power it down properly. This step ensures the safety of both the system and the person removing it. Here’s how to power down the system:
- Locate the main power source: Depending on the type of system you have, the main power source may be located in different areas of your home. It could be a switch in the circuit breaker panel or a dedicated power supply for the security system.
- Turn off the power: Once you have located the main power source, switch it off or unplug it to cut off the power supply to the system. This will prevent any accidental shocks or damage during the removal process.
- Check for battery backup: Some home security systems have a battery backup in case of a power outage. If your system has a backup battery, make sure to disconnect it to ensure the system is completely powered down.
By properly powering down the system, you eliminate any potential hazards and ensure a safe removal process. It’s crucial to follow these steps to protect both yourself and the integrity of the security system.
Step 3: Remove any attachments or peripherals
Once you have powered down the home security system, the next step is to remove any attachments or peripherals that may be connected to it. These attachments could include door or window sensors, motion detectors, or any other devices that are part of the system. Here’s how to remove them:
- Identify the attachments: Take note of all the attachments or peripherals that are connected to the security system. This will help you keep track of what needs to be removed.
- Unscrew or detach the attachments: Use the appropriate screwdriver or tool to unscrew any screws holding the attachments in place. If the attachments are held with adhesive, carefully detach them using a putty knife or utility knife.
- Disconnect wires: If there are any wires connecting the attachments to the control panel, gently disconnect them using wire cutters or wire strippers. Be sure to label or take note of which wire corresponds to which attachment for easier reinstallation in the future.
Removing the attachments or peripherals is an important step to ensure a complete removal of the home security system. By carefully taking them off, you prepare the system for the next steps of the removal process.
Step 4: Disconnect the wires from the control panel
Now that you have removed the attachments or peripherals, it’s time to focus on disconnecting the wires from the control panel. These wires are responsible for transmitting signals and powering the various components of the security system. Here’s how to disconnect the wires:
- Identify the wires: Take a close look at the wires coming out of the back or bottom of the control panel. Each wire serves a specific purpose, such as power, communication, or sensor connections.
- Organize and label the wires: Before disconnecting any wires, it’s crucial to organize and label them for easier reinstallation in the future. Use masking tape or labels to tag each wire with its corresponding function or attachment.
- Disconnect the wires: Using wire cutters or wire strippers, carefully cut or strip the wires one by one. Be cautious not to damage or cut any surrounding wires. If the wires are connected with terminal screws, unscrew them using the appropriate screwdriver.
Disconnecting the wires from the control panel is a delicate process that requires attention to detail. Take your time to ensure you are disconnecting the wires correctly and avoid any accidental damage to the control panel or other components of the system.
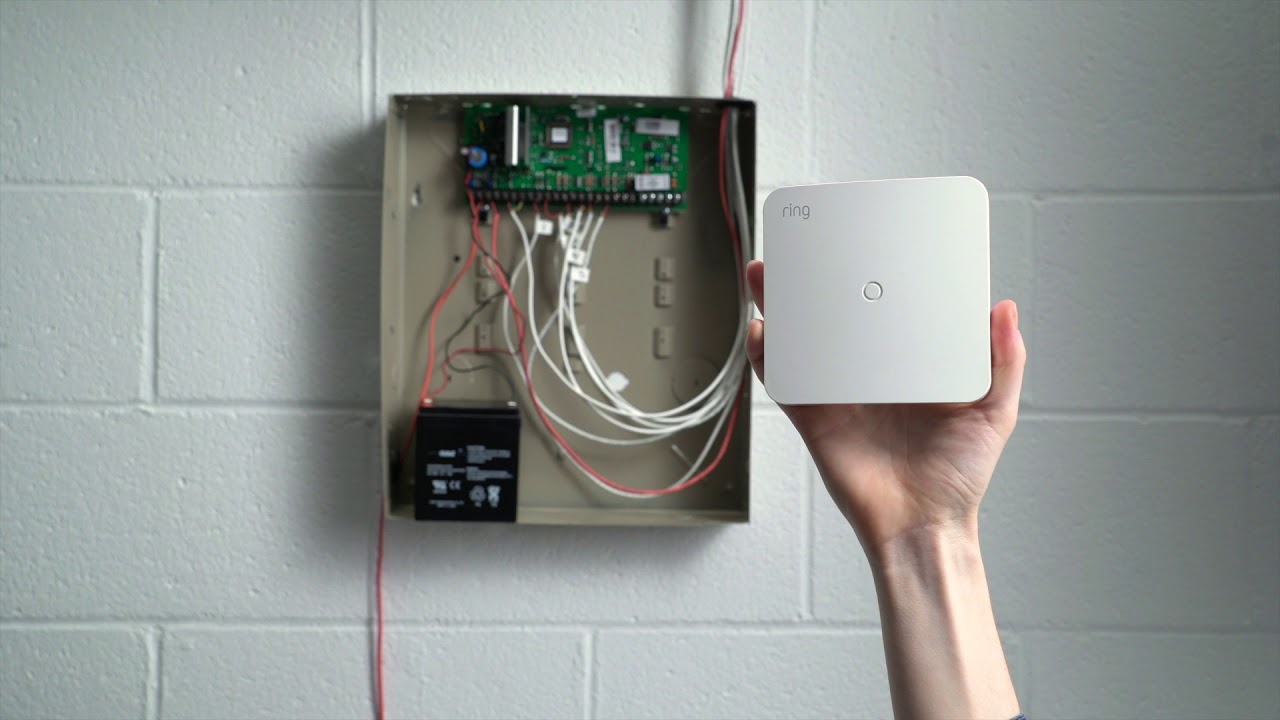
Before removing a home security system from the wall, make sure to power it off and disconnect any wires. Use a screwdriver to remove the mounting screws and gently pull the system away from the wall. Patch any holes left behind with spackling compound and paint over it for a seamless finish.
Read more: How To Remove Motion Detector From Wall
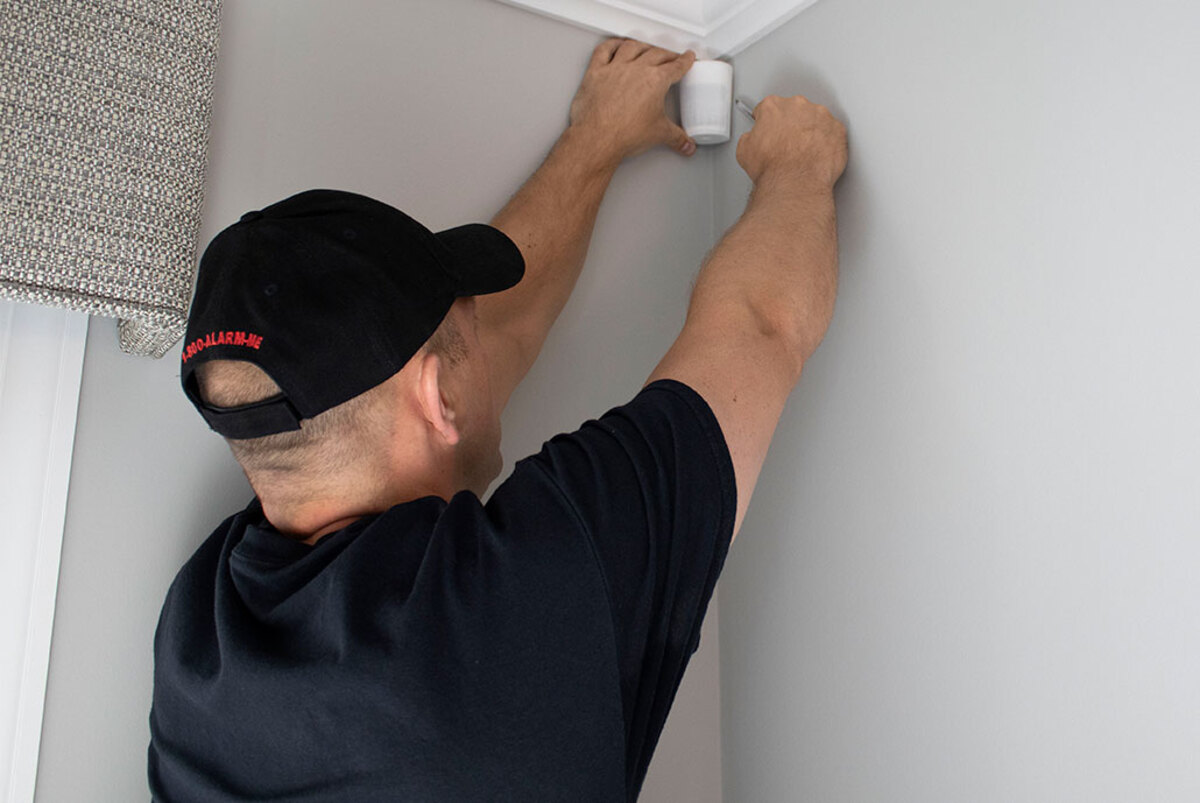
Step 5: Remove the control panel from the wall
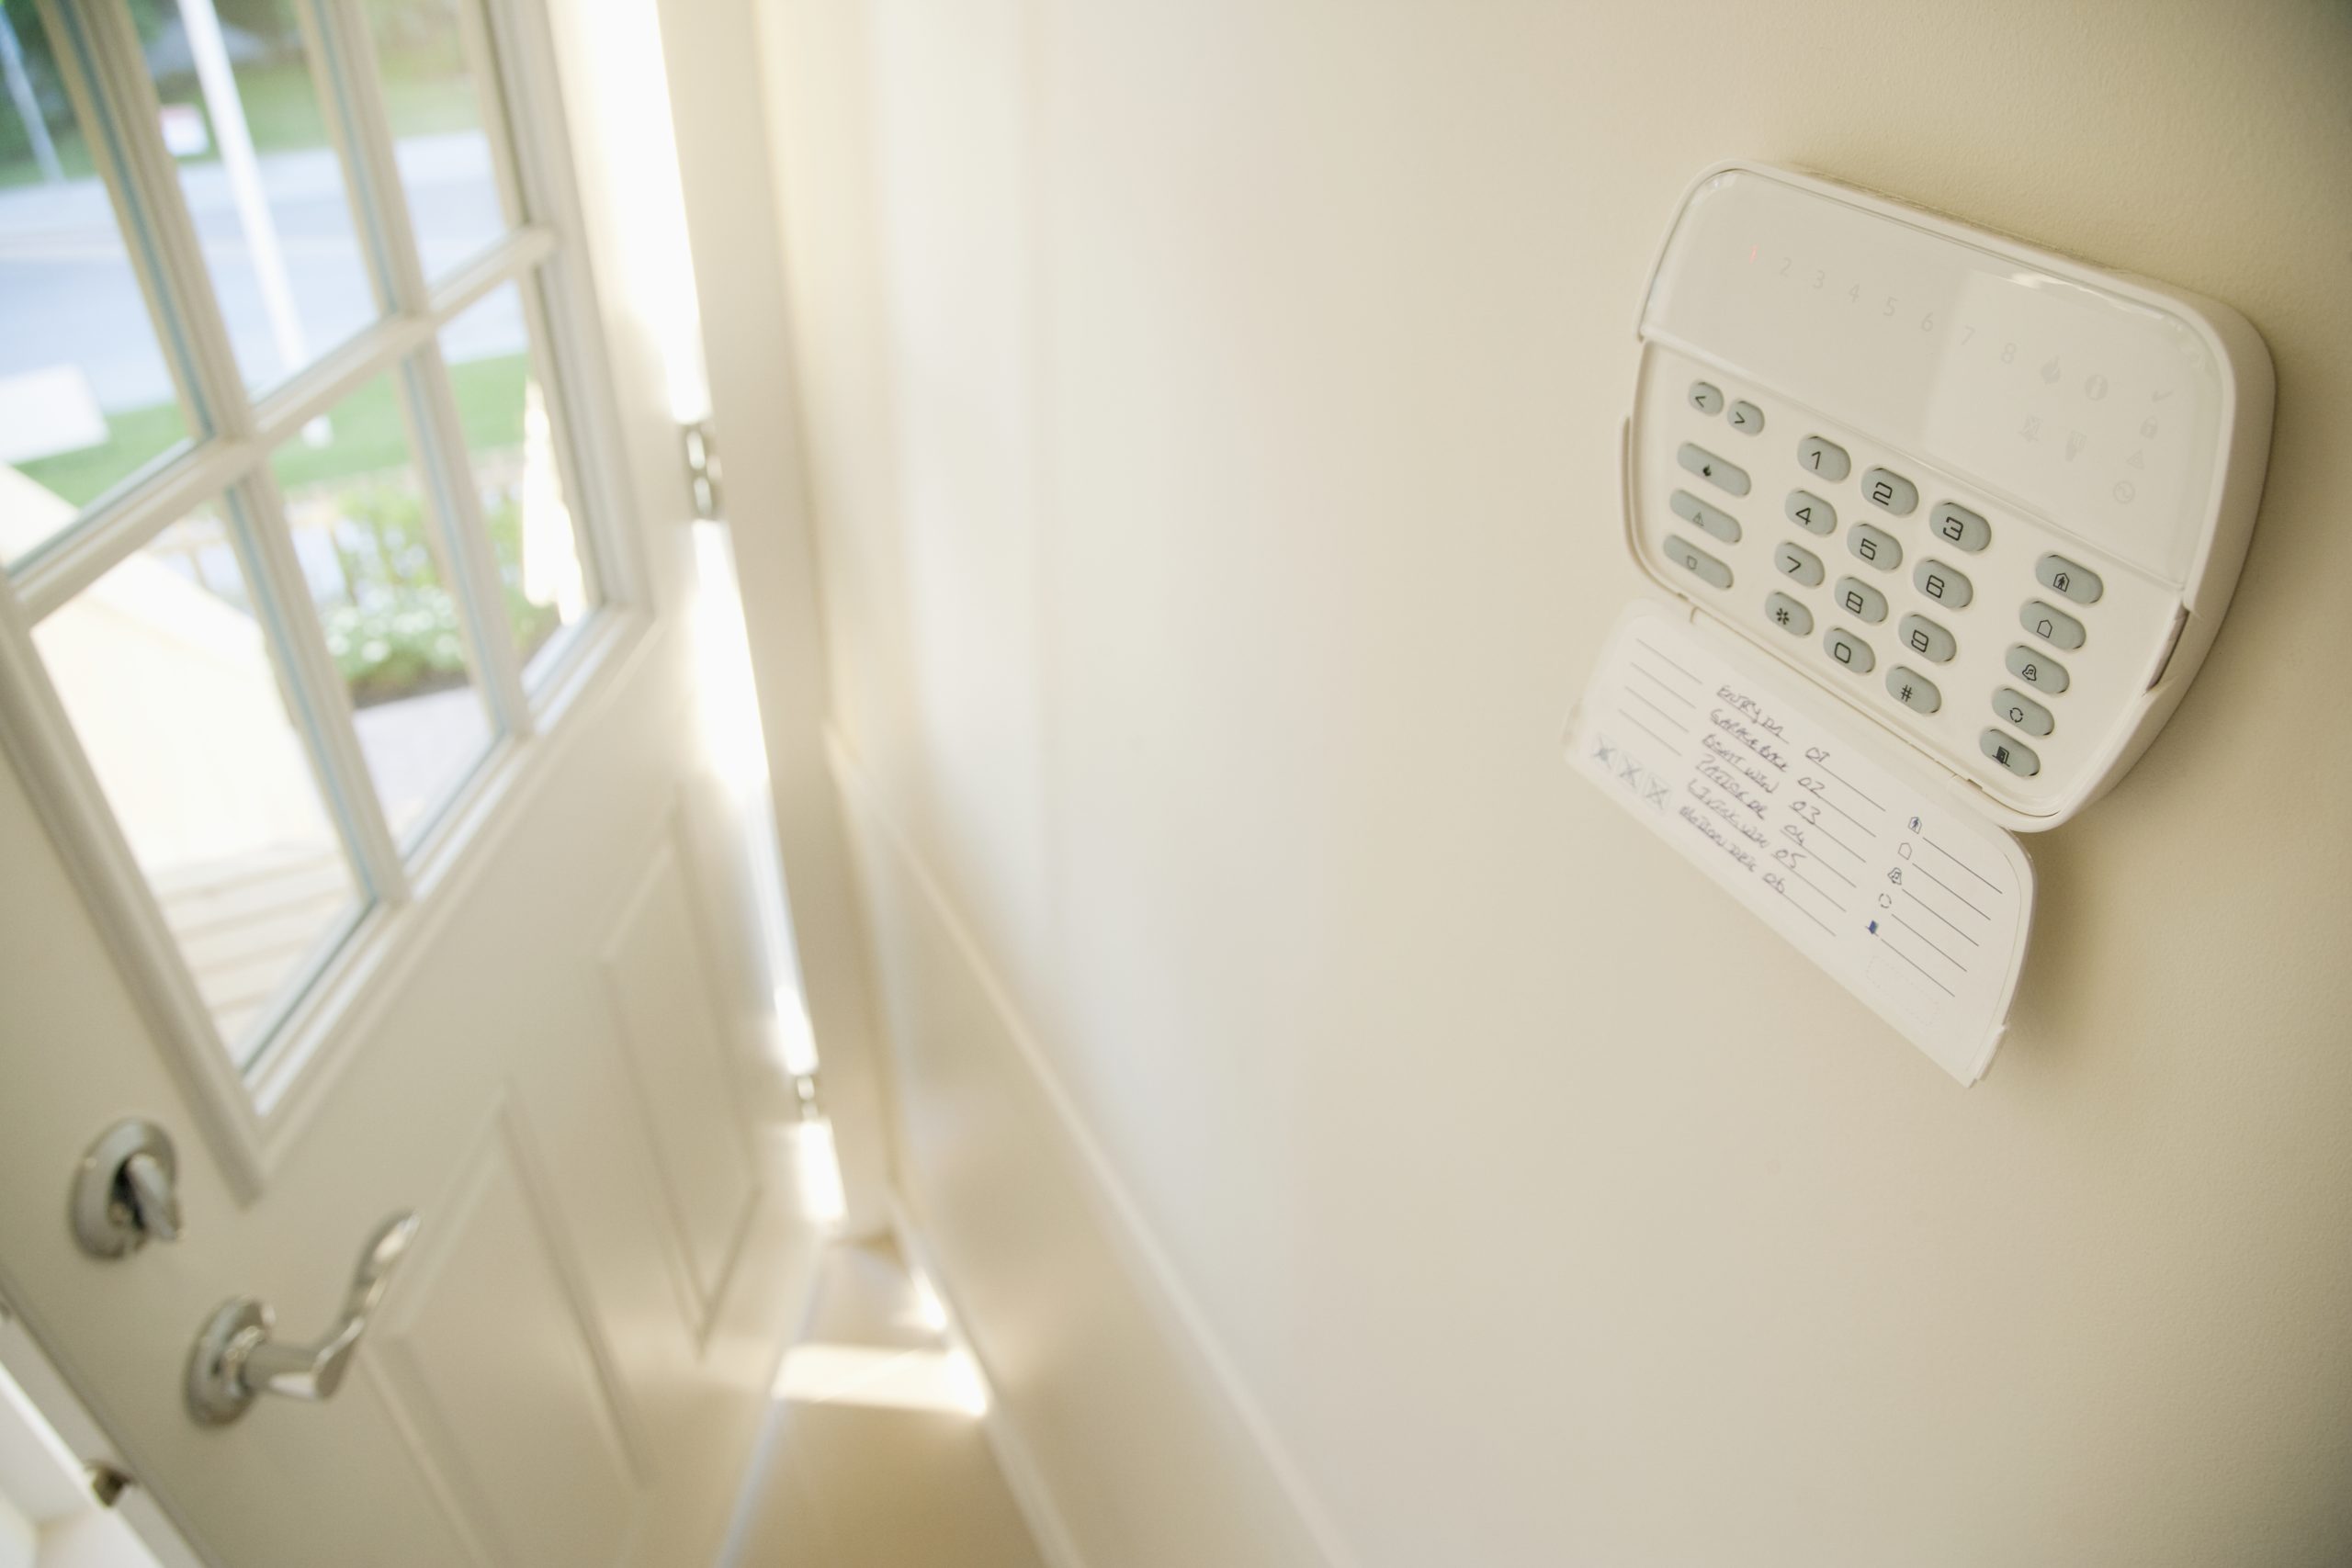
With the attachments detached and the wires disconnected, it’s time to remove the control panel from the wall. The control panel is typically the central hub of the home security system, and its removal requires careful handling. Here’s how to remove the control panel:
- Inspect the control panel: Before removing it, take a moment to inspect the control panel for any screws, brackets, or mounting devices that are securing it to the wall. These may vary depending on the specific model or installation method.
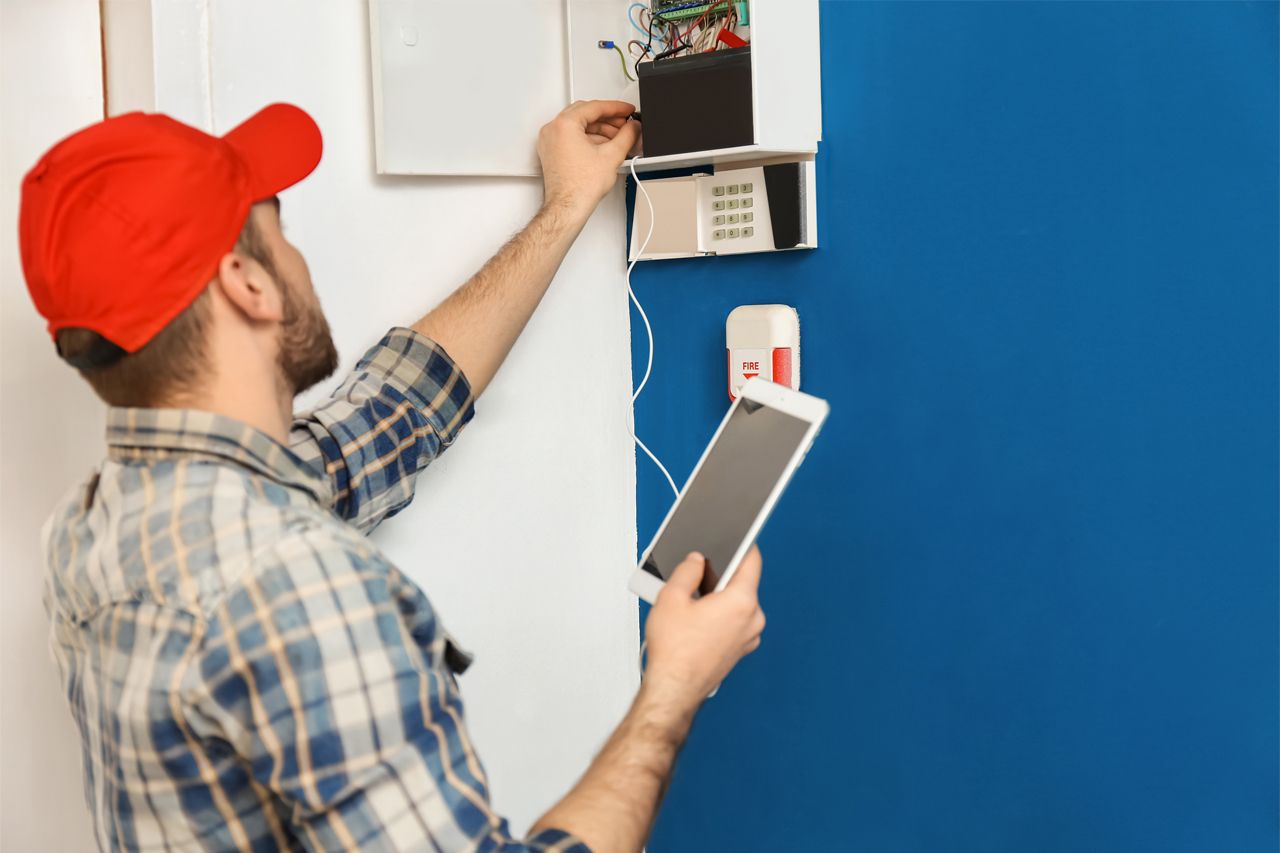
- Remove any securing elements: If there are screws, brackets, or other securing devices in place, use the appropriate tools to remove them. This may involve using a screwdriver, drill, or other tools as needed.
- Gently detach the control panel: Once the securing elements are removed, carefully detach the control panel from the wall. Slowly slide the panel upward or sideways, depending on how it is mounted, while avoiding any unnecessary force or twisting.
It’s important to handle the control panel with care during this step to avoid accidental damage. If you encounter any difficulties or resistance while removing the control panel, refer to the manufacturer’s instructions or seek assistance from a professional.
Step 6: Patch up any holes or damages
After removing the control panel, you may be left with holes or damages on the wall where it was mounted. It’s essential to patch up these areas to restore the wall’s appearance and ensure a seamless finish. Here’s how to patch up any holes or damages:
- Clean the area: Begin by cleaning the wall surface around the holes or damages. Use a damp cloth or sponge to remove any dust, debris, or loose particles.
- Apply wall patching material: Use a putty knife to apply a wall patching material, such as spackle or putty, to the holes or damages. Fill each hole or damaged area completely and smoothly, following the manufacturer’s instructions.
- Smooth and level the patch: After applying the patching material, use the putty knife to smooth and level the patched areas. Remove any excess material and ensure a seamless transition between the patch and the surrounding wall.
- Let it dry: Allow the patching material to dry completely based on the recommended drying time by the manufacturer. This may take a few hours or overnight, depending on the product used.
- Sand and blend: Once the patching material is dry, lightly sand the patched areas using fine-grit sandpaper. This will help to create a smooth and even surface. Blend the patched areas by feathering the edges, ensuring a seamless integration with the rest of the wall.
- Paint if necessary: If the patched areas require touch-up paint, use a paintbrush to match the color and texture of your wall. Apply the paint evenly and allow it to dry before doing any further touch-ups, if needed.
Patching up any holes or damages is crucial for a clean and polished look after removing the home security system. By following these steps, you can restore your wall’s appearance and ensure a professional finish.
Step 7: Restore power and test
After successfully removing the home security system and patching up any holes or damages, it’s time to restore power and test the functionality of other electrical components in your home. Here’s how to restore power and perform a system test:
- Reconnect the power supply: Begin by reactivating the main power source for your home security system. This may involve flipping a switch in the circuit breaker panel or plugging in the power supply if you previously unplugged it.
- Power up the control panel: Once the power is restored, reconnect the control panel to its power source or insert any required batteries. Make sure the control panel is securely reattached to the wall.
- Reconnect the wires: Reconnect the wires to the control panel, ensuring that each wire is correctly attached based on the labels or notes you made during the disconnection process.
- Perform a system test: Activate the system and test its functionality. Arm and disarm the system, test various sensors and devices, and ensure that the communication between different components is working as expected. Monitor any notification systems, alarms, or alerts to verify their proper functioning.
- Check for errors or malfunctions: During the system test, pay close attention to any error messages or malfunctions. Address any issues that arise or consult the manufacturer’s instructions or a professional if necessary.
- Update or replace components (if desired): This step is optional but may be necessary if you plan to upgrade or replace any components of your home security system. Follow the manufacturer’s instructions or consult a professional to ensure a proper installation.
By restoring power and testing the functionality of your home security system, you can ensure that it is functioning as intended after the removal process. This step will provide peace of mind and reassurance that your home security is fully operational.
Conclusion
Removing a home security system from the wall may seem like a daunting task, but by following the step-by-step process outlined in this article, you can successfully complete the removal with ease. By gathering the necessary tools, powering down the system, removing attachments, disconnecting wires, taking off the control panel, patching up any holes or damages, and restoring power for testing, you can ensure a smooth and efficient removal process.
It’s important to approach the removal process with caution and care to avoid any damage to your property and the security system itself. By paying attention to detail and following the manufacturer’s instructions, you can safely remove the system without any complications.
Remember, if you are unsure or uncomfortable with any aspect of the removal process, it is recommended to seek assistance from a professional. They can provide expert guidance and ensure that the removal is done correctly and efficiently.
Once the home security system has been removed, you may have the opportunity to upgrade or replace it with a new system. This can further enhance the security and protection of your home and loved ones.
In conclusion, removing a home security system from the wall requires careful planning, proper tools, and attention to detail. By following the steps outlined in this article, you can successfully remove the system and prepare for any future changes or installations.
Frequently Asked Questions about How To Remove Home Security System From Wall
Was this page helpful?
At Storables.com, we guarantee accurate and reliable information. Our content, validated by Expert Board Contributors, is crafted following stringent Editorial Policies. We're committed to providing you with well-researched, expert-backed insights for all your informational needs.