Home>Home Appliances>Home Automation Appliances>What Is The Jumper Wire For On A Thermostat
Home Automation Appliances
What Is The Jumper Wire For On A Thermostat
Published: January 4, 2024
Learn about the purpose of jumper wire on a thermostat and its role in home automation appliances. Find out how to use it effectively.
(Many of the links in this article redirect to a specific reviewed product. Your purchase of these products through affiliate links helps to generate commission for Storables.com, at no extra cost. Learn more)
Introduction
Welcome to the world of home automation, where even the smallest components play a crucial role in ensuring comfort and convenience. In this article, we’ll delve into the fascinating realm of thermostat jumper wires, shedding light on their purpose, functionality, and common usage scenarios. Whether you’re a seasoned DIY enthusiast or a homeowner eager to understand the inner workings of your thermostat, this guide will provide valuable insights into the often-overlooked jumper wire.
As we embark on this exploration, we’ll unravel the mysteries surrounding jumper wires, demystifying their significance and dispelling any confusion that may surround them. By the end of this journey, you’ll possess a comprehensive understanding of the jumper wire’s role in your thermostat and how it contributes to the seamless operation of your home’s heating and cooling system.
So, let’s roll up our sleeves and venture into the intricate world of thermostat jumper wires, where seemingly small components can make a big difference in the functionality of your home’s climate control system.
Key Takeaways:
- The jumper wire in a thermostat is like a tiny bridge that helps different parts of the thermostat talk to each other, making sure your home stays cozy and comfortable.
- Using the right jumper wire in your thermostat is like connecting the dots to make sure your heating and cooling system works smoothly, just like following a recipe to make a perfect dish.
Read more: What Is The Orange Wire On A Thermostat
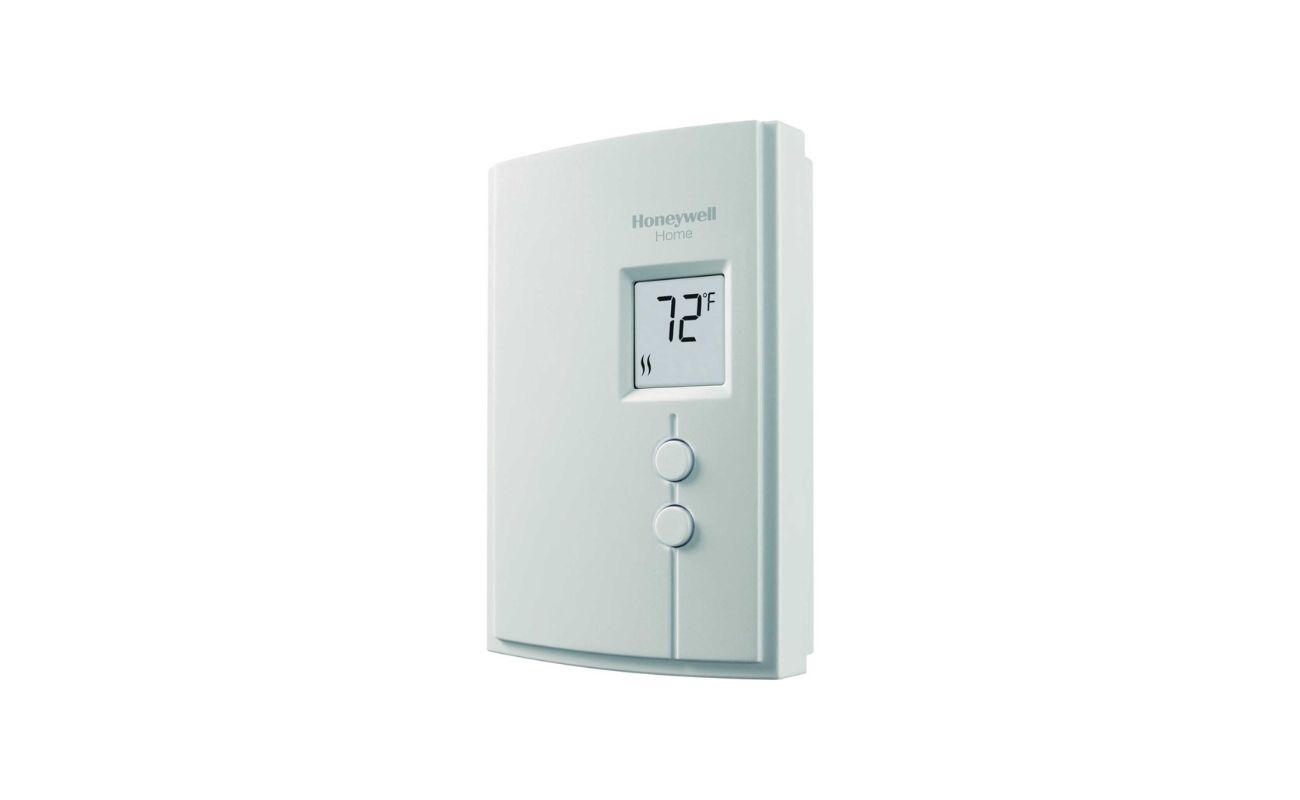
Understanding the Jumper Wire
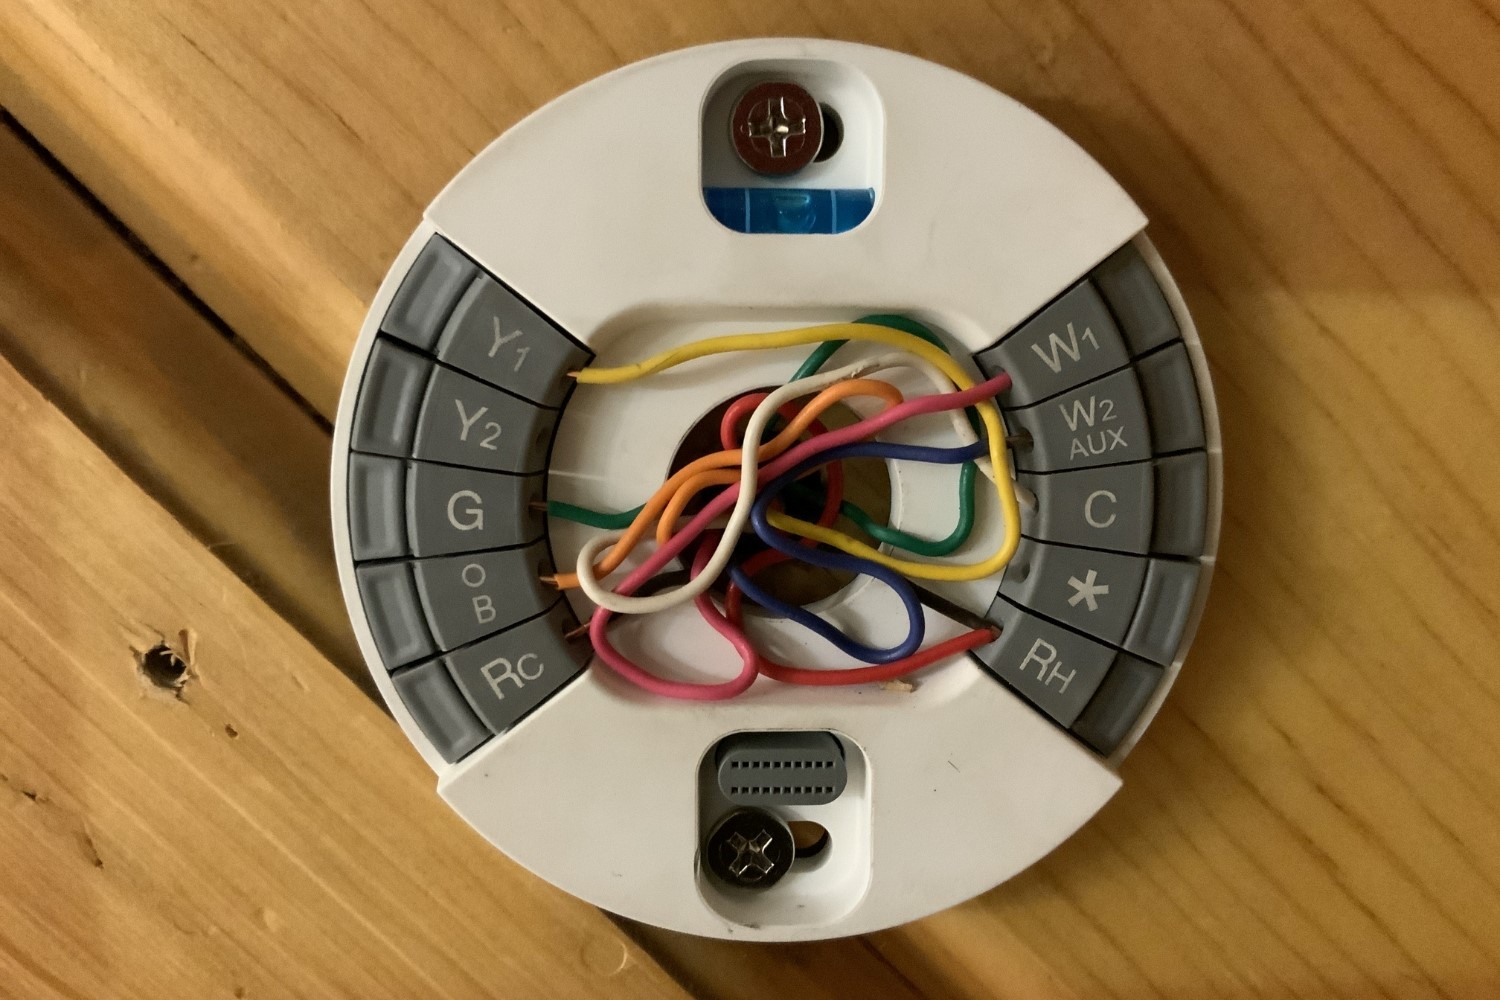
Before we delve into the specifics of the jumper wire, it’s essential to grasp its fundamental purpose and configuration. In the realm of thermostats, the jumper wire serves as a bridge between two connectors, effectively establishing a connection between them. This simple yet pivotal component plays a crucial role in facilitating the seamless operation of your thermostat and, by extension, your HVAC system.
Typically, the jumper wire is a small, insulated piece of wire that is strategically positioned to link specific terminals on the thermostat. It serves as a conduit for electrical signals, allowing for the transfer of vital information between different components of the thermostat. This interconnection is essential for enabling the thermostat to perform its functions accurately and efficiently.
One common scenario where a jumper wire is utilized is in the context of a two-stage heating or cooling system. In such setups, the jumper wire bridges two terminals to ensure that the thermostat can effectively control both stages of the heating or cooling process. Without this bridge, the thermostat would be unable to coordinate the operation of the two stages, leading to potential inefficiencies and suboptimal performance.
Understanding the jumper wire’s role as a conduit for electrical signals is crucial for appreciating its significance within the broader framework of thermostat functionality. By establishing connections between specific terminals, the jumper wire facilitates the smooth transmission of signals, allowing for precise control over your home’s climate control system.
Now that we’ve laid the groundwork for comprehending the jumper wire’s purpose and functionality, let’s delve deeper into its specific applications and the scenarios in which it proves indispensable.
Purpose of the Jumper Wire
The jumper wire serves a pivotal role in ensuring the seamless operation of your thermostat and, by extension, your home’s heating and cooling system. Its primary purpose is to establish connections between specific terminals on the thermostat, enabling the transmission of crucial electrical signals that govern the system’s functionality.
One of the key purposes of the jumper wire is to facilitate the coordination of multiple stages in a heating or cooling system. In scenarios where the HVAC system comprises two stages, such as first and second-stage heating or cooling, the jumper wire plays a critical role in enabling the thermostat to control both stages effectively. By linking the relevant terminals, the jumper wire ensures that the thermostat can regulate the operation of each stage with precision, thereby optimizing energy efficiency and maintaining optimal comfort levels within your home.
Furthermore, the jumper wire contributes to the overall reliability and accuracy of the thermostat’s operation. By establishing secure connections between terminals, it minimizes the risk of signal interference or disruptions, thus enhancing the system’s responsiveness and performance. This reliability is essential for ensuring that the thermostat can accurately interpret and act upon temperature variations, maintaining a consistent and comfortable indoor environment.
Additionally, the jumper wire plays a crucial role in enabling the thermostat to communicate effectively with other components of the HVAC system, such as the furnace, air conditioner, or heat pump. By serving as a conduit for electrical signals, it facilitates the exchange of vital information, allowing the thermostat to coordinate the operation of the entire system in response to temperature fluctuations and user settings.
Overall, the jumper wire’s purpose extends beyond its seemingly modest appearance, as it forms an integral link in the chain of components that collectively regulate your home’s climate control system. Its role in establishing connections, facilitating signal transmission, and enabling multi-stage coordination underscores its significance in ensuring the efficient and reliable operation of your thermostat and HVAC system.
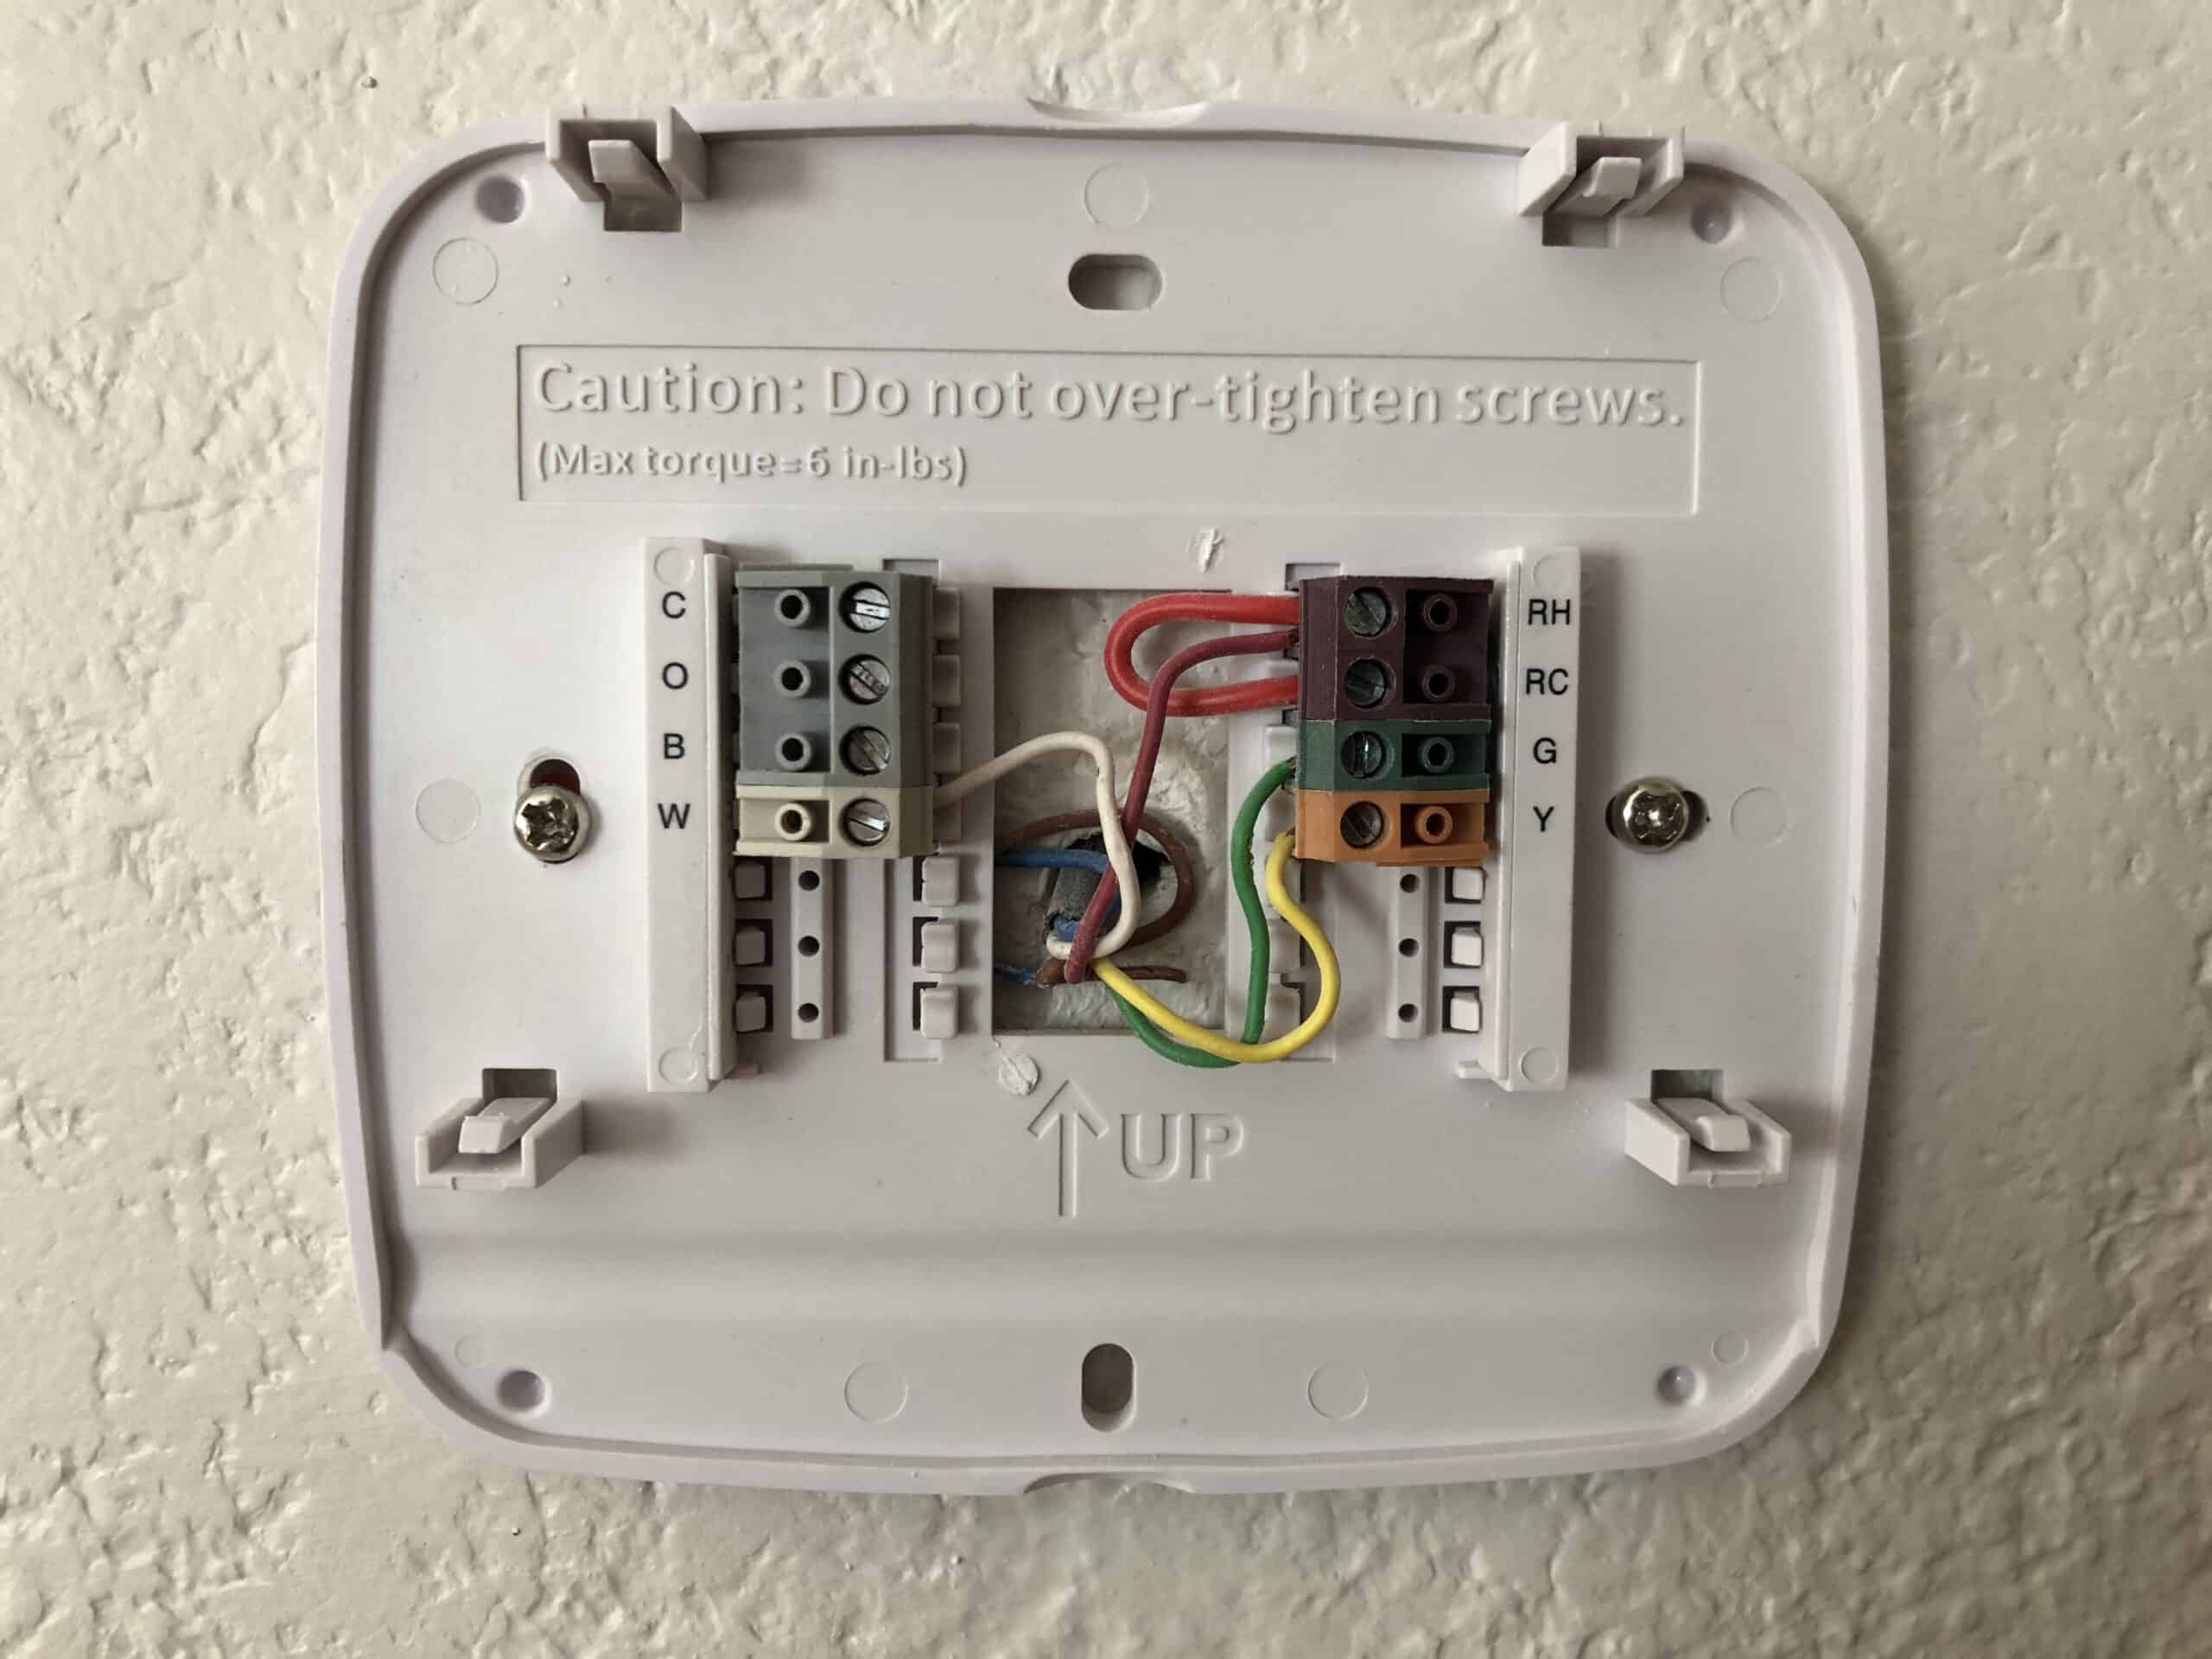
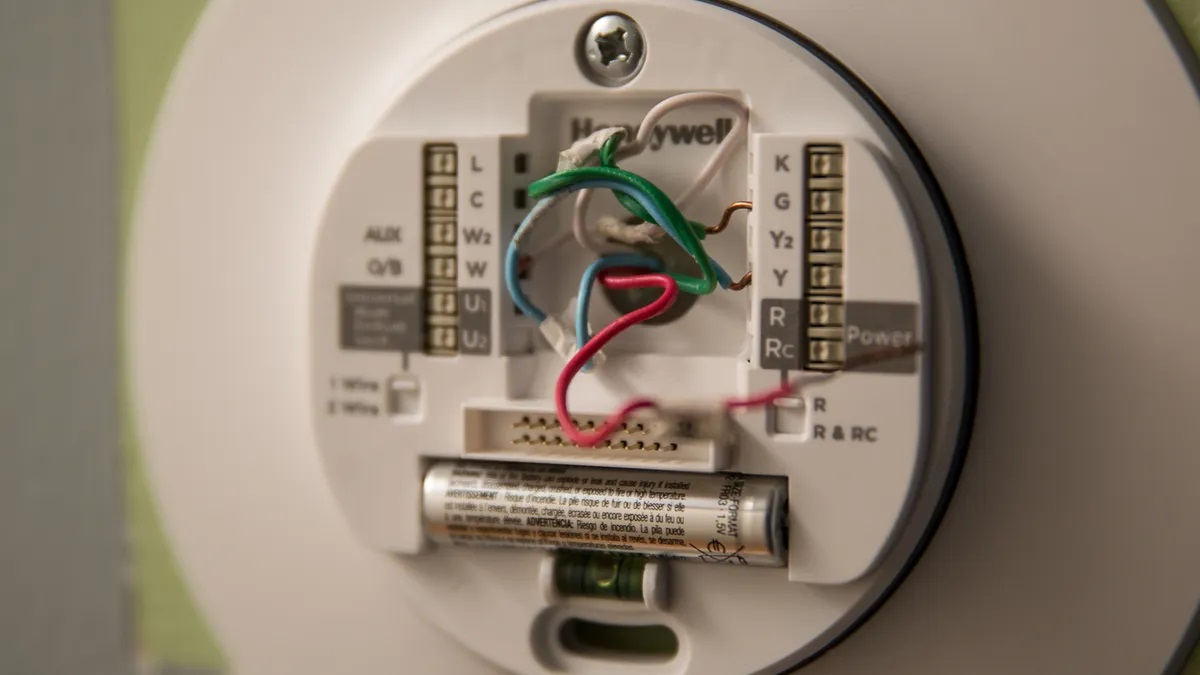
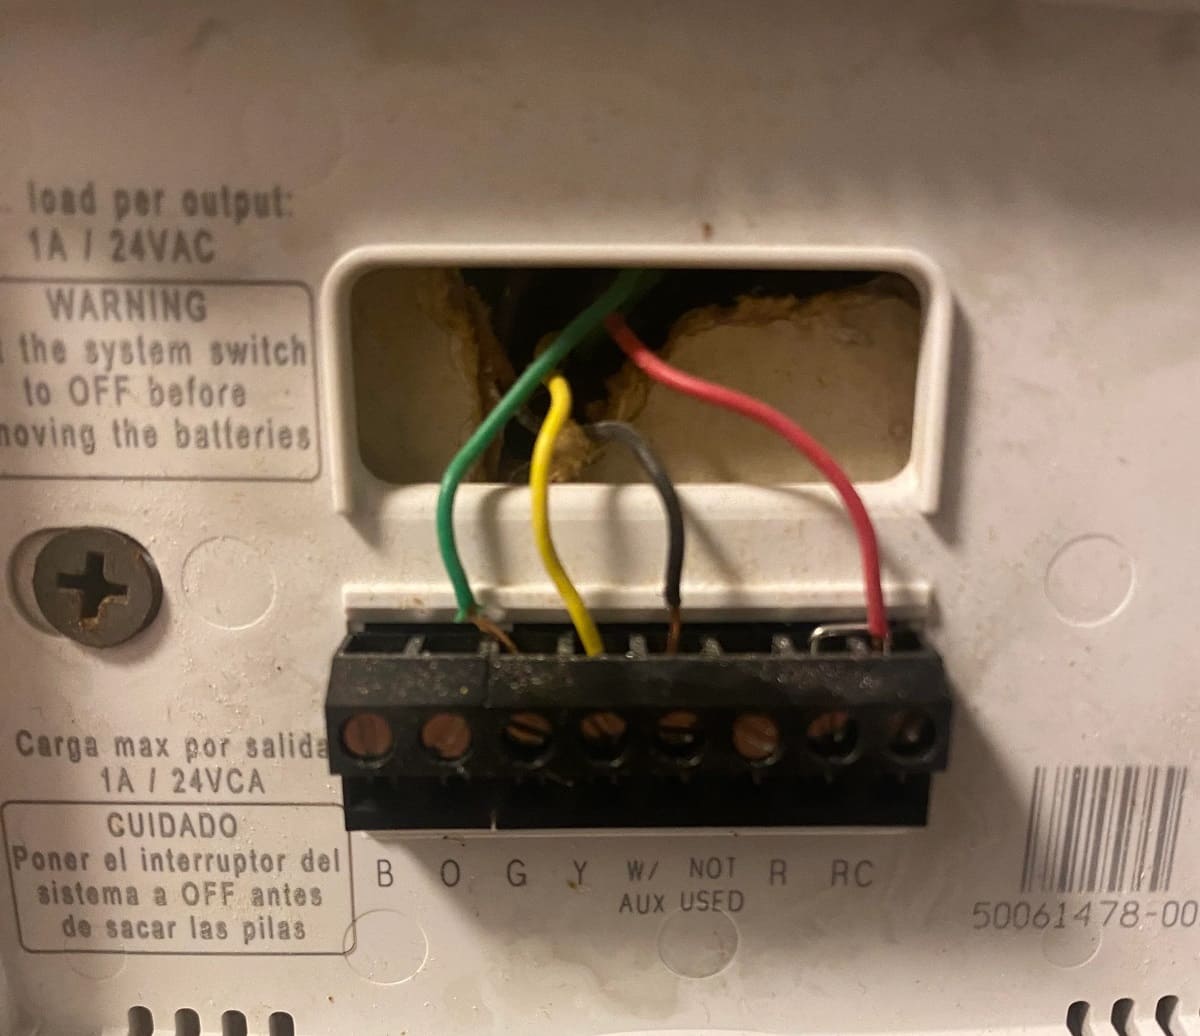
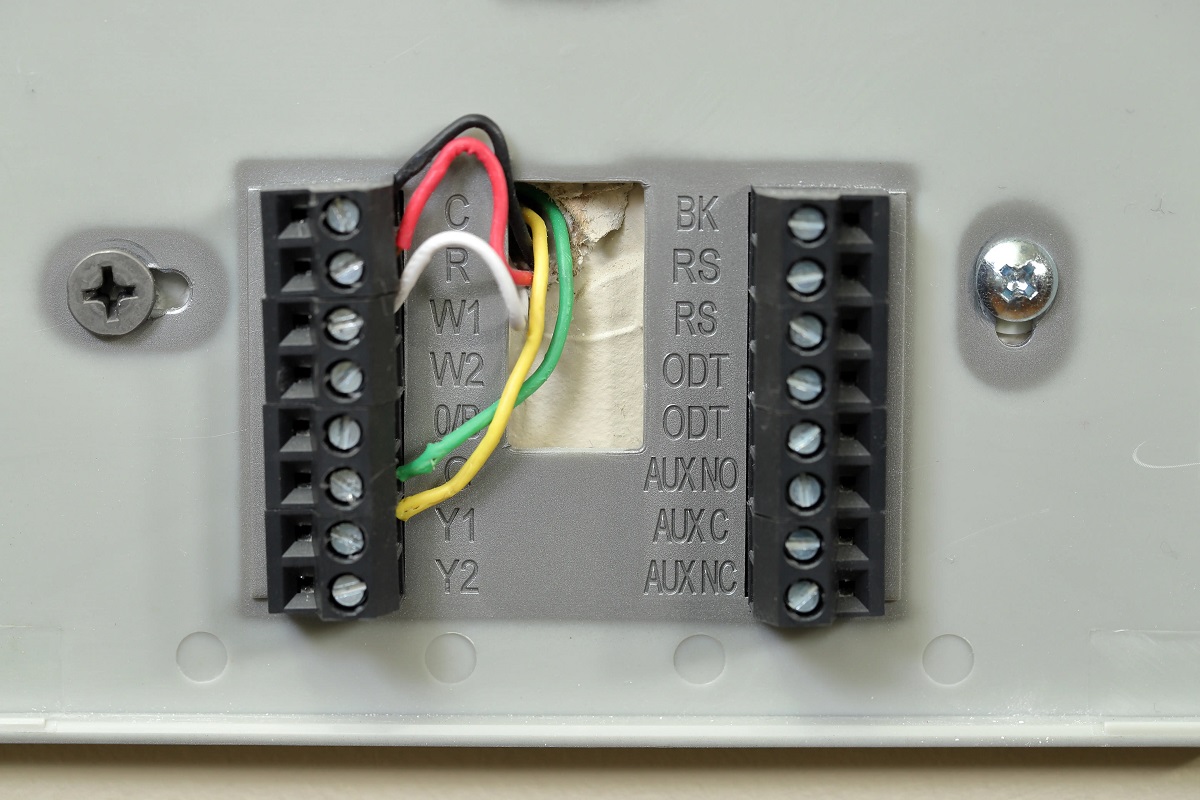
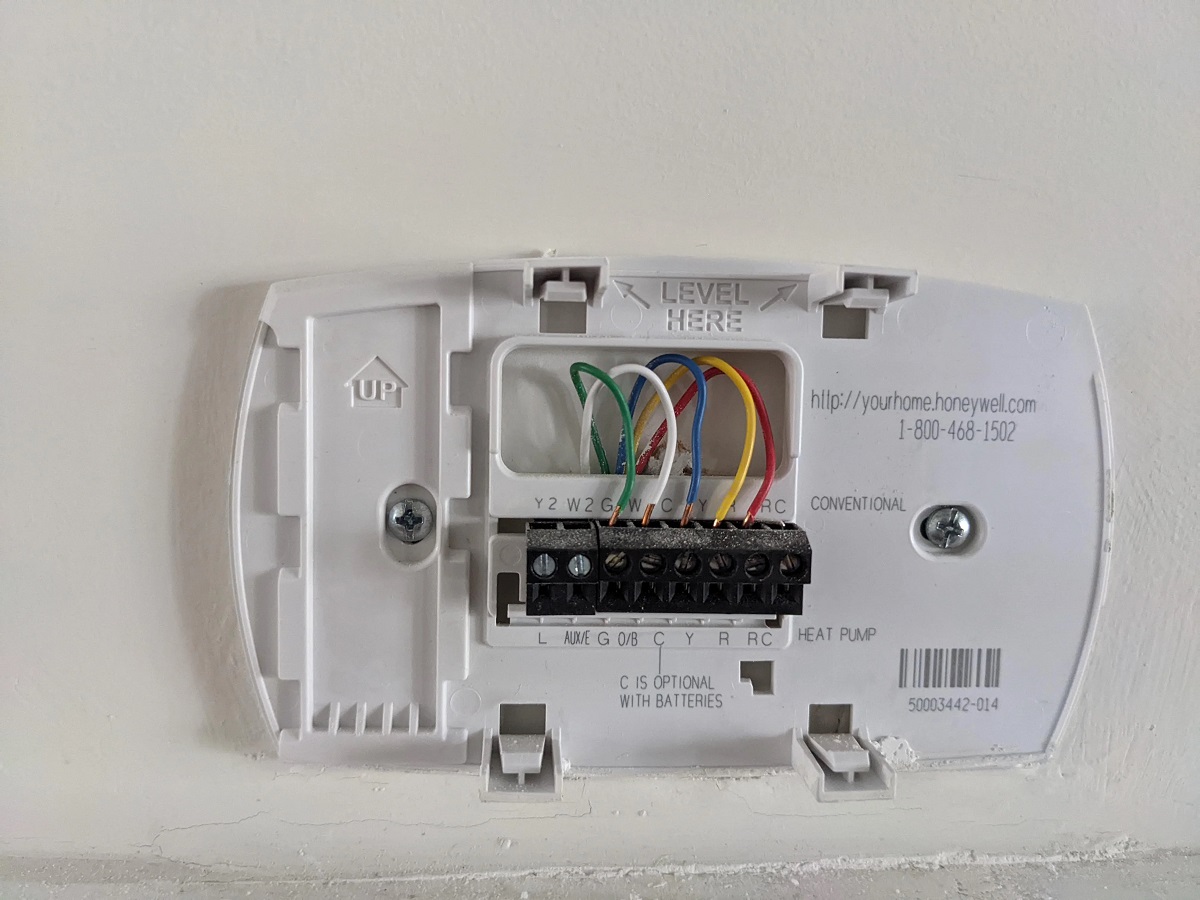
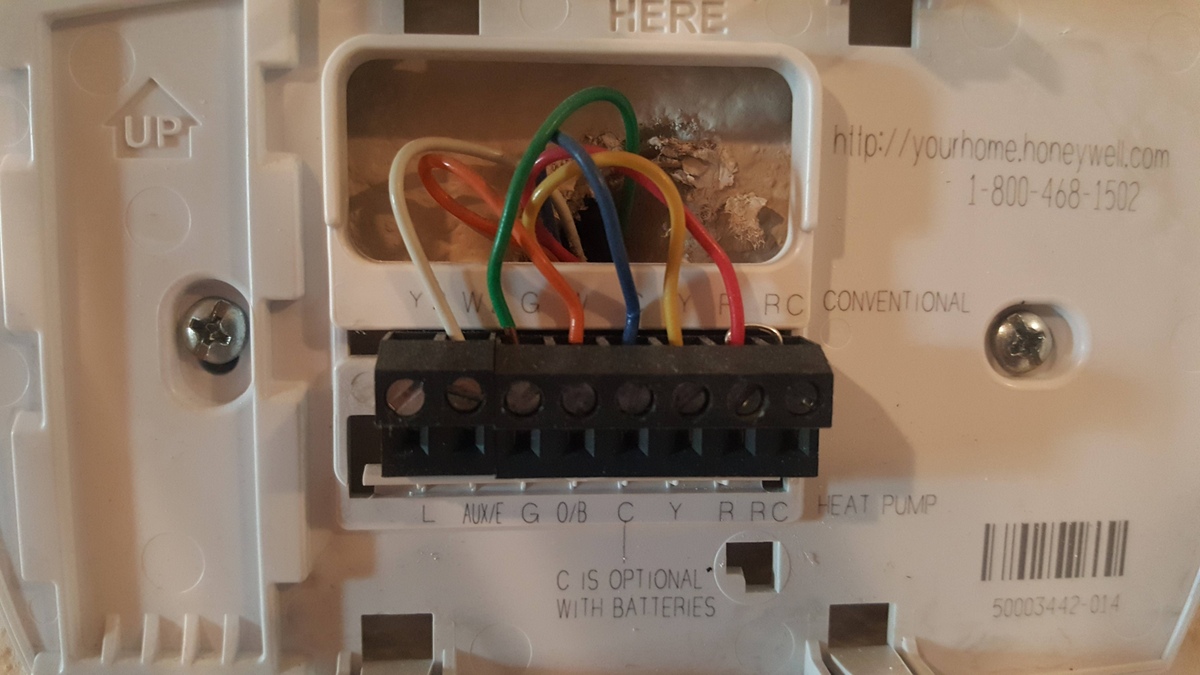
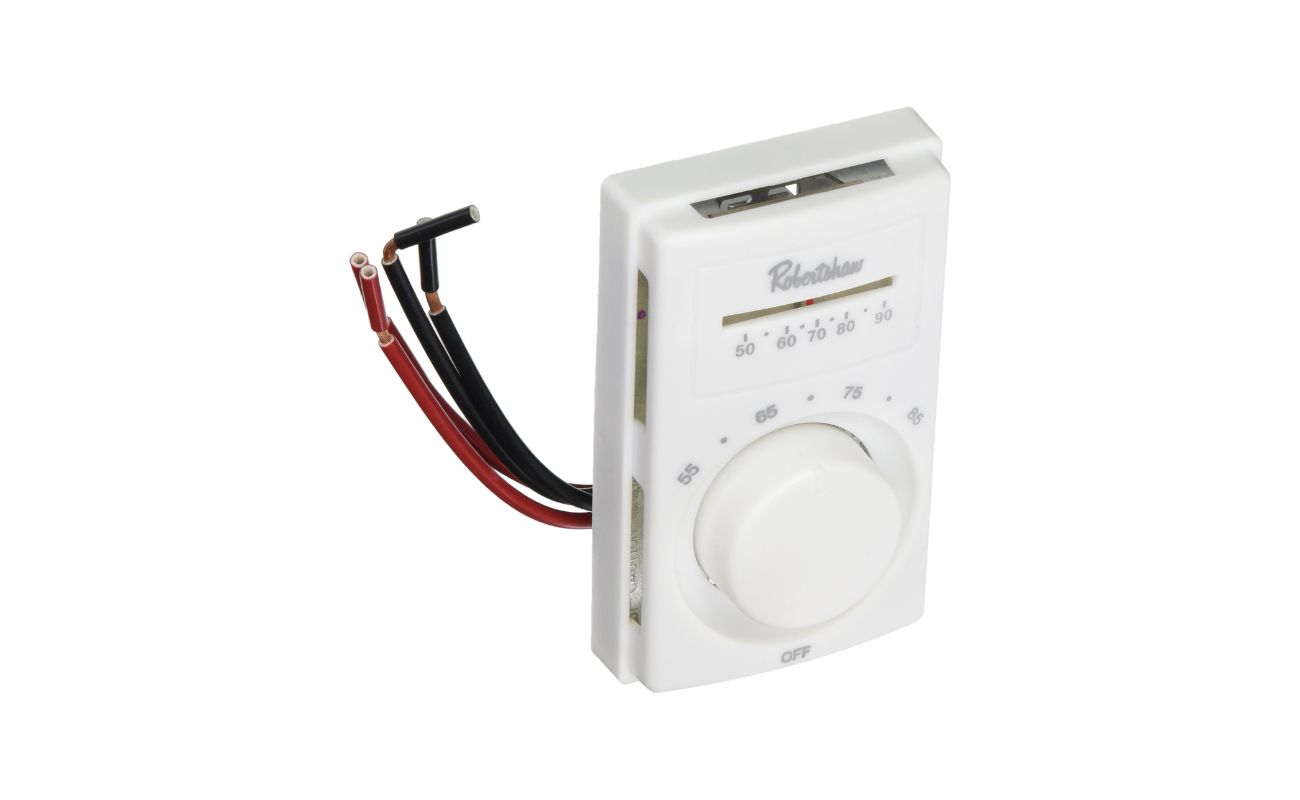
The jumper wire on a thermostat is used to connect the R and Rc terminals, allowing the thermostat to receive power from a single transformer. This is necessary for systems that do not have a separate power supply for heating and cooling.
How to Use the Jumper Wire
Using a jumper wire in the context of a thermostat involves understanding the specific terminals that require bridging and the scenarios in which its application is necessary. Here’s a step-by-step guide on how to effectively utilize a jumper wire in your thermostat setup:
- Identify the Terminals: Begin by identifying the specific terminals on the thermostat that require bridging. This typically involves referring to the thermostat’s documentation or wiring diagram to pinpoint the relevant terminals that necessitate the use of a jumper wire. Common scenarios include bridging terminals for multi-stage heating or cooling systems, as well as facilitating communication between the thermostat and other HVAC components.
- Select the Appropriate Jumper Wire: Once you’ve identified the terminals that require bridging, select a suitable jumper wire that matches the specifications of your thermostat. Ensure that the wire is insulated and of the appropriate gauge to establish secure connections without the risk of electrical interference.
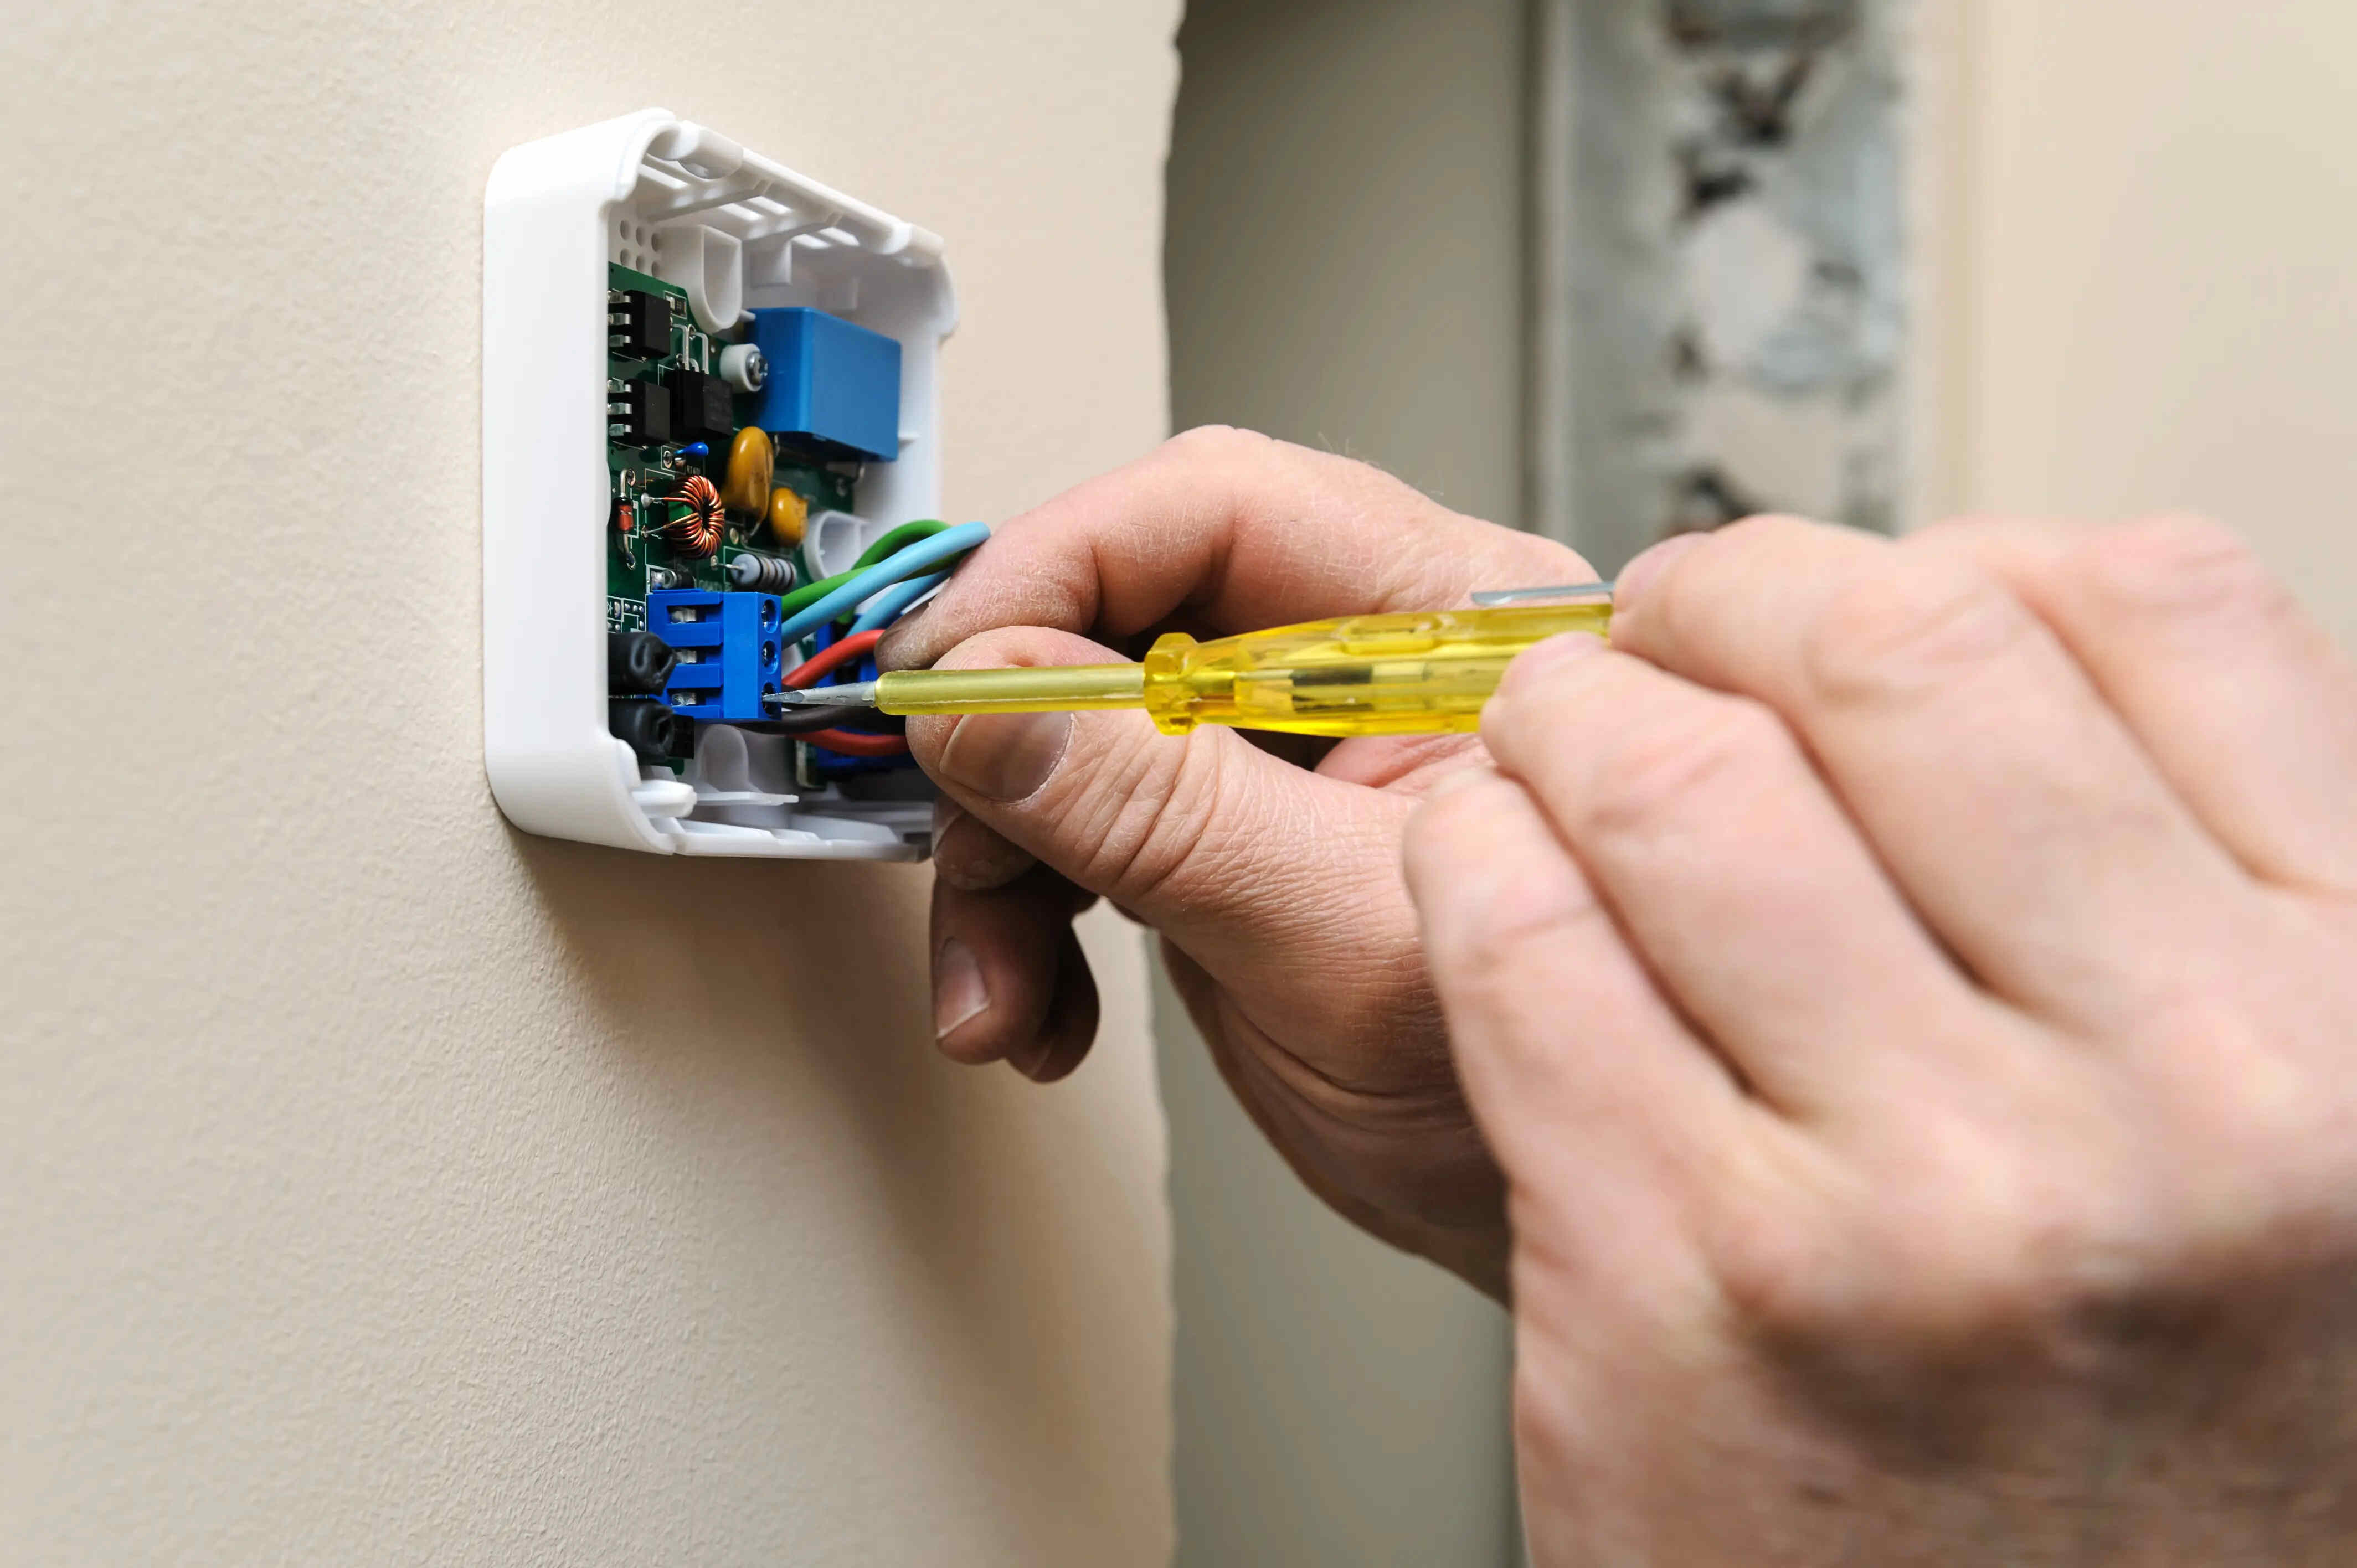
- Power Off the System: Before proceeding with the installation of the jumper wire, it’s crucial to power off the HVAC system to prevent any electrical mishaps. This involves turning off the power supply to the thermostat and, if necessary, switching off the circuit breaker that controls the HVAC system.
- Install the Jumper Wire: Carefully insert the jumper wire into the designated terminals, ensuring a secure and snug fit to establish reliable connections. Take note of the polarity and orientation of the wire, ensuring that it aligns with the specific requirements outlined in the thermostat’s documentation.
- Verify Connections: Once the jumper wire is in place, perform a thorough visual inspection to confirm that the connections are secure and free from any signs of damage or instability. Double-check the orientation of the wire and ensure that it aligns with the prescribed configuration for the intended purpose.
- Power On the System: With the jumper wire installed and the connections verified, proceed to power on the HVAC system and the thermostat. Monitor the system to ensure that it operates as intended, with the jumper wire facilitating the necessary signal transmission and coordination between the relevant components.
By following these steps, you can effectively use a jumper wire to bridge terminals and enable the seamless operation of your thermostat in various multi-stage and communication scenarios.
Common Issues with the Jumper Wire
While the jumper wire is a critical component in the functionality of a thermostat, several common issues and challenges may arise in its usage. Understanding these potential pitfalls is essential for troubleshooting and ensuring the optimal performance of your thermostat and HVAC system. Here are some prevalent issues associated with jumper wires:
- Incorrect Installation: Improper installation of the jumper wire can lead to connectivity issues and disrupt the transmission of electrical signals. This may result in erratic thermostat behavior, inaccurate temperature readings, or the inability to control multi-stage systems effectively. It’s crucial to follow the manufacturer’s guidelines and wiring diagrams meticulously to ensure the correct placement and orientation of the jumper wire.
- Loose Connections: Over time, the connections established by the jumper wire may become loose due to thermal expansion, vibrations, or general wear and tear. Loose connections can lead to intermittent signal transmission, causing inconsistencies in the thermostat’s operation and potentially impacting the performance of the HVAC system. Regular inspection and maintenance are essential to identify and rectify any loose connections promptly.
- Compatibility Issues: In some cases, using an incompatible or inadequate jumper wire for a specific thermostat model or HVAC system can lead to compatibility issues. This may manifest as erratic behavior, system malfunctions, or the inability to control multi-stage operations effectively. Ensuring that the jumper wire aligns with the prescribed specifications and requirements of the thermostat is crucial for mitigating compatibility issues.
- Corrosion and Oxidation: The terminals and connectors associated with the jumper wire are susceptible to corrosion and oxidation over time, particularly in environments with high humidity or exposure to contaminants. This can impede the flow of electrical signals and compromise the reliability of the connections. Regular cleaning and maintenance of the terminals can help prevent corrosion-related issues and ensure consistent signal transmission.
- Interference and Cross-Talk: In complex HVAC systems with multiple interconnected components, interference and cross-talk between circuits can affect the performance of the jumper wire. This can lead to signal distortion, misinterpretation of temperature inputs, and disruptions in multi-stage coordination. Implementing proper shielding and insulation measures, as well as adhering to recommended wiring practices, can mitigate the risks of interference and cross-talk.
By being cognizant of these common issues, homeowners and HVAC enthusiasts can proactively address potential challenges associated with jumper wires, fostering the reliable and efficient operation of their thermostats and climate control systems.
Read more: What Color Are Thermostat Wires
Conclusion
As we conclude our exploration of the jumper wire’s role in thermostat functionality, it’s evident that this seemingly modest component plays a pivotal role in ensuring the seamless operation of heating, ventilation, and air conditioning (HVAC) systems. By serving as a conduit for electrical signals and facilitating connections between specific terminals, the jumper wire enables precise control over multi-stage heating and cooling processes, as well as effective communication between the thermostat and other HVAC components.
Understanding the purpose and usage of the jumper wire is essential for homeowners, DIY enthusiasts, and HVAC professionals alike. It empowers individuals to troubleshoot common issues, optimize system performance, and leverage the full capabilities of their thermostats in maintaining comfortable indoor environments.
Moreover, the jumper wire exemplifies the intricate interplay of components within the realm of home automation and appliance control. Its role in enabling multi-stage coordination, minimizing signal interference, and ensuring the reliability of thermostat operations underscores its significance in the broader landscape of HVAC technology.
As technology continues to advance, and homeowners seek greater control and efficiency in managing their indoor environments, the jumper wire remains a steadfast ally in the pursuit of optimal climate control. Its unassuming presence belies its substantial impact on the functionality and performance of thermostat systems, highlighting the importance of every component, no matter how small, in the realm of home automation.
In essence, the jumper wire symbolizes the interconnectedness and precision that underpin modern HVAC systems, and its role in facilitating seamless communication and control serves as a testament to the intricate engineering that defines the world of home automation and appliance technology.
So, as you interact with your thermostat and delve into its inner workings, take a moment to appreciate the humble jumper wire, for it is a silent yet indispensable guardian of comfort and efficiency within your home.
Frequently Asked Questions about What Is The Jumper Wire For On A Thermostat
Was this page helpful?
At Storables.com, we guarantee accurate and reliable information. Our content, validated by Expert Board Contributors, is crafted following stringent Editorial Policies. We're committed to providing you with well-researched, expert-backed insights for all your informational needs.
0 thoughts on “What Is The Jumper Wire For On A Thermostat”