Home>Home Appliances>Home Automation Appliances>How To Wire A Line Voltage Thermostat
Home Automation Appliances
How To Wire A Line Voltage Thermostat
Modified: October 20, 2024
Learn how to wire a line voltage thermostat for your home automation appliances. Follow these easy steps for a hassle-free installation.
(Many of the links in this article redirect to a specific reviewed product. Your purchase of these products through affiliate links helps to generate commission for Storables.com, at no extra cost. Learn more)
Introduction
Welcome to the world of home automation, where comfort and convenience converge to elevate your living space. In this comprehensive guide, we will delve into the intricacies of wiring a line voltage thermostat, a fundamental aspect of controlling the temperature in your home. Whether you are embarking on a new installation or seeking to replace an existing thermostat, mastering the art of wiring a line voltage thermostat empowers you to optimize your home's heating system with precision and efficiency.
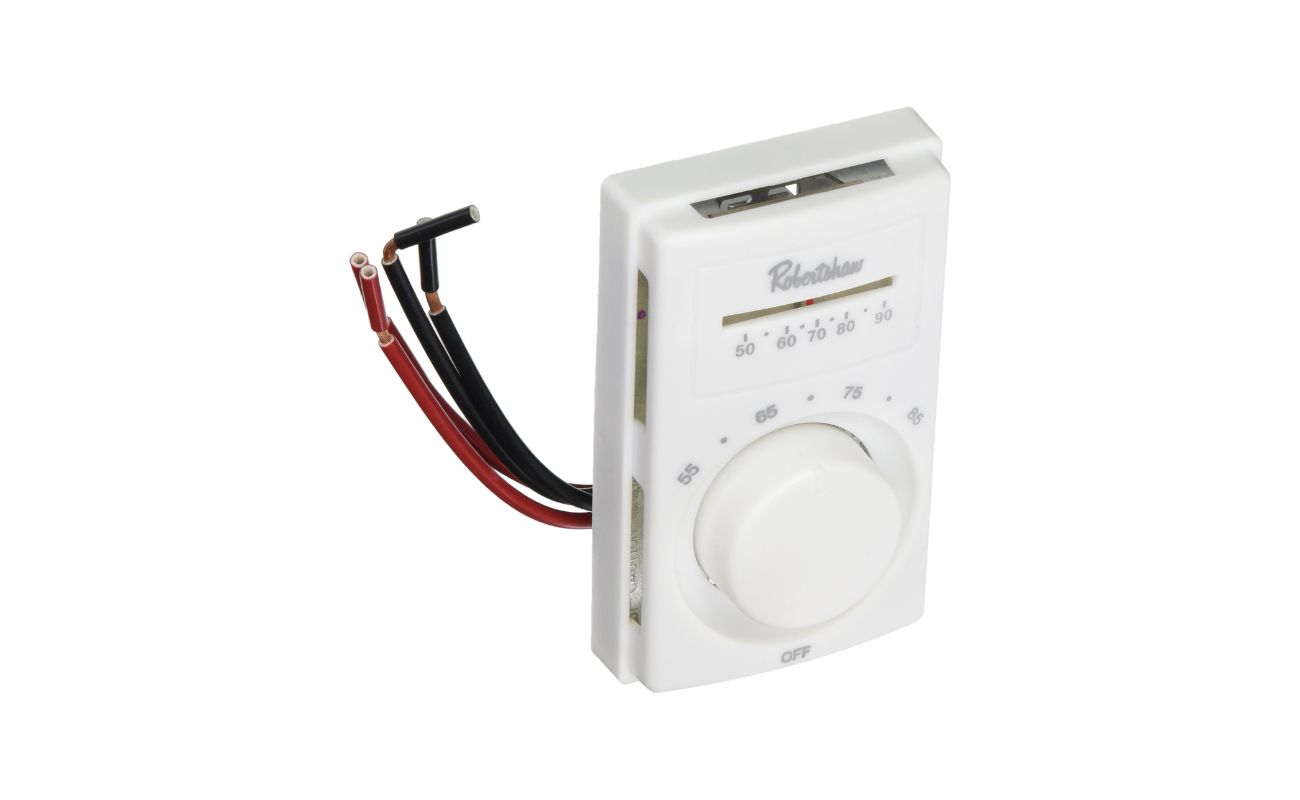
Line voltage thermostats are indispensable components of electric heating systems, offering a reliable mechanism for regulating temperature levels. Unlike low voltage thermostats that operate on 24 volts of electricity, line voltage thermostats harness the full voltage of the circuit they control, typically 120 or 240 volts. This distinction influences the wiring process and necessitates a thorough understanding of electrical systems to ensure a safe and successful installation.
By demystifying the intricacies of wiring a line voltage thermostat, you will gain the confidence and expertise needed to undertake this task with proficiency. Whether you are a seasoned DIY enthusiast or a novice homeowner eager to expand your skill set, this guide will equip you with the knowledge and insights essential for seamlessly integrating a line voltage thermostat into your home's heating infrastructure.
Throughout this article, we will explore the tools and materials required for the job, elucidate the step-by-step wiring process, and provide valuable tips for testing and troubleshooting. By the end of this journey, you will emerge empowered to navigate the realm of line voltage thermostats with finesse, enhancing your home's comfort and energy efficiency.
So, without further ado, let's embark on this enlightening exploration of wiring a line voltage thermostat, unraveling its intricacies and unlocking the potential for optimal temperature control in your living space.
Key Takeaways:
- Wiring a line voltage thermostat requires essential tools and materials, meticulous attention to detail, and systematic steps to ensure a safe and successful integration into your home’s heating system.
- Thorough testing and troubleshooting are crucial after wiring a line voltage thermostat to verify its performance, address potential issues, and optimize temperature control for enhanced comfort and energy efficiency.
Read also: 14 Best Line Voltage Thermostat For 2025
Understanding Line Voltage Thermostats
Before delving into the practical aspects of wiring a line voltage thermostat, it is essential to grasp the fundamental principles that underpin its functionality. Line voltage thermostats serve as pivotal components in electric heating systems, regulating the flow of electricity to maintain the desired temperature within a space. Unlike their low voltage counterparts, which rely on a separate transformer to operate on 24 volts, line voltage thermostats directly control the full voltage of the circuit they govern, typically 120 or 240 volts.
One of the key distinctions of line voltage thermostats is their compatibility with high-wattage heating elements, making them well-suited for electric baseboard heaters, radiant ceiling panels, and other robust heating systems. This robustness allows line voltage thermostats to handle substantial electrical loads, ensuring reliable and efficient temperature regulation in various home heating applications.
Understanding the wiring requirements of line voltage thermostats is crucial for ensuring safety and optimal performance. These thermostats typically feature double-pole switches, which interrupt both the hot and neutral wires, thereby cutting off the complete circuit when the desired temperature is reached. This design is essential for managing the high voltage and current associated with electric heating systems, safeguarding against electrical hazards and promoting operational stability.
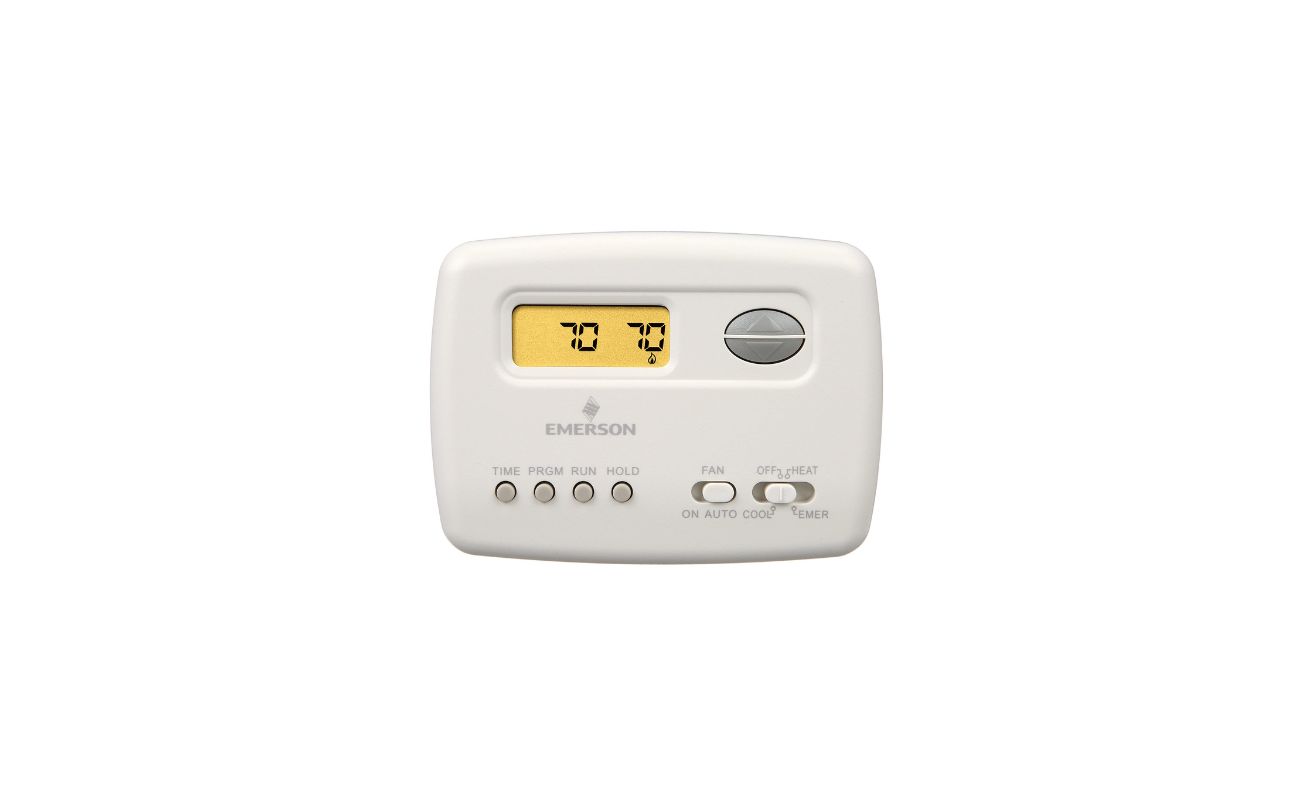
It is important to note that line voltage thermostats are not interchangeable with low voltage thermostats due to their distinct wiring and voltage requirements. Therefore, when selecting a thermostat for your electric heating system, it is imperative to choose a model specifically designed for line voltage applications to ensure seamless integration and reliable performance.
By comprehending the unique characteristics and operational principles of line voltage thermostats, you will be well-equipped to navigate the intricacies of wiring these essential components, fostering a deeper appreciation for their role in optimizing home comfort and energy efficiency.
Now that we have established a foundational understanding of line voltage thermostats, let us proceed to explore the tools and materials necessary for wiring a line voltage thermostat, setting the stage for a successful installation process.
Tools and Materials Needed
Embarking on the journey of wiring a line voltage thermostat requires a selection of essential tools and materials to facilitate a smooth and efficient installation process. By ensuring that you have the necessary equipment at your disposal, you can approach the task with confidence and precision, setting the stage for a successful integration of the thermostat into your home's heating system.
Tools:
- Screwdriver Set: A set of flathead and Phillips screwdrivers is indispensable for removing and securing electrical panels, junction boxes, and thermostat components.
- Wire Cutters/Strippers: These tools enable you to prepare the electrical wires by cutting them to the required length and stripping the insulation for proper connection.
- Voltage Tester: A non-contact voltage tester or multimeter is essential for verifying the absence of electrical current before commencing work and ensuring the correct wiring connections.
- Drill and Bits: If the installation involves mounting the thermostat or creating new wiring pathways, a drill and appropriate drill bits will be necessary.
- Electrical Tape: High-quality electrical tape is vital for insulating wire connections and providing an additional layer of protection.
- Level: A level aids in ensuring that the thermostat is mounted straight and aligned with the surrounding fixtures, enhancing the visual appeal of the installation.
Materials:
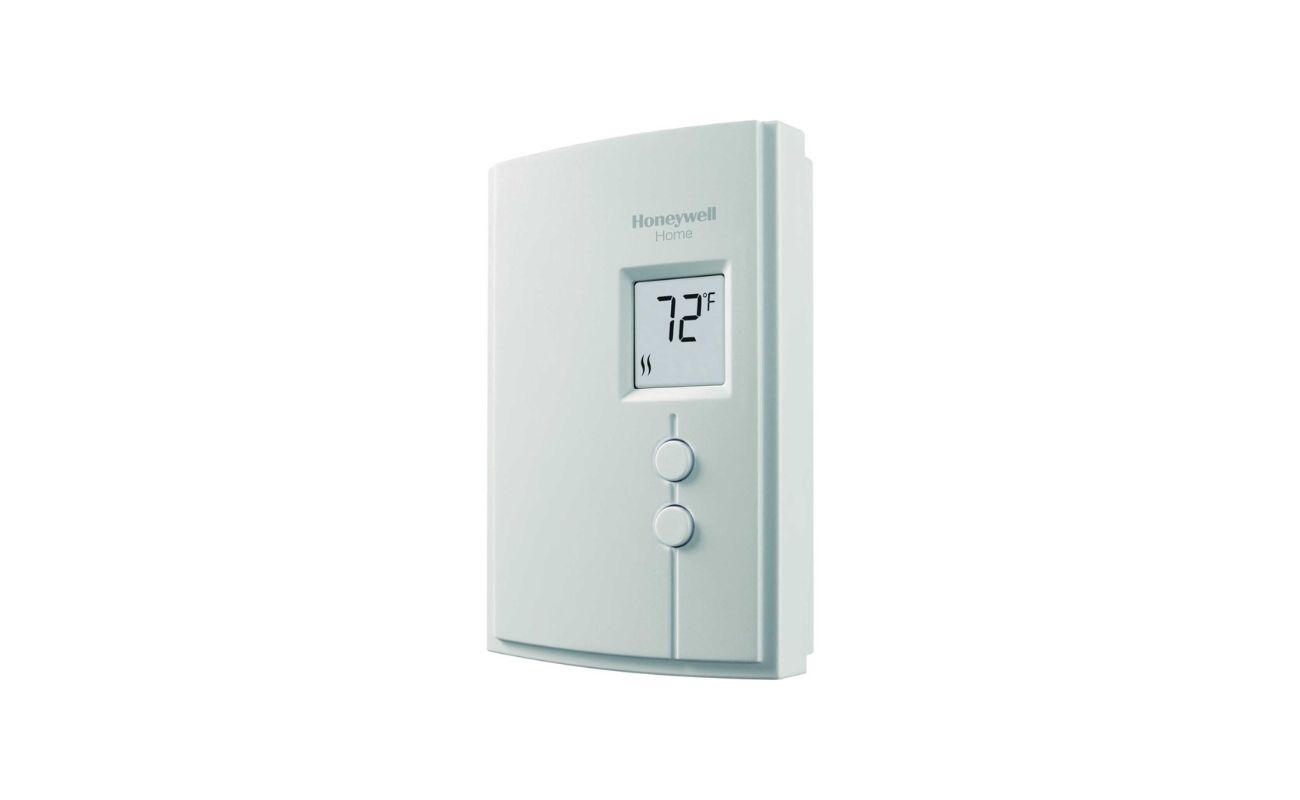
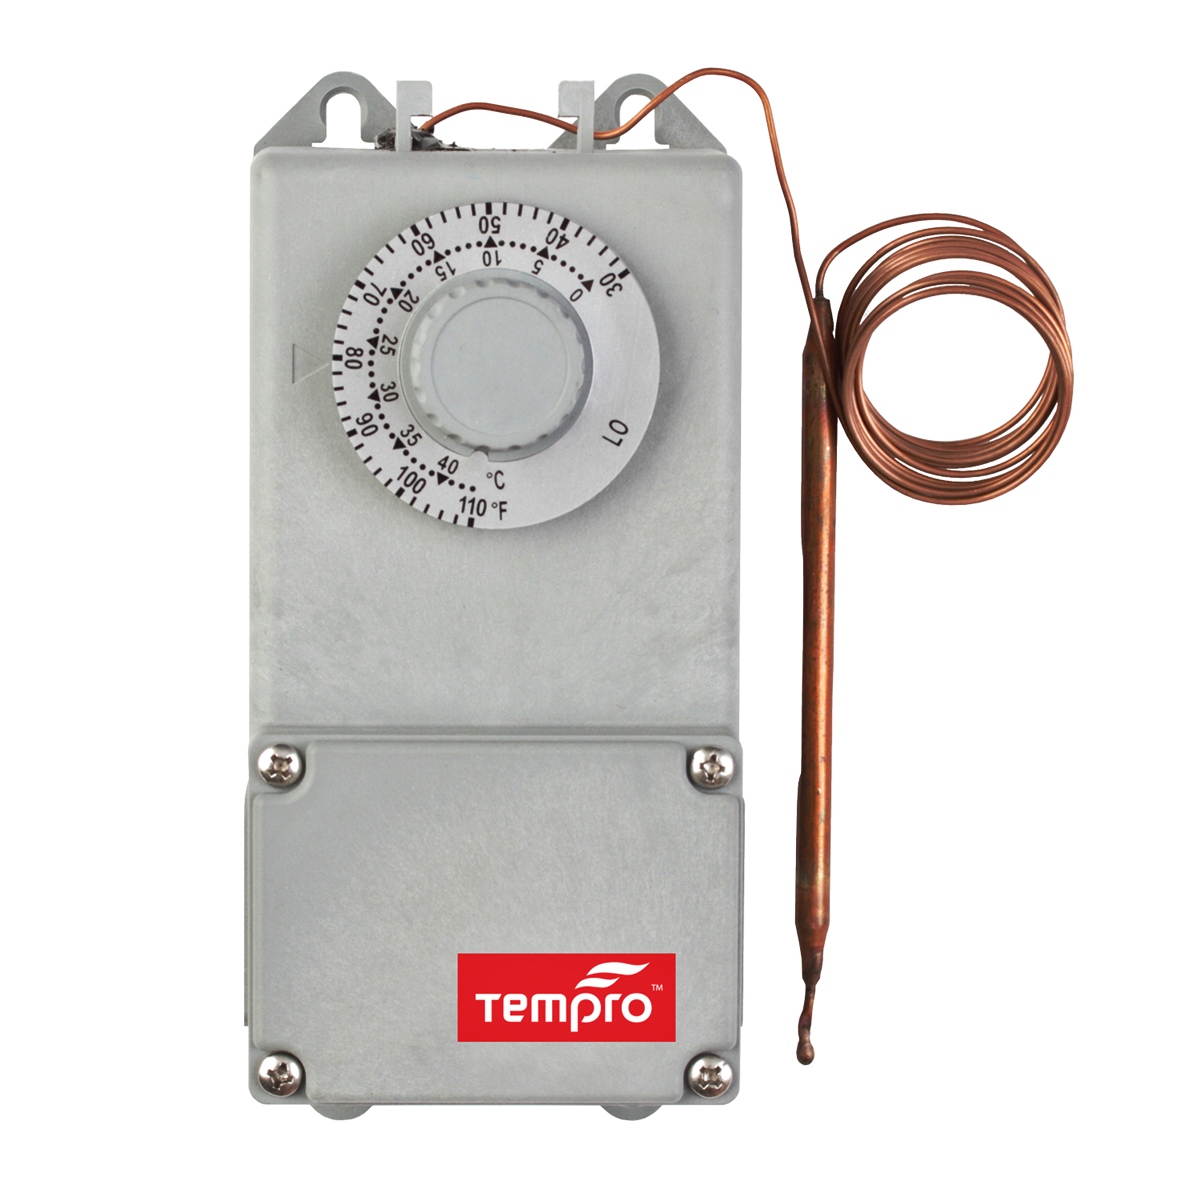
- Line Voltage Thermostat: Select a thermostat specifically designed for line voltage applications, ensuring compatibility with your electric heating system.
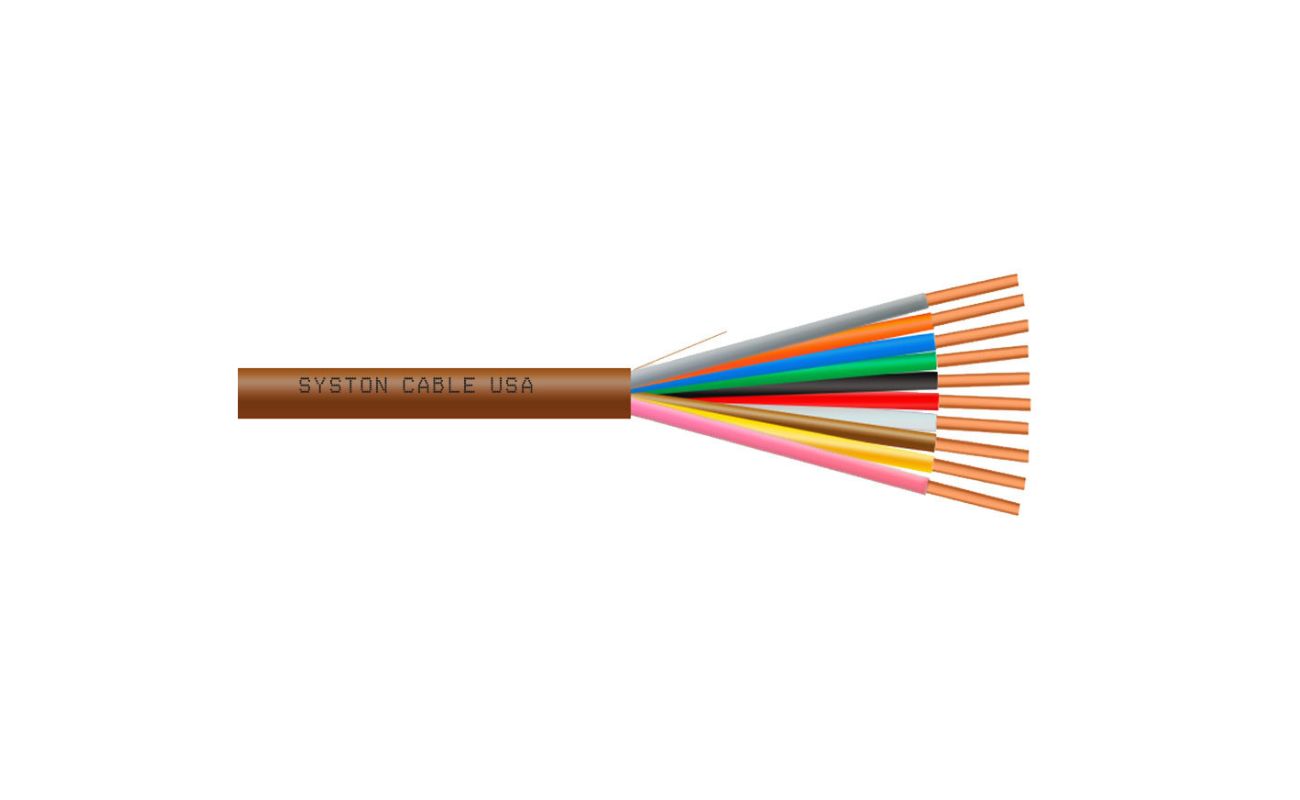
- Electrical Wire: Depending on the wiring configuration and length requirements, procure the appropriate gauge and type of electrical wire, such as 12- or 14-gauge non-metallic sheathed cable (NMC).
- Wire Connectors: Quality wire connectors, such as twist-on wire nuts, facilitate secure and reliable connections between the thermostat wires and the electrical supply.
- Mounting Hardware: If the thermostat requires mounting, ensure that the necessary screws and anchors are available for securing it to the wall or junction box.
- Junction Box (if applicable): In some installations, a junction box may be required to house the electrical connections and provide a secure mounting location for the thermostat.
- Labeling Materials: Labeling the wires and components during the installation process can aid in troubleshooting and future maintenance, so consider using adhesive labels or markers for this purpose.
By assembling these tools and materials, you will be well-prepared to embark on the wiring process, ensuring that you have everything you need to execute the installation with proficiency and precision. With these essentials at your disposal, you are poised to navigate the intricacies of wiring a line voltage thermostat and elevate the temperature control capabilities of your home heating system.
Steps to Wire a Line Voltage Thermostat
As you embark on the endeavor of wiring a line voltage thermostat, it is essential to approach the process with meticulous attention to detail and a comprehensive understanding of the electrical connections involved. By following a systematic sequence of steps, you can ensure a seamless and secure integration of the thermostat into your electric heating system, optimizing temperature control and operational efficiency.
Step 1: Preparation
Before initiating the wiring process, turn off the power supply to the heating system at the circuit breaker to ensure safety. Use a voltage tester to verify that no electrical current is present at the thermostat location and the heating system. Once the absence of voltage is confirmed, you can proceed with confidence.
Step 2: Mounting the Thermostat
If your line voltage thermostat requires mounting, position it at an appropriate height on the wall, ensuring that it is level and securely anchored. Use the provided mounting hardware or suitable screws and anchors to affix the thermostat in place, taking care to align it with the surrounding fixtures for a polished appearance.
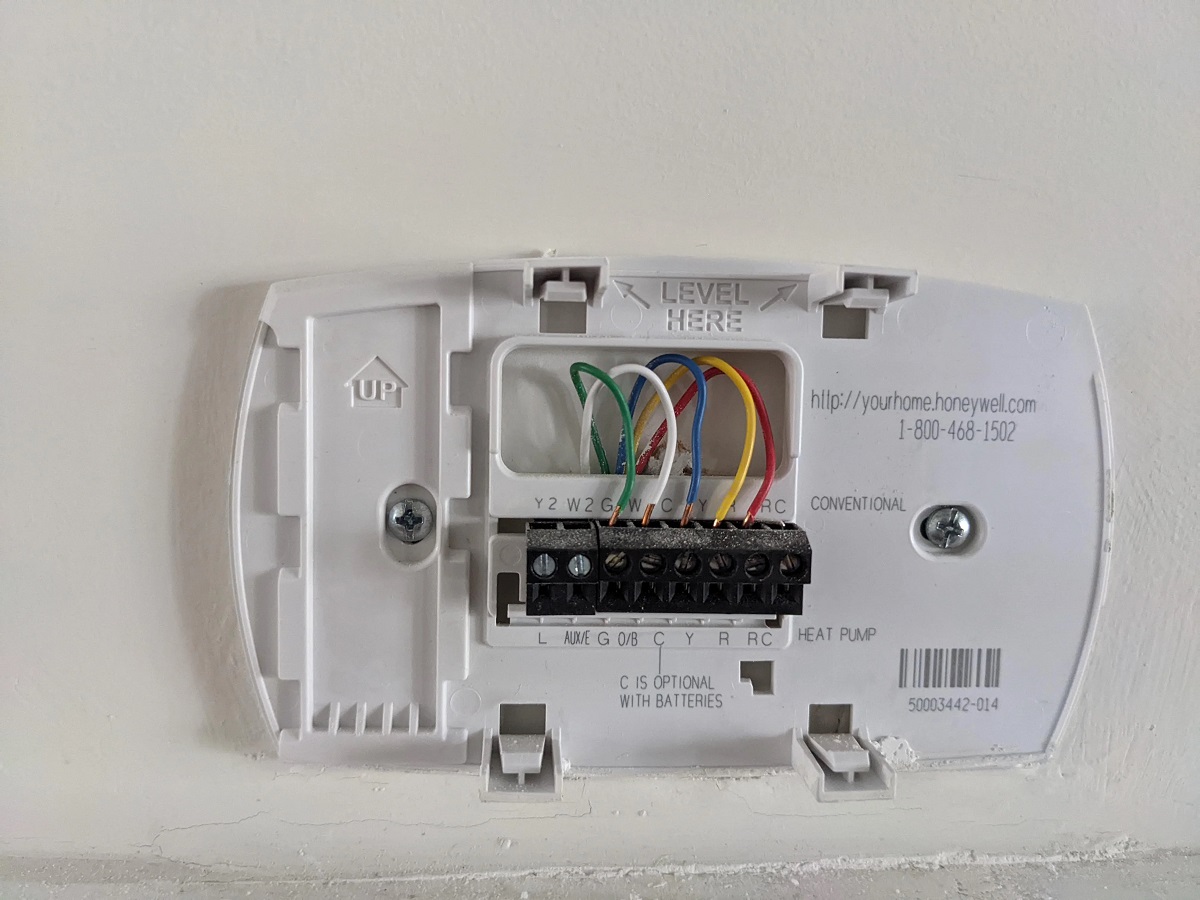
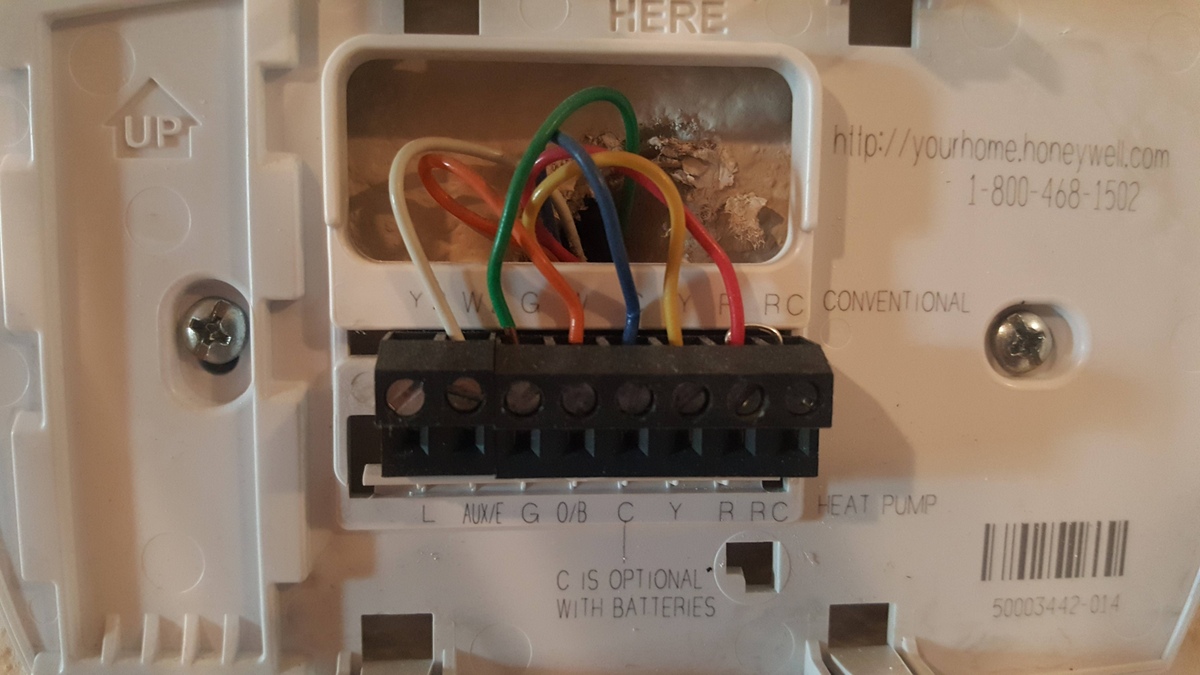
Step 3: Wiring Connections
Carefully route the electrical wire from the circuit breaker to the thermostat location, ensuring that it is of the appropriate gauge and type for line voltage applications. Strip the insulation from the wire ends to expose the conductors, and then make the necessary connections to the thermostat terminals according to the manufacturer’s instructions. Typically, line voltage thermostats feature connections for the hot and neutral wires, as well as the load wires leading to the heating system.
Read more: What Is A Low Voltage Thermostat
Step 4: Secure Connections
After making the wiring connections, use quality wire connectors, such as twist-on wire nuts, to secure the conductors together, ensuring a reliable and insulated joint. Tug gently on the wires to confirm that they are firmly connected and properly insulated, mitigating the risk of loose or exposed connections.
Step 5: Enclosure and Labeling
If the wiring connections are housed within a junction box, ensure that the box cover is securely in place, enclosing the electrical components. Consider labeling the thermostat wires and the corresponding connections to facilitate future maintenance and troubleshooting, enhancing the clarity of the wiring configuration.
Step 6: Power Restoration and Testing
Once the wiring is completed and verified, restore the power supply to the heating system at the circuit breaker. Test the functionality of the thermostat by setting the desired temperature and observing the response of the heating system. Verify that the thermostat accurately controls the temperature and activates the heating elements as intended, signaling the successful integration of the line voltage thermostat.
By meticulously following these steps, you can navigate the process of wiring a line voltage thermostat with precision and confidence, culminating in a seamlessly integrated and reliable addition to your home heating system. With the thermostat wired and operational, you are poised to enjoy enhanced comfort and energy efficiency, empowered by the precise temperature control facilitated by this essential component.
Testing and Troubleshooting
Upon completing the wiring of a line voltage thermostat, thorough testing and potential troubleshooting are essential steps to ensure its seamless integration and optimal functionality within your home's heating system. By conducting comprehensive tests and addressing any potential issues, you can verify the thermostat's performance and rectify any anomalies, fostering a reliable and efficient temperature control mechanism.
Read more: How To Wire 4-Wire Thermostat
Testing the Thermostat
After restoring power to the heating system, set the line voltage thermostat to the desired temperature and observe its operation. Verify that the thermostat accurately activates the heating elements and maintains the selected temperature within the designated space. This testing phase allows you to confirm the responsiveness and precision of the thermostat in regulating the temperature, ensuring that it aligns with your comfort and energy efficiency goals.
Calibration Verification
If your line voltage thermostat offers calibration settings for temperature accuracy, consider verifying and adjusting these settings as needed. Some thermostats provide the option to fine-tune the temperature calibration to ensure precise temperature control, accommodating variations in environmental conditions and personal comfort preferences.
Troubleshooting Potential Issues
In the event of any irregularities or malfunctions, conduct a systematic assessment to identify and address potential issues. Verify the integrity of the wiring connections, ensuring that all conductors are securely connected and insulated. Use a multimeter or voltage tester to confirm the presence of voltage at the thermostat and the heating system, pinpointing any discrepancies that may affect the thermostat's operation.
Environmental Considerations
Assess the ambient conditions surrounding the thermostat, ensuring that it is not exposed to extreme temperatures, drafts, or direct sunlight, which could impact its accuracy and performance. Position the thermostat in an area that reflects the typical temperature conditions of the space it controls, optimizing its ability to maintain the desired comfort levels.
Read more: How To Wire Up A Thermostat
Professional Consultation
If persistent issues or uncertainties arise during the testing and troubleshooting process, consider seeking the expertise of a qualified electrician or HVAC technician. Professional assessment and intervention can provide invaluable insights and solutions, addressing complex issues and ensuring the optimal performance of your line voltage thermostat and heating system.
By diligently conducting comprehensive testing and troubleshooting procedures, you can validate the seamless integration and reliable functionality of your line voltage thermostat, fostering a conducive environment for comfort and energy efficiency within your living space. With a keen focus on precision and attention to detail, you can harness the full potential of your thermostat, elevating the temperature control capabilities of your home heating system.
Conclusion
Congratulations on embarking on the enlightening journey of wiring a line voltage thermostat, a pivotal step toward optimizing the temperature control capabilities of your home heating system. By delving into the intricacies of line voltage thermostats and mastering the art of their installation, you have elevated your understanding of home automation and empowered yourself to enhance the comfort and energy efficiency of your living space.
Throughout this comprehensive guide, we have navigated the fundamental principles of line voltage thermostats, elucidated the essential tools and materials required for the task, and outlined a systematic sequence of steps for wiring the thermostat with precision and confidence. By embracing these insights and leveraging the recommended tools and materials, you have set the stage for a successful integration of the thermostat into your electric heating system, poised to elevate your home comfort to new heights.
Furthermore, the testing and troubleshooting phase has equipped you with the knowledge and strategies needed to verify the thermostat’s performance and address potential issues, ensuring its seamless operation and precise temperature control. By conducting thorough tests and considering environmental factors, you have laid the foundation for a reliable and efficient temperature regulation mechanism, tailored to your comfort preferences and energy conservation goals.
As you reflect on this enriching experience, remember that the successful integration of a line voltage thermostat is not merely a technical achievement but a testament to your commitment to enhancing your home environment. By embracing the principles of home automation and mastering the intricacies of wiring a line voltage thermostat, you have embarked on a journey of empowerment and enrichment, positioning yourself as a steward of comfort and energy efficiency within your living space.
With the thermostat seamlessly wired and operational, you are now poised to savor the fruits of your labor, basking in the enhanced comfort and energy efficiency facilitated by this essential component. As you revel in the harmonious temperature control and optimized heating system, take pride in your newfound expertise and the transformative impact it has made on your home environment.
So, as you bask in the warmth of a well-regulated home climate, remember that your journey of home automation and empowerment continues, with each endeavor propelling you toward a more comfortable, efficient, and harmonious living space. Embrace the possibilities that await, and may your home always be a sanctuary of comfort and tranquility, enriched by the meticulous attention to detail and the pursuit of excellence exemplified in the wiring of your line voltage thermostat.
Frequently Asked Questions about How To Wire A Line Voltage Thermostat
Was this page helpful?
At Storables.com, we guarantee accurate and reliable information. Our content, validated by Expert Board Contributors, is crafted following stringent Editorial Policies. We're committed to providing you with well-researched, expert-backed insights for all your informational needs.
0 thoughts on “How To Wire A Line Voltage Thermostat”