Home>Home Appliances>Home Automation Appliances>How To Wire Baseboard Heater Thermostat
Home Automation Appliances
How To Wire Baseboard Heater Thermostat
Modified: April 22, 2024
Learn how to wire a baseboard heater thermostat for efficient home automation. Get expert tips on installing and optimizing home automation appliances.
(Many of the links in this article redirect to a specific reviewed product. Your purchase of these products through affiliate links helps to generate commission for Storables.com, at no extra cost. Learn more)
**
Introduction
**
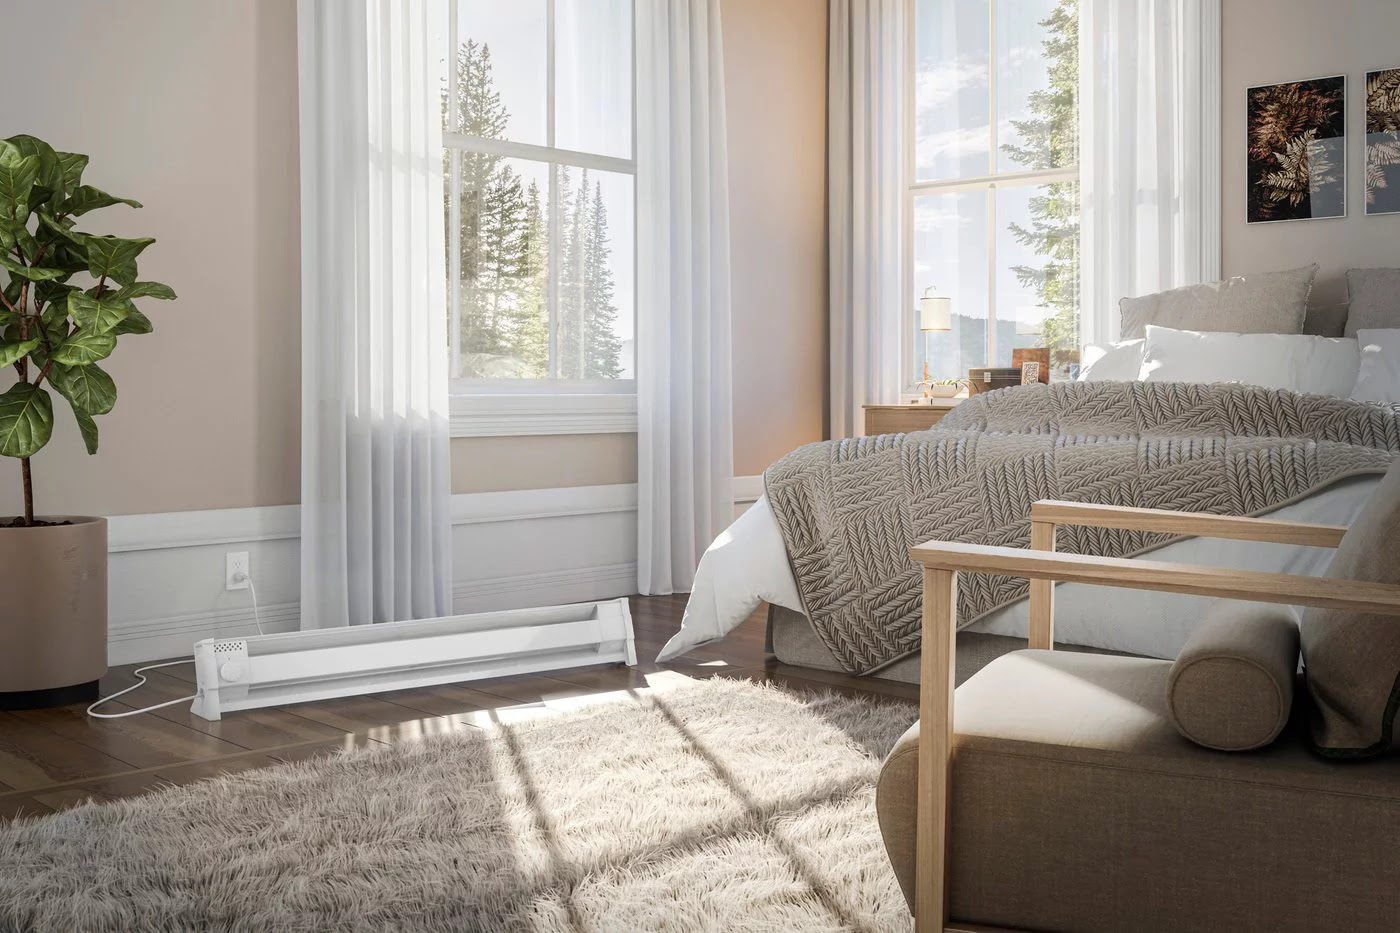
Are you ready to take control of the temperature in your home? Wiring a baseboard heater thermostat allows you to regulate the heat output and maintain a comfortable environment. Whether you're replacing an old thermostat or installing a new one, this comprehensive guide will walk you through the process, ensuring that you can enjoy a cozy and energy-efficient home.
Understanding the intricacies of baseboard heater thermostats is essential for a successful installation. From the tools and materials you'll need to the step-by-step wiring process, this article will equip you with the knowledge and confidence to tackle this project with ease. So, grab your tools and let's dive into the world of baseboard heater thermostat wiring!
Key Takeaways:
- Takeaway 1:
Wiring a baseboard heater thermostat gives you control over your home’s temperature. It’s important to use the right tools and materials and follow safety precautions for a successful and cozy installation. - Takeaway 2:
After wiring, testing and troubleshooting ensure the thermostat and heater work properly. If issues arise, check wiring, power supply, and heating element. Prioritize safety and precision throughout the process.
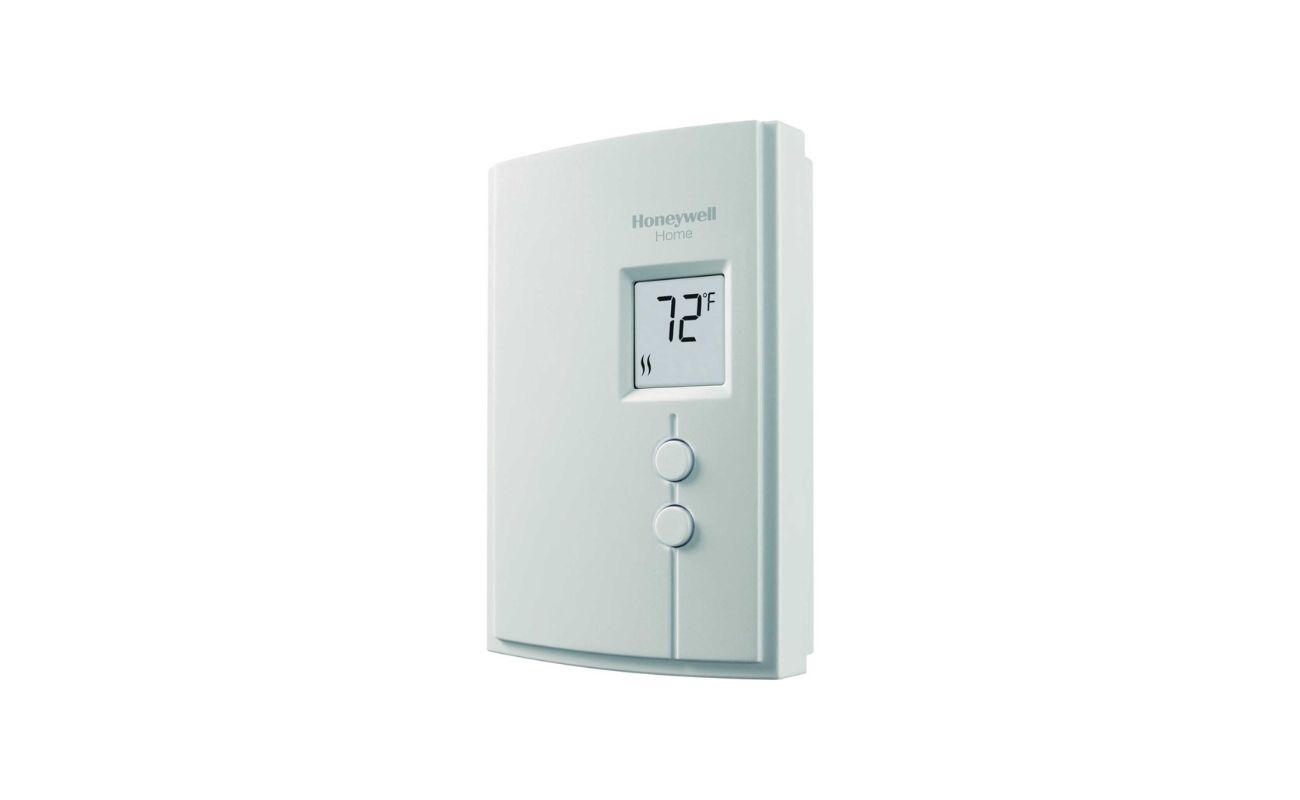
Understanding Baseboard Heater Thermostats
Baseboard heater thermostats play a pivotal role in controlling the temperature of a room by regulating the heat output of the baseboard heaters. These thermostats are designed to maintain a consistent and comfortable level of warmth, ensuring that your living space remains cozy without unnecessary energy consumption.
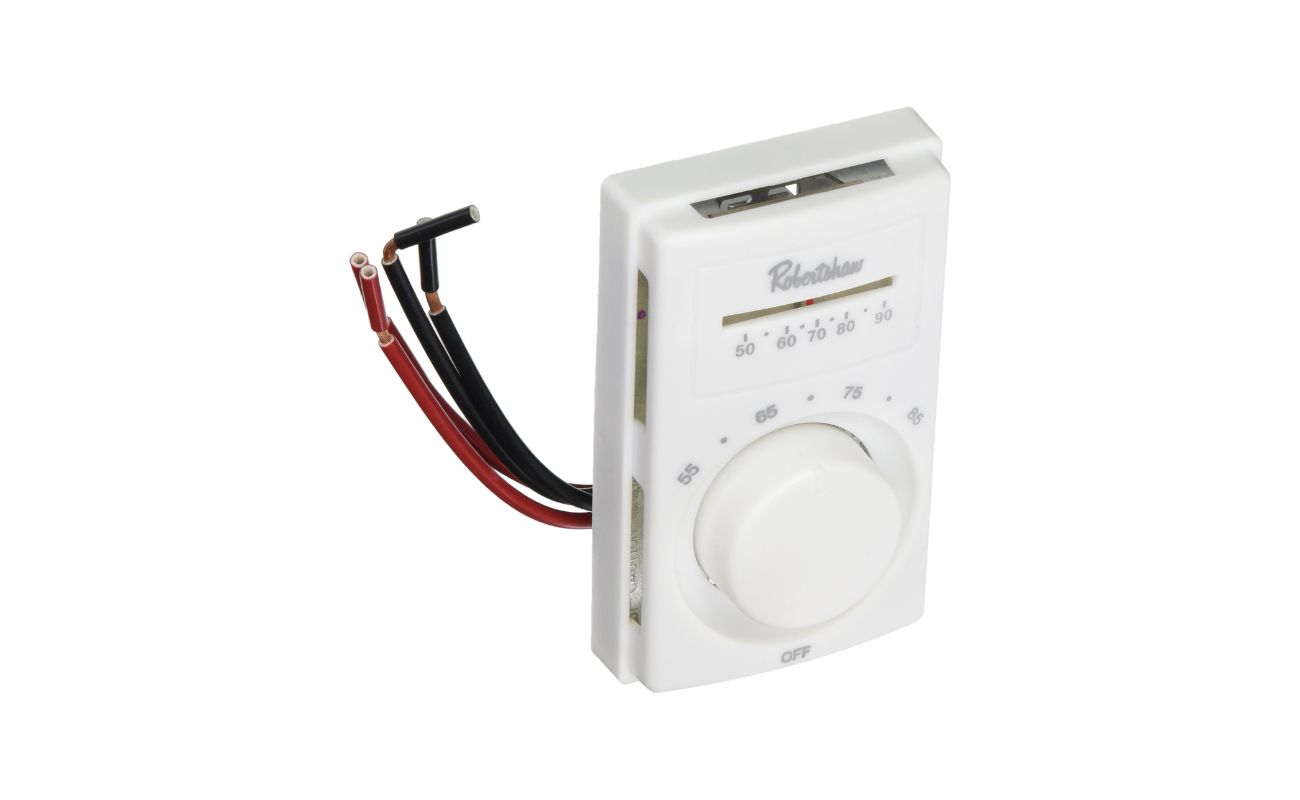
There are two main types of baseboard heater thermostats: line-voltage and low-voltage thermostats. Line-voltage thermostats are directly connected to the power supply and are commonly used with electric baseboard heaters. On the other hand, low-voltage thermostats are often used with hydronic (hot water) baseboard heaters and require a separate transformer to operate.
Baseboard heater thermostats are equipped with a temperature sensor that detects the room’s temperature and activates the heating system when the temperature falls below the set level. Once the desired temperature is reached, the thermostat signals the heater to shut off, preventing overheating and conserving energy.
It’s important to choose a thermostat that is compatible with your specific type of baseboard heater. Additionally, understanding the wiring requirements and electrical specifications of your thermostat is crucial for a safe and effective installation.
By gaining a clear understanding of how baseboard heater thermostats function and the different types available, you’ll be better prepared to select the right thermostat for your heating system and ensure optimal performance.
Tools and Materials Needed
Before diving into the process of wiring a baseboard heater thermostat, it’s essential to gather the necessary tools and materials to ensure a smooth and efficient installation. Here’s a comprehensive list of what you’ll need:
Tools:
- Screwdriver Set: A set of flathead and Phillips screwdrivers will be essential for removing and securing electrical components.
- Wire Strippers: These will be used to strip the insulation from the electrical wires for proper connections.
- Needle-Nose Pliers: Useful for bending and shaping wires during the installation process.
- Voltage Tester: A crucial tool for verifying that the power supply to the thermostat and heater has been safely disconnected.
- Drill and Bits: If new holes are required for mounting the thermostat, a drill and appropriate bits will be necessary.
- Level: Ensures that the thermostat is mounted evenly and securely on the wall.
Materials:
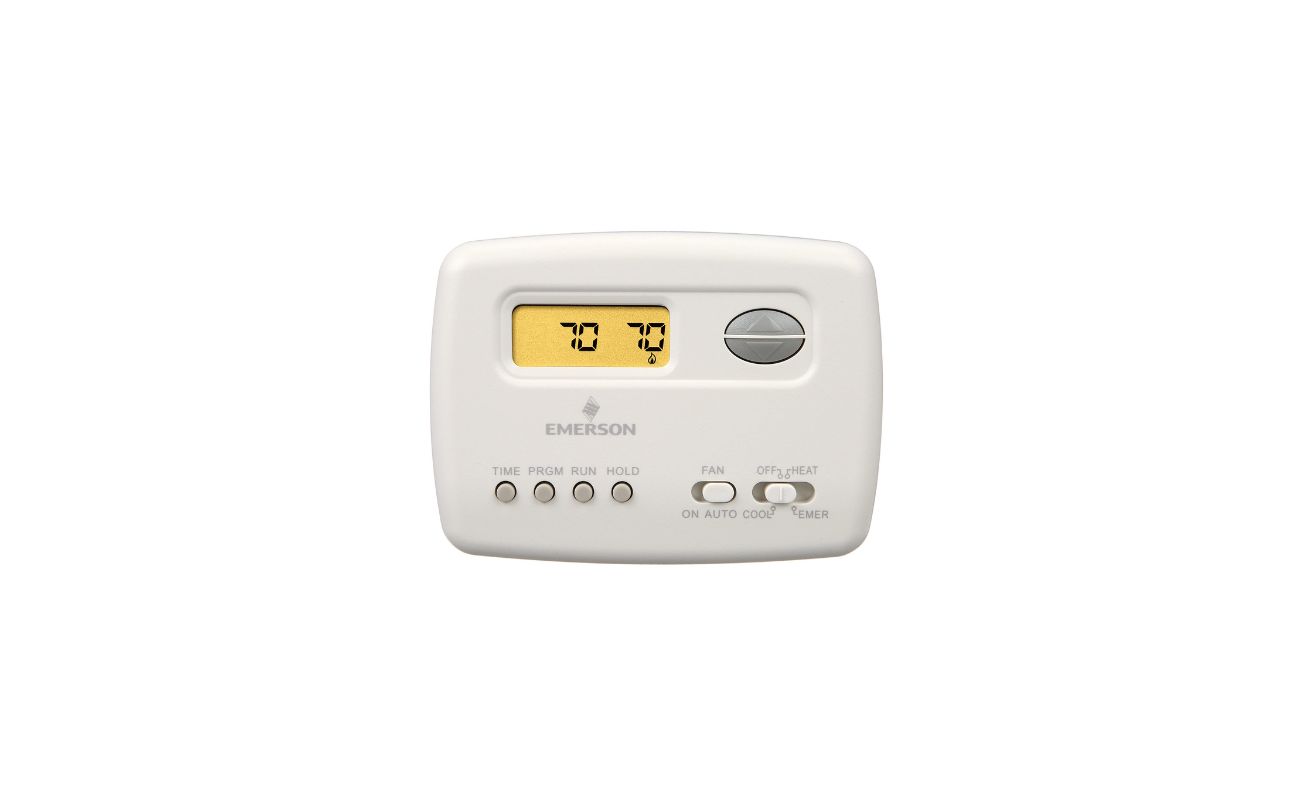
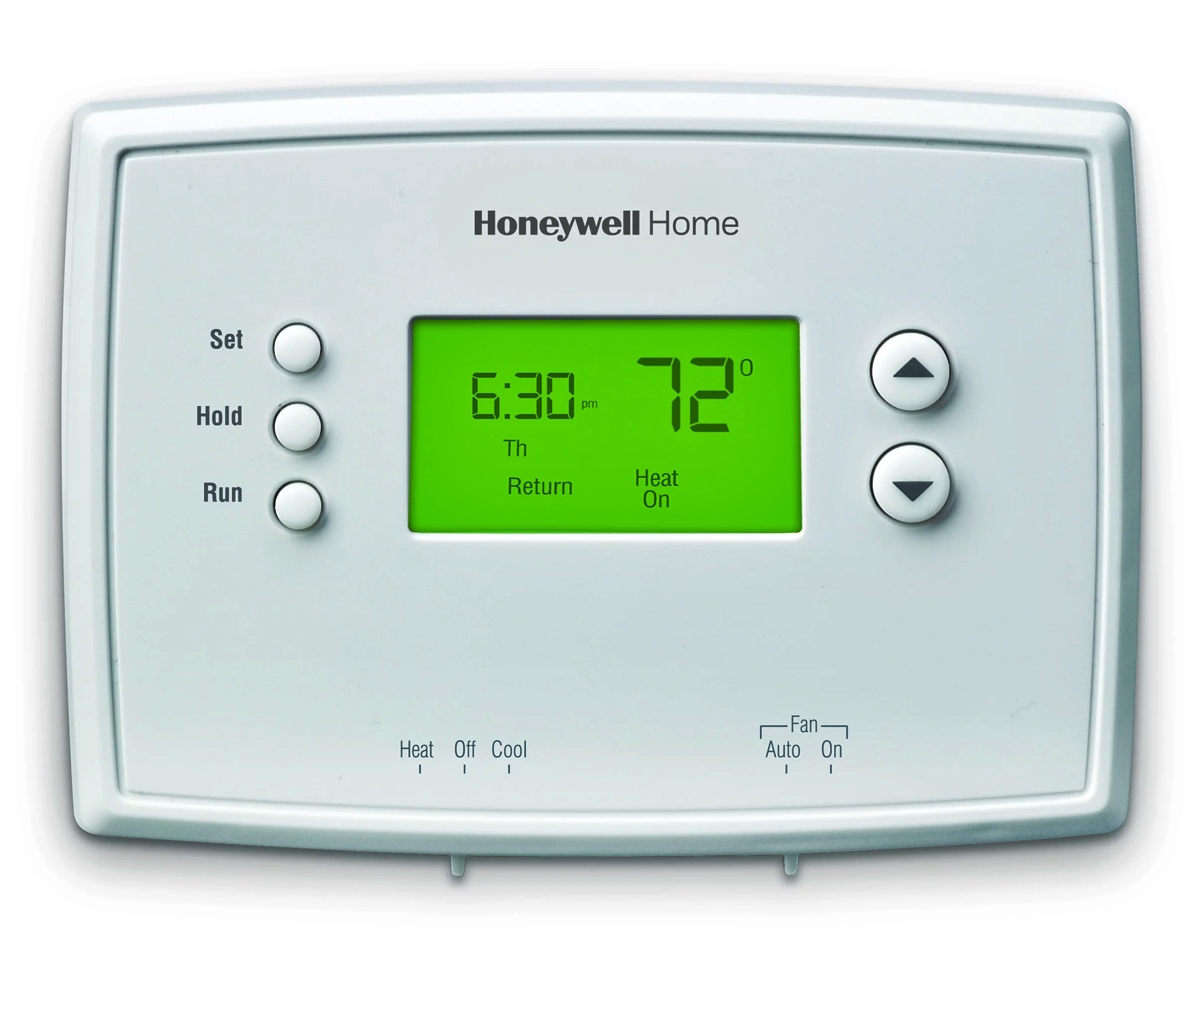
- Baseboard Heater Thermostat: Select a thermostat that is compatible with your specific heating system, whether it's line-voltage or low-voltage.
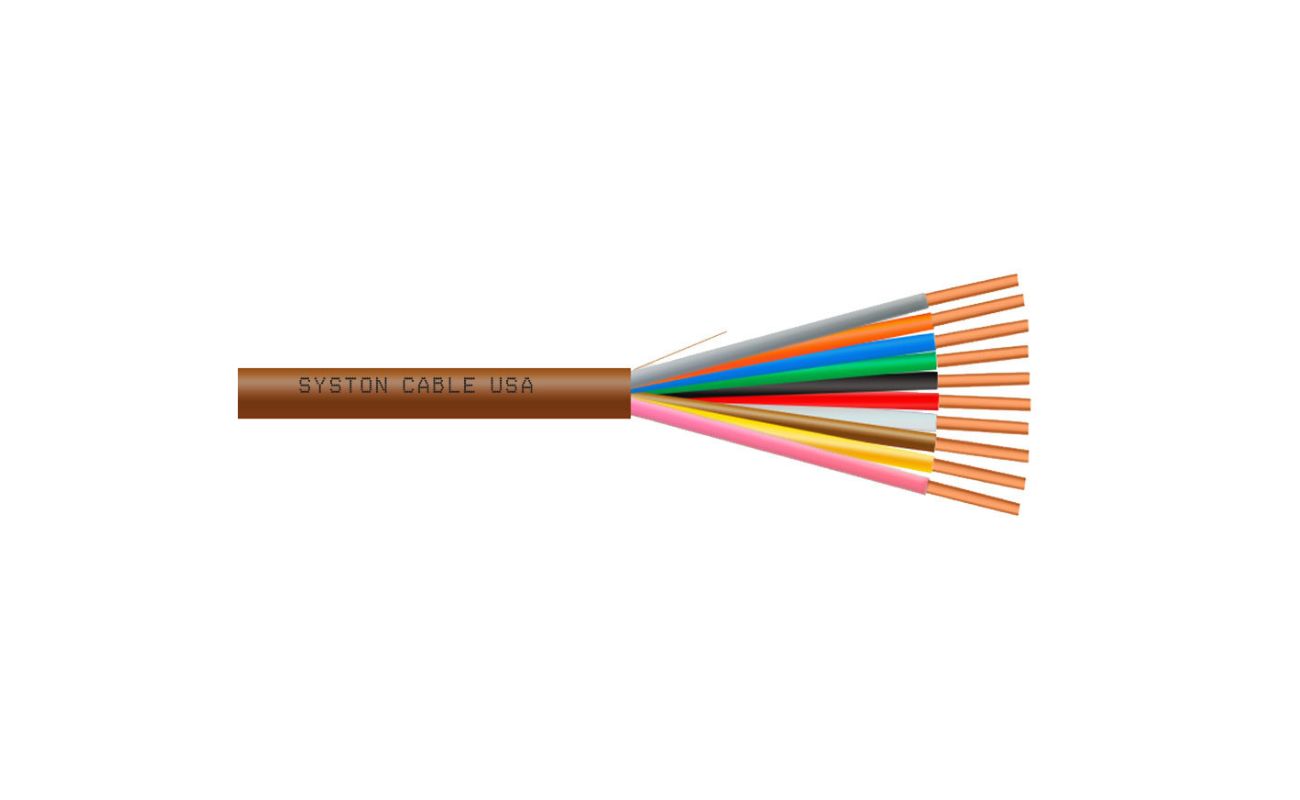
- Electrical Wire: Ensure that you have the appropriate gauge and type of electrical wire for the wiring connections.
- Wire Connectors: Used to secure and insulate wire connections, promoting safety and reliability.
- Mounting Screws: Necessary for securing the thermostat to the wall.
- Electrical Tape: Provides additional insulation and protection for wire connections.
- Drywall Anchors (if needed): If the thermostat mounting location requires additional support, drywall anchors may be necessary.
By having these tools and materials at your disposal, you'll be well-prepared to tackle the wiring process with confidence and precision. It's crucial to prioritize safety throughout the installation and ensure that all electrical connections are made securely and in accordance with local building codes and regulations. With the right tools and materials, you can embark on the journey of wiring your baseboard heater thermostat with ease and efficiency.
When wiring a baseboard heater thermostat, make sure to turn off the power supply before starting. Follow the manufacturer’s instructions and use the appropriate gauge of wire for the installation. Double-check all connections to ensure safety and proper functionality.
Steps to Wire Baseboard Heater Thermostat
Wiring a baseboard heater thermostat involves a series of carefully executed steps to ensure a safe and functional installation. Here’s a detailed guide to help you navigate the wiring process:
- Turn Off Power: Before beginning any work, shut off the power supply to the heating system at the circuit breaker to prevent the risk of electrical shock.
- Remove Old Thermostat (if applicable): If you’re replacing an existing thermostat, carefully remove it from the wall and disconnect the wires from the terminals.
- Mount the New Thermostat: Position the new thermostat on the wall at the desired location, ensuring that it is level and securely mounted. Use a drill and appropriate bits to create new mounting holes if necessary.
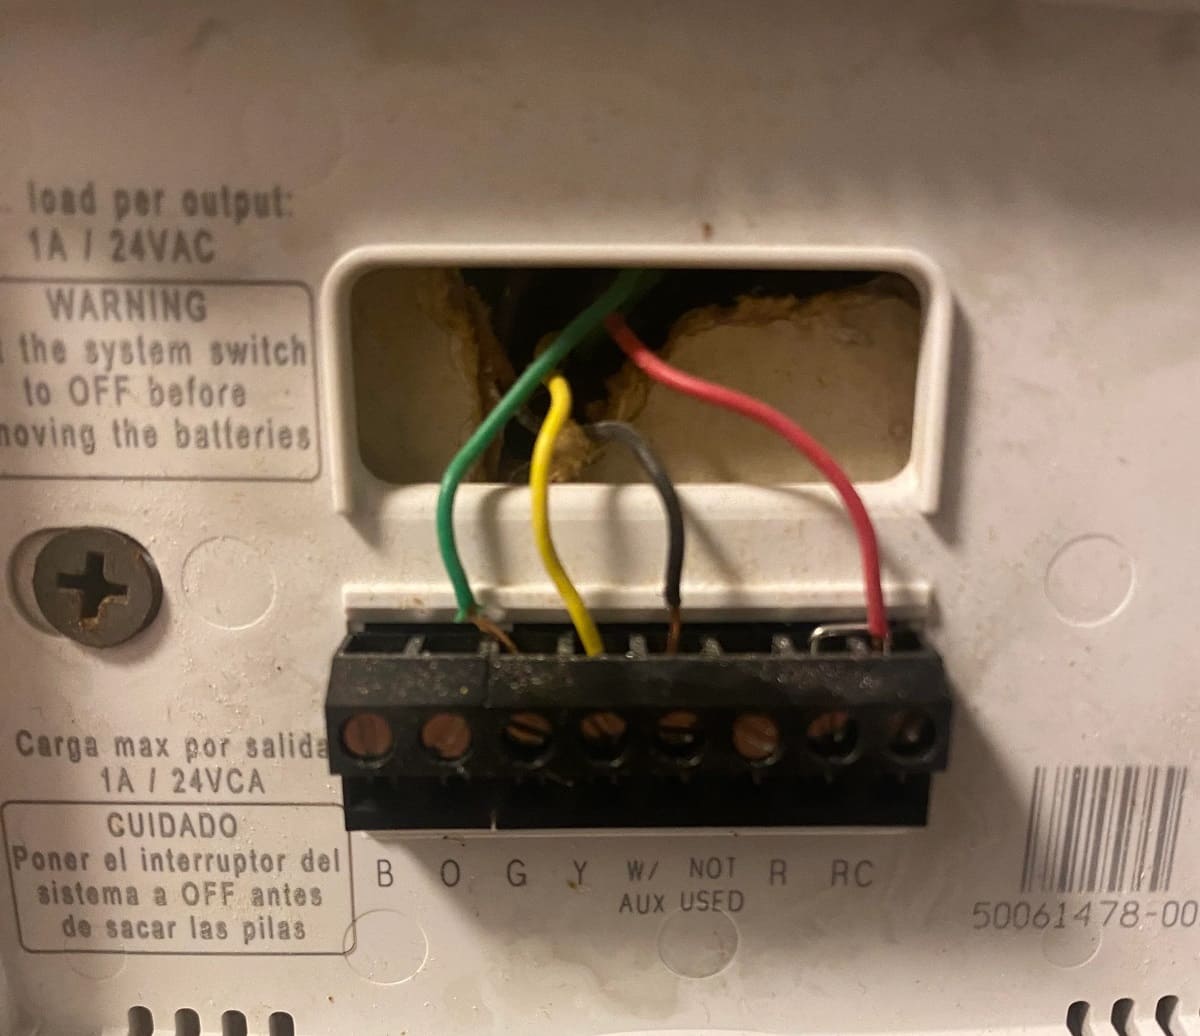
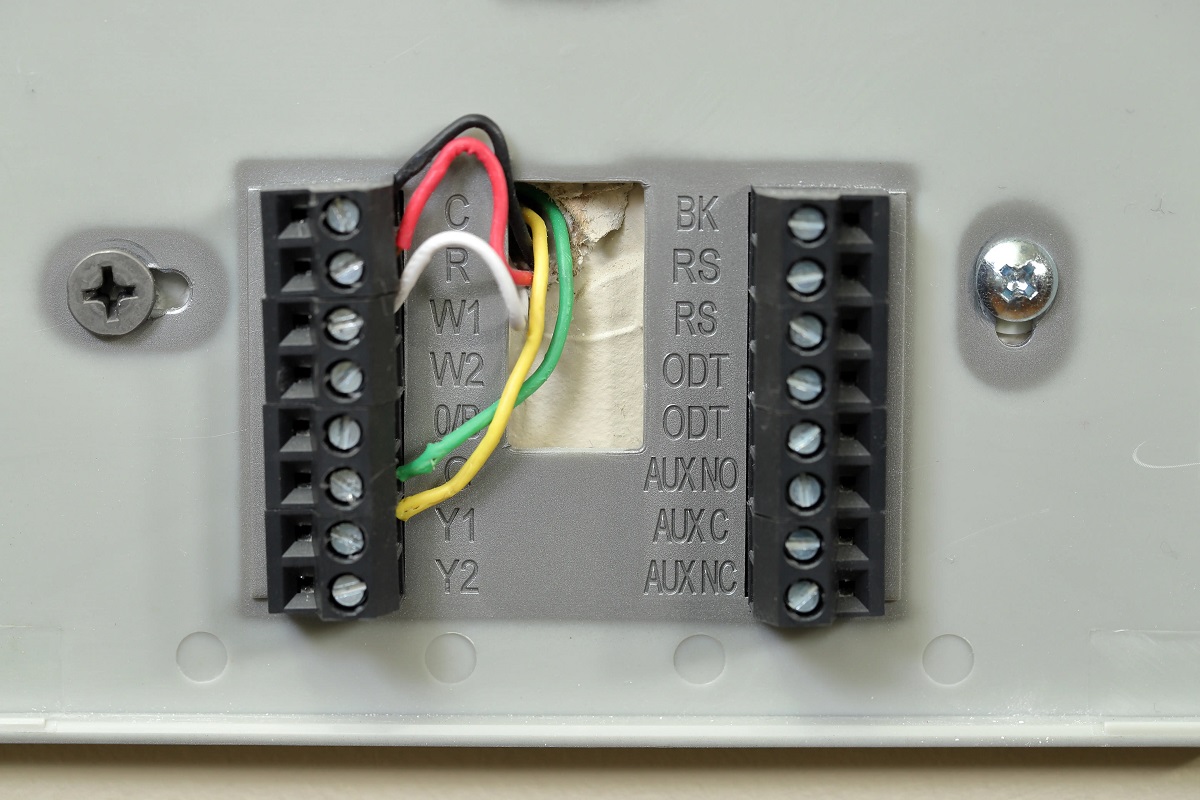
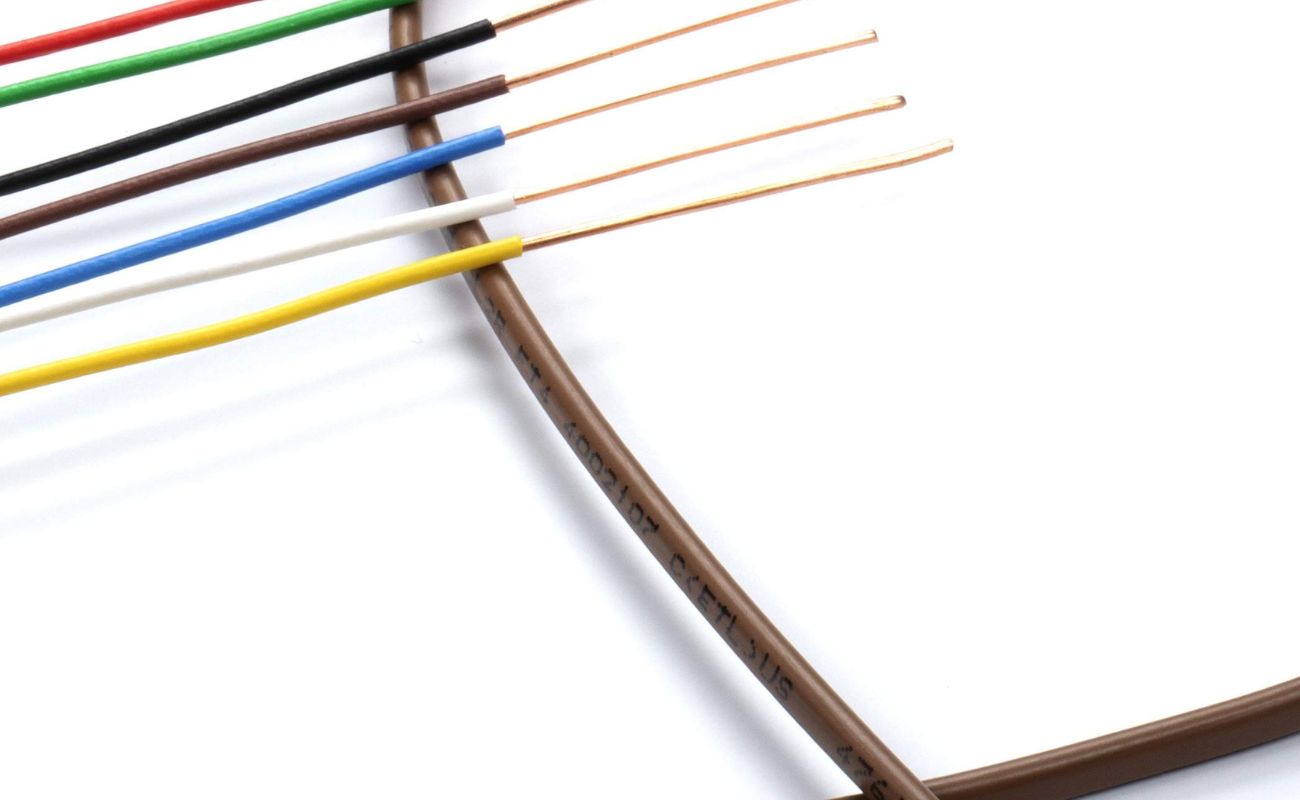
- Prepare the Wires: Strip the insulation from the electrical wires, exposing the copper conductors. If the wires are damaged or frayed, it’s crucial to replace them with new, undamaged wire.
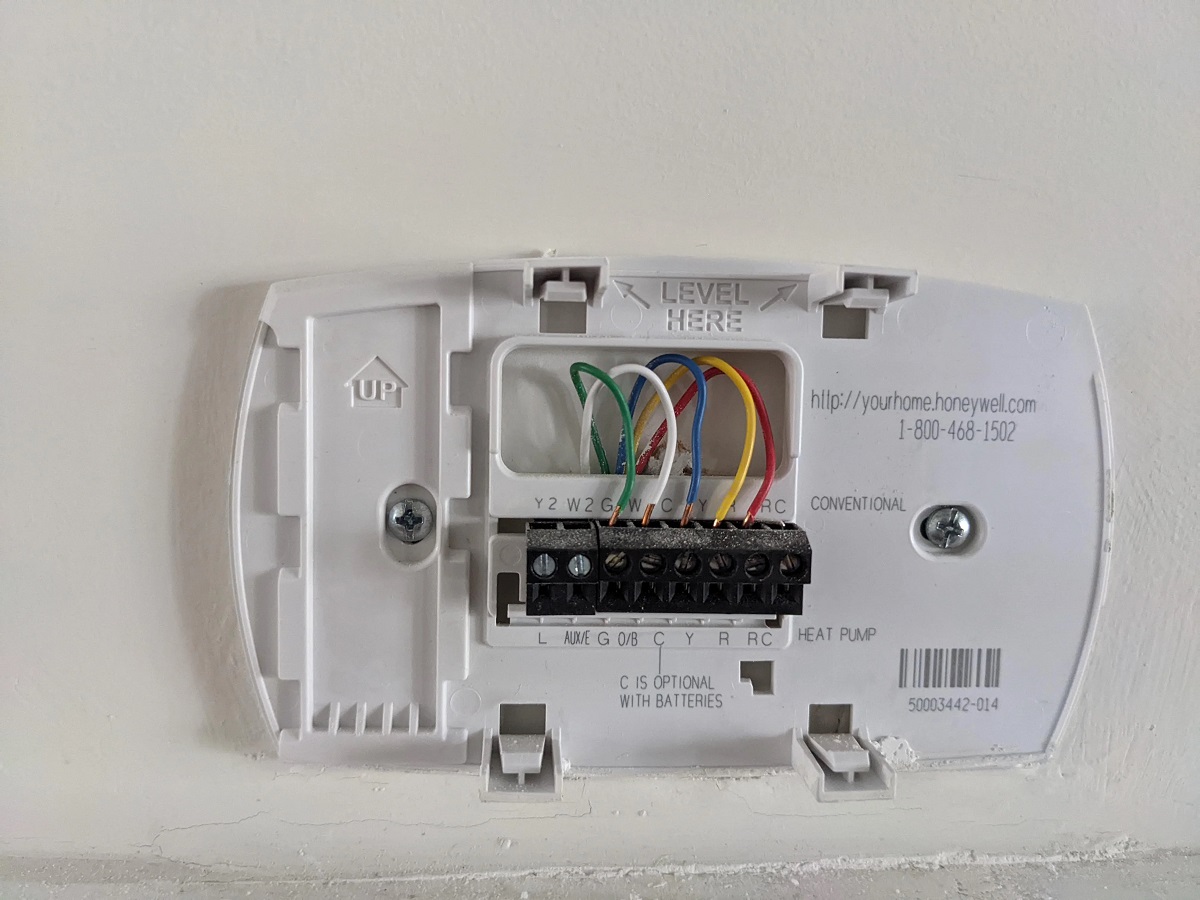
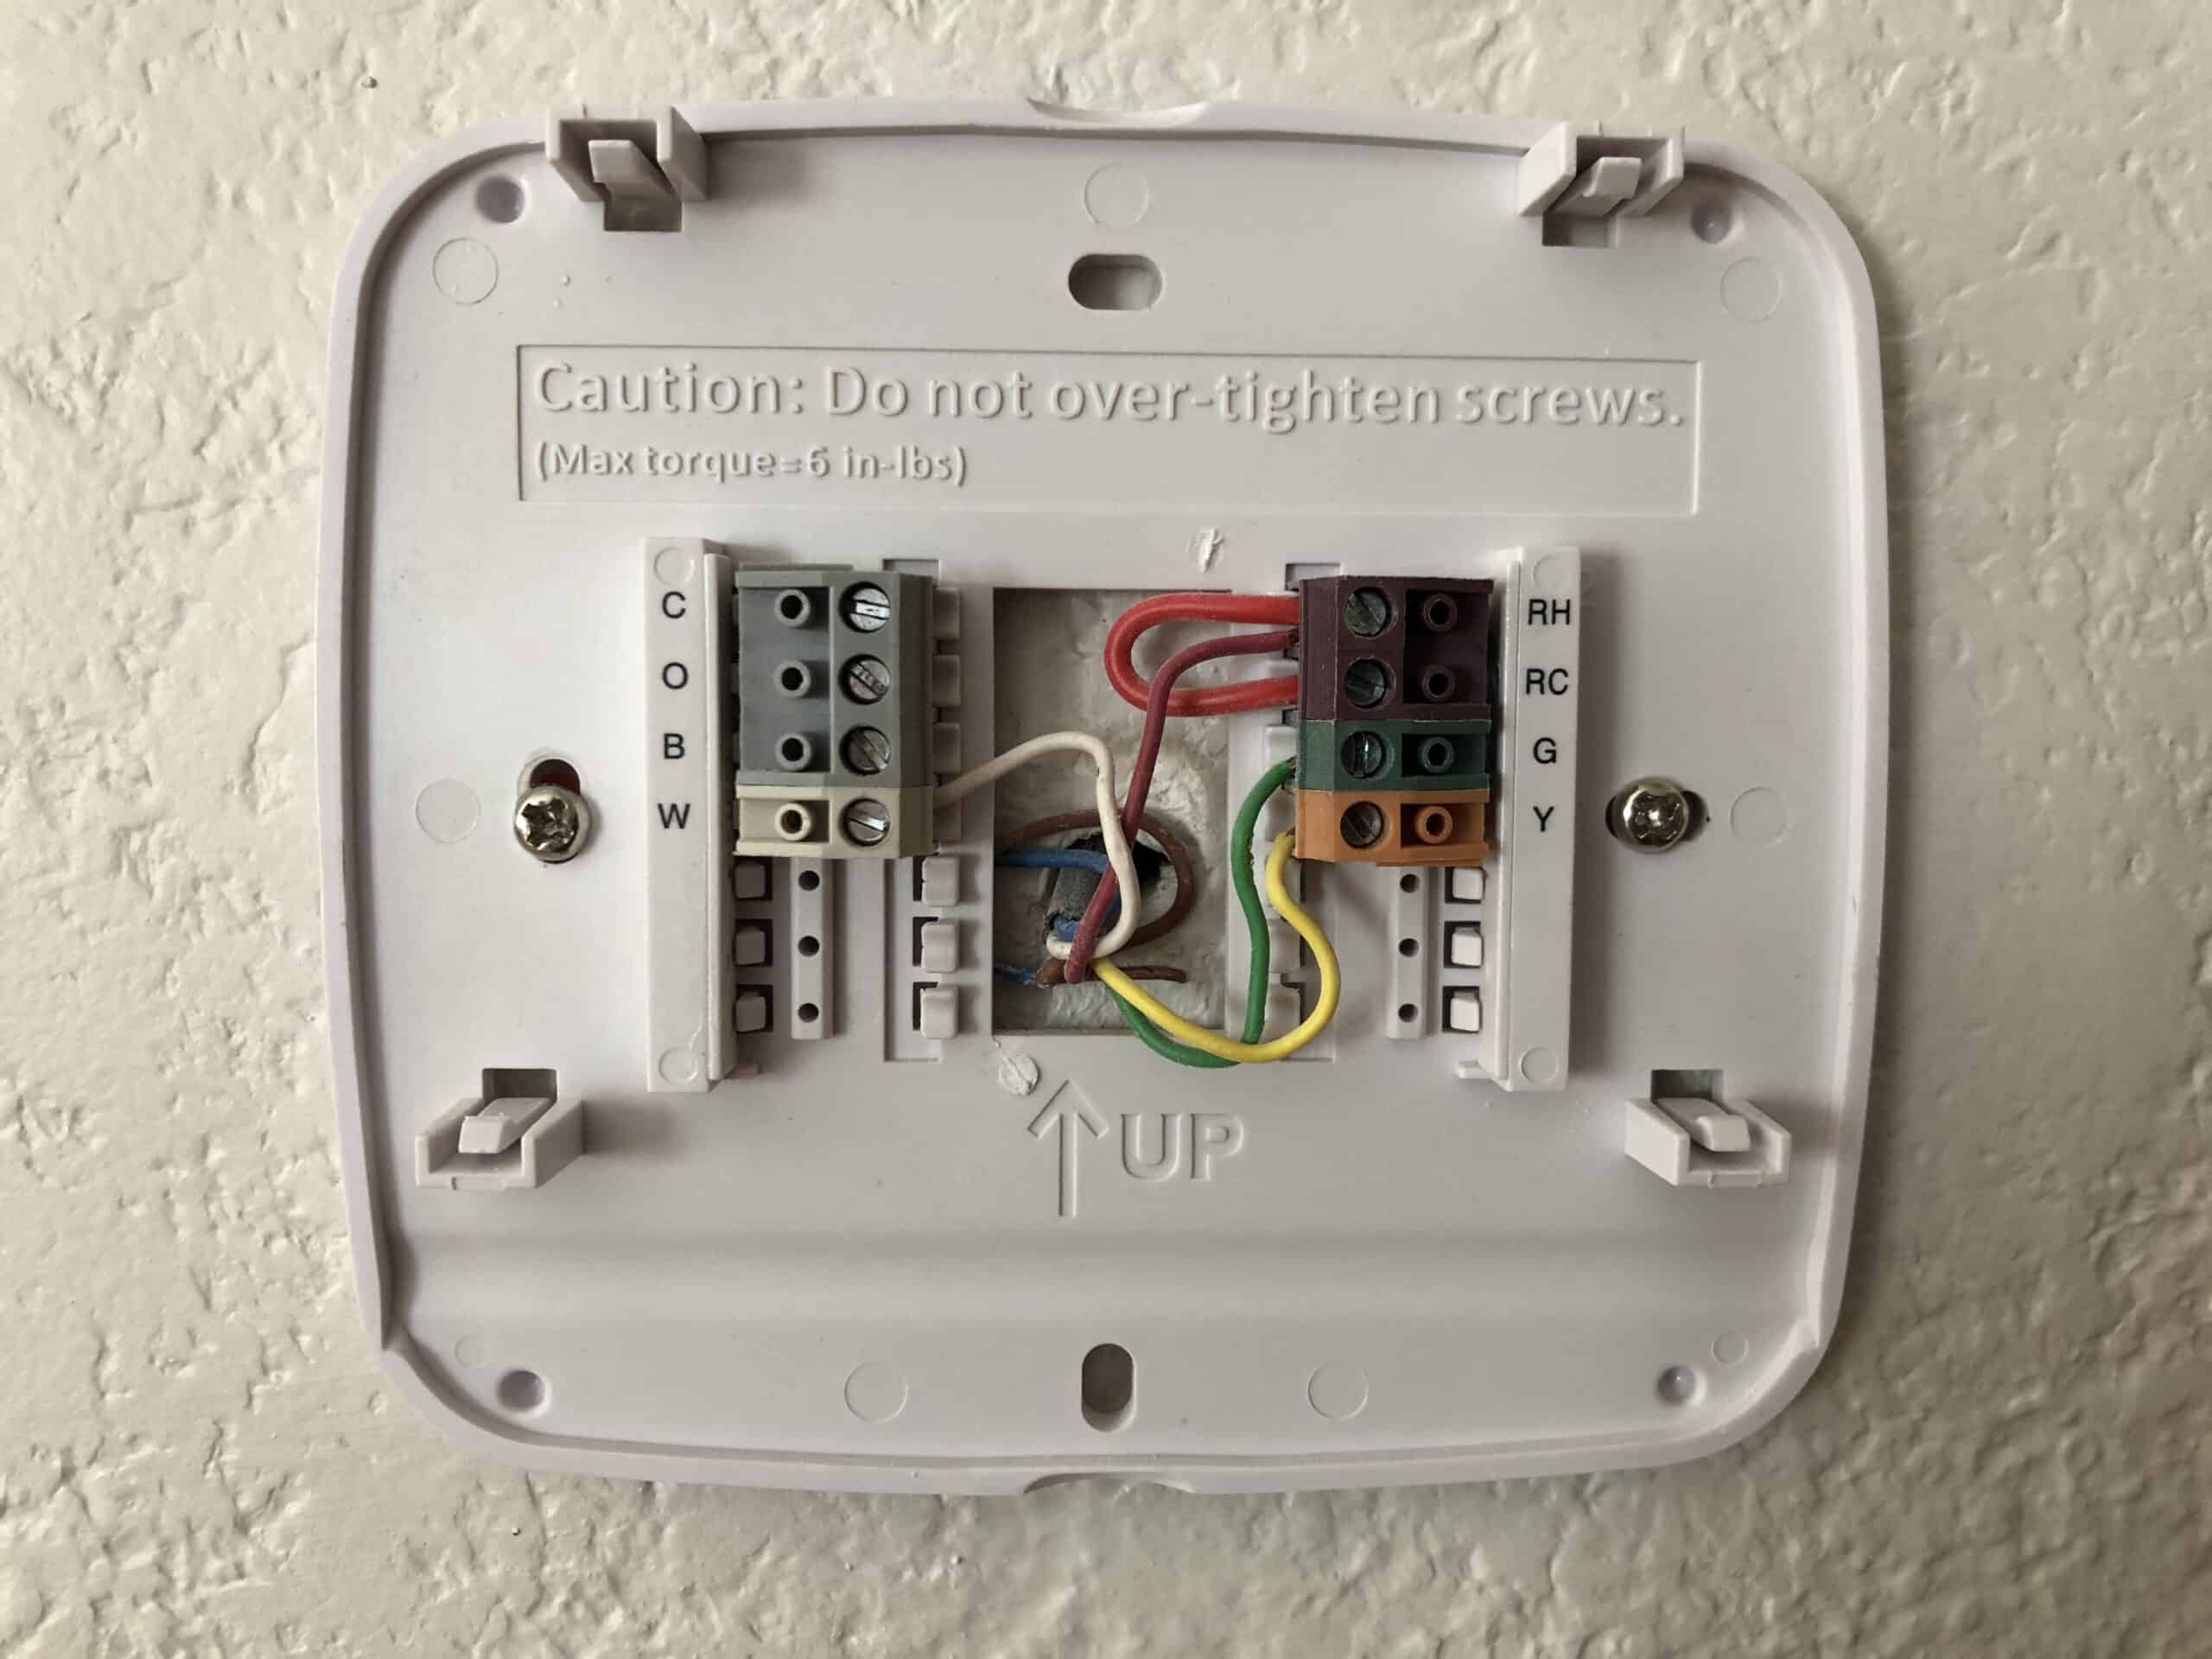
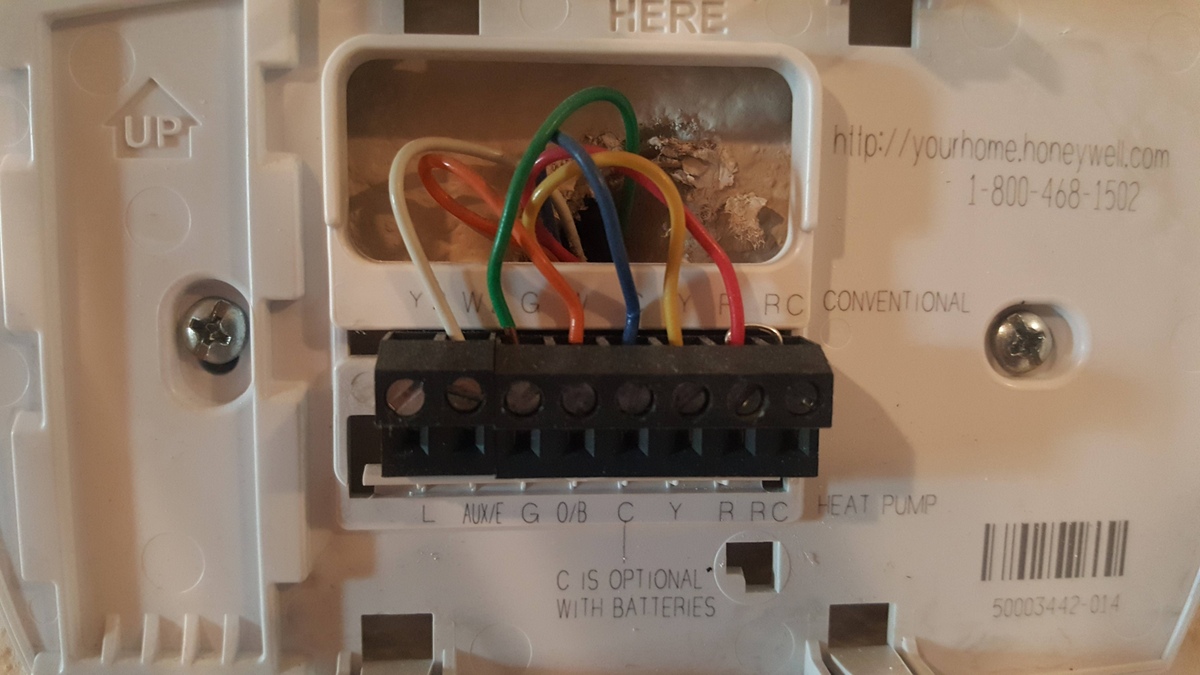
- Connect the Wires: Follow the manufacturer’s wiring diagram to connect the wires from the thermostat to the corresponding wires from the baseboard heater. Use wire connectors to secure the connections and ensure proper insulation.
- Secure the Thermostat: Once the wiring connections are made, securely fasten the thermostat to the wall using the provided mounting screws. Ensure that the thermostat is level and firmly in place.
- Restore Power and Test: Turn the power supply back on at the circuit breaker and test the thermostat to ensure that it activates the baseboard heater when the temperature setting is adjusted. Verify that the heater functions as expected and produces the desired level of heat.
- Verify Proper Operation: After the initial test, monitor the thermostat and baseboard heater to confirm that the temperature control and heating function operate smoothly. Check for any signs of overheating or electrical issues.
Throughout the wiring process, it’s crucial to prioritize safety and accuracy. Double-check all wiring connections and ensure that the power supply is safely restored before testing the thermostat and heater. If at any point you encounter uncertainty or complications, it’s advisable to seek professional assistance to ensure a safe and compliant installation.
By following these step-by-step instructions, you’ll be well-equipped to wire your baseboard heater thermostat effectively, providing reliable temperature control and comfort in your living space.
Testing and Troubleshooting
After wiring the baseboard heater thermostat, thorough testing and potential troubleshooting are essential to ensure that the system operates safely and efficiently. Here’s a comprehensive overview of the testing process and potential troubleshooting steps:
Initial Testing: Once the thermostat is wired and securely mounted, turn on the power supply and adjust the temperature settings to activate the baseboard heater. Verify that the heater responds appropriately to the thermostat’s commands, activating and deactivating as the temperature setting is adjusted.
Temperature Calibration: It’s important to verify that the thermostat accurately reflects the room’s temperature. Use a separate thermometer to compare the actual room temperature with the reading on the thermostat. If there is a discrepancy, consult the thermostat’s user manual for calibration instructions.
Heating Performance: Monitor the baseboard heater’s performance to ensure that it consistently produces the desired level of heat. Check for any unusual noises, odors, or fluctuations in heat output that may indicate a potential issue with the heater or thermostat.
Troubleshooting Steps: If the baseboard heater fails to activate or produces inadequate heat, consider the following troubleshooting steps:
- Check Wiring Connections: Inspect the wiring connections to ensure that all terminals are securely fastened and that the wires are properly connected according to the manufacturer’s guidelines.
- Verify Power Supply: Use a voltage tester to confirm that the power supply to the thermostat and heater is stable and within the appropriate voltage range. Ensure that the circuit breaker is not tripped.
- Inspect Heating Element: If the heater fails to produce heat, check the heating element for any signs of damage or malfunctions. Consult the heater’s user manual for specific inspection and troubleshooting procedures.
- Test Thermostat Functionality: If the thermostat does not activate the heater, verify that the temperature sensor and control mechanisms are functioning properly. Refer to the thermostat’s user manual for troubleshooting guidance.
It’s important to approach troubleshooting with caution and attention to detail. If you encounter persistent issues or are uncertain about the troubleshooting process, consider seeking assistance from a qualified electrician or HVAC technician to diagnose and resolve any potential problems.
By conducting thorough testing and addressing any potential issues through systematic troubleshooting, you can ensure that your baseboard heater thermostat operates reliably and contributes to a comfortable and efficient heating system in your home.
Read also: 13 Best Baseboard Heater Thermostat For 2025
Conclusion
Wiring a baseboard heater thermostat is a rewarding endeavor that empowers you to take control of the temperature in your home, promoting comfort and energy efficiency. By understanding the intricacies of baseboard heater thermostats and following a systematic approach to the wiring process, you can achieve a reliable and effective heating system that meets your specific needs.
Throughout this guide, we’ve delved into the essential tools and materials needed for the installation, the step-by-step wiring process, and the crucial aspects of testing and troubleshooting. It’s important to approach this project with a focus on safety, precision, and a commitment to adhering to electrical codes and regulations.
As you embark on the journey of wiring your baseboard heater thermostat, remember to prioritize safety at every stage of the process. Always turn off the power supply before making any electrical connections, and double-check your work to ensure that all wiring is secure and insulated.
Thorough testing and potential troubleshooting are integral components of the installation process, allowing you to verify the functionality of the thermostat and heater while addressing any potential issues that may arise.
By following the guidelines outlined in this article and approaching the installation with a methodical and attentive mindset, you can successfully wire your baseboard heater thermostat, contributing to a warm and inviting living space while optimizing energy usage.
Embrace the opportunity to enhance your home’s heating system through the installation of a baseboard heater thermostat, and enjoy the comfort and control it brings to your daily life.
With the knowledge and confidence gained from this guide, you’re well-prepared to embark on this rewarding project and create a cozy and energy-efficient environment in your home.
Frequently Asked Questions about How To Wire Baseboard Heater Thermostat
Was this page helpful?
At Storables.com, we guarantee accurate and reliable information. Our content, validated by Expert Board Contributors, is crafted following stringent Editorial Policies. We're committed to providing you with well-researched, expert-backed insights for all your informational needs.
0 thoughts on “How To Wire Baseboard Heater Thermostat”