
Articles
How To Check Thermostat On Water Heater
Modified: January 9, 2024
Learn how to check the thermostat on a water heater in this comprehensive article. Find step-by-step instructions and troubleshooting tips.
(Many of the links in this article redirect to a specific reviewed product. Your purchase of these products through affiliate links helps to generate commission for Storables.com, at no extra cost. Learn more)
Introduction
The thermostat on your water heater plays a crucial role in ensuring the proper functioning of the appliance. It helps maintain the desired temperature, preventing overheating or insufficient heating of the water. If you notice any issues with the temperature of your water, it may be necessary to check the thermostat to diagnose and resolve the problem.
In this article, we will walk you through the step-by-step process of checking the thermostat on your water heater. By following these instructions, you can determine if the thermostat is functioning correctly and make any necessary adjustments to ensure optimal performance.
Before we begin, it’s important to note that working with electrical components can be dangerous. Always prioritize your safety and exercise caution while inspecting and handling the water heater thermostat. If you are not comfortable or confident in performing the steps, it is recommended to contact a professional plumber or technician.
Now, let’s dive into the process of checking the thermostat on your water heater to identify and resolve any temperature-related issues.
Key Takeaways:
- Prioritize safety by turning off the power supply and using caution when checking the water heater thermostat to prevent electrical accidents and ensure a safe inspection process.
- Regularly inspect and test the thermostat to maintain optimal water temperature, make necessary adjustments, and seek professional help if needed for efficient and reliable hot water supply.
Step 1: Turning off the Power to the Water Heater
Before you begin working on the water heater thermostat, it is essential to ensure your safety by turning off the power supply to the appliance.
- Locate the circuit breaker panel in your home. This is typically found in the basement, garage, or utility room.
- Look for the breaker that corresponds to your water heater. It may be labeled “Water Heater” or “Hot Water Heater.”
- Switch off the breaker by flipping it to the “off” position. This will cut off the power supply to the water heater.
- Alternatively, if your water heater has a dedicated disconnect switch, you can use it instead of turning off the breaker. Flip the switch to the “off” position to deactivate the power.
Once you have successfully turned off the power to the water heater, you can proceed with the next steps safely without the risk of electrical shock or injury. Remember to exercise caution throughout the process.
Step 2: Locating the Thermostat
Now that you have deactivated the power supply to the water heater, it’s time to locate the thermostat.
- Start by examining the exterior of the water heater. Look for any access panels or covers that may conceal the thermostat.
- Remove these panels or covers using a screwdriver or other appropriate tools. Take care not to damage any components or wiring during this process.
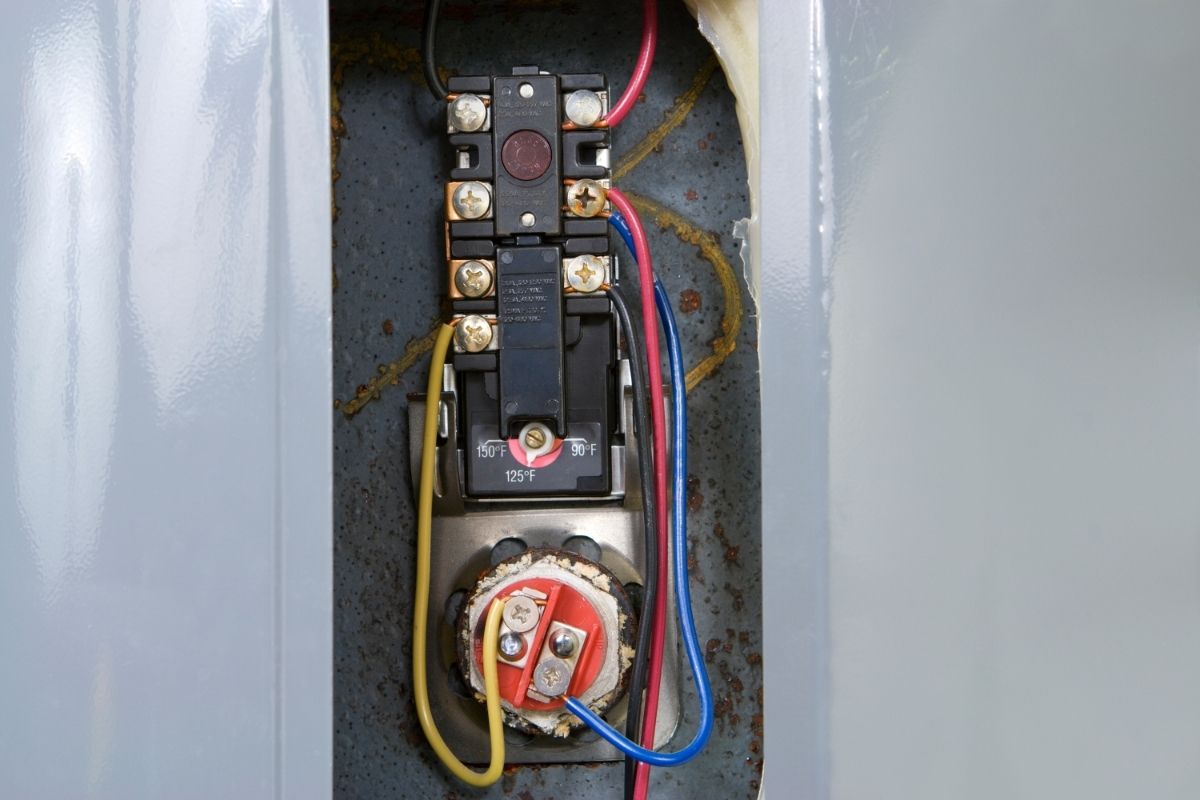
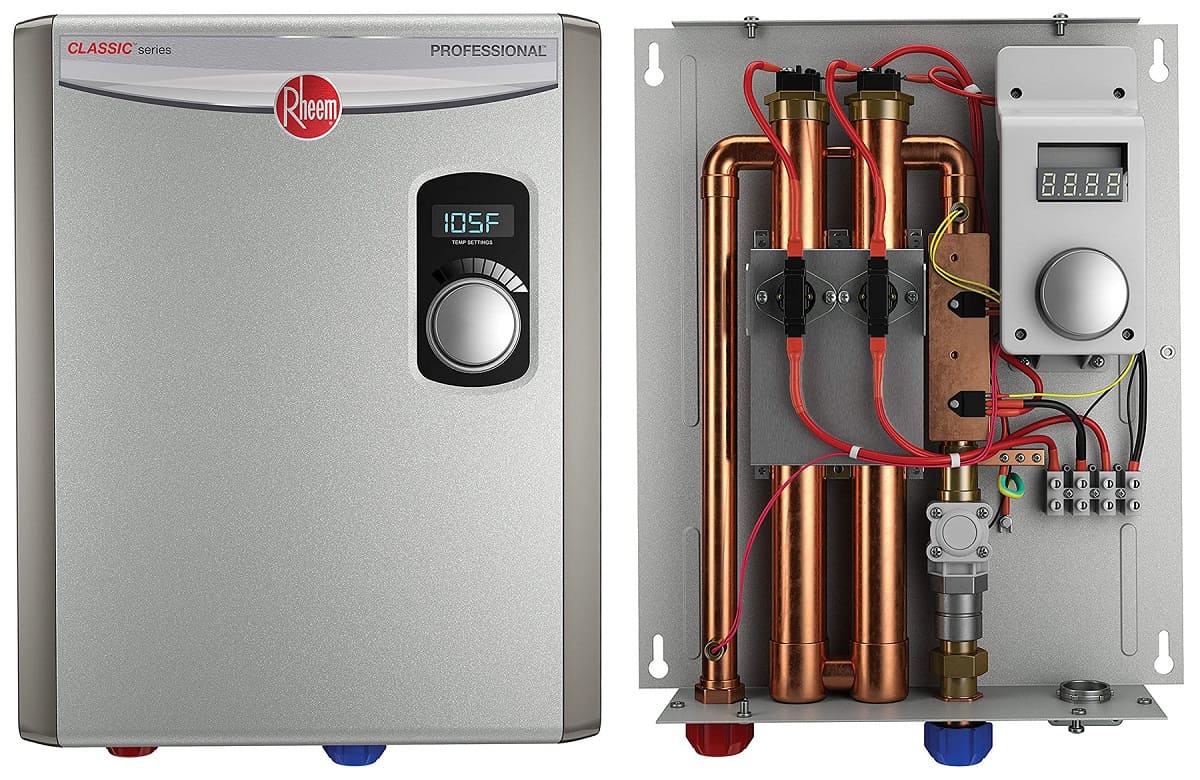
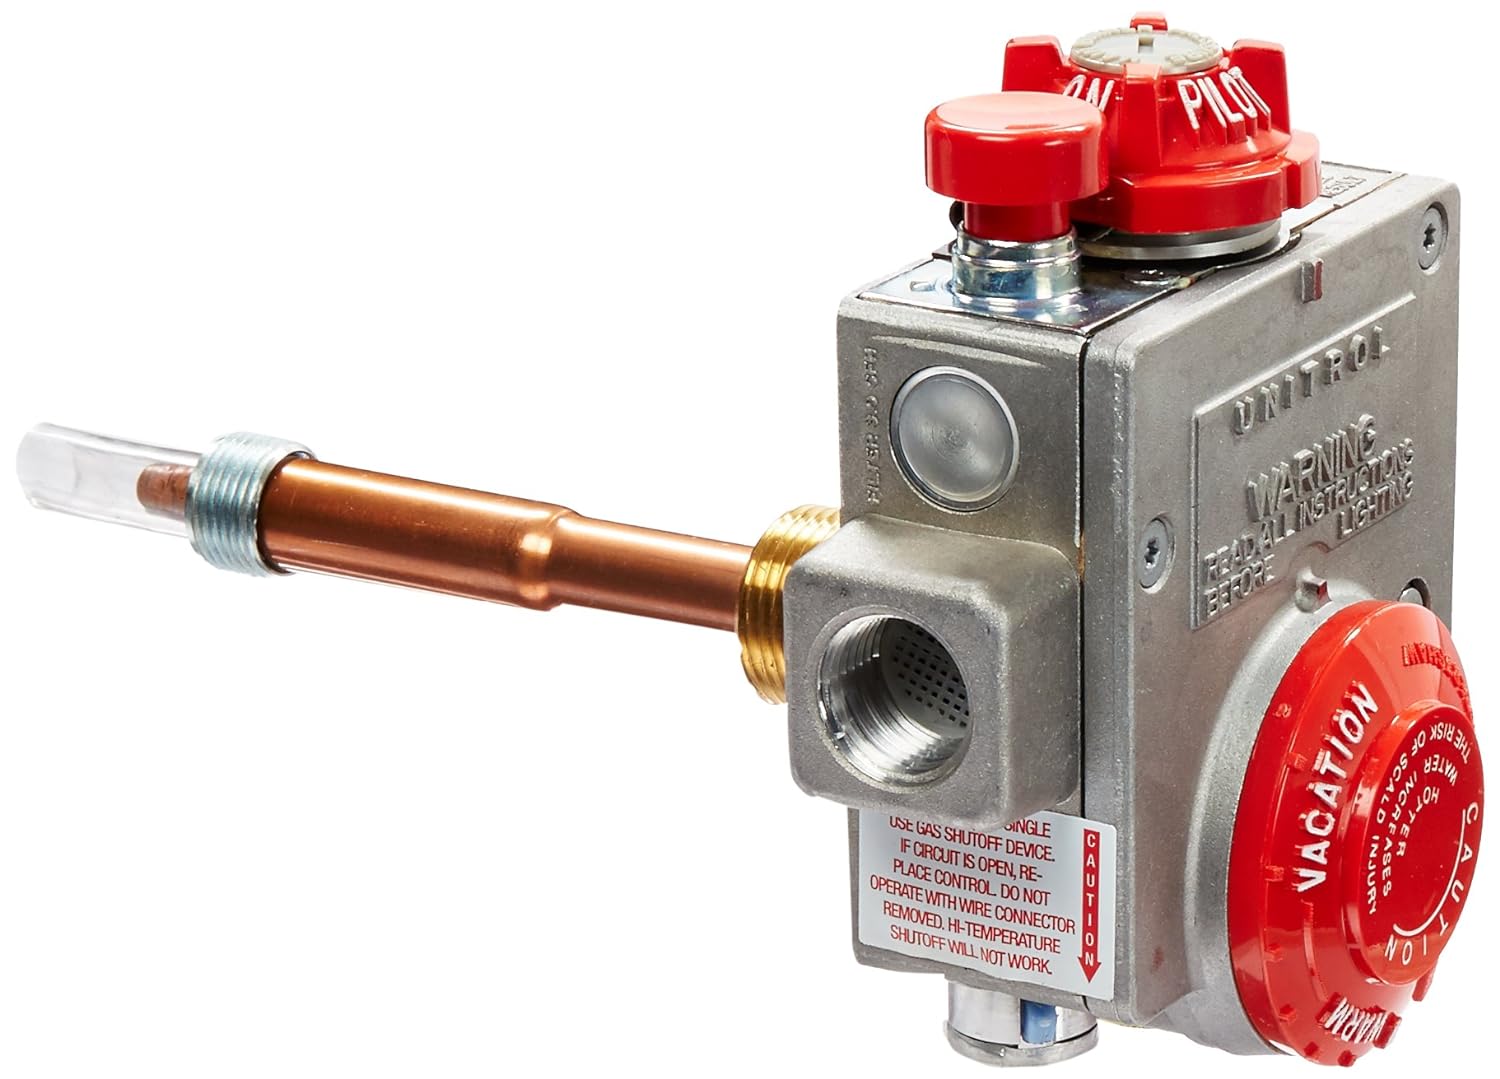
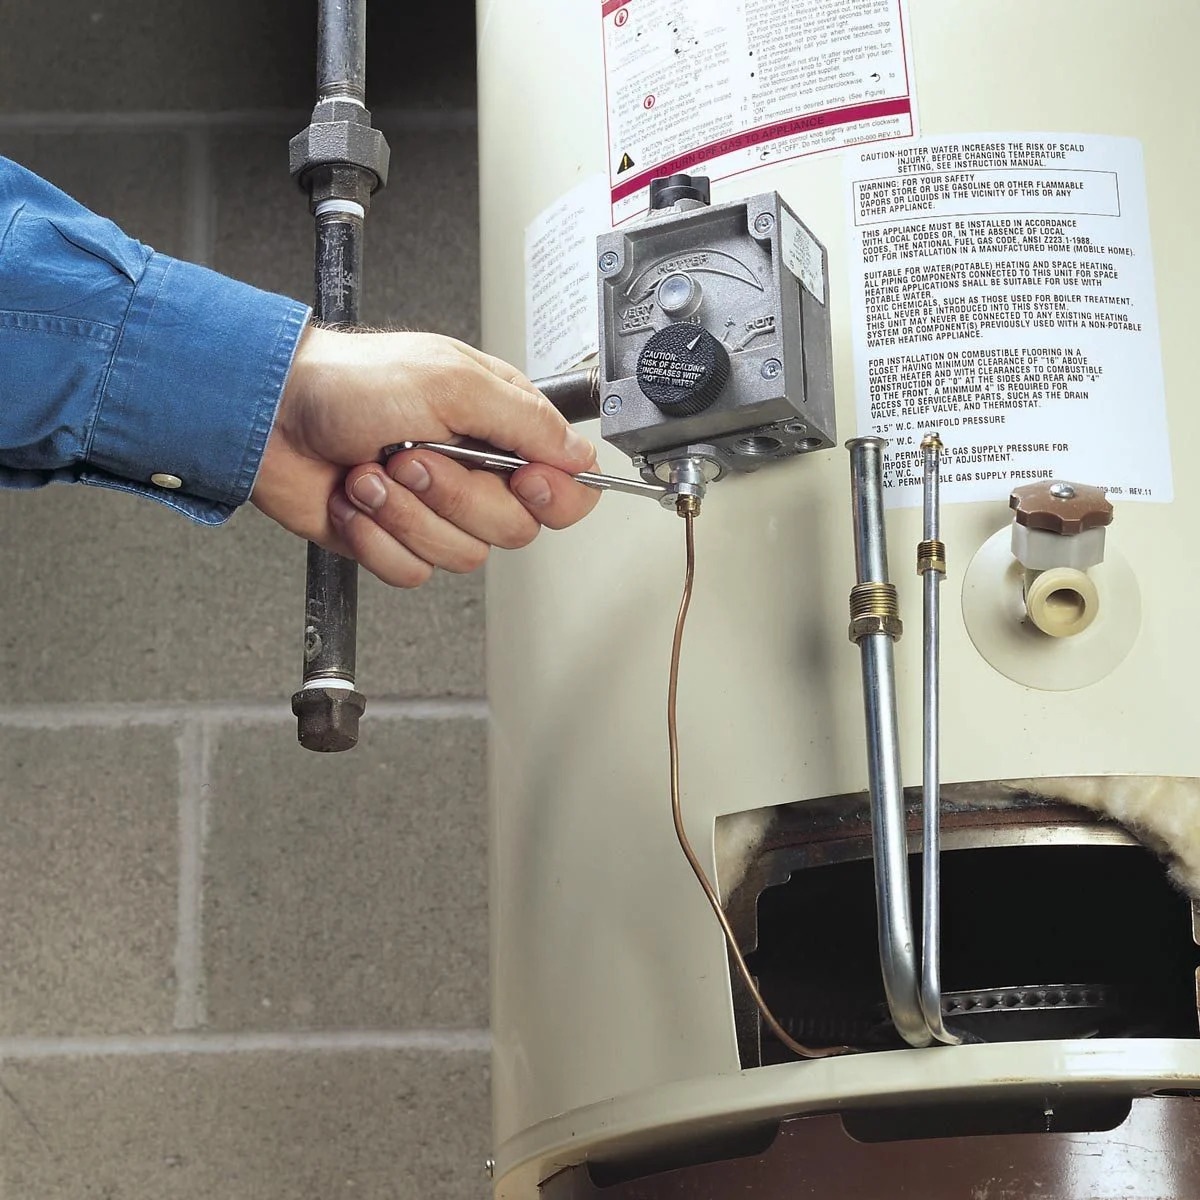
- Once the panels are removed, you should be able to see the inner workings of the water heater. Locate the thermostat, which is typically a small box or dial-like device.
- The thermostat is usually positioned near the bottom of the water heater, near the heating elements. It may be attached to the tank or positioned on the control panel.
If you are having trouble finding the thermostat, refer to the manufacturer’s manual or consult a professional for assistance. Each water heater model may have a slightly different configuration, so it’s important to locate the thermostat correctly before proceeding to the next steps.
Step 3: Checking for Power
Before you begin testing the thermostat, it’s important to make sure there is no remaining power running to the water heater. This will ensure your safety and prevent any potential electrical accidents.
- Double-check that the circuit breaker or disconnect switch is still in the “off” position.
- Use a non-contact voltage tester to verify that there is no electrical current present in the vicinity of the water heater thermostat.
- Hold the tester near the thermostat and observe the indicator light or sound. If there is no detection of power, it is safe to proceed to the next steps. If the tester indicates the presence of electricity, stop immediately and consult a professional.
By taking the time to confirm that there is no power running to the water heater, you are prioritizing your safety and minimizing the risk of electric shock or injury.
Step 4: Checking the Thermostat Components
Now that you have ensured there is no power running to the water heater, you can proceed with inspecting the thermostat components. The following steps will help you verify if everything is in proper working condition:
- Visually examine the thermostat for any visible damage, such as loose wires, signs of corrosion, or burnt marks. Any noticeable issues should be addressed before proceeding further.
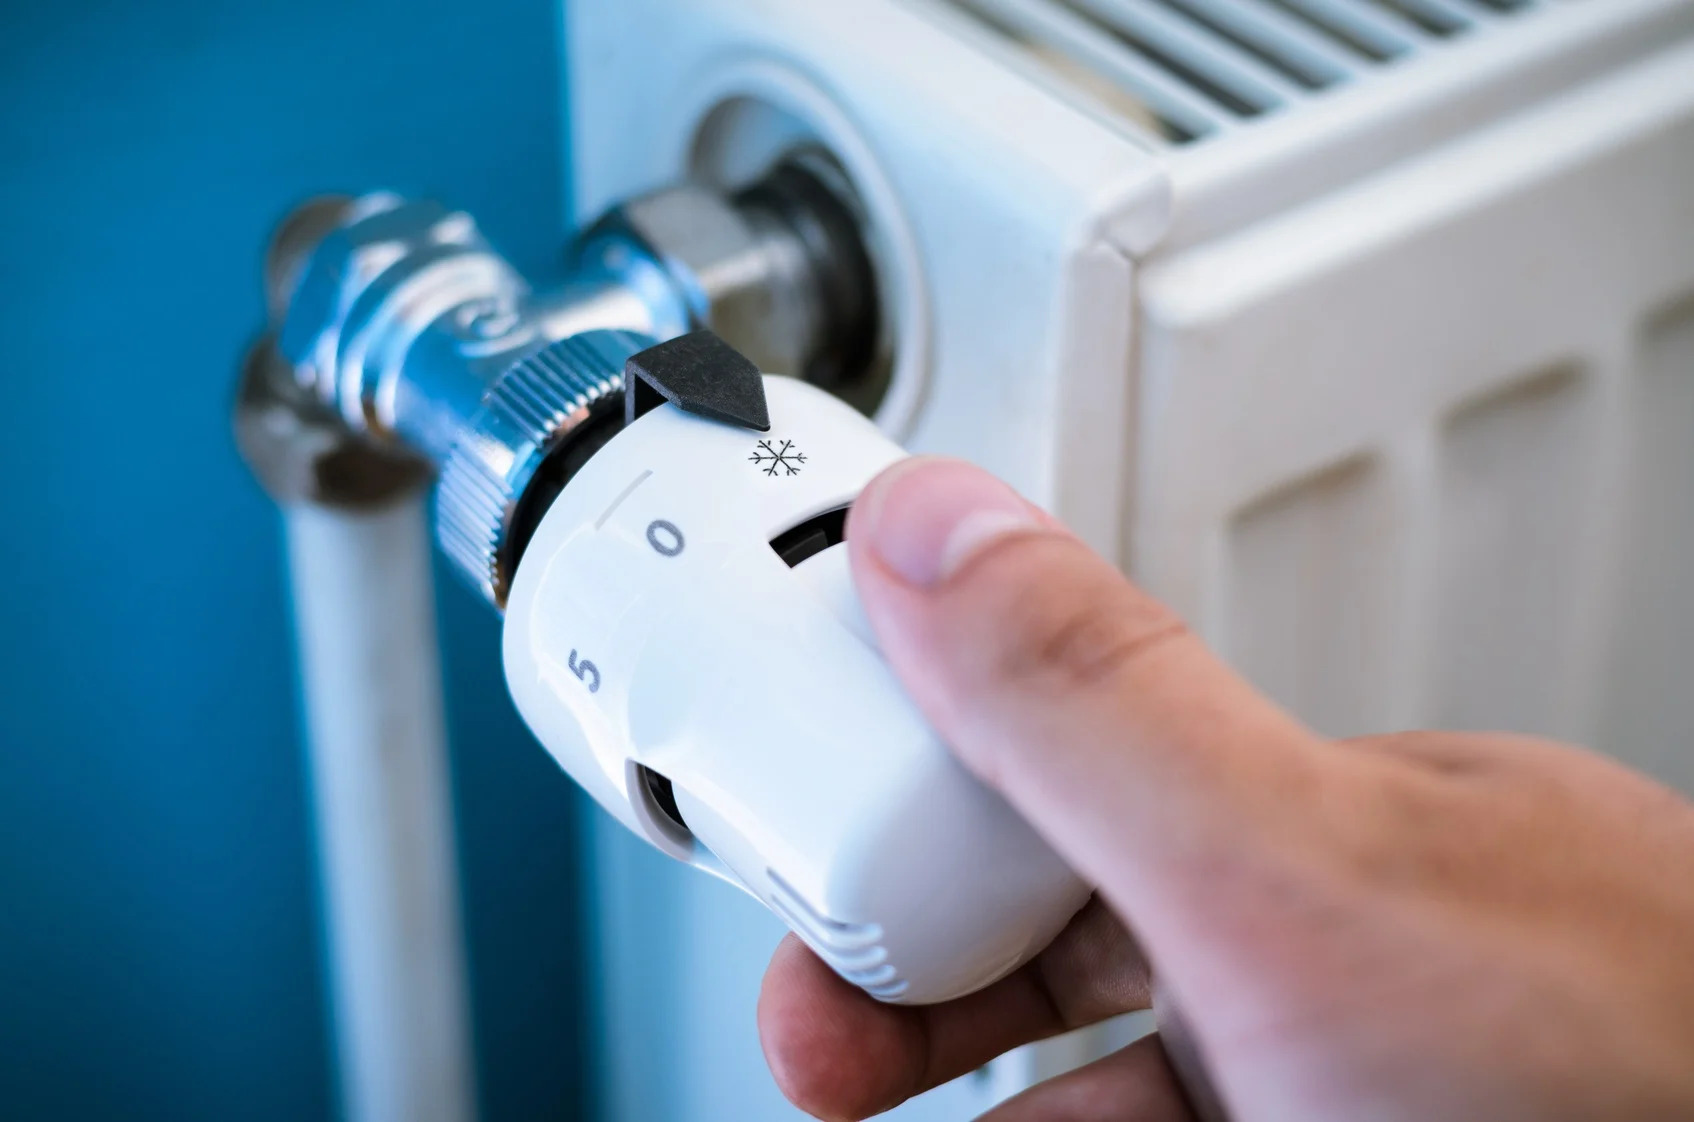
- Check the temperature dial or setting on the thermostat. Ensure that it is set at an appropriate level for your desired water temperature. If necessary, adjust the setting by turning the dial to a higher or lower temperature.
- Inspect the wiring connections on the back of the thermostat. Make sure they are secure and properly attached. If you notice any loose or disconnected wires, gently reconnect them or seek professional assistance.
During this step, it is important to exercise caution and avoid touching any exposed wires or components. If you are unsure about any aspect of the thermostat components, it is best to consult a professional for further guidance.
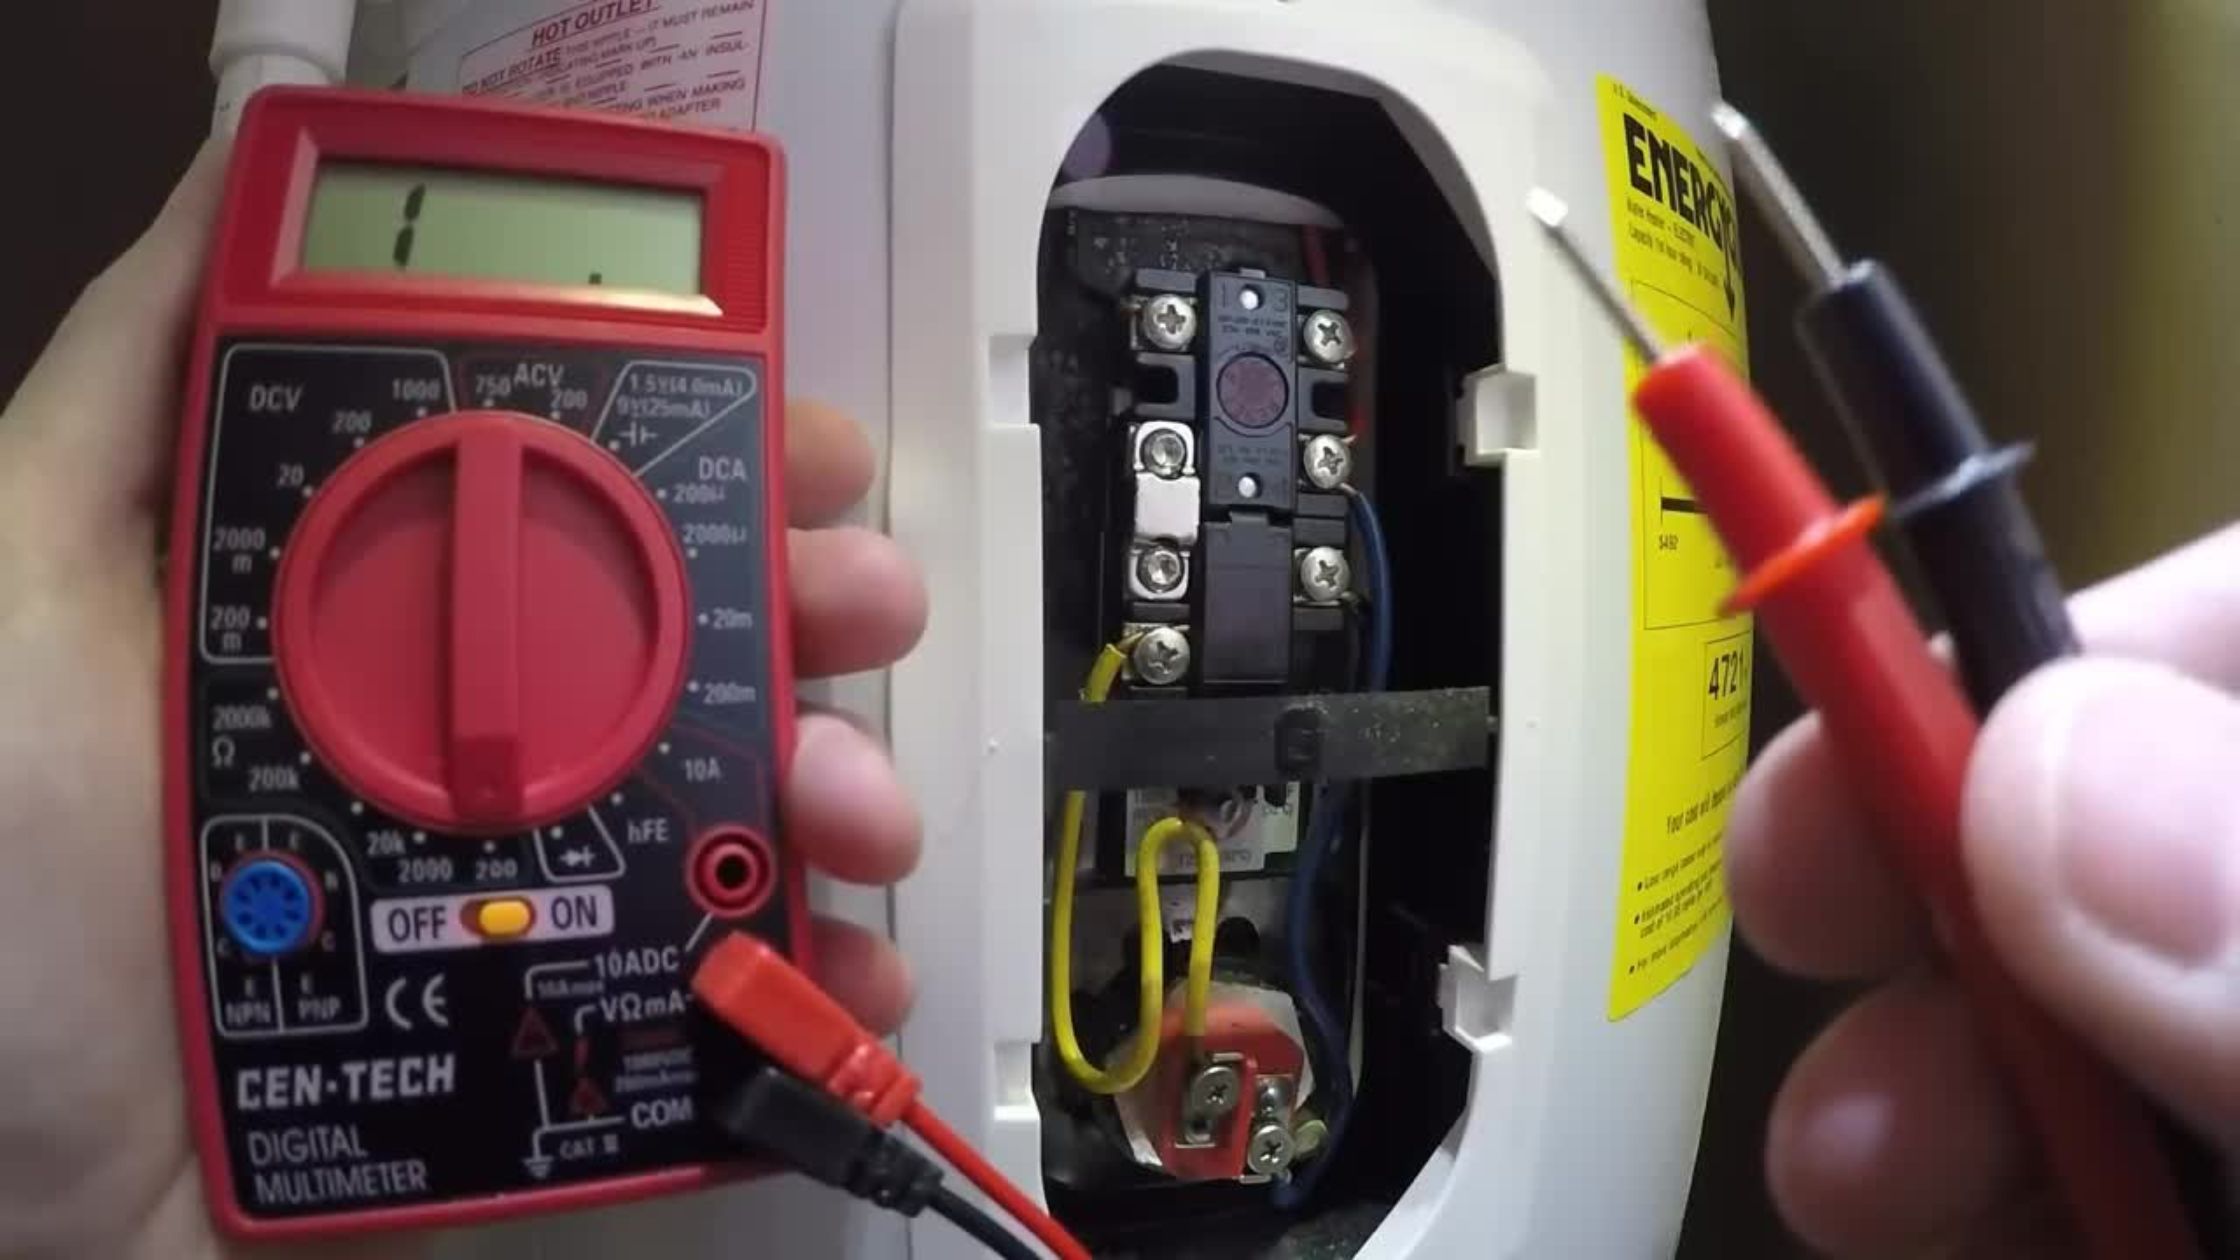
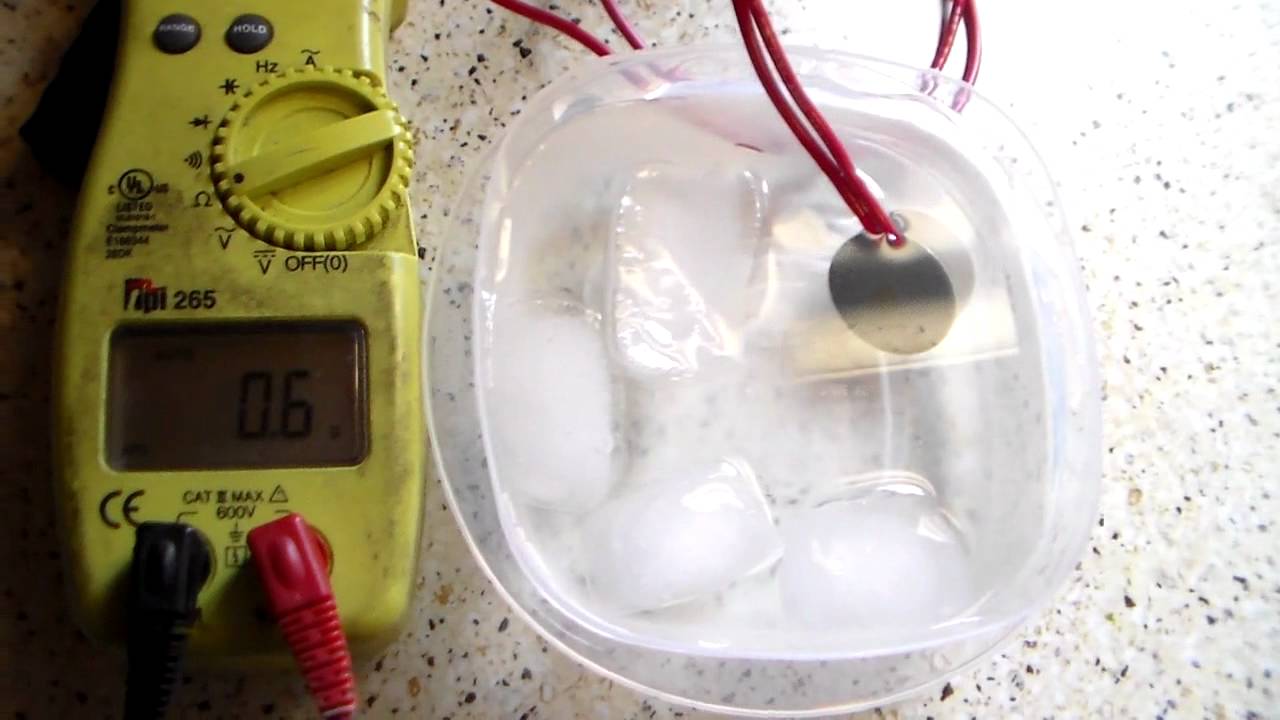
You can check the thermostat on your water heater by using a multimeter to test for continuity. Make sure to turn off the power to the water heater before attempting any testing.
Read more: How To Check A Water Heater
Step 5: Testing the Thermostat
Now that you have inspected the thermostat components, it’s time to test its functionality. Follow these steps to ensure that the thermostat is working properly:
- Turn on the power supply to the water heater by flipping the circuit breaker back to the “on” position or activating the disconnect switch.
- Wait for the water heater to start heating the water. You can listen for the sound of the heating elements turning on or feel for warmth near the tank.
- Once the water heater is operational, observe the behavior of the thermostat. The following scenarios indicate the thermostat is working correctly:
- The heating elements turn on when the temperature falls below the desired setting.
- The heating elements turn off when the temperature reaches the desired setting.
- If the heating elements do not turn on or off as expected, it may indicate a malfunctioning thermostat. In this case, it is best to consult a professional to diagnose and repair the issue.
During the testing process, it’s important to be mindful of any unusual sounds, smells, or observations. If you notice any abnormalities or suspect a malfunction, it is recommended to seek assistance from a qualified technician.
Step 6: Making Necessary Adjustments
If you have identified any issues during the testing phase, you may need to make adjustments to the thermostat to ensure proper functionality. Follow these steps to make necessary adjustments:
- If the water temperature is not reaching the desired setting, you may need to adjust the temperature dial on the thermostat. Gradually raise the temperature setting and monitor the water temperature until it reaches the desired level.
- If the water temperature is consistently too high or too low, you may need to calibrate the thermostat. Consult the manufacturer’s manual or professional guidance for instructions specific to your water heater model.
- If you notice any loose or disconnected wires during the inspection, gently reconnect them to the appropriate terminals on the thermostat. Make sure they are securely fastened to ensure proper electrical connections.
- If you are unsure about making the adjustments yourself or if you encounter any challenges, it is advisable to seek the assistance of a professional plumber or technician. They have the expertise and tools to diagnose and resolve any thermostat-related issues effectively.
Remember, it’s important to handle and adjust the thermostat with care to avoid any damage or further complications. Incorrect adjustments can negatively impact the performance of the water heater and may lead to additional problems.
Step 7: Turning the Power Back On
After you have made any necessary adjustments to the thermostat and ensured everything is in proper working order, it’s time to restore power to the water heater. Follow these steps to safely turn the power back on:
- Ensure that all access panels or covers on the water heater are securely fastened in place.
- Return to the circuit breaker panel or disconnect switch that controls the power supply to the water heater.
- Flip the circuit breaker back to the “on” position or activate the disconnect switch to restore the power.
- Wait for the water heater to power up and heat the water. You may hear the heating elements working or feel warmth near the tank.
- Monitor the operation of the water heater to ensure that the thermostat is functioning correctly and that the desired water temperature is reached and maintained.
If you notice any abnormalities or issues with the water heater after restoring the power, it is important to contact a professional for further assistance. They can perform a thorough inspection and address any lingering problems that may require technical expertise.
Congratulations! You have successfully checked the thermostat on your water heater and made any necessary adjustments. You can now enjoy reliable hot water with confidence, knowing that your thermostat is properly functioning.
Conclusion
Checking the thermostat on your water heater is a crucial step in maintaining optimal performance and ensuring the desired water temperature. By following the steps outlined in this article, you can identify any issues with the thermostat and make necessary adjustments for proper functionality.
We started by turning off the power supply to the water heater to ensure safety throughout the inspection process. Then, we located the thermostat and checked for any visible damage or loose connections. After confirming that there is no remaining power, we tested the thermostat to ensure it turns on and off correctly when the temperature reaches the desired setting.
If any issues were detected, we discussed how to make necessary adjustments such as changing the temperature setting, calibrating the thermostat, or reconnecting any loose wires. It’s important to exercise caution during these adjustments and seek professional help if needed.
Lastly, we emphasized the importance of monitoring the water heater’s operation after turning the power back on. Any abnormalities or continued issues should be addressed promptly by contacting a professional technician.
Remember, if you are not comfortable or confident in performing the steps outlined in this article, it is always best to seek the help of a professional plumber or technician. They have the knowledge and experience to safely handle and diagnose any thermostat-related problems.
By regularly checking and maintaining the thermostat on your water heater, you can ensure efficient and reliable hot water supply for your household. Don’t hesitate to take action if you suspect any issues with your water heater’s thermostat. Your efforts will contribute to the longevity and effectiveness of your water heating system.
Frequently Asked Questions about How To Check Thermostat On Water Heater
Was this page helpful?
At Storables.com, we guarantee accurate and reliable information. Our content, validated by Expert Board Contributors, is crafted following stringent Editorial Policies. We're committed to providing you with well-researched, expert-backed insights for all your informational needs.

0 thoughts on “How To Check Thermostat On Water Heater”