Articles
How To Install A Washer Drain Pan
Modified: May 6, 2024
Learn how to install a washer drain pan with this comprehensive guide. Follow these step-by-step instructions and ensure your laundry room stays clean and protected.
(Many of the links in this article redirect to a specific reviewed product. Your purchase of these products through affiliate links helps to generate commission for Storables.com, at no extra cost. Learn more)
Introduction
Welcome to the comprehensive guide on how to install a washer drain pan. If you’ve recently purchased a new washing machine or simply want to protect your laundry area from potential water damage, a drain pan is an essential addition. A washer drain pan serves as a safeguard, preventing water overflow and leaks from causing extensive damage to your floors and surrounding areas.
In this article, we will walk you through the step-by-step process of installing a washer drain pan. We’ll cover everything from gathering the necessary materials to connecting the drain pipe and ensuring a leak-free installation. By following these instructions, you’ll have a functional and reliable washer drain pan that provides peace of mind with each load of laundry you do.
Remember, this guide assumes basic DIY knowledge and general plumbing skills. If you’re unsure about any step or encounter difficulties during the installation, it’s always advisable to consult a professional plumber or seek expert advice.
Now, let’s dive into the details and get started with installing your washer drain pan.
Key Takeaways:
- Protect your laundry area from water damage by installing a washer drain pan. Follow the step-by-step guide to ensure a leak-free installation and enjoy peace of mind while doing your laundry.
- Gather the necessary materials, choose the right location, and connect the drain pipe to successfully install a washer drain pan. Regularly check for leaks to maintain a dry and safe laundry area.
Read more: How To Install A Washing Machine Drain Pan
Step 1: Gather the Required Materials
Before you begin the installation process, it’s important to gather all the necessary materials. Having everything on hand will ensure a smooth and efficient installation. Here’s a list of the materials you’ll need:
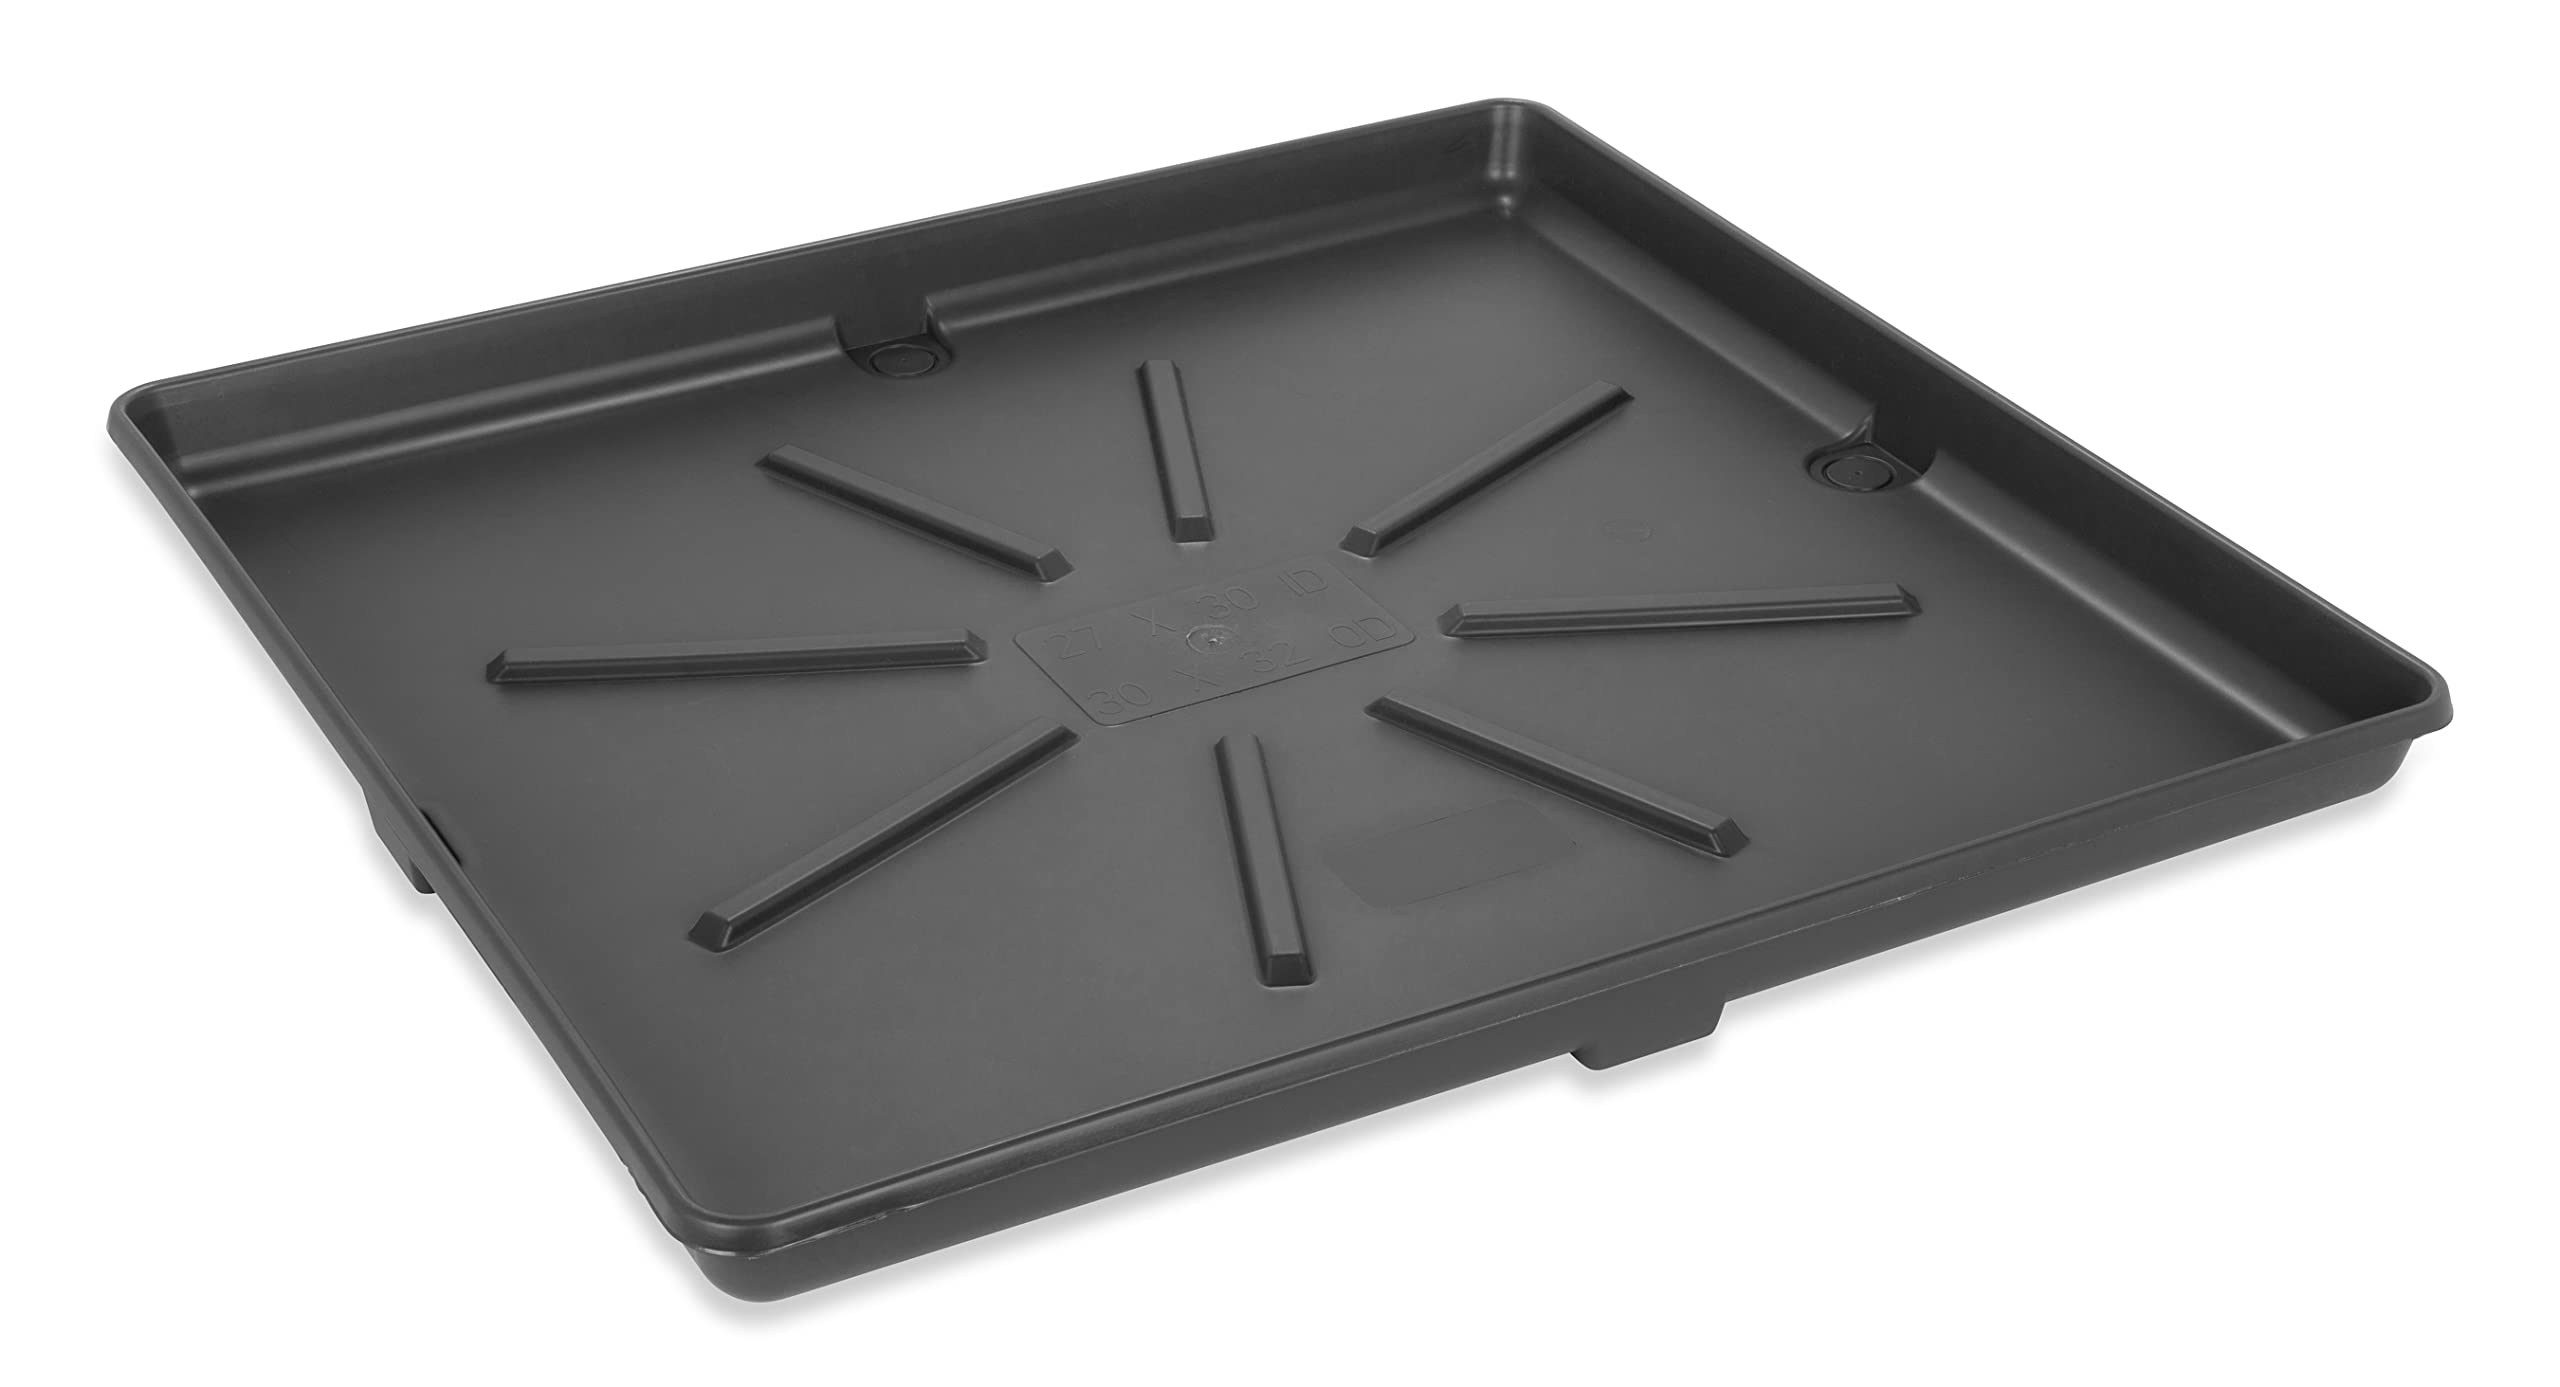
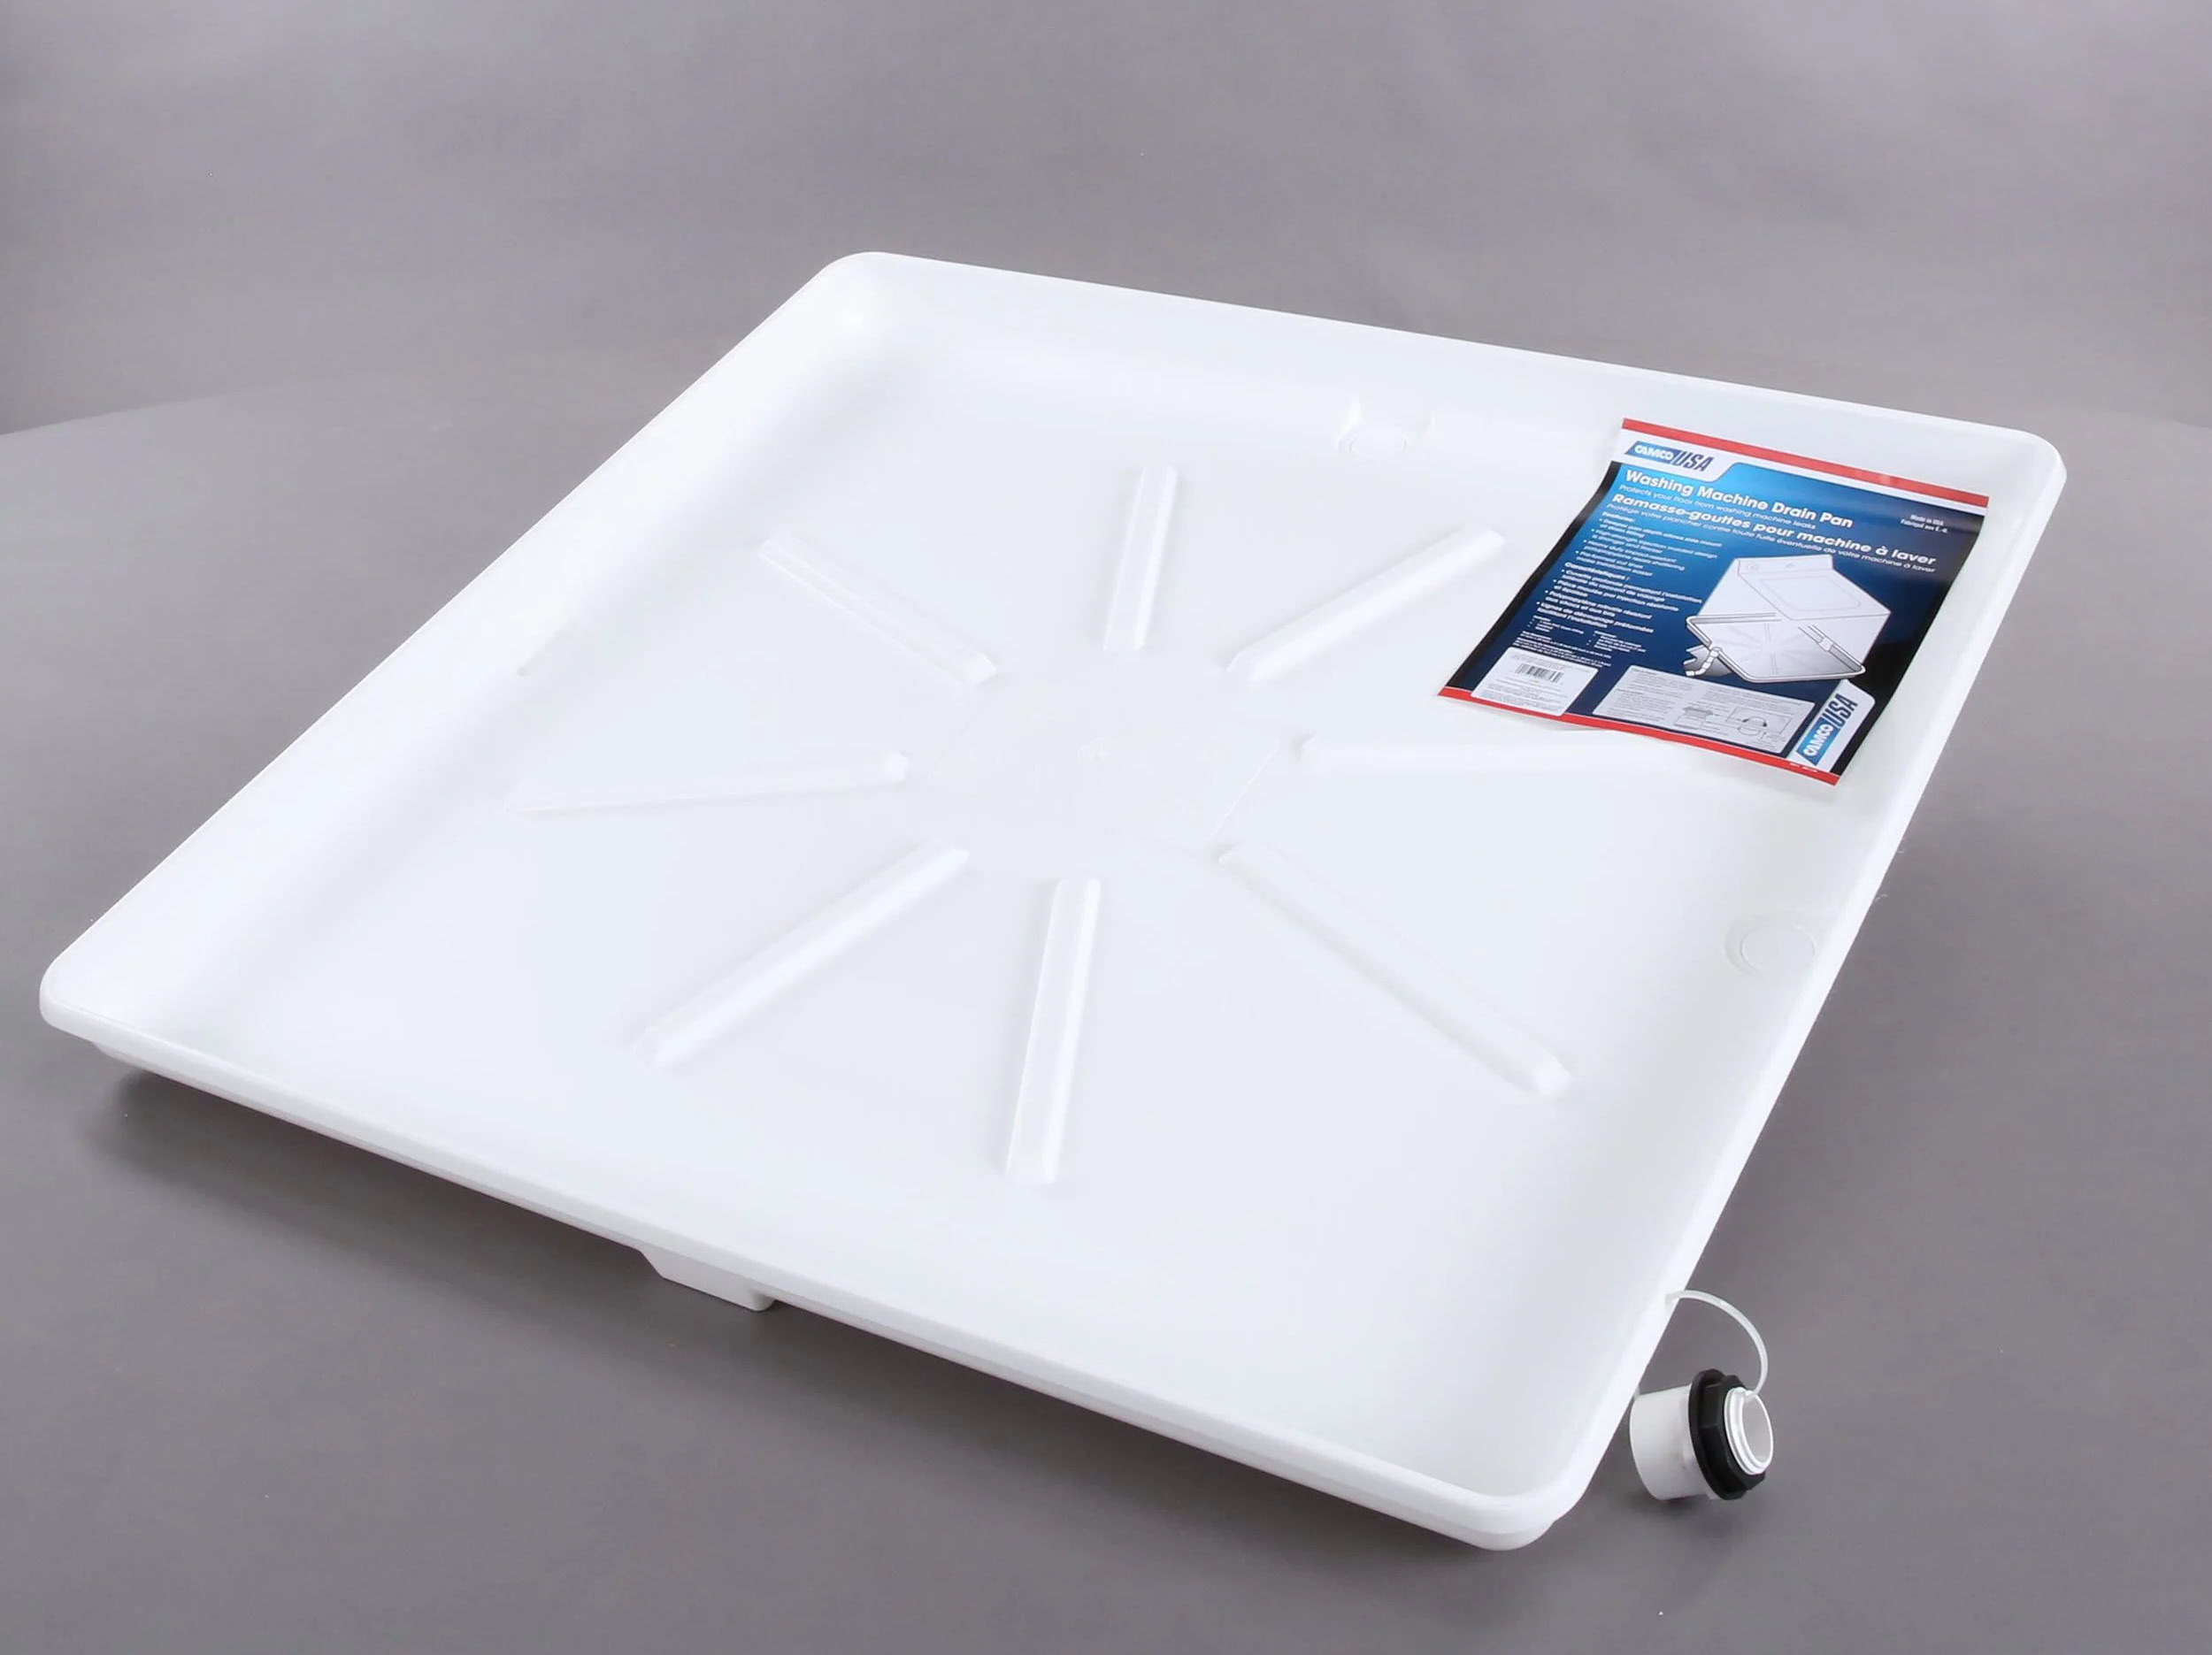
- Washer drain pan: Choose a drain pan that matches the dimensions of your washing machine. Ensure it has a high-quality construction and is made from durable materials to withstand the weight of the machine and any potential water leaks.
- Tape measure: To accurately measure the dimensions of your washing machine and the space where it will be installed.
- Pencil or marker: Use it to mark the areas where you’ll be cutting or drilling during the installation process.
- Saw or drill: Depending on the type of flooring in your laundry area, you’ll need a saw or drill to create the necessary openings for the drain pipe.
- Plumber’s putty: This moldable substance is used to create a watertight seal around the drain pipe connections to prevent leaks.
- PVC pipe and fittings: The specific size and length of the pipe will depend on the layout of your plumbing system and the distance between the drain pan and your existing drain line. Plan accordingly and ensure you have all the necessary fittings for a secure connection.
- PVC primer and cement: These materials are needed to secure the PVC pipe and fittings together permanently.
- Plumber’s tape: Also known as Teflon tape, this is used to create a tight seal between threaded connections, preventing any leaks from occurring.
- Screwdriver or adjustable wrench: You’ll need these tools to tighten or loosen any bolts or screws during the installation process.
- Caulk and caulk gun: If there are any gaps or openings that need to be sealed, caulk will come in handy to create a watertight seal.
Make sure you have all these materials readily available before you start the installation process. Having everything prepared will save you time and prevent any unnecessary interruptions during the installation.
Step 2: Choose the Right Location
Choosing the proper location for your washer drain pan is crucial. Here are some factors to consider when selecting the right spot:
- Accessibility: The location should be easily accessible for both installation and future maintenance. Ensure there is enough space to maneuver and work comfortably.
- Level surface: The area where you plan to install the drain pan should be level to ensure proper alignment and functioning.
- Proximity to the washer: The drain pan should be positioned directly beneath your washing machine to catch any water leaks or spills. Measure the dimensions of your washing machine to determine the exact placement.
- Access to a drain line: The drain pan needs to be located near an existing drain line to efficiently remove any water collected. Make sure there is a suitable drain line in close proximity.
- Protection of surrounding areas: Consider any nearby walls, cabinets, or other items that may be susceptible to water damage. Position the drain pan in a way that provides adequate protection to these areas.
Take your time to evaluate these factors and choose the best location for your washer drain pan. Planning ahead will ensure a successful installation and minimize the risk of any future complications.
Step 3: Prepare the Area
Before you begin installing the drain pan, it’s important to properly prepare the area. Follow these steps to ensure a smooth installation:
- Clear the space: Remove any obstacles or objects from the area where you plan to install the drain pan. This includes moving the washing machine and any other items that may be in the way.
- Clean the floor: Thoroughly clean the floor surface to ensure there is no dirt, dust, or debris that may interfere with the installation process or hinder the proper functioning of the drain pan.
- Measure and mark: Use a tape measure to accurately determine the dimensions of your washing machine. Mark the location where the drain pan will be placed, ensuring it is centered and aligned with the machine’s dimensions.
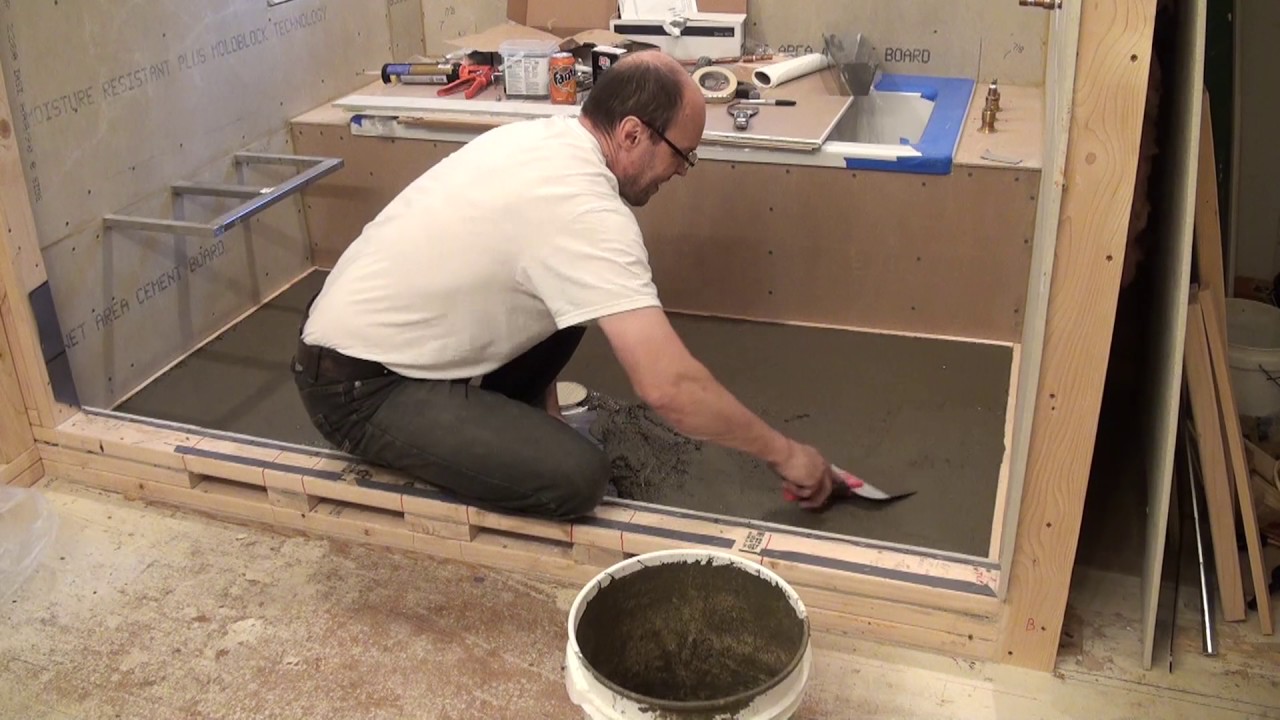
- Prepare for cutting/drilling: If necessary, use a saw or drill to create openings in the floor for the drain pipe. Take caution and follow the manufacturer’s instructions or consult a professional to ensure accurate and safe cutting/drilling.
- Check for levelness: Use a carpenter’s level to ensure the floor surface is level. Adjust as needed to ensure the drain pan will sit flush and securely.
By properly preparing the area, you will ensure a solid foundation for the installation of the drain pan. This will contribute to its stability and effectiveness in preventing water damage.
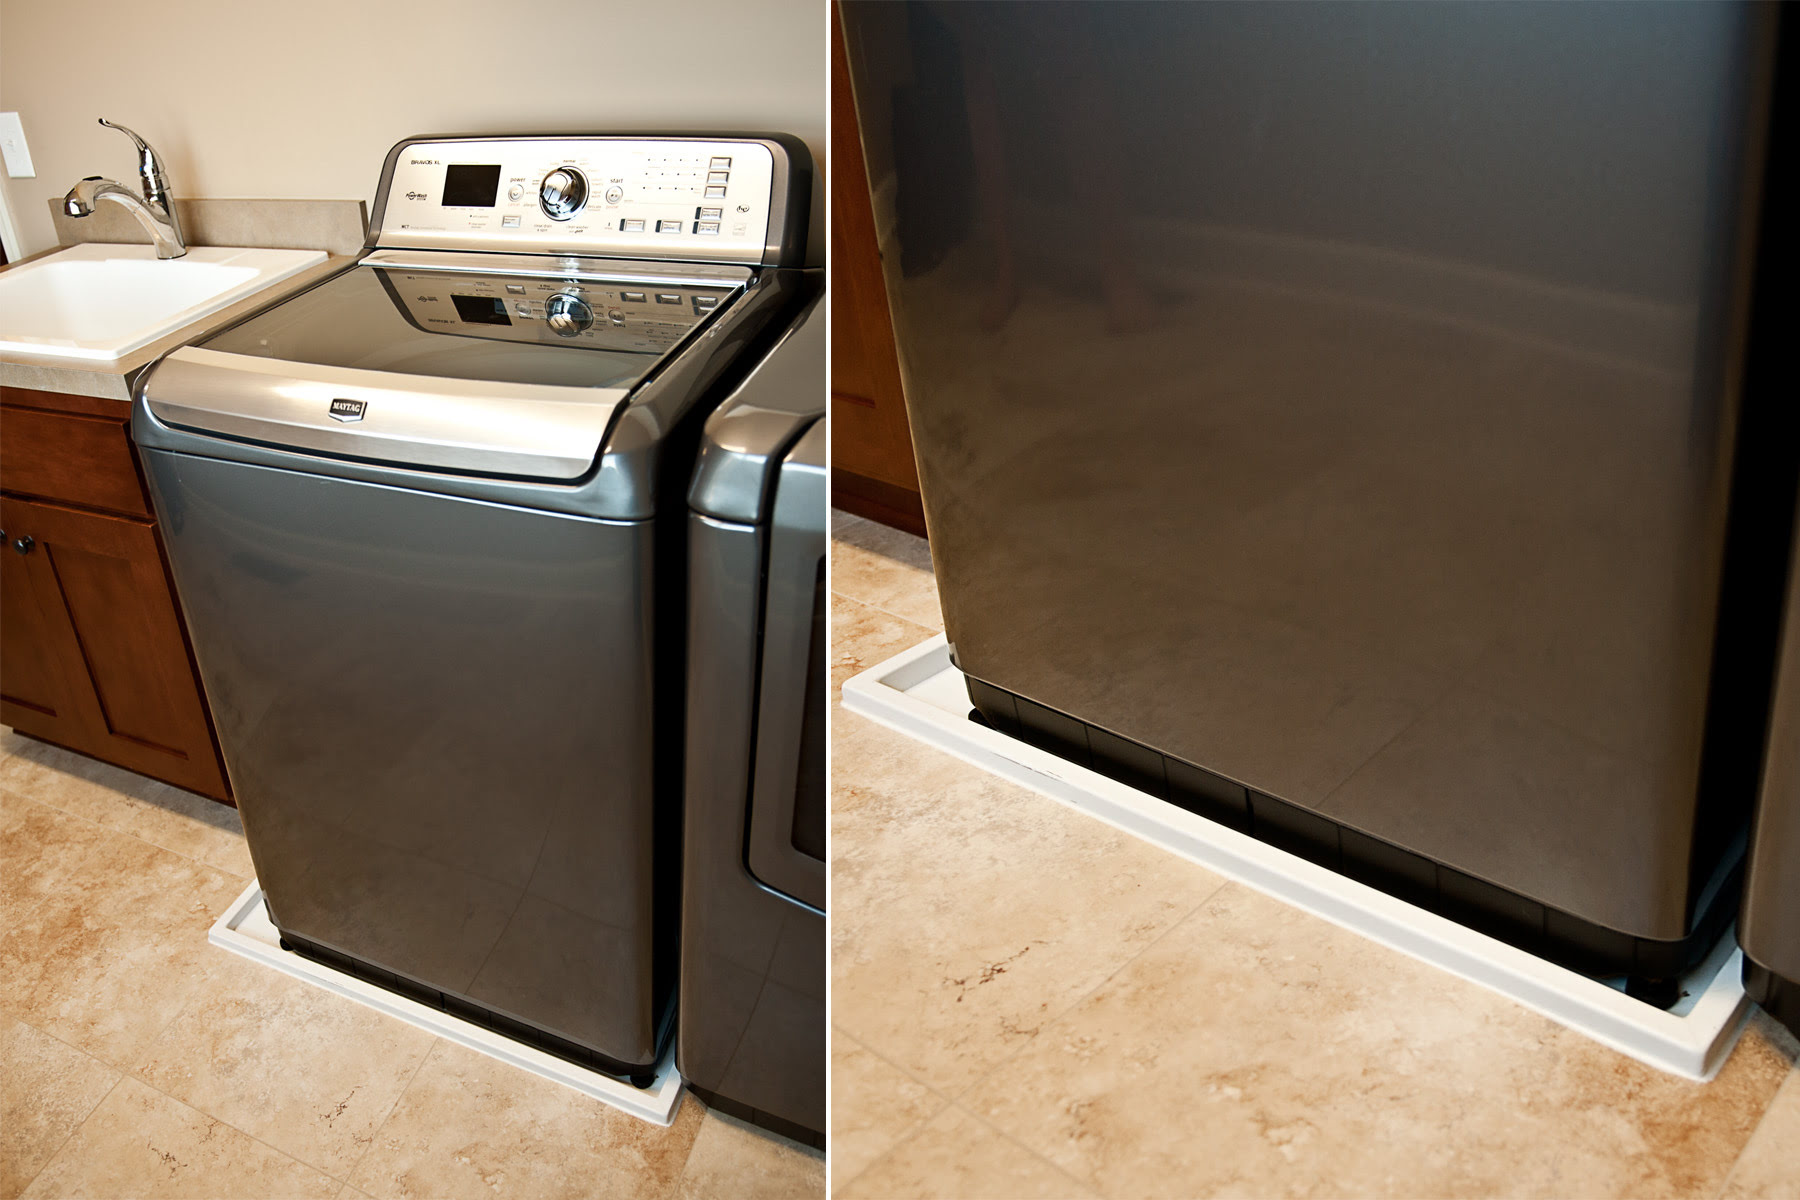
When installing a washer drain pan, make sure to position it directly under the washer to catch any leaks. Use a level to ensure it sits flat and securely on the floor.
Step 4: Install the Drain Pan
Now that you have gathered the materials, chosen the right location, and prepared the area, it’s time to install the drain pan. Follow these steps to ensure a proper installation:
- Place the drain pan: Carefully position the drain pan in the marked location, ensuring it is centered beneath the washing machine. Make sure the pan sits level on the floor.
- Adjust for machine legs: If your washing machine has adjustable legs, make sure they are properly adjusted to align with the drain pan. This will ensure stability and prevent the machine from shifting during use.
- Secure the drain pan: Use screws or adhesive provided with the drain pan to secure it in place. Follow the manufacturer’s instructions for proper attachment.
- Check for stability: Give the drain pan a gentle shake to ensure it is securely in place with no wobbling or movement. Make any necessary adjustments to achieve stability.
- Inspect for gaps: Carefully examine the area between the drain pan and the floor. Seal any gaps with caulk to prevent water from seeping underneath the pan.
By following these steps, you’ll successfully install the drain pan and create a barrier against potential water leaks. This will help protect your floors and surrounding areas from any damage that may occur during the use of your washing machine.
Read more: How To Install Washer Drain
Step 5: Connect the Drain Pipe
Now that you have installed the drain pan, it’s time to connect the drain pipe. This will allow any water collected in the pan to be efficiently drained away. Follow these steps to connect the drain pipe:
- Measure and cut the PVC pipe: Using a tape measure, measure the distance between the drain pan outlet and the nearest drain line. Cut the PVC pipe to the appropriate length using a saw.
- Assemble the fittings: Attach the necessary fittings, such as elbows or couplings, to the ends of the PVC pipe segments. Ensure a secure fit by using PVC primer and cement to bond the connections.
- Connect to the drain pan: Insert one end of the PVC pipe into the outlet opening of the drain pan. Use plumber’s putty around the connection to create a watertight seal and prevent any leaks.
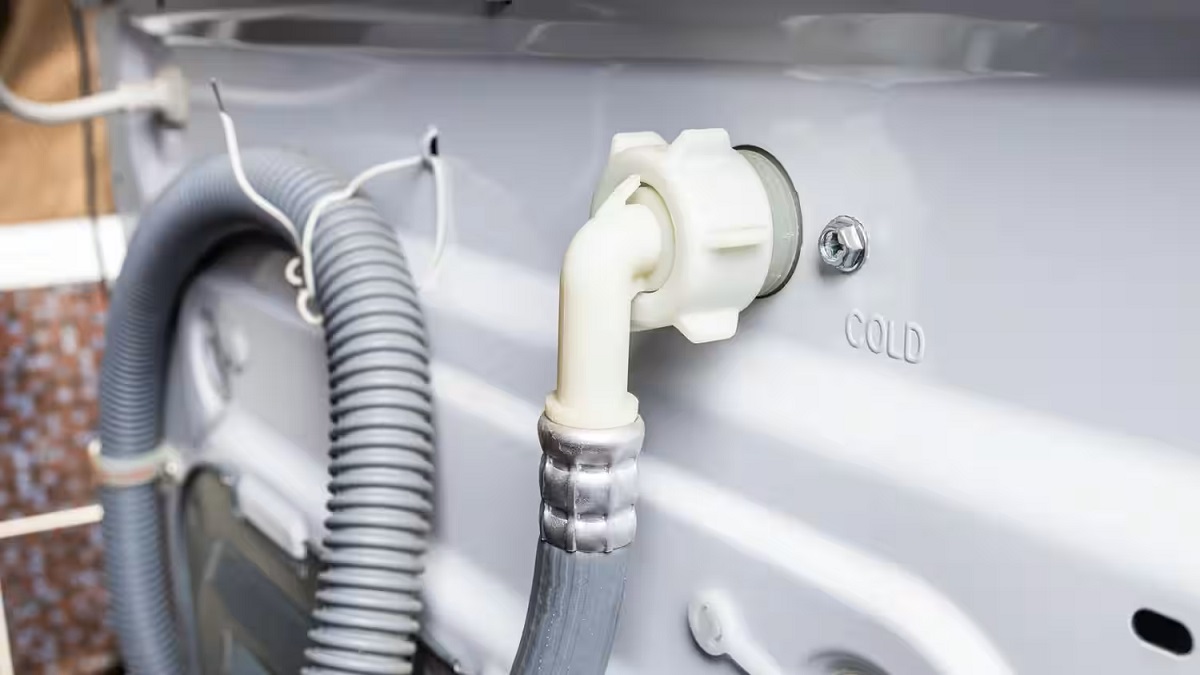
- Connect to the drain line: Place the other end of the PVC pipe into the existing drain line. If needed, secure the connection with clamps or additional fittings. Ensure a tight fit to prevent any leaks.
- Secure the pipe: Use straps or clamps to secure the PVC pipe to the wall or floor, providing additional stability and preventing any movement or strain on the connections.
Once all the connections are made, double-check that they are secure and free from any leaks. It’s also important to ensure that the drain pipe has a slight downward slope to allow proper drainage.
By appropriately connecting the drain pipe, you ensure that any water collected in the drain pan is efficiently carried away, reducing the risk of water damage and maintaining a clean and safe laundry area.
Step 6: Check for Leaks
After connecting the drain pipe, it’s crucial to check for any leaks to ensure the proper functioning of your washer drain pan. Follow these steps to check for leaks:
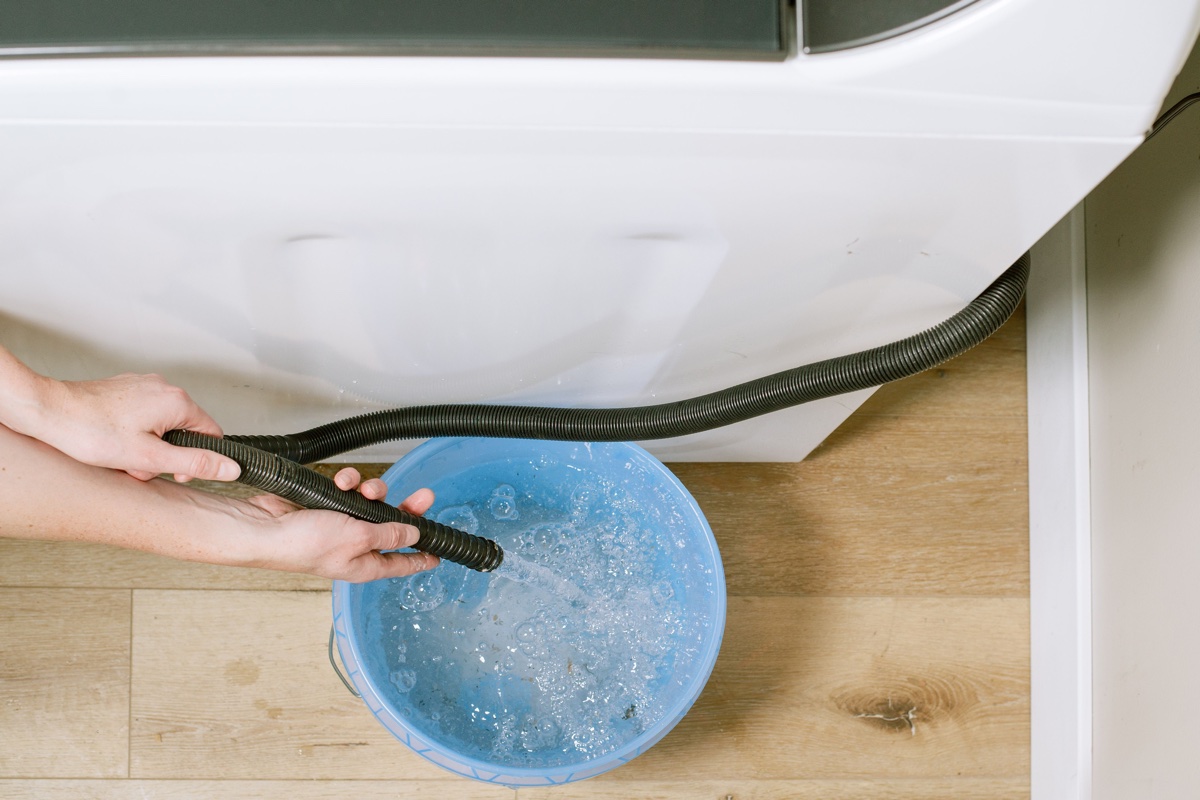
- Turn on the water supply: Start by turning on the water supply to your washing machine. This will allow water to flow through the system and test the drain pan and pipe connections.
- Observe the drain pan: Carefully monitor the drain pan for any signs of water leakage. Pay close attention to the connections between the drain pan and the PVC pipe, as well as the PVC pipe and the drain line.
- Inspect the pipe connections: Examine the connections between the PVC pipe segments for any signs of water leaks. If you notice any leaks, tighten the connections as needed or apply plumber’s putty to create a watertight seal.
- Check for dampness or water around the drain line: Inspect the area around the drain line to ensure there are no signs of water leakage or dampness. If you notice any, it may indicate a faulty connection or a damaged pipe that needs to be addressed.
- Test with a small amount of water: Pour a small amount of water into the drain pan to simulate a potential spill or leak. Monitor the drain pan and the drain pipe connections to ensure they effectively capture and drain the water without any leaks.
- Recheck after a full cycle: After running a full cycle of your washing machine, recheck all the connections and the drain pan for any signs of leaks. This will ensure that everything is functioning properly under normal operating conditions.
By conducting a thorough check for leaks, you can identify and address any issues before they have the chance to cause significant water damage. Regularly inspecting the drain pan and drain pipe connections will give you peace of mind and help maintain a dry and safe laundry area.
Conclusion
Congratulations! You have successfully learned how to install a washer drain pan. By following the step-by-step process outlined in this article, you have taken an important step in protecting your laundry area from potential water damage caused by leaks and overflow from your washing machine.
Remember, a properly installed drain pan provides a reliable barrier against water damage, ensuring the longevity of your floors and surrounding areas. It captures any water that may leak from your washing machine and directs it to a drain line, preventing water damage and minimizing the need for costly repairs.
Throughout the installation process, we emphasized the importance of gathering the necessary materials, choosing the right location, preparing the area, and properly connecting the drain pipe. By paying attention to these details, you have ensured a successful installation and a functional washer drain pan.
After completing the installation, it is essential to regularly monitor the drain pan and drain pipe connections for any signs of leaks or issues. By taking preventive measures and addressing any problems promptly, you can maintain a dry and protected laundry area for years to come.
While this guide serves as a comprehensive resource, it is always advisable to consult professional help if you are unsure about any aspect of the installation or encounter unexpected difficulties. The expertise and knowledge of a professional plumber can provide invaluable guidance and ensure a successful installation.
Now it’s time to enjoy the peace of mind that comes with a properly installed washer drain pan. Say goodbye to worries about water damage and focus on doing your laundry with confidence and ease!
Now that you've mastered installing a washer drain pan, why not tackle more DIY projects or spruce up your home maintenance routine? Engaging in DIY projects not only sharpens your skills but also brings personal satisfaction and potentially saves money. Similarly, regular home maintenance prevents future headaches and keeps your living space in top condition. Ready for your next challenge or to brush up on essential upkeep tasks? Dive into our articles that make DIY and maintenance easy and enjoyable.
Frequently Asked Questions about How To Install A Washer Drain Pan
Was this page helpful?
At Storables.com, we guarantee accurate and reliable information. Our content, validated by Expert Board Contributors, is crafted following stringent Editorial Policies. We're committed to providing you with well-researched, expert-backed insights for all your informational needs.


0 thoughts on “How To Install A Washer Drain Pan”