Home>Home Appliances>Laundry Appliances>How To Wash A Beauty Blender In A Washing Machine
Laundry Appliances
How To Wash A Beauty Blender In A Washing Machine
Published: February 21, 2024
Learn how to effectively clean your beauty blender in a washing machine with our expert tips. Discover the best laundry appliances for this task. Keep your beauty tools fresh and clean!
(Many of the links in this article redirect to a specific reviewed product. Your purchase of these products through affiliate links helps to generate commission for Storables.com, at no extra cost. Learn more)
Introduction
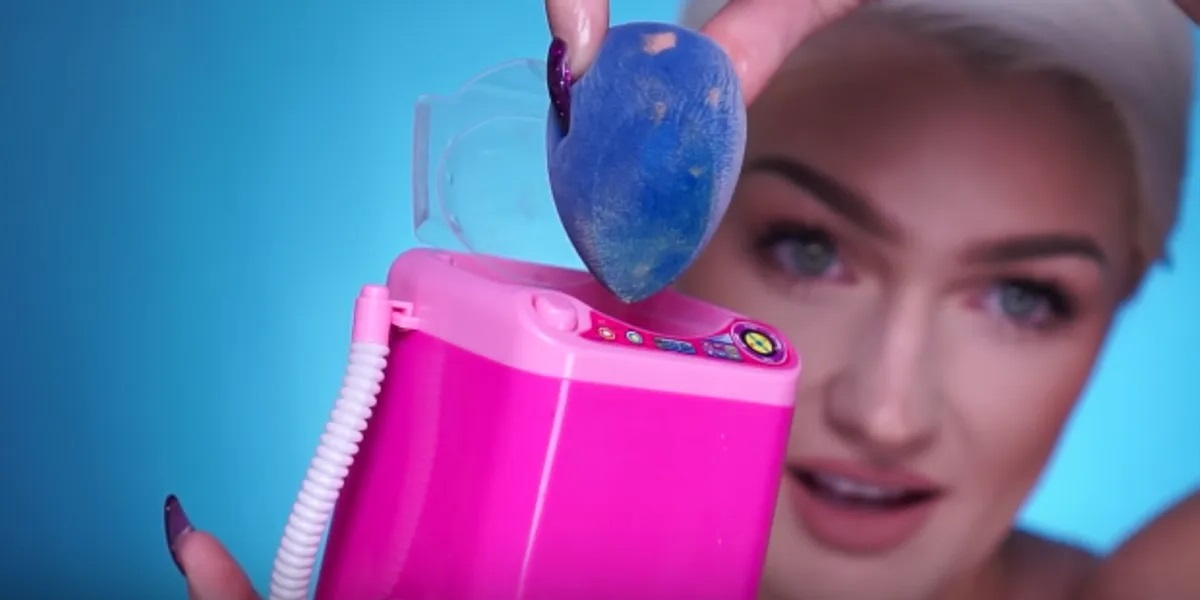
Washing machines are renowned for their ability to clean clothes efficiently, but did you know that they can also be used to wash beauty blenders? These versatile appliances can help rejuvenate your beauty blender, ensuring that it remains free from makeup residue and bacteria. By following the proper steps, you can harness the power of your washing machine to restore your beauty blender to its pristine condition.
In this comprehensive guide, we will delve into the intricacies of washing a beauty blender in a washing machine. From preparing the beauty blender for washing to selecting the appropriate washing machine settings and ensuring proper drying, we will cover every aspect to help you achieve optimal results.
As we embark on this journey, it's important to note that maintaining a clean beauty blender is essential for your skin's health and the longevity of your makeup tools. Over time, beauty blenders accumulate makeup, oil, and bacteria, which can lead to skin irritation and breakouts. By incorporating regular cleaning into your beauty routine, you can safeguard your skin and prolong the lifespan of your beloved beauty blender.
Now, let's dive into the step-by-step process of washing a beauty blender in a washing machine, unlocking the potential of this household appliance to elevate your beauty and hygiene practices.
Key Takeaways:
- Don’t just wash your clothes in the washing machine – you can also clean your beauty blender! By following simple steps like pre-treating stains and choosing gentle settings, you can keep your beauty blender free from makeup residue and bacteria.
- After washing your beauty blender in the machine, make sure to dry it properly. Gently squeeze out water, roll it in a towel, and let it air dry away from sunlight. This ensures your beauty blender stays clean and ready for flawless makeup application.
Read more: How To Store Beauty Blenders
Preparing the Beauty Blender for Washing
Before immersing your beauty blender in the washing machine, it's crucial to prepare it adequately to ensure a thorough and effective cleaning process. Here's a detailed guide on how to prepare your beauty blender for washing:
-
Inspect the Beauty Blender: Begin by examining the beauty blender for any tears, rips, or signs of wear and tear. If you notice any damage, it's advisable to refrain from washing it in the machine, as this could exacerbate the existing flaws.
-
Remove Excess Makeup: Prior to washing, gently rinse the beauty blender under running water to eliminate any surface makeup residue. Gently squeeze the sponge to expel any trapped makeup, ensuring that the majority of the product is removed before proceeding to the washing machine.
-
Pre-Treat Stains: For stubborn stains or areas with concentrated makeup buildup, consider pre-treating the beauty blender with a gentle, oil-based cleanser. Apply a small amount of the cleanser directly to the stained areas and massage it in with your fingers. Allow the cleanser to penetrate the stains for a few minutes before rinsing thoroughly.
-
Consider a Pre-Soak: If your beauty blender has particularly stubborn stains or has not been cleaned for an extended period, a pre-soak can be beneficial. Fill a bowl with warm water and a mild, fragrance-free soap. Submerge the beauty blender in the soapy water and allow it to soak for 10-15 minutes. This pre-soak will help loosen stubborn residue and prepare the sponge for the washing machine cycle.
-
Ensure Proper Enclosure: To prevent the beauty blender from getting caught or tangled during the washing cycle, place it in a mesh laundry bag or a dedicated garment bag designed for delicates. This protective enclosure will safeguard the beauty blender from potential damage while allowing the water and detergent to penetrate effectively.
By meticulously preparing your beauty blender for washing, you can optimize the cleaning process and ensure that the sponge emerges from the washing machine revitalized and free from makeup residue. With these preparatory steps in place, you are now ready to proceed to the next phase of the beauty blender washing process: choosing the right washing machine settings.
Choosing the Right Washing Machine Settings
Selecting the appropriate washing machine settings is crucial to ensure that your beauty blender undergoes a gentle yet effective cleaning cycle. By understanding the various settings and their implications, you can tailor the washing process to suit the delicate nature of the beauty blender. Here's a detailed exploration of the key considerations when choosing the right washing machine settings for your beauty blender:
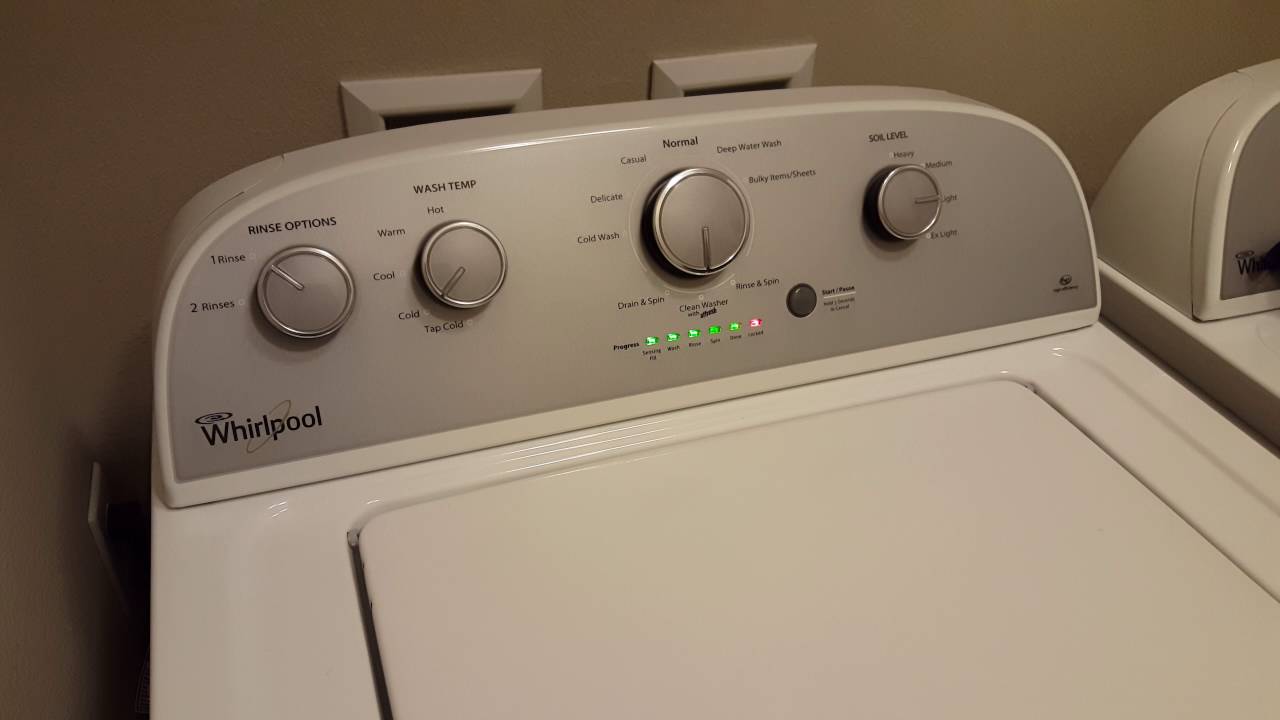
Water Temperature:
Opting for a moderate water temperature is essential when washing a beauty blender in the machine. Warm water, typically around 30-40 degrees Celsius (86-104 degrees Fahrenheit), is ideal for breaking down makeup residue and eliminating bacteria without subjecting the sponge to harsh conditions. Avoid hot water, as it can compromise the integrity of the beauty blender and lead to deformation or deterioration of the material.
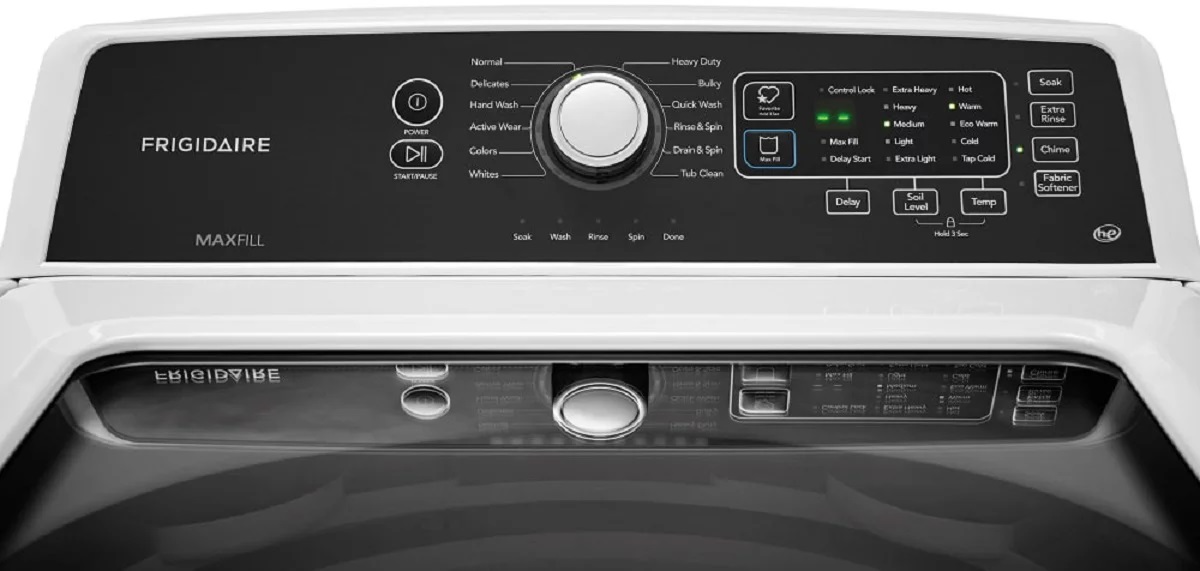
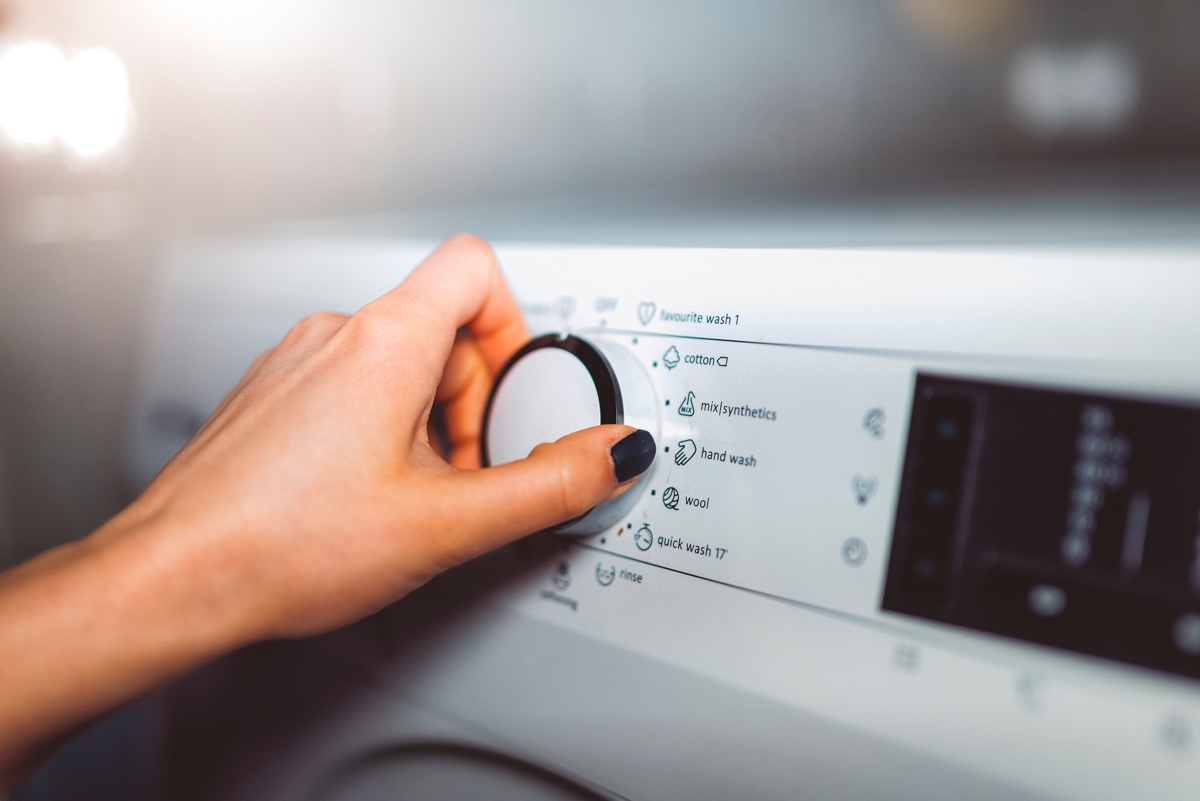
Wash Cycle:
For delicate items such as beauty blenders, selecting a gentle or delicate wash cycle is paramount. These specialized cycles feature reduced agitation and slower spin speeds, minimizing the risk of damage to the sponge. Additionally, the gentle cycle ensures that the beauty blender is thoroughly cleaned while being treated with the utmost care throughout the washing process.
Read more: How To Reset A Washer
Detergent Selection:
When washing a beauty blender, it's imperative to use a mild, fragrance-free detergent that is suitable for delicate fabrics. Opt for a hypoallergenic and non-abrasive detergent to safeguard the integrity of the sponge and prevent any potential skin irritation upon subsequent use. Avoid using fabric softeners or harsh chemicals, as they can leave residues that may compromise the performance of the beauty blender.
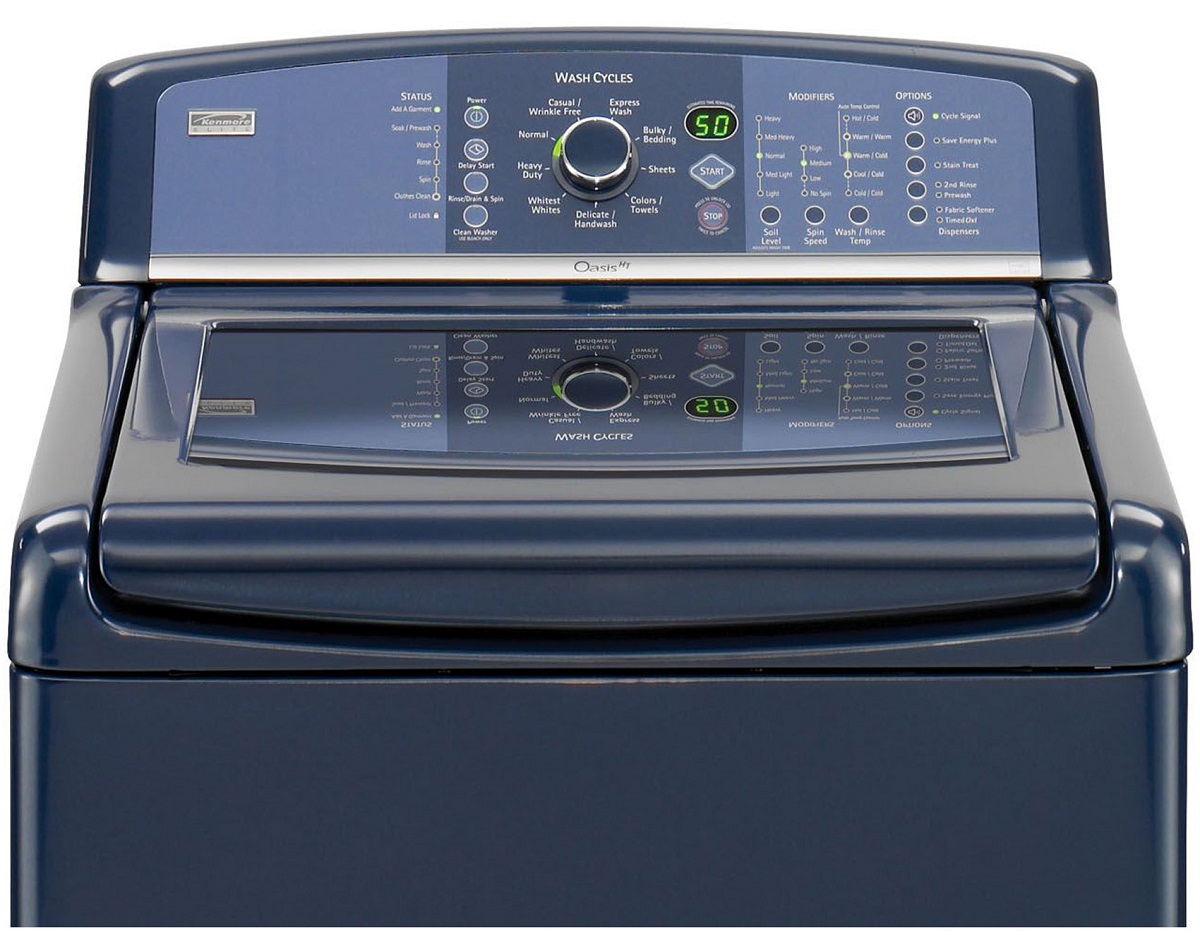
Spin Speed:
Adjusting the spin speed to a low setting is advisable to prevent excessive agitation and potential damage to the beauty blender. By minimizing the spin speed, you can ensure that the sponge is gently cleansed without being subjected to harsh centrifugal forces that could distort its shape or texture.
Additional Rinse:
Consider incorporating an extra rinse cycle to thoroughly remove any residual detergent from the beauty blender. This additional rinse helps eliminate traces of detergent that may linger within the sponge, ensuring that it is free from any cleansing product that could potentially irritate the skin upon application.
By carefully considering these factors and customizing the washing machine settings accordingly, you can optimize the cleaning process and preserve the quality of your beauty blender. With the appropriate settings in place, the washing machine is poised to rejuvenate your beauty blender, leaving it fresh, sanitized, and ready for flawless makeup application.
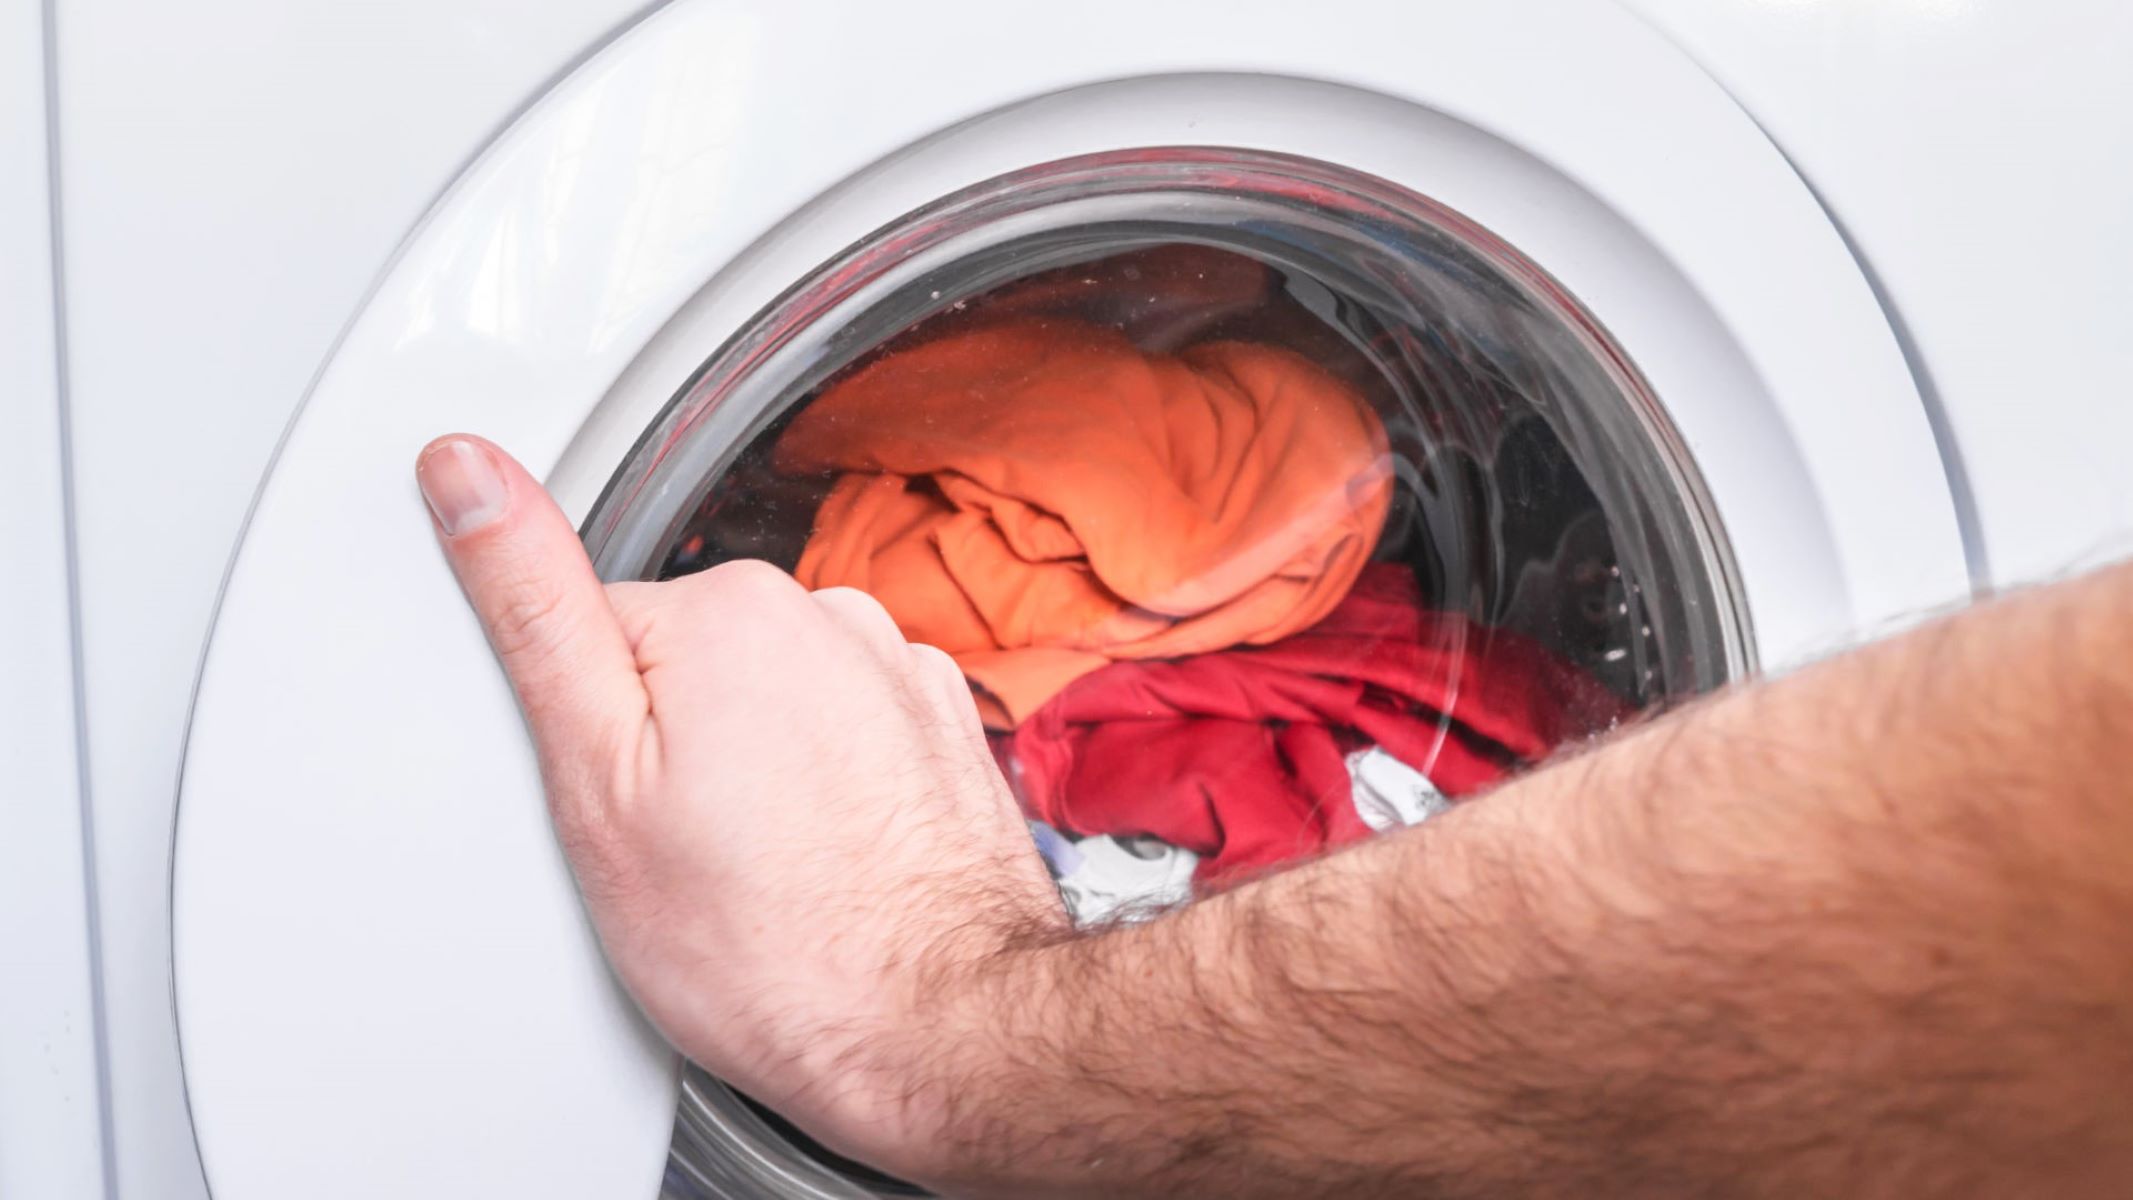
Placing the Beauty Blender in the Washing Machine
Once you have meticulously prepared your beauty blender and selected the appropriate washing machine settings, it's time to proceed with placing the beauty blender in the washing machine. This pivotal step requires attention to detail to ensure that the beauty blender undergoes a thorough yet gentle cleaning process. Here's a comprehensive guide on how to effectively position the beauty blender in the washing machine:
-
Load the Beauty Blender: Carefully place the prepared beauty blender, enclosed in a mesh laundry bag or a dedicated garment bag for delicates, into the washing machine. Position the bag in a manner that allows it to move freely within the drum, preventing it from becoming entangled or trapped during the washing cycle.
-
Create Balance: If you are washing multiple beauty blenders or incorporating other delicate items in the same cycle, strive to distribute the load evenly within the washing machine. This balance minimizes the risk of the beauty blenders shifting or becoming displaced during the wash, ensuring that they receive uniform exposure to the cleansing process.
-
Avoid Overcrowding: Resist the temptation to overcrowd the washing machine, as this can impede the effectiveness of the cleaning cycle. Providing ample space for the beauty blender to move and interact with the water and detergent is essential for achieving optimal results. Overcrowding can lead to inadequate cleaning and potential damage to the beauty blender.
-
Close the Washing Machine: Once the beauty blender is securely positioned within the washing machine, ensure that the door or lid is closed properly. This step is crucial to initiate the washing cycle and maintain the appropriate environment for the beauty blender to undergo the cleaning process undisturbed.
-
Initiate the Wash Cycle: With the beauty blender loaded and the washing machine sealed, commence the selected wash cycle. Monitor the progress of the cycle to ensure that the beauty blender is being treated with the care and attention it requires throughout the cleaning process.
By following these steps, you can effectively position the beauty blender in the washing machine, setting the stage for a meticulous and gentle cleaning cycle. With the beauty blender securely nestled within the machine, the cleansing process can unfold seamlessly, revitalizing the sponge and preparing it for the subsequent drying phase.
With the beauty blender poised for rejuvenation within the washing machine, the transformative power of this household appliance is harnessed to elevate your beauty and hygiene practices.
Read more: How To Clean Washer And Dryer
Drying the Beauty Blender
After undergoing the meticulous cleaning cycle in the washing machine, the beauty blender requires proper drying to ensure that it is ready for future use. Drying the beauty blender effectively is essential to prevent the growth of mold and bacteria while preserving its texture and performance. Here's a comprehensive guide on how to facilitate the drying process for your beauty blender:
-
Gentle Squeeze: Upon completion of the washing cycle, gently remove the beauty blender from the mesh laundry bag or garment bag. With clean hands, softly squeeze the sponge to expel excess water. Avoid wringing or twisting the beauty blender, as this can distort its shape and compromise its texture.
-
Absorbent Towel: Place a clean, absorbent towel on a flat surface. Gently roll the beauty blender in the towel, applying light pressure to encourage the absorption of residual moisture. This gentle rolling motion helps to extract excess water from the sponge without causing damage.
-
Air Drying: Once the initial moisture has been removed, set the beauty blender on a clean, dry towel in a well-ventilated area. Position the sponge away from direct sunlight and heat sources to prevent potential damage or deformation. Allowing the beauty blender to air dry naturally is crucial for preserving its integrity and ensuring that it is thoroughly dried.
-
Flipping and Patting: Periodically flip the beauty blender to promote even drying. Lightly pat the sponge with a dry towel to absorb any lingering moisture and facilitate the drying process. This gentle patting motion aids in maintaining the beauty blender's shape and texture while expediting the evaporation of moisture.
-
Ensure Complete Dryness: Allow the beauty blender to air dry for at least 24 hours or until it is completely dry to the touch. It's essential to exercise patience and refrain from using the beauty blender until it has fully dried to prevent the risk of mold or bacterial growth.
By adhering to these drying guidelines, you can effectively preserve the cleanliness and integrity of your beauty blender, ensuring that it is primed for flawless makeup application. With the beauty blender thoroughly dried, you can relish in the rejuvenated state of this essential beauty tool, ready to deliver seamless and immaculate makeup results.
The meticulous process of drying the beauty blender marks the culmination of its revitalization journey, setting the stage for its return to your beauty routine with renewed freshness and efficacy.
Conclusion
In conclusion, the process of washing a beauty blender in a washing machine presents a transformative approach to maintaining the cleanliness and efficacy of this essential makeup tool. By meticulously preparing the beauty blender, selecting the appropriate washing machine settings, positioning it within the machine, and facilitating thorough drying, you can rejuvenate the sponge, ensuring that it remains free from makeup residue and bacteria.
The journey begins with the meticulous preparation of the beauty blender, encompassing the inspection for damage, removal of excess makeup, pre-treatment of stains, and the consideration of a pre-soak. These preparatory steps lay the foundation for a comprehensive and effective cleaning process, setting the stage for the beauty blender's revitalization.
Selecting the right washing machine settings is paramount to ensure that the beauty blender undergoes a gentle yet thorough cleansing cycle. By considering factors such as water temperature, wash cycle, detergent selection, spin speed, and additional rinse, you can customize the washing process to suit the delicate nature of the beauty blender, preserving its integrity and performance.
Placing the beauty blender in the washing machine requires attention to detail, emphasizing the careful loading of the sponge, creation of balance within the machine, avoidance of overcrowding, and the initiation of the wash cycle. These steps are instrumental in facilitating a meticulous and gentle cleaning process, harnessing the transformative power of the washing machine to elevate the hygiene and functionality of the beauty blender.
The drying phase is equally crucial, encompassing gentle squeezing, absorption of moisture with a towel, natural air drying, periodic flipping and patting, and the assurance of complete dryness. This meticulous approach to drying safeguards the cleanliness and texture of the beauty blender, ensuring that it is ready for flawless makeup application.
In essence, the process of washing a beauty blender in a washing machine transcends conventional cleaning methods, offering a comprehensive and efficient approach to maintaining the hygiene and performance of this indispensable makeup tool. By embracing this innovative technique, individuals can elevate their beauty and hygiene practices, ensuring that their beauty blenders remain pristine and ready to deliver immaculate makeup results.
Frequently Asked Questions about How To Wash A Beauty Blender In A Washing Machine
Was this page helpful?
At Storables.com, we guarantee accurate and reliable information. Our content, validated by Expert Board Contributors, is crafted following stringent Editorial Policies. We're committed to providing you with well-researched, expert-backed insights for all your informational needs.


0 thoughts on “How To Wash A Beauty Blender In A Washing Machine”